Home>Gardening & Outdoor>Outdoor Structures>How To Replace Fabric On An RV Awning
Outdoor Structures
How To Replace Fabric On An RV Awning
Modified: November 2, 2024
Learn how to replace the fabric on your RV awning with our step-by-step guide. Keep your outdoor structures in top shape with this easy DIY project.
(Many of the links in this article redirect to a specific reviewed product. Your purchase of these products through affiliate links helps to generate commission for Storables.com, at no extra cost. Learn more)
Introduction
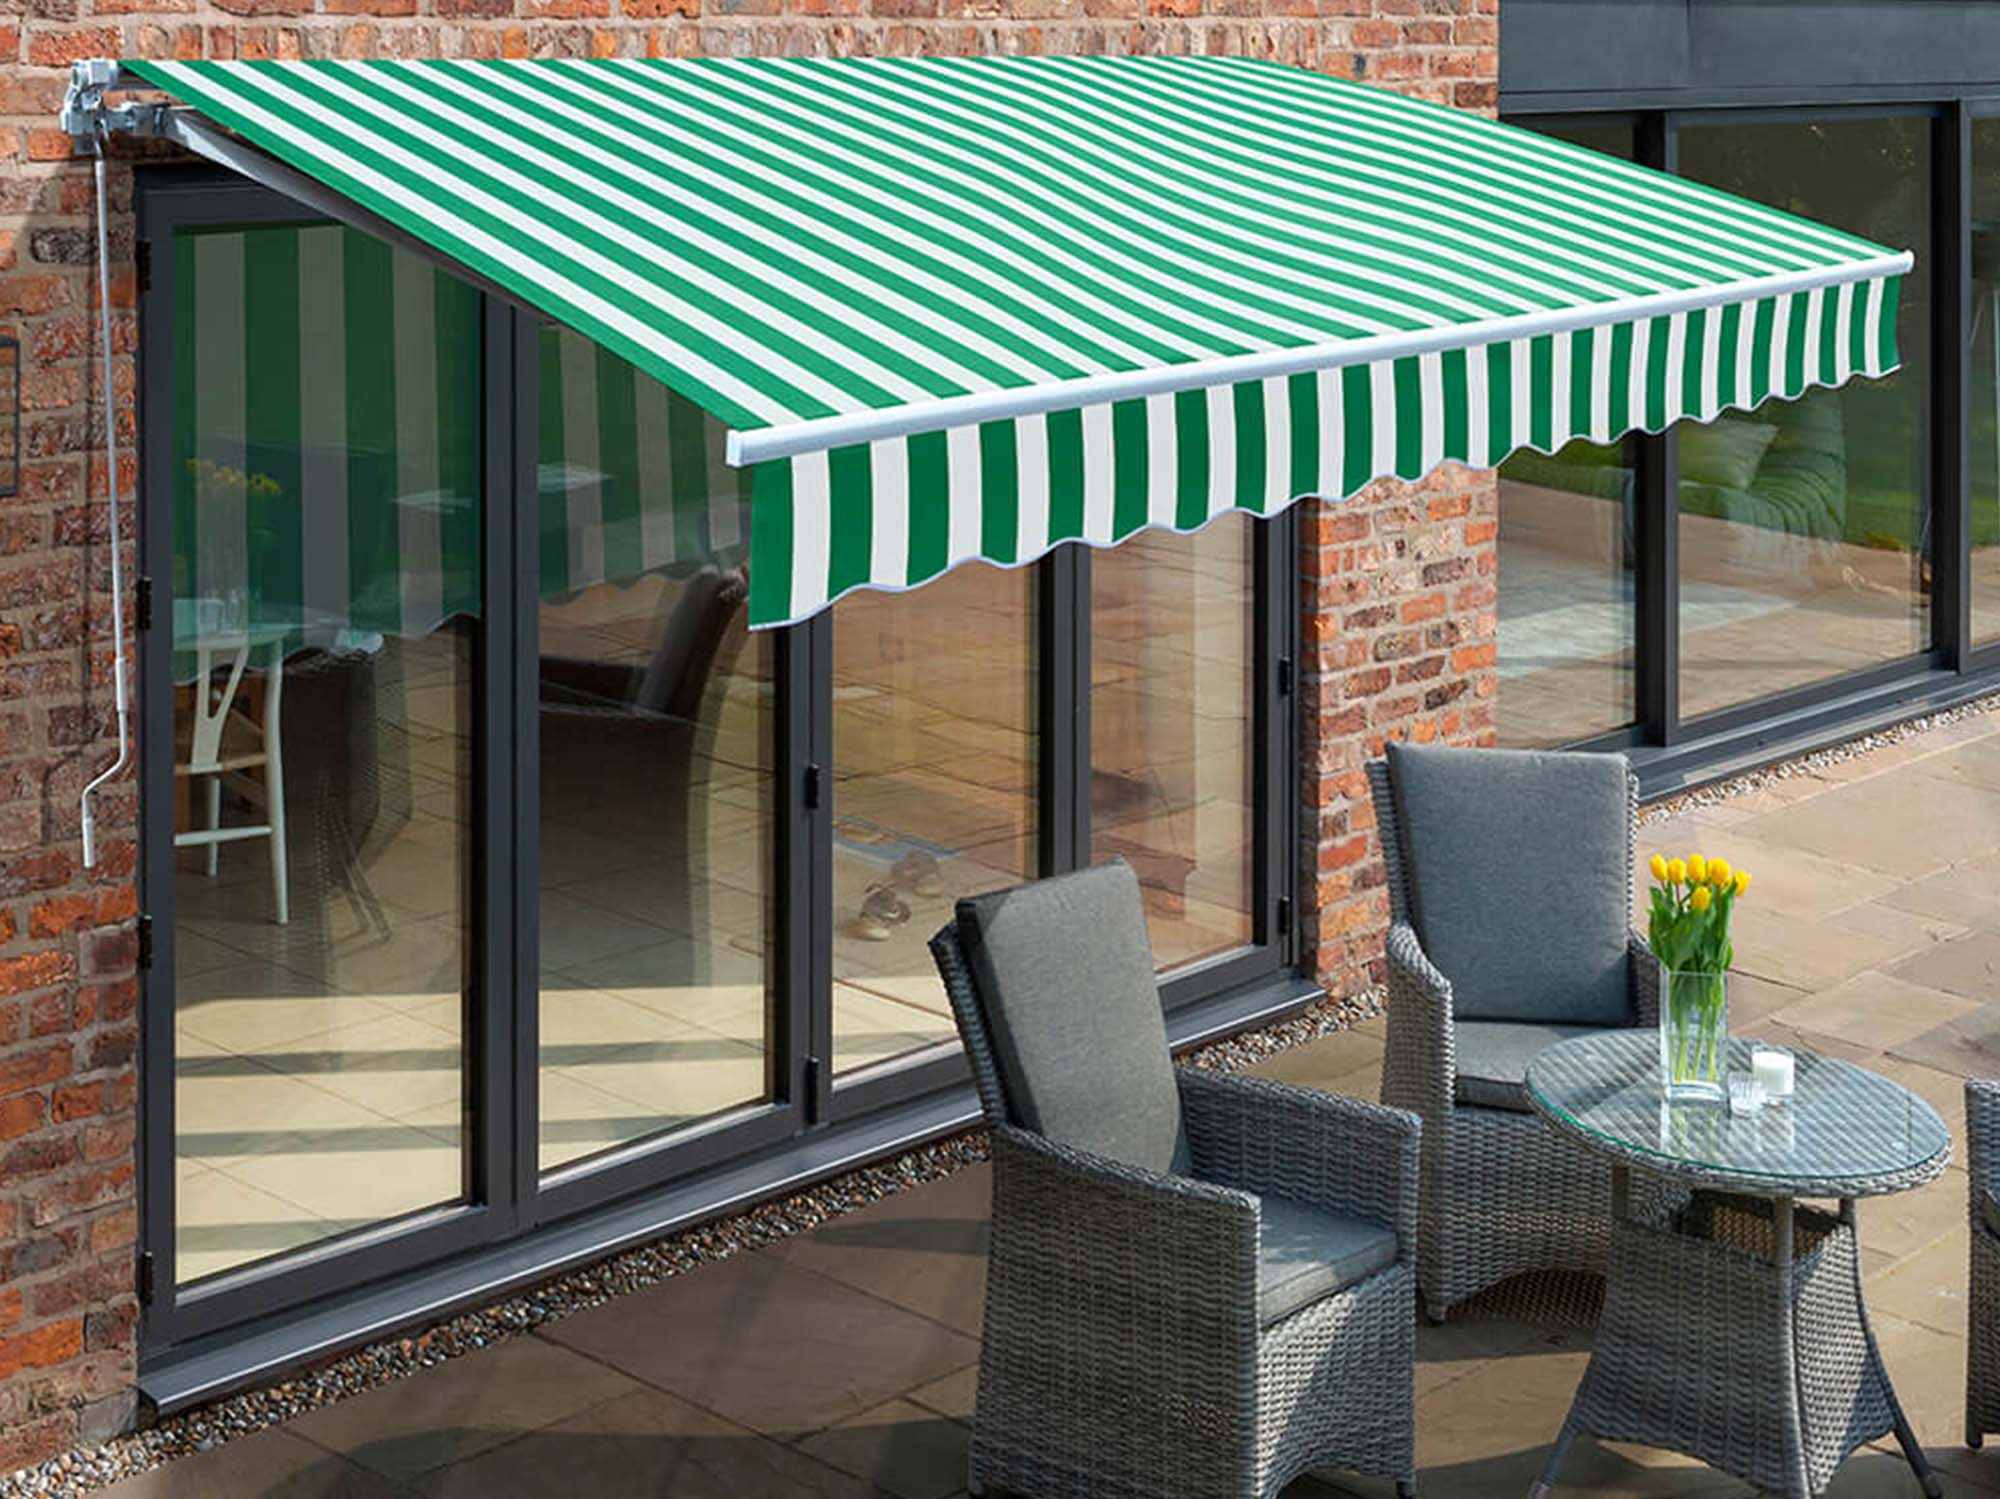
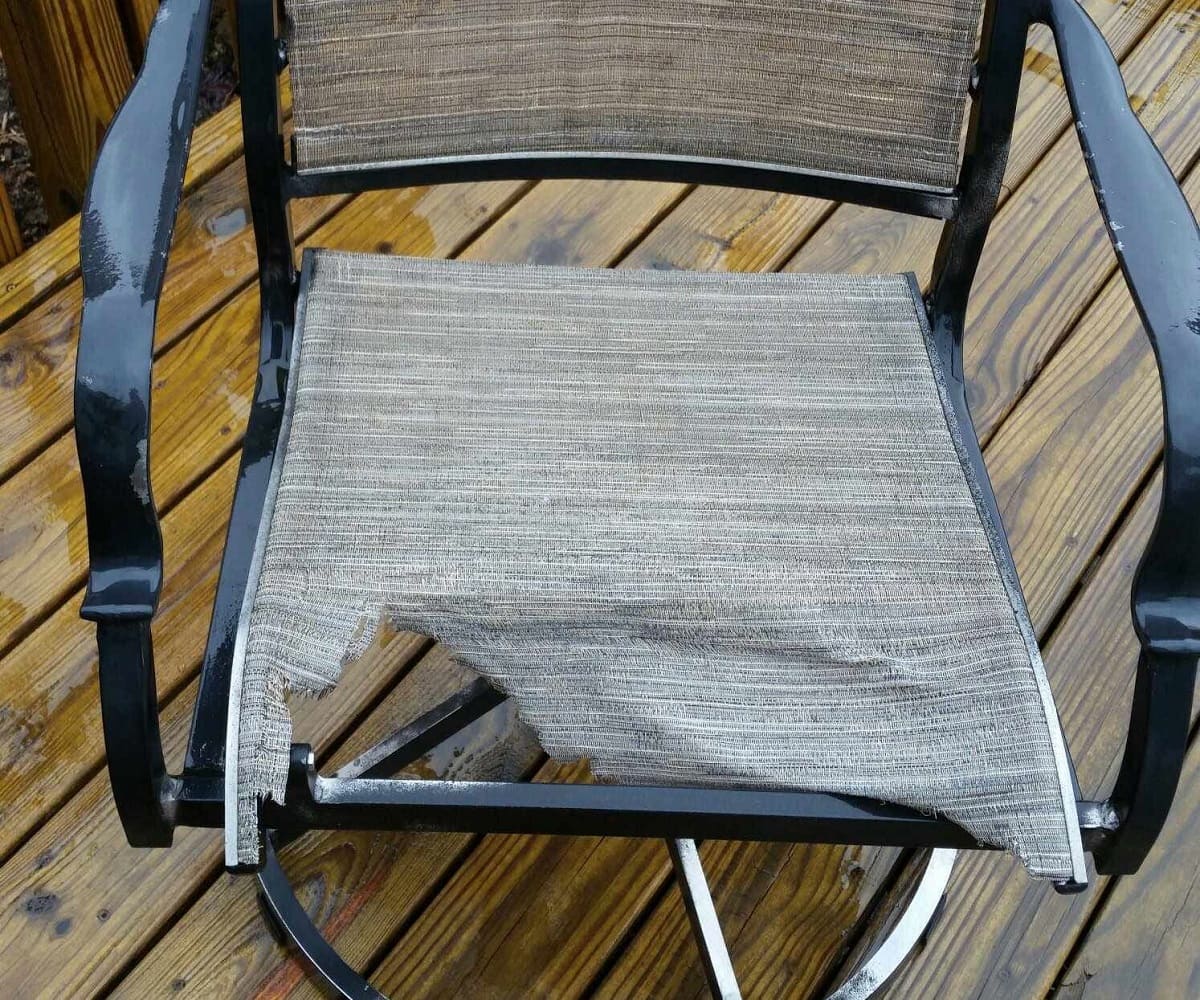
Replacing the fabric on your RV awning can breathe new life into your outdoor adventures. Over time, exposure to the elements can cause wear and tear on the fabric, diminishing its functionality and aesthetic appeal. By taking on this project, you can revitalize your RV's exterior and ensure that your outdoor living space remains comfortable and protected.
Whether you're a seasoned RVer or a newcomer to the world of recreational vehicles, understanding the process of replacing the fabric on your RV awning is a valuable skill. Not only does it save you money on professional repairs, but it also allows you to customize the fabric to suit your style and preferences.
In this comprehensive guide, we will walk you through the step-by-step process of replacing the fabric on your RV awning. From gathering the necessary tools and materials to measuring, ordering, and installing the new fabric, we've got you covered. By the end of this journey, you'll have the knowledge and confidence to tackle this project with ease, ensuring that your RV is ready for many more memorable outdoor adventures.
So, gather your tools, roll up your sleeves, and let's embark on this rewarding DIY endeavor to rejuvenate your RV awning!
Key Takeaways:
- Revitalize your RV awning by replacing the fabric, enhancing its appearance and functionality. With basic tools and accurate measurements, you can tackle this rewarding DIY project and enjoy a refreshed outdoor living space.
- Gain valuable hands-on experience in maintaining and customizing your RV by replacing the fabric on your awning. From measuring and ordering to installing and testing, this DIY endeavor brings a sense of accomplishment and personalization to your outdoor adventures.
Read more: How To Replace RV Awning Struts
Tools and Materials Needed
Before diving into the process of replacing the fabric on your RV awning, it’s essential to gather the necessary tools and materials. Having the right equipment on hand will streamline the project and ensure a smooth transition from old to new fabric. Here’s a comprehensive list of what you’ll need:
Tools:
- Step ladder or extension ladder: To access the awning safely.
- Drill with appropriate bits: For removing screws and fasteners.
- Adjustable wrench: For loosening bolts and nuts.
- Measuring tape: To accurately measure the dimensions of the awning and fabric.
- Utility knife: For cutting and trimming the fabric.
- Marker or chalk: To mark measurements and fabric lines.
- Safety goggles and gloves: For personal protection during the project.
Materials:
- New awning fabric: Ensure it matches the dimensions of your RV awning and suits your style preferences.
- Replacement awning hardware (if necessary): Check if any components need to be replaced along with the fabric.
- Rivet gun and rivets: For securing the fabric and hardware.
- Clean cloth and mild detergent: For cleaning the awning frame and components.
- Rust inhibitor and lubricant: To address any rust or corrosion on the awning hardware.
By having these tools and materials at your disposal, you’ll be well-prepared to embark on the journey of replacing your RV awning fabric. With safety gear, precise measuring tools, and the new fabric in hand, you’re ready to breathe new life into your outdoor living space.
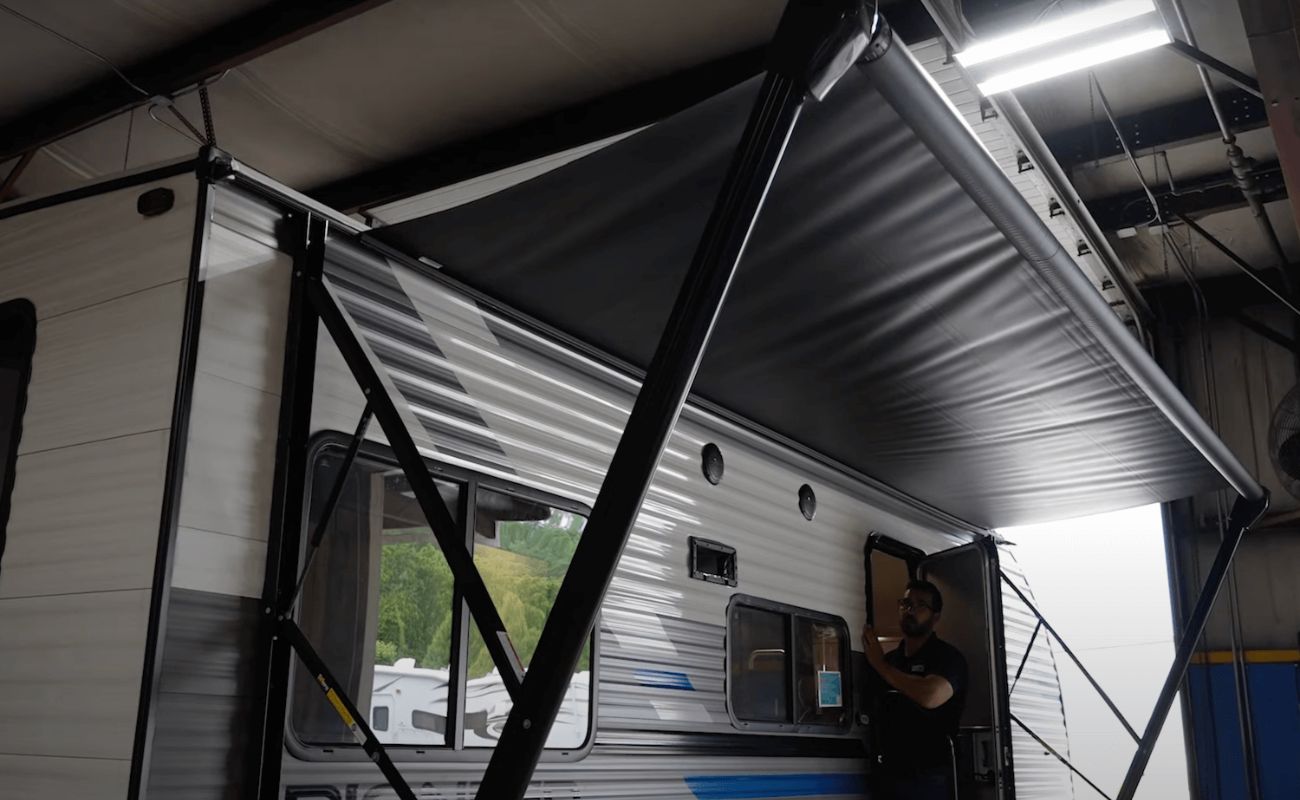
Removing the Old Fabric
Before you can install the new fabric, the old fabric must be carefully and methodically removed. This process involves disassembling certain components of the awning to access and detach the existing fabric. Here’s a step-by-step guide to removing the old fabric from your RV awning:
- Retract the awning: Begin by retracting the awning completely to its closed position. This will provide easier access to the fabric and its attachment points.
- Secure the arms: Use appropriate clamps or straps to secure the arms of the awning in place. This prevents unexpected movement or extension during the removal process.
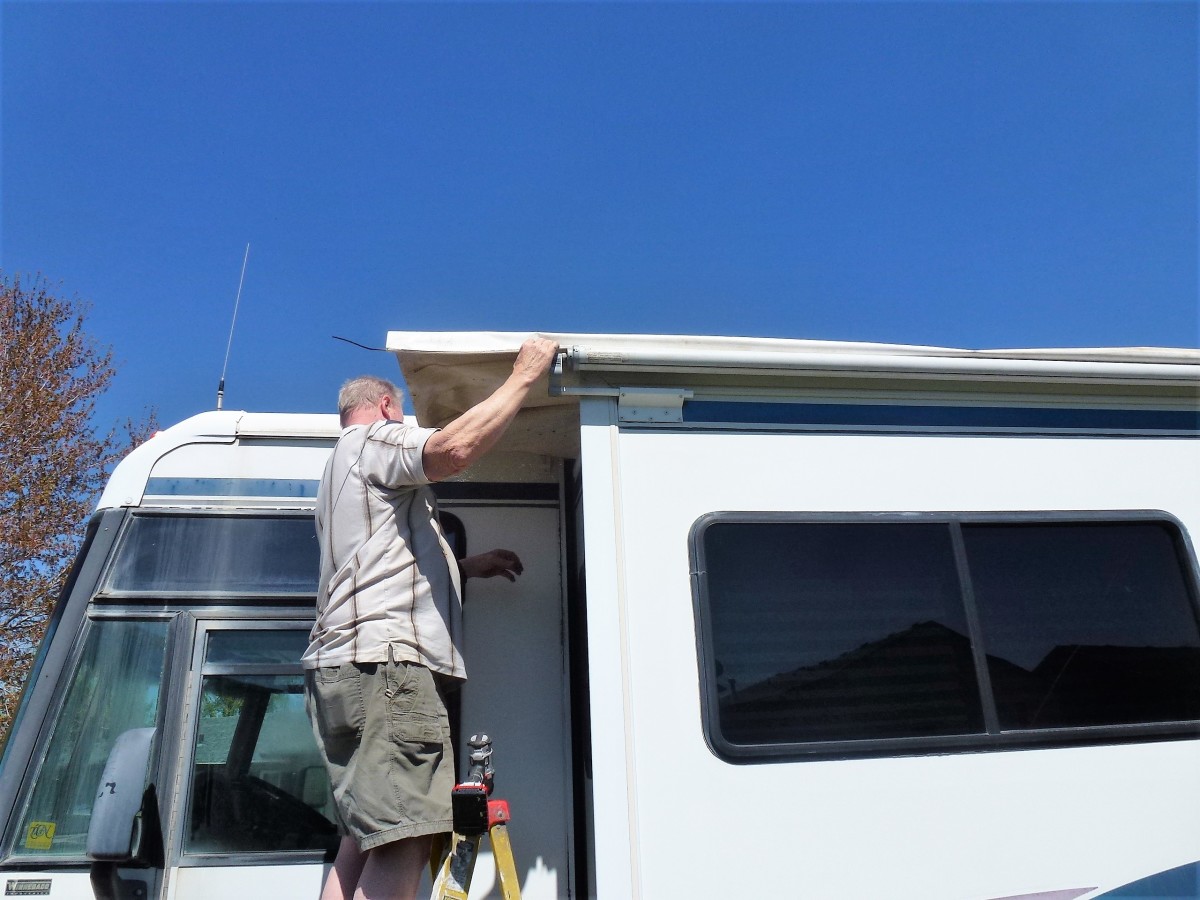
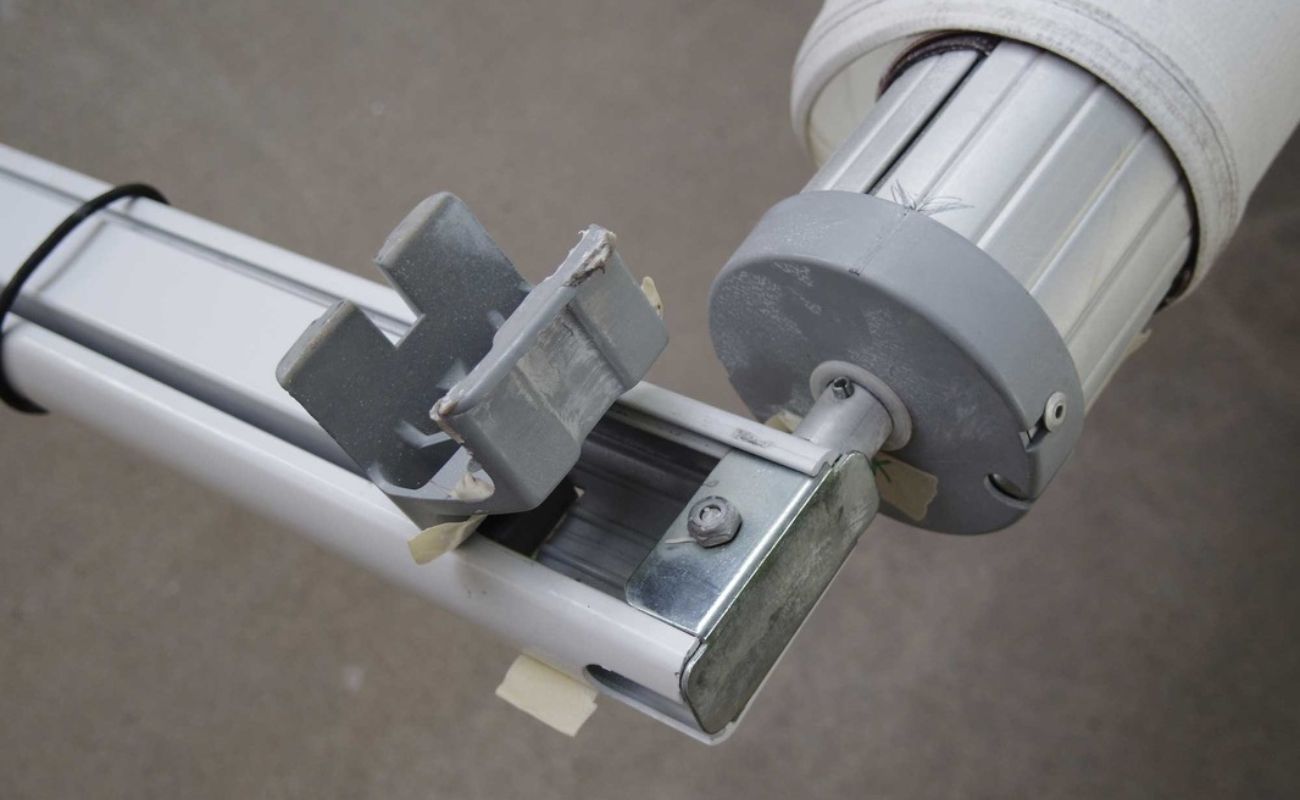
- Remove the end caps: Depending on the type of awning, you may need to unscrew or unclip the end caps at each end of the roller tube. This exposes the fabric attachment points and allows for easier access.
- Detach the fabric: Carefully detach the fabric from the roller tube and the awning arms. This may involve removing screws, bolts, or other fasteners that secure the fabric in place. Take note of how the fabric is attached, as this will be helpful during the installation of the new fabric.
- Inspect the hardware: While the fabric is removed, take the opportunity to inspect the awning hardware for any signs of wear, damage, or corrosion. Address any issues before proceeding with the installation of the new fabric.
- Clean the awning components: Use a clean cloth and mild detergent to wipe down the roller tube, awning arms, and associated hardware. This prepares the surface for the installation of the new fabric and ensures that the awning operates smoothly.
By following these steps, you can safely and effectively remove the old fabric from your RV awning, setting the stage for the next phase of the replacement process. With the fabric removed and the awning components inspected and cleaned, you’re ready to move on to the crucial step of measuring and ordering the new fabric.
Read more: What Is Awning Fabric
Measuring and Ordering the New Fabric
Accurate measurements are essential for ensuring that the new fabric fits your RV awning perfectly. Before placing an order for the replacement fabric, it’s crucial to measure the dimensions of the awning carefully. Here’s a detailed guide to measuring and ordering the new fabric for your RV awning:
- Extend the awning: Carefully extend the awning to its full length, ensuring that it is fully supported and stable. This provides the necessary surface area for measuring the fabric.
- Measure the fabric length: Using a measuring tape, determine the length of the existing fabric from end to end. Measure along the top edge of the fabric, ensuring that it follows the curvature of the roller tube.
- Measure the fabric width: Next, measure the width of the fabric from the roller tube to the outer edge. This measurement should encompass the entire width of the fabric when fully extended.
- Consider the fabric type: Take note of the type of fabric and its features, such as UV resistance, water repellency, and color options. This information will guide your selection when ordering the new fabric.
- Order the replacement fabric: Once you have accurate measurements and have chosen the desired fabric type, place an order with a reputable supplier or manufacturer. Ensure that the fabric is compatible with your specific awning model and dimensions.
- Verify the order: Double-check the order details, including the fabric dimensions, color, and any additional features or accessories. Confirm that the replacement fabric aligns with your measurements and specifications.
By meticulously measuring and ordering the new fabric, you can ensure a seamless and precise fit for your RV awning. Taking the time to gather accurate measurements and select the appropriate fabric type sets the stage for a successful installation process. With the new fabric on its way, you’re ready to prepare for the final phase: installing the replacement fabric on your RV awning.
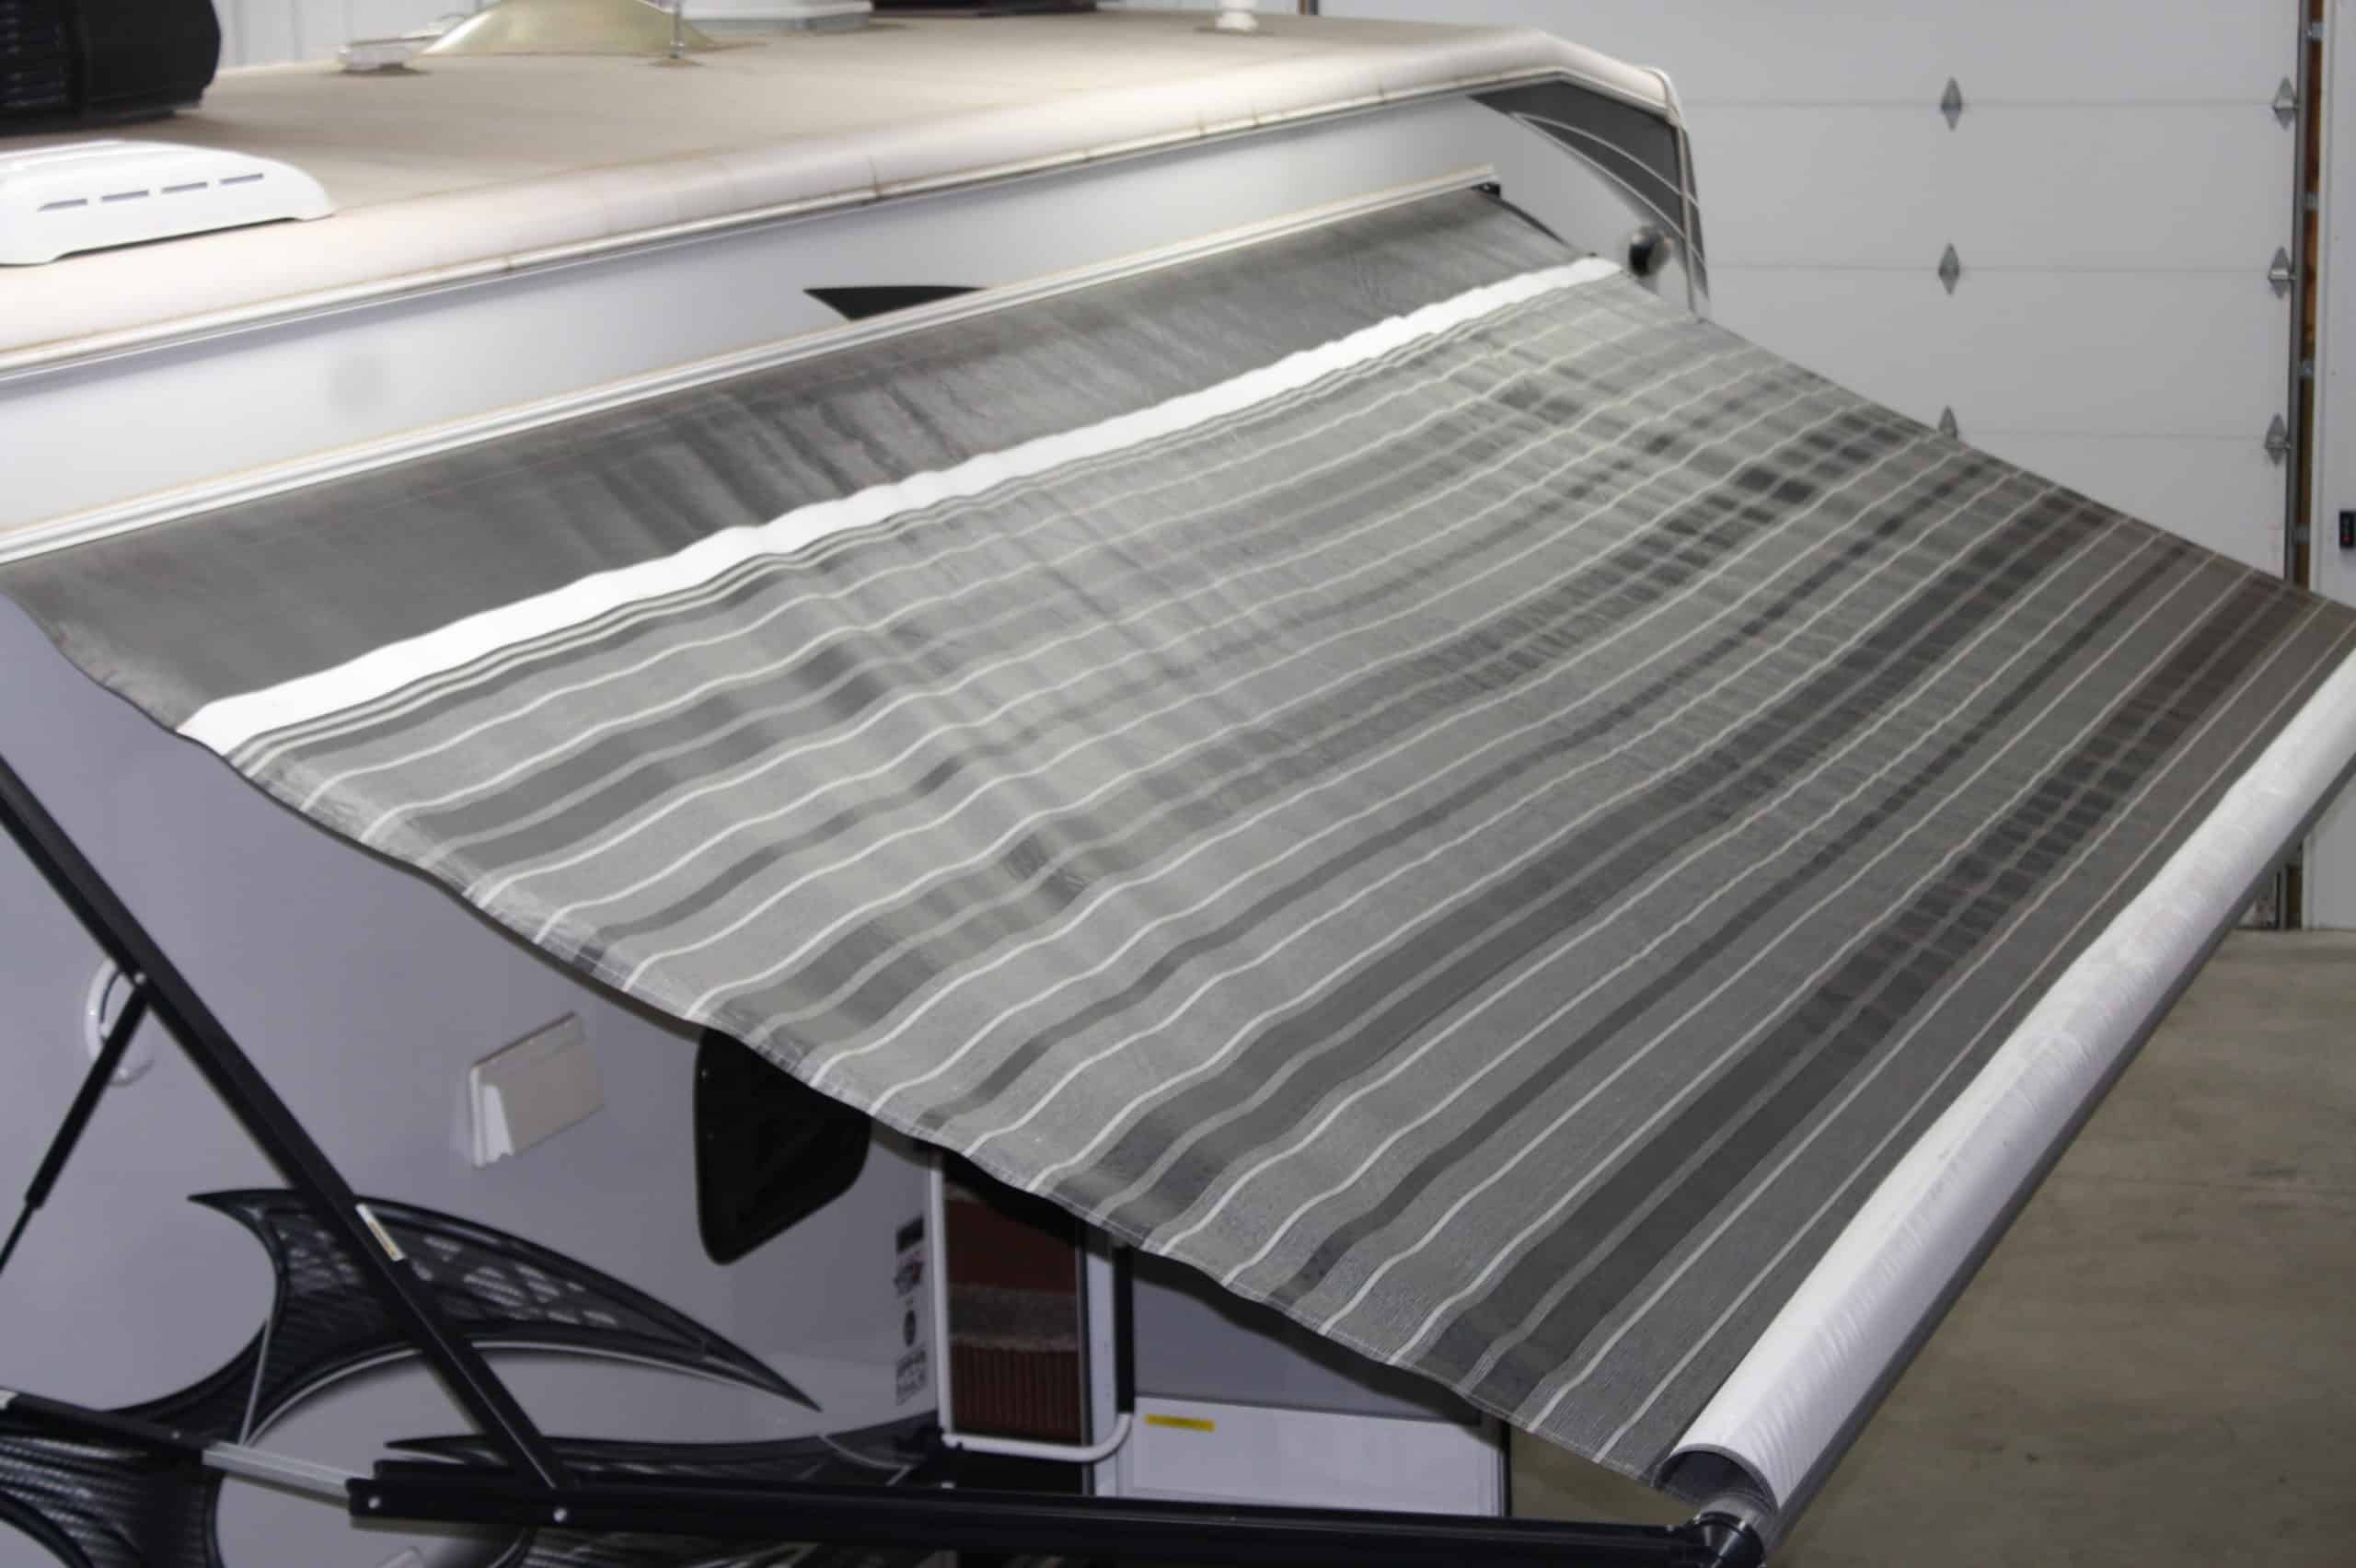
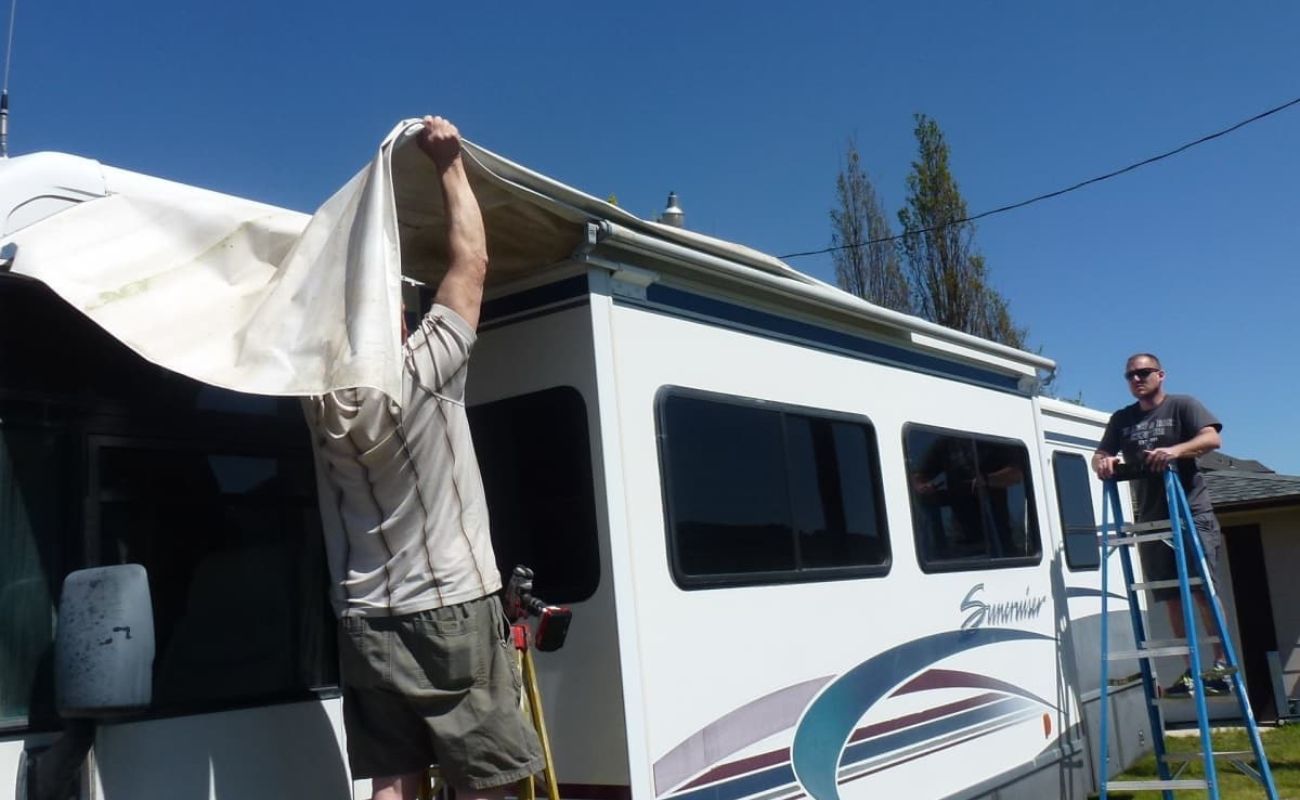
Installing the New Fabric
With the new fabric in hand, it’s time to embark on the exciting phase of installing it on your RV awning. This process involves carefully attaching the replacement fabric to the awning assembly, ensuring a secure and tailored fit. Here’s a detailed guide to installing the new fabric on your RV awning:
- Prepare the work area: Lay out the new fabric in a clean and spacious area, ensuring that it is free from obstructions and potential damage sources.
- Extend the awning: Carefully extend the awning to its full length, allowing for easier access to the roller tube and attachment points.
- Align the fabric: Position the new fabric along the roller tube, ensuring that it is centered and aligned with the awning arms. Take care to match the orientation and curvature of the old fabric.
- Attach the fabric to the roller tube: Secure the fabric to the roller tube using the appropriate fasteners or attachment mechanisms. Follow the same attachment points and methods used for the old fabric, ensuring a snug and even fit.
- Secure the fabric to the awning arms: With the help of an assistant, carefully attach the fabric to the awning arms, ensuring that it is taut and free from wrinkles or sagging. Use the designated attachment points to secure the fabric in place.
- Inspect the installation: Once the fabric is attached to the roller tube and awning arms, inspect the installation from various angles to ensure that it is evenly distributed and properly aligned.
By following these steps, you can successfully install the new fabric on your RV awning, rejuvenating its appearance and functionality. With the replacement fabric securely in place, you’re ready to proceed with the final adjustments and testing to ensure that your awning operates smoothly and effectively.
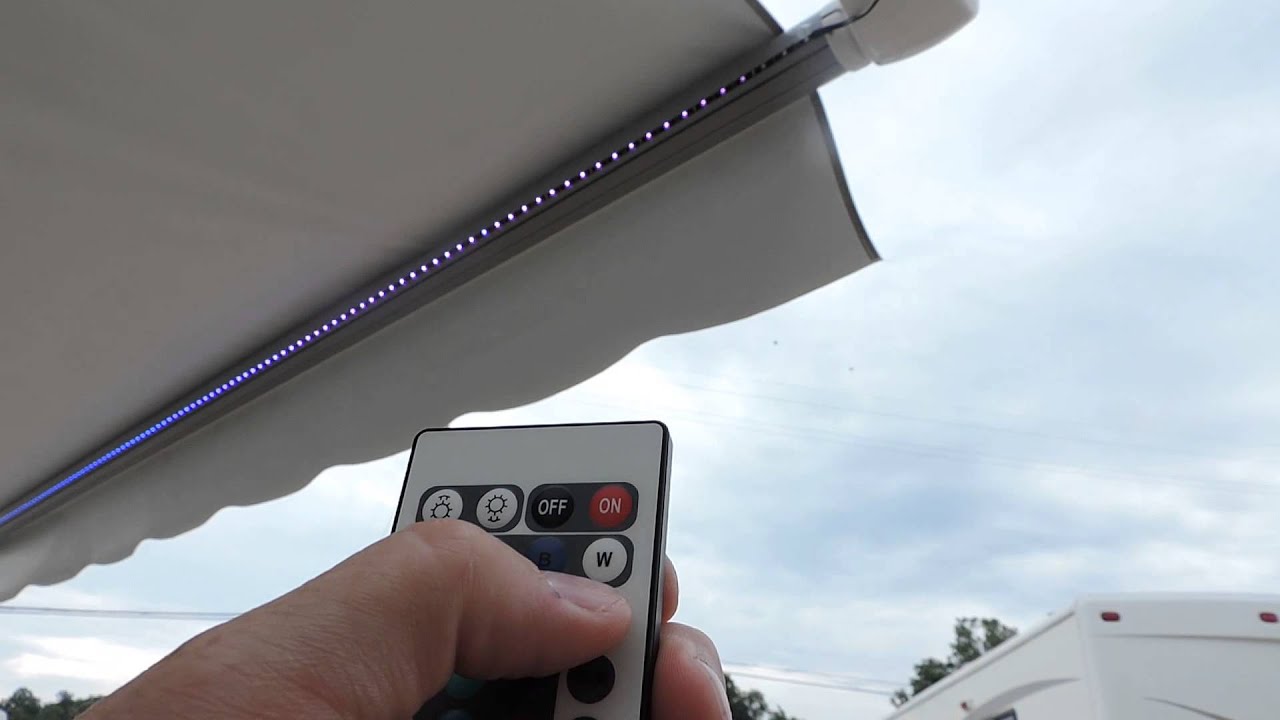
When replacing fabric on an RV awning, make sure to measure the existing fabric carefully before purchasing a replacement. It’s important to get the right size to ensure a proper fit.
Adjusting and Testing the Awning
After installing the new fabric, it’s essential to perform adjustments and thorough testing to ensure that your RV awning operates seamlessly. This phase involves fine-tuning the awning’s positioning, tension, and overall functionality. Here’s a comprehensive guide to adjusting and testing your RV awning:
- Check the fabric tension: Verify that the new fabric is evenly tensioned across the roller tube and awning arms. Adjust the tension as needed to prevent sagging or excessive tightness.
- Test the extension and retraction: Carefully extend and retract the awning multiple times, observing the movement and alignment of the fabric. Ensure that it unfolds and retracts smoothly without any obstructions or misalignments.
- Adjust the awning arms: If applicable, adjust the positioning and angle of the awning arms to achieve the desired shade coverage and overall stability. Ensure that the arms are securely locked in place once adjusted.
- Inspect the hardware and connections: Thoroughly inspect the awning hardware, fasteners, and connections to ensure that everything is securely tightened and aligned. Address any loose components or misalignments promptly.
- Test in various weather conditions: If possible, test the awning’s functionality in different weather conditions, including light wind and rain. This allows you to assess its performance and identify any potential issues under varying circumstances.
- Perform a final visual inspection: Step back and visually inspect the entire awning assembly, ensuring that the new fabric is properly installed and that all components are functioning as intended.
By meticulously adjusting and testing your RV awning, you can guarantee that the replacement fabric integrates seamlessly with the awning assembly, providing reliable protection and enhancing your outdoor living space. With the adjustments complete and the awning thoroughly tested, you can look forward to enjoying your revitalized RV awning during your upcoming outdoor adventures.
Conclusion
Congratulations on successfully replacing the fabric on your RV awning! By undertaking this DIY project, you have not only revitalized the appearance of your outdoor living space but also gained valuable hands-on experience in maintaining and customizing your RV. As you reflect on the journey from removing the old fabric to adjusting and testing the new installation, it’s important to acknowledge the sense of accomplishment that comes with enhancing your RV’s functionality and aesthetic appeal.
Throughout this process, you’ve demonstrated resourcefulness, attention to detail, and a willingness to tackle a hands-on task. Your dedication to measuring, ordering, and installing the new fabric has resulted in a rejuvenated awning that is ready to provide shade, shelter, and comfort during your outdoor excursions.
As you prepare to embark on future adventures with your RV, take pride in the fact that you’ve personalized and optimized an essential component of your mobile living space. The effort you’ve invested in this project serves as a testament to your commitment to maintaining and improving your RV for years to come.
Remember, the knowledge and skills you’ve acquired through this experience can be applied to other DIY projects and maintenance tasks related to your RV. Whether it’s replacing other components, performing routine maintenance, or making custom modifications, you now have a solid foundation to build upon as you continue to enhance your RV ownership experience.
With your newly installed fabric, adjusted awning, and thorough testing complete, you’re now well-prepared to enjoy the benefits of a refreshed and functional RV awning. So, as you set out on your next outdoor adventure, may the shade and comfort provided by your revitalized awning enrich every moment of your journey.
Here’s to many more memorable experiences and the satisfaction of a job well done!
Frequently Asked Questions about How To Replace Fabric On An RV Awning
Was this page helpful?
At Storables.com, we guarantee accurate and reliable information. Our content, validated by Expert Board Contributors, is crafted following stringent Editorial Policies. We're committed to providing you with well-researched, expert-backed insights for all your informational needs.

0 thoughts on “How To Replace Fabric On An RV Awning”