Home>Gardening & Outdoor>Outdoor Structures>How To Replace An Awning Fabric
Outdoor Structures
How To Replace An Awning Fabric
Modified: February 29, 2024
Learn how to easily replace the fabric on your outdoor structure with our step-by-step guide. Keep your awning looking fresh and functional. Outdoor-structures.
(Many of the links in this article redirect to a specific reviewed product. Your purchase of these products through affiliate links helps to generate commission for Storables.com, at no extra cost. Learn more)
Introduction
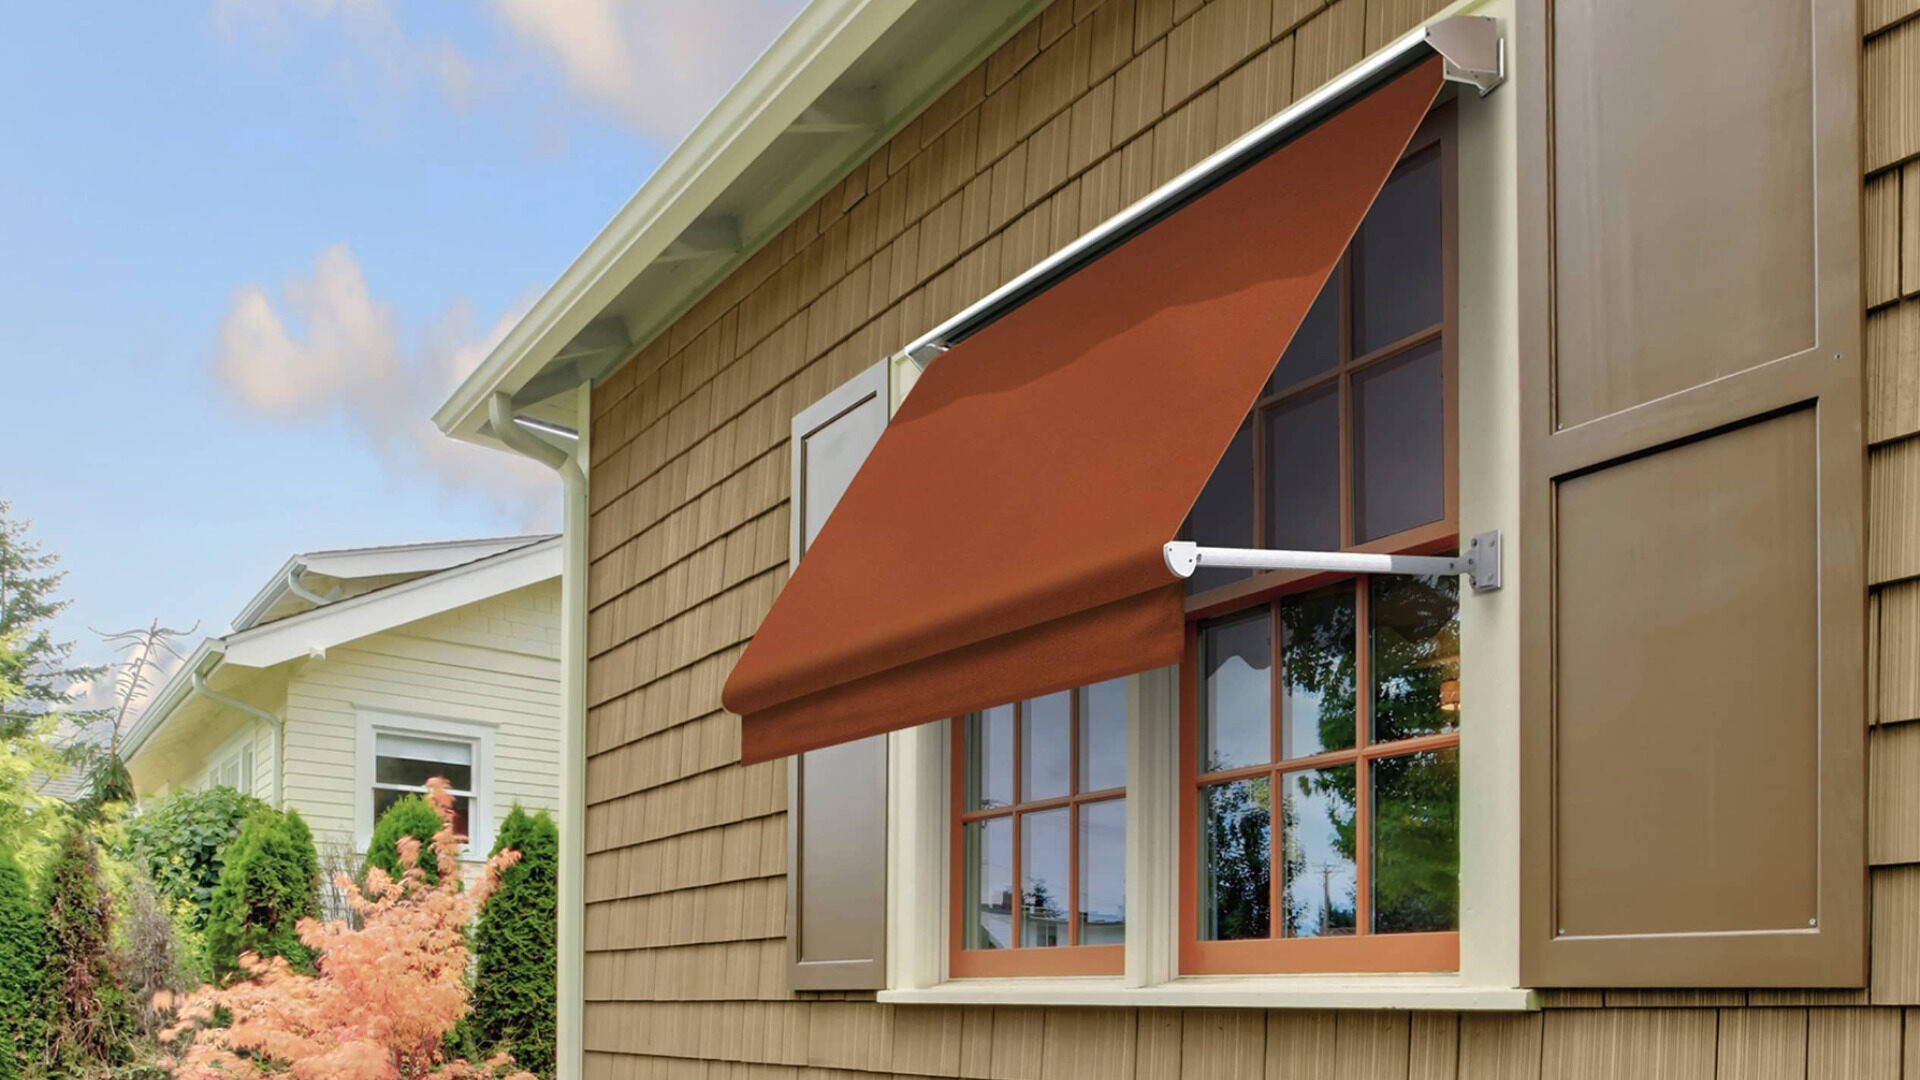
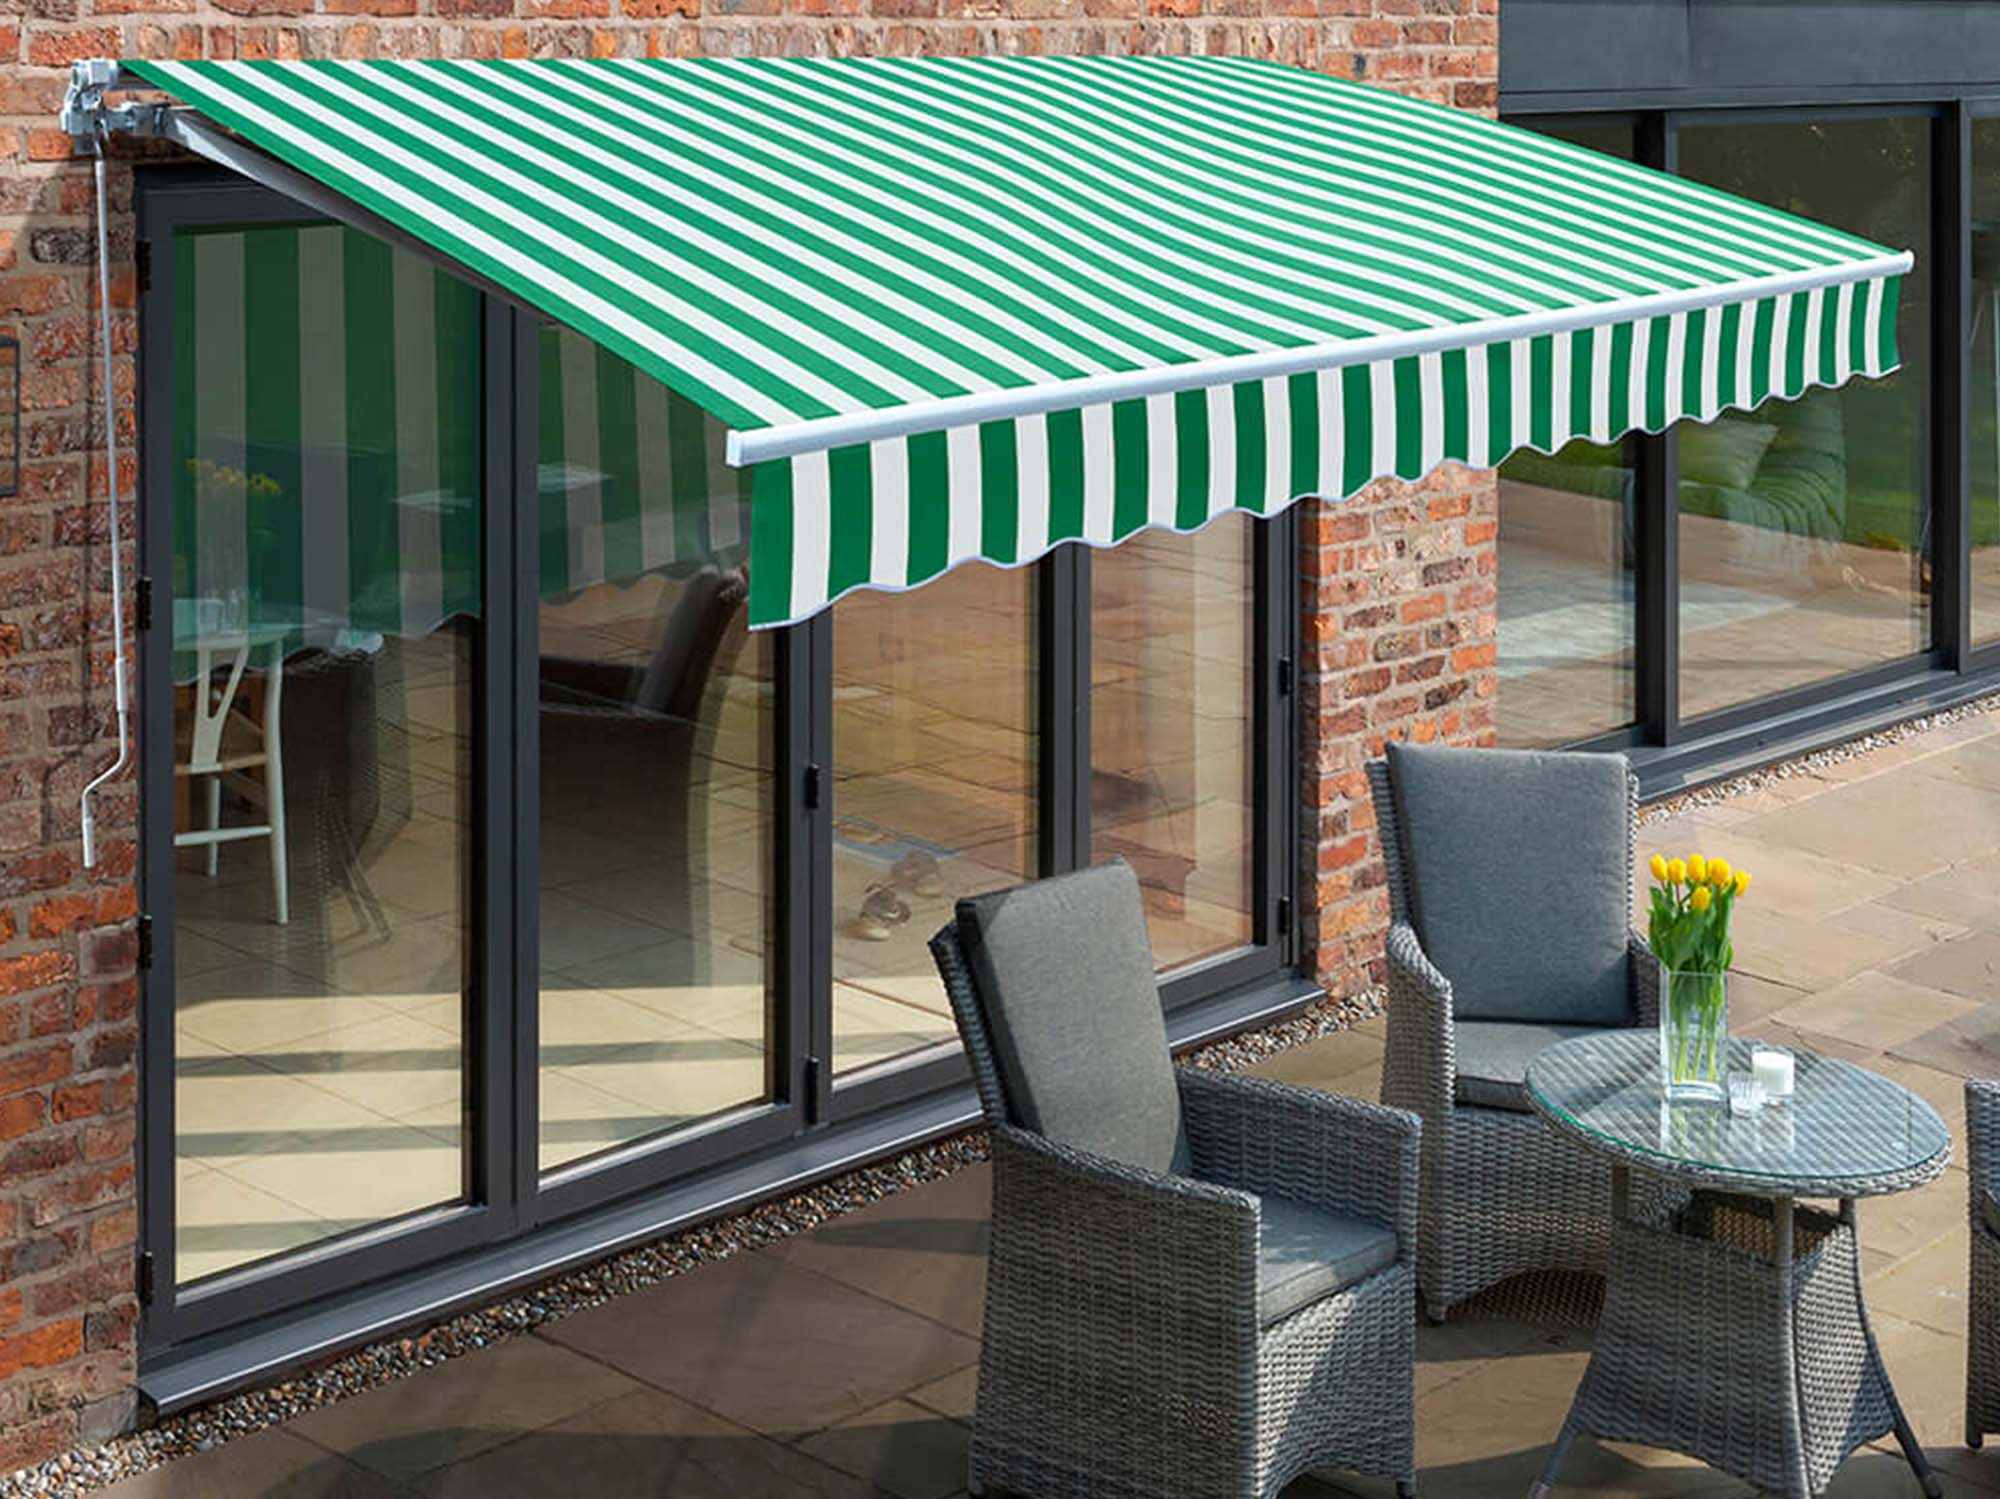
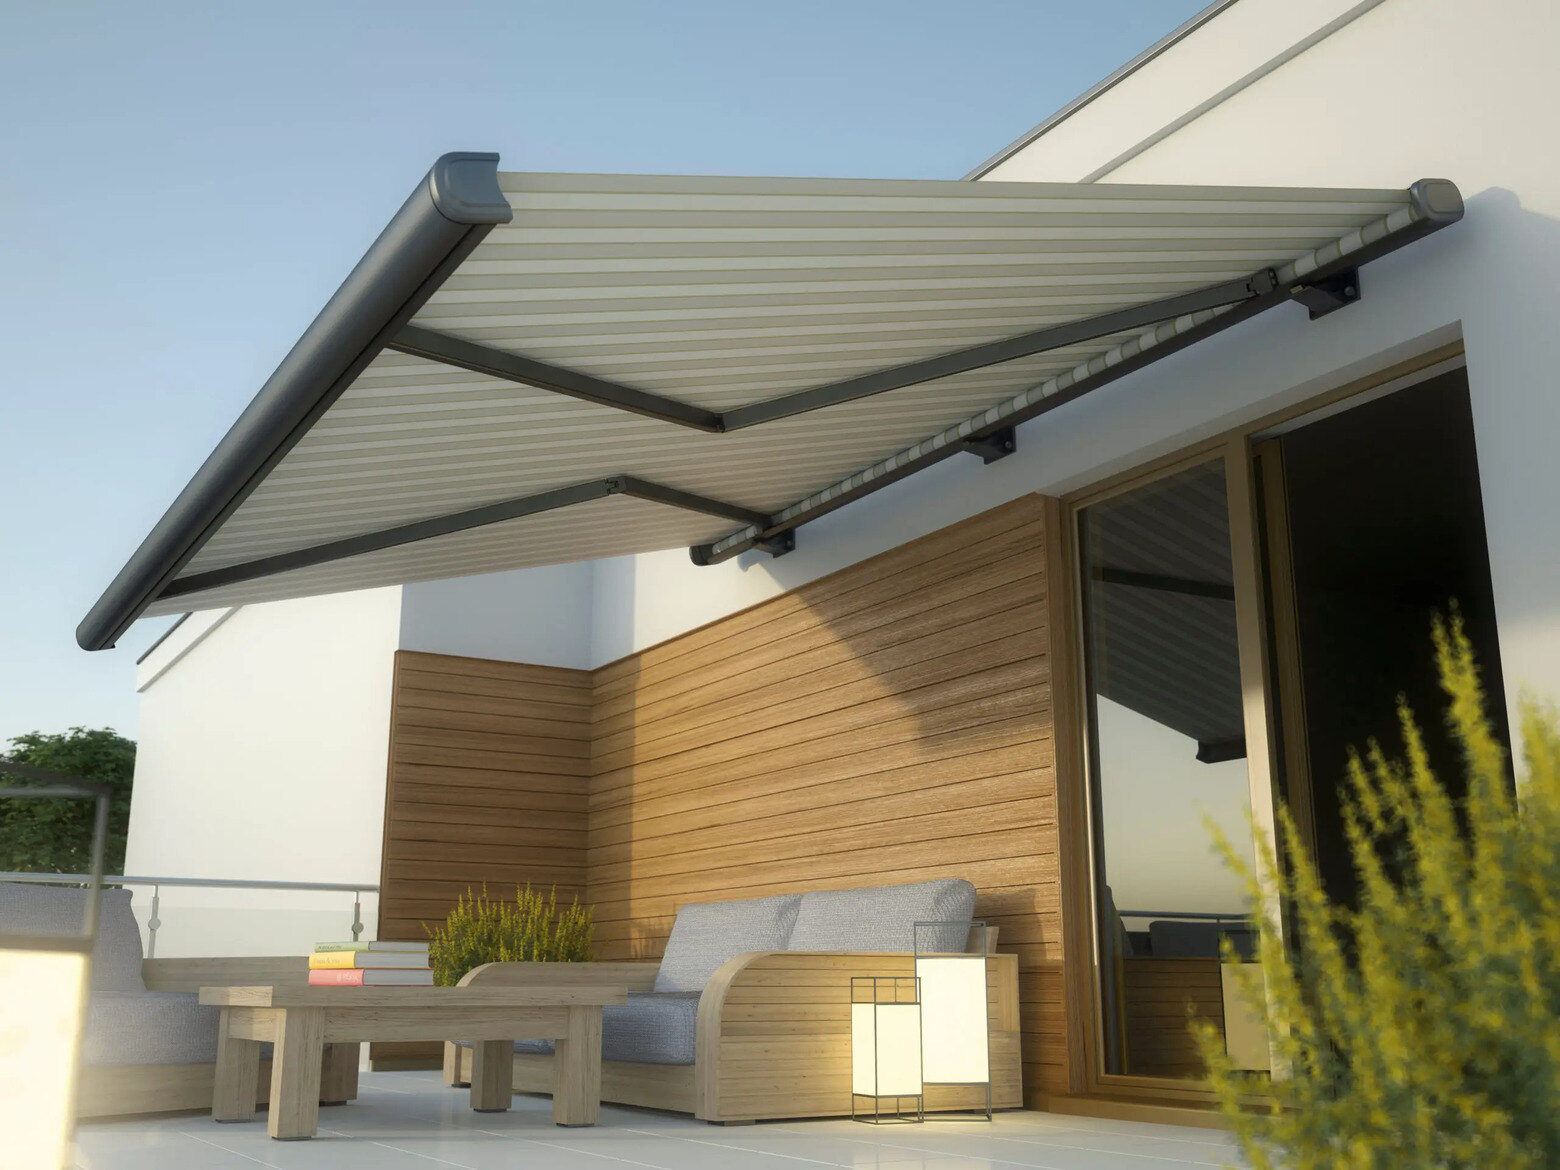
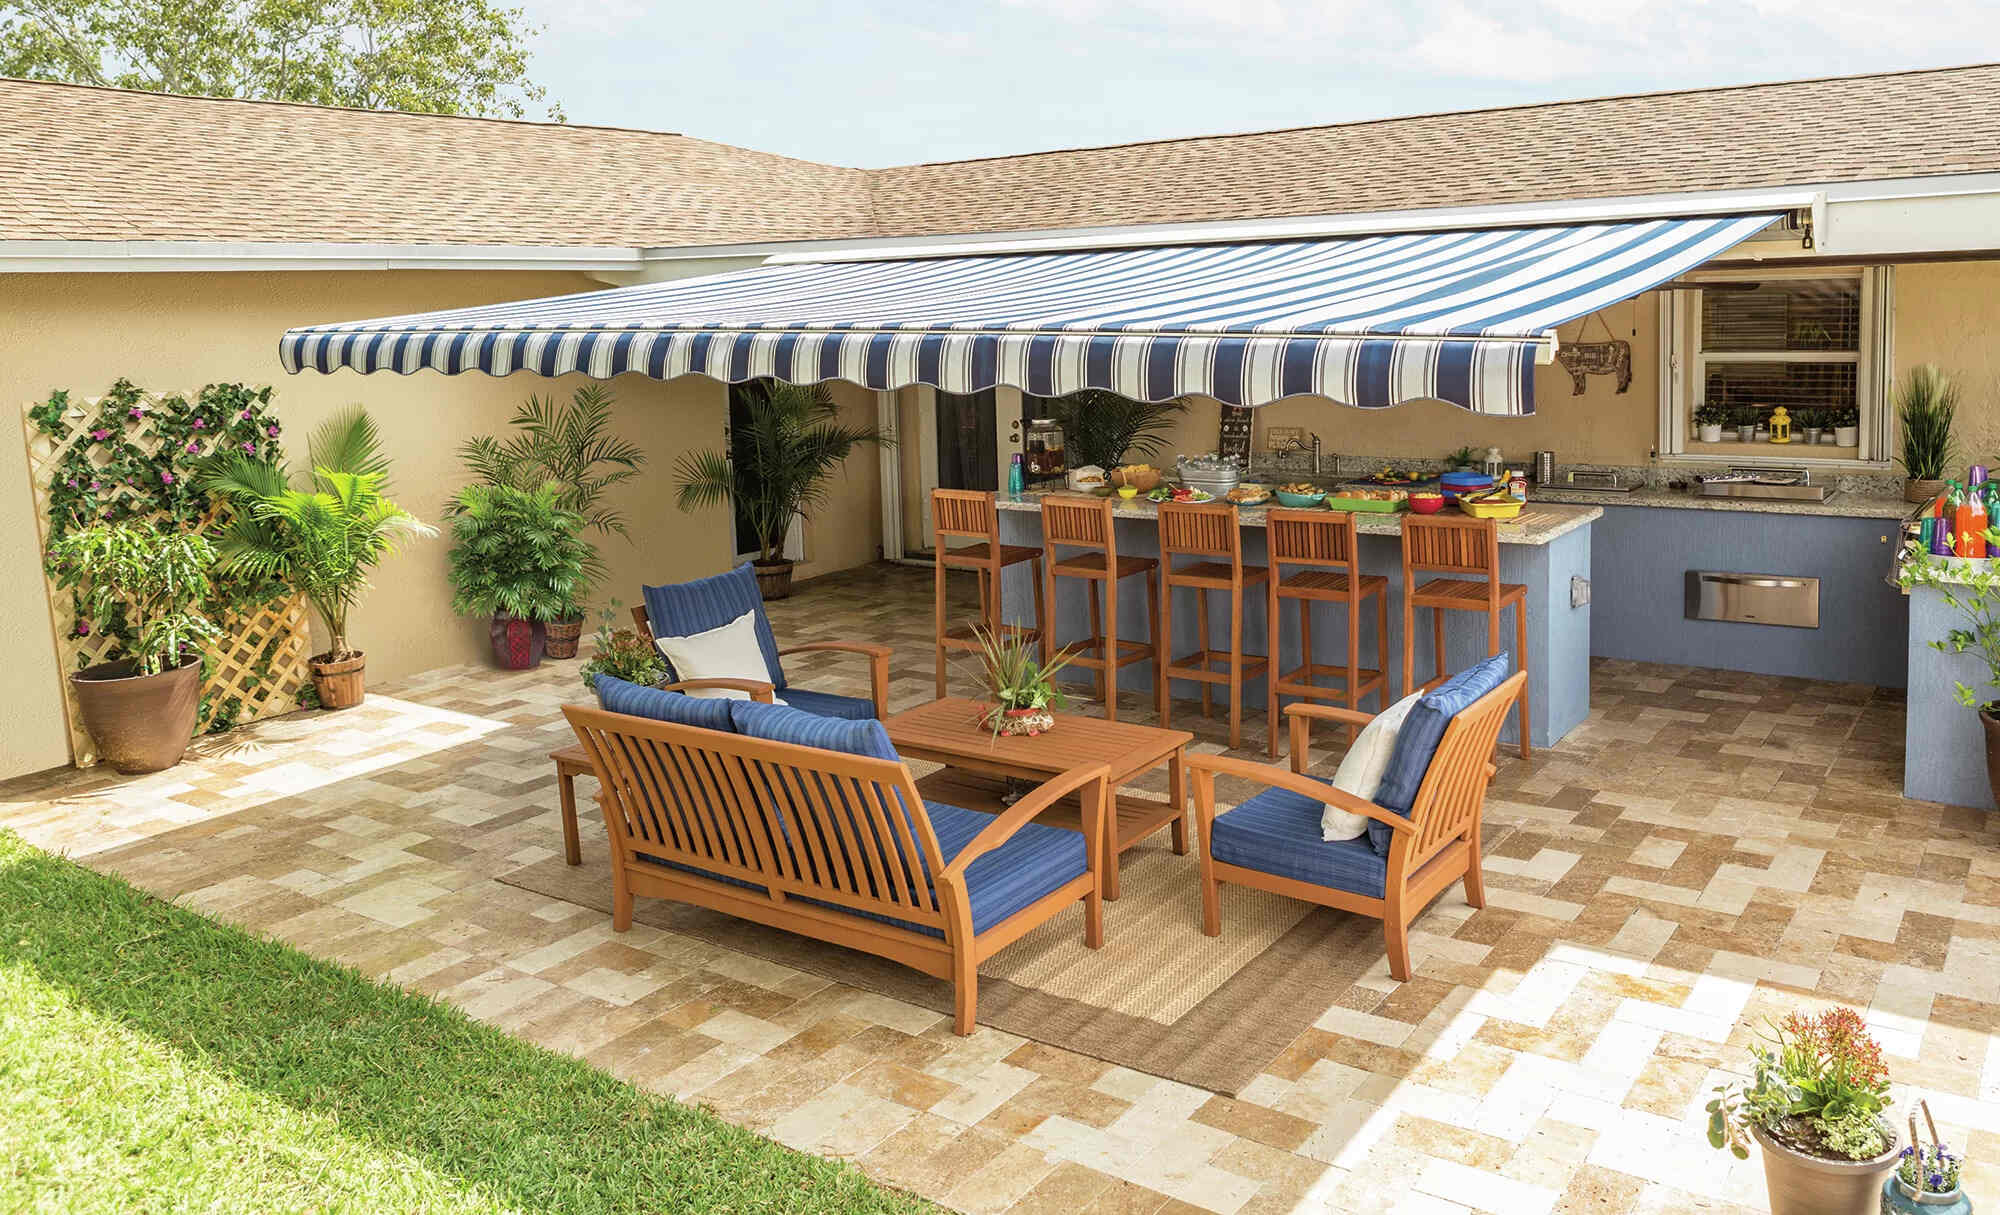
So, your outdoor awning has seen better days. Whether it's due to wear and tear, sun damage, or simply a change in aesthetic preferences, replacing the fabric on your awning can breathe new life into your outdoor space. Not only does it enhance the visual appeal of your home, but it also provides essential protection from the elements, allowing you to enjoy your outdoor space in comfort and style.
In this comprehensive guide, we'll walk you through the process of replacing your awning fabric, from measuring the awning and removing the old fabric to preparing and installing the new fabric. By following these steps, you can revitalize your outdoor living area and ensure that your awning continues to serve its purpose for years to come.
So, let's roll up our sleeves and embark on this rewarding DIY project. Whether you're a seasoned handyman or a novice DIY enthusiast, this guide will equip you with the knowledge and confidence to tackle the task at hand. Let's dive in and transform your outdoor space with a fresh, new awning fabric!
Key Takeaways:
- Revitalize your outdoor space by replacing your awning fabric, enhancing visual appeal and protection from the elements. Follow the steps to achieve a seamless and rewarding DIY project.
- With careful measurements, fabric preparation, and installation, you can transform your outdoor area with a fresh, stylish awning fabric, elevating your home’s aesthetic and functionality.
Read more: How To Replace Dometic Awning Fabric
Step 1: Measure the Awning
Before you embark on replacing the fabric of your awning, it’s crucial to start with accurate measurements. This step is essential to ensure that the new fabric fits snugly and functions effectively. Here’s how to go about it:
- Gather Your Tools: To begin, gather a tape measure, a ladder, and a notepad and pen to record the measurements. Having these tools at hand will streamline the process and help you stay organized.
- Measure the Width: Start by measuring the width of the awning from side to side. Position your ladder securely and use the tape measure to determine the precise width of the area to be covered by the fabric. It’s advisable to take multiple measurements to ensure accuracy.
- Measure the Projection: Next, measure the projection of the awning. This refers to the distance from the wall to the outer edge of the awning when it’s fully extended. Carefully extend the awning and measure this distance accurately, as it will determine the amount of fabric required to cover the entire area.
- Record the Measurements: Once you have obtained the width and projection measurements, record them in your notepad. It’s a good practice to double-check the measurements to avoid any discrepancies that could lead to ill-fitting fabric.
By taking precise measurements, you set the stage for a successful fabric replacement process. Accurate measurements will guide you in selecting the right fabric size and ensure a seamless installation in the subsequent steps. With the awning accurately measured, you’re now ready to move on to the next phase of this rewarding project.
Step 2: Remove the Old Fabric
With the measurements in hand, it’s time to bid farewell to the worn-out fabric and prepare the awning for its stylish new cover. Removing the old fabric is a crucial step in the process, and it requires careful attention to ensure a smooth transition to the replacement. Here’s how to proceed:
- Secure the Awning: Before you begin, ensure that the awning is fully retracted and securely fastened. This will prevent any unexpected unfurling of the fabric during the removal process, maintaining a safe working environment.
- Unfasten the Fabric: Start by locating the fasteners that secure the old fabric to the awning frame. Depending on the design of your awning, these may be in the form of screws, bolts, or clips. Carefully remove these fasteners, taking care not to damage the frame or surrounding components.
- Remove the Fabric: Once the fasteners are detached, gently remove the old fabric from the frame. It’s advisable to have a helper to assist with this step, especially if the fabric is large or cumbersome. Take care to avoid tearing or snagging the fabric during removal.
- Inspect the Frame: With the old fabric removed, take a moment to inspect the awning frame for any signs of damage or wear. This is an opportune time to address any issues before installing the new fabric, ensuring a solid foundation for the upcoming steps.
By methodically removing the old fabric and assessing the condition of the frame, you pave the way for a seamless transition to the fresh, new fabric. With the old fabric set aside, it’s time to prepare for the next phase of the project: readying the new fabric for installation.
Step 3: Prepare the New Fabric
With the old fabric removed, it’s time to prepare the new fabric for installation. This step involves ensuring that the new fabric is properly sized, prepped, and ready to adorn your awning. Let’s delve into the essential tasks involved in preparing the new fabric:
- Verify the Size: Before proceeding, double-check that the new fabric matches the precise measurements of your awning. Ensure that the width and projection align with the dimensions obtained in the initial measuring stage. This step is crucial to avoid any fitting issues during installation.
- Inspect the Seams and Edges: Thoroughly examine the seams and edges of the new fabric. Look for any loose threads, fraying, or imperfections that may compromise its durability and appearance. Addressing these issues before installation will ensure a polished and long-lasting result.
- Prepare the Fasteners: If the new fabric requires additional fasteners or hardware for installation, gather these components and ensure they are compatible with your awning frame. Having the necessary fasteners at hand will streamline the installation process.
- Clean the Awning Frame: Take this opportunity to clean the awning frame, removing any debris, dust, or residue that may hinder the adhesion and longevity of the new fabric. A clean and well-prepped frame sets the stage for a professional and enduring installation.
By meticulously preparing the new fabric and ensuring that it aligns with the awning’s dimensions, you set the stage for a seamless and visually appealing installation. With the new fabric primed for placement, it’s time to proceed to the exciting phase of adorning your awning with its stylish and functional covering.
When replacing an awning fabric, make sure to measure the existing fabric carefully before purchasing a new one. It’s important to get the right size to ensure a proper fit.
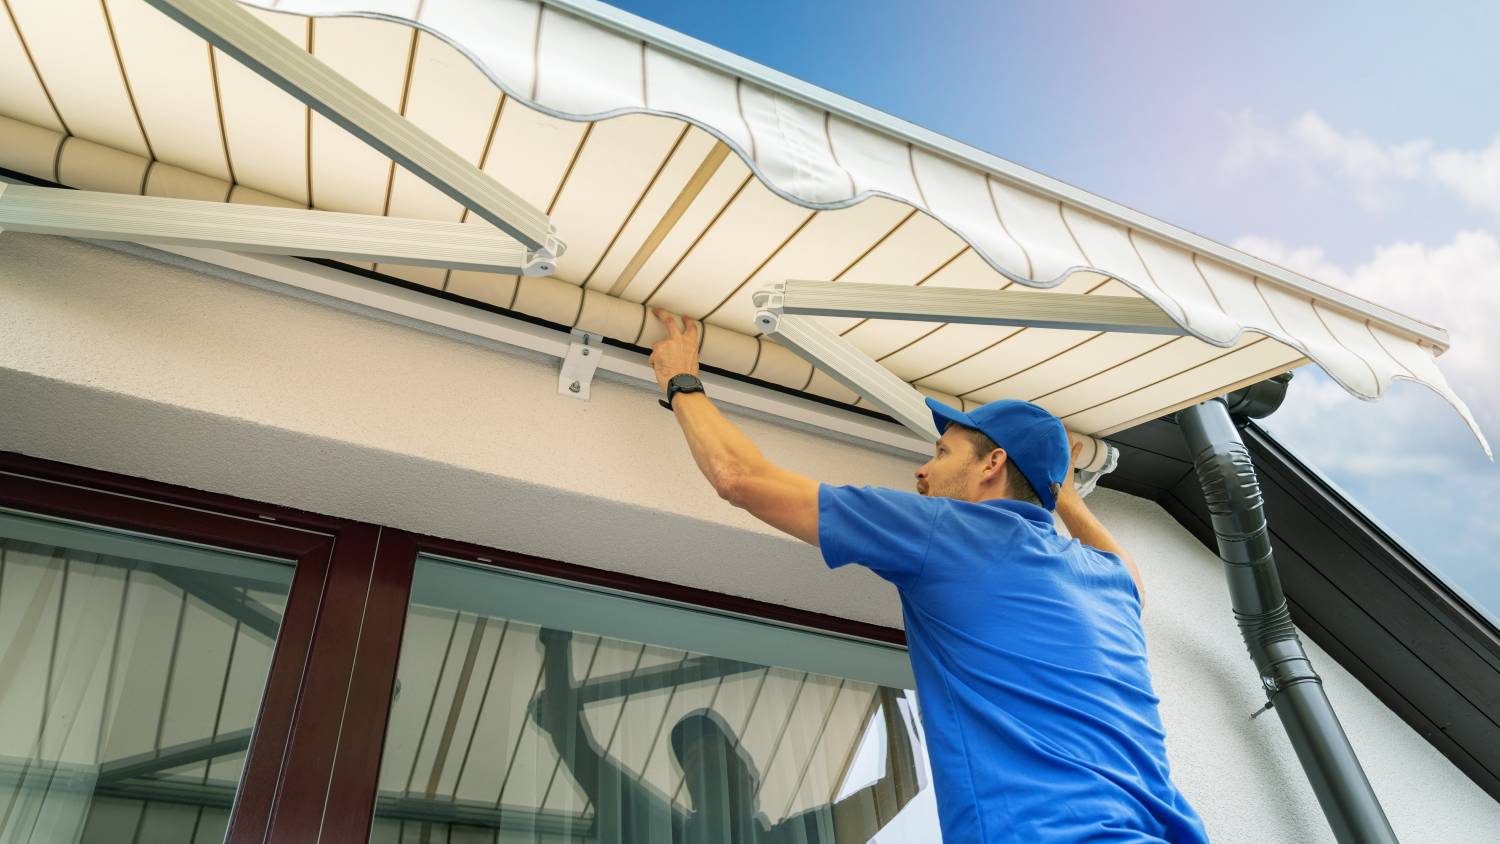
Step 4: Install the New Fabric
With the old fabric removed and the new fabric primed for installation, it’s time to embark on the exciting phase of adorning your awning with its fresh covering. Installing the new fabric is a pivotal step in revitalizing your outdoor space and ensuring that your awning continues to provide essential protection and visual appeal. Let’s dive into the process of installing the new fabric:
- Position the New Fabric: Begin by carefully positioning the new fabric over the awning frame, ensuring that it aligns with the dimensions and orientation of the awning. Enlist the assistance of a helper to ensure that the fabric is evenly positioned and taut across the frame.
- Secure the Fabric: Once the fabric is in place, fasten it securely to the awning frame using the appropriate fasteners. Whether it’s screws, bolts, or clips, ensure that the fabric is firmly anchored to withstand the elements and the rigors of everyday use.
- Tension the Fabric: Pay attention to the tension of the fabric as you secure it in place. Ensuring that the fabric is taut and free of wrinkles or sagging will not only enhance its appearance but also contribute to its longevity and ability to withstand wind and weather.
- Trim Excess Fabric: If the new fabric extends beyond the dimensions of the awning, carefully trim any excess material to achieve a neat and tailored fit. Exercise caution during this step to avoid cutting the fabric too short, allowing for a precise and professional finish.
By methodically installing the new fabric and paying attention to its positioning, tension, and fit, you ensure that your awning is adorned with a stylish and functional covering. With the new fabric securely in place, it’s time to proceed to the final phase of this project: reattaching the awning to complete the transformation.
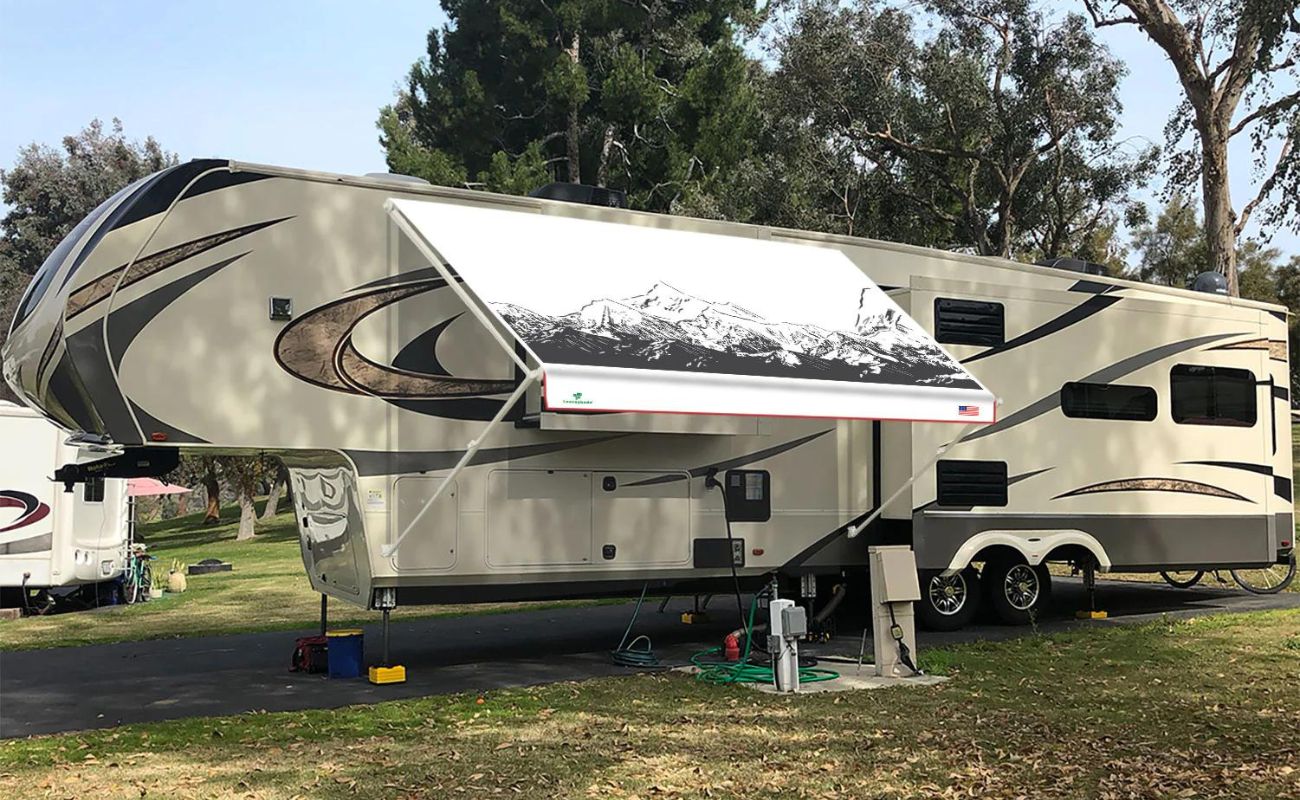
Read more: How To Replace Fabric On An RV Awning
Step 5: Reattach the Awning
With the new fabric securely installed, the final phase of the project involves reattaching the awning to its designated position, ready to once again provide shade, shelter, and visual appeal to your outdoor space. Let’s delve into the essential steps to reattach the awning:
- Extend the Awning: Carefully extend the newly adorned awning to its full projection, ensuring that the fabric unfurls smoothly and evenly. This step allows you to assess the functionality and appearance of the new fabric in its extended position.
- Verify Alignment: Confirm that the awning is aligned correctly with the wall and surrounding structures. Ensuring proper alignment is essential for both the visual harmony of the space and the effective coverage provided by the awning.
- Secure the Awning: Once the alignment is verified, securely fasten the awning to the designated position, whether it’s brackets, hooks, or another securing mechanism. Double-check the stability and security of the awning to withstand varying weather conditions.
- Test the Functionality: After reattaching the awning, test its functionality by extending and retracting it several times. This allows you to confirm that the new fabric operates smoothly and that the installation is secure and reliable.
By meticulously reattaching the awning and ensuring its proper alignment and functionality, you complete the transformation of your outdoor space with a revitalized and stylish awning. With the awning securely reattached and functioning seamlessly, it’s time to step back and admire the impact of this rewarding DIY project.
Conclusion
Congratulations! By following this comprehensive guide, you have successfully replaced the fabric of your outdoor awning, breathing new life into your outdoor living space. This rewarding DIY project not only enhances the visual appeal of your home but also ensures that your awning continues to provide essential protection and functionality for years to come.
Throughout the process, you meticulously measured the awning, removed the old fabric, prepared and installed the new fabric, and reattached the awning, culminating in a seamless and visually appealing transformation. As a result, your outdoor space is now adorned with a fresh and stylish awning fabric, ready to shield you from the elements and elevate your outdoor experience.
By embarking on this project, you have not only revitalized your outdoor space but also honed your DIY skills, gaining confidence in tackling future home improvement endeavors. Whether you’re a seasoned handyman or a novice DIY enthusiast, this project serves as a testament to your ability to take on rewarding and impactful tasks.
As you bask in the satisfaction of a job well done, take a moment to appreciate the newfound allure and functionality of your awning. Whether it’s providing shade on a sunny day, shelter from a passing shower, or simply enhancing the aesthetic charm of your home, your revitalized awning stands as a testament to your dedication to creating a welcoming and stylish outdoor environment.
So, as you relax in the shade of your newly adorned awning, take pride in the transformation you’ve accomplished. Your outdoor space now exudes a fresh and inviting ambiance, inviting you to savor moments of relaxation and enjoyment in a setting that reflects your care and attention to detail.
With your awning elegantly refreshed, you’ve embraced the opportunity to infuse your outdoor space with renewed charm and functionality. As you look forward to many more moments of leisure and gatherings in this inviting environment, remember the satisfaction of a successful DIY project and the enduring impact of a revitalized outdoor awning.
Frequently Asked Questions about How To Replace An Awning Fabric
Was this page helpful?
At Storables.com, we guarantee accurate and reliable information. Our content, validated by Expert Board Contributors, is crafted following stringent Editorial Policies. We're committed to providing you with well-researched, expert-backed insights for all your informational needs.


0 thoughts on “How To Replace An Awning Fabric”