Home>Gardening & Outdoor>Outdoor Structures>How To Replace Dometic Awning Fabric
Outdoor Structures
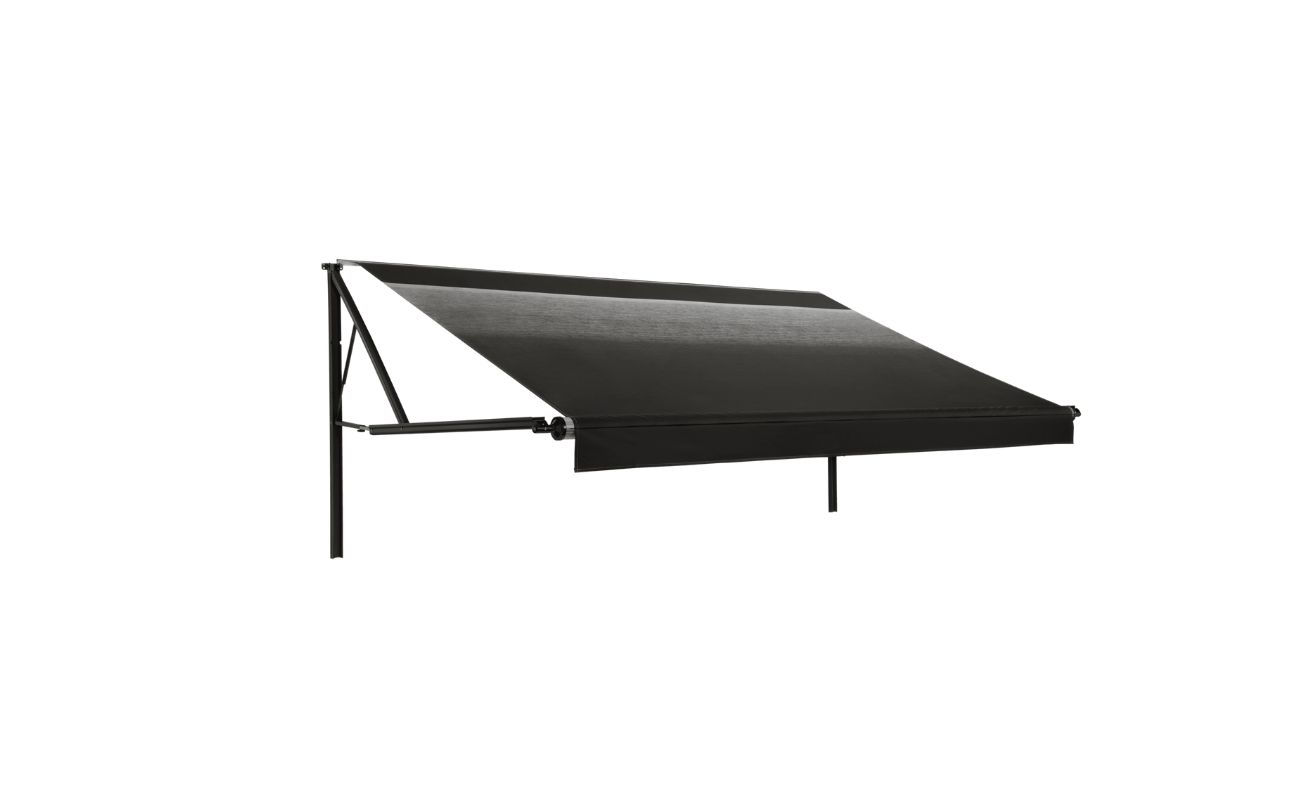
How To Replace Dometic Awning Fabric
Modified: March 2, 2024
Learn how to replace Dometic awning fabric and keep your outdoor structures in top condition. Follow our step-by-step guide for a seamless process.
(Many of the links in this article redirect to a specific reviewed product. Your purchase of these products through affiliate links helps to generate commission for Storables.com, at no extra cost. Learn more)
Introduction
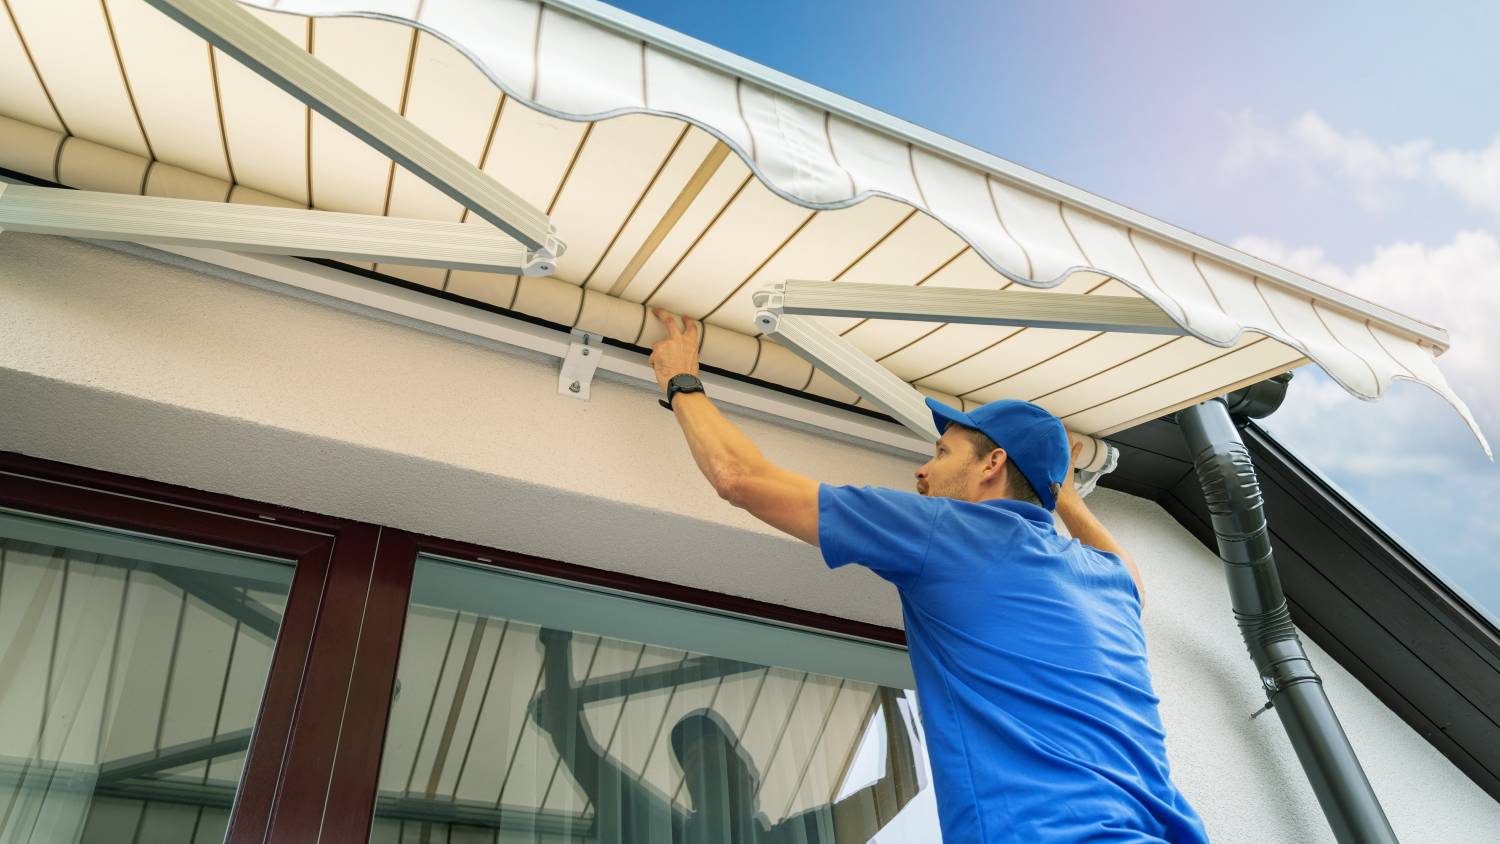
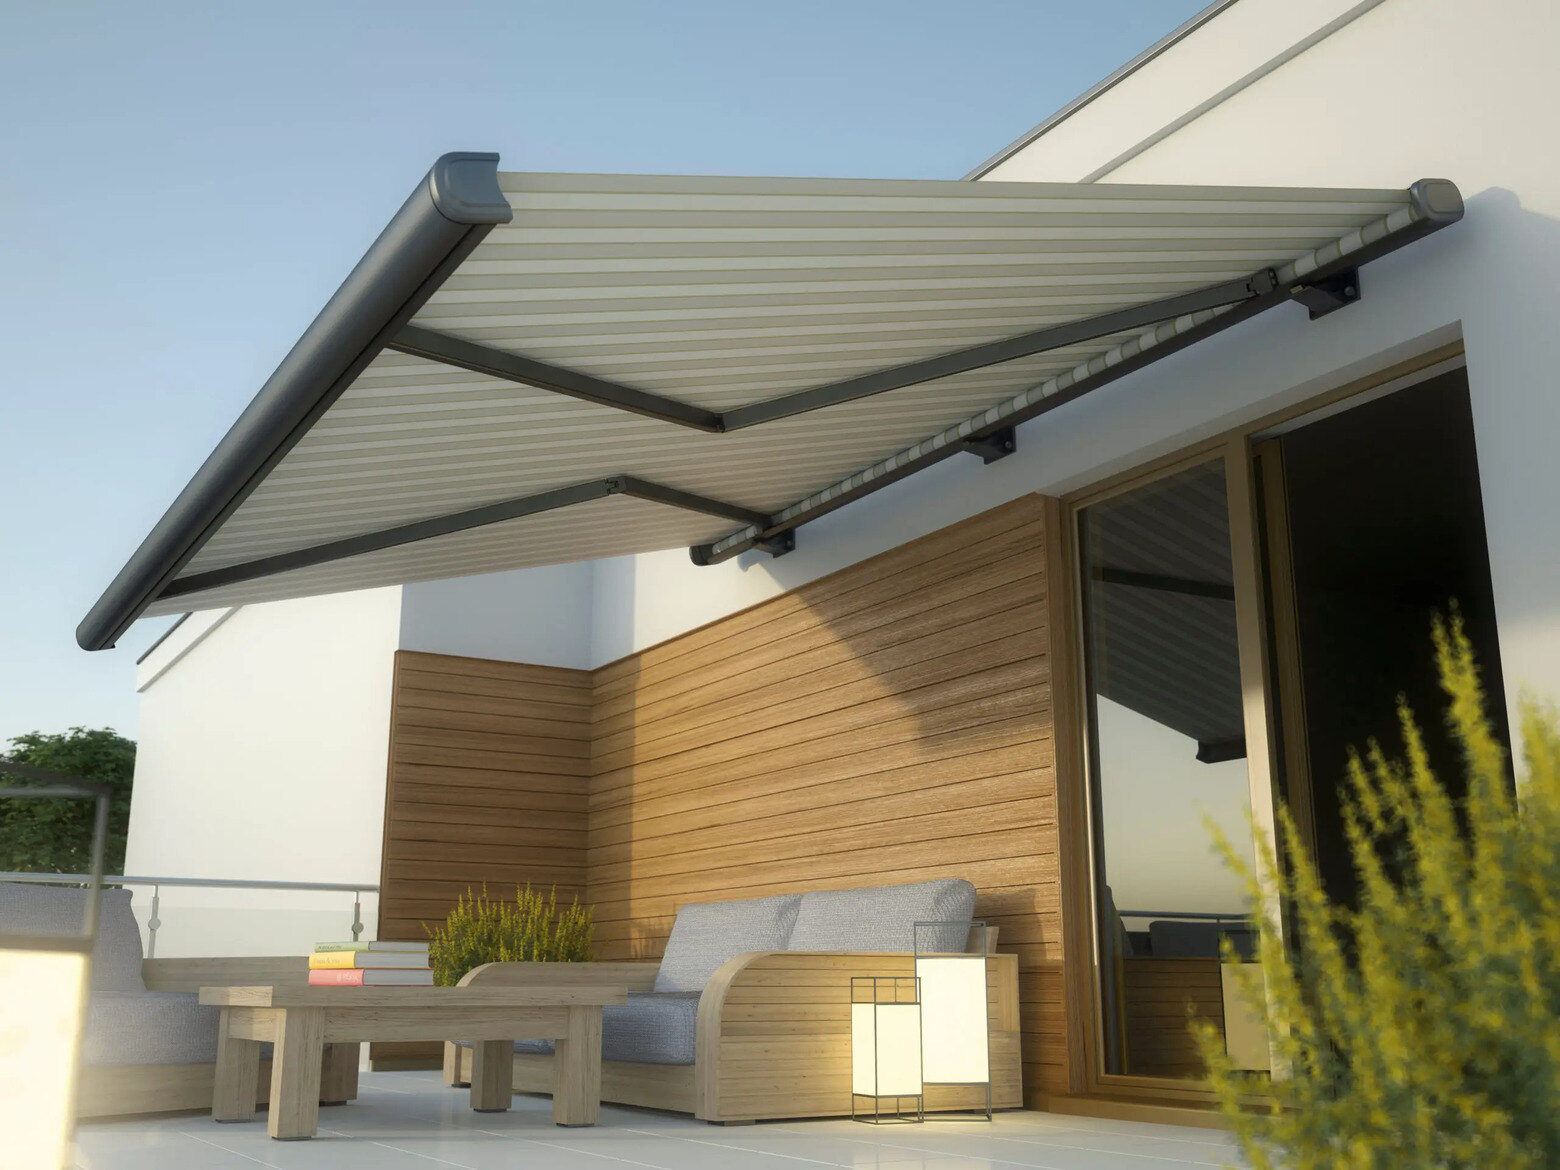
Replacing the fabric on your Dometic awning can breathe new life into your outdoor space, providing a fresh and updated look while ensuring the functionality of your awning. Over time, exposure to the elements can cause wear and tear on the fabric, leading to fading, tears, or fraying. By taking on this DIY project, you can save on the cost of professional installation and gain the satisfaction of revitalizing your outdoor structure on your own.
In this comprehensive guide, we will walk you through the step-by-step process of replacing the fabric on your Dometic awning. From gathering the necessary tools and materials to removing the old fabric and installing the new one, we will cover everything you need to know to successfully complete this project. Whether you're a seasoned DIY enthusiast or a novice looking to take on a new challenge, this guide is designed to equip you with the knowledge and confidence to tackle this task with ease.
By following the instructions outlined in this guide, you can ensure that your Dometic awning remains a functional and aesthetically pleasing addition to your outdoor space. With the right tools, a bit of patience, and a willingness to learn, you'll be well on your way to enjoying a rejuvenated awning that enhances the beauty and comfort of your outdoor environment.
So, roll up your sleeves, gather your tools, and let's embark on this rewarding journey of replacing the fabric on your Dometic awning. With each step, you'll be one closer to reviving your outdoor space and creating a welcoming retreat for relaxation and enjoyment.
Key Takeaways:
- Revitalize your outdoor space by replacing your Dometic awning fabric. Gather tools, remove old fabric, install new fabric, and test the awning for a rewarding DIY project.
- Replacing Dometic awning fabric is a hands-on challenge that enhances your outdoor environment. Enjoy the satisfaction of a job well done and gain confidence for future DIY projects.
Read more: How To Replace An Awning Fabric
Step 1: Gather the necessary tools and materials
Before diving into the process of replacing the fabric on your Dometic awning, it's essential to gather all the required tools and materials. Having everything at hand will streamline the project and ensure a smooth transition from one step to the next. Here's a comprehensive list of what you'll need:
Tools:
- Screwdriver: To remove screws and fasteners holding the awning in place.
- Pliers: Useful for gripping and manipulating small components during the disassembly process.
- Ladder: Depending on the height of your awning, a sturdy ladder will aid in safe access to the installation area.
- Measuring Tape: For accurate measurements when sizing the new fabric.
- Marker or Chalk: To mark specific points and measurements on the fabric and awning structure.
- Utility Knife: Essential for cutting and trimming the fabric to fit the awning frame.
Materials:
- Replacement Fabric: Ensure that you have the correct size and type of fabric for your Dometic awning. It's crucial to match the dimensions and specifications to guarantee a proper fit.
- Lubricant: A silicone-based lubricant can assist in easing the installation process by reducing friction between moving parts.
- Cleaning Solution: Prepare a mild cleaning solution to remove any dirt, debris, or stains from the awning frame before installing the new fabric.
- Assistance: While not a tangible item, having a helping hand can significantly ease the process, especially when handling larger awnings.
By gathering these tools and materials, you'll be well-prepared to embark on the journey of replacing the fabric on your Dometic awning. With everything at your disposal, you can proceed to the next steps with confidence, knowing that you have the necessary resources to complete the project efficiently and effectively.
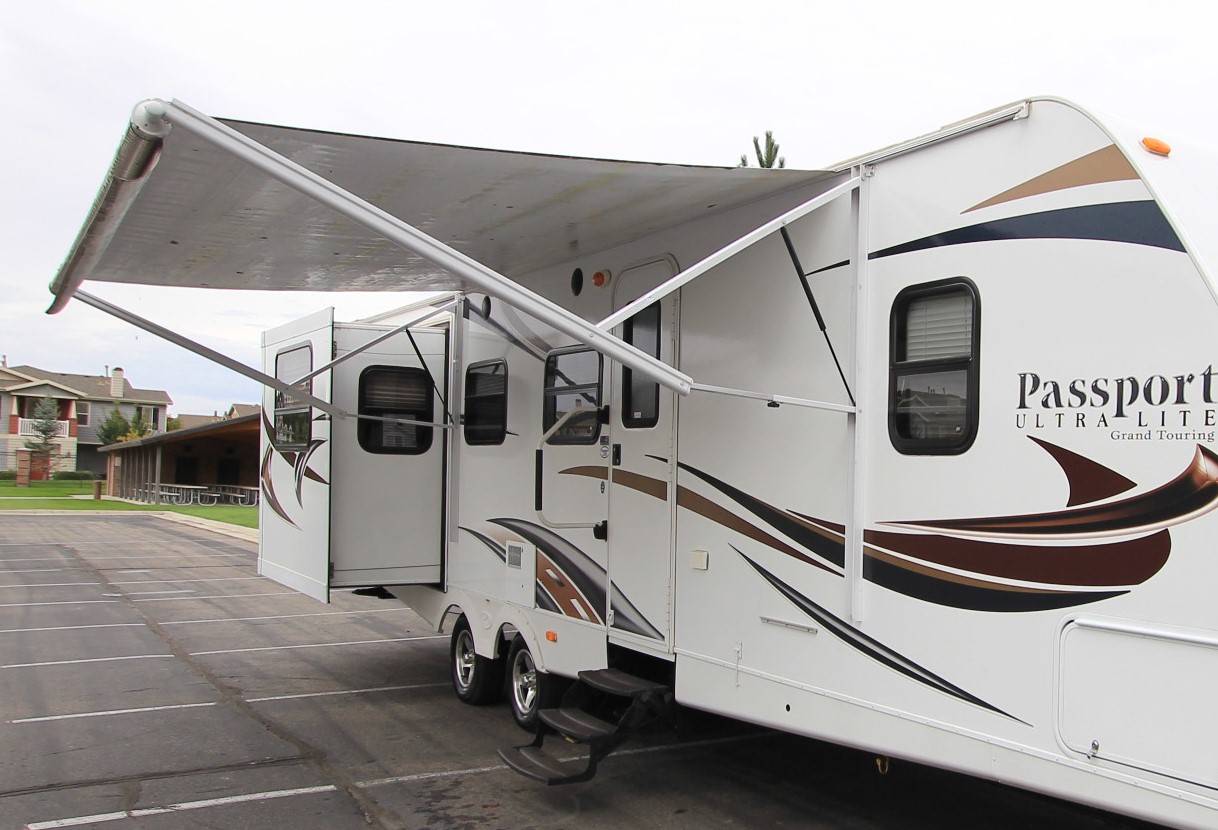
Step 2: Remove the old fabric
Removing the old fabric from your Dometic awning is a crucial step in the process of revitalizing this outdoor structure. Before beginning, ensure that you have gathered the necessary tools and materials as outlined in the previous step. With everything at hand, you can proceed with confidence, knowing that you are well-equipped for the task at hand.
-
Prepare the Work Area: Start by extending the awning fully to provide ample space for maneuvering during the fabric removal process. This will allow for better access to the fabric and its attachment points, making the removal process more manageable.
-
Locate the Fasteners: Inspect the awning to identify the fasteners securing the fabric to the frame. Typically, these fasteners are located at the roller tube and the awning rail. Use a screwdriver to carefully remove the screws or fasteners, taking care not to misplace them as they will be needed for the installation of the new fabric.
-
Detach the Fabric: With the fasteners removed, gently detach the old fabric from the roller tube and awning rail. It's important to proceed with caution to avoid damaging the awning frame or any components during this process. Enlist the help of a partner if needed, especially for larger awnings, to ensure that the fabric is handled and removed safely.
-
Roll and Remove: As the fabric becomes detached, carefully roll it up from one end to the other. This will help in managing the fabric and prevent it from snagging or causing any obstructions during the removal process. Once rolled, carefully lift and remove the old fabric from the awning structure.
-
Inspect the Frame: With the old fabric removed, take the opportunity to inspect the awning frame for any signs of wear, damage, or accumulated debris. This is an ideal time to clean the frame using a mild cleaning solution to ensure that it is in optimal condition for the installation of the new fabric.
By following these steps, you can effectively remove the old fabric from your Dometic awning, setting the stage for the installation of the fresh, new fabric. With the old fabric removed and the frame inspected and prepared, you are now ready to move on to the next step of installing the new fabric, bringing you closer to the completion of this rewarding DIY project.
Read more: How To Replace Fabric On An RV Awning
Step 3: Install the new fabric
With the old fabric successfully removed and the awning frame inspected and prepared, it's time to embark on the exciting phase of installing the new fabric. This step is pivotal in rejuvenating your Dometic awning, as the new fabric will not only enhance the aesthetic appeal but also ensure the functionality and durability of the structure.
Preparing the New Fabric
Before proceeding with the installation, carefully unroll the new fabric and lay it out flat in close proximity to the awning frame. Take a moment to inspect the fabric, ensuring that it matches the dimensions and specifications of your Dometic awning. This is a critical step to verify that the new fabric is a proper fit, aligning with the frame and roller tube for a seamless installation.
Attaching the Fabric to the Roller Tube
Begin by aligning the new fabric with the roller tube, ensuring that it is evenly positioned and free from any twists or tangles. With the assistance of a partner, carefully feed the fabric into the slot on the roller tube, ensuring that it is evenly distributed along the length of the tube. As you proceed, exercise caution to prevent any bunching or misalignment of the fabric, which could affect its functionality and appearance.
Securing the Fabric to the Awning Rail
Once the fabric is smoothly attached to the roller tube, proceed to secure it to the awning rail. Align the fabric with the rail, ensuring that it is taut and free from wrinkles or slack. With the help of your partner, carefully guide the fabric into the awning rail, ensuring that it is evenly inserted along the entire length. As you progress, periodically check the alignment and tension of the fabric to guarantee a uniform and secure fit.
Testing and Adjusting
With the new fabric installed, it's time to test the functionality of the awning. Carefully retract and extend the awning to ensure that the fabric moves smoothly and evenly, without any obstructions or misalignments. If adjustments are needed, such as fine-tuning the tension or alignment of the fabric, take the necessary steps to achieve an optimal fit and functionality.
Final Inspection
Once the new fabric is successfully installed and tested, take a moment to inspect the entire awning assembly. Ensure that the fabric is securely attached to both the roller tube and the awning rail, with proper tension and alignment. Additionally, verify that all fasteners and components are securely in place, providing a stable and reliable installation.
By following these detailed steps, you can effectively install the new fabric on your Dometic awning, bringing this outdoor structure one step closer to its revitalized and functional state. With the new fabric in place, the awning will not only exude a fresh and updated appearance but also continue to provide shade and shelter for your outdoor activities.
Step 4: Test the awning
After successfully installing the new fabric on your Dometic awning, it's crucial to proceed with testing the functionality of the awning to ensure that the installation has been carried out effectively. This step is essential in verifying that the awning operates smoothly and reliably, providing the expected shade and shelter for your outdoor space.
Retract and Extend the Awning
Begin by retracting and extending the awning to its full length, carefully observing the movement of the fabric. As the awning extends, ensure that the fabric unfurls evenly and without any snags or obstructions. Similarly, during retraction, observe that the fabric rolls up uniformly onto the roller tube, without any bunching or misalignment. This testing phase allows you to assess the overall functionality of the new fabric and its seamless integration with the awning mechanism.
Read more: What Is Awning Fabric
Check for Tension and Alignment
While the awning is extended, inspect the fabric for proper tension and alignment. The fabric should be taut and free from wrinkles, ensuring a visually appealing and functional installation. Additionally, verify that the fabric is evenly supported by the roller tube and the awning rail, without any areas of excessive slack or strain. This meticulous examination guarantees that the fabric is optimally positioned for its intended purpose of providing shade and protection.
Assess Wind Resistance
As part of the testing process, consider the awning's resistance to light wind conditions. While the awning is extended, introduce gentle airflow to assess how the fabric responds to these conditions. This evaluation allows you to gauge the fabric's ability to withstand typical outdoor elements, ensuring that it remains stable and secure during regular use.
Verify Secure Fastening
Inspect the fasteners and attachment points to ensure that the new fabric is securely fastened to the roller tube and the awning rail. Confirm that all screws and fasteners are tightened appropriately, providing a stable and reliable connection between the fabric and the awning structure. This meticulous inspection guarantees that the fabric remains in place, even during moderate wind or other environmental factors.
Make Necessary Adjustments
If any issues are identified during the testing phase, such as uneven tension, misalignment, or other operational concerns, take the necessary steps to address these issues. This may involve fine-tuning the tension of the fabric, adjusting the alignment, or securing any loose components. By promptly addressing these issues, you can ensure that the awning operates optimally and that the new fabric is seamlessly integrated into the structure.
By meticulously testing the awning after the installation of the new fabric, you can confirm that the revitalization process has been successful. This thorough evaluation ensures that the awning continues to provide the desired functionality and aesthetic appeal, allowing you to fully enjoy the benefits of your rejuvenated outdoor space.
Read more: How To Clean A Fabric Awning
Conclusion
Congratulations on successfully completing the process of replacing the fabric on your Dometic awning! By following the comprehensive steps outlined in this guide, you have revitalized your outdoor space and ensured the continued functionality and aesthetic appeal of your awning. As you reflect on this rewarding DIY project, it's important to acknowledge the transformation that has taken place, breathing new life into your outdoor environment.
The journey of replacing the fabric on your Dometic awning has been a testament to your dedication and willingness to take on a hands-on challenge. From gathering the necessary tools and materials to carefully removing the old fabric and installing the new one, each step has contributed to the successful rejuvenation of your awning. This accomplishment not only enhances the visual allure of your outdoor space but also reinforces your ability to undertake and complete impactful home improvement projects.
As you stand back and admire the revitalized awning, take a moment to appreciate the attention to detail and precision that went into this endeavor. The seamless integration of the new fabric, coupled with the thorough testing and adjustments, ensures that your awning is poised to provide shade, shelter, and visual appeal for years to come. Your commitment to maintaining and enhancing your outdoor environment is a testament to your passion for creating a welcoming and enjoyable space for relaxation and gatherings.
Furthermore, the completion of this project signifies your capability to tackle similar DIY endeavors in the future, empowering you to take on new challenges with confidence and proficiency. The skills and knowledge gained from this experience serve as valuable assets, positioning you to embark on future home improvement projects with a sense of assurance and capability.
As you bask in the satisfaction of a job well done, remember that the revitalized awning stands as a testament to your resourcefulness and determination. This DIY achievement not only adds value to your outdoor space but also enriches your overall experience, providing a renewed sense of pride and accomplishment in your ability to enhance and maintain your home environment.
In closing, the successful replacement of the fabric on your Dometic awning is a testament to your commitment to creating a welcoming and functional outdoor space. As you enjoy the benefits of your revitalized awning, may it serve as a reminder of your capability to undertake and complete impactful home improvement projects, enriching your living environment and enhancing your overall quality of life.
Frequently Asked Questions about How To Replace Dometic Awning Fabric
Was this page helpful?
At Storables.com, we guarantee accurate and reliable information. Our content, validated by Expert Board Contributors, is crafted following stringent Editorial Policies. We're committed to providing you with well-researched, expert-backed insights for all your informational needs.


0 thoughts on “How To Replace Dometic Awning Fabric”