Home>Furniture & Design>Outdoor Furniture>How To Repot An Outdoor Plant
Outdoor Furniture
How To Repot An Outdoor Plant
Published: January 16, 2024
Learn the proper way to repot outdoor plants with our expert tips. Keep your outdoor furniture looking fresh and vibrant with our step-by-step guide.
(Many of the links in this article redirect to a specific reviewed product. Your purchase of these products through affiliate links helps to generate commission for Storables.com, at no extra cost. Learn more)
Introduction
Welcome to the wonderful world of plant care! Whether you're a seasoned gardener or just starting to explore the joys of nurturing greenery, repotting outdoor plants is a crucial aspect of maintaining their health and vitality. As plants grow, their root systems expand, eventually outgrowing their current containers. Repotting not only provides more space for roots to spread and absorb nutrients, but it also refreshes the soil, ensuring optimal conditions for continued growth.
In this comprehensive guide, we'll delve into the art of repotting outdoor plants, equipping you with the knowledge and skills needed to carry out this essential task with confidence. From selecting the right pot to executing the repotting process and caring for your plant afterward, we'll cover each step in detail. So, roll up your sleeves, grab your gardening gloves, and let's embark on this rewarding journey of nurturing and rejuvenating your outdoor plants.
Key Takeaways:
- Give your outdoor plants room to grow by choosing the right pot size and material. Proper preparation and gentle repotting ensure their health and vitality.
- After repotting, monitor moisture levels, provide indirect light, and minimize disturbance to help your outdoor plants thrive in their new home.
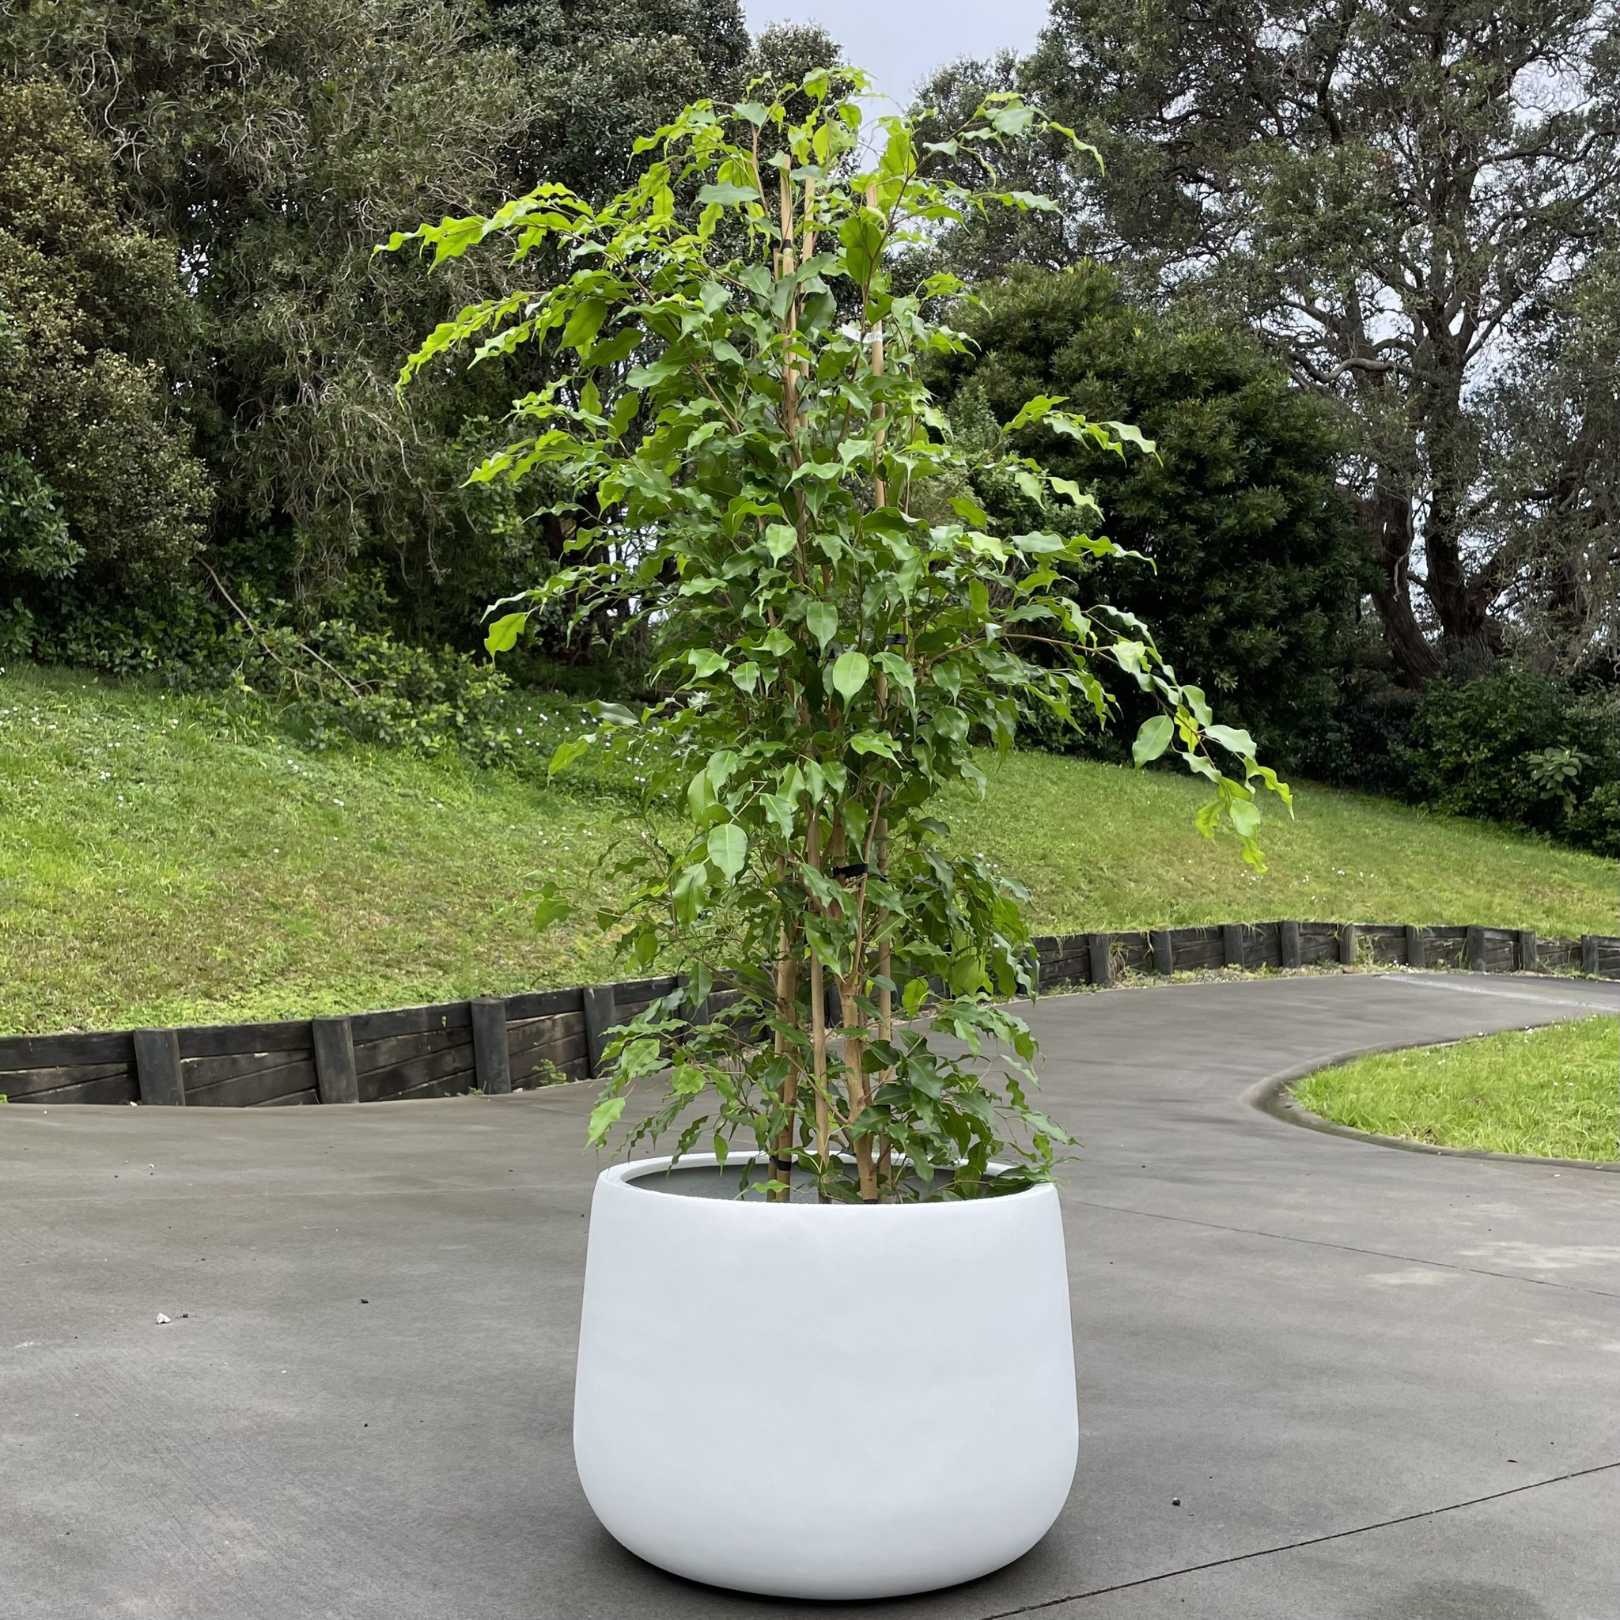
Choosing the Right Pot
When it comes to repotting outdoor plants, selecting the right pot is crucial for their well-being. The new pot should provide ample space for the plant's roots to grow and thrive. Here are some key factors to consider when choosing the perfect pot:
- Size: The new pot should be slightly larger than the current one, allowing the roots room to expand. However, avoid choosing a pot that is disproportionately large, as excessive soil can retain too much moisture, potentially leading to root rot.
- Drainage: Opt for a pot with drainage holes to prevent water from accumulating at the bottom. Adequate drainage is essential for preventing waterlogged soil, which can suffocate the plant's roots.
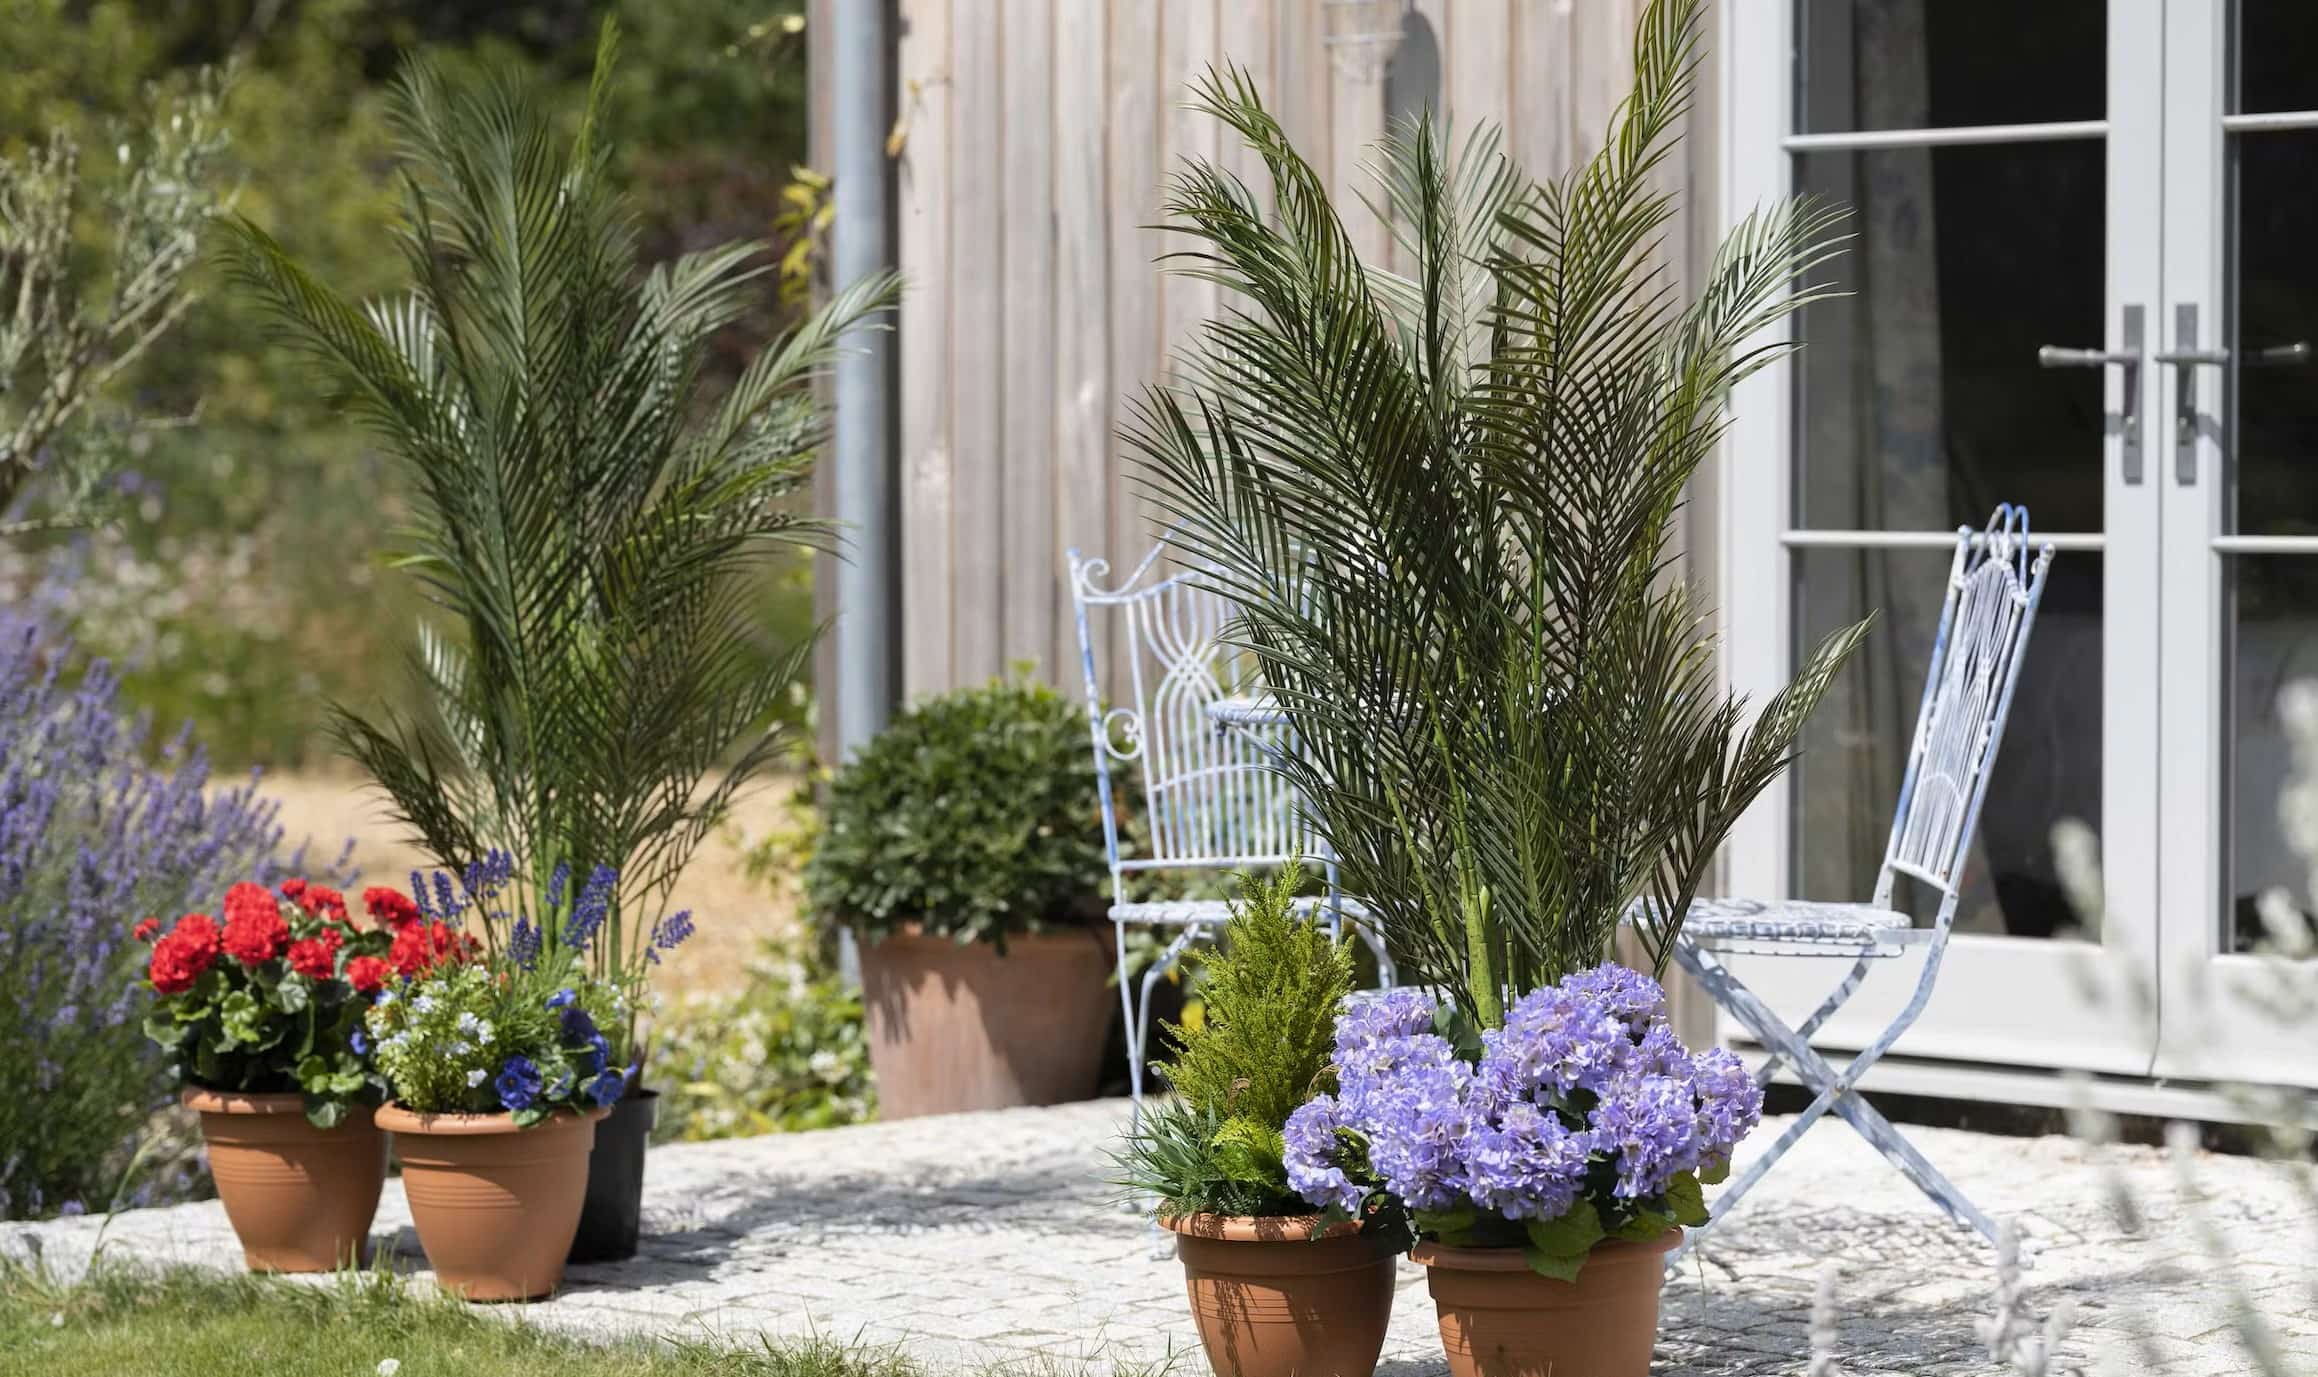
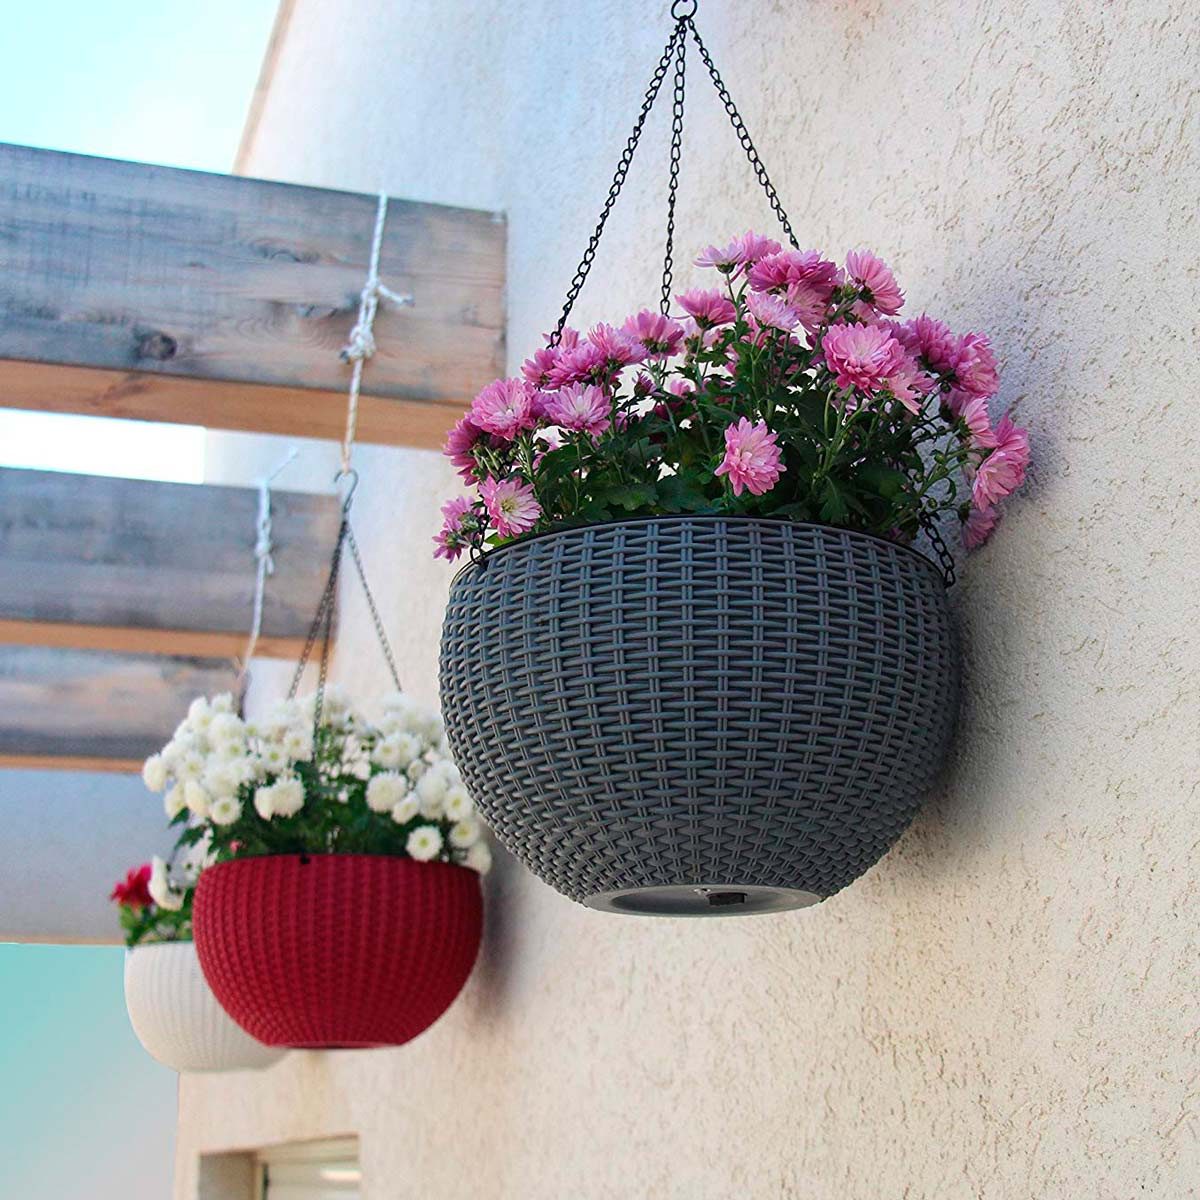
- Material: Consider the material of the pot. Terracotta and clay pots are porous, promoting air circulation and preventing water retention, while plastic pots are lightweight and retain moisture well. Each material has its advantages, so choose based on the specific needs of your plant.
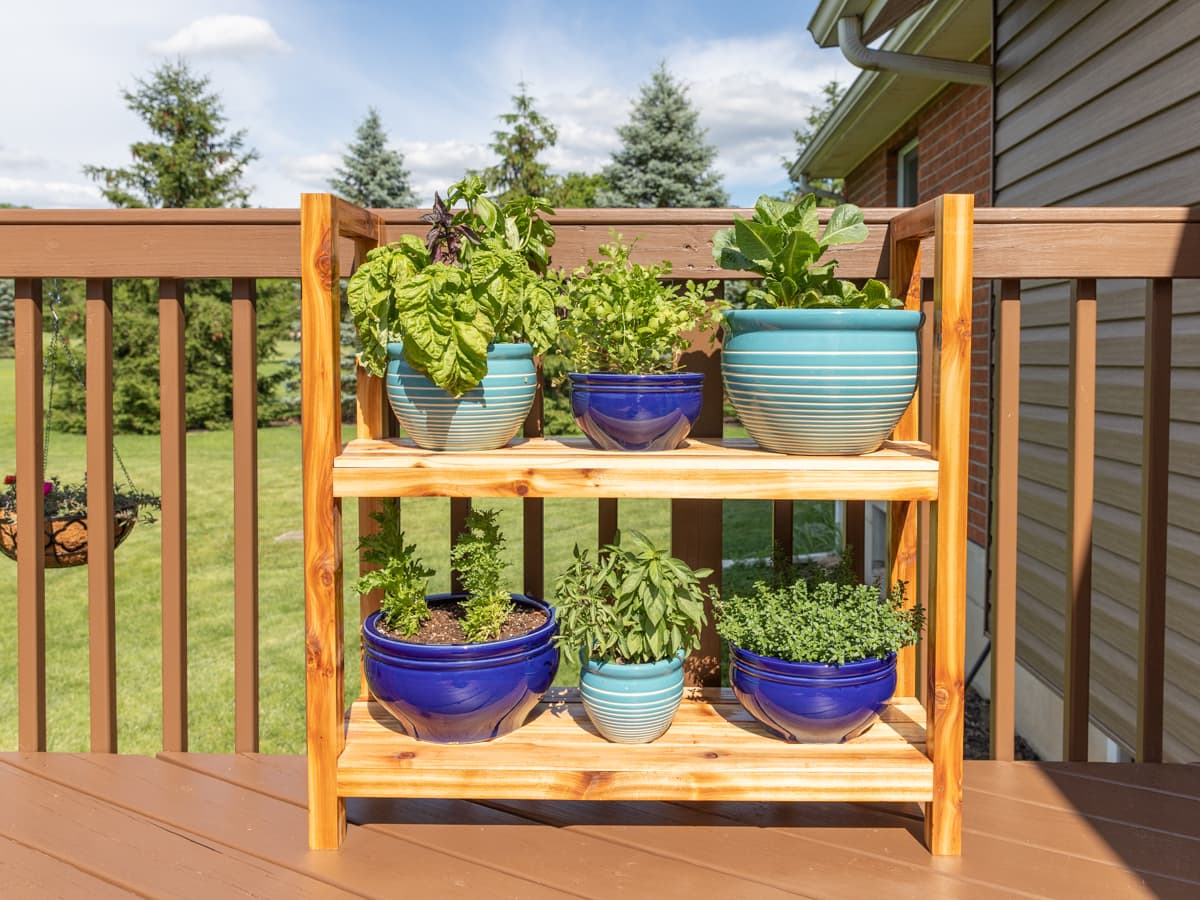
- Aesthetics: While the primary focus is on the plant's health, the pot's appearance also matters. Select a pot that complements the plant and its surroundings, adding aesthetic appeal to your outdoor space.
By carefully considering these factors, you can ensure that the new pot provides an optimal environment for your outdoor plant to flourish. With the right pot in hand, you're ready to prepare it for the repotting process.
Preparing the New Pot
Before transferring your outdoor plant to its new home, it’s essential to prepare the new pot to create a hospitable environment for the plant’s roots. Follow these steps to ensure the pot is ready for repotting:
- Clean the Pot: If the new pot has been used previously, clean it thoroughly with mild soap and water to remove any debris or residue. This helps prevent the introduction of pests or diseases to the plant.
- Add a Layer of Drainage Material: Place a layer of small rocks or broken pottery at the bottom of the pot to facilitate drainage. This layer prevents the soil from blocking the drainage holes and helps excess water escape, preventing waterlogged soil.
- Fill with Potting Mix: Fill the pot with a high-quality potting mix suitable for your specific type of outdoor plant. Consider using a mix that provides adequate aeration and drainage while retaining moisture to support healthy root growth.
- Create a Planting Hole: Make a small indentation in the center of the potting mix to accommodate the plant’s root ball. Ensure the hole is deep and wide enough to accommodate the roots without crowding or bending them.
By taking the time to prepare the new pot, you’re laying the groundwork for a smooth and successful repotting process. With the pot primed and ready, you’re now prepared to carefully remove the plant from its current container in preparation for the transition to its new home.
When repotting an outdoor plant, choose a pot that is 2 inches larger in diameter than the current one to allow for growth. Make sure the new pot has drainage holes to prevent waterlogging.
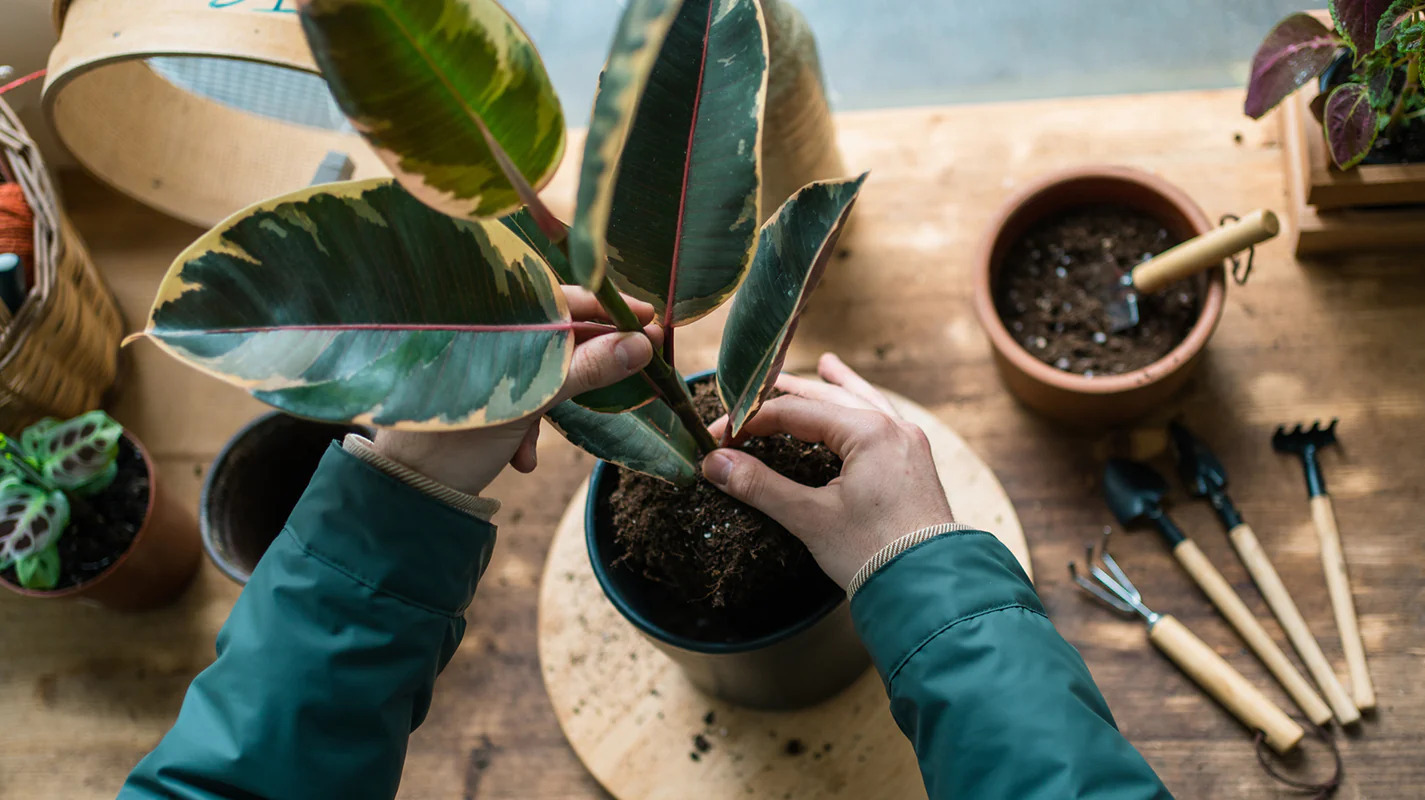
Removing the Plant from its Current Pot
As you embark on the journey of repotting your outdoor plant, the process of removing it from its current pot requires care and attention to avoid damaging the plant’s delicate root system. Follow these steps to safely extract the plant from its container:
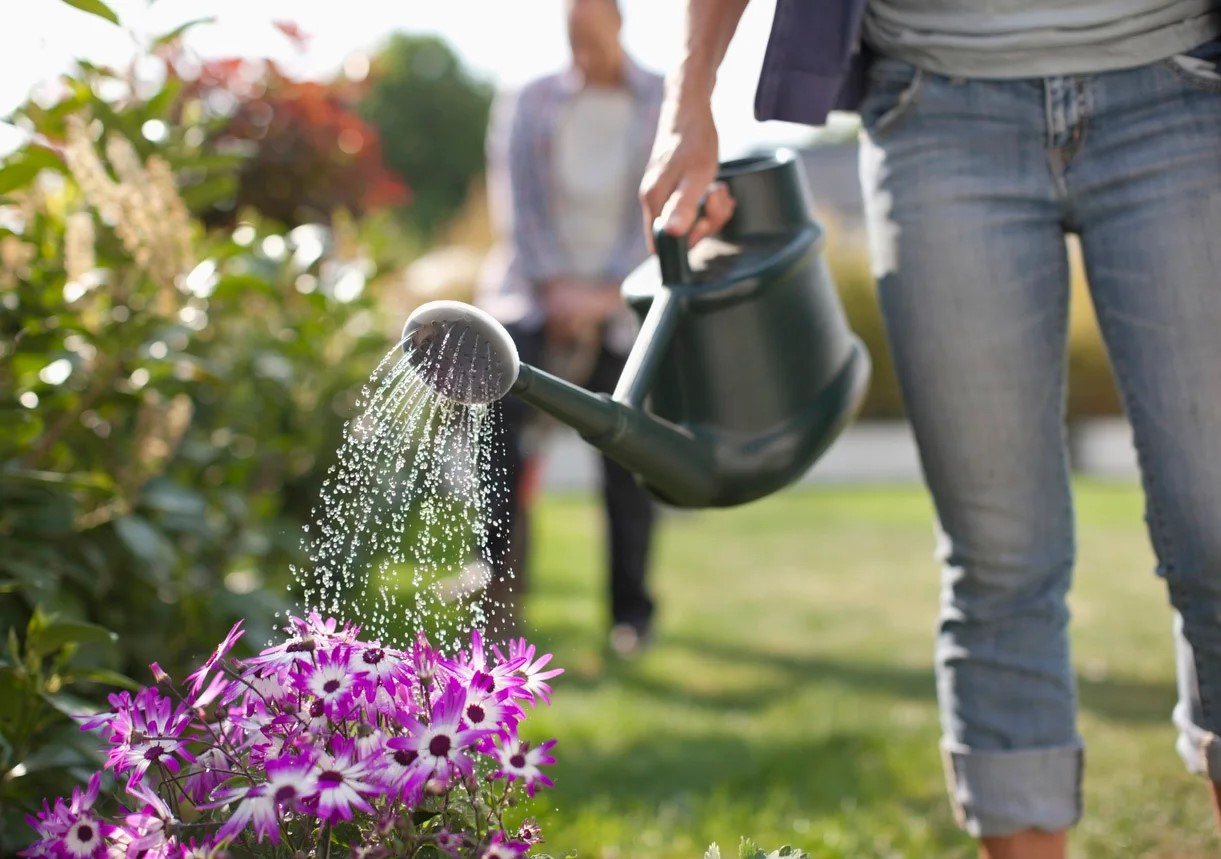
- Water the Plant: Before attempting to remove the plant, water it lightly. Moist soil can help hold the root ball together and reduce the risk of root damage during the extraction process.
- Gently Tap the Pot: Turn the current pot on its side and tap the bottom to loosen the root ball. Avoid forcefully yanking the plant out, as this can cause undue stress to the roots.
- Support the Plant: With one hand supporting the base of the plant’s stem, carefully tilt the pot and slide the plant out, using your other hand to guide the root ball out of the container. If the plant resists, gently squeeze the sides of the pot to loosen the soil without damaging the roots.
- Inspect the Roots: Once the plant is out of the pot, take a moment to inspect the root ball. Look for any signs of overcrowding, such as circling roots, which may indicate that the plant has outgrown its current container.
By approaching the extraction process with patience and gentleness, you can minimize stress on the plant and preserve the integrity of its root system. With the plant successfully removed from its current pot, you’re now ready to proceed with the repotting process, providing the plant with a new and spacious home to support its continued growth.
Repotting the Plant
Now that you’ve carefully removed the outdoor plant from its current pot, it’s time to transition it to its new home. Follow these steps to ensure a smooth and successful repotting process:
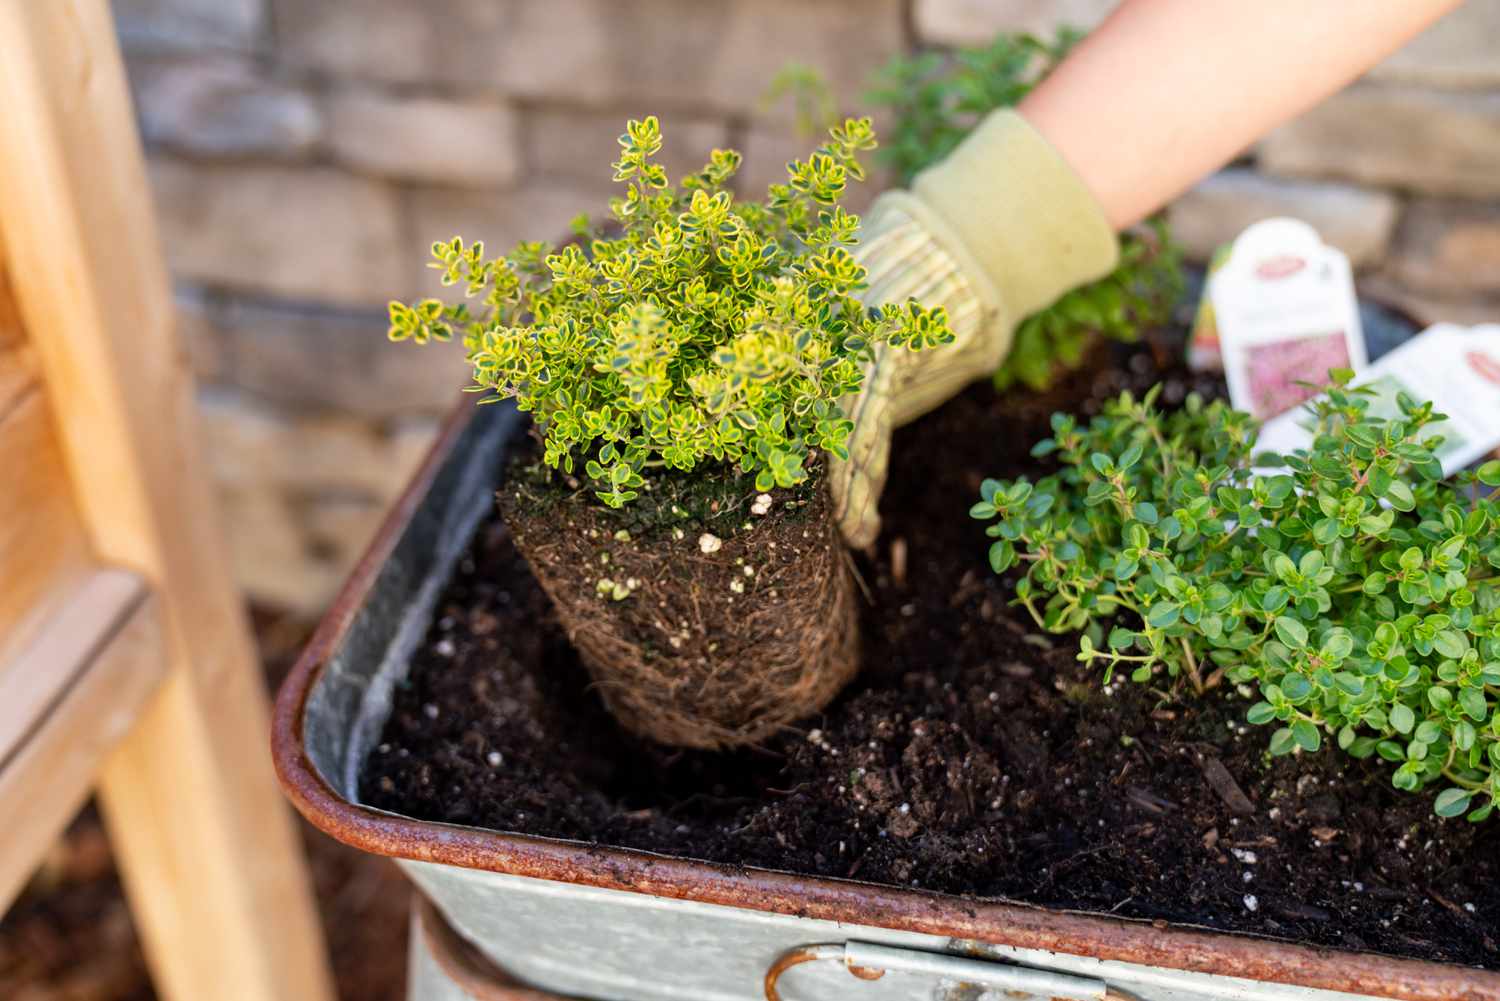
- Place the Plant in the New Pot: Gently lower the plant’s root ball into the prepared hole in the new pot, ensuring that the top of the root ball aligns with the top of the pot. Center the plant to provide it with ample space to grow and spread its roots.
- Add Potting Mix: Once the plant is positioned in the new pot, fill in the gaps around the root ball with fresh potting mix. Gently pat the soil down to secure the plant in place while avoiding compacting the soil too densely, which can impede water and air circulation.
- Water the Plant: After repotting, give the plant a thorough watering to help settle the soil and hydrate the roots. Ensure that water drains freely from the bottom of the pot, indicating that the soil is evenly moistened.
- Remove Air Pockets: If the soil settles significantly after watering, add more potting mix to fill any depressions and remove air pockets around the roots. This ensures that the roots are in close contact with the soil, promoting efficient nutrient uptake.
Throughout the repotting process, handle the plant with care to minimize stress on its roots and foliage. By providing the plant with a spacious and nurturing environment in its new pot, you’re setting the stage for continued growth and vitality. With the repotting complete, it’s time to shift your focus to post-repotting care to support the plant’s adjustment to its new surroundings.
Read more: How To Plant Outdoor Plants In Pots
Watering and Care After Repotting
After successfully repotting your outdoor plant, it’s essential to provide attentive care to support its transition to the new pot and ensure continued health and growth. Here are key steps to follow for watering and caring for your plant after repotting:
- Monitor Moisture Levels: Keep a close eye on the moisture levels in the soil during the initial days following repotting. While it’s important to keep the soil consistently moist, avoid overwatering, as this can lead to root rot. Allow the top inch of the soil to dry out slightly before watering again.
- Provide Indirect Light: Place the newly repotted plant in an area with indirect sunlight to minimize stress on the plant as it adjusts to its new environment. Avoid exposing the plant to intense, direct sunlight immediately after repotting, as this can shock the plant.
- Minimize Disturbance: Refrain from fertilizing the plant immediately after repotting, as the fresh potting mix contains sufficient nutrients to support the plant initially. Additionally, avoid repotting the plant again or disturbing its roots unless absolutely necessary to allow it to acclimate to its new home.
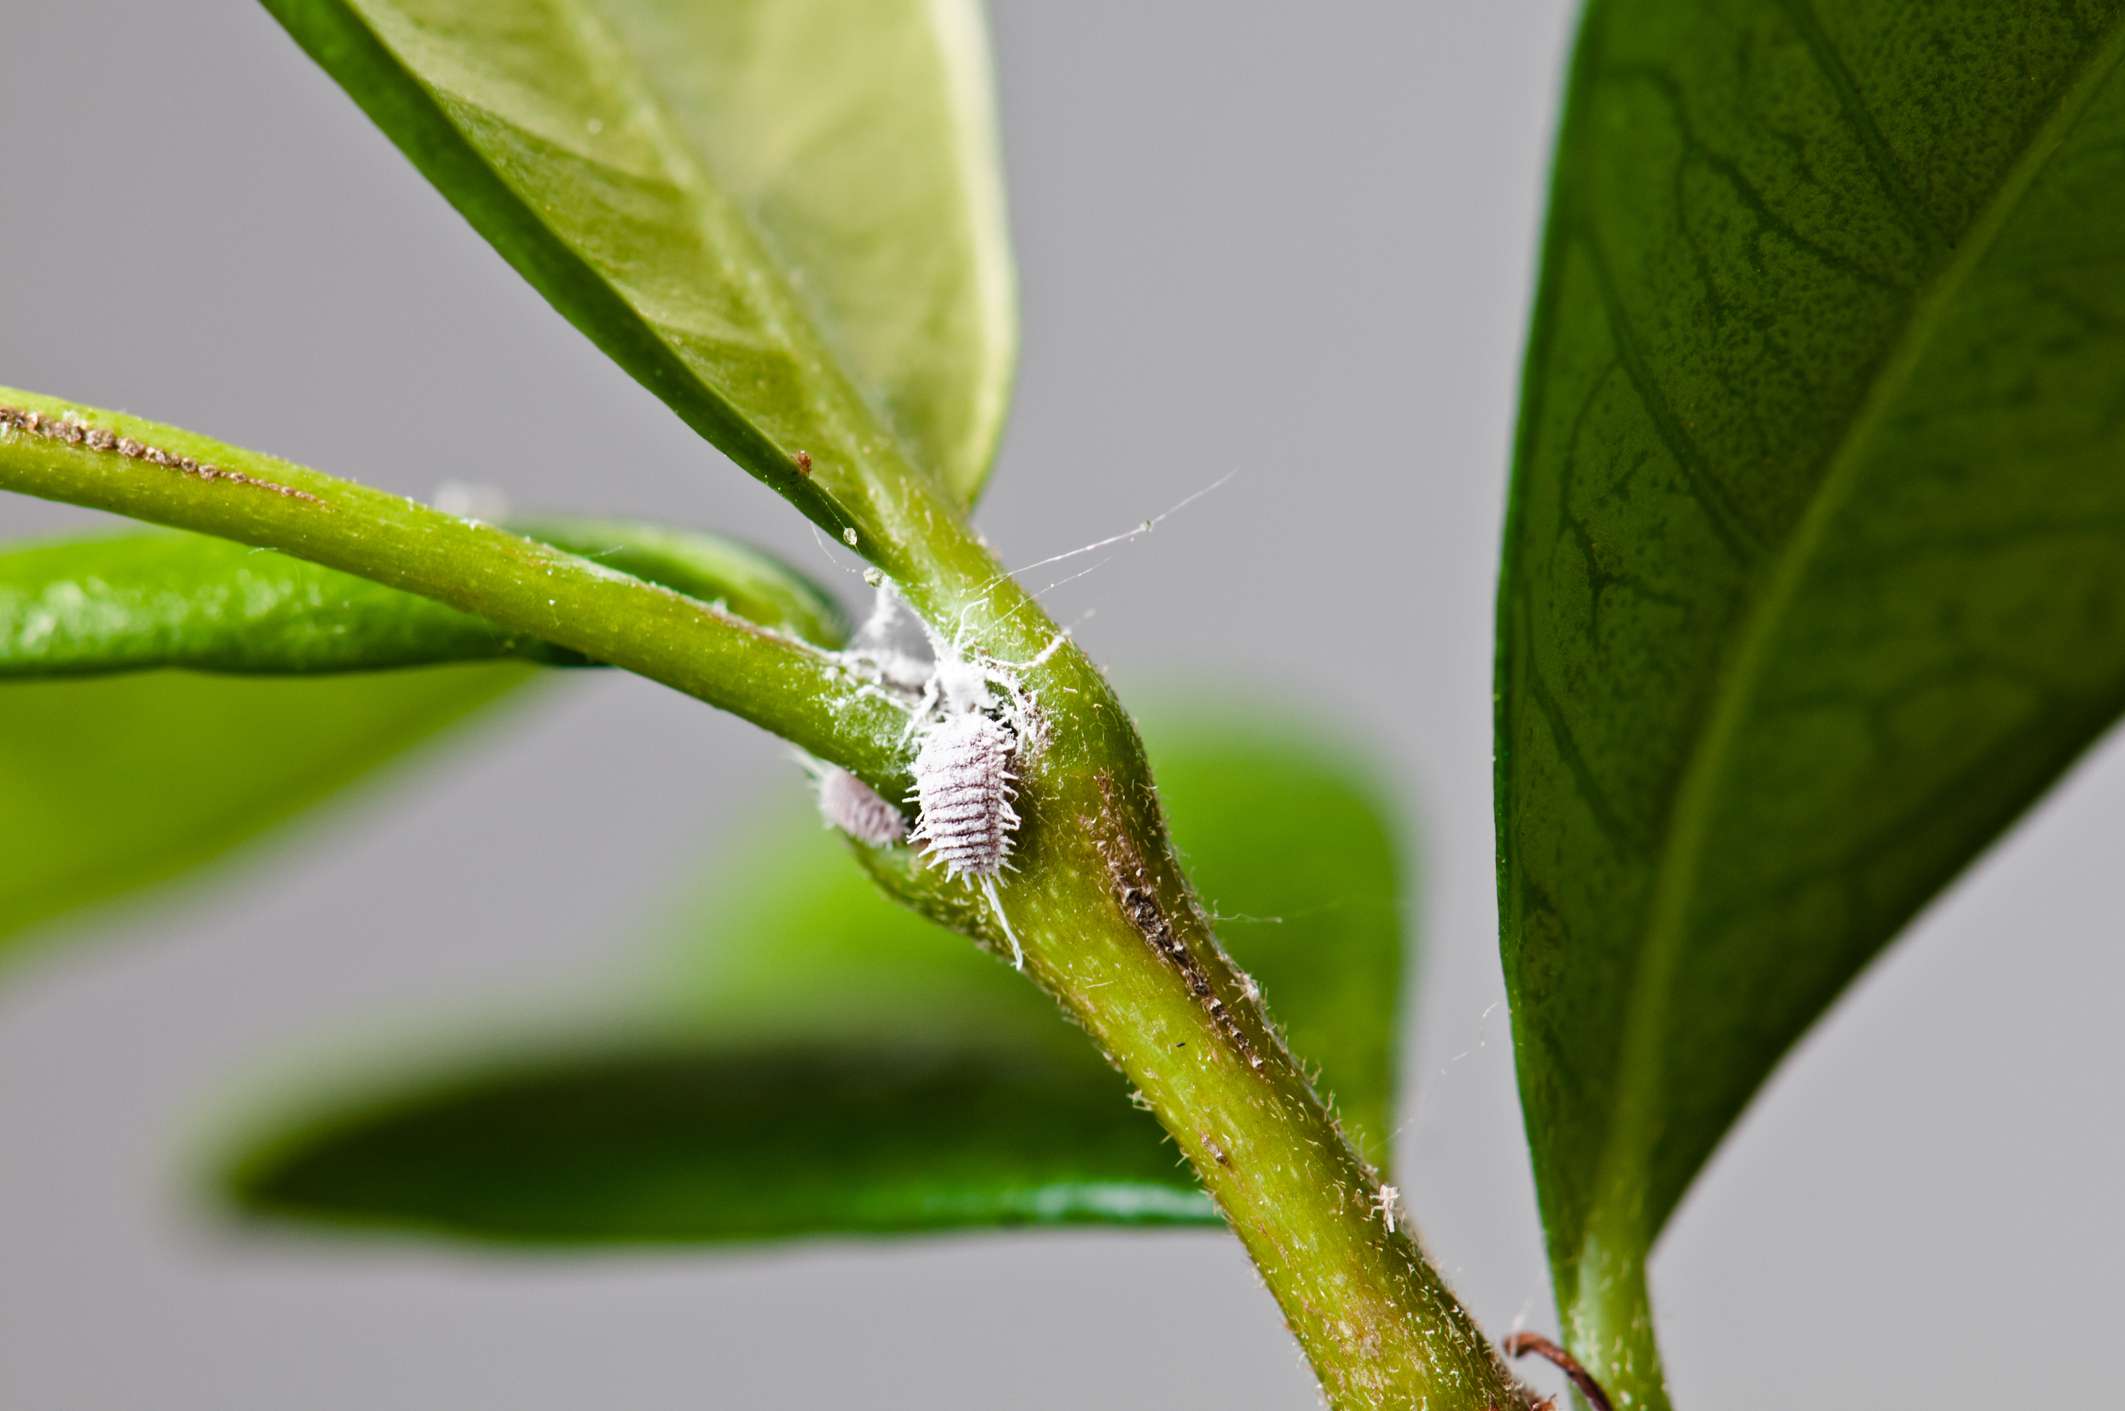
- Observe for Signs of Stress: Keep an eye out for any signs of stress, such as wilting foliage or yellowing leaves, which may indicate that the plant is adjusting to the new pot. With proper care and patience, the plant should gradually acclimate and resume healthy growth.
By providing the plant with attentive care and a conducive environment after repotting, you can facilitate a smooth transition and promote its continued well-being. As the plant adapts to its new pot, your nurturing efforts will contribute to its resilience and vitality, enriching your outdoor space with lush greenery and natural beauty.
Frequently Asked Questions about How To Repot An Outdoor Plant
Was this page helpful?
At Storables.com, we guarantee accurate and reliable information. Our content, validated by Expert Board Contributors, is crafted following stringent Editorial Policies. We're committed to providing you with well-researched, expert-backed insights for all your informational needs.


0 thoughts on “How To Repot An Outdoor Plant”