Home>Garden Essentials>How To Plant Thyme Seeds Outdoors

Garden Essentials
How To Plant Thyme Seeds Outdoors
Modified: March 19, 2024
Learn how to plant thyme seeds outdoors and create a beautiful garden with our step-by-step guide. Essential tips and techniques for successful gardening.
(Many of the links in this article redirect to a specific reviewed product. Your purchase of these products through affiliate links helps to generate commission for Storables.com, at no extra cost. Learn more)
Introduction
Thyme is an aromatic herb that adds a delightful taste and aroma to various culinary dishes. It is easy to grow from seeds and can be a beautiful addition to your outdoor garden. Whether you’re a seasoned gardener or a green thumb beginner, planting thyme seeds outdoors is a rewarding and enjoyable experience.
In this article, we will guide you through the step-by-step process of planting thyme seeds outdoors. From selecting the right location to harvesting your fragrant thyme sprigs, you’ll learn everything you need to know to successfully grow thyme in your garden.
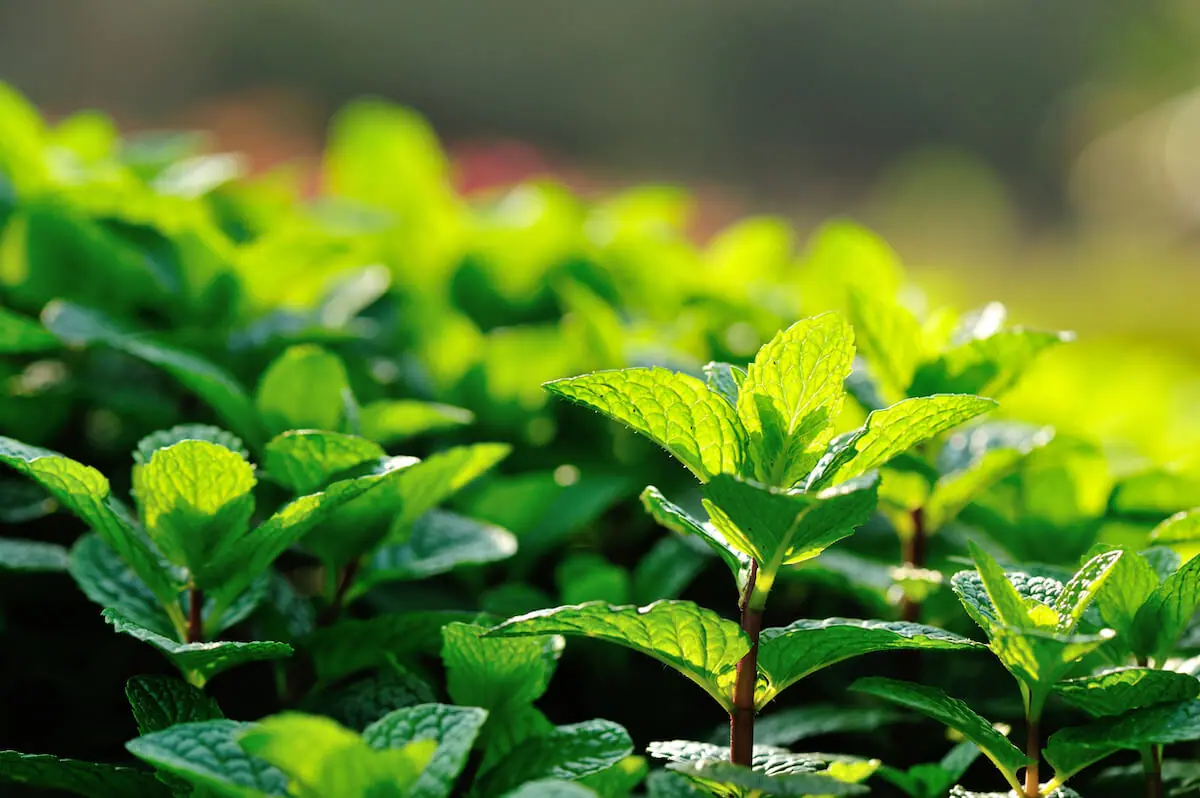
But before we get started, let’s dive into some interesting facts about thyme. Thyme, scientifically known as Thymus vulgaris, is a member of the mint family and is native to the Mediterranean region. It has been used for centuries both as a culinary herb and for its medicinal properties. Thyme is rich in antioxidants, vitamins, and minerals, making it not only a flavorful herb but also a nutritious addition to your meals.
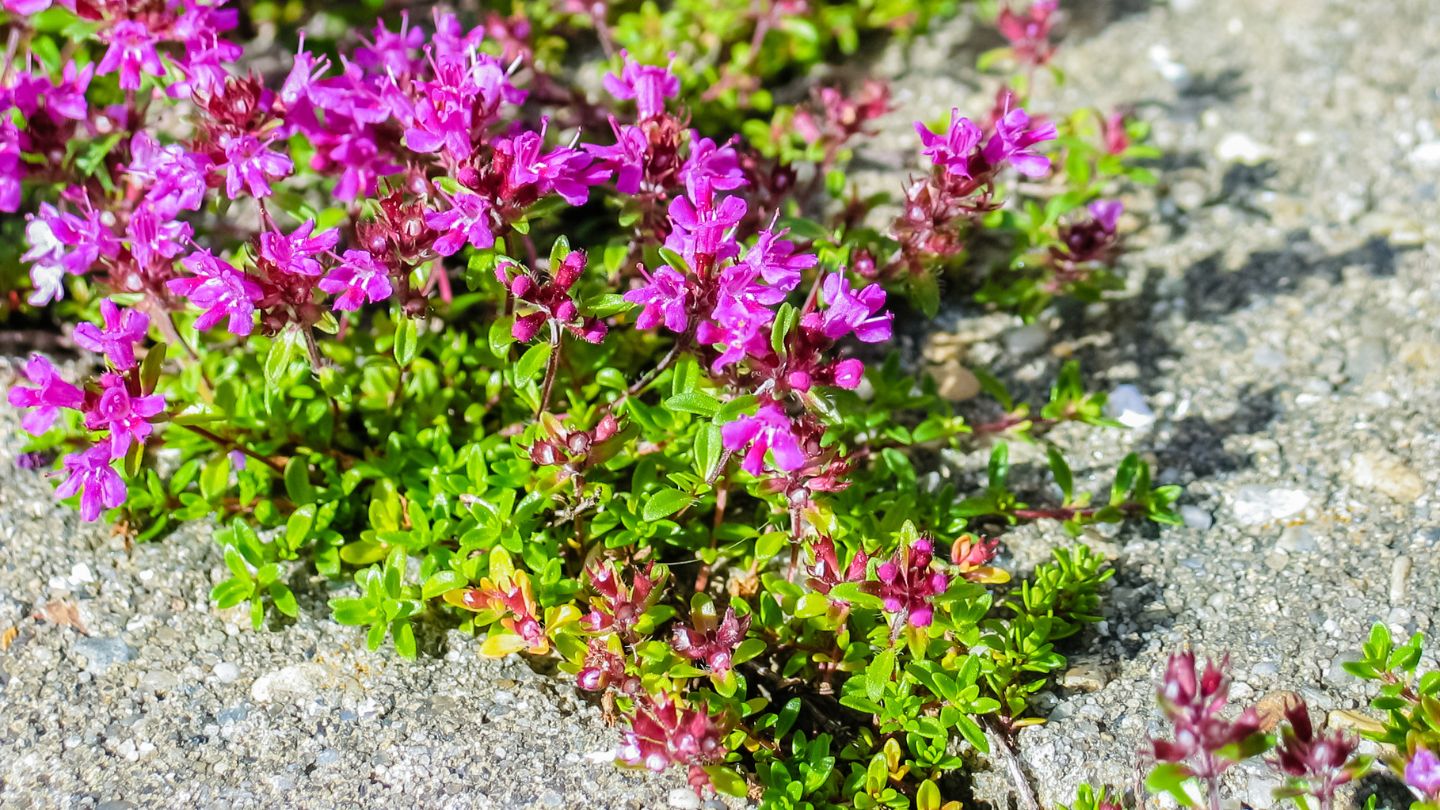
Thyme plants are known for their small, fragrant leaves and delicate flowers, which can range in color from white to pink or purple. The leaves of thyme plants can be harvested and used fresh, dried, or even frozen to preserve their flavor. Thyme is commonly used in a wide range of dishes, including soups, stews, roasts, and marinades. Its flavor pairs well with poultry, seafood, vegetables, and even desserts like fruit salads and ice cream.
Now that you have a better understanding of thyme and its uses, let’s move on to the practical aspects of planting thyme seeds outdoors. By following these steps, you can enjoy an abundant supply of fresh thyme right from your own garden.
Key Takeaways:
- Planting thyme seeds outdoors is a fun and rewarding way to grow a flavorful herb in your garden. Choose a sunny spot, prepare the soil, and provide proper care for healthy thyme plants.
- Harvesting and using fresh thyme from your outdoor garden adds a delightful flavor to your meals. Enjoy the process of growing, harvesting, and using thyme in your culinary creations.
Read more: When To Plant Thyme Seeds
Step 1: Choosing the Right Location for Planting Thyme Seeds
Before you start planting thyme seeds outdoors, it’s essential to choose the right location for your herb garden. Thyme thrives in a spot that receives plenty of sunlight, preferably six to eight hours a day. Look for an area in your garden that gets direct sunlight during the morning or afternoon.
In addition to sunlight, thyme plants also prefer well-drained soil. If the soil in your chosen location is heavy or clay-like, consider improving it by adding organic matter such as compost or aged manure. This will help promote good drainage and ensure that the thyme plants’ roots don’t become waterlogged.
Thyme is a versatile herb that can tolerate various soil types, including sandy or rocky soil. However, it’s important to note that thyme prefers soil with a neutral to slightly alkaline pH level, ideally between 6.0 and 8.0. You can test the pH level of your soil using a simple soil testing kit available at most garden centers.
Another factor to consider when choosing the location for planting thyme seeds is air circulation. Thyme plants benefit from good air circulation, which helps prevent the development of fungal diseases. Avoid planting thyme in areas that are too crowded or where air tends to be stagnant.
Lastly, consider the proximity of your thyme garden to other plants. Thyme is a natural pest repellent and can help protect nearby plants from harmful insects. Planting thyme near cabbage, tomatoes, eggplants, or roses can provide natural pest control for these susceptible plants.
By selecting a location that provides ample sunlight, well-drained soil, good air circulation, and strategic proximity to other plants, you’re setting the stage for successful thyme seed planting and growth. With the right conditions, your thyme garden will flourish and provide you with a bountiful harvest of aromatic and flavorful herbs.
Step 2: Preparing the Soil for Thyme Seed Planting
Once you’ve chosen the perfect location for your thyme seed planting, the next step is to prepare the soil. Proper soil preparation is crucial for providing your thyme seeds with the nutrients they need to germinate and grow into healthy seedlings.
Start by clearing the area of any weeds or debris. Thyme plants can compete with weeds for nutrients and water, so it’s important to remove any potential competition. Use a garden rake or hoe to gently remove weeds and loosen the top layer of soil.
Next, you’ll need to amend the soil to ensure it has the right texture and fertility for thyme seed planting. Thyme prefers well-drained soil, so if your garden soil is heavy or clay-like, you can improve its drainage by adding organic matter.
Add a generous amount of compost or aged manure to the soil and mix it in thoroughly. This will help improve the soil structure, promote drainage, and provide essential nutrients for your thyme plants. Aim to incorporate the organic matter into the top 6 to 8 inches of soil.
If your soil is acidic, you may need to adjust the pH level to be more neutral or slightly alkaline. Thyme prefers soil with a pH between 6.0 and 8.0. To raise the pH level, you can add agricultural lime according to the manufacturer’s instructions. Conversely, if your soil is already alkaline, you can lower the pH level by adding elemental sulfur.
After amending the soil, use a garden rake to level the surface and create a smooth planting bed. Remove any large clumps or rocks that you may come across while raking.
Lastly, before moving on to the next step, water the newly prepared soil thoroughly. This will help settle the soil and ensure that the moisture is evenly distributed. Thyme seeds require moist soil for germination, so providing them with a good start will improve their chances of sprouting.
By preparing the soil adequately, you’re setting the foundation for healthy and vigorous thyme seedlings. The amended soil will provide the right balance of nutrients and drainage, creating an ideal environment for your thyme seeds to establish roots and thrive.
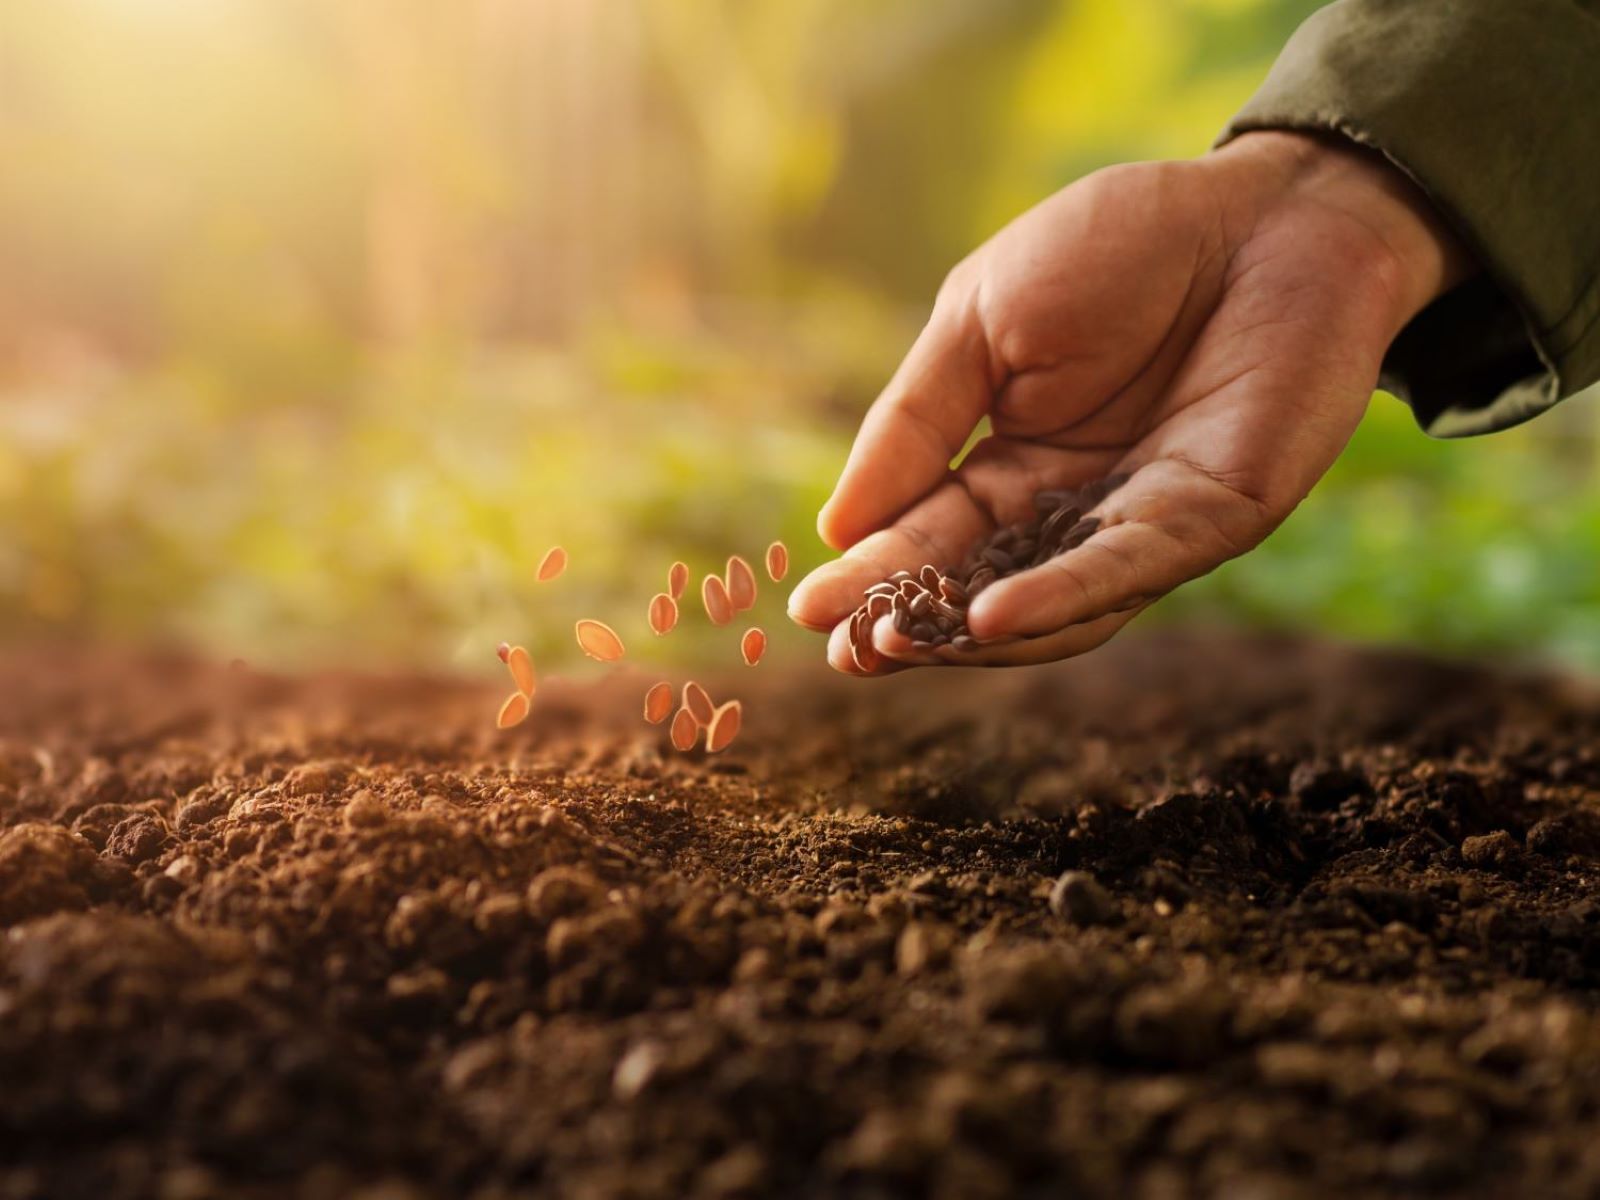
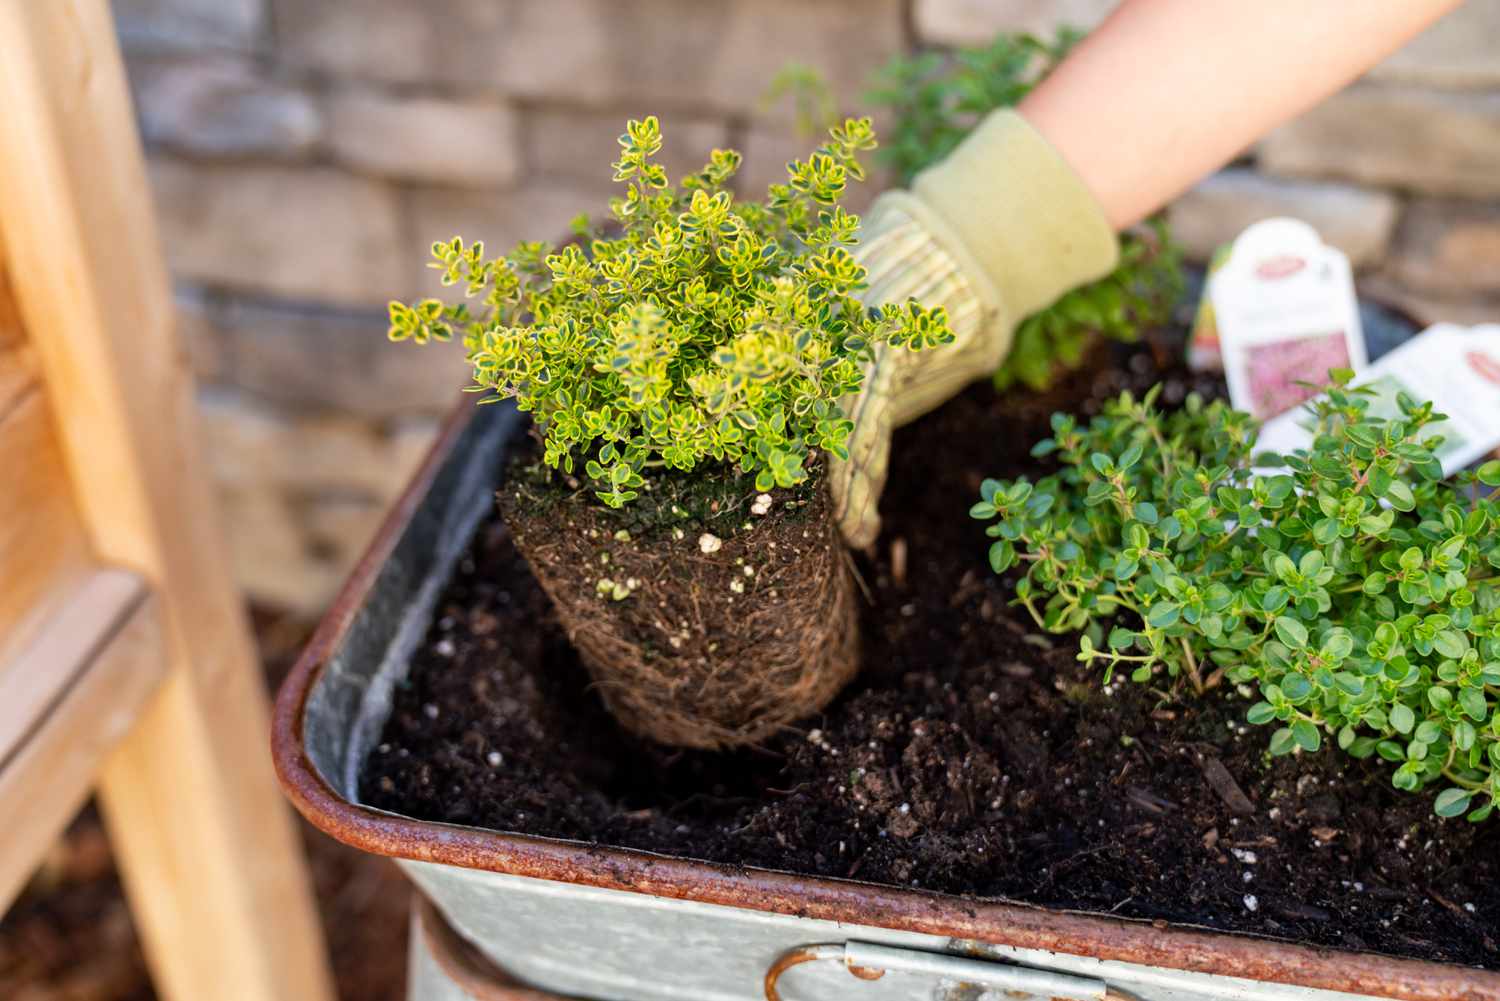
Step 3: Sowing Thyme Seeds in the Outdoor Garden
Now that you have prepared the soil for your thyme seed planting, it’s time to sow the seeds and watch your herb garden come to life. Sowing thyme seeds is a relatively simple process, but there are a few important considerations to keep in mind.
Thyme seeds are tiny, so it’s crucial to handle them with care. They can easily be lost or unevenly distributed if not sown properly. Start by creating furrows or shallow grooves in the soil, preferably about 1/4 inch deep.
If you’re planting in rows, space the furrows 12 to 18 inches apart to allow adequate room for the thyme plants to spread as they grow. If you prefer a more informal planting pattern, you can create small patches or clusters, spacing them about 12 inches apart.
To sow the seeds, sprinkle them evenly along the furrows or patches. Be mindful not to overcrowd the seeds, as this can lead to poor air circulation and increased vulnerability to disease. A general guideline is to space the seeds about 1 inch apart.
Once you have evenly distributed the thyme seeds, gently cover them with a thin layer of soil. Thyme seeds require light for germination, so it’s important not to bury them too deep. A light dusting of soil, about 1/8 inch thick, is sufficient to provide protection without blocking out the necessary light.
After covering the seeds, mist the soil lightly with water using a spray bottle or watering can with a fine nozzle. This will help settle the seeds and provide the moisture needed for germination. Be careful not to overwater, as excess moisture can lead to rotting.
Now, all that’s left to do is wait for the thyme seeds to germinate. This usually takes around 1 to 2 weeks, but it can vary depending on environmental conditions. During this time, it’s essential to keep the soil consistently moist but not soggy. Continue to mist the soil gently whenever it starts to dry out.
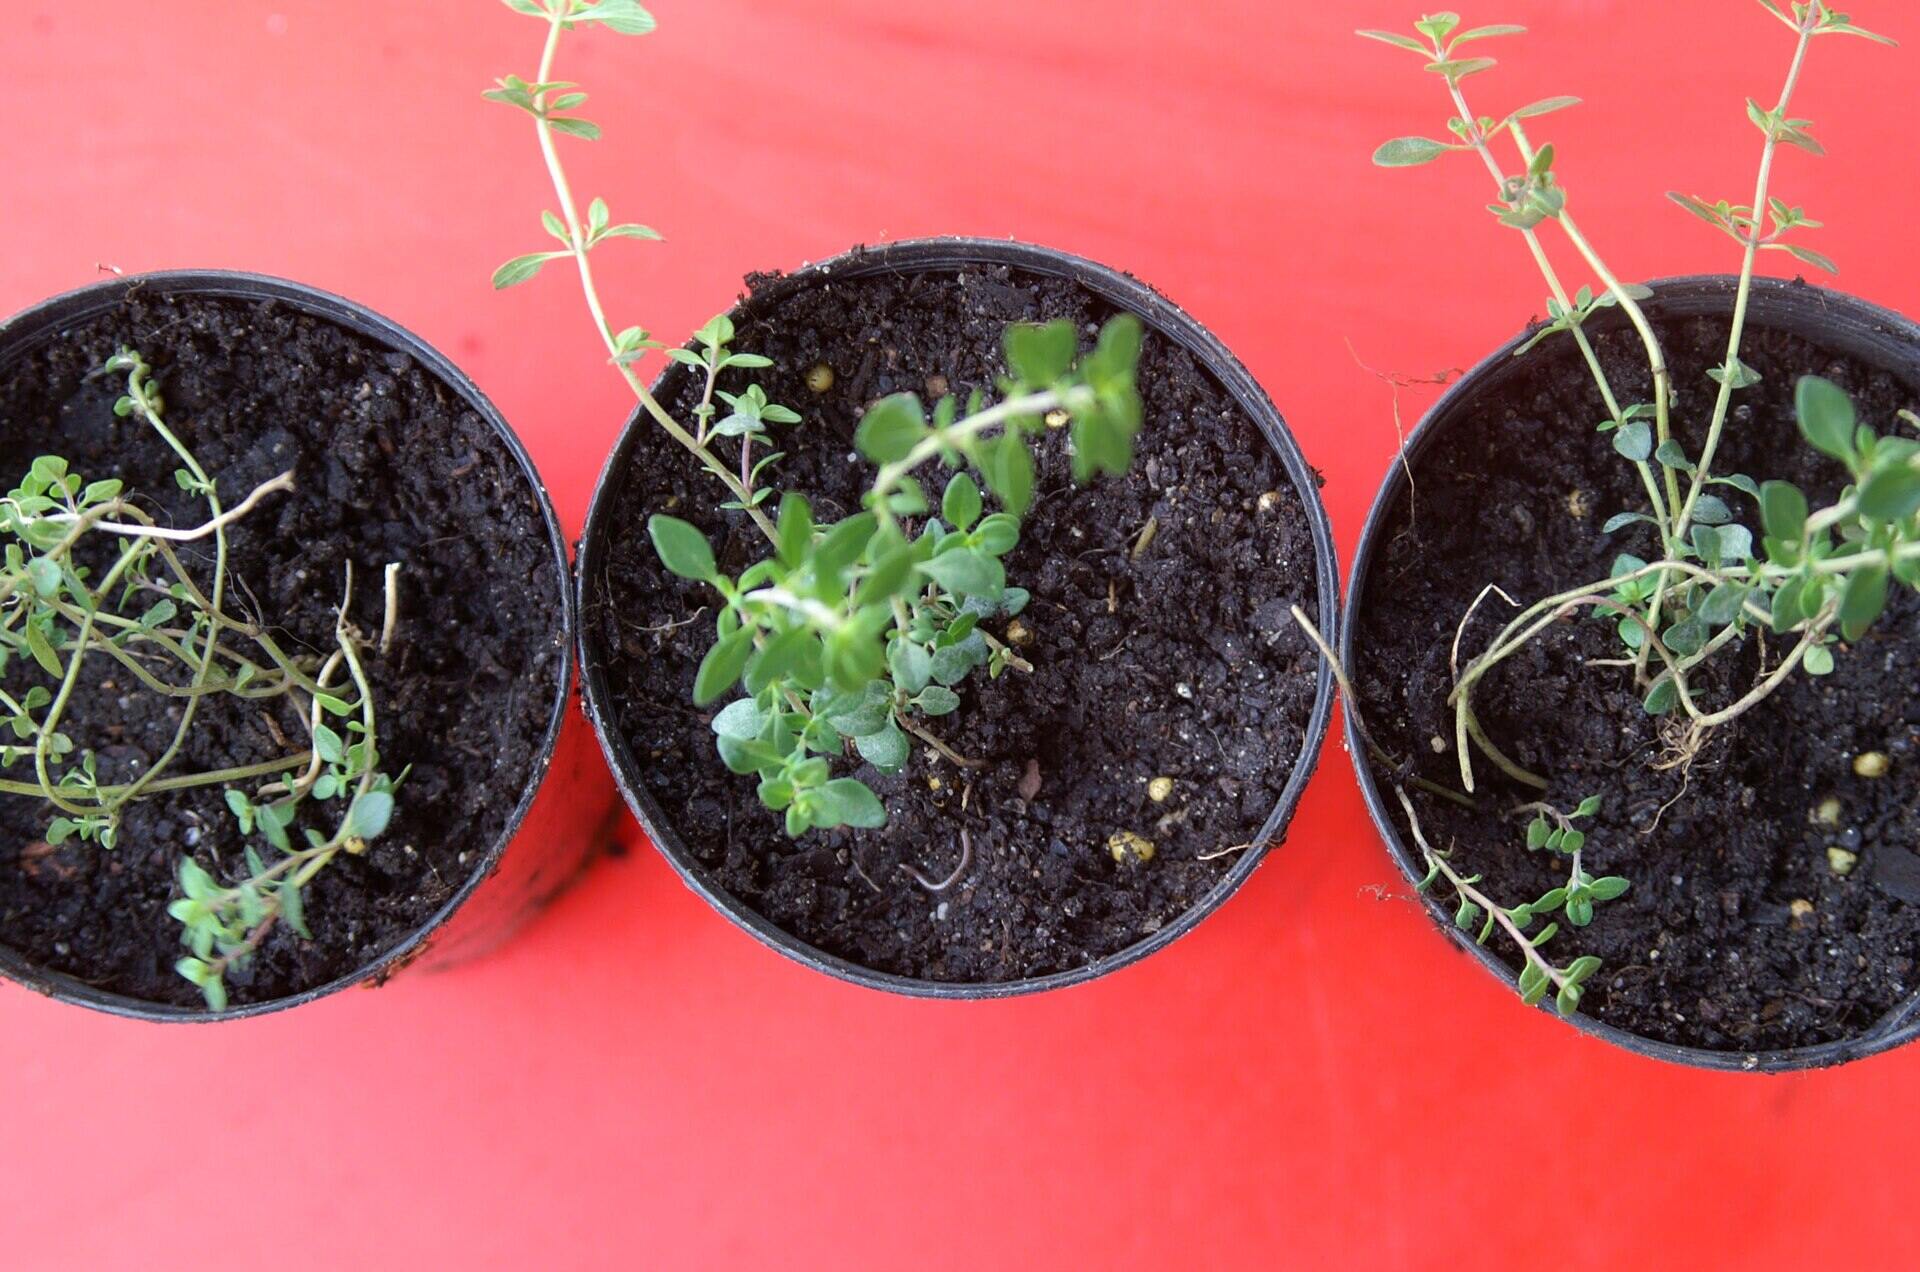
As the thyme seedlings emerge, thin them out if necessary to maintain proper spacing. If you notice overcrowding, carefully remove the weaker or excess seedlings, allowing the strongest ones to thrive. Proper spacing will ensure that each thyme plant has ample room to grow and access to light and nutrients.
With the seeds sown and the germination process underway, you’re one step closer to enjoying fresh thyme from your outdoor garden. Patience and diligent care will reward you with a beautiful and productive herb garden in no time.
Plant thyme seeds outdoors in well-drained soil with full sun. Sow seeds shallowly and keep the soil moist until they germinate. Thin the seedlings to 6-12 inches apart once they have grown a few inches tall.
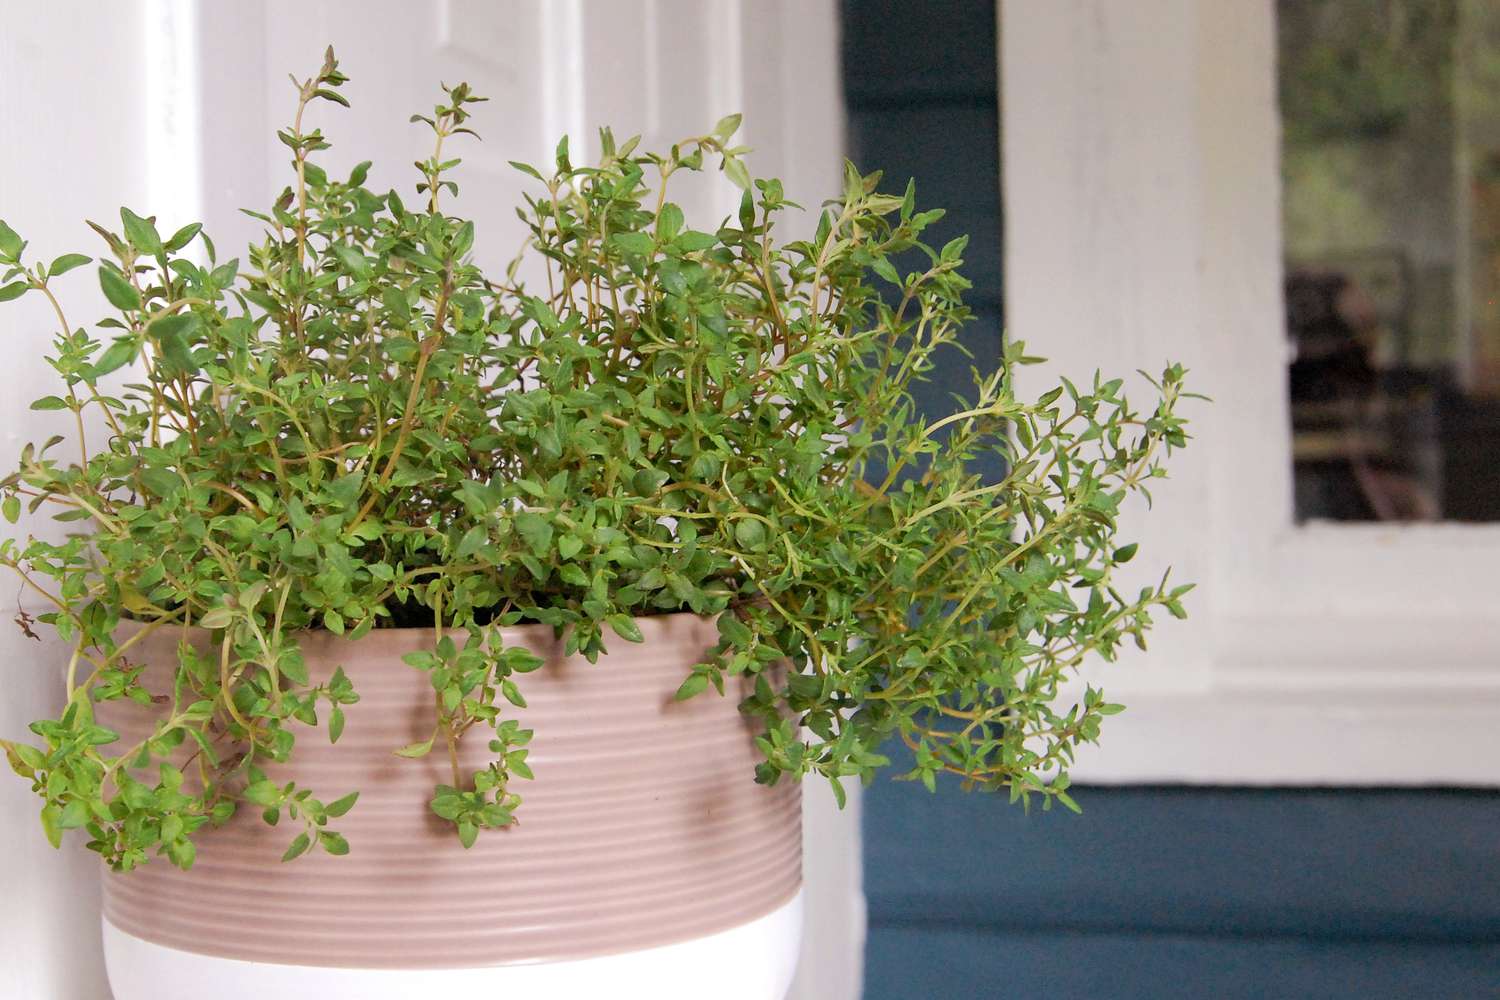
Step 4: Providing Proper Care for Thyme Seedlings
Now that your thyme seedlings have emerged, it’s essential to provide them with the proper care to ensure healthy growth and development. Here are some key considerations for nurturing your thyme seedlings:
Watering: Thyme plants prefer well-drained soil, so it’s important to strike a balance in watering. Water the seedlings deeply, ensuring the soil is moist but not waterlogged. Thyme has moderate water needs, so aim to water when the top inch of soil feels dry to the touch.
Fertilizing: Thyme seedlings can benefit from a light application of balanced organic fertilizer when they have reached a height of about 2 inches. Follow the manufacturer’s instructions for dosage and frequency. Be cautious not to over-fertilize, as this can lead to excessive foliage growth with reduced flavor.
Weeding: Regular weeding is essential to prevent competition for resources and to ensure the thyme seedlings have ample space to grow. Take care when weeding around the delicate young plants to avoid damaging their shallow roots.
Pruning: Once the thyme seedlings have established a few sets of leaves, you can begin lightly pruning the tips to encourage bushier growth. This will result in a fuller plant with more foliage for harvesting. Use sharp, clean scissors or pruning shears to make clean cuts just above a set of leaves.
Protecting from pests: Thyme is relatively pest-resistant, but it’s still important to keep an eye out for common garden pests such as aphids, slugs, and snails. Regularly inspect your thyme seedlings for any signs of pest damage and take appropriate measures to control them, such as using organic pest repellents or manually removing the pests.
Mulching: Applying a layer of organic mulch around your thyme seedlings can help conserve moisture, suppress weeds, and regulate soil temperature. Use organic materials like straw or wood chips and apply them in a thin layer, making sure to keep the mulch a few inches away from the base of the seedlings to prevent rotting.
Supporting: As your thyme plants grow taller, some varieties may benefit from light support to prevent them from flopping over. Inserting small stakes or using plant supports can help keep the plants upright, especially if they become top-heavy due to vigorous growth or environmental factors.
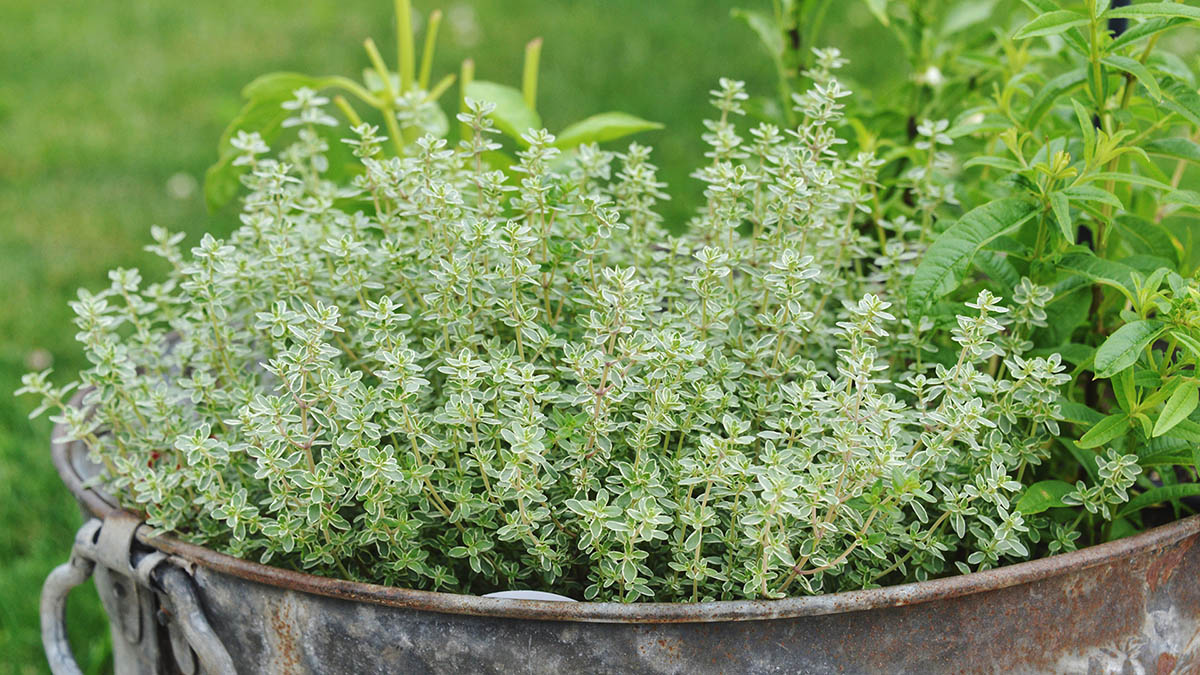
By providing the proper care to your thyme seedlings, you’ll encourage healthy growth, lush foliage, and robust flavor. Your efforts will be rewarded with a thriving herb garden that is not only attractive but also a source of fresh, aromatic thyme for your culinary creations.
Read more: When To Plant Creeping Thyme Seeds
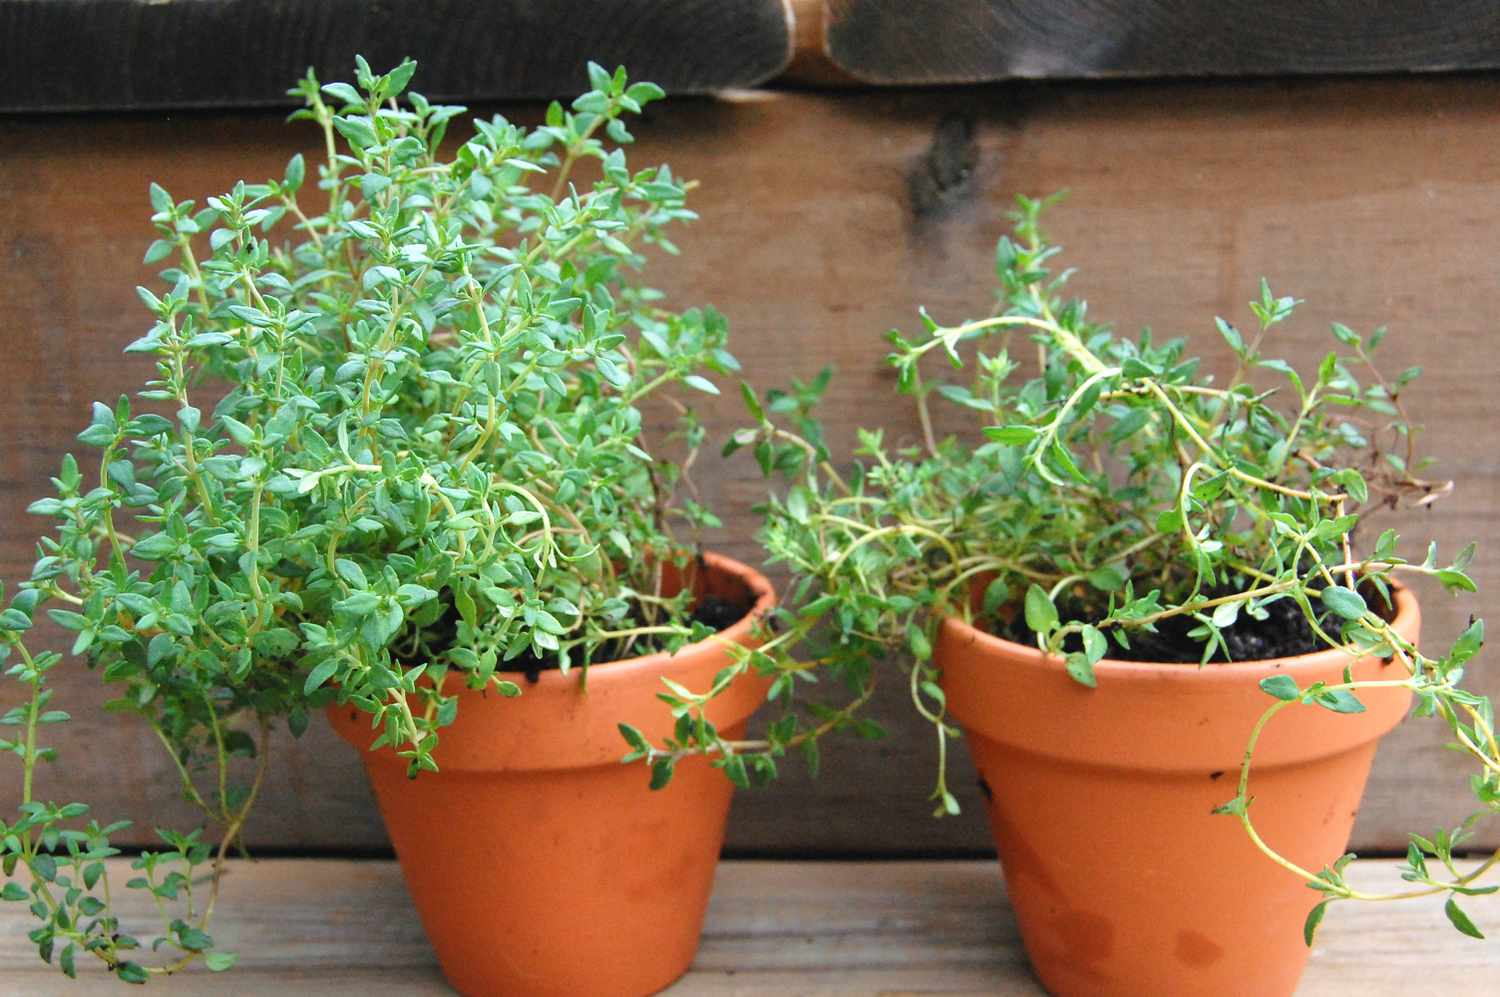
Step 5: Harvesting and Using Thyme from Your Outdoor Garden
Congratulations on successfully growing your thyme plants in your outdoor garden! Now it’s time to enjoy the fruits of your labor by harvesting and using the flavorful herb in your culinary endeavors. Here’s how to harvest and make the most of your thyme:
Timing: Thyme leaves can be harvested at any time once the plants have reached a height of about 6 inches. However, it’s best to wait until the plants are well-established and have developed a good number of leaves to ensure a continuous supply throughout the growing season.
Leaf Harvesting: To harvest thyme leaves, simply snip the stems just above a leaf node or set of leaves. This will encourage the plant to branch out and produce more foliage. For the best flavor, harvest the leaves in the morning when the aromatic oils are most concentrated.
Drying: Thyme leaves can be air-dried for later use. Bundle several stems together and hang them upside down in a well-ventilated area away from direct sunlight. Once the leaves have dried completely, gently remove them from the stems and store them in an airtight container. Dried thyme is perfect for long-term storage and can be used in cooking or as a tea.
Using Fresh Thyme: Fresh thyme leaves are a delightful addition to many dishes. Strip the leaves from the stems and chop or mince them before adding them to your recipes. Thyme pairs well with a variety of ingredients, including roasted vegetables, grilled meats, soups, stews, and sauces. It can even be used to infuse oils, vinegars, and marinades with its distinct aroma and flavor.
Preserving: If you have an abundance of fresh thyme, you can also preserve it by freezing. Wash and thoroughly dry the thyme sprigs, then place them in a sealable freezer bag or container. Frozen thyme will retain much of its flavor and can be used directly in cooking without thawing.
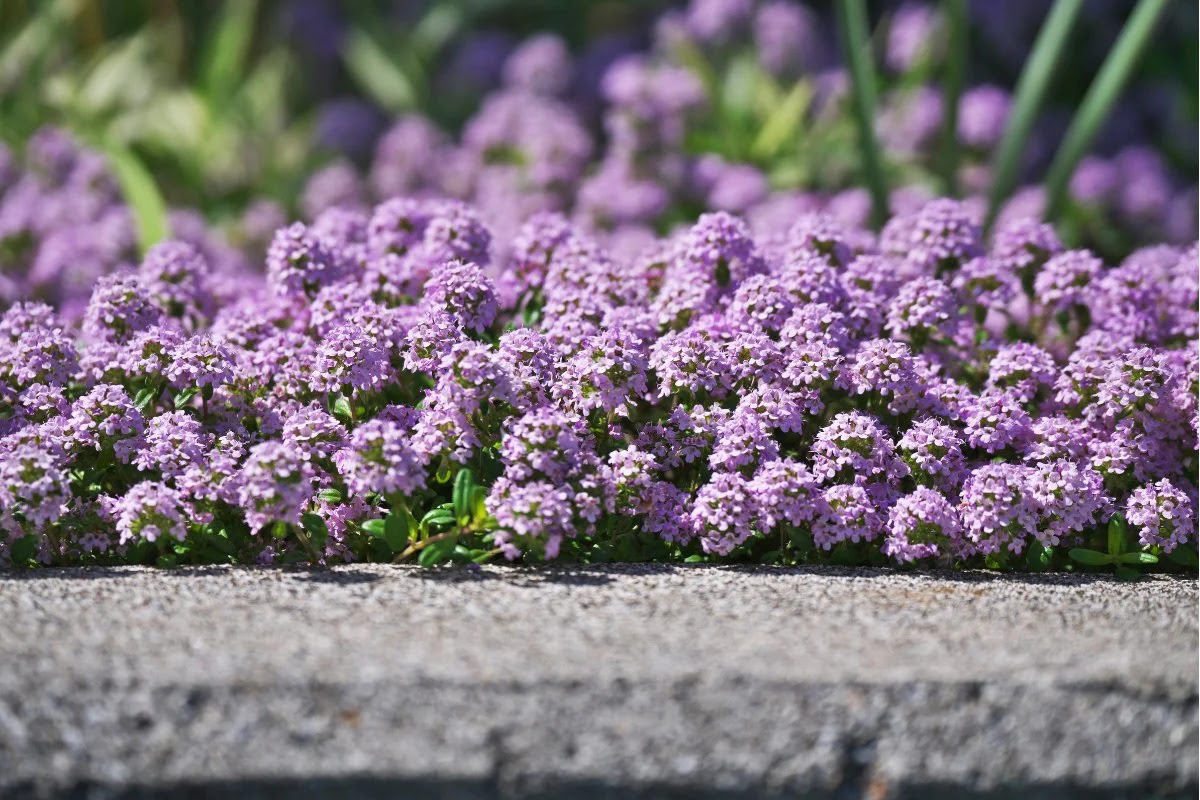
Floral Displays: Don’t forget that thyme plants also produce delicate flowers that can add beauty to your outdoor garden or floral arrangements. Allow a few stems to mature and bloom, and use the flowers as a decorative touch for special occasions or to bring the fragrance of thyme indoors.
Remember, harvesting thyme from your outdoor garden encourages the plants to produce more foliage, so don’t be shy about using it in your culinary creations. Enjoy the fresh and aromatic flavor of your homegrown thyme as you add a touch of culinary magic to your dishes.
Conclusion
Planting thyme seeds outdoors is a rewarding experience that allows you to enjoy the beauty and flavor of this versatile herb right in your own garden. By following the steps outlined in this guide, you can successfully grow thyme from seeds and reap the benefits of its aromatic leaves.
From choosing the right location and preparing the soil to sowing the seeds and providing proper care, each step is essential for the success of your thyme plants. Remember to select a sunny spot with well-drained soil, amend the soil with organic matter, and create a favorable environment for germination and growth.
Once your thyme seedlings have emerged, be sure to provide them with the proper care they need. Water them adequately, fertilize them lightly, and protect them from pests and weeds. Pruning and supporting the plants as they grow will promote healthier foliage and a more abundant harvest.
When it’s time to harvest your thyme, remember to do so in the morning for maximum flavor. You can use the leaves fresh, dry them for later use, or even freeze them for long-term storage. Experiment with thyme in various culinary dishes to add a unique and delightful flavor to your meals.
Growing thyme in your outdoor garden not only provides you with a fresh and aromatic herb but also adds beauty and diversity to your landscape. The vibrant green foliage, delicate flowers, and enticing fragrance of thyme plants will enhance the visual appeal of your garden.
Whether you’re a seasoned gardener or a novice, planting thyme seeds outdoors is an accessible and enjoyable endeavor. With patience, care, and a bit of creativity, you can cultivate a thriving thyme garden and elevate your culinary creations with the flavors of this remarkable herb.
So, roll up your sleeves, gather your gardening tools, and embark on the journey of growing thyme from seeds. Your reward will be a garden filled with the sights, scents, and tastes of this beloved herb.
Frequently Asked Questions about How To Plant Thyme Seeds Outdoors
Was this page helpful?
At Storables.com, we guarantee accurate and reliable information. Our content, validated by Expert Board Contributors, is crafted following stringent Editorial Policies. We're committed to providing you with well-researched, expert-backed insights for all your informational needs.


0 thoughts on “How To Plant Thyme Seeds Outdoors”