Home>Garden Essentials>How To Plant Mint Seeds Outdoors
Garden Essentials
How To Plant Mint Seeds Outdoors
Modified: March 16, 2024
Boost your garden with our step-by-step guide on how to plant mint seeds outdoors. Discover expert tips and techniques to ensure a successful mint harvest.
(Many of the links in this article redirect to a specific reviewed product. Your purchase of these products through affiliate links helps to generate commission for Storables.com, at no extra cost. Learn more)
Introduction
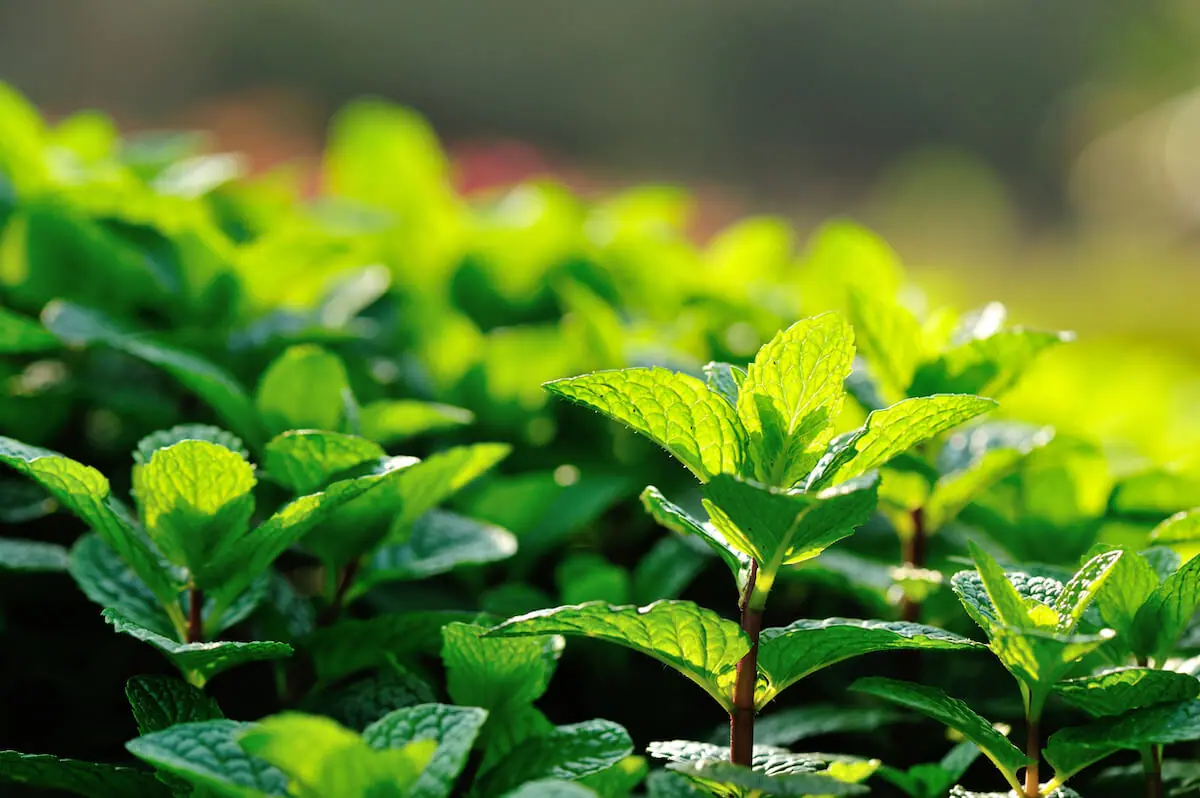
Welcome to the world of gardening! There’s nothing quite like growing your own plants and reaping the rewards of your labor. Mint is a popular herb that not only adds a refreshing taste to various dishes and beverages but also offers numerous health benefits. While mint is readily available in grocery stores, there’s something incredibly satisfying about growing this herb in your very own garden.
In this article, we will guide you through the process of planting mint seeds outdoors. Whether you’re a beginner or an experienced gardener, we’ll cover everything you need to know to successfully grow mint and enjoy a bountiful harvest.
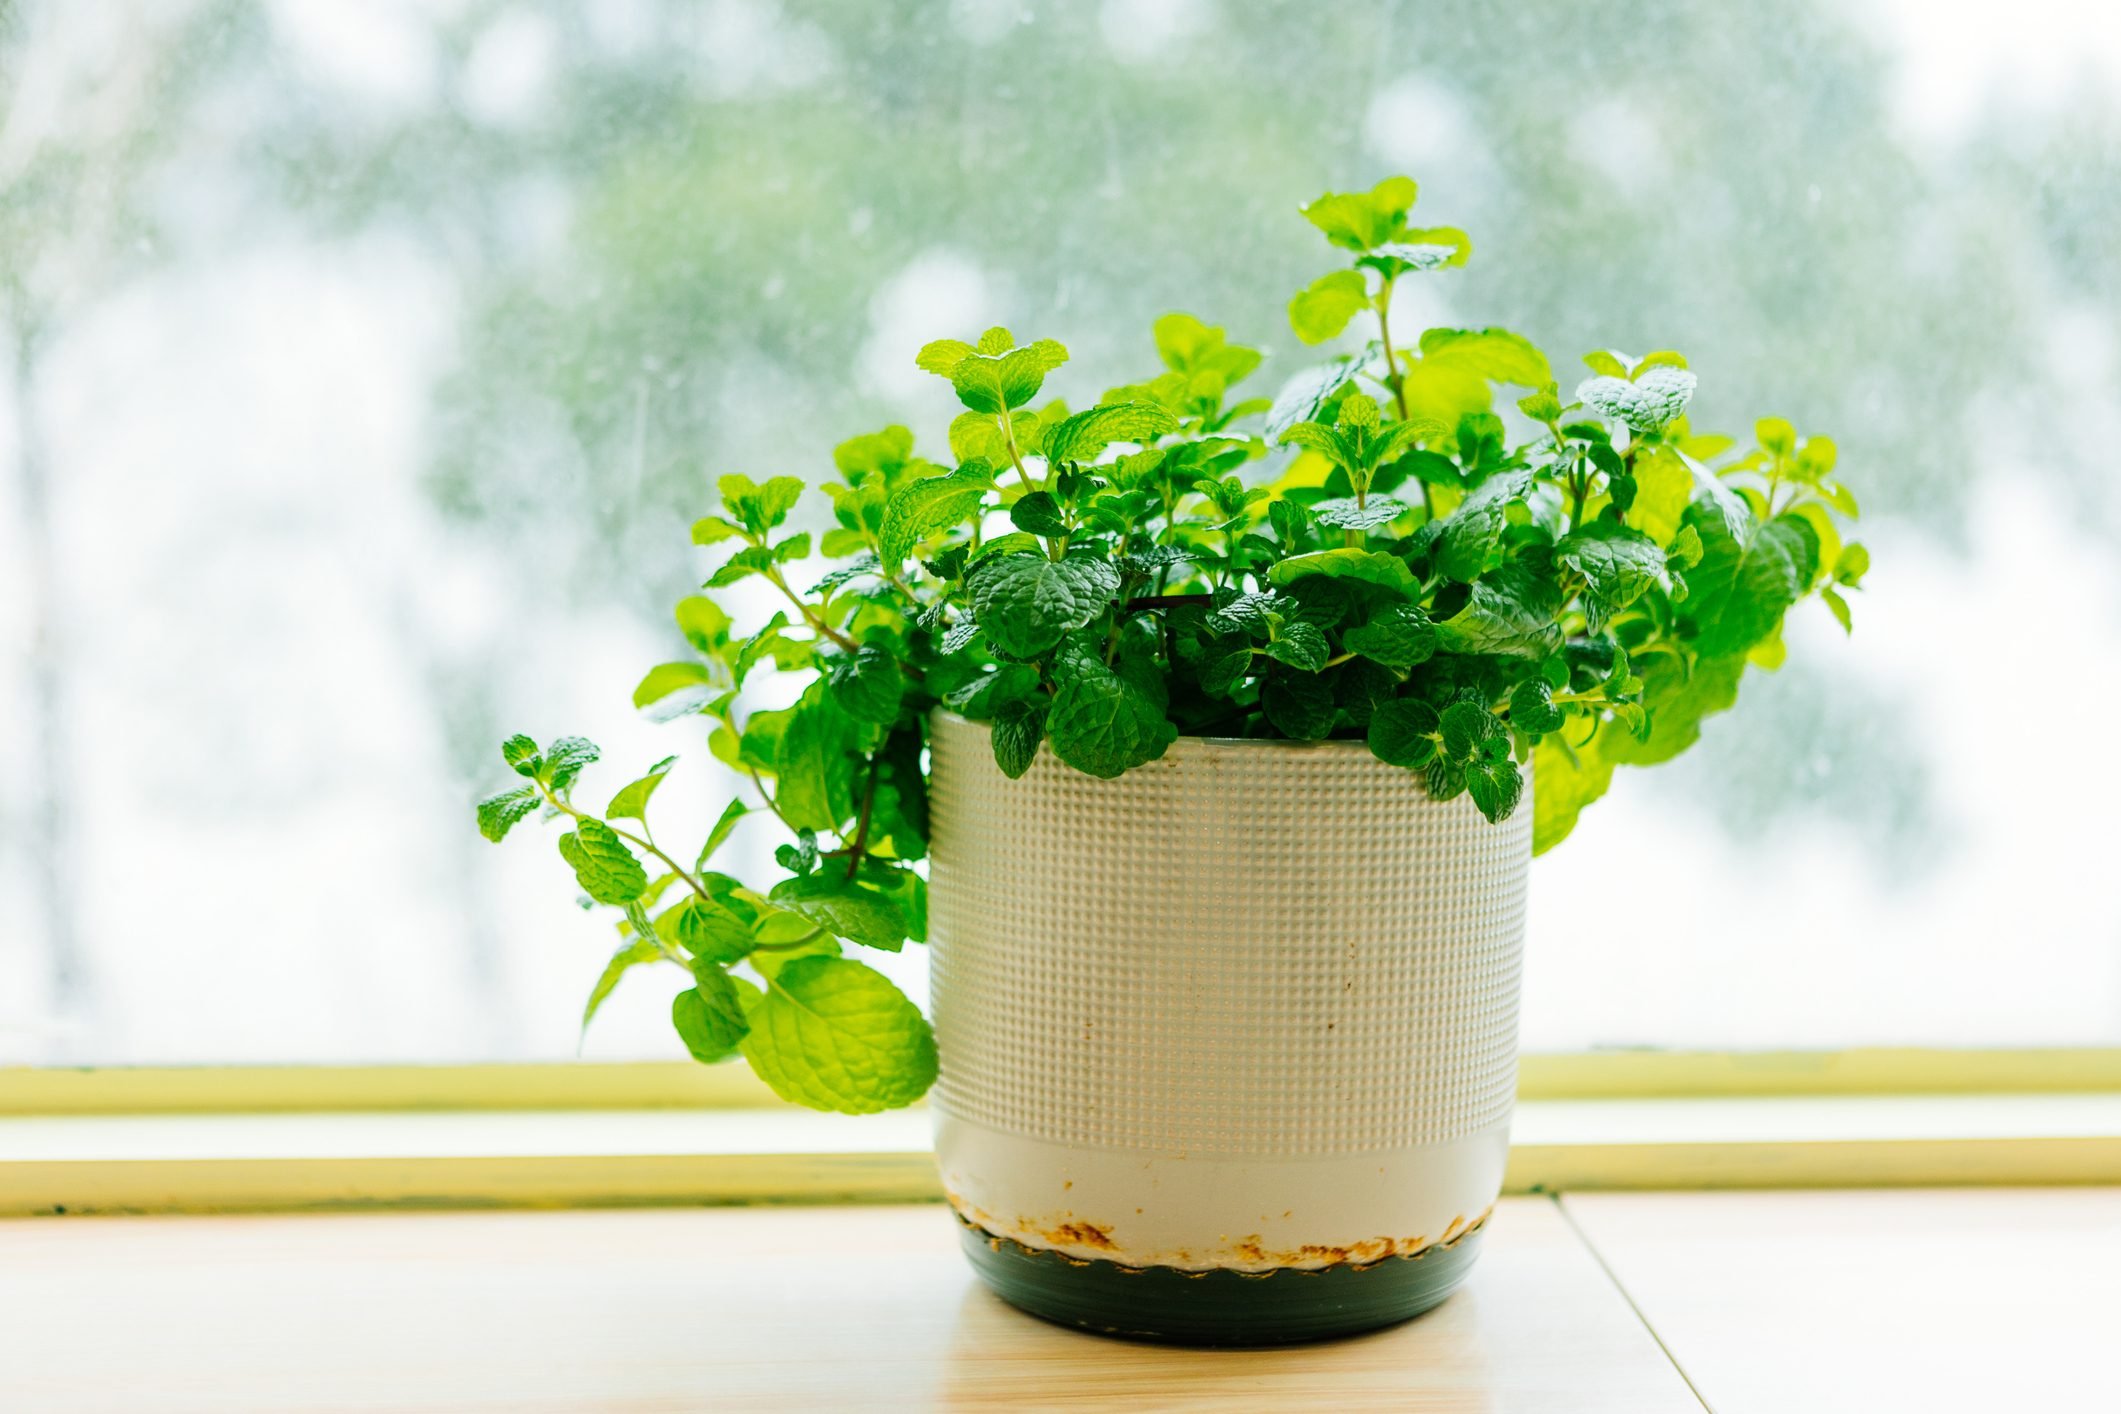
Before we dive into the details, it’s important to understand that mint is a vigorous and fast-growing plant. It has a tendency to spread quickly, so it’s crucial to choose the right location and take necessary precautions to prevent it from taking over your garden.
So, let’s get started and learn how to plant mint seeds outdoors!
Key Takeaways:
- Choose a sunny, well-draining spot for your mint seeds and use barriers to control their rapid growth. Proper soil preparation and watering are key to a bountiful harvest.
- Regular pruning, selective harvesting, and proactive troubleshooting will keep your mint plants healthy and productive. Enjoy the process and savor the rewards of homegrown mint!
Read more: How Deep To Plant Mint Seeds
Choosing the Right Location
When it comes to choosing the right location for planting mint seeds outdoors, there are a few key factors to consider. Mint thrives in full sun to partial shade, so it’s important to find a spot in your garden that receives at least 4-6 hours of direct sunlight each day. However, if you live in a particularly hot climate, providing some shade during the hottest part of the day can help prevent the mint leaves from wilting.
In addition to sunlight, mint also prefers well-draining soil. It’s best to avoid areas where water tends to collect or where the soil retains too much moisture. Mint plants can tolerate a range of soil types, but they prefer soil that is slightly acidic to neutral with a pH level between 6.0 and 7.0.
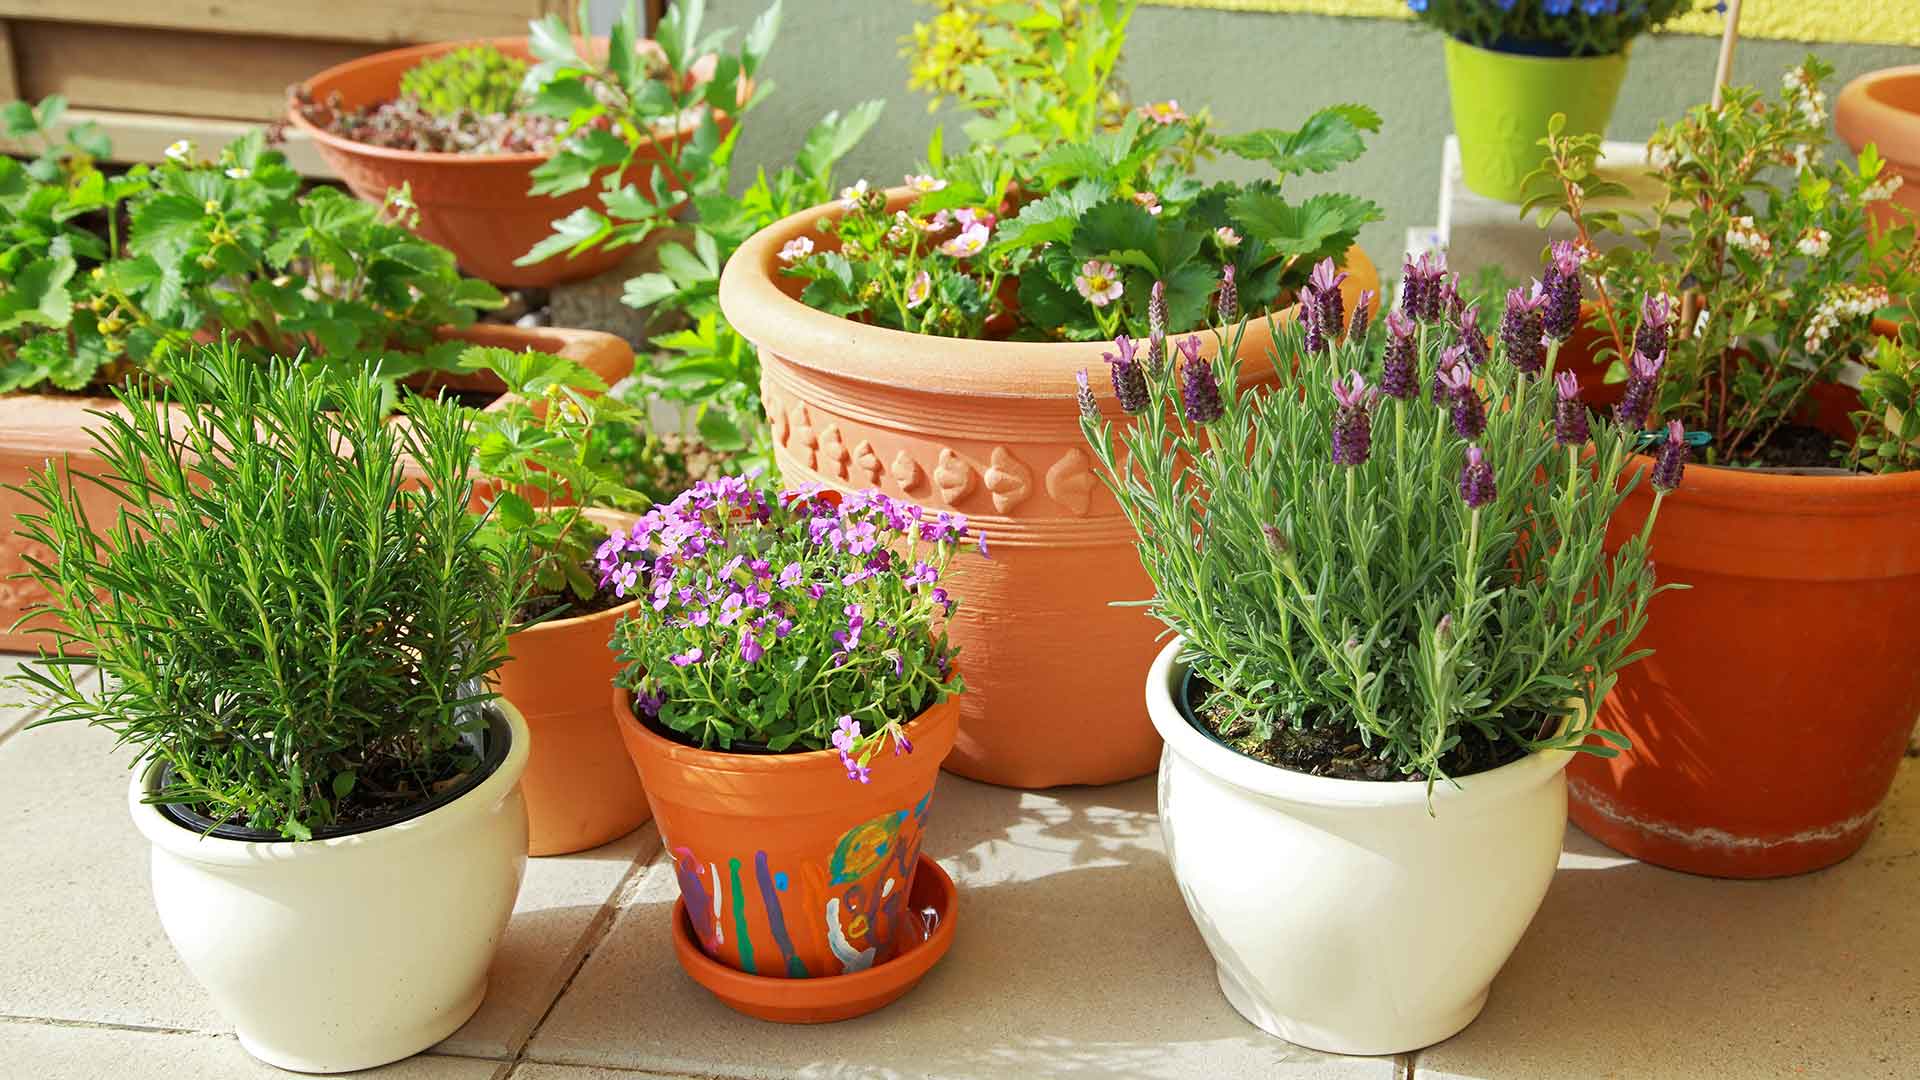
Another consideration when selecting a location is the proximity to other plants. Mint has a tendency to spread rapidly through underground runners called rhizomes. To prevent it from invading and overpowering other plants, it’s ideal to plant mint in a separate bed or container.
Lastly, if you’re concerned about mint taking over your garden, you can plant it in containers or use barriers like edging or buried plastic to limit its spread. These measures will help prevent the mint from spreading uncontrollably and ensure that you can easily manage its growth.
By choosing the right location, you create an environment that promotes the healthy growth of your mint plants and minimizes the risk of it becoming invasive.
Preparing the Soil
Proper soil preparation is essential for the successful growth of mint plants. Before planting mint seeds outdoors, it’s important to ensure that the soil is well-prepared and enriched with nutrients.
Start by removing any weeds or vegetation from the planting area. Mint plants are quite competitive and can outcompete other plants if not properly contained. Clearing the area will prevent any unwanted competition for nutrients and space.
Next, loosen the soil using a garden fork or tiller. This will help improve the soil structure, allowing for better drainage and root penetration. Mint plants prefer loose, friable soil that allows their roots to spread easily.
Once the soil is loosened, amend it with organic matter such as compost or well-rotted manure. This will enrich the soil with nutrients, improve its moisture-retaining capacity, and promote healthy plant growth.
Consider adding some perlite or sand to the soil if it tends to hold excess moisture. This will help improve drainage and prevent waterlogging, which can be detrimental to mint plants.
After incorporating the amendments, rake the soil to level it and remove any large clumps or rocks. This will provide an even surface for planting your mint seeds.
By preparing the soil properly, you create a favorable growing environment for your mint plants. The enriched soil will provide the necessary nutrients, drainage, and aeration needed for the seeds to germinate and the plants to thrive.
Selecting and Planting Mint Seeds
Now that you have chosen the perfect location and prepared the soil, it’s time to select and plant your mint seeds. When selecting mint seeds, you have several options to choose from, including different varieties such as spearmint, peppermint, or chocolate mint. Consider the flavor and aroma preferences to find the mint variety that suits your taste.
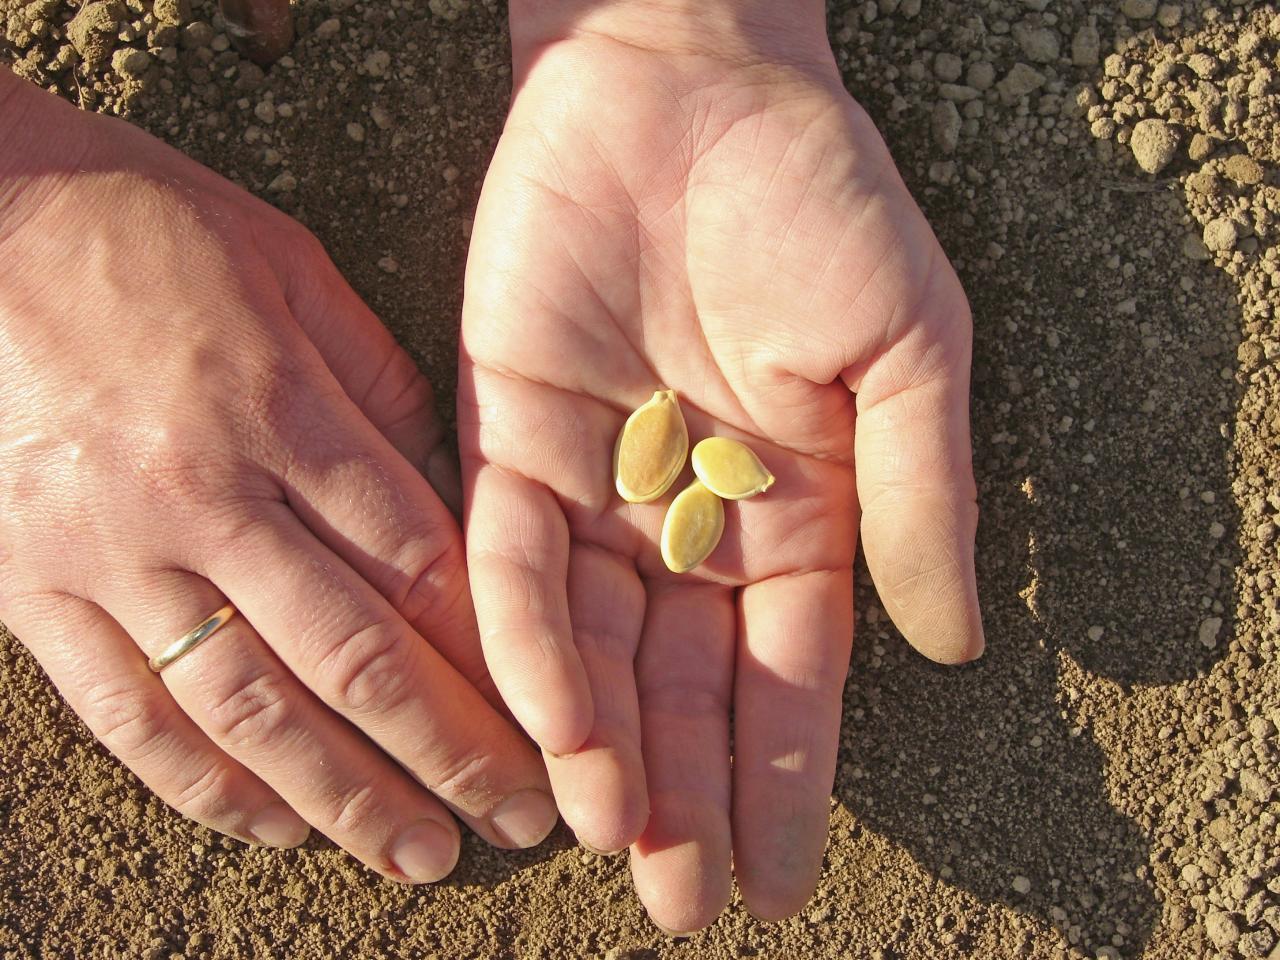
You can either purchase mint seeds from a local garden center or online, or you can collect seeds from an existing mint plant if you have one. If collecting seeds, wait until the mint plant has flowered and the seeds have matured. Collect the seeds by gently rubbing the dried flower heads between your fingers, allowing the seeds to fall into a container.
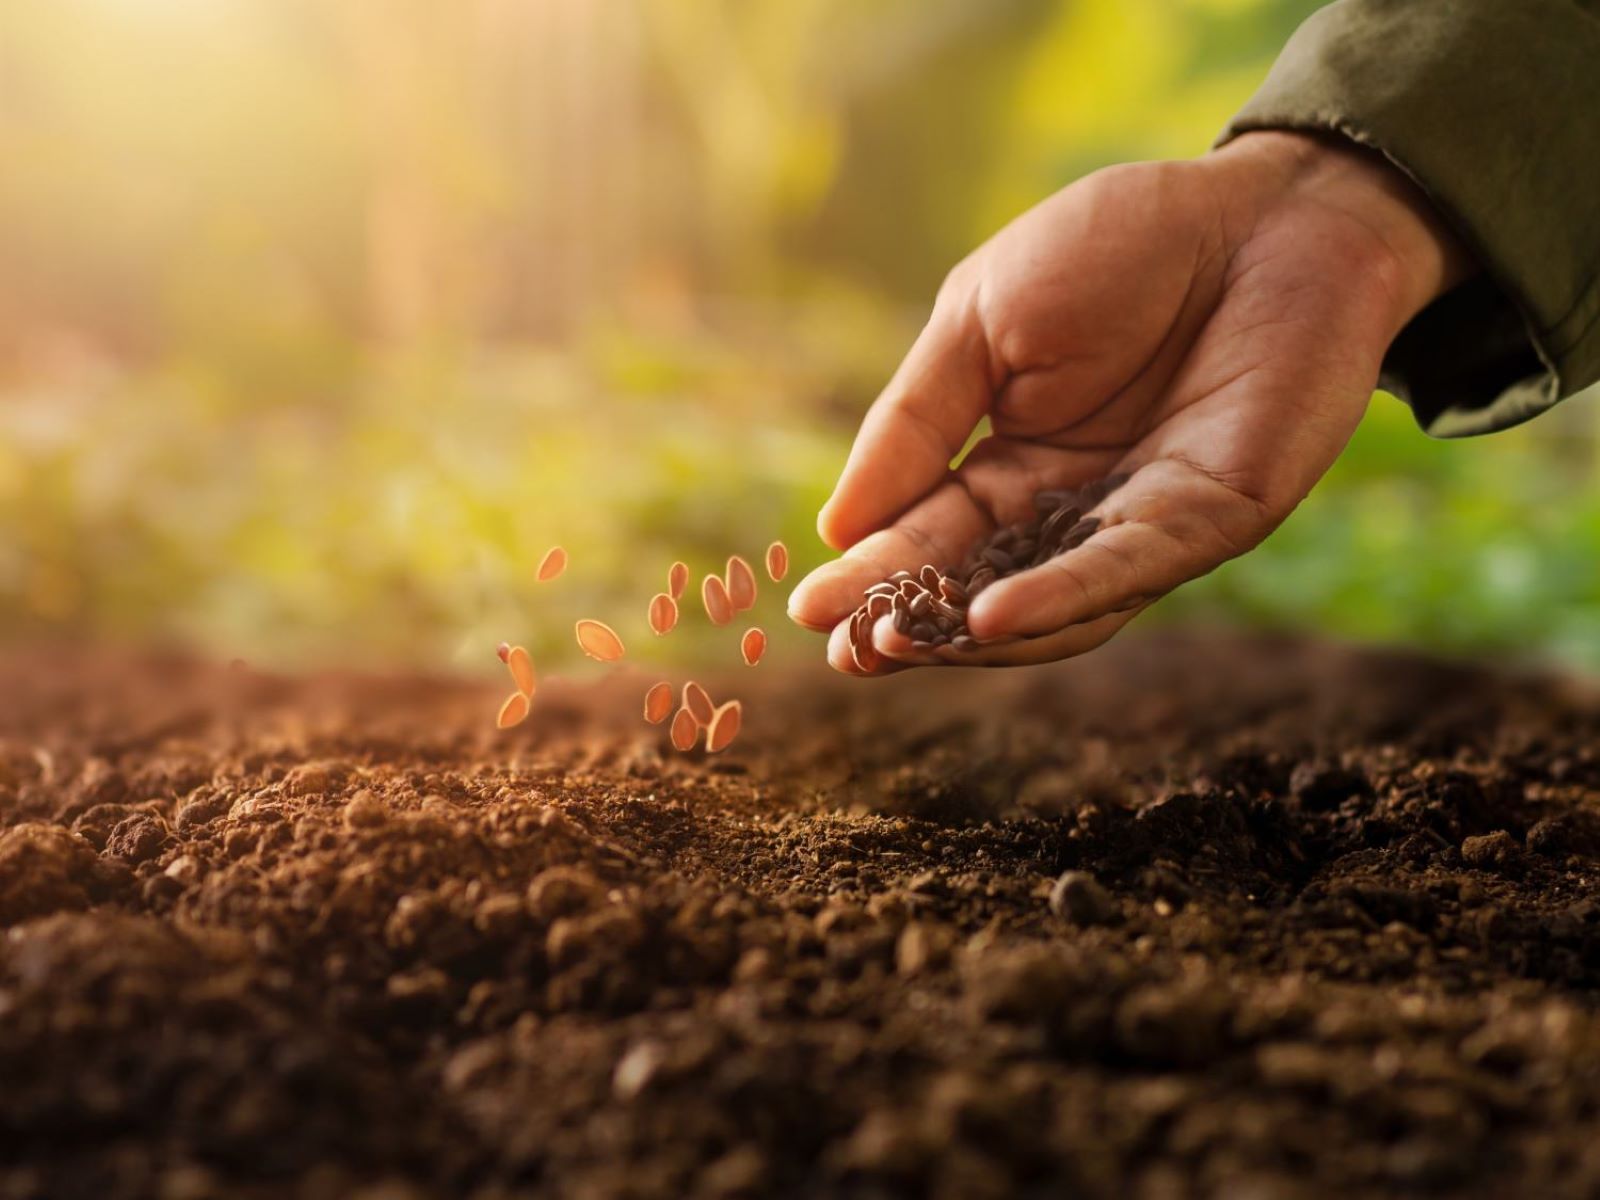
To plant mint seeds, create small furrows in the soil, about ¼ to ½ inch deep. Space the furrows about 12 to 18 inches apart to allow the mint plants sufficient room to grow. Gently sprinkle the mint seeds along the furrows, ensuring that they are evenly distributed.
After sowing the seeds, lightly cover them with a thin layer of soil, about ¼ inch deep. Be careful not to bury the seeds too deeply, as mint seeds require light for germination. Lightly water the soil, ensuring that it remains moist but not waterlogged.
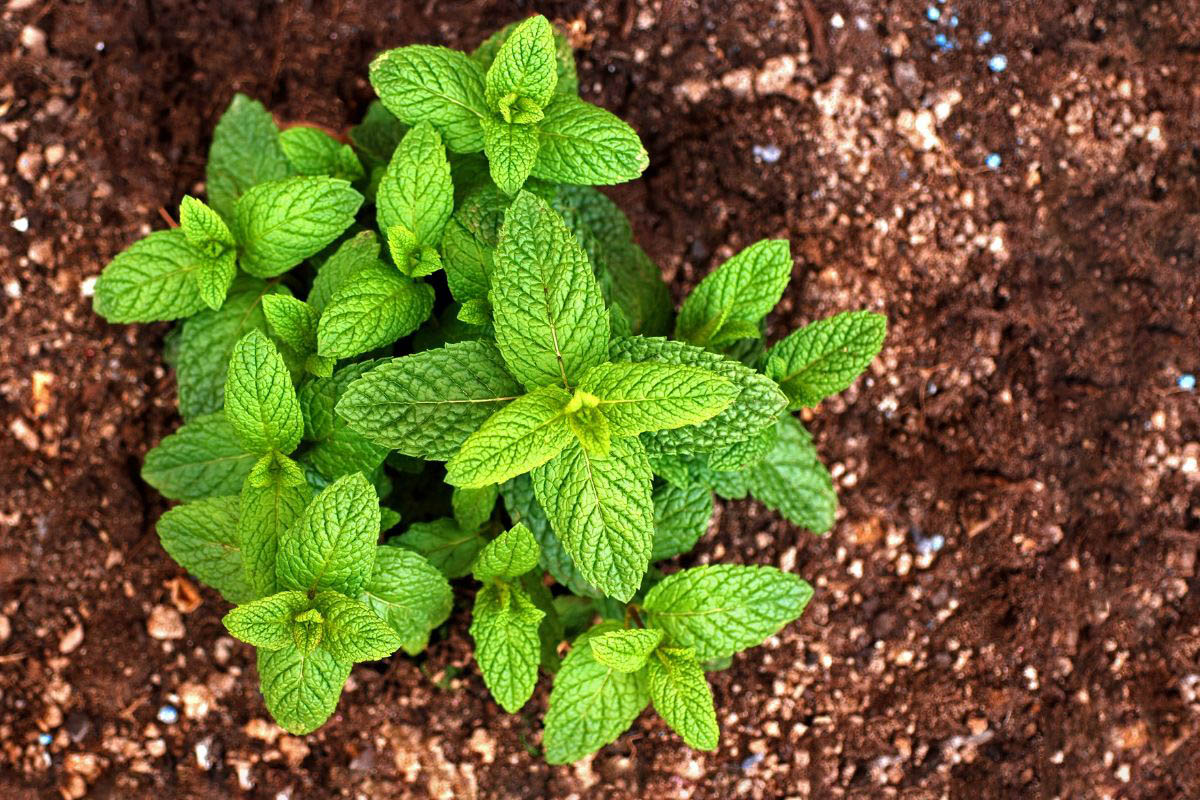
Mint seeds typically germinate within 7 to 10 days, but it can take up to 14 days for some varieties. During the germination period, it’s important to keep the soil consistently moist. Once the seedlings emerge, thin them out if necessary, leaving the strongest and healthiest ones with at least 6 inches of space between them.
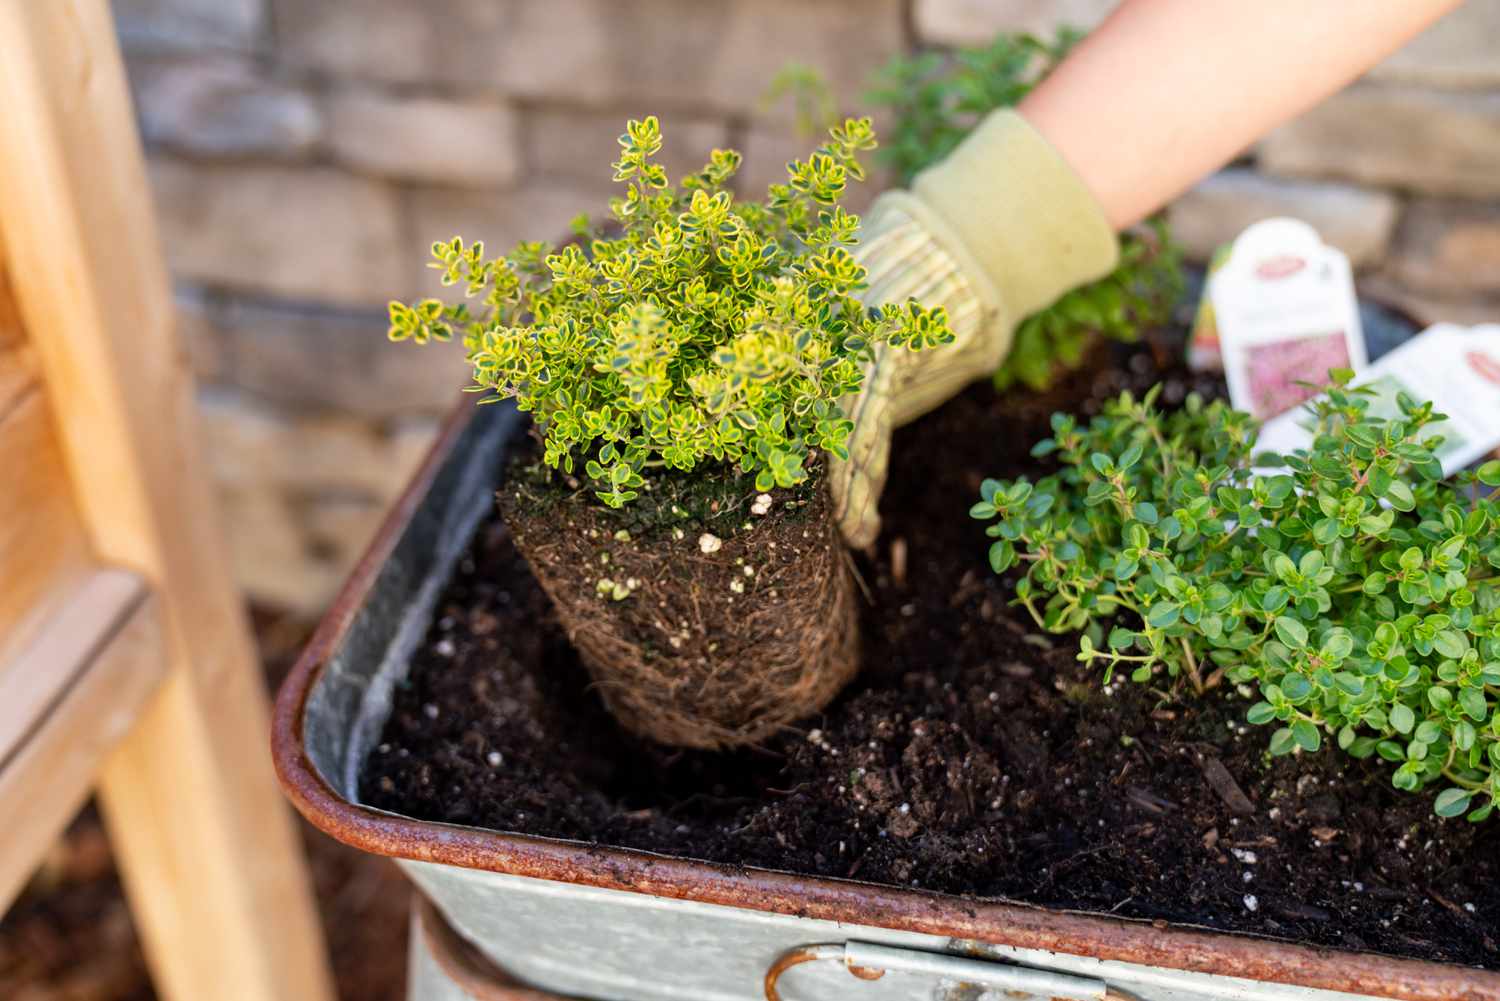
If you prefer a head start or want to ensure a specific mint variety, you can also propagate mint through cuttings. Simply cut a 4-6 inch stem from an existing mint plant just below a node, remove the lower leaves, and place the cutting in a glass of water. Within a week or two, roots will form, and you can transplant the cutting into the prepared soil.
By selecting and planting mint seeds or using cuttings, you’re one step closer to growing your own fresh and flavorful mint plants. Soon, you’ll be able to enjoy the delicious aroma and taste of homegrown mint in your recipes and beverages.
Providing Adequate Watering
Watering is a crucial aspect of mint plant care, as it helps to maintain the plant’s health and vigor. Mint plants require consistent moisture to thrive, but overwatering can lead to root rot and other issues. Finding the right balance is key.
Mint plants have a shallow root system, so it’s important to water them carefully to ensure that the moisture reaches the roots. Water the mint plants deeply, allowing the water to penetrate the soil and reach the root zone. Avoid surface-level watering, as it can encourage shallow root growth and make the plant more prone to drying out.
During hot and dry spells, check the moisture level of the soil regularly. If the soil feels dry to the touch, it’s time to water. Provide enough water to thoroughly moisten the soil, but avoid overwatering, which can lead to root rot and other fungal diseases.
Consider using a drip irrigation system or a soaker hose to water your mint plants. These methods deliver water directly to the root zone, minimizing evaporation and ensuring efficient water usage. If using a watering can or a hose, aim to water at the base of the plants rather than overhead, as this reduces the risk of foliage diseases.
It’s also important to note that mint plants are relatively drought-tolerant once established. However, consistent moisture is still essential, especially during the initial growth stages and in hot summer months.
Furthermore, mulching around the base of the mint plants can help retain soil moisture, suppress weed growth, and regulate the soil temperature. Apply a layer of organic mulch, such as wood chips or straw, around the plants, taking care to keep the mulch from directly touching the stems.
By providing adequate watering and maintaining proper soil moisture, you’ll ensure that your mint plants stay healthy and vibrant throughout their growth cycle.
Plant mint seeds outdoors in well-draining soil with full sun or partial shade. Sow seeds 1/4 inch deep and keep the soil consistently moist. Thin seedlings to 12 inches apart once they have grown a few inches tall.
Read more: How To Plant Mint Seeds
Maintaining the Mint Plant
To ensure the continued health and productivity of your mint plant, proper maintenance is essential. Here are some key aspects to consider when maintaining your mint plant:
1. Regular pruning: Mint plants have a tendency to grow vigorously and can quickly become unruly. To keep them in check, regularly trim back the mint stems and leaves. This not only helps maintain a compact and neat appearance but also encourages the plant to produce fresh, healthy growth.
2. Controlling spreading: As mentioned earlier, mint plants have a tendency to spread through underground rhizomes, which can quickly take over your garden if left uncontrolled. Regularly check the area surrounding the mint plant for any signs of spreading. If you notice runners or new shoots, gently pull them up or cut them back to prevent them from spreading further.
3. Fertilization: Mint plants benefit from regular fertilization to ensure they have an adequate supply of nutrients. Apply a balanced, slow-release fertilizer in the spring when new growth begins. Alternatively, you can top-dress the soil with compost or well-rotted manure to provide organic nutrients. Avoid over-fertilizing, as this can lead to lush foliage growth but reduced essential oil production.
4. Disease and pest control: Mint plants are generally resilient and not prone to many diseases or pests. However, occasional issues like powdery mildew or aphids may arise. Monitor your plants regularly and take swift action if you notice any signs of infestation or disease. Treatments such as organic insecticidal soap or neem oil can help control pests, while proper air circulation and avoiding overhead watering can prevent mildew.
5. Renewal and propagation: Mint plants tend to lose their vigor after a few years. To rejuvenate your mint plant, consider dividing it every 2-3 years. Lift the plant gently, separate the clumps into smaller sections, and replant them in fresh soil. This will promote healthier growth and prevent the mint plant from becoming overcrowded.
6. Winter care: Mint plants are hardy perennials in many regions, but they may require some protection during harsh winters. In colder climates, provide a layer of mulch around the base of the plants to insulate the roots. Alternatively, you can pot the mint plants and bring them indoors for the winter. Place them in a cool, well-lit area and reduce watering to allow for dormancy.
By following these maintenance practices, you can ensure that your mint plant remains healthy, productive, and a delightful addition to your garden.
Harvesting Mint Leaves
Harvesting mint leaves is an exciting moment for any gardener. Knowing when and how to harvest the leaves will ensure that you can enjoy a continuous supply of fresh mint for culinary and medicinal uses. Here’s how to harvest mint leaves:
1. Timing: Mint leaves can be harvested once the plants have reached a height of about 6 to 8 inches. It’s important to wait until the plants are well-established and have enough foliage to sustain healthy growth.
2. Selective harvesting: When harvesting mint leaves, it’s best to adopt a selective approach rather than removing large amounts of foliage at once. Choose a few stems or branches from different areas of the plant, rather than completely depleting one section. This allows the plant to continue growing and ensures a steady supply of fresh leaves throughout the growing season.
3. Harvesting method: To harvest mint leaves, simply pinch or cut off the stems just above a pair of healthy leaves or nodes. This encourages branching and new growth. Avoid cutting the mint plant down to the ground, as it needs some foliage to sustain itself and continue growing.
4. Post-harvest care: After harvesting the mint leaves, it’s important to handle them with care to maintain their freshness and flavor. Rinse the leaves gently under cool running water to remove any dirt or debris. Pat them dry with a paper towel or allow them to air dry briefly before using or storing.
5. Storing mint leaves: Mint leaves can be used immediately or stored for later use. To store fresh mint leaves, place them in a plastic bag or airtight container and store them in the refrigerator. They will stay fresh for up to a week. Alternatively, you can freeze the mint leaves by placing them in a zip-top bag or freezing them in ice cube trays with a little water or olive oil. Frozen mint leaves can be used in recipes or beverages as needed.
6. Regrowth: Mint plants have a remarkable ability to regrow after harvesting. With proper care, the plant will produce new leaves within a few weeks. Allow the remaining stems to continue growing and repeat the selective harvesting process as needed.
Harvesting mint leaves not only provides you with a fresh and aromatic herb for cooking, baking, and making refreshing beverages but also encourages the plant to grow vigorously and produce more foliage. Enjoy the wonderful flavors and aromas of freshly harvested mint from your own garden!
Troubleshooting Common Issues
While mint is a relatively easy plant to grow, it can sometimes encounter certain issues. Being aware of common problems and knowing how to troubleshoot them will help you maintain healthy mint plants. Here are some common issues you may encounter and how to address them:
1. Root rot: Overwatering can cause the roots of mint plants to rot, leading to wilting and yellowing of the leaves. To prevent root rot, ensure that the soil is well-drained and avoid overwatering. Allow the soil to dry out slightly between waterings and adjust your watering schedule accordingly.
2. Powdery mildew: Powdery mildew is a fungal disease that appears as a white powdery coating on the leaves. To prevent powdery mildew, ensure adequate air circulation around the plant by spacing the mint plants properly. If powdery mildew is present, remove the affected leaves and treat the plant with an organic fungicide or a mixture of baking soda and water.
3. Aphid infestations: Aphids are tiny insects that can suck the sap from mint plants, causing stunted growth and curled leaves. Use a strong spray of water to dislodge aphids from the leaves, or apply insecticidal soap or neem oil to control the infestation. Encouraging beneficial insects like ladybugs can also help control aphids naturally.
4. Mint rust: Mint rust is a fungal disease characterized by orange pustules on the undersides of leaves. It can cause leaf yellowing and defoliation. To manage mint rust, remove infected leaves and maintain good airflow around the plants. Apply a fungicide labeled for rust control if the problem persists.
5. Herbicide drift: Mint plants are sensitive to certain herbicides, and exposure to herbicide drift can cause leaf distortion or even death. To prevent herbicide drift, avoid planting mint near areas where herbicides are applied. If you suspect herbicide drift, immediately wash off the affected leaves with water to minimize damage.
6. Invasive growth: Mint plants are known for their vigorous spreading habit. To control their growth and prevent them from taking over your garden, consider planting mint in containers or use barriers like edging or buried plastic to limit their spread. Regularly monitor the area surrounding the mint plants and remove any new shoots or runners.
By being proactive and addressing these common issues early on, you can ensure the continued health and vitality of your mint plants. Remember to practice good plant hygiene, provide proper care, and monitor your plants regularly for any signs of trouble.
Conclusion
Congratulations, you’ve learned the ins and outs of planting mint seeds outdoors! With the right location, soil preparation, and care, you can enjoy a bountiful harvest of fresh, aromatic mint leaves in your very own garden.
Remember to choose a suitable location that provides enough sunlight and well-draining soil for your mint plants. Prepare the soil by removing weeds, loosening it, and adding organic matter to enrich it with nutrients. Select and plant mint seeds or propagate the plant through cuttings for a head start.
Providing adequate watering, maintaining the plant, and addressing common issues such as overwatering, pests, and diseases will contribute to the overall health and productivity of your mint plants. Regular pruning, controlling spreading, and renewing the mint plants periodically will help keep them in check and promote healthy growth.
When it comes time to harvest the mint leaves, remember to do so selectively, allowing the remaining plant to continue growing. Properly store the harvested leaves to maintain their freshness and flavor for future use.
Lastly, troubleshooting common issues and taking proactive measures will ensure that your mint plants thrive and bring you joy throughout the growing season. By providing the right care and attention, you’ll be rewarded with a continuous supply of delicious mint for culinary delights, refreshing beverages, and even DIY herbal remedies.
So, go ahead and embark on your mint-growing journey. Enjoy the process, experiment with different mint varieties, and savor the rewards of having your very own mint garden. Happy gardening!
Frequently Asked Questions about How To Plant Mint Seeds Outdoors
Was this page helpful?
At Storables.com, we guarantee accurate and reliable information. Our content, validated by Expert Board Contributors, is crafted following stringent Editorial Policies. We're committed to providing you with well-researched, expert-backed insights for all your informational needs.


0 thoughts on “How To Plant Mint Seeds Outdoors”