Home>Furniture & Design>Outdoor Furniture>How To Build An Outdoor Plant Shelf
Outdoor Furniture
How To Build An Outdoor Plant Shelf
Modified: August 28, 2024
Discover how to create a stylish outdoor plant shelf with our expert tips and design ideas. Elevate your outdoor space with our outdoor furniture and design inspiration.
(Many of the links in this article redirect to a specific reviewed product. Your purchase of these products through affiliate links helps to generate commission for Storables.com, at no extra cost. Learn more)
Introduction
Welcome to the world of outdoor living, where the joys of nature and the comfort of home converge. Creating a welcoming outdoor space involves a blend of functionality and aesthetics, and one way to achieve this is by incorporating a DIY outdoor plant shelf. This versatile piece of furniture not only adds a touch of greenery to your outdoor sanctuary but also serves as a practical storage solution for potted plants, decorative items, and even outdoor entertaining essentials.
Building your own outdoor plant shelf allows you to customize its size, design, and materials to seamlessly integrate with your outdoor decor. Whether you have a spacious patio, a cozy balcony, or a lush garden, a well-crafted plant shelf can elevate the ambiance and organization of your outdoor area.
In this guide, we will walk you through the step-by-step process of constructing an outdoor plant shelf, from gathering the necessary materials to adding the finishing touches. By the end of this journey, you’ll not only have a newfound sense of accomplishment but also a stunning addition to your outdoor space that reflects your personal style and enhances your connection with nature.
Key Takeaways:
- Building an outdoor plant shelf is a fun and rewarding DIY project that allows you to customize the size, design, and materials to create a stunning and practical addition to your outdoor space.
- By carefully measuring, cutting, assembling, and adding plants and decor, you can transform basic materials into a captivating platform that showcases the beauty of nature and reflects your personal style.
Read more: How To Build A Shelf In A Cabinet
Materials Needed
Before embarking on this DIY project, it’s essential to gather the necessary materials and tools. Here’s a comprehensive list of what you’ll need to construct your outdoor plant shelf:
- Pressure-treated lumber or cedar boards: These will serve as the main material for the frame and shelves, providing durability and weather resistance.
- Measuring tape and pencil: Essential for accurately marking and measuring the wood for cutting.
- Saw: A circular saw or miter saw for cutting the lumber to the desired dimensions.
- Sandpaper or sander: To smooth the rough edges and surfaces of the wood for a polished finish.
- Wood screws: These will be used to secure the frame and shelves together, ensuring stability and sturdiness.
- Drill and drill bits: Necessary for pre-drilling holes and driving the screws into the wood.
- Wood stain or outdoor sealant: For protecting the wood from the elements and enhancing its natural beauty.
- Paintbrush or rag: To apply the wood stain or sealant evenly across the surfaces of the wood.
- Level: Ensures that the plant shelf is assembled perfectly horizontal and vertical.
- Protective gear: Safety goggles, gloves, and a dust mask for personal protection during cutting and sanding.
- Optional: Decorative brackets, hooks, or hardware for adding visual interest and functionality to the plant shelf.
By having these materials at your disposal, you’ll be well-equipped to commence the construction of your outdoor plant shelf. With careful planning and attention to detail, you can transform these basic components into a stunning and practical addition to your outdoor living space.
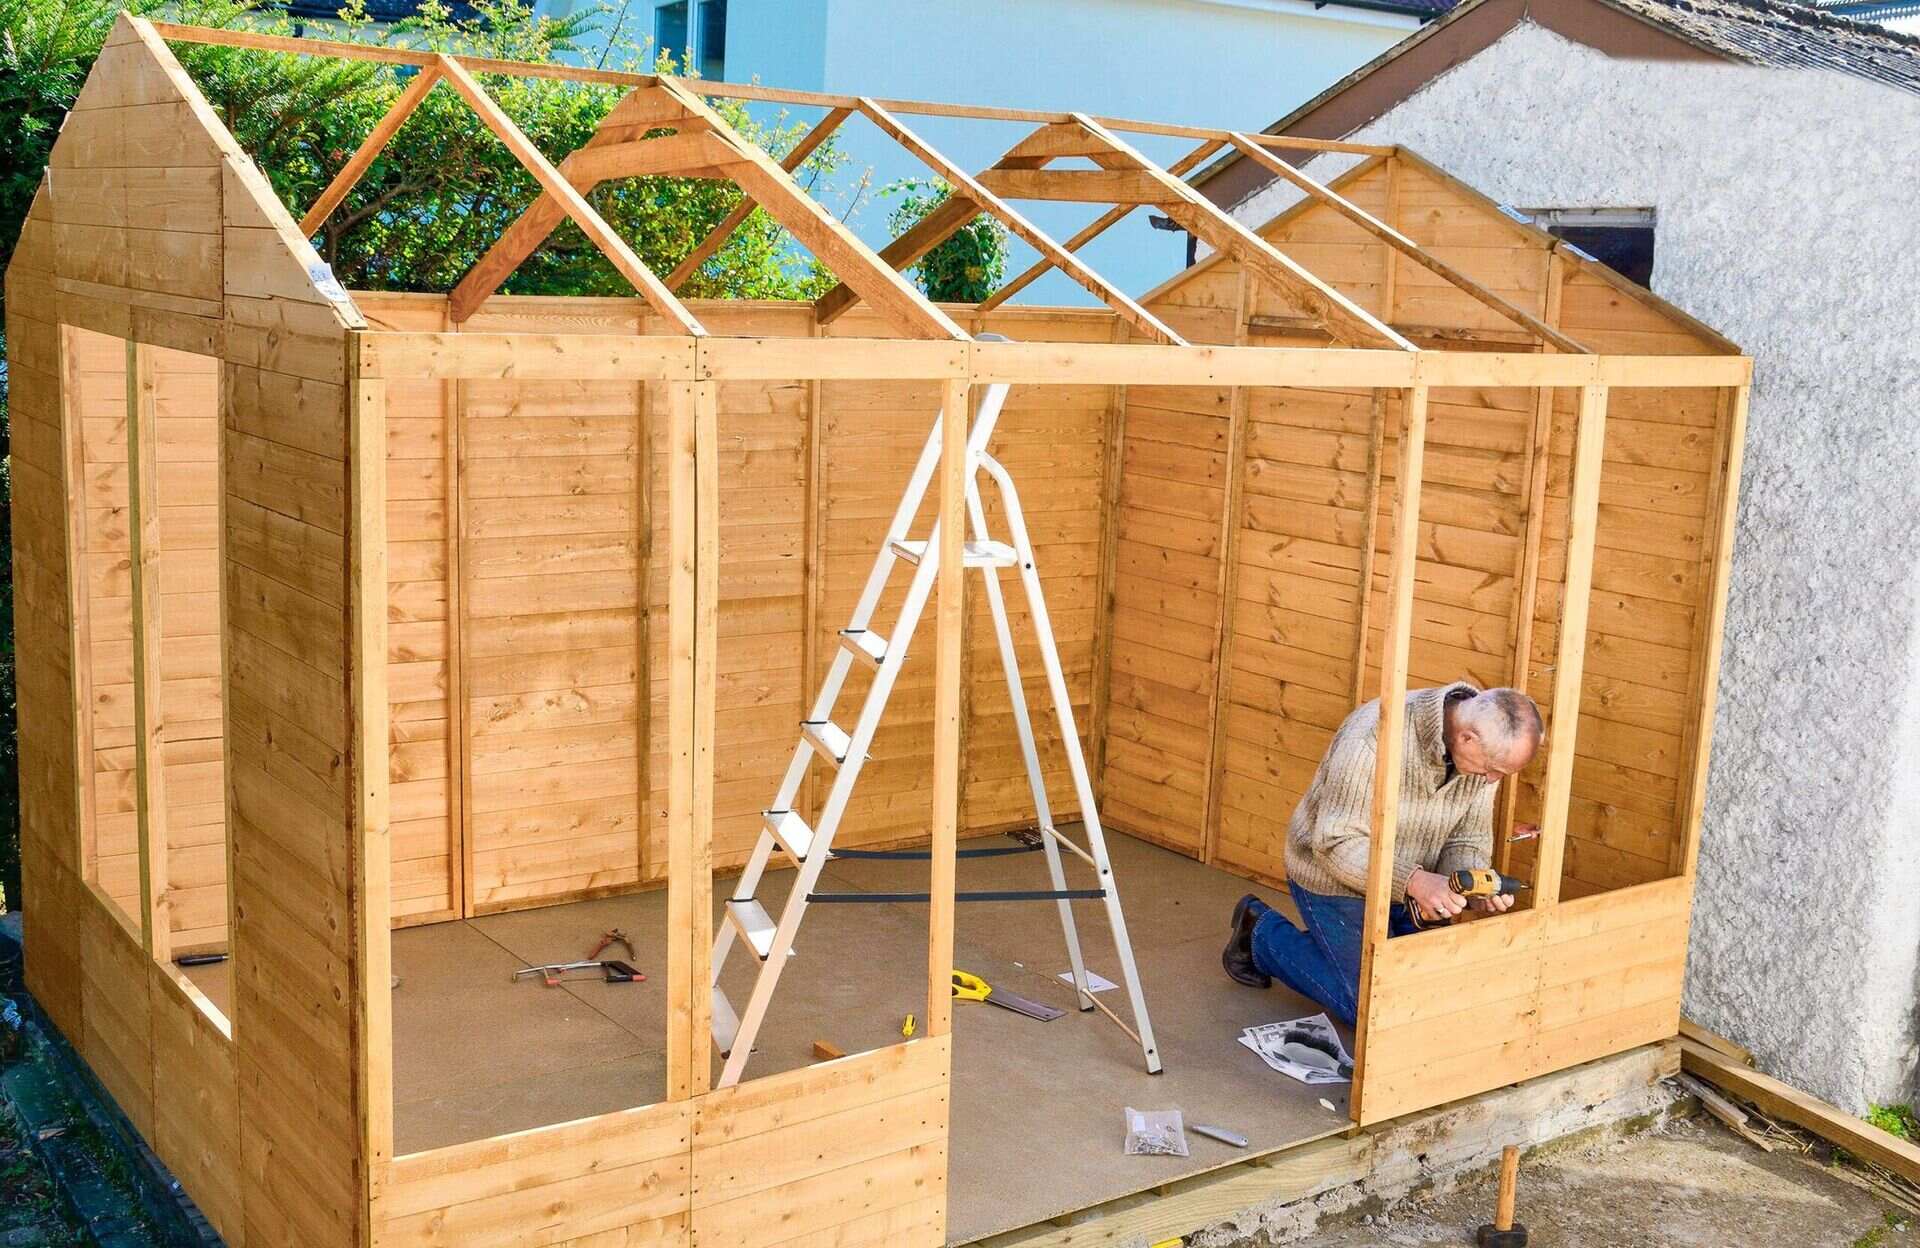
Step 1: Measure and Cut Wood
The first step in building your outdoor plant shelf is to measure and cut the wood to the desired dimensions. Start by determining the overall size of the plant shelf based on the available space and your specific requirements. Consider the height, width, and number of shelves you’d like to incorporate into the design.
Using a measuring tape and pencil, mark the lumber according to your measurements, ensuring precision and accuracy. If you’re aiming for a multi-tiered plant shelf, designate the dimensions for each shelf, taking into account the spacing between them to accommodate various plant sizes and decorative elements.
Once the wood is marked, carefully cut along the lines using a saw, such as a circular saw or miter saw, to create the individual components of the plant shelf, including the frame and shelves. Take your time to execute clean and straight cuts, as they will contribute to the overall professional appearance and structural integrity of the finished piece.
It’s important to prioritize safety during this step, so be sure to wear protective gear, such as safety goggles and gloves, to shield yourself from any potential hazards associated with cutting and handling wood. Additionally, work in a well-ventilated area and consider wearing a dust mask if you’re sanding the cut edges to minimize airborne particles.
By the end of this step, you should have the wooden pieces prepared and ready for assembly. The precision and care put into measuring and cutting the wood will lay the foundation for a well-crafted outdoor plant shelf that seamlessly integrates into your outdoor oasis.
Step 2: Assemble the Frame
With the wood cut to the appropriate dimensions, it’s time to assemble the frame of your outdoor plant shelf. The frame serves as the structural backbone, providing stability and support for the shelves and the items they will hold. Whether you’re constructing a single-tier or multi-tiered plant shelf, the assembly process remains fundamentally similar.
Begin by laying out the cut pieces of lumber in the designated configuration, ensuring that they align perfectly at the corners and edges. Use a level to confirm that the frame is being assembled on a flat and even surface, which is crucial for the overall stability and balance of the plant shelf.
Next, pre-drill guide holes into the wood at the joints where the pieces will be connected. This will prevent the wood from splitting when you drive in the screws. Once the guide holes are drilled, use wood screws to securely fasten the frame together, paying attention to the alignment and ensuring that the corners are square.
If you’re constructing a multi-tiered plant shelf, repeat the assembly process for each additional tier, ensuring that the frames are aligned and level. Take your time to make any necessary adjustments to achieve a uniform and cohesive structure.
As you progress through this step, the careful and precise assembly of the frame will lay the groundwork for a sturdy and reliable outdoor plant shelf. The attention to detail and craftsmanship invested in this phase will contribute to the overall durability and functionality of the finished piece, ensuring that it stands the test of time in your outdoor setting.
When building an outdoor plant shelf, make sure to use weather-resistant materials such as cedar or pressure-treated wood to ensure durability and longevity.
Step 3: Attach the Shelves
With the frame of the outdoor plant shelf securely assembled, the next step is to attach the shelves, transforming the structure into a functional and visually appealing piece of furniture. The placement and spacing of the shelves will depend on your design preferences and the intended use of the plant shelf.
Begin by positioning the pre-cut shelves onto the frame, ensuring that they align evenly and securely. Use a measuring tape to guarantee consistent spacing between the shelves, maintaining a harmonious and balanced appearance. Once the positioning is finalized, secure the shelves to the frame by pre-drilling guide holes and driving wood screws through the shelves into the frame.
For added reinforcement, consider adding diagonal braces or supports underneath the shelves to enhance their load-bearing capacity, especially if you plan to display heavier potted plants or decorative items. These braces can be cut from the same lumber used for the frame and shelves and attached securely using wood screws.
If you’re creating a multi-tiered plant shelf, repeat the process for each additional shelf, ensuring that they are uniformly spaced and securely attached. Take the time to assess the stability and levelness of each shelf as you progress, making any necessary adjustments to guarantee a solid and balanced final product.
As the shelves are attached, visualize how they will accommodate your beloved plants and decorative accents, and anticipate the delightful transformation they will bring to your outdoor space. The strategic placement and secure attachment of the shelves are pivotal in creating a versatile and captivating outdoor plant shelf that seamlessly integrates with your outdoor environment.
Read more: How To Build Ladder Shelf
Step 4: Sand and Stain
Once the structural components of the outdoor plant shelf are in place, it’s time to refine the visual appeal and enhance the longevity of the wood through sanding and staining. This crucial step not only adds a touch of finesse to the finished piece but also provides protection against the elements, ensuring that your plant shelf remains resilient and attractive in your outdoor setting.
Begin by using sandpaper or a sander to smooth out any rough edges, surfaces, and corners of the wood. Pay special attention to the areas where the wood has been cut and joined, aiming to achieve a uniform and velvety texture across the entire plant shelf. This process not only enhances the tactile quality of the wood but also prepares it for the application of the wood stain or outdoor sealant.
After sanding, carefully wipe away any residual dust and debris from the wood using a clean cloth or brush. This ensures that the surface is clean and ready for the next stage of the process: staining. Choose a wood stain or outdoor sealant that complements the aesthetic of your outdoor space and provides the level of protection required for the plant shelf to withstand the elements.
Using a paintbrush or rag, apply the wood stain or sealant evenly across the surfaces of the plant shelf, following the manufacturer’s instructions. Take care to coat the wood thoroughly, ensuring that all exposed areas are adequately protected. Allow the stain or sealant to dry completely according to the recommended drying time, and apply additional coats if necessary to achieve the desired finish and level of protection.
As the wood absorbs the stain or sealant, envision the rich and lustrous transformation taking place, accentuating the natural grain and character of the wood. This final touch not only elevates the visual allure of the outdoor plant shelf but also fortifies it against the elements, ensuring that it remains a timeless and enduring feature of your outdoor sanctuary.
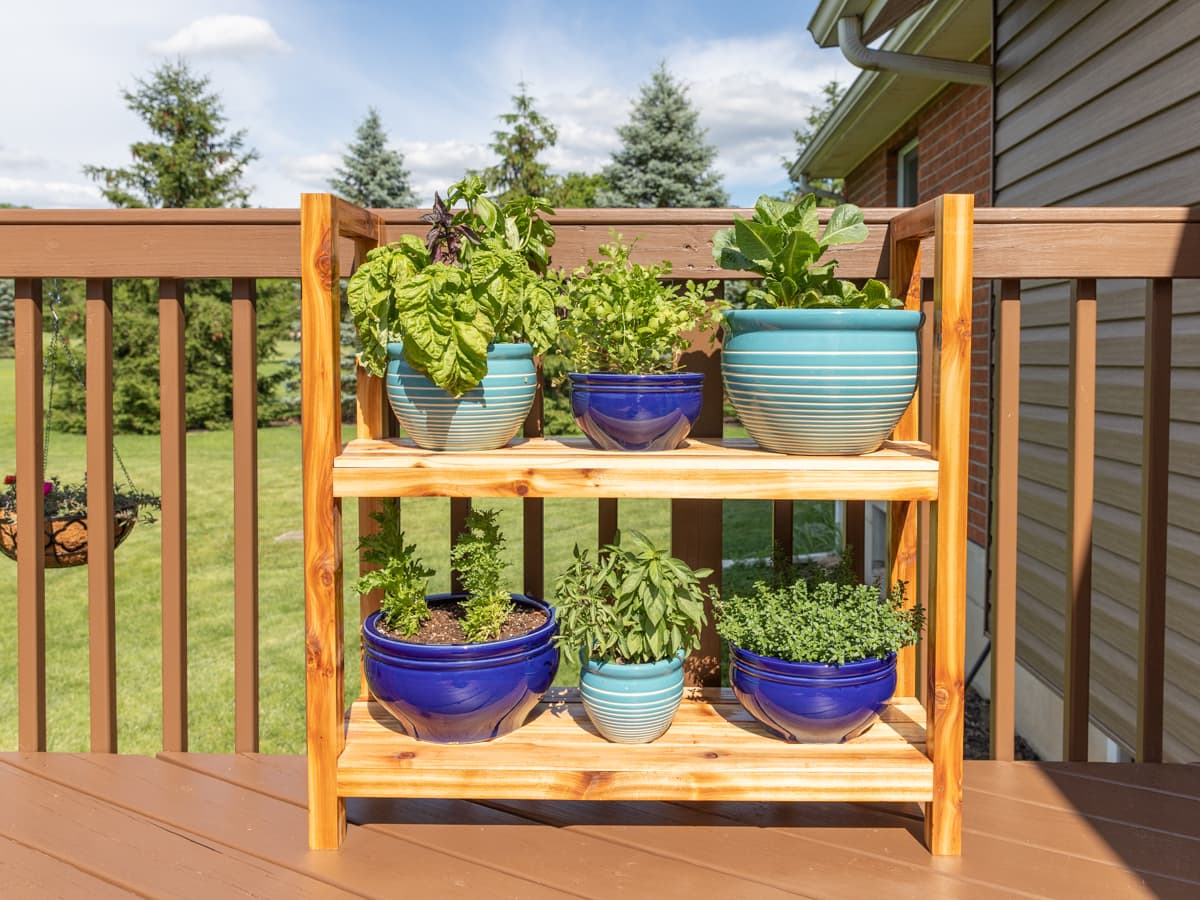
Step 5: Add Plants and Decor
With the outdoor plant shelf fully assembled, refined, and ready for use, it’s time to infuse it with vibrant greenery, decorative accents, and personal touches that reflect your unique style and preferences. This step marks the culmination of your efforts, transforming the plant shelf into a captivating focal point that harmonizes with the natural beauty of your outdoor space.
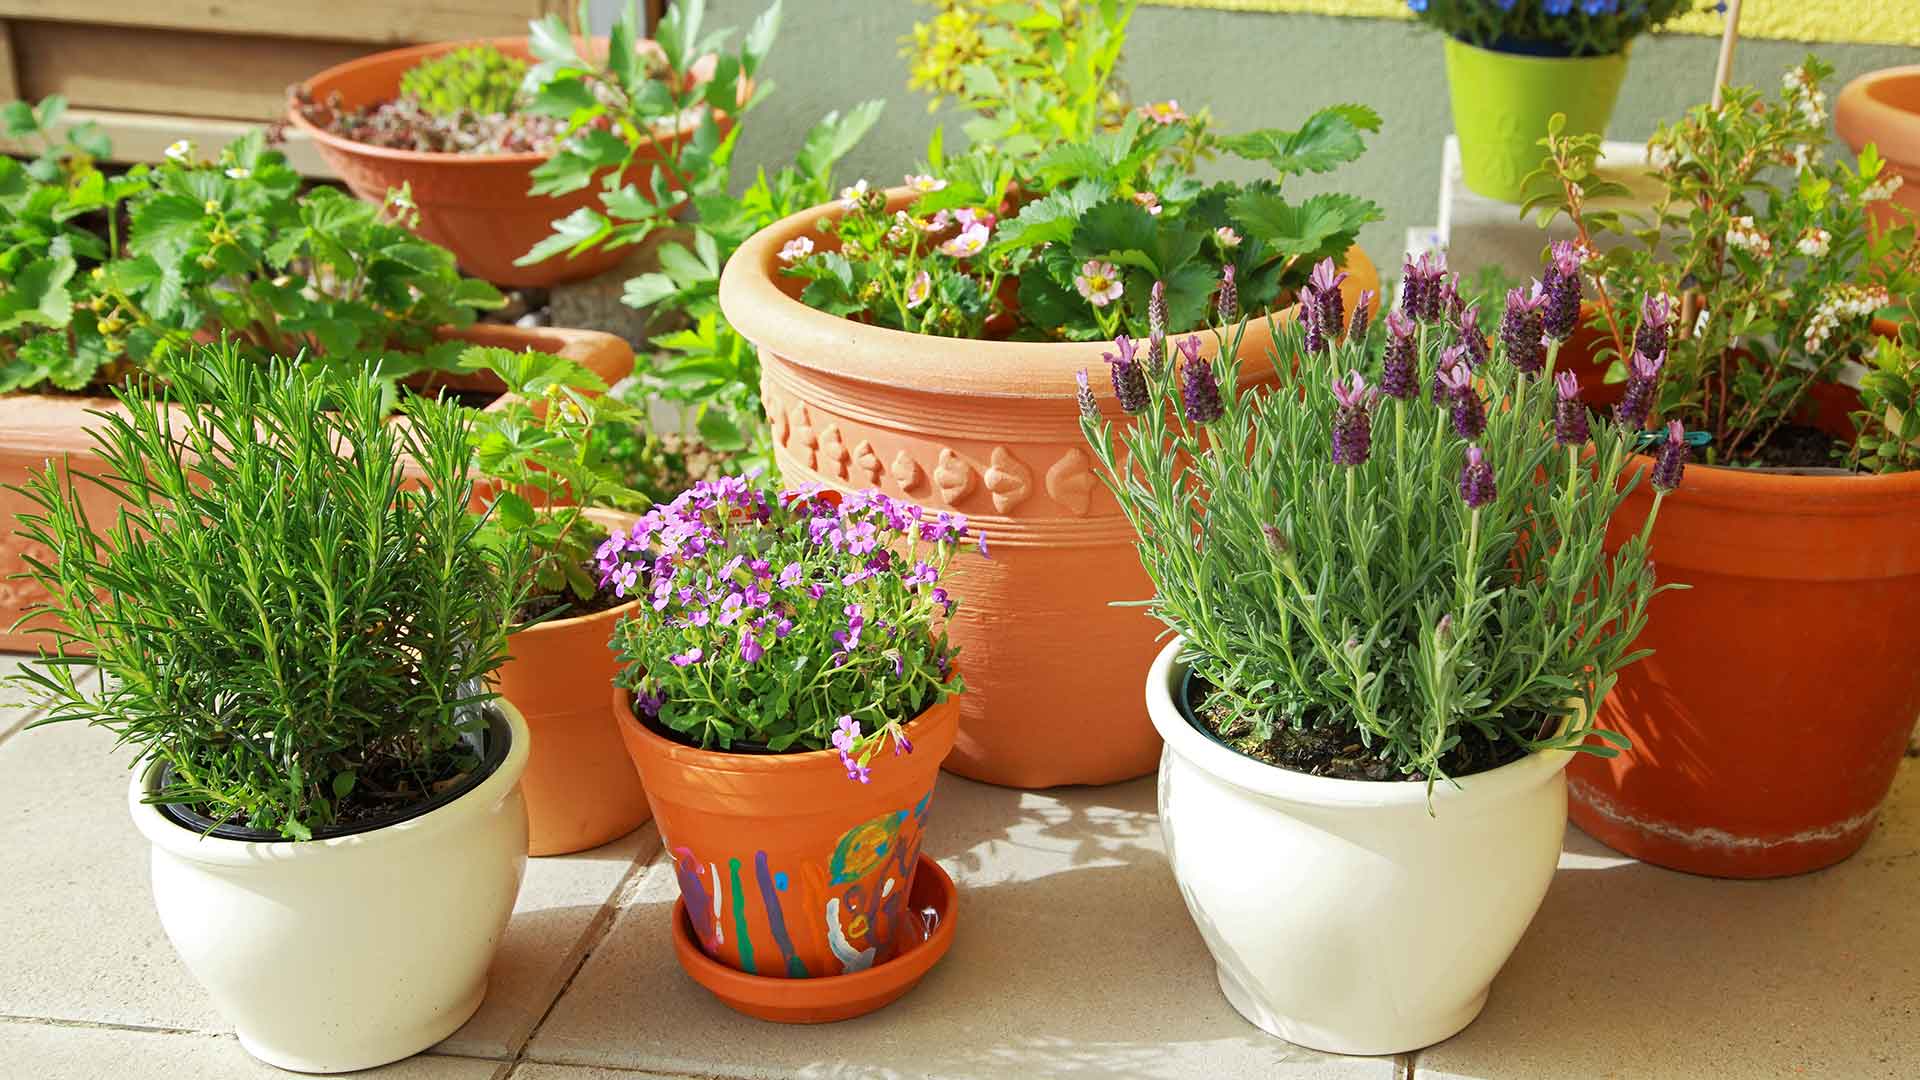
Begin by selecting an assortment of potted plants that thrive in your specific outdoor environment, considering factors such as sunlight exposure, climate, and watering needs. Choose a variety of plant sizes, shapes, and foliage textures to create visual interest and depth on the shelves. Whether you opt for lush cascading vines, colorful flowering plants, or sculptural succulents, let your plant selection reflect your individual taste and the ambiance you wish to cultivate.
In addition to plants, consider incorporating decorative elements such as ceramic planters, garden sculptures, lanterns, or string lights to enhance the visual appeal of the plant shelf. These accents can add personality and charm to the display, infusing it with a sense of warmth and character.
As you arrange the plants and decor on the shelves, experiment with different compositions and arrangements to achieve a balanced and visually captivating display. Consider varying the heights and textures of the plants and decorative items, creating an organic and dynamic tableau that draws the eye and invites admiration.
Once the plants and decor are in place, step back and admire the transformation taking place. Observe how the lush greenery and thoughtful accents breathe life and charm into your outdoor space, creating an inviting and enchanting atmosphere that beckons you to linger and savor the beauty of nature.
By adding plants and decor to the outdoor plant shelf, you have not only completed the construction process but also infused your outdoor sanctuary with a touch of your own creativity and personality. The curated display serves as a testament to your craftsmanship and design sensibilities, enriching your outdoor living experience and captivating the admiration of all who encounter it.
Conclusion
Congratulations on successfully crafting your own outdoor plant shelf, a testament to your creativity, craftsmanship, and dedication to enhancing your outdoor living space. Through this DIY project, you’ve not only built a functional and visually appealing piece of furniture but also created a captivating platform for showcasing the beauty of nature and expressing your personal style.
As you reflect on the journey from gathering the materials to adding the finishing touches, take pride in the thought and effort invested in each step of the process. The careful measurements, precise cuts, and meticulous assembly have culminated in a sturdy and reliable plant shelf that seamlessly integrates into your outdoor environment.
The addition of the wood stain or outdoor sealant has not only enhanced the natural beauty of the wood but also fortified it against the elements, ensuring that your plant shelf will endure the passage of time and continue to enrich your outdoor sanctuary for years to come.
As you adorn the plant shelf with an array of greenery and decorative accents, take pleasure in the transformation taking place before your eyes. The curated display serves as a reflection of your design sensibilities and a celebration of the splendor of nature, infusing your outdoor space with a sense of tranquility and charm.
Whether your plant shelf graces a sunlit patio, a serene garden nook, or a bustling balcony, it stands as a testament to your ability to merge practicality with aesthetics, creating a space that beckons you to unwind, connect with nature, and savor the simple joys of outdoor living.
As you revel in the beauty and functionality of your outdoor plant shelf, consider the potential for further customization and evolution. Whether through seasonal decor changes, the addition of new plant varieties, or the incorporation of innovative elements, your plant shelf remains a canvas for ongoing creativity and expression.
Embrace the joy of nurturing your outdoor oasis and revel in the tranquil haven you’ve cultivated. Your outdoor plant shelf stands as a testament to the transformative power of DIY craftsmanship and the enduring allure of bringing nature and design together in perfect harmony.
Frequently Asked Questions about How To Build An Outdoor Plant Shelf
Was this page helpful?
At Storables.com, we guarantee accurate and reliable information. Our content, validated by Expert Board Contributors, is crafted following stringent Editorial Policies. We're committed to providing you with well-researched, expert-backed insights for all your informational needs.


0 thoughts on “How To Build An Outdoor Plant Shelf”