Home>Garden Essentials>How To Plant Seeds Outdoors
Garden Essentials
How To Plant Seeds Outdoors
Modified: September 1, 2024
Learn how to plant seeds outdoors in your garden with our step-by-step guide. Start growing your own beautiful garden today!
(Many of the links in this article redirect to a specific reviewed product. Your purchase of these products through affiliate links helps to generate commission for Storables.com, at no extra cost. Learn more)
Introduction
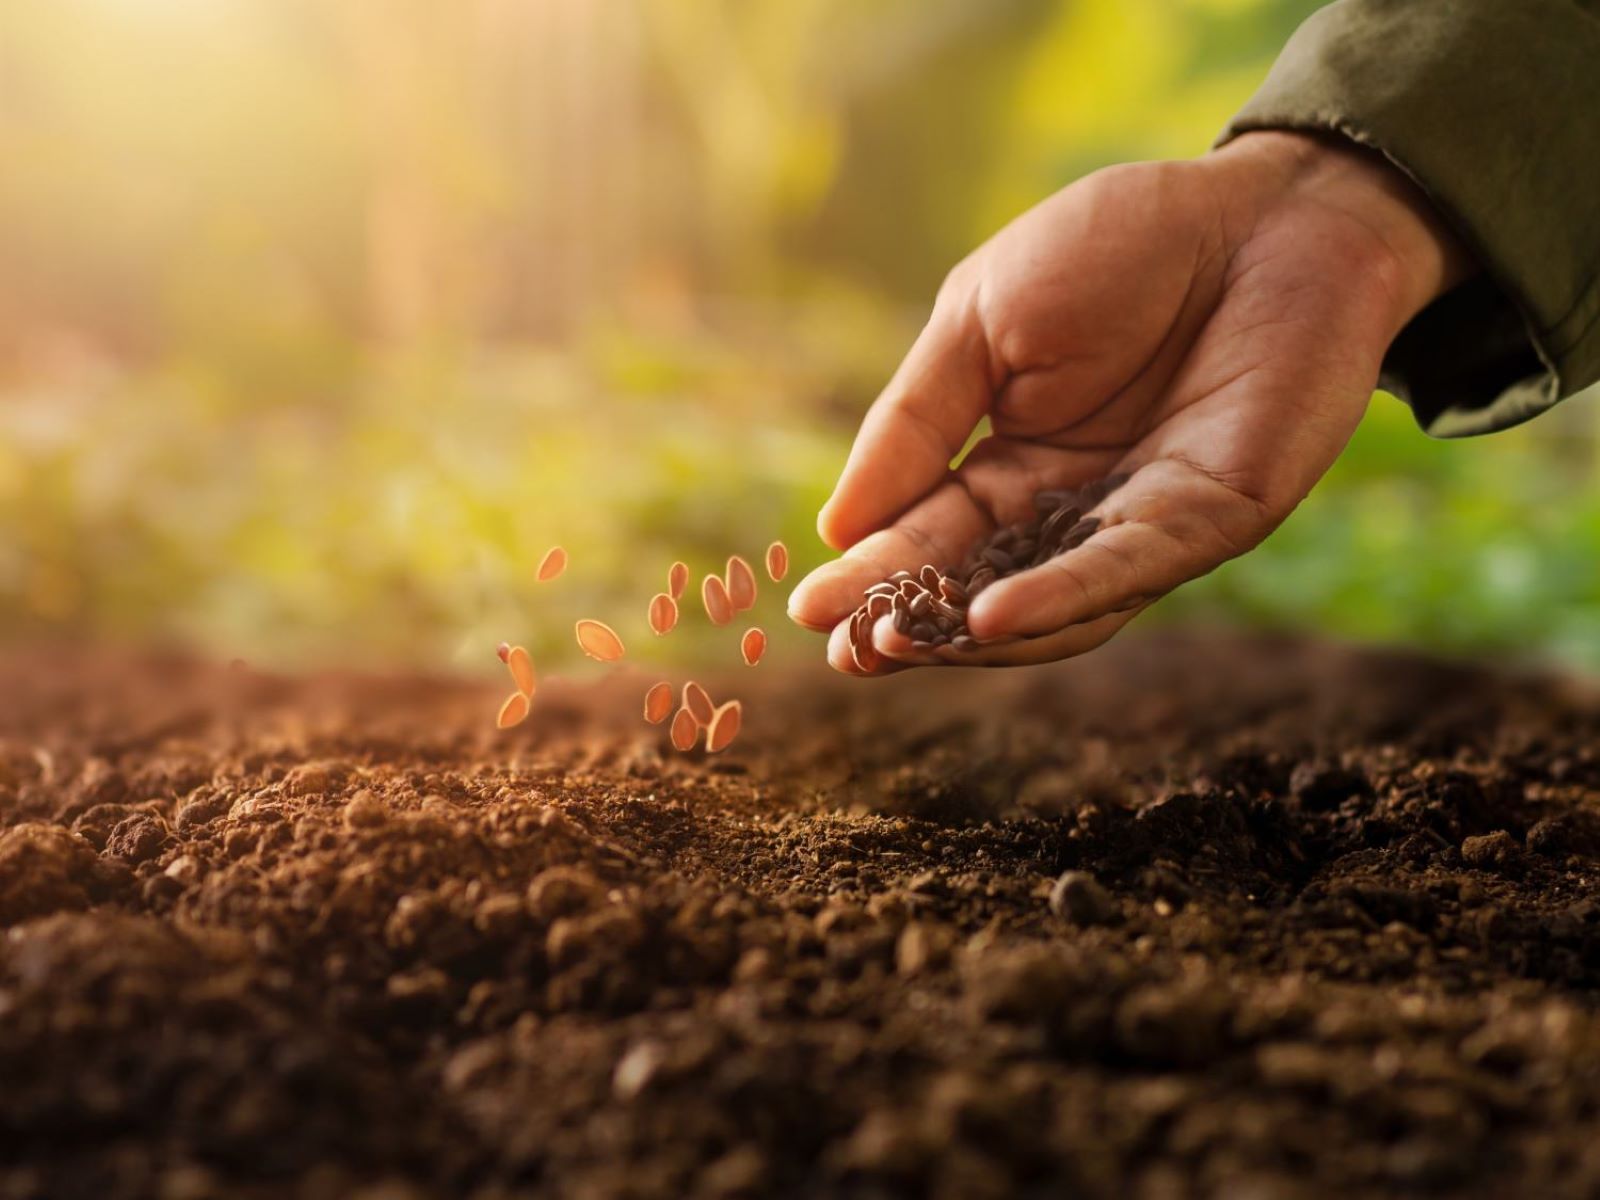
Welcome to the world of outdoor gardening! Planting seeds outdoors is an exciting and rewarding endeavor that allows you to witness the miracle of life as tiny seeds transform into thriving plants. Whether you have a large backyard, a small balcony, or even just a few pots on a windowsill, you can experience the joy of growing your own garden.
In this article, we will guide you through the steps to successfully plant seeds outdoors. From choosing the right seeds to harvesting your plants, we will cover all the essential information you need to know to create a thriving garden.
Planting seeds outdoors offers a myriad of benefits. Not only does it allow you to enjoy fresh, homegrown produce, but it also connects you with nature, provides a sense of accomplishment, and can even be a form of therapy. Plus, gardening is a fantastic way to reduce your carbon footprint and promote a greener environment.
So, let’s dig in and discover the joy and satisfaction of planting seeds outdoors!
Key Takeaways:
- Choose seeds that match your climate, space, and time commitment. Read seed packets for planting instructions and opt for high-quality, organic or heirloom varieties for a successful outdoor garden.
- Prepare soil, plan planting area, and sow seeds correctly. Provide regular watering, maintenance, and monitor growth for a thriving garden. Harvest at peak ripeness and enjoy the fruits of your labor.
Read more: How To Plant Outdoor Plants In Pots
Step 1: Choosing the Right Seeds
Before you start planting seeds outdoors, it’s crucial to choose the right seeds for your garden. Consider the following factors to ensure a successful and bountiful harvest:
- Climate: Take into account the climate in your region. Some seeds thrive in cooler conditions, while others require warmer temperatures. Look for seeds that are suitable for your specific climate.
- Season: Determine the appropriate season to plant the seeds. Certain plants prefer to be sown in either spring or fall, while others can tolerate summer heat. Understanding the ideal season will optimize the chances of successful germination and growth.
- Space: Consider the size of your planting area. If you have limited space, prioritize seeds for compact plants or those that can be grown vertically, such as trellised vegetables or dwarf varieties.
- Desired Yield: Determine what you want to harvest from your garden. Are you interested in growing fruits, vegetables, herbs, or flowers? Consider your preferences and plan accordingly.
- Time Commitment: Some plants require more care and attention than others. If you have a busy schedule, look for seeds that are low maintenance and don’t require frequent monitoring.
Additionally, it’s essential to select high-quality seeds from reputable sources. Look for suppliers that specialize in organic or heirloom varieties, which are often more resilient and offer unique flavors and characteristics.
Remember to read the seed packets carefully. They provide valuable information such as planting depth, spacing requirements, and the estimated time to germination. This information will help you plan your garden effectively.
By carefully selecting seeds that are well-suited to your climate and preferences, you will set the foundation for a successful and thriving outdoor garden.
Step 2: Preparing the Soil
Preparing the soil is a crucial step in ensuring the health and growth of your plants. Follow these steps to create the ideal environment for your seeds:
- Clear the area: Remove any debris, weeds, or rocks from the planting area. Clearing the space will give your seeds a clean and unobstructed start.
- Loosen the soil: Use a garden fork or tiller to loosen the soil. This will improve drainage and allow the roots to penetrate easily. Avoid compacted soil as it can hinder root growth and nutrient absorption.
- Add organic matter: Incorporate organic matter into the soil, such as compost or well-rotted manure. This enriches the soil by boosting its nutrient content and enhancing its texture. Spread a layer of organic matter and mix it into the top few inches of soil.
- Test the soil: Consider conducting a soil test to determine its pH level. Most plants prefer a slightly acidic to neutral pH range. Adjust the pH if necessary by adding amendments like lime or sulfur.
- Provide nutrients: Before planting, apply a balanced fertilizer to the soil. This will provide the necessary nutrients for your seeds to thrive. Follow the instructions on the fertilizer package for proper application rates.
- Smooth and level: Rake the soil to create a smooth and level surface. This will facilitate even germination and growth of your seeds.
- Water the soil: Moisten the soil thoroughly, ensuring it is evenly damp. This will create an optimal environment for seed germination.
By preparing the soil properly, you are giving your seeds a healthy foundation for growth. Nutrient-rich and well-drained soil will provide the necessary support and nourishment your plants need to thrive.
Step 3: Planning the Planting Area
Effective planning of your planting area is essential for maximizing space, optimizing plant health, and ensuring a visually appealing garden. Consider the following factors when planning your outdoor planting area:
- Sunlight: Assess the amount of sunlight your garden receives throughout the day. Most vegetables and flowering plants require at least 6 hours of direct sunlight, while some herbs and leafy greens can tolerate partial shade. Place sun-loving plants in areas that receive the most sunlight.
- Spacing: Research the recommended spacing requirements for the seeds you are planting. Overcrowding can lead to competition for resources and hinder plant growth. Allow sufficient space between plants to ensure adequate air circulation and room for their roots to expand.
- Companion planting: Consider companion planting, which involves growing compatible plants together. Certain plants have beneficial relationships, such as repelling pests or helping each other with nutrient sharing. For example, marigolds can be planted near tomatoes to deter insects.
- Accessibility: Ensure that your planting area is easily accessible for watering, weeding, and harvesting. Avoid placing plants too close to walls or structures that may impede your ability to care for them.
- Aesthetics: Think about the overall visual appeal of your garden. Choose plants with varying heights, colors, and textures to create an aesthetically pleasing arrangement. Consider incorporating trellises, decorative containers, or pathways to enhance the beauty of your outdoor space.
Take measurements of your planting area and sketch a simple layout plan. This will help you visualize how the plants will be arranged and ensure optimal use of space.
Additionally, consider rotating crops in subsequent seasons to prevent the buildup of pests and diseases. This practice, known as crop rotation, can help maintain soil health and reduce the need for chemical interventions.
By carefully planning your planting area, you can optimize plant growth, encourage beneficial interactions between plants, and create a visually appealing garden space.
Step 4: Sowing the Seeds
Now that you have chosen the right seeds, prepared the soil, and planned your planting area, it’s time to sow the seeds and get your garden underway. Follow these steps to ensure successful seed sowing:
- Read the instructions: Refer to the seed packets for specific planting instructions. They will provide important details such as the recommended planting depth and spacing for each seed variety.
- Prepare furrows or holes: Use a garden hoe, rake, or your fingers to create furrows or small holes in the soil. The depth and spacing will depend on the seed instructions.
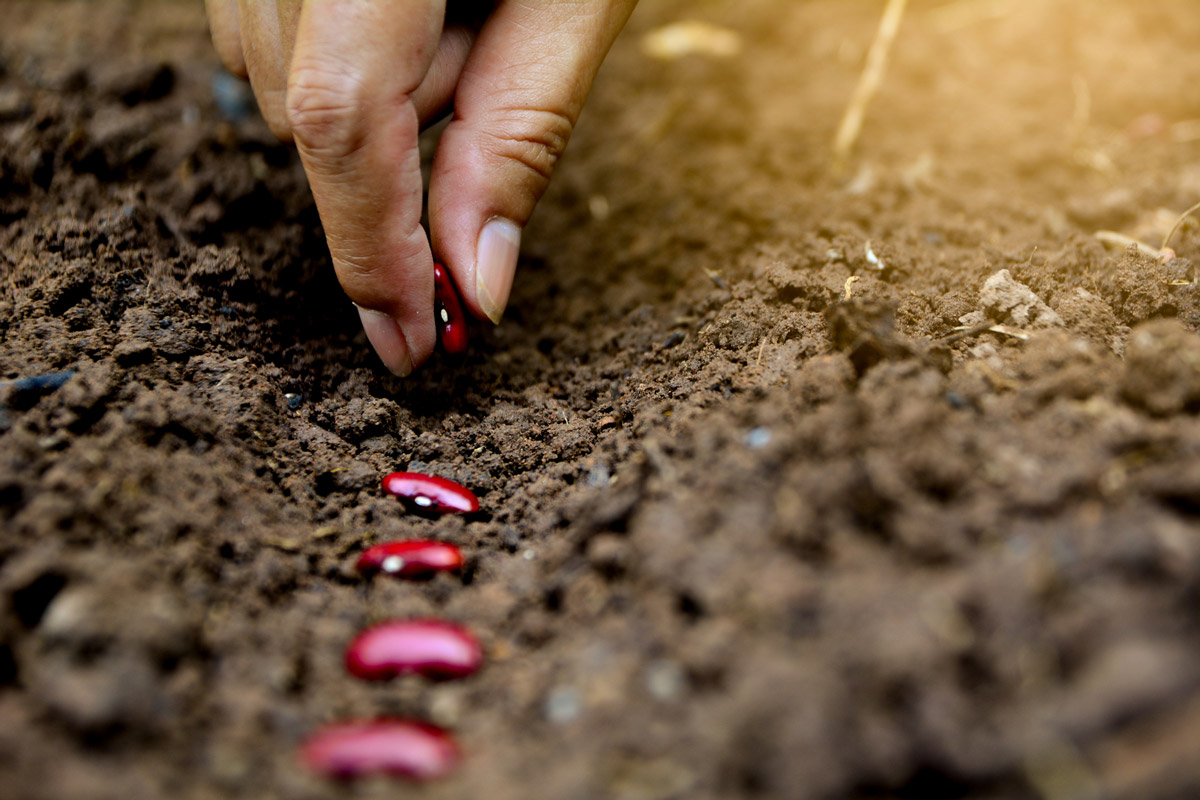
- Sow the seeds: Place the seeds into the furrows or holes, following the recommended spacing. For smaller seeds, such as lettuce or herbs, sprinkle them evenly along the furrow. For larger seeds, like beans or corn, insert them individually into the holes.
- Cover and firm the soil: Gently cover the seeds with soil, ensuring they are evenly and adequately covered. Tamp down the soil lightly to provide good seed-to-soil contact.
- Water the seeds: Give the newly sown seeds a thorough watering using a gentle spray. Be careful not to wash away the seeds or disrupt their placement. Keep the soil consistently moist but not waterlogged during the germination period.
- Label the rows: Use plant labels or small markers to indicate the names and varieties of the sown seeds. This will help you identify the plants as they grow.
Remember to keep a record of the sowing date and the seed varieties you planted. This information will be useful for tracking growth and planning future plantings.
During the germination period, it’s essential to monitor the soil moisture and protect the young seedlings from pests or harsh weather conditions. Once the seedlings have established, you can gradually decrease watering frequency and adjust it based on the specific needs of each plant.
By sowing the seeds correctly, you are paving the way for successful germination and healthy plant growth in your outdoor garden.
Before planting seeds outdoors, make sure to prepare the soil by removing any debris and loosening it with a rake. Follow the seed packet instructions for planting depth and spacing, and water the area gently after planting. Keep the soil moist but not waterlogged for best results.
Read more: How To Germinate A Plant
Step 5: Watering and Maintenance
Proper watering and maintenance are vital to the health and vitality of your outdoor garden. Follow these guidelines to ensure your plants receive the necessary care:
- Watering: Regular and consistent watering is essential, especially during dry spells or hot weather. Water deeply to encourage deep root growth, rather than shallow and frequent watering. Aim to moisten the soil to a depth of 6-8 inches. Use a watering can, garden hose with a gentle nozzle, or a drip irrigation system for precise and efficient watering.
- Monitor moisture levels: Check the soil moisture regularly by inserting your finger into the soil up to the second knuckle. If it feels dry, it’s time to water. Be mindful not to overwater, as this can lead to root rot and other issues. Adjust the watering frequency based on weather conditions and the specific needs of your plants.
- Weeding: Regularly remove weeds that compete with your plants for nutrients and resources. Weed by hand or use a hoe or handheld weeding tool to make the task easier. Be thorough, as even small weeds can quickly multiply and impact the growth of your plants.
- Mulching: Apply a layer of organic mulch, such as straw, wood chips, or leaves, around your plants. Mulching helps conserve moisture, suppresses weed growth, regulates soil temperature, and improves soil structure and fertility. Keep the mulch a few inches away from the stems of the plants to prevent moisture-related issues and pest infestations.
- Fertilizing: Periodically feed your plants with a balanced fertilizer to provide them with essential nutrients. Follow the recommended application rates and timing provided on the fertilizer package. Consider using organic fertilizers for a more sustainable and environmentally friendly approach.
- Staking and support: As your plants grow, some may require support and staking to prevent them from bending or falling over. Install stakes, cages, or trellises as needed to keep the plants upright and encourage proper growth.
- Inspect for pests and diseases: Regularly inspect your plants for signs of pests or diseases. Early detection allows for prompt intervention, minimizing damage. Remove any affected leaves or plants, and consider using organic pest control methods if necessary.
Regular maintenance and attentive care will contribute to the overall health and productivity of your outdoor garden. By providing the right amount of water, controlling weeds, and addressing issues proactively, you will set the stage for a flourishing garden.
Step 6: Monitoring Growth and Pest Control
Monitoring the growth of your outdoor garden is essential to ensure the health and productivity of your plants. Additionally, implementing effective pest control measures will prevent pests from damaging your hard-earned harvest. Follow these guidelines to monitor growth and manage pests effectively:
- Regular observation: Take the time to observe your plants regularly. Look for any changes in growth, color, or overall appearance. Monitor the development of flowers, fruits, or vegetables to track progress.
- Weed control: Stay vigilant in controlling weeds. Regularly inspect your garden and remove any new weed growth. Weeds compete with your plants for nutrients, water, and space, and can hinder their growth if left unchecked.
- Pest identification: Familiarize yourself with common garden pests in your region. Learn to identify pests such as aphids, slugs, snails, caterpillars, and beetles. Early detection enables you to take action before pests cause significant damage.
- Natural pest control methods: Implement natural pest control methods whenever possible. This includes using companion planting to repel pests or attract beneficial insects, such as ladybugs or lacewings. Additionally, consider using organic insecticidal soaps, neem oil, or homemade remedies to deter pests.
- Handpicking pests: In smaller gardens, manually remove pests from plants. Look for caterpillars, snails, or other visible pests, and simply pick them off by hand. Drop them into a bucket filled with soapy water to prevent them from returning to your plants.
- Biological controls: Introduce beneficial insects, such as ladybugs or praying mantises, to control pests naturally. These beneficial insects feed on common garden pests and help maintain a balanced ecosystem in your garden.
- Organic pesticide application: If necessary, use organic-approved pesticides as a last resort. Apply them according to the instructions on the package, ensuring the safety of beneficial insects, pollinators, and the environment.
- Monitor for diseases: Keep an eye out for signs of plant diseases, such as wilting, discoloration, or unusual growth patterns. Address diseases promptly by removing affected plant parts, adjusting watering practices, or using organic disease control methods.
Monitoring the growth of your plants and implementing effective pest control measures will help maintain a healthy and thriving outdoor garden. By staying proactive, you can prevent and address issues before they become major obstacles to your gardening success.
Step 7: Harvesting the Plants
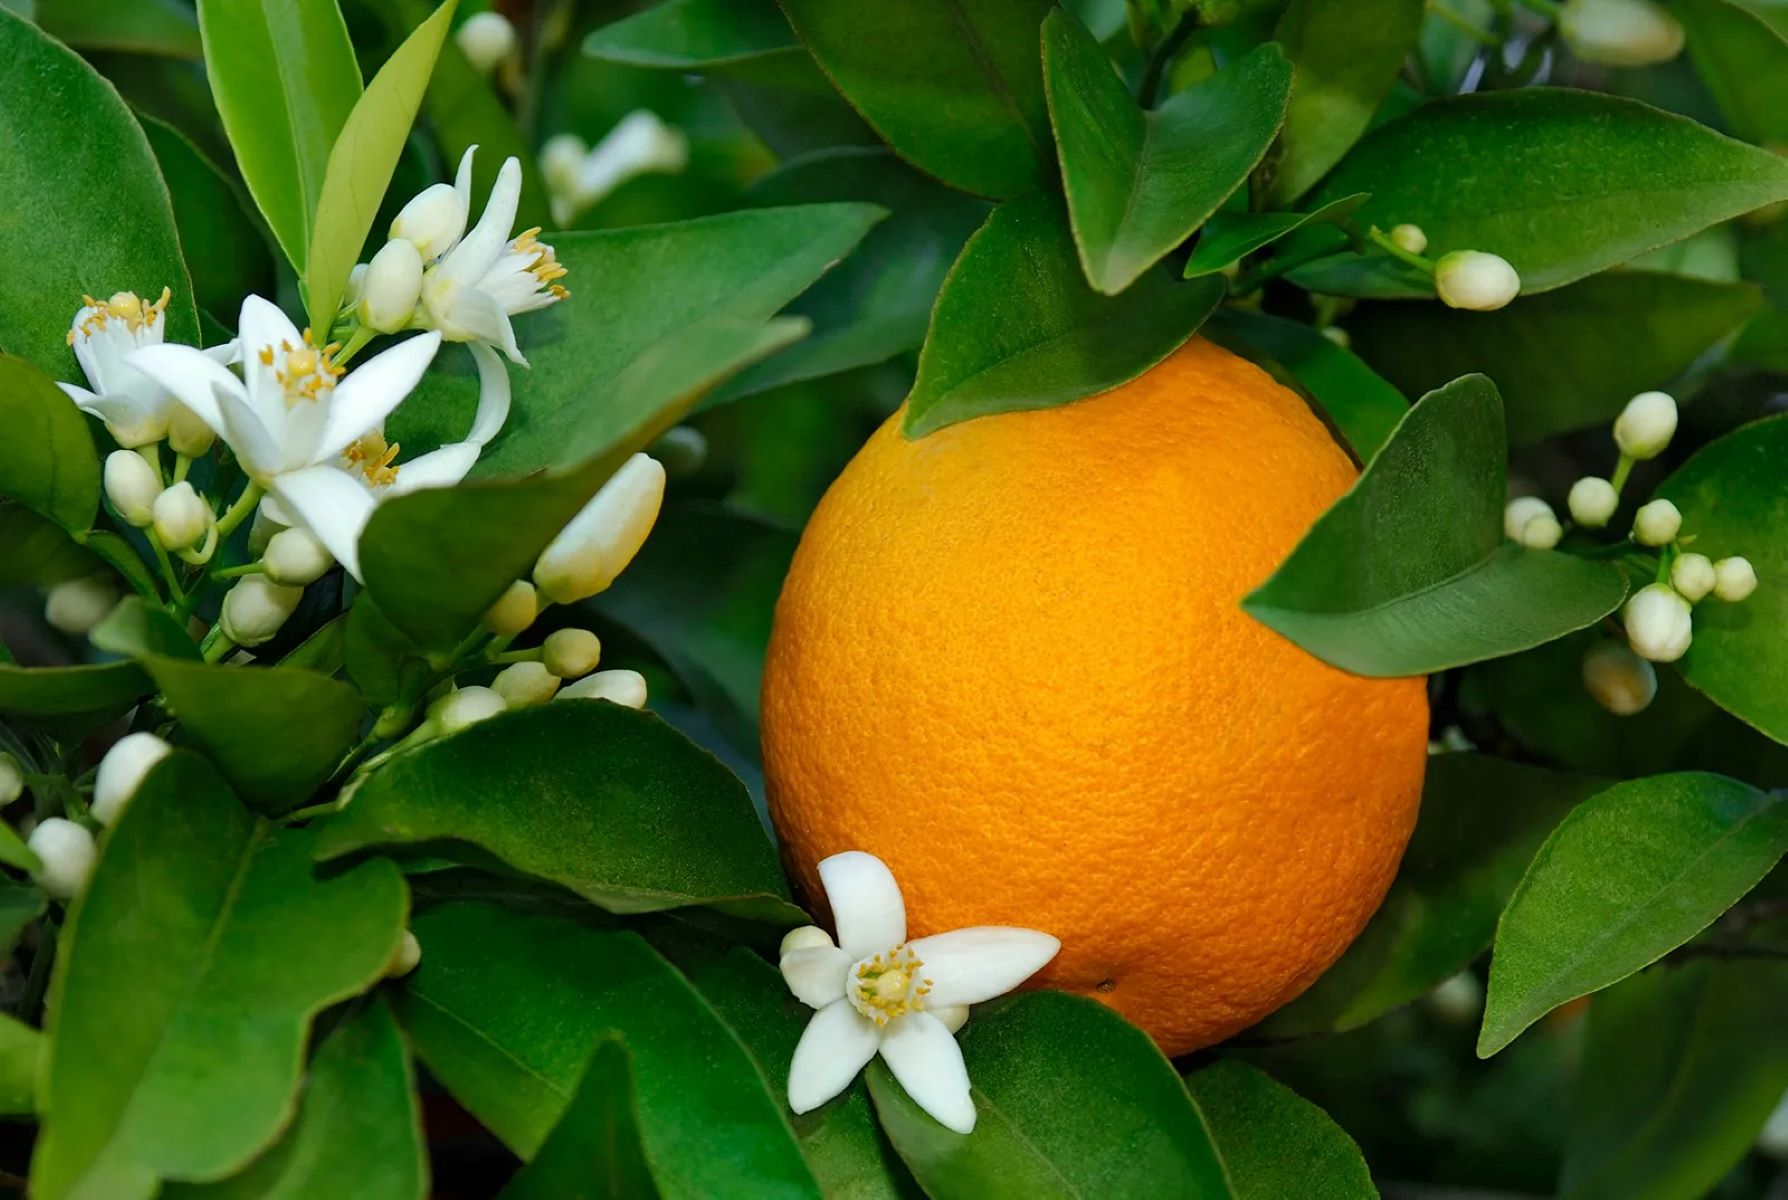
After nurturing and caring for your plants, the time for harvesting will eventually arrive. Proper harvesting techniques will ensure that you enjoy the fruits of your labor at their peak ripeness and flavor. Follow these steps for successful harvesting:
- Refer to seed packet or plant information: Different plants have different harvesting times and methods. Refer to the seed packets or plant information for specific guidance on when to harvest.
- Observe visual cues: Look for visual cues that indicate when fruits or vegetables are ready to be harvested. These cues may include changes in color, size, or firmness.
- Use your senses: Engage your senses to determine if the plant is ready to be harvested. Perform a taste test to assess flavor or a touch test to gauge ripeness. Trust your instincts and experience.
- Use proper tools: Use appropriate tools, such as garden shears or pruners, to avoid damaging the plant during the harvesting process. Avoid pulling or yanking on the plants, as this can cause harm and disturb the surrounding soil.
- Harvest in the morning: It’s generally best to harvest in the early morning when temperatures are cooler. This helps retain the freshness and quality of the harvested produce.
- Handle with care: Handle harvested produce with care to prevent bruising or damage. Place delicate fruits, such as berries, into shallow containers to avoid crushing them.
- Store appropriately: Properly store harvested produce to maintain its quality and freshness. Some vegetables can be stored in the refrigerator, while others may require a cool, dry place. Follow specific guidelines for each type of plant.
- Save seeds for future use: For plants that produce seeds, consider saving them for future planting. Allow the seeds to fully dry before storing them in a cool, dry place in labeled containers.
Remember that harvesting is an ongoing process. Continuously monitor your plants for ripe produce and harvest regularly to encourage further growth and yield.
Celebrate your hard work and enjoy the taste of the fruits, vegetables, or herbs you have nurtured throughout the season. The satisfaction of harvesting your own garden-fresh produce is truly rewarding.
Conclusion
Congratulations! You have successfully learned the essential steps to plant seeds outdoors and embark on your own gardening journey. By understanding the importance of choosing the right seeds, preparing the soil, planning the planting area, sowing the seeds correctly, and providing proper watering and maintenance, you have set a solid foundation for a thriving garden. Additionally, monitoring growth and implementing effective pest control measures will help ensure the health and productivity of your plants.
Planting seeds outdoors offers numerous benefits, from enjoying fresh, homegrown produce to connecting with nature and promoting sustainability. Gardening can be a source of joy, pride, and relaxation as you witness the transformation of tiny seeds into beautiful and bountiful plants.
Remember to adapt your gardening practices to the specific climate, season, and available space you have. Experiment with different varieties, techniques, and plants that align with your preferences and gardening goals. Each season brings new opportunities to learn and improve your gardening skills.
Whether you have a spacious backyard, a small balcony, or just a few pots, growing your own garden allows you to reap the rewards of your effort and enjoy the flavors of freshly harvested produce. Share the bounties of your garden with friends and family, sparking conversations about the joys of gardening and the importance of sustainable living.
So put on your garden gloves, grab your trusty tools, and get ready to plant seeds outdoors. Embrace the beauty of nature, the satisfaction of self-sufficiency, and the fulfillment of seeing the fruits of your labor thrive in your very own garden.
Happy gardening!
Frequently Asked Questions about How To Plant Seeds Outdoors
Was this page helpful?
At Storables.com, we guarantee accurate and reliable information. Our content, validated by Expert Board Contributors, is crafted following stringent Editorial Policies. We're committed to providing you with well-researched, expert-backed insights for all your informational needs.


0 thoughts on “How To Plant Seeds Outdoors”