Articles
How To Restore Furniture Wood
Modified: January 9, 2024
Learn how to restore furniture wood and bring new life to your pieces with our step-by-step guide. Discover techniques, tips, and tricks for furniture restoration.
(Many of the links in this article redirect to a specific reviewed product. Your purchase of these products through affiliate links helps to generate commission for Storables.com, at no extra cost. Learn more)
Introduction
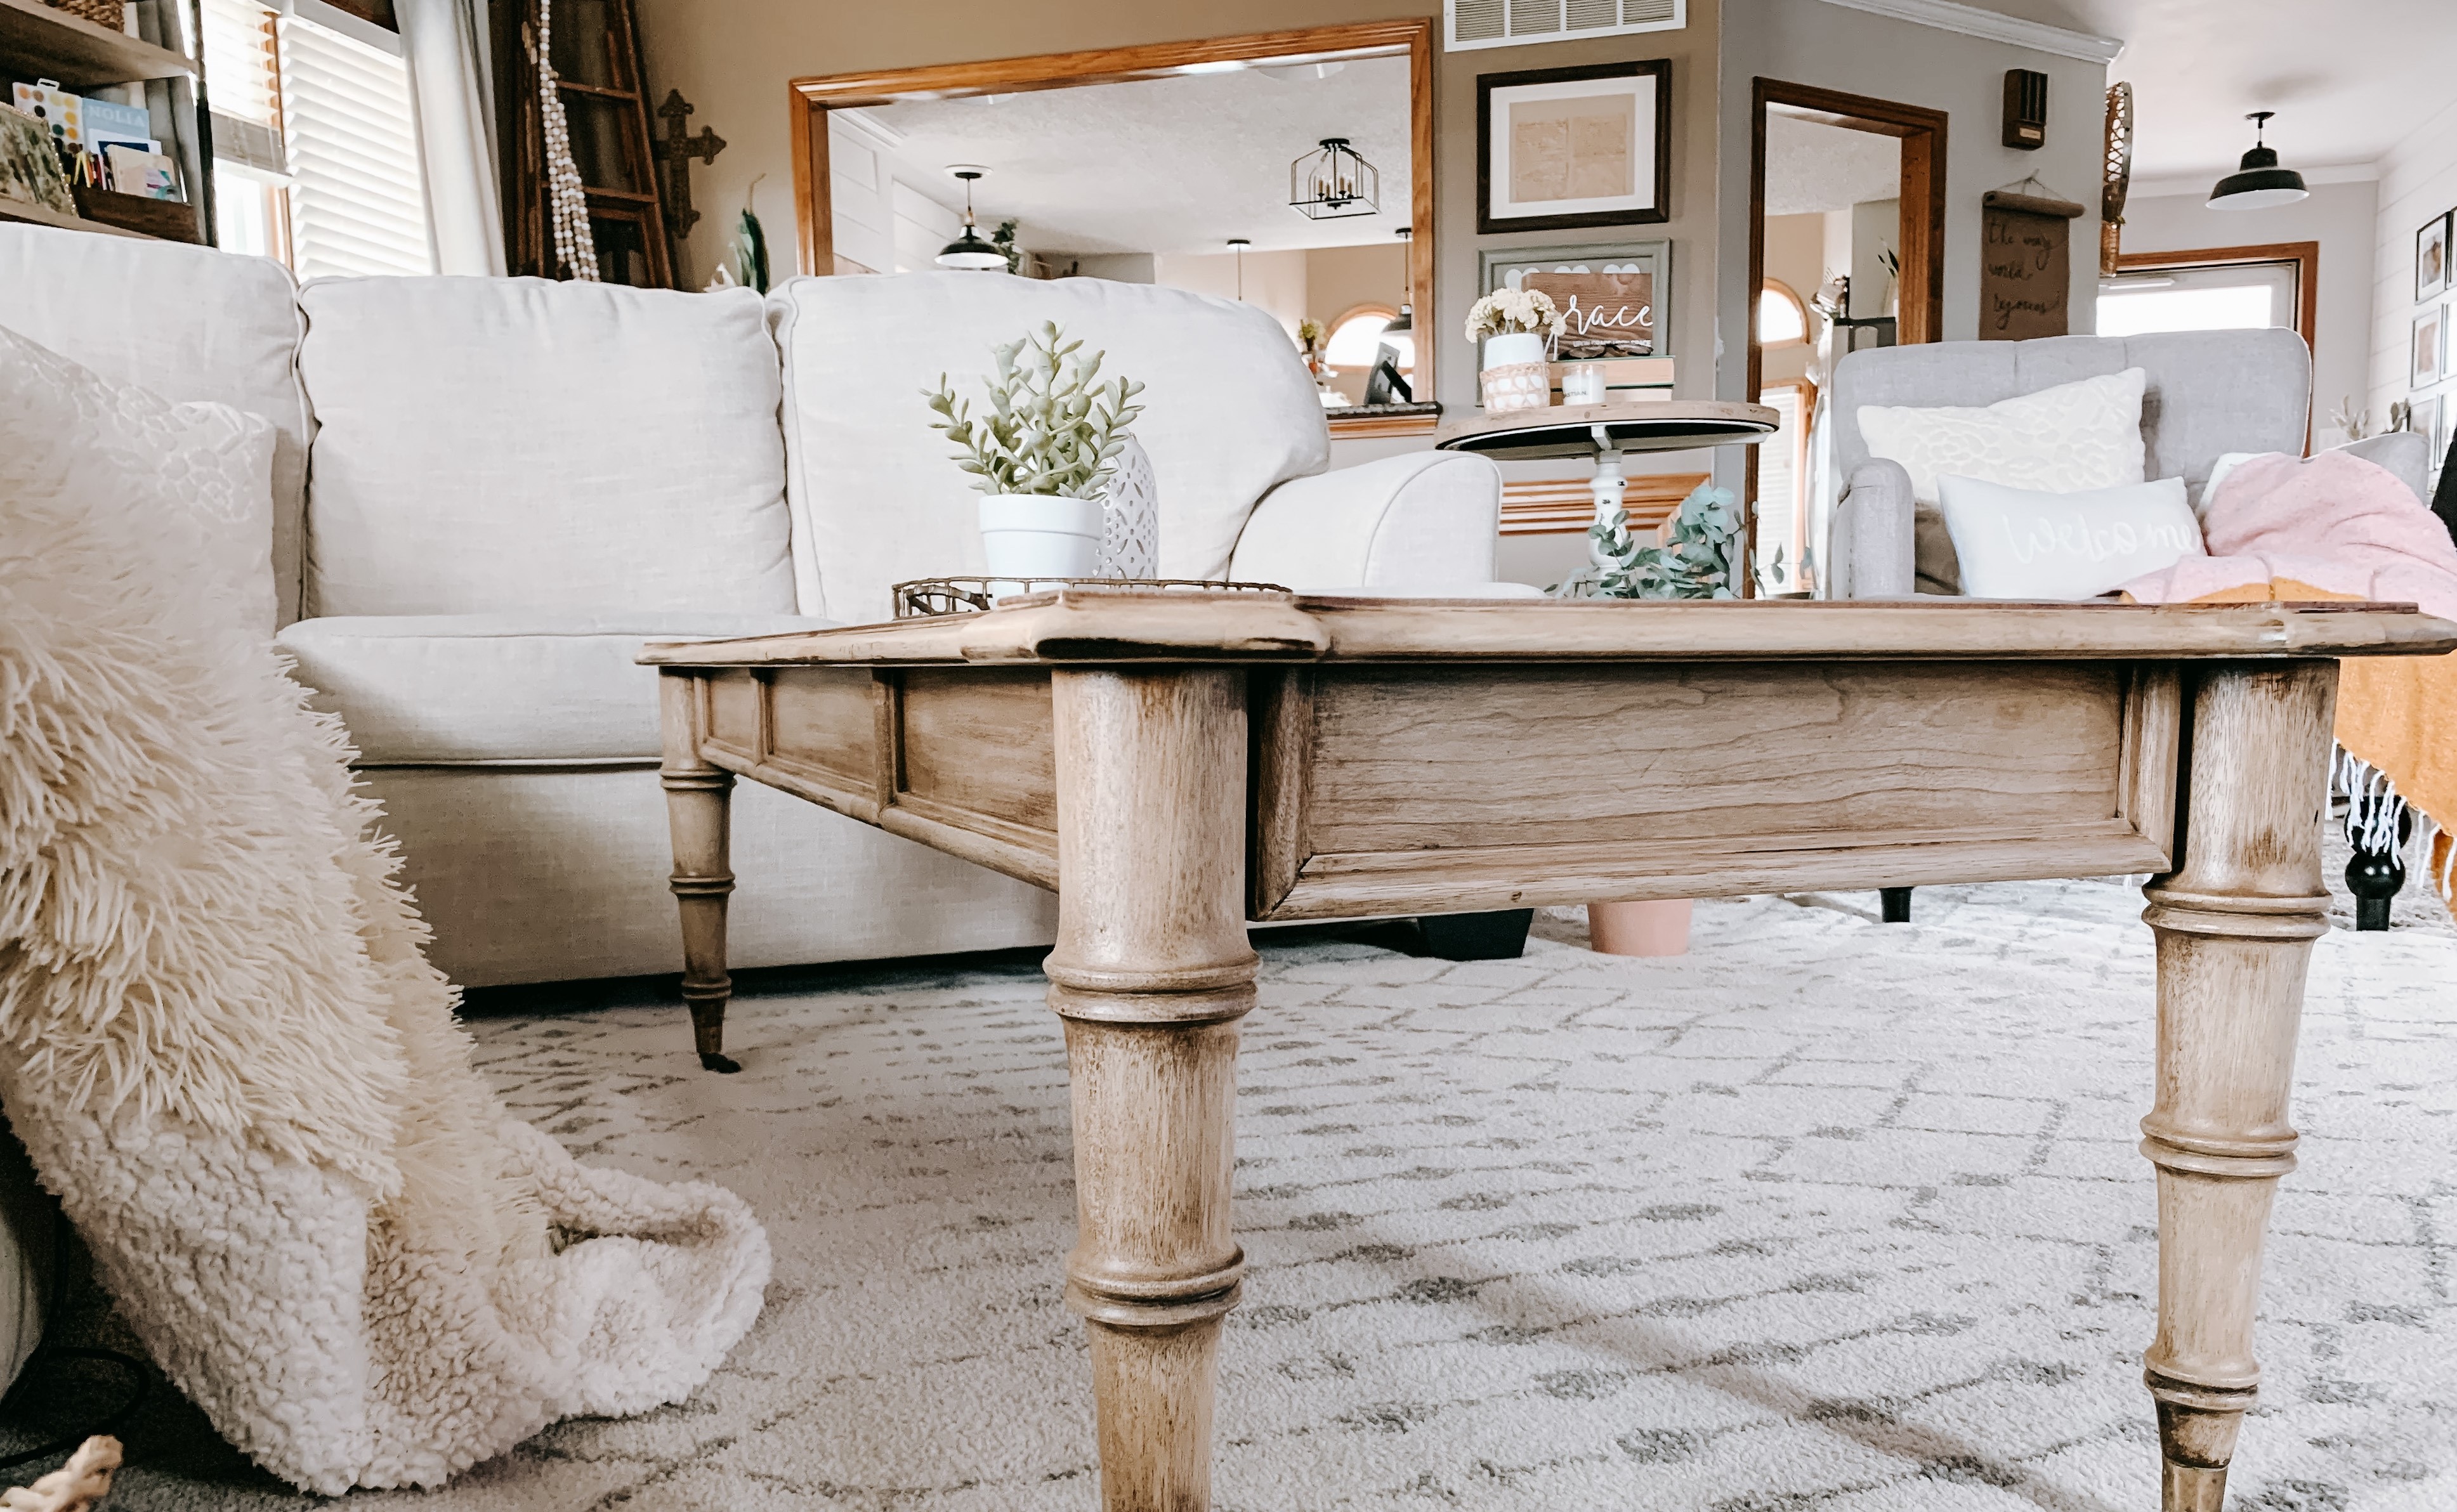
Welcome to our comprehensive guide on how to restore furniture wood. Whether you have an old piece of furniture that has seen better days or you’ve stumbled upon a hidden treasure at a thrift store, restoring furniture wood can be a rewarding and enjoyable project.
Restoring furniture not only breathes new life into worn-out pieces but also allows you to preserve the history and charm of older furniture. With the right tools, materials, and techniques, you can transform dull and damaged wood into a beautiful and functional piece that will bring warmth and character to your home.
In this guide, we will walk you through the step-by-step process of restoring furniture wood, from assessing the condition of the wood to applying the final finishes. Whether you’re a seasoned DIYer or a beginner, this guide will provide you with the knowledge and skills needed to bring your furniture back to its former glory.
In the following sections, we will cover everything you need to know to successfully restore furniture wood. We will guide you on assessing the condition of the wood, gathering the necessary tools and materials, sanding the wood surface, repairing any damaged areas, applying wood stain or paint, sealing and protecting the wood, and finally, buffing and polishing the finished piece.
So, let’s roll up our sleeves and get started on this exciting journey of restoring furniture wood!
Key Takeaways:
- Restoring furniture wood is a fulfilling process that requires careful assessment, the right tools, and creative flair. From sanding to sealing, each step contributes to the transformation of worn-out pieces into cherished furniture.
- The restoration journey involves more than just repairs; it’s a blend of craftsmanship and personal style. Whether preserving the wood’s natural beauty or adding a fresh coat of paint, the process allows for creativity and imagination to shine.
Read more: How To Restore Wood Outdoor Furniture
Assessing the Condition of the Wood
Before you begin the process of restoring furniture wood, it’s essential to assess the condition of the piece. This will help you determine the level of restoration required and plan your approach accordingly.
Start by closely examining the wood for any signs of damage, such as scratches, dents, watermarks, or chipped paint. Look for areas where the finish is worn off or where the wood may have warped or split. Taking note of these issues will help you prioritize the necessary repairs.
Next, check for any structural problems. Wiggle the furniture to see if there is any loose or wobbly joints. Look for any missing or broken parts that need to be replaced. Assess the overall stability of the piece to ensure that it is safe to work on and use.
Pay attention to the type of wood used in the furniture. Different woods require different restoration techniques and products. Identify if the wood is hardwood or softwood, as well as its grain pattern. This information will help you choose the appropriate tools and materials for the restoration process.
Consider the existing finish on the wood. Determine if it’s a paint or a stain, and whether it’s in good condition or needs to be stripped off entirely. Understanding the current finish will guide you in deciding whether to refinish the wood or preserve its original look.
Lastly, take into account the overall aesthetic of the piece. Does it match your desired style? If not, you may consider altering the color or adding decorative details during the restoration process.
By thoroughly assessing the condition of the wood, you can create a roadmap for the restoration project. You’ll have a clear understanding of the repairs needed, the necessary tools and materials, and the approach to take. With this knowledge in hand, you’re ready to move on to the next step of gathering the necessary tools and materials to bring your furniture back to life.
Gathering the Necessary Tools and Materials
Once you have assessed the condition of the wood and developed a restoration plan, it’s time to gather the necessary tools and materials. Having the right equipment will ensure that your restoration project goes smoothly and produces satisfying results.
Here are the essential tools and materials you’ll need for restoring furniture wood:
- Sandpaper or sanding block: Choose sandpaper with different grits, such as coarse, medium, and fine, to effectively remove old finish and smooth the surface.
- Sander: If you’re working on a larger piece of furniture, an electric sander can save you time and effort. Consider a random orbital sander for better control.
- Wood filler: This is essential for filling in any cracks, holes, or gaps in the wood. Opt for a wood filler that matches the color of the wood for a seamless repair.
- Putty knife: Use a putty knife to apply the wood filler and scrape off any excess. It’s also handy for removing old paint or stain.
- Paintbrushes: Choose high-quality paintbrushes in different sizes for applying paint or stain. Synthetic brushes work well with water-based finishes, while natural bristle brushes are better for oil-based finishes.
- Wood stain or paint: Select a wood stain or paint that suits your desired finish and complements the style of the furniture piece. Consider water-based options for easier cleanup.
- Sealer: Use a clear sealer, such as polyurethane or lacquer, to protect the wood and give it a lustrous finish.
- Protective gear: Don’t forget to protect yourself while working. Wear safety goggles, a dust mask, and gloves to shield yourself from dust, fumes, and potential hazards.
In addition to these tools, you may require specific materials depending on the condition of the wood and your restoration plan. For instance, if you’re repairing broken joints, you might need wood glue or clamps. If you’re refinishing the piece, you might need paint stripper or a heat gun to remove the old finish.
Before starting the restoration project, ensure that you have all the necessary tools and materials on hand. This will save you time and frustration later on. It’s also a good idea to set up a designated workspace where you can comfortably work on the furniture without any hindrances.
Now that you’ve gathered the tools and materials, you’re ready to dive into the restoration process. In the next section, we’ll guide you through the steps of sanding the wood surface to prepare it for repair and refinishing.
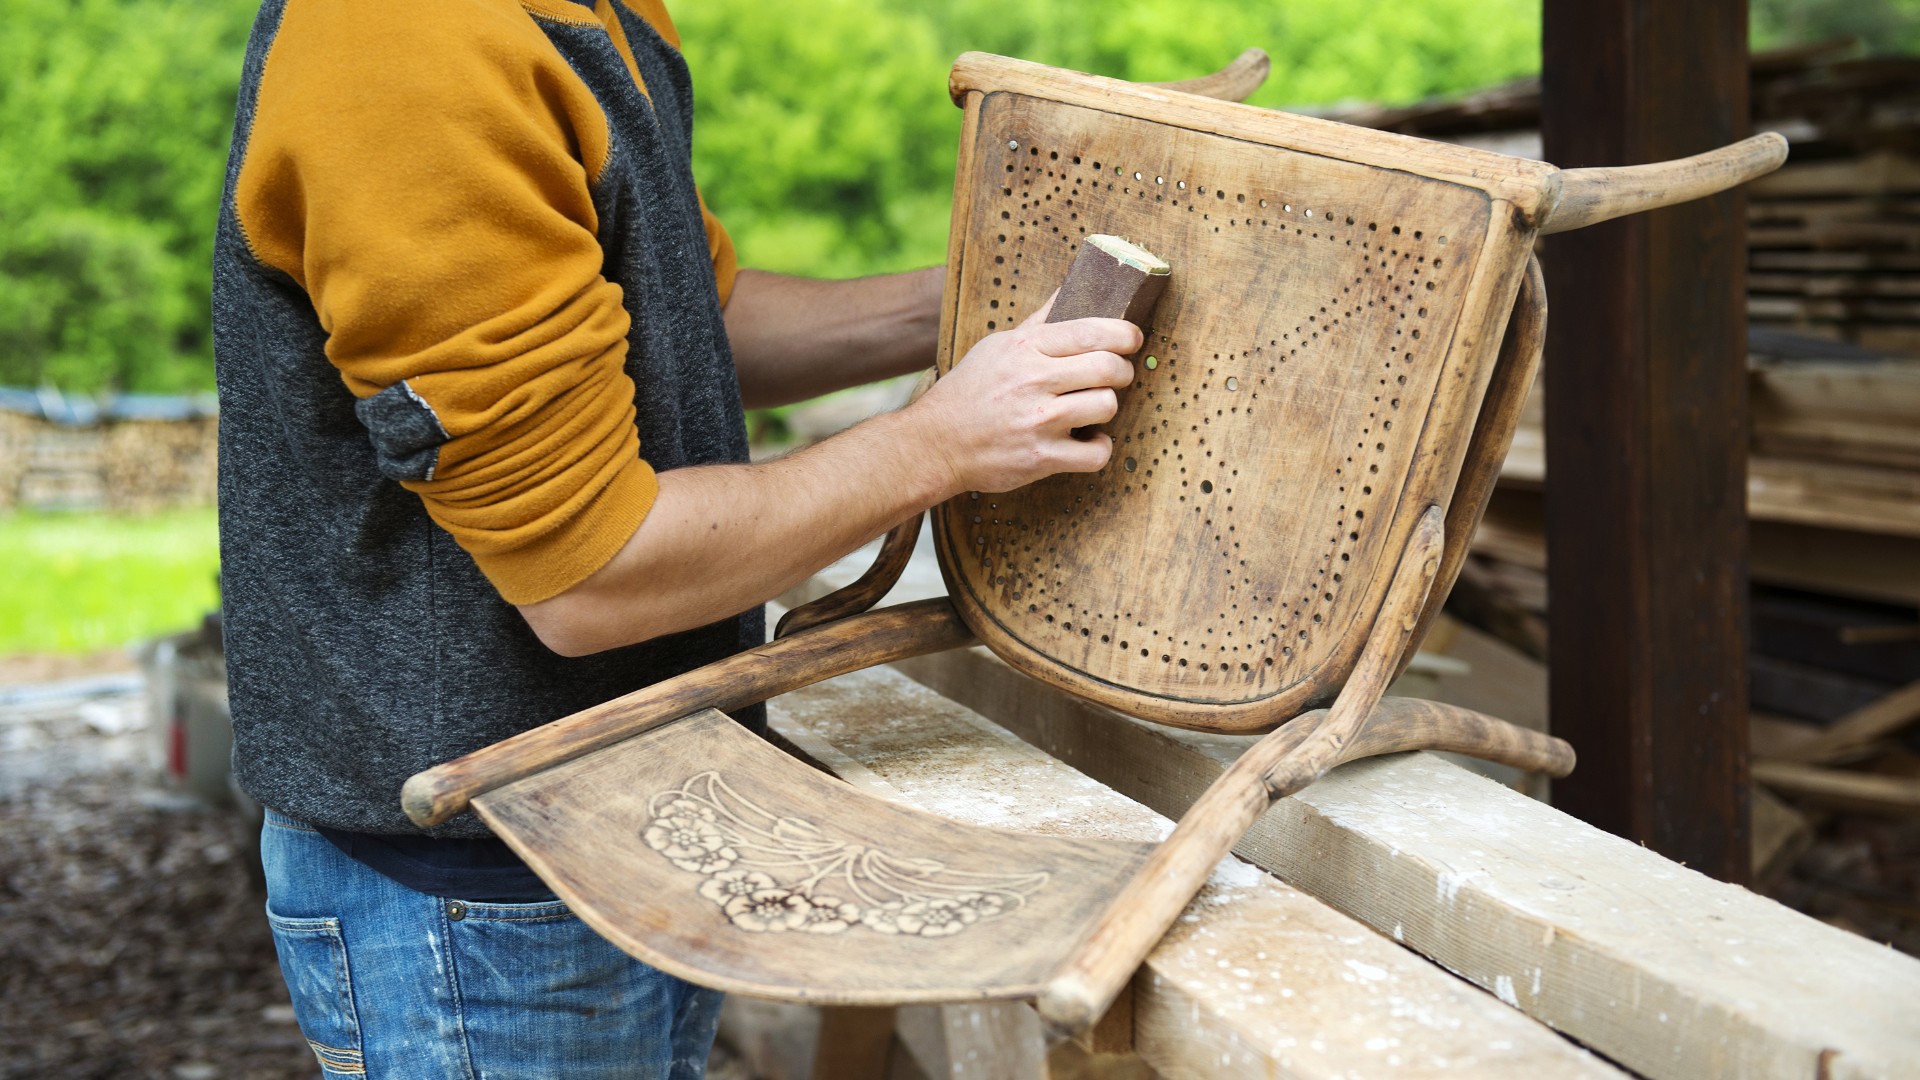
Sanding the Wood Surface
Sanding the wood surface is a crucial step in the furniture restoration process. It helps to remove any existing finish, smooth out imperfections, and prepare the wood for repair and refinishing.
Here’s a step-by-step guide on how to sand the wood surface:
- Start by selecting the appropriate sandpaper grit for the job. If the wood has a thick or stubborn finish, begin with a coarse grit (around 60-80) to remove it. For lighter finishes or to smooth out the wood, move to a medium grit (around 120-150). Finally, switch to a fine grit (around 220-240) for a smooth and polished surface.
- If you’re using a random orbital sander, affix the appropriate sandpaper to the base plate. If you’re using sandpaper by hand, fold it in half or use a sanding block to hold it securely.
- Always sand in the direction of the wood grain to avoid damaging or scratching the surface. This will help you achieve a smoother result.
- Apply even pressure and move the sander or sandpaper in long, smooth strokes. Avoid applying excessive pressure, as it can lead to uneven sanding and gouging of the wood.
- Continue sanding the wood surface, working your way from coarse to fine grits, until the desired level of smoothness is achieved. Remember to periodically check the surface for any remaining finish or imperfections.
- Use a clean cloth or brush to remove the dust generated from sanding. Ensure that the wood surface is clean and free from any residue before moving on to the next steps of repairs or refinishing.
It’s important to note that the amount of sanding required will depend on the condition of the wood and your desired outcome. If you only want to remove the old finish and leave some patina or character marks, you may opt for a lighter sanding. However, if you’re aiming for a smooth, like-new surface, more thorough sanding may be necessary.
Remember to take breaks during the sanding process to give your hands and arms some rest. Sanding can be tedious, especially for larger furniture pieces, so pacing yourself is essential.
Once you’ve completed sanding the wood surface, you’re ready to move on to the next step of repairing any damaged areas. In the following section, we’ll guide you through the process of addressing scratches, dents, and other common issues in furniture wood.
Repairing any Damaged Areas
Repairing damaged areas in furniture wood is an important step in the restoration process. Whether your furniture has scratches, dents, or other imperfections, these repairs will help restore the integrity and beauty of the piece.
Here are some common issues and methods for repairing them:
Read more: How To Restore Teak Patio Furniture
Scratches:
If you have minor surface scratches, you can often fix them by using a scratch repair pen or a colored wax filler. Simply apply the product to the scratch and gently buff the area with a clean cloth. For deeper scratches, you might need to sand the affected area lightly, apply a matching stain, and then seal it with a clear finish.
Dents:
To repair dents in wood, start by dampening a cloth and placing it over the dent. Apply a hot iron to the cloth for a few seconds, being careful not to scorch the wood. The heat will cause the wood to expand and, in some cases, level out the dent. For deeper dents, you might need to use a wood filler. Apply the filler to the dent, let it dry, and sand it down until it’s flush with the surface of the wood.
Watermarks:
Watermarks can be unsightly on furniture. To remove them, gently rub a mixture of baking soda and water or toothpaste onto the watermark using a soft cloth. Be cautious not to scrub too hard, as it can damage the finish. If the watermark persists, you may need to sand the area lightly, then refinish and seal it.
Loose Joints:
If the furniture has loose joints, you’ll need to reglue them to restore stability. Start by thoroughly cleaning the joint and removing any old glue residue. Apply wood glue to the joint and clamp it tight until the glue dries. Wipe off any excess glue that seeps out. Once the joint is dry, test its strength and make any necessary adjustments.
Read more: How To Restore Faded Metal Outdoor Furniture
Missing or Broken Parts:
If your furniture has missing or broken parts, such as knobs, handles, or trim, you may need to replace them. Look for matching replacement parts at hardware stores or online. Remove the old parts and carefully install the new ones, ensuring a secure fit. If necessary, touch up the surrounding area with paint or stain to blend in the repair.
Remember to take your time with repairs and follow proper techniques to achieve the best results. If you’re unsure about any repair method, it’s always a good idea to consult with a professional or seek guidance from experienced woodworkers.
Once you have addressed and repaired any damaged areas, you’re now ready to move on to the exciting phase of applying wood stain or paint. In the next section, we’ll guide you through the process of transforming the look of your furniture with colors and finishes.
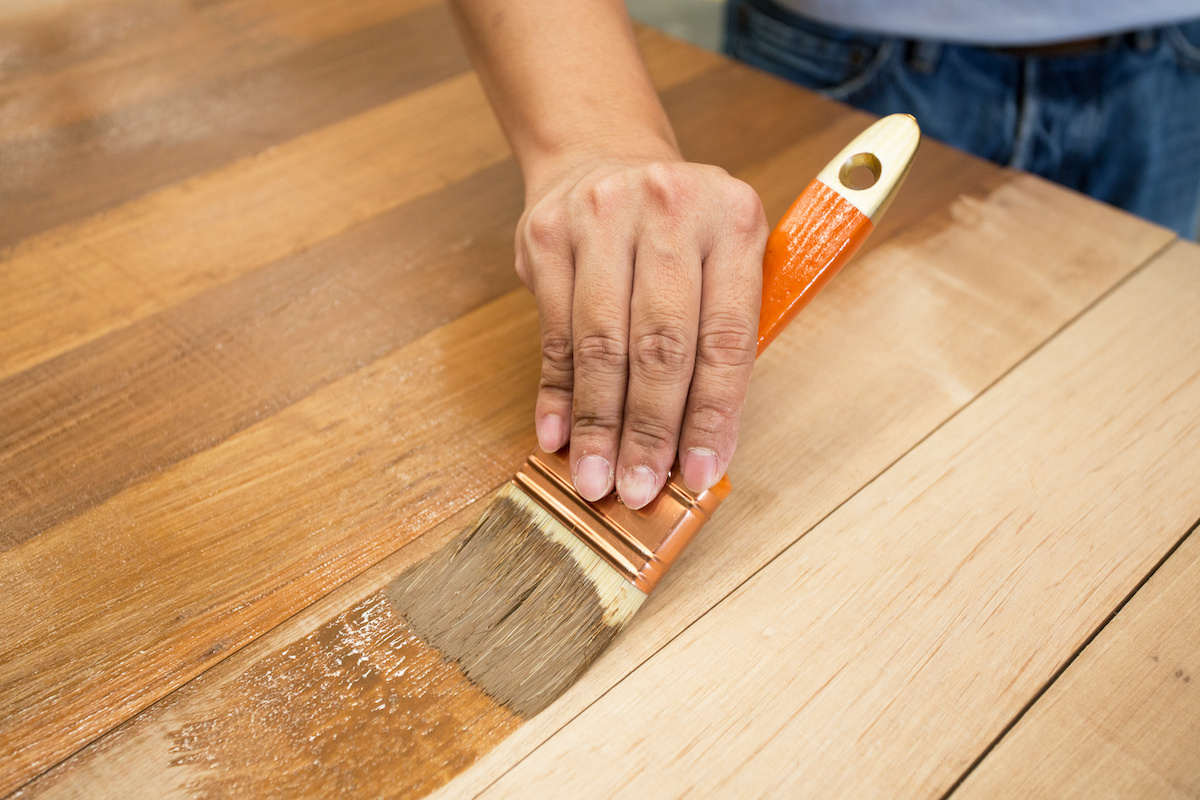
Applying Wood Stain or Paint
Applying wood stain or paint is a transformative step in the furniture restoration process. Whether you want to enhance the natural beauty of the wood with a stain or give your piece a fresh new look with paint, this step will bring your vision to life.
Here’s a guide on how to apply wood stain or paint to your furniture:
Wood Stain:
- Choose a wood stain color that complements the style and aesthetics you desire. Consider doing a test patch on an inconspicuous area to ensure you’re happy with the color.
- Prepare the wood surface by sanding it lightly with fine-grit sandpaper to remove any dust or imperfections.
- Use a paintbrush, foam brush, or rag to apply the wood stain in the direction of the grain. Start with a thin and even coat, allowing the stain to penetrate the wood.
- Wipe off any excess stain with a clean cloth after a few minutes. This will help prevent uneven coloring and blotchy spots.
- Allow the stain to dry completely according to the manufacturer’s instructions. If you desire a darker shade, apply additional coats, ensuring each coat is dry before applying the next.
- After the final coat has dried, you can choose to seal the wood with a clear topcoat for added protection and a polished finish. Apply the topcoat following the manufacturer’s recommendations.
Paint:
- If you’re painting the furniture, start by sanding the wood surface lightly to create a smooth and clean canvas for the paint.
- Prime the furniture with a suitable primer to create a base for the paint and improve adhesion. Follow the instructions on the primer label for the best results.
- Choose a paint color that suits your desired look. Acrylic latex paints are a popular choice for furniture because they are durable and easy to clean up.
- Apply the paint using a high-quality paintbrush or foam roller, working in thin and even coats. Allow each coat to dry completely before applying the next one.
- If desired, add additional coats of paint for better coverage and a more opaque finish.
- Once the final coat has dried, you may opt to protect the paint with a clear sealer or topcoat. This will provide additional durability and a protective barrier against daily wear and tear.
Remember to work in a well-ventilated area when applying wood stain or paint and follow the manufacturer’s instructions for any specific products you are using. Take your time and pay attention to detail to achieve a professional-looking finish.
Once the stain or paint has dried and any additional coats or sealers have been applied, you’re ready to move on to the final steps of sealing and protecting the wood. In the next section, we’ll guide you through this essential process to ensure the longevity and beauty of your restored furniture.
Read more: How To Restore Outdoor Teak Furniture
Sealing and Protecting the Wood
Sealing and protecting the wood is a crucial step in the furniture restoration process. Proper sealing not only enhances the visual appeal of the piece but also provides long-term protection against damage, moisture, and everyday wear and tear.
Here’s a step-by-step guide on how to seal and protect the wood:
Clean the Surface:
Before applying any sealant, ensure that the wood surface is clean and free from dust or debris. Use a damp cloth or tack cloth to wipe away any remaining particles. This will prepare the surface for optimal adhesion of the sealant.
Select the Right Sealant:
There are various sealants available, including polyurethane, lacquer, shellac, and wax. Choose a sealant that suits the type of wood, the desired finish, and the level of protection you want. Consider factors such as ease of application, durability, and the sheen level you prefer.
Apply the Sealant:
- If using a brush-on sealant, start by applying a thin and even coat in the direction of the wood grain. Avoid excessive brushing or over-applying the sealant, as it can lead to unevenness and bubbles.
- Allow the first coat to dry according to the manufacturer’s instructions (usually several hours).
- Lightly sand the dried coat with fine-grit sandpaper or steel wool to create a smooth surface for the next coat.
- Apply additional coats of the sealant, following the same process of thin and even application, and sanding between coats. The number of coats will depend on the desired level of protection and the instructions provided by the sealant manufacturer.
Read more: How To Restore Outdoor Metal Furniture
Curing and Caring:
After the final coat of sealant has been applied, allow the furniture to cure completely. This may take a few days or weeks, depending on the type of sealant and environmental conditions.
Once the sealant has cured, it’s essential to take proper care of the furniture to maintain its beauty and protect the sealant. Use coasters or placemats to prevent heat, liquid, or sharp objects from directly contacting the wood surface. Clean the furniture with a soft cloth or mild wood cleaner, avoiding harsh chemicals or abrasive materials that can damage the sealant.
Regularly inspect the sealed wood for any signs of wear or damage, and touch up any areas as needed. This will help extend the life of the sealant and keep your furniture looking its best.
With the wood now sealed and protected, you have successfully reached the final stages of the furniture restoration process. In the next section, we’ll explore the steps of buffing and polishing the finished piece to add that extra shine and luster.
Buffing and Polishing the Finished Piece
Buffing and polishing the finished piece is the final touch in the furniture restoration process. This step adds an extra level of shine, smoothness, and luster to the wood, elevating the overall look of your restored furniture.
Here’s a step-by-step guide on how to buff and polish your finished piece:
Clean the Surface:
Before you start buffing and polishing, ensure that the surface of the wood is clean and free from any debris or fingerprints. Use a soft, lint-free cloth or microfiber cloth to gently wipe away any dust or smudges.
Choose the Right Polishing Product:
There are a variety of polishing products available, including paste wax, liquid polish, or a specialized furniture polish. Choose a product that is appropriate for the type of finish you have applied and follow the manufacturer’s instructions for the best results.
Read more: How To Restore Patio Furniture Cushions
Apply the Polish:
- Apply a small amount of polish to a clean, soft cloth. Avoid using too much polish, as a little goes a long way.
- Gently rub the cloth in circular motions onto the wood surface. Apply even pressure and work over the entire piece, paying particular attention to any areas that may need extra shine or restoration.
- Continue to buff the wood surface until you achieve the desired level of shine and smoothness. If necessary, apply additional polish and repeat the process.
Hand Buffing:
For smaller pieces or areas that are harder to reach, you can hand buff using a soft cloth or a buffing pad. Simply fold the cloth or secure the pad to your hand and apply the polish in circular motions. This method allows you to have greater control over the buffing process.
Machine Buffing:
If you are working on larger furniture or have access to a buffing machine, you can use it to achieve a more professional and efficient result. Be sure to follow the manufacturer’s instructions and use the appropriate polishing pad for your specific machine.
Inspect and Touch Up:
After buffing and polishing, carefully inspect the finished piece for any areas that may need touching up. If you notice any scratches, dull spots, or unevenness, you can gently sand and reapply the polish to those specific areas, blending them in with the rest of the surface.
Once you’re satisfied with the level of shine and smoothness achieved, step back and admire your beautifully restored furniture. The buffing and polishing process adds that final touch of elegance and refinement, emphasizing the craftsmanship and beauty of the wood.
Now that your furniture has been fully transformed, take pride in your restoration work and enjoy the renewed beauty and functionality it brings to your space.
Congratulations on successfully completing the furniture restoration process! With proper care and maintenance, your restored piece will continue to delight you for years to come.
Read more: How To Restore Wooden Outdoor Furniture
Conclusion
Restoring furniture wood is a rewarding and fulfilling endeavor that allows you to breathe new life into old or worn-out pieces. By following the step-by-step process outlined in this comprehensive guide, you can transform your furniture into beautiful, functional, and cherished pieces that will enhance the aesthetic appeal of your home.
Throughout this guide, we have covered various aspects of furniture wood restoration, from assessing the condition of the wood to gathering the necessary tools and materials, sanding the wood surface, repairing any damaged areas, applying wood stain or paint, sealing and protecting the wood, and finally, buffing and polishing the finished piece.
Remember to approach each step with care, taking the time to assess and plan accordingly. Invest in high-quality tools, materials, and sealants to ensure the best results and lasting durability. And always prioritize safety by wearing protective gear and working in a well-ventilated area.
Additionally, infuse your restoration project with creativity, allowing your personal style to shine through. Whether you choose to preserve the natural beauty of the wood or give it a fresh new look with paint, the choice is yours. Let your imagination guide you as you make decisions regarding color, finishes, and decorative details.
Lastly, ongoing maintenance and care are essential to preserving the beauty and longevity of your restored furniture. Regular cleaning, keeping the furniture away from direct sunlight and extreme temperatures, and minimizing exposure to moisture will all help ensure its continued beauty and functionality for years to come.
We hope this guide has provided you with valuable insights and practical knowledge on how to restore furniture wood. Whether you’re a seasoned DIY enthusiast or a beginner, this guide has equipped you with the necessary information to embark on your furniture restoration journey with confidence.
Now, gather your tools, unleash your creativity, and let the restoration process begin. Enjoy the satisfaction of breathing new life into old furniture and creating pieces that will be cherished for generations to come.
Frequently Asked Questions about How To Restore Furniture Wood
Was this page helpful?
At Storables.com, we guarantee accurate and reliable information. Our content, validated by Expert Board Contributors, is crafted following stringent Editorial Policies. We're committed to providing you with well-researched, expert-backed insights for all your informational needs.

0 thoughts on “How To Restore Furniture Wood”