Home>Furniture & Design>Outdoor Furniture>How To Restore Outdoor Metal Furniture
Outdoor Furniture
How To Restore Outdoor Metal Furniture
Published: January 15, 2024
Learn how to restore your outdoor metal furniture to its former glory with our expert tips and techniques. Transform your outdoor space with our comprehensive guide.
(Many of the links in this article redirect to a specific reviewed product. Your purchase of these products through affiliate links helps to generate commission for Storables.com, at no extra cost. Learn more)
Introduction
When it comes to outdoor furniture, metal pieces are often favored for their durability, timeless appeal, and ability to withstand the elements. However, over time, exposure to the elements can take a toll on even the sturdiest of metal furniture, leading to rust, corrosion, and a worn appearance. Fortunately, with the right tools, materials, and a little bit of elbow grease, it's possible to restore outdoor metal furniture to its former glory.
Restoring outdoor metal furniture is a rewarding and cost-effective way to breathe new life into your outdoor living space. Whether you have a vintage wrought iron patio set or a modern aluminum dining ensemble, the restoration process can help you preserve the integrity of the furniture while adding a touch of personal flair.
In this comprehensive guide, we will walk you through the step-by-step process of restoring your outdoor metal furniture. From assessing the condition of the furniture to cleaning, removing rust, priming, painting, and sealing, we will cover each stage of the restoration journey. Additionally, we will provide tips on maintaining the restored furniture to ensure its longevity and continued beauty.
So, roll up your sleeves and get ready to embark on a rewarding DIY project that will leave you with outdoor metal furniture that looks as good as new. Whether you're a seasoned DIY enthusiast or a novice looking to explore the world of furniture restoration, this guide will equip you with the knowledge and confidence to tackle this project with ease. Let's begin the transformative journey of reviving your outdoor metal furniture!
Key Takeaways:
- Revive your outdoor metal furniture by assessing, cleaning, removing rust, priming, painting, and sealing. Maintain its beauty with regular cleaning, addressing rust promptly, and protecting it from harsh elements.
- Transform your outdoor space by restoring metal furniture. Assess its condition, clean thoroughly, remove rust, prime, paint, and seal for enduring beauty. Maintain with regular cleaning and protective measures.
Read more: How To Restore Faded Metal Outdoor Furniture
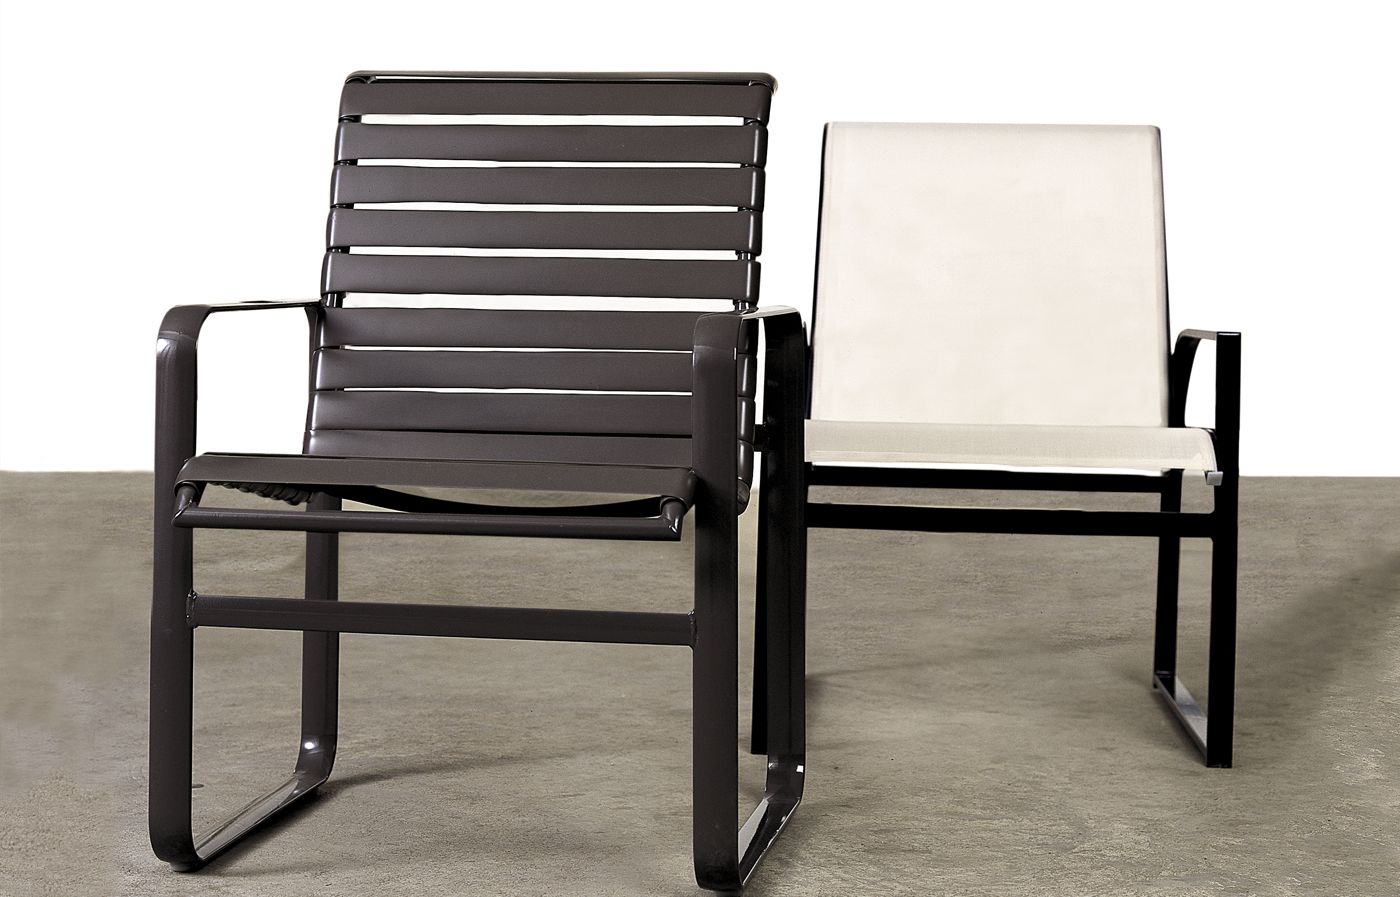
Assessing the Condition of the Metal Furniture
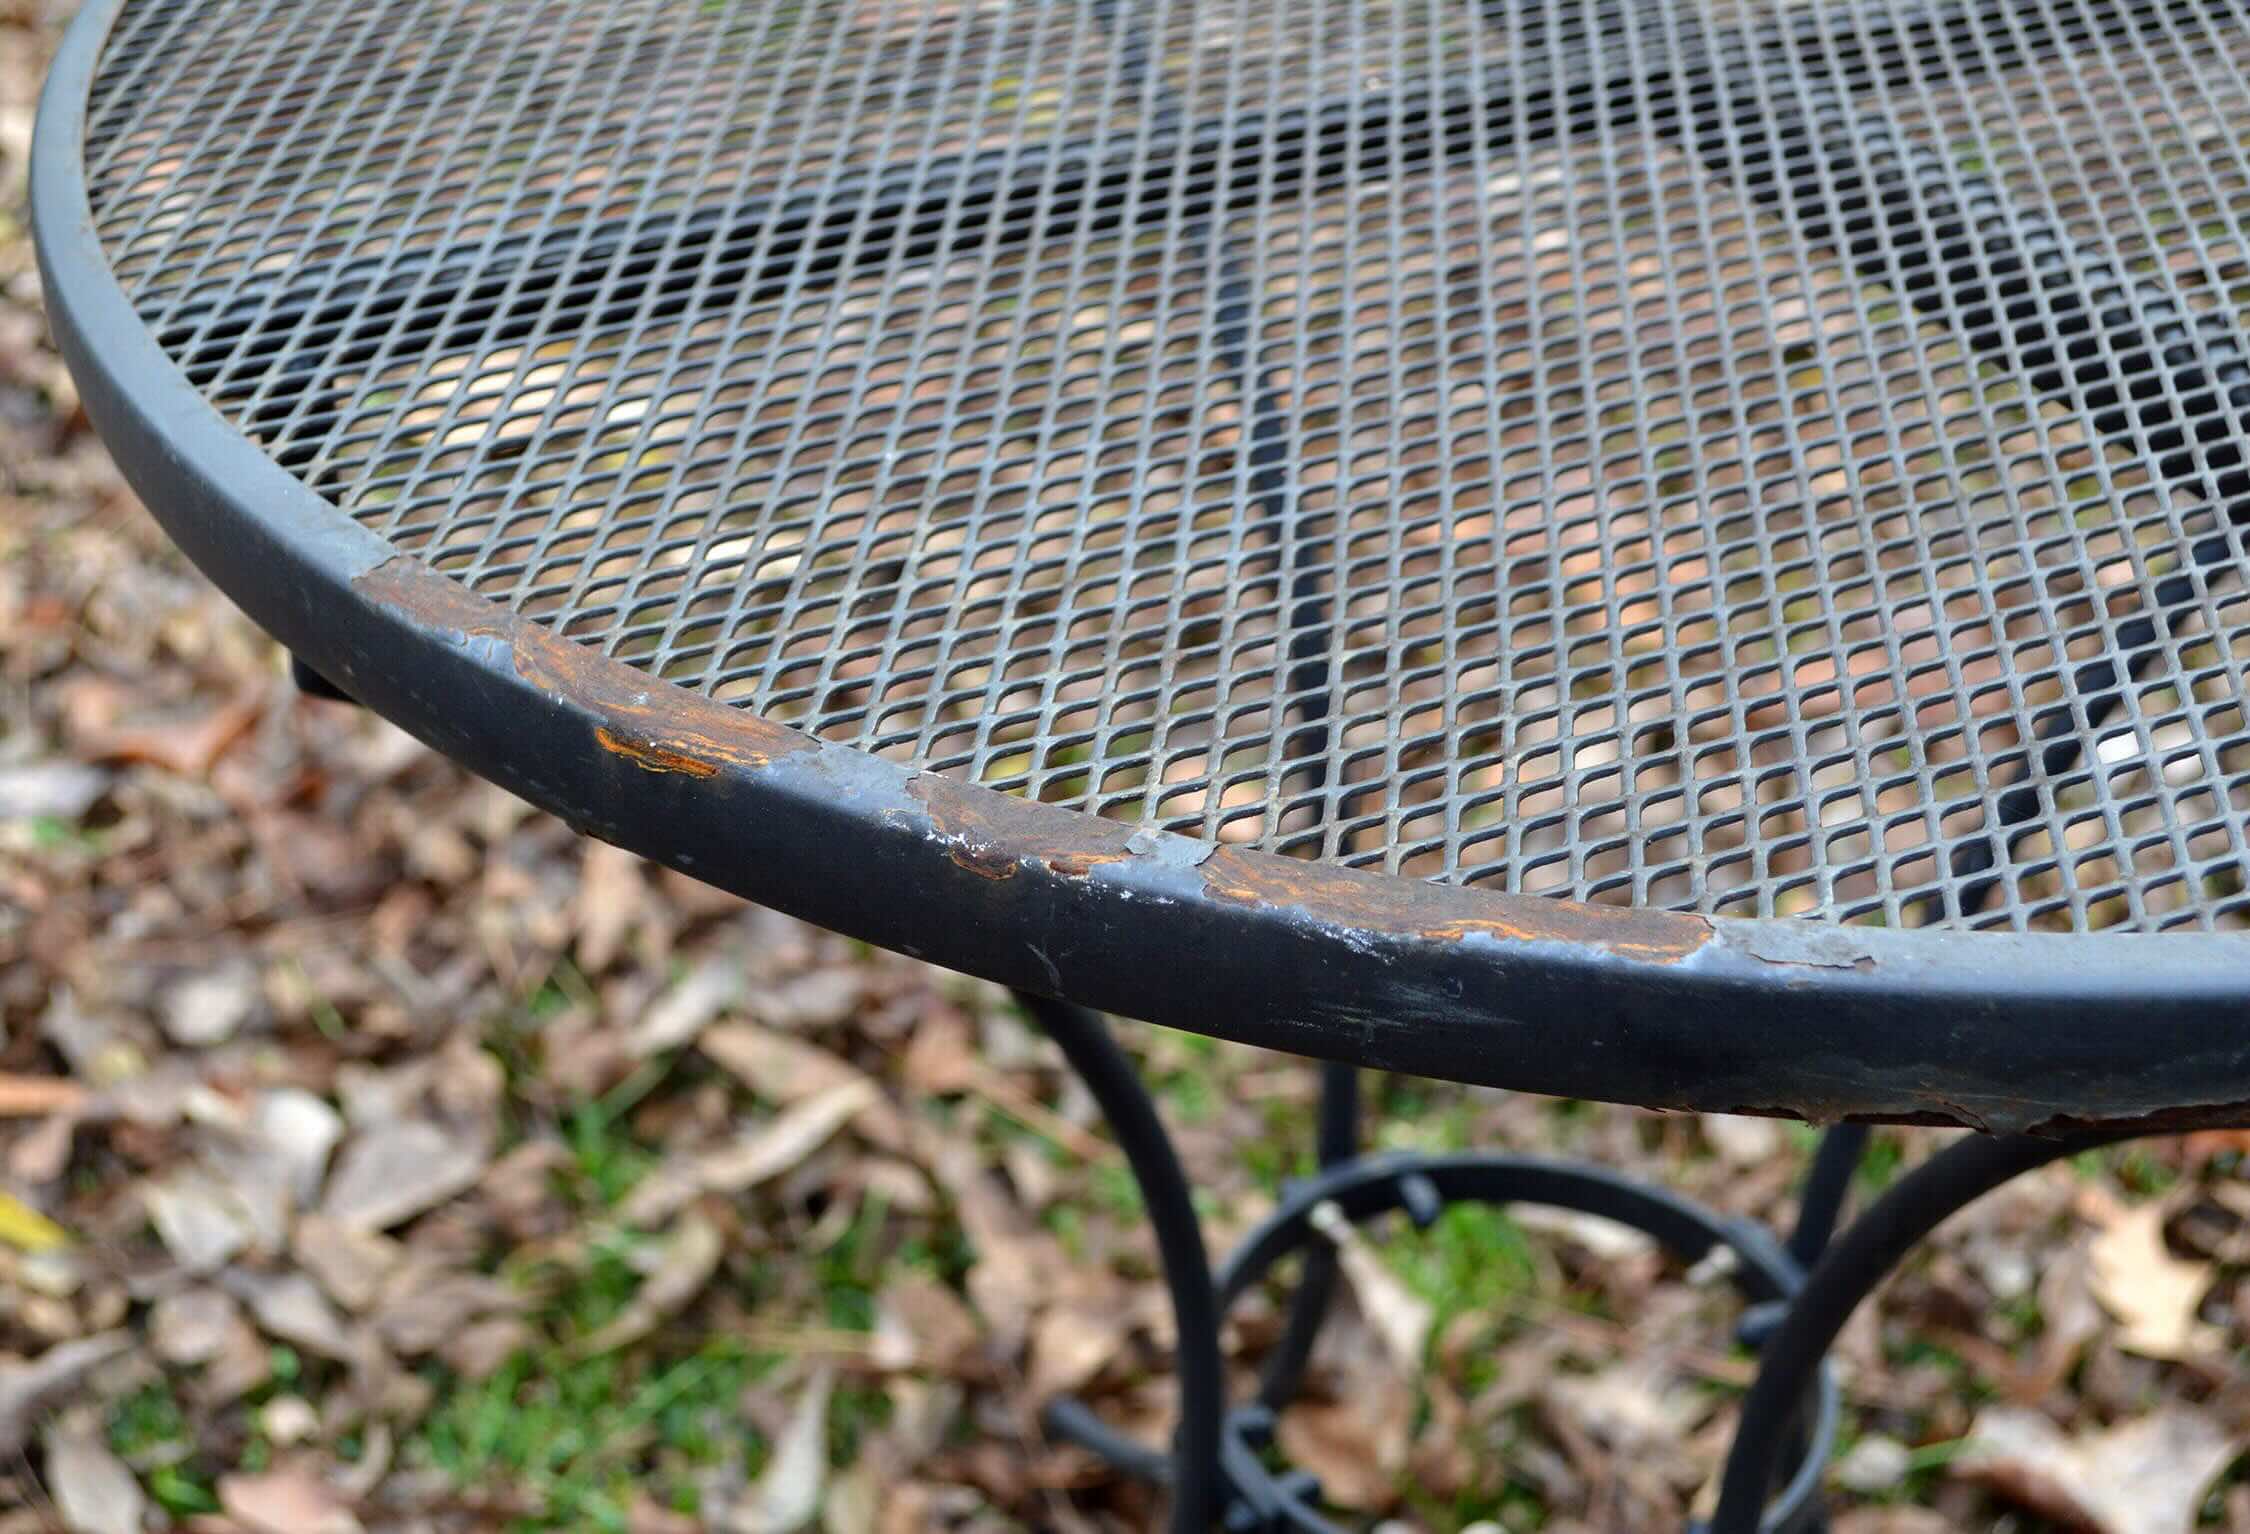
Before diving into the restoration process, it’s crucial to assess the current condition of your outdoor metal furniture. This initial step will help you identify the extent of the damage, the type of metal used, and any existing protective finishes. Here’s how to effectively assess the condition of your metal furniture:
- Inspect for Rust and Corrosion: Begin by carefully examining the furniture for any signs of rust, corrosion, or flaking paint. Pay close attention to areas where water may accumulate, such as joints, crevices, and the underside of the furniture.
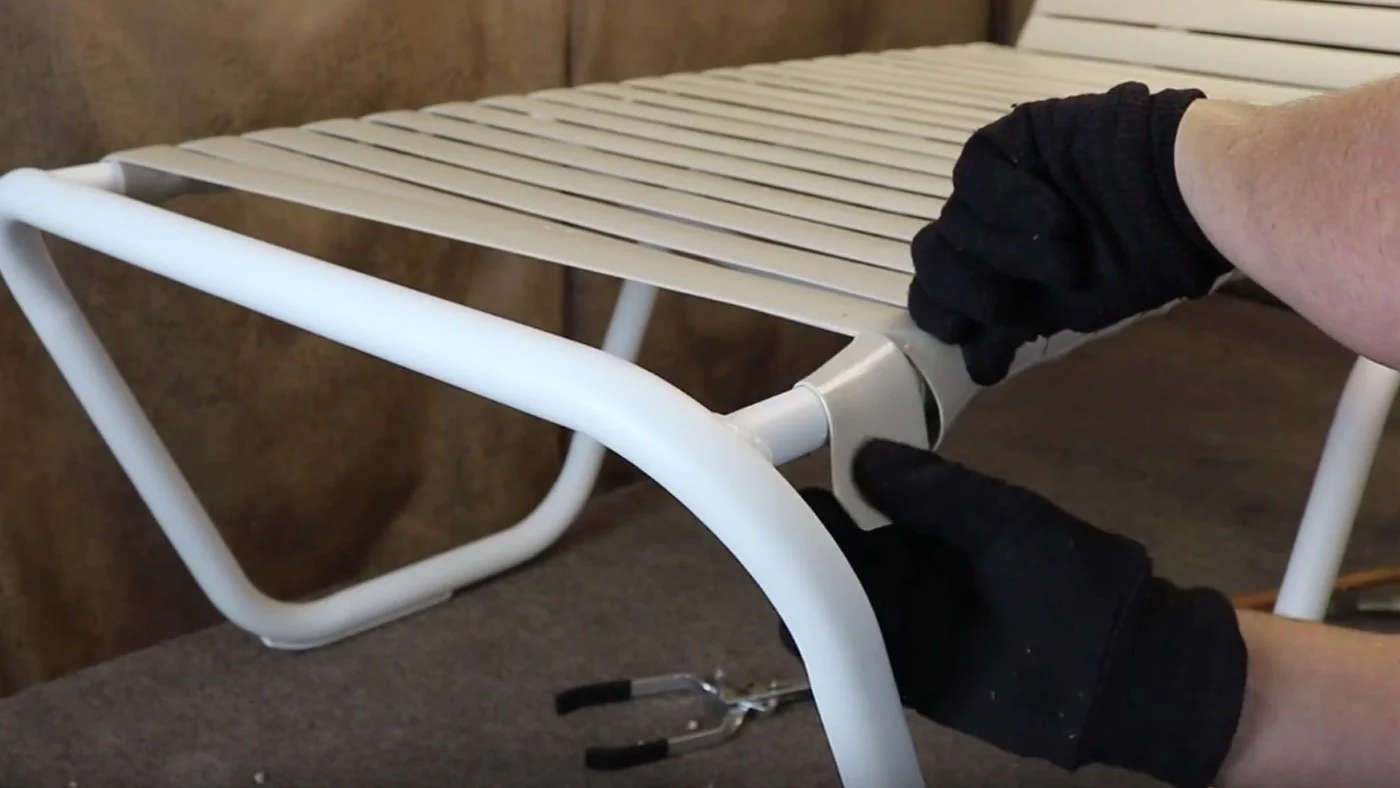
- Evaluate Structural Integrity: Check for any signs of structural damage, including bent or weakened metal components, loose joints, or missing hardware. Ensure that the furniture is stable and safe to work on.
- Identify the Metal Type: Determine the type of metal used in the furniture. Common outdoor furniture metals include aluminum, wrought iron, steel, and stainless steel. Knowing the metal type will help you select the appropriate cleaning and restoration products.
- Assess Existing Finishes: If the furniture has a previous paint or protective coating, assess its condition. Determine whether the existing finish is intact, peeling, or flaking. This will influence the approach to surface preparation during the restoration process.
By thoroughly evaluating the condition of your metal furniture, you’ll gain valuable insights that will inform the subsequent steps of the restoration process. Whether your furniture requires minor touch-ups or extensive refurbishment, a detailed assessment sets the foundation for a successful restoration project.
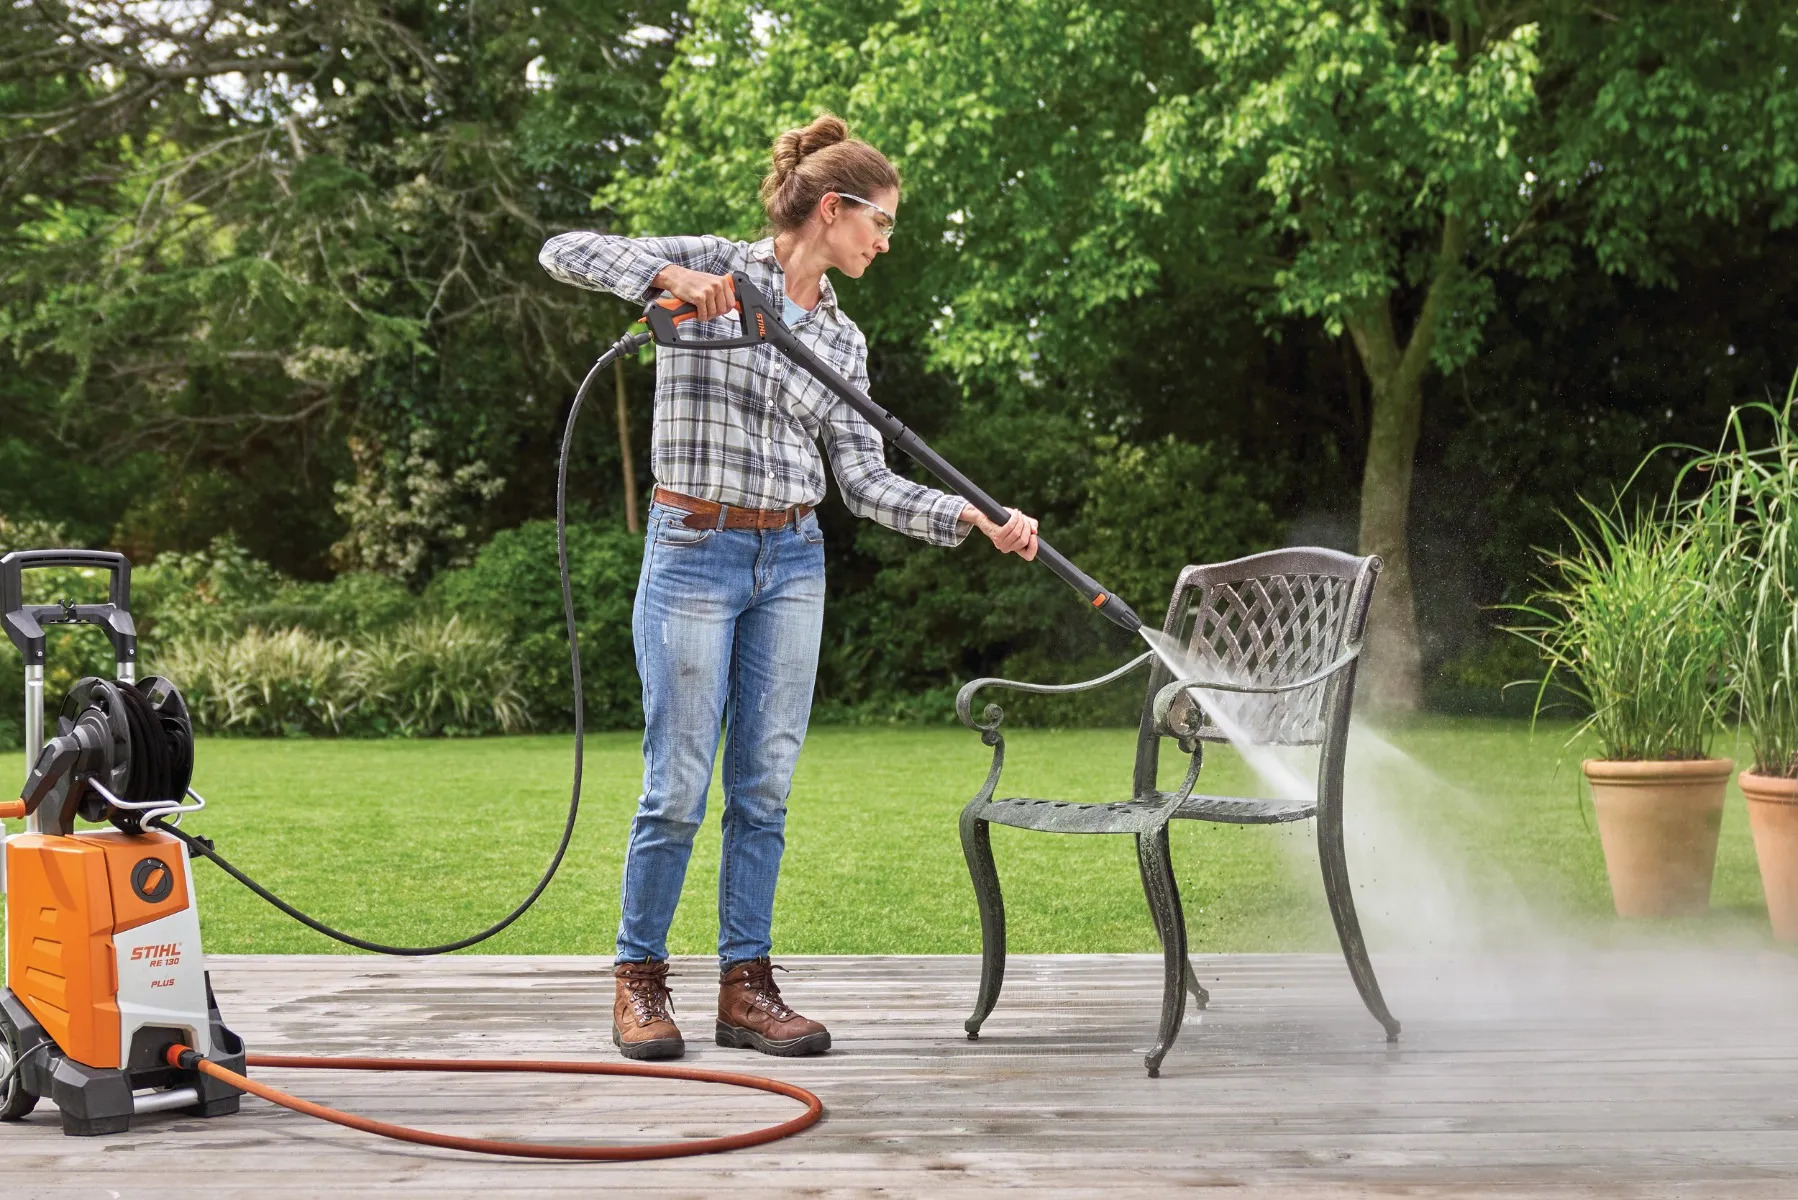
Cleaning the Metal Furniture
Once you’ve assessed the condition of your outdoor metal furniture, the next crucial step is to thoroughly clean the surfaces to remove dirt, grime, and any existing coatings. Proper cleaning not only prepares the furniture for restoration but also ensures that the new finish adheres effectively. Follow these steps to clean your metal furniture effectively:
- Remove Loose Debris: Begin by using a stiff-bristled brush or a vacuum with a brush attachment to remove loose dirt, leaves, and debris from the furniture’s surfaces and crevices.
- Wash with Mild Soap and Water: Prepare a solution of mild dish soap or a dedicated metal cleaner and warm water. Use a sponge or soft cloth to gently wash the entire surface of the furniture, paying attention to intricate details and ornate designs.
- Rinse Thoroughly: After cleaning, rinse the furniture with clean water to remove any soapy residue. If possible, use a hose with a gentle spray attachment to ensure thorough rinsing.
- Dry Completely: Allow the furniture to dry completely in a well-ventilated area or under the sun. Ensure that all moisture is evaporated before proceeding to the next stage of the restoration process.
- Address Stubborn Stains: For stubborn stains or discoloration, consider using a metal-safe cleaner or a solution of vinegar and water. Apply the cleaner with a soft brush or cloth, and rinse thoroughly after treatment.
By meticulously cleaning the metal furniture, you create a clean and receptive surface for the subsequent steps of rust removal, priming, and painting. Additionally, removing dirt and grime enhances the overall aesthetic appeal of the furniture, setting the stage for a remarkable transformation during the restoration process.
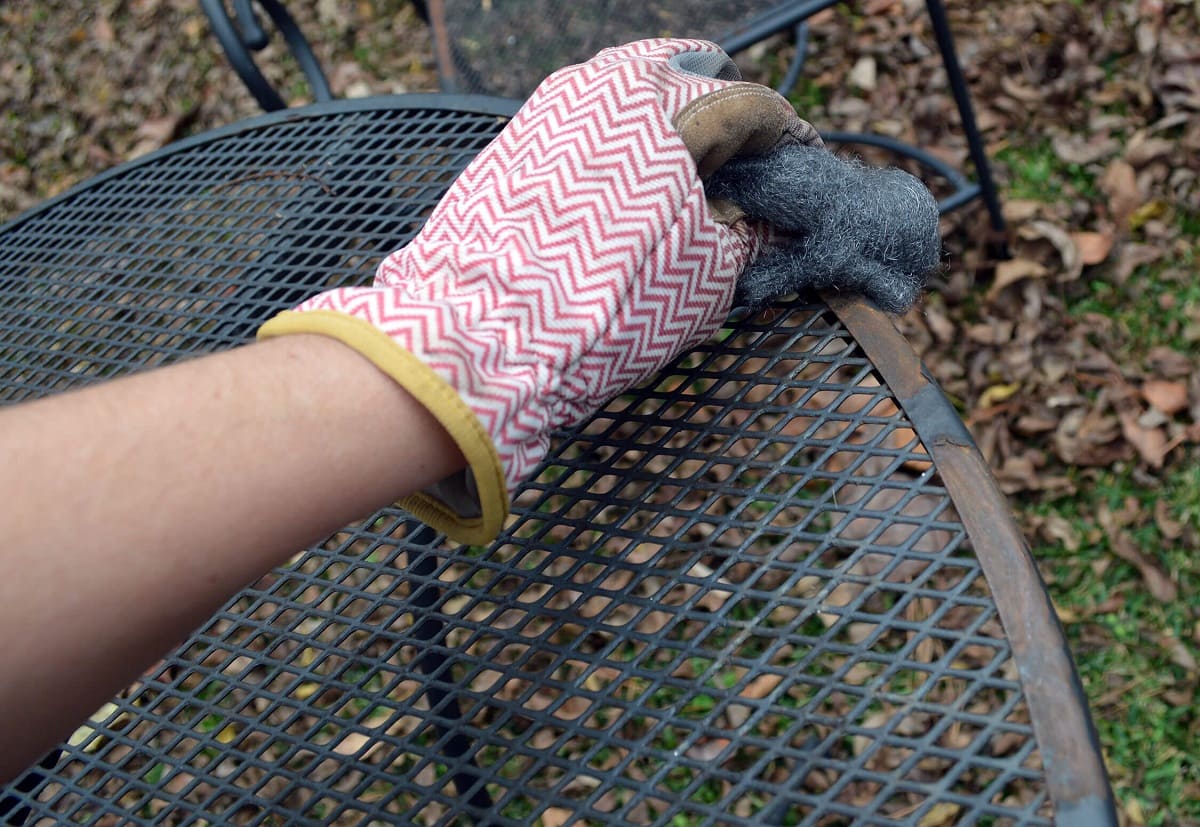
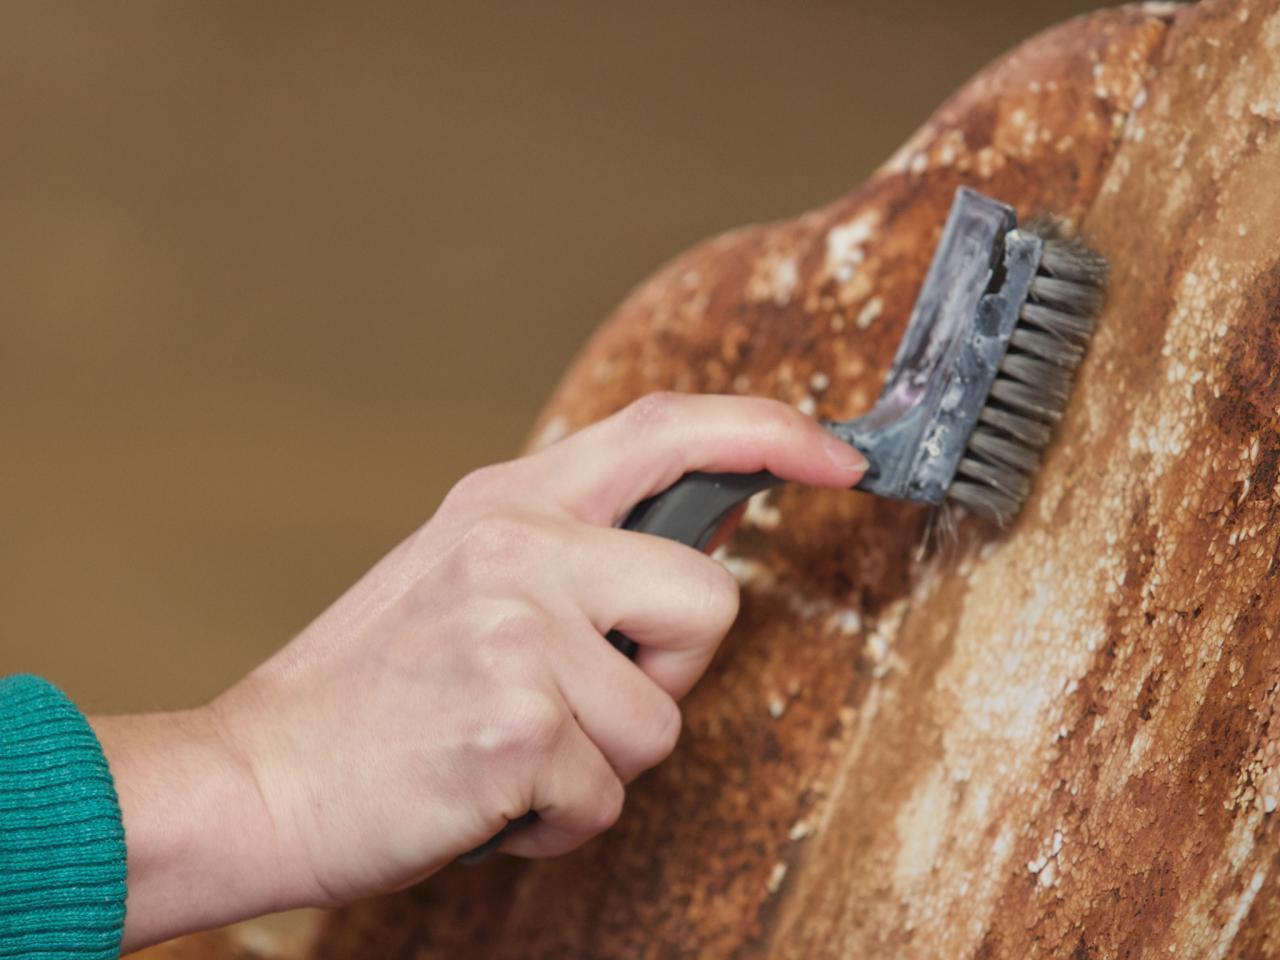
Removing Rust
Rust can detract from the appearance and structural integrity of outdoor metal furniture. Fortunately, with the right techniques and products, it’s possible to effectively remove rust and prevent its recurrence. Here’s how to tackle rust removal from your metal furniture:
- Prepare the Surface: Begin by thoroughly cleaning the furniture as outlined in the previous section. Ensure that the surface is free from dirt, grime, and loose particles before addressing the rust.
- Use a Rust Remover: Apply a commercial rust remover or a homemade solution of equal parts white vinegar and water to the affected areas. Allow the solution to sit for a few minutes to penetrate the rust.
- Scrub with a Wire Brush: After allowing the rust remover to work its magic, use a wire brush or steel wool to gently scrub the rusted areas. Take care to avoid overly abrasive tools that may damage the underlying metal.
- Rinse and Repeat if Necessary: Thoroughly rinse the treated areas with water to remove the rust remover and loosened rust particles. If stubborn rust remains, repeat the process until the desired level of rust removal is achieved.
- Neutralize the Surface: After removing the rust, neutralize the metal surface by wiping it with a cloth dampened with mineral spirits or denatured alcohol. This step helps to remove any remaining residue and prepares the metal for the subsequent stages of the restoration process.
By effectively addressing rust, you not only improve the visual appeal of the furniture but also ensure that the metal is free from corrosion, promoting its longevity. Once the rust removal process is complete, the metal furniture is primed and ready for the next steps of priming, painting, and sealing, bringing it one step closer to its revitalized state.
To restore outdoor metal furniture, start by cleaning the surface with a mixture of mild soap and water. Then, remove any rust with a wire brush or sandpaper. Finally, apply a rust-resistant primer and paint to protect the metal from future damage.
Priming the Metal
Before applying a fresh coat of paint to your outdoor metal furniture, it’s essential to prime the surfaces to promote adhesion, prevent corrosion, and ensure a smooth and durable finish. The priming process lays the foundation for a successful paint application, enhancing the overall longevity of the restoration. Here’s how to prime your metal furniture effectively:
- Select a High-Quality Metal Primer: Choose a primer specifically formulated for metal surfaces. Look for a rust-inhibiting primer that provides excellent adhesion and corrosion resistance.
- Prepare the Work Area: Work in a well-ventilated space and protect the surrounding area with drop cloths or newspaper to prevent overspray or spills.
- Apply the Primer: Shake the primer can thoroughly to ensure proper mixing. Hold the can approximately 8-12 inches away from the furniture and apply a light, even coat of primer, moving the can in a sweeping motion to cover the entire surface.
- Allow for Drying Time: Follow the manufacturer’s instructions regarding drying times between coats. Typically, the primer will need to dry for at least 1-2 hours before applying additional coats or proceeding to the painting stage.
- Inspect for Even Coverage: After the initial coat has dried, inspect the furniture for any areas that may require additional priming. Apply a second coat if necessary to ensure even coverage and optimal adhesion.
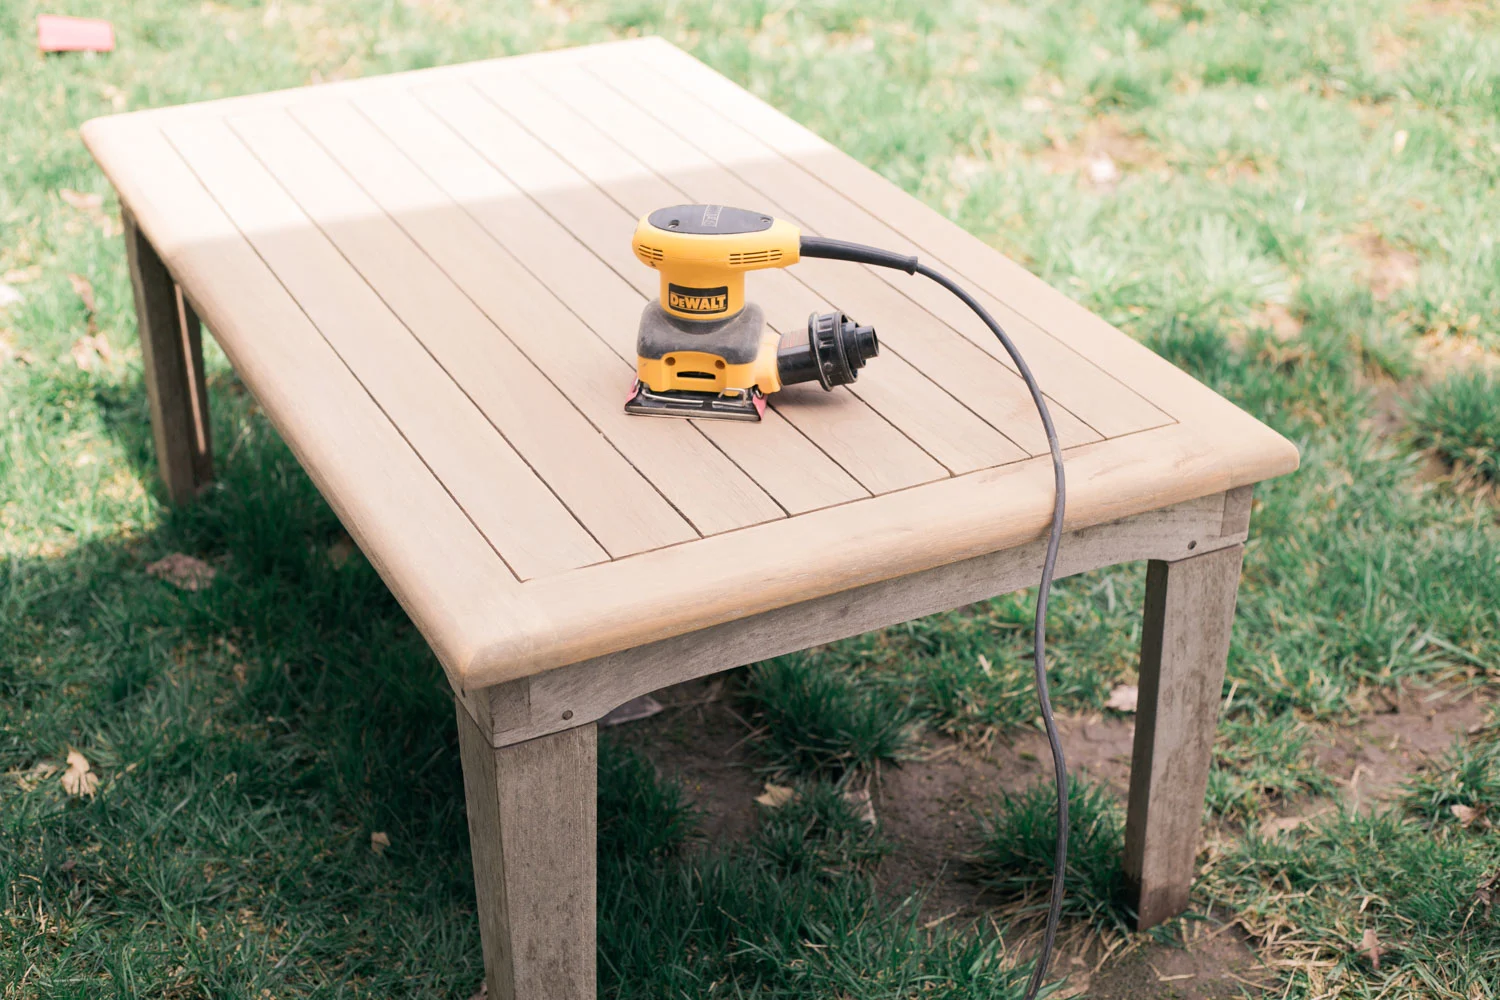
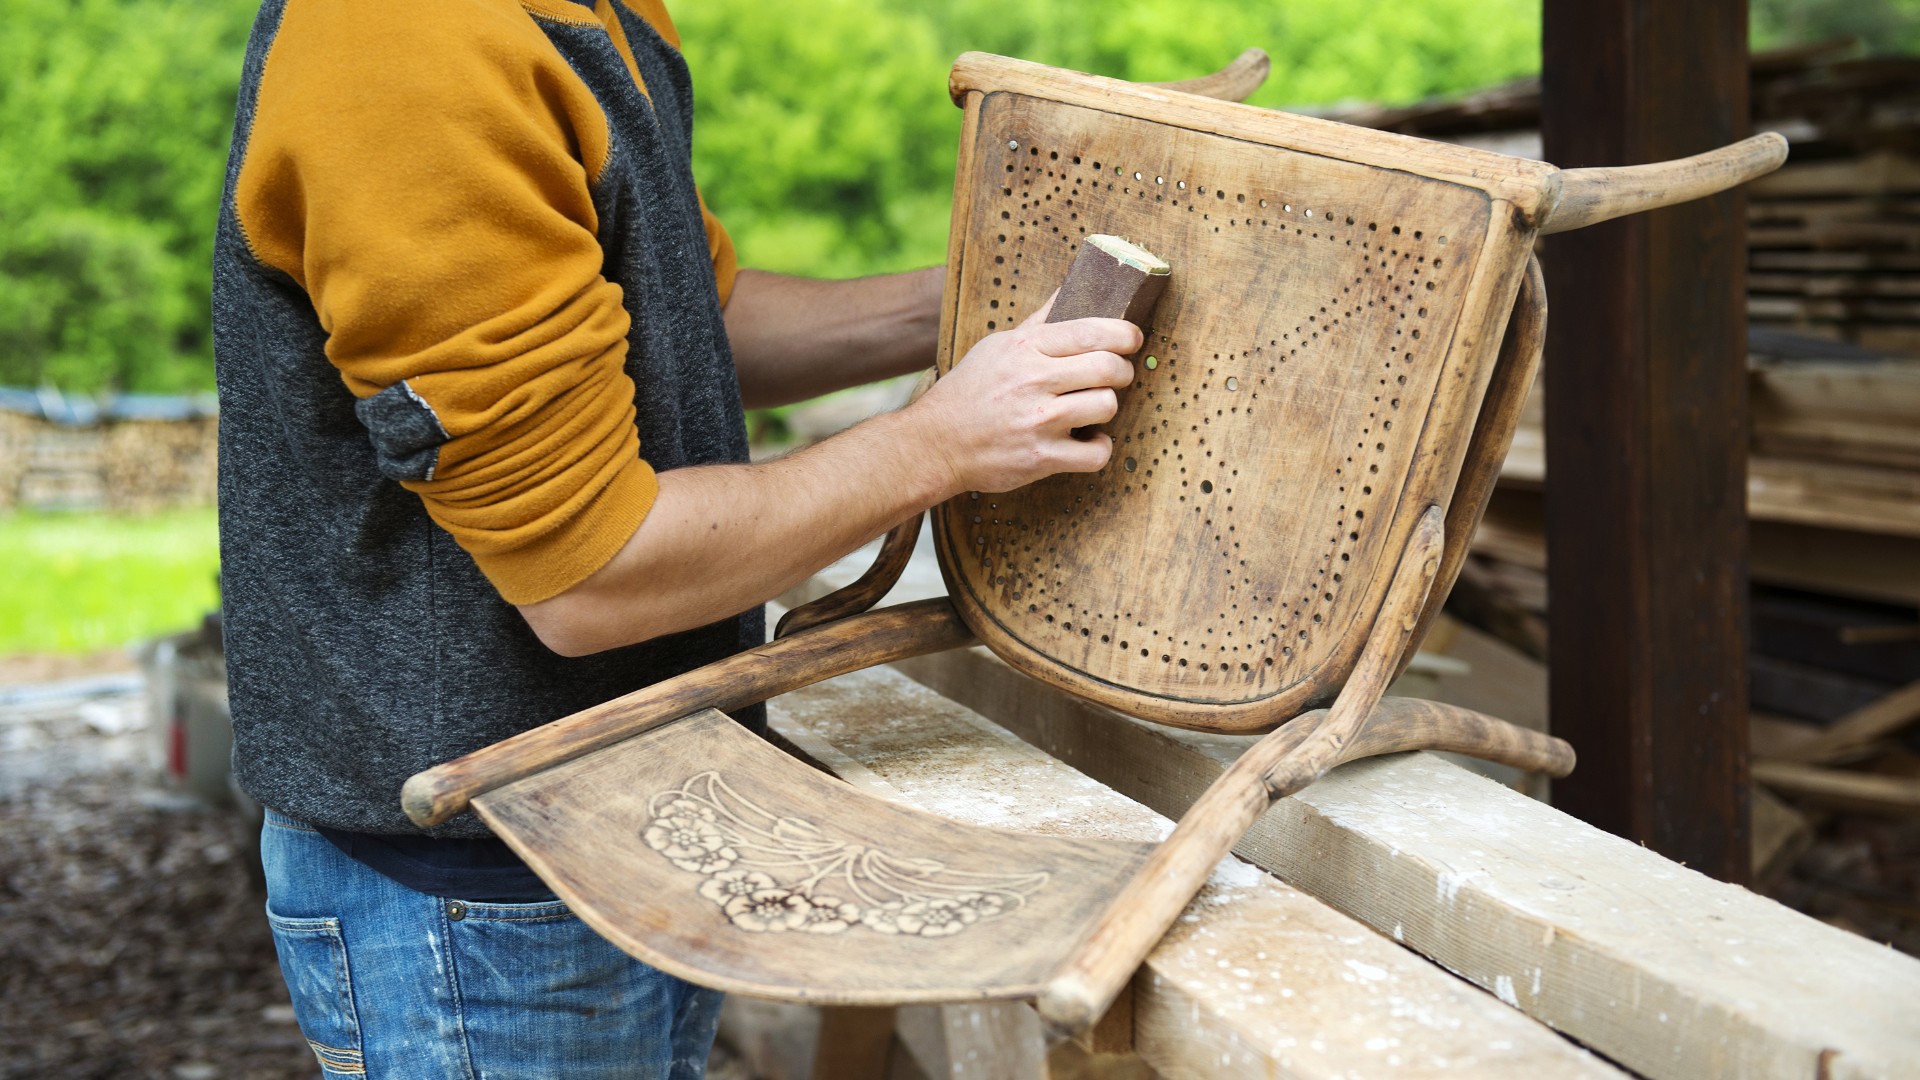
- Sand for Smoothness (Optional): If desired, lightly sand the primed surfaces with fine-grit sandpaper after the final coat has dried to achieve a smooth and uniform base for the paint application.
By priming the metal furniture, you create a stable and receptive surface for the subsequent paint application. The primer not only enhances the adhesion of the paint but also provides an additional layer of protection against rust and corrosion, ensuring that your restored furniture maintains its beauty for years to come.
Read more: How To Restore Wooden Outdoor Furniture
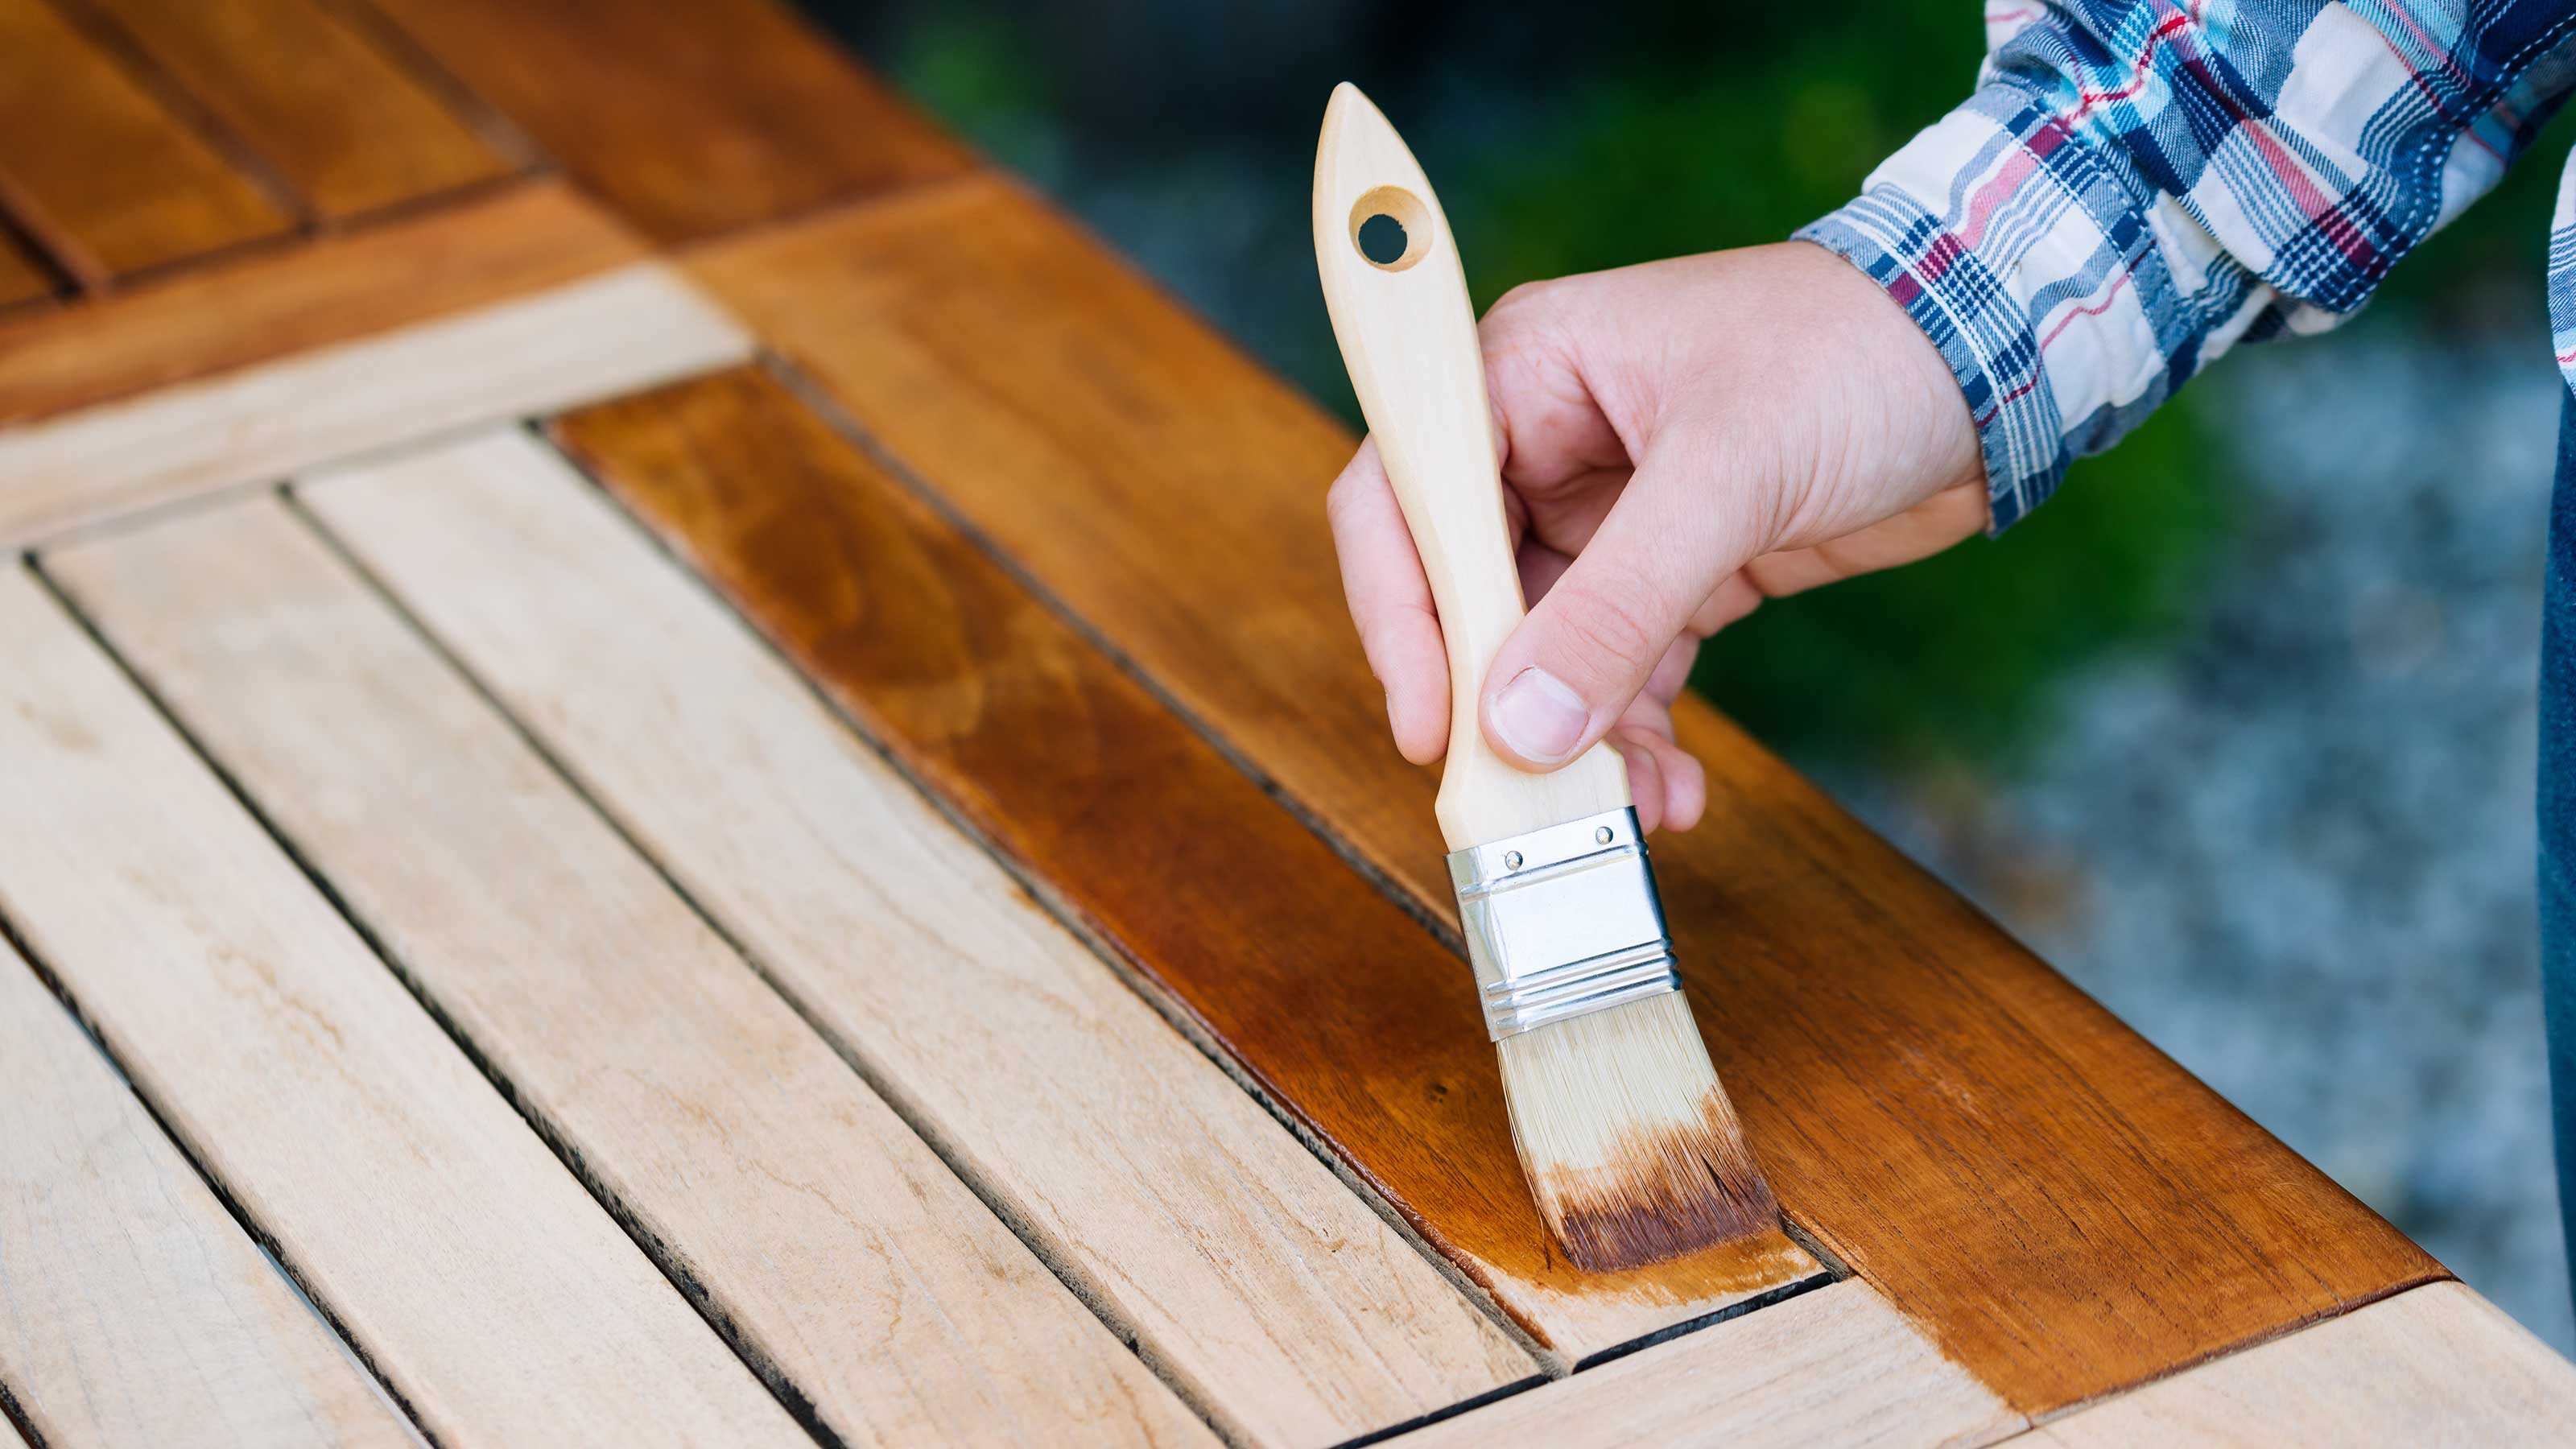
Painting the Metal Furniture
Once the metal furniture has been thoroughly cleaned, rust-free, and primed, it’s time to infuse it with a fresh burst of color through the painting process. Choosing the right paint and applying it with precision will breathe new life into the furniture, elevating its aesthetic appeal and protecting it from the elements. Here’s how to paint your metal furniture effectively:
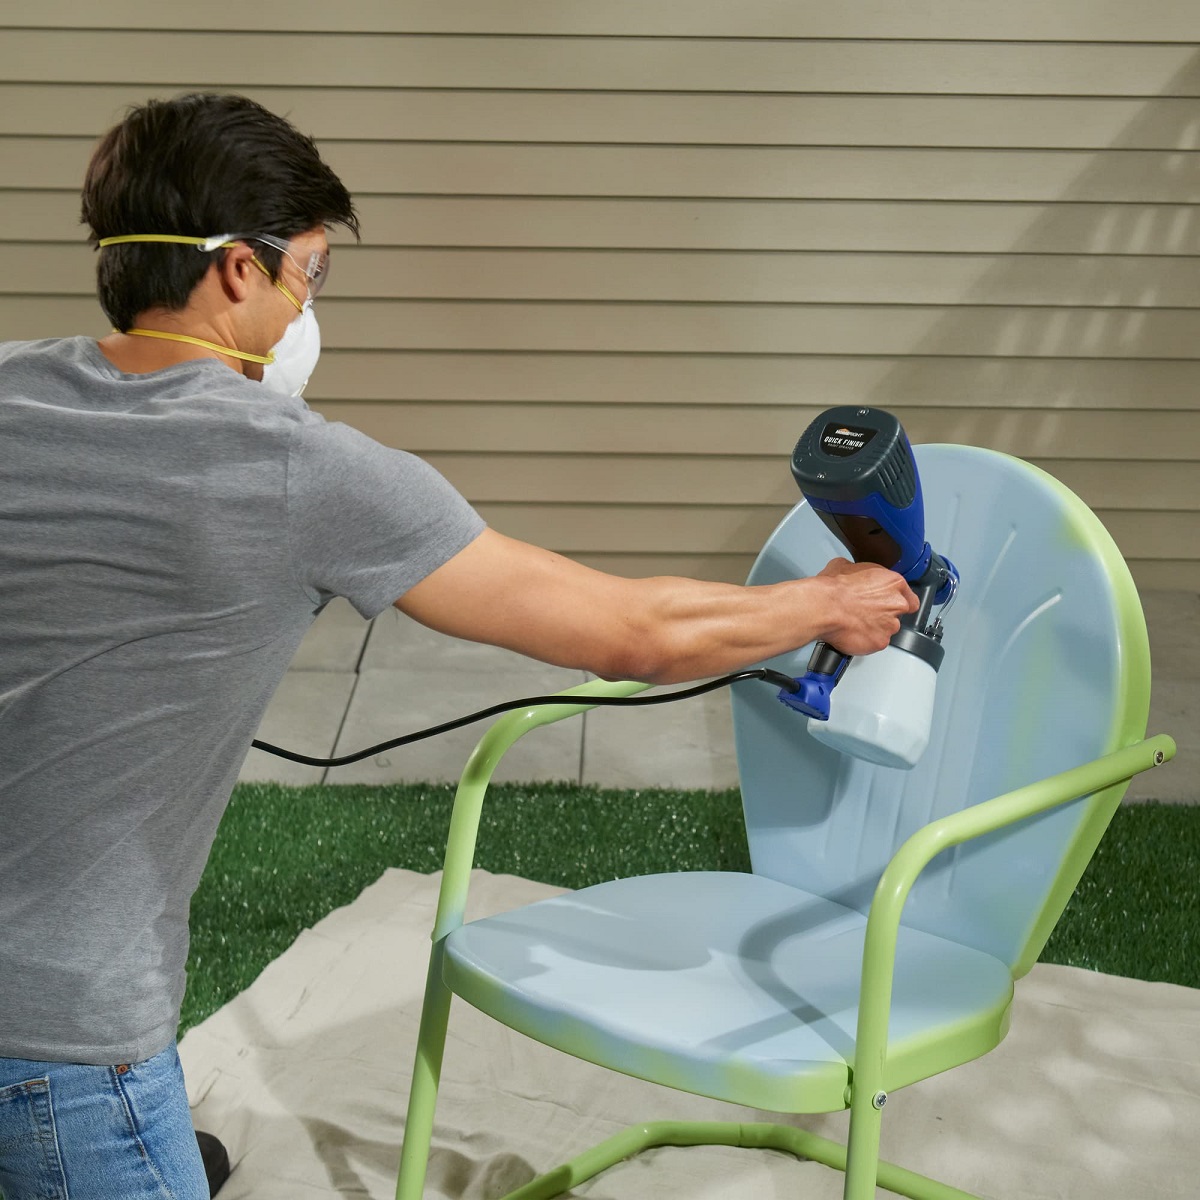
- Choose High-Quality Outdoor Metal Paint: Opt for a high-quality outdoor metal paint that offers durability, UV resistance, and weatherproof properties. Consider a spray paint formulated for metal surfaces for a smooth and even finish.
- Prepare the Work Area: Work in a well-ventilated outdoor space, and protect the surrounding area with drop cloths or newspaper to prevent overspray. Ensure that the weather conditions are conducive to painting, avoiding windy or excessively humid days.
- Apply Thin, Even Coats: Shake the paint can thoroughly and hold it approximately 8-12 inches away from the furniture. Apply the paint in thin, even coats, using a sweeping motion to cover the entire surface. Allow each coat to dry before applying the next, following the manufacturer’s recommended drying times.
- Ensure Complete Coverage: Inspect the furniture after each coat to ensure complete coverage and address any missed spots or uneven areas. Additional coats may be necessary to achieve the desired depth of color and uniform finish.
- Allow for Proper Drying Time: After the final coat has been applied, allow the furniture to dry completely according to the paint manufacturer’s instructions. This step is crucial for the paint to cure and form a resilient, long-lasting finish.
- Consider Protective Finishes (Optional): For added protection and a glossy or matte finish, consider applying a clear topcoat formulated for outdoor metal surfaces. This step can enhance the durability and weather resistance of the painted furniture.
By painting your metal furniture with precision and care, you not only enhance its visual appeal but also fortify it against the elements, ensuring that it remains vibrant and beautiful for years to come. The painting process represents the transformative stage of the restoration, breathing new life into your outdoor living space and creating a focal point of enduring elegance.
Sealing the Metal Furniture
After the painting process is complete, it’s essential to seal the newly painted surfaces of your metal furniture to enhance durability, weather resistance, and long-term color retention. Sealing the furniture provides an additional layer of protection, ensuring that your meticulously restored pieces withstand the rigors of outdoor environments. Here’s how to effectively seal your metal furniture:
- Choose a Clear Protective Sealant: Select a clear, outdoor-rated protective sealant specifically designed for metal surfaces. Look for a sealant that offers UV protection, weather resistance, and a durable finish.
- Prepare the Work Area: Work in a well-ventilated outdoor space, and ensure that the furniture is clean and free from dust or debris. Protect the surrounding area with drop cloths or newspaper to prevent overspray.
- Apply the Sealant Evenly: Shake the sealant can thoroughly and hold it approximately 8-12 inches away from the furniture. Apply a thin, even coat of sealant, using a sweeping motion to cover the entire painted surface. Ensure that the sealant is applied uniformly to avoid drips or uneven coverage.
- Allow for Proper Drying Time: After applying the first coat of sealant, allow it to dry completely according to the manufacturer’s instructions. Depending on the specific product, additional coats of sealant may be recommended for optimal protection and longevity.
- Inspect for Uniform Coverage: After the final coat has dried, inspect the furniture to ensure that the sealant has formed a uniform and protective layer over the painted surfaces. Address any areas that may require additional sealing for complete coverage.
- Reapply as Needed: Over time, monitor the condition of the sealed surfaces and reapply the protective sealant as needed to maintain optimal protection and visual appeal. Regular maintenance and resealing can extend the lifespan of the restored furniture.
By sealing your metal furniture with a protective sealant, you safeguard the painted surfaces against fading, chipping, and environmental damage, ensuring that your restoration efforts yield enduring beauty and resilience. The sealing process represents the final touch in the comprehensive restoration journey, culminating in outdoor metal furniture that stands the test of time with grace and elegance.
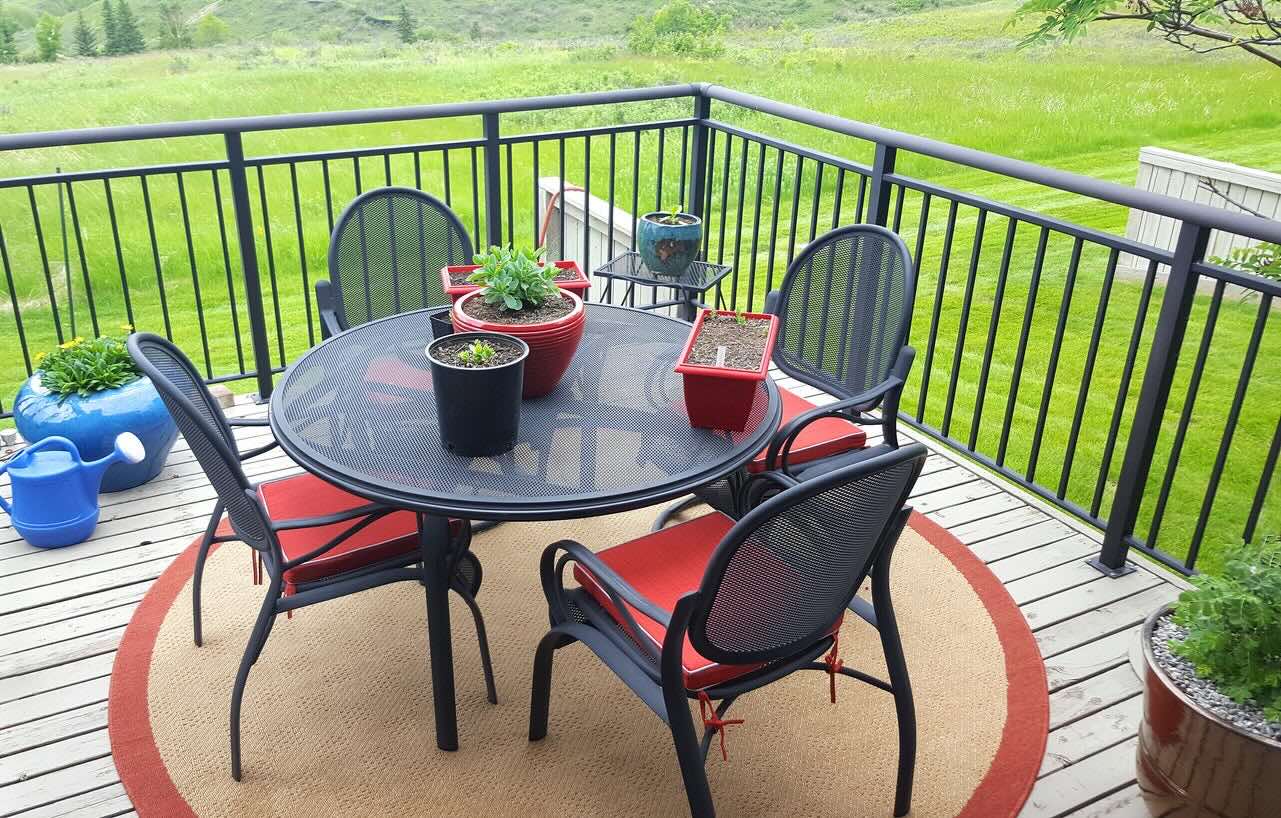
Maintaining the Restored Metal Furniture
Once your outdoor metal furniture has been meticulously restored to its former glory, proper maintenance is key to preserving its beauty and functionality for years to come. By implementing regular care and protective measures, you can ensure that your restored furniture continues to adorn your outdoor living space with enduring elegance. Here’s how to maintain your restored metal furniture effectively:
- Regular Cleaning: Keep your restored metal furniture clean by regularly wiping it with a damp cloth to remove dust, pollen, and other surface debris. Periodic cleaning prevents the buildup of dirt and grime, preserving the luster of the finish.
- Inspect for Wear and Damage: Routinely inspect the furniture for signs of wear, chipping, or scratches. Address any areas of concern promptly by touching up the paint or applying a fresh coat of sealant to prevent further deterioration.
- Protect from Harsh Elements: During inclement weather or prolonged periods of non-use, consider covering the furniture with weather-resistant furniture covers or storing it in a sheltered area to shield it from excessive moisture and direct sunlight.
- Address Rust and Corrosion Promptly: If any signs of rust or corrosion appear, address them promptly by using a rust remover, sanding the affected areas, and applying touch-up paint and sealant to prevent the spread of corrosion.
- Reapply Protective Sealant: Monitor the condition of the sealant on your restored furniture and reapply it as needed to maintain a strong barrier against UV rays, moisture, and environmental exposure.
- Attend to Structural Integrity: Periodically check the stability and structural integrity of the furniture, tightening any loose hardware and addressing any signs of structural weakness to ensure its safety and longevity.
By implementing a proactive maintenance routine, you can safeguard the beauty and functionality of your restored metal furniture, allowing it to grace your outdoor living space with enduring charm. With regular care and attention, your meticulously restored furniture will continue to stand as a testament to your dedication to preserving timeless elegance and craftsmanship.
Frequently Asked Questions about How To Restore Outdoor Metal Furniture
Was this page helpful?
At Storables.com, we guarantee accurate and reliable information. Our content, validated by Expert Board Contributors, is crafted following stringent Editorial Policies. We're committed to providing you with well-researched, expert-backed insights for all your informational needs.


0 thoughts on “How To Restore Outdoor Metal Furniture”