Articles
How To Replace Gas Valve On Water Heater
Modified: August 21, 2024
Learn how to replace the gas valve on your water heater in this informative article. Our step-by-step guide will help you complete the task quickly and safely.
(Many of the links in this article redirect to a specific reviewed product. Your purchase of these products through affiliate links helps to generate commission for Storables.com, at no extra cost. Learn more)
Introduction
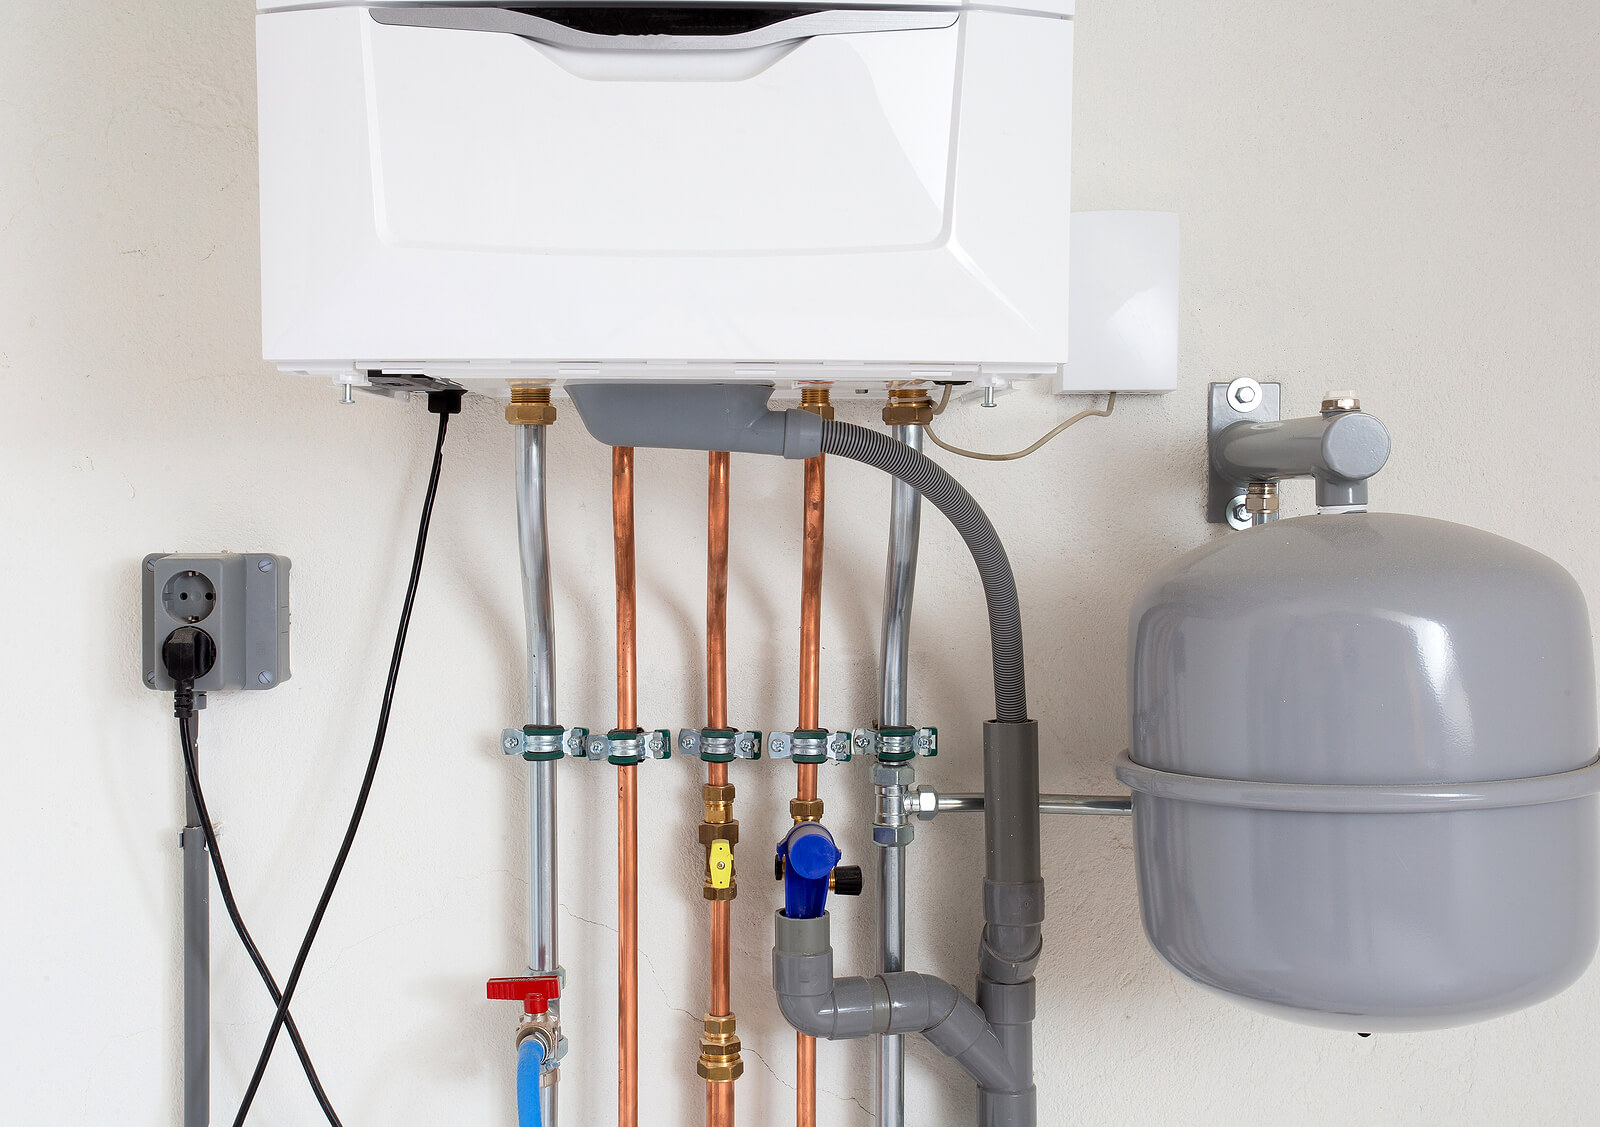
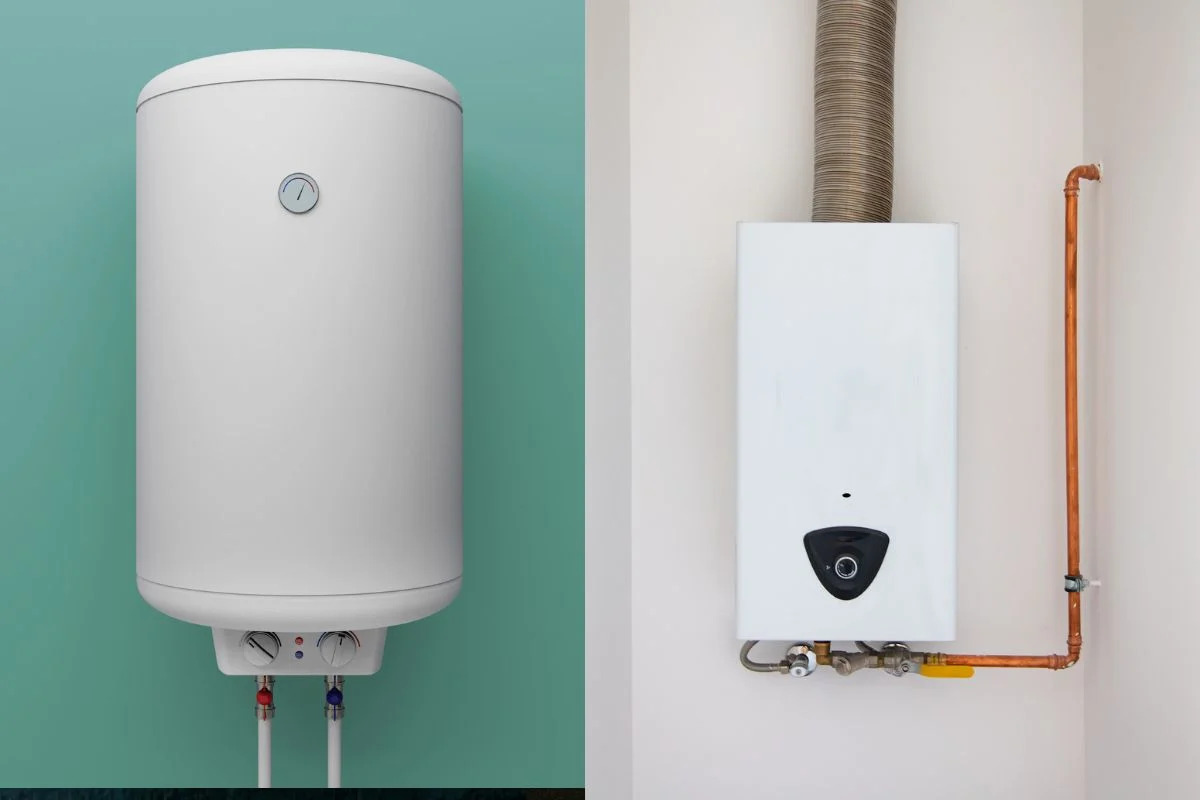
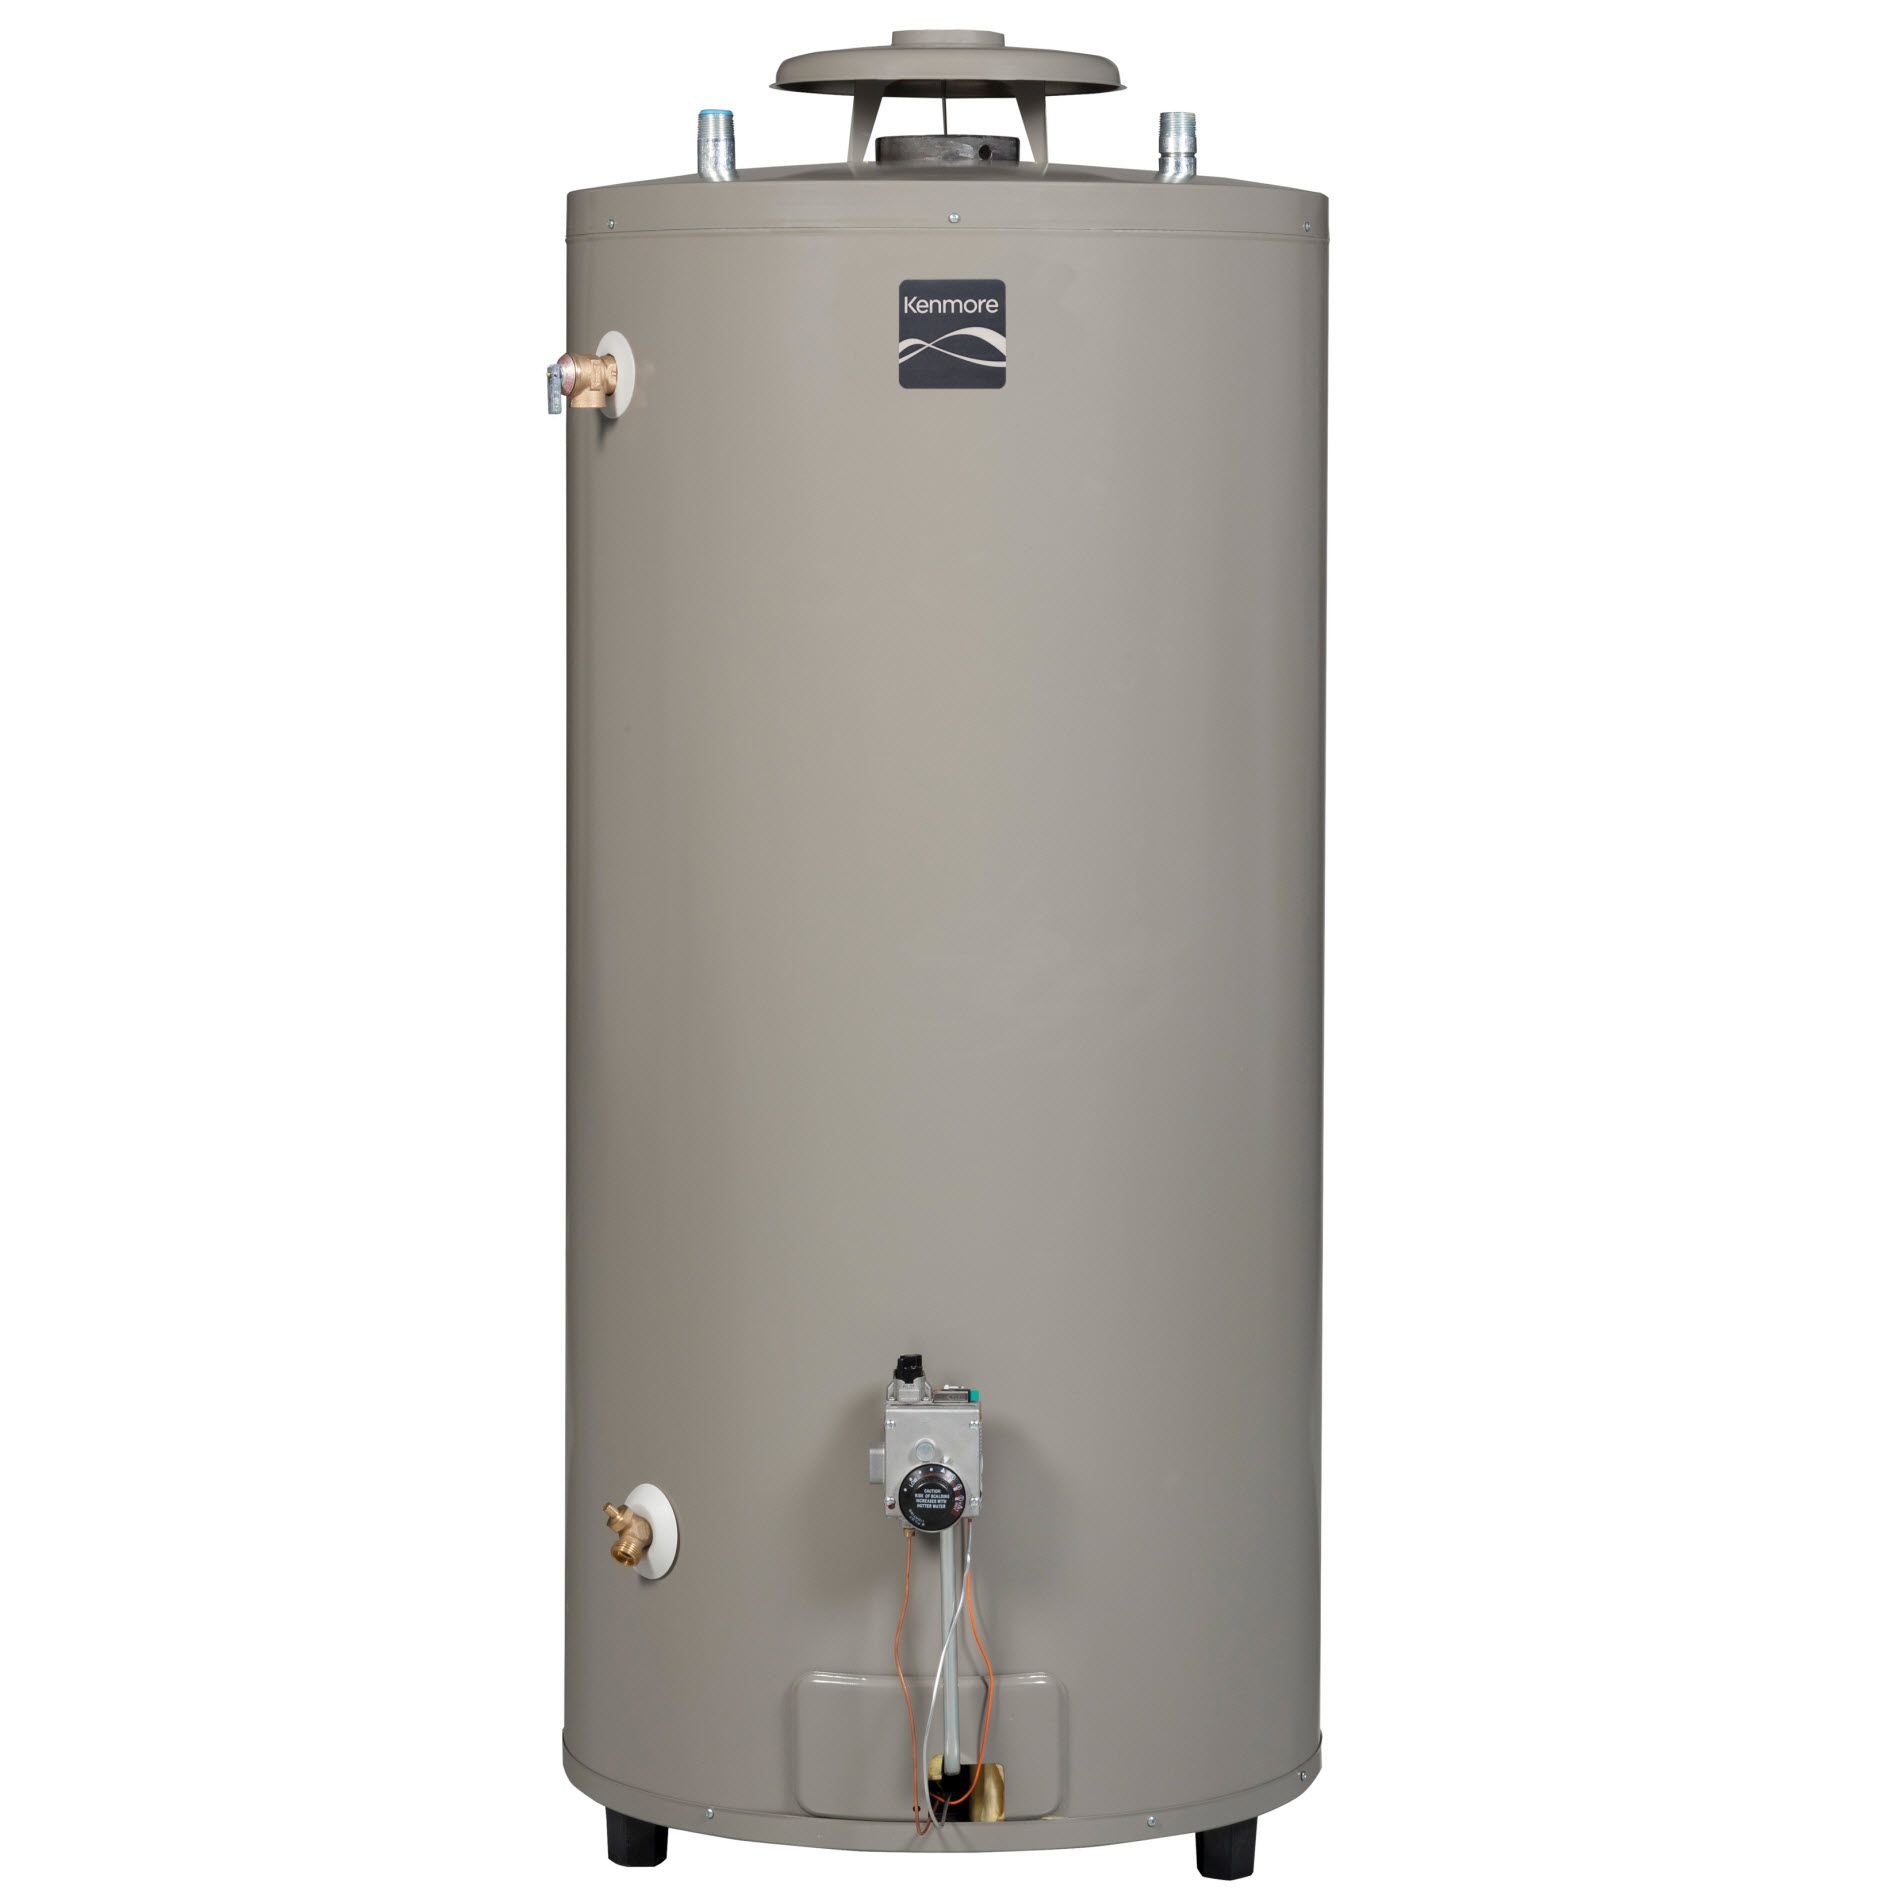
When it comes to maintaining your water heater, there may come a time when you need to replace the gas valve. The gas valve is responsible for controlling the flow of gas to the burner and ensuring the safe and efficient operation of your water heater. Over time, gas valves can wear out or develop faults, leading to issues such as inconsistent heating or a complete loss of hot water. In such cases, replacing the gas valve is a necessary step to restore your water heater to optimal condition.
While the idea of replacing a gas valve may sound daunting, with the right tools and instructions, it is a manageable DIY task that can save you time and money. In this article, we will guide you through the step-by-step process of replacing the gas valve on your water heater, helping you regain control of your hot water supply.
Before we dive into the details, it’s essential to emphasize the importance of safety. Whenever working with gas, it’s crucial to follow proper safety precautions. If you are unsure or uncomfortable with any aspect of the process, it is highly recommended to seek the assistance of a qualified professional.
Now, let’s gather our tools and materials and get started on this DIY project!
Key Takeaways:
- Replacing a gas valve on a water heater is a manageable DIY project with the right tools and precautions. Prioritize safety, gather necessary materials, and follow step-by-step instructions for a successful replacement.
- Regular maintenance and safety checks are essential for the long-term performance of your water heater. By following manufacturer guidelines and exercising caution, you can ensure reliable hot water for years to come.
Read more: How To Replace A Gas Water Heater
Step 1: Gather the necessary tools and materials
Before you begin replacing the gas valve on your water heater, it’s crucial to gather all the necessary tools and materials. Having everything at hand will make the process smoother and more efficient. Here is a list of the items you will need:
- Adjustable wrench
- Pipe wrench
- Gas leak detector solution or soapy water
- New gas valve (make sure it is compatible with your water heater model)
- Thread sealant tape or pipe thread compound
- Dry cloth or towel
The adjustable wrench will come in handy for loosening and tightening various connections, while the pipe wrench will assist in removing the old gas valve. It’s important to have a gas leak detector solution or soapy water to test for leaks after the installation. Additionally, make sure to purchase a new gas valve that is compatible with your specific water heater model to ensure a proper fit.
Lastly, have a dry cloth or towel nearby in case you need to clean up any water or gas residue. Once you have gathered all the tools and materials, you are ready to move on to the next step: turning off the gas and water supply.
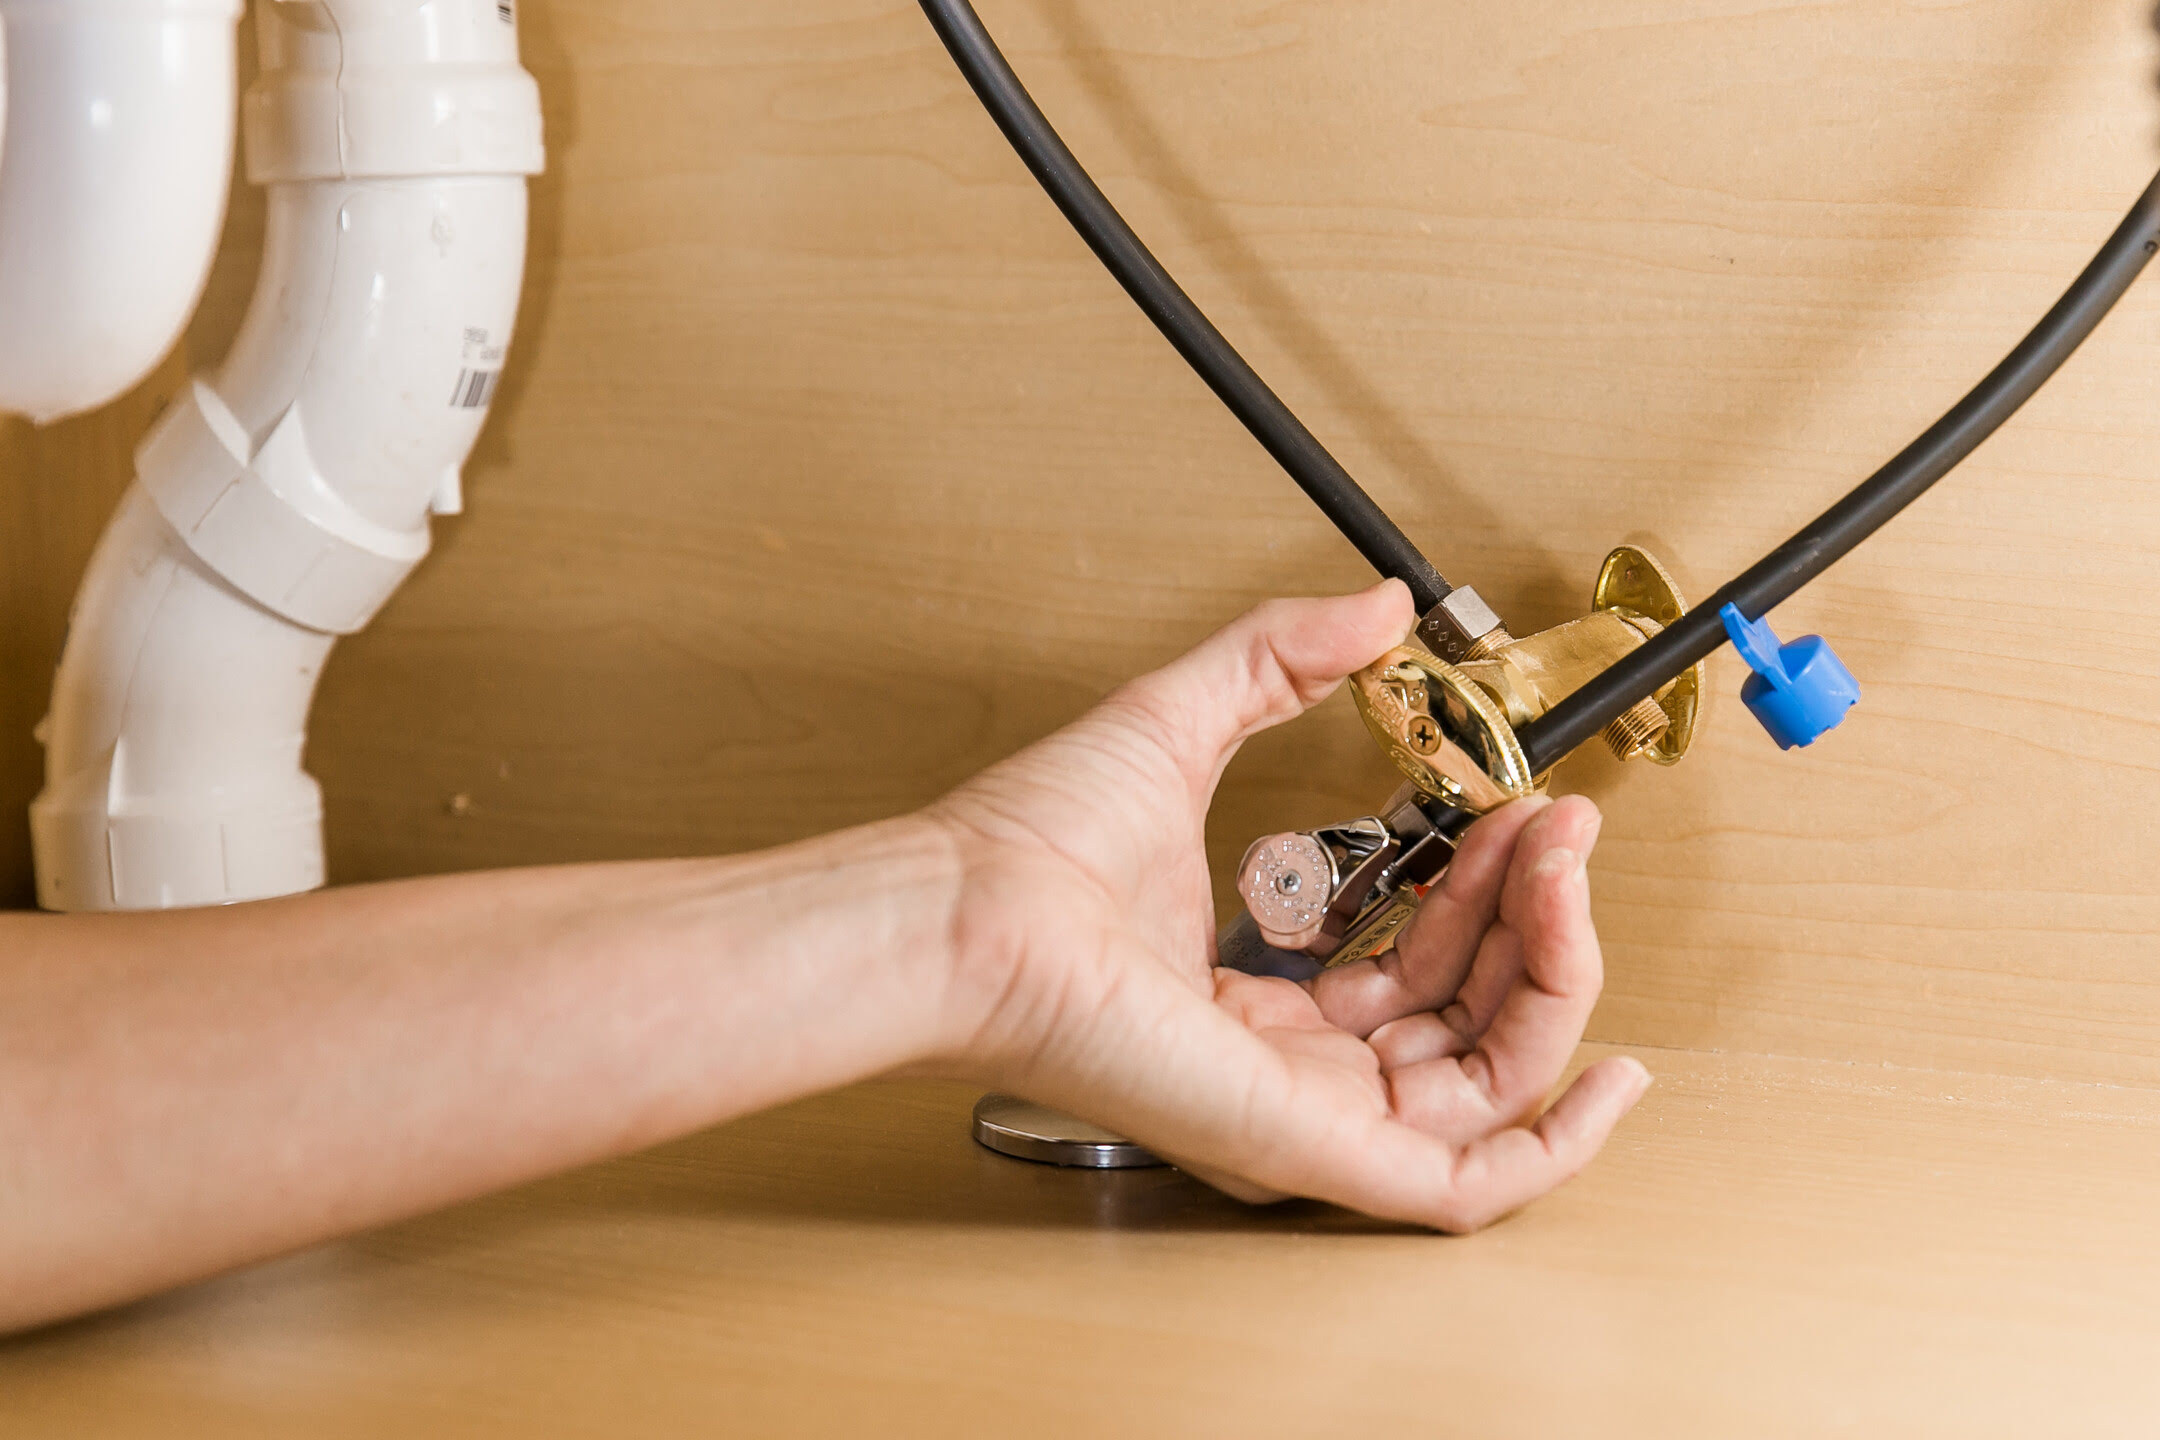
Step 2: Turn off the gas and water supply
Before you begin working on replacing the gas valve, it is crucial to turn off both the gas supply and the water supply to your water heater. This step is essential for your safety and to prevent any potential damage or accidents.
Here’s how to turn off the gas and water supply to your water heater:
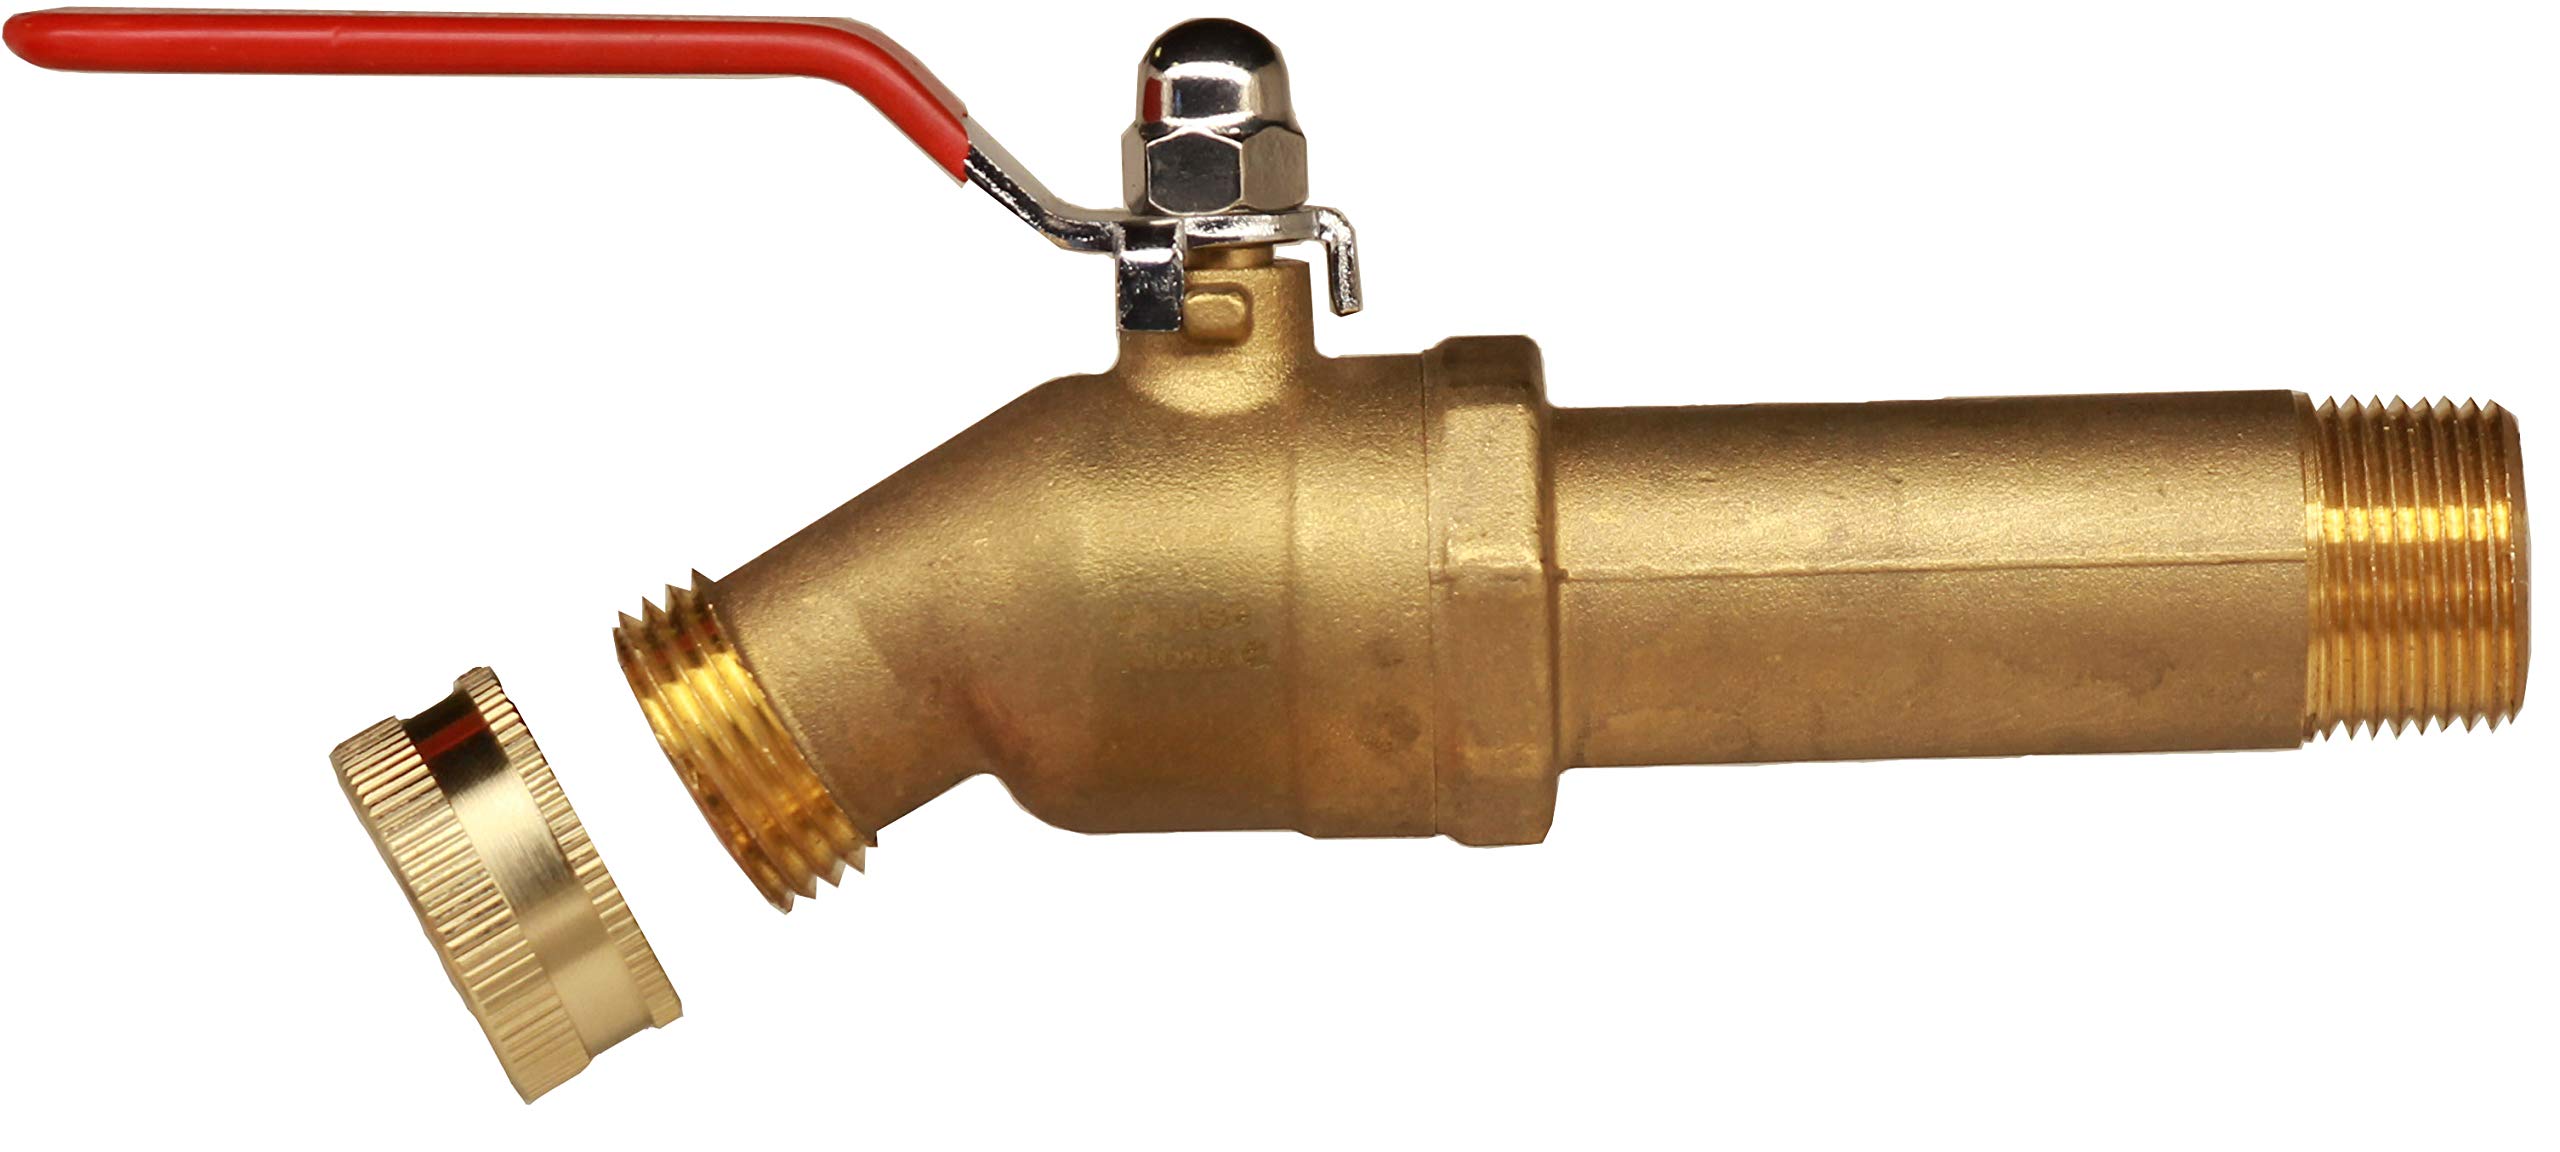
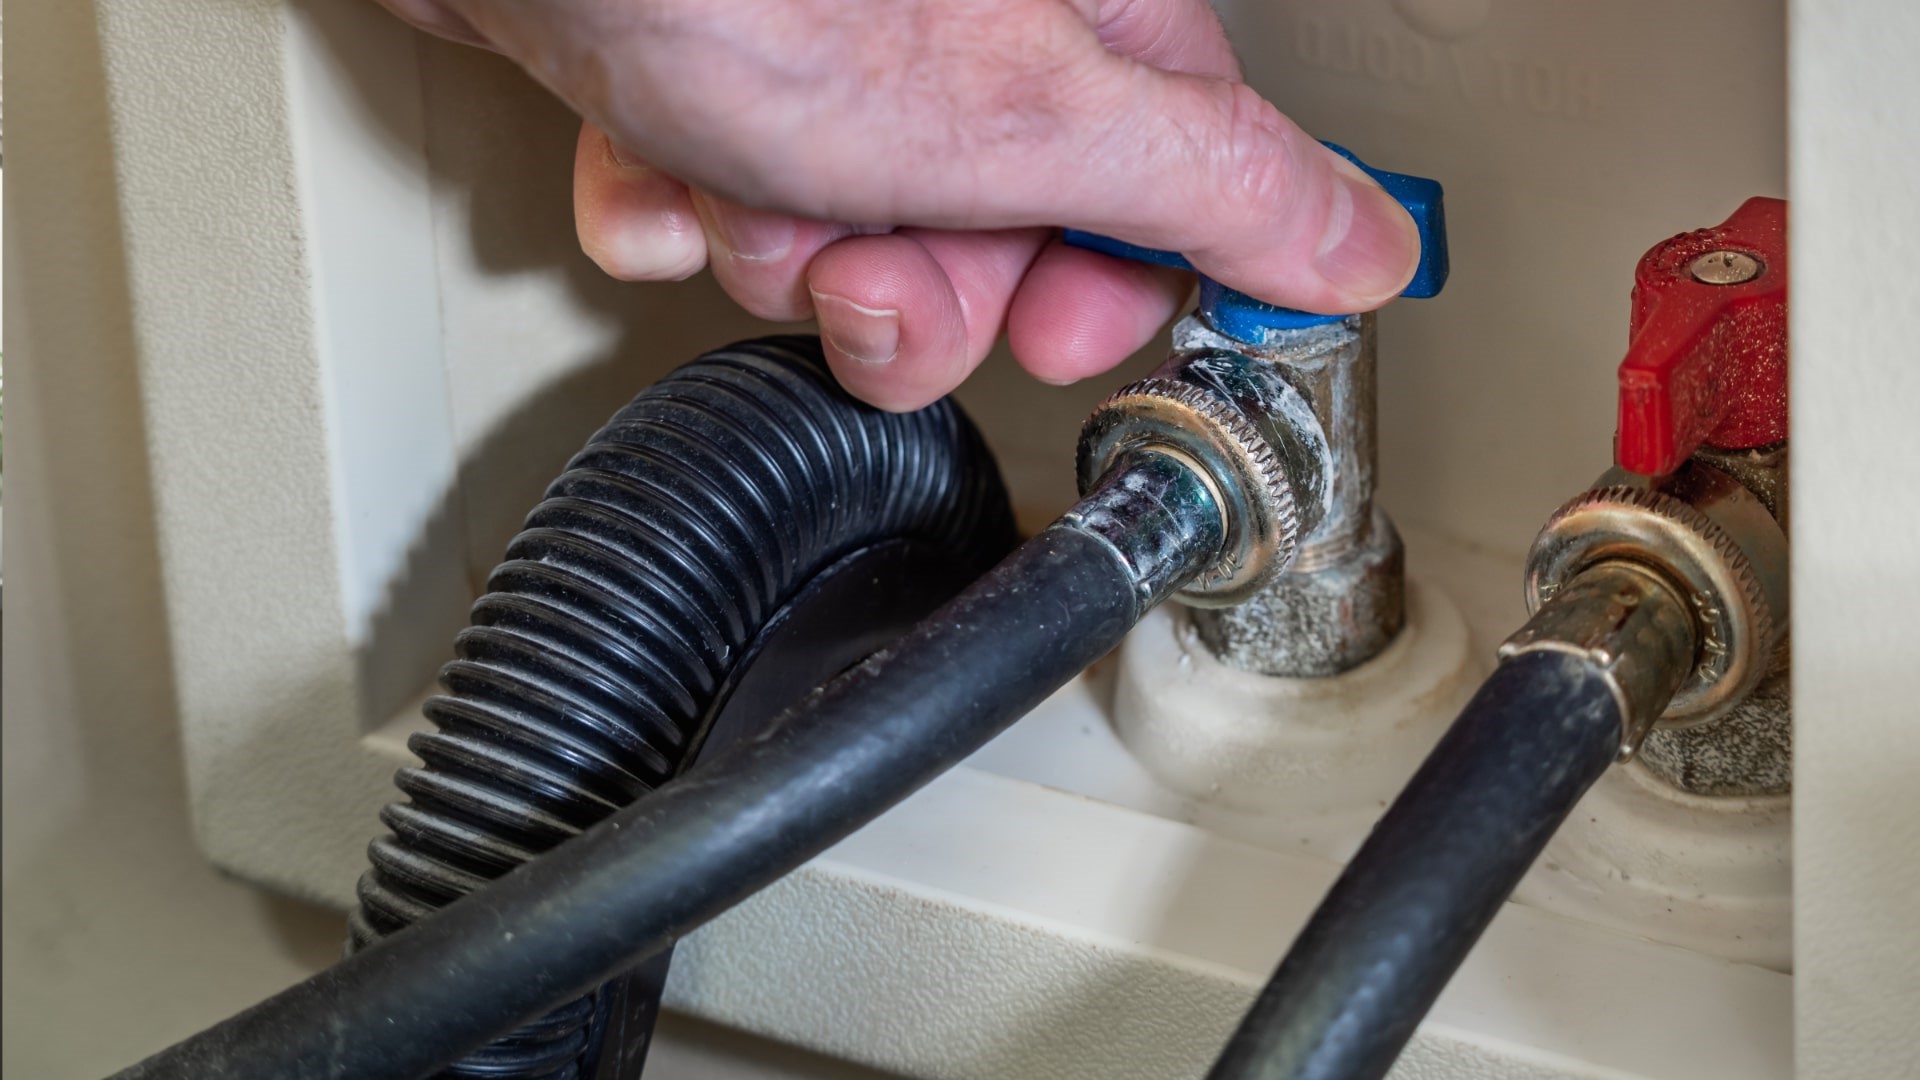
- Locate the gas shut-off valve: This valve is usually located near the bottom of the water heater. It may have a lever or a round wheel handle. Rotate the handle or lever to the “Off” position to shut off the gas supply. If you’re unsure about the location of the shut-off valve, consult your water heater’s user manual or contact a professional for guidance.
- Inspect for gas leaks: Once you’ve shut off the gas supply, it’s a good idea to inspect for any gas leaks. Apply a gas leak detector solution or a mixture of soapy water to the gas connections, including the shut-off valve and the gas pipe connections. If you notice any bubbles forming, this indicates a gas leak. In such cases, it is crucial to contact a professional immediately and avoid proceeding with the replacement until the issue is resolved.
- Locate the water shut-off valve: The water shut-off valve is typically located on the cold water supply line leading to the water heater. Rotate the handle of the valve clockwise until it is in the fully closed position. This will stop the flow of water to the water heater.
After completing these steps, double-check that both the gas and water supply are successfully turned off. This ensures a safe environment for the next steps of replacing the gas valve on your water heater. In the next step, we will discuss draining the water heater to prepare for the gas valve replacement.
Step 3: Drain the water heater
Once you have turned off the gas and water supply to your water heater, it is necessary to drain the water heater. Draining the water heater will prevent any water from spilling out during the gas valve replacement process and make the task easier and cleaner.
Follow these steps to drain the water heater:
- Attach a garden hose to the drain valve: Locate the drain valve near the bottom of the water heater and connect one end of a garden hose to the valve using a wrench or pliers. Make sure the hose is tightly secured to ensure no leaks or water spills during the draining process.
- Place the other end of the hose in a suitable drainage area: Choose a suitable location for the other end of the hose where the water can safely drain without causing any damage or flooding. The hose should be positioned in a way that allows for a smooth and uninterrupted flow of water.
- Open the drain valve: Once the hose is properly connected and the drainage area is set, slowly open the drain valve. Be cautious as the water might be hot. Allow the water to drain completely from the water heater. This may take some time depending on the size and capacity of your water heater.
- Flush the tank (optional): If you notice any sediment or mineral buildup inside the tank while draining the water, it may be beneficial to flush the tank to remove any accumulated debris. To do this, close the drain valve, open the cold water supply valve briefly to stir up the debris, and then re-open the drain valve to flush out the water and sediment.
Once the water heater is completely drained, close the drain valve and ensure there is no water still flowing from the hose. At this point, your water heater is ready for the next step of replacing the gas valve. In the following step, we will discuss how to remove the old gas valve from your water heater.
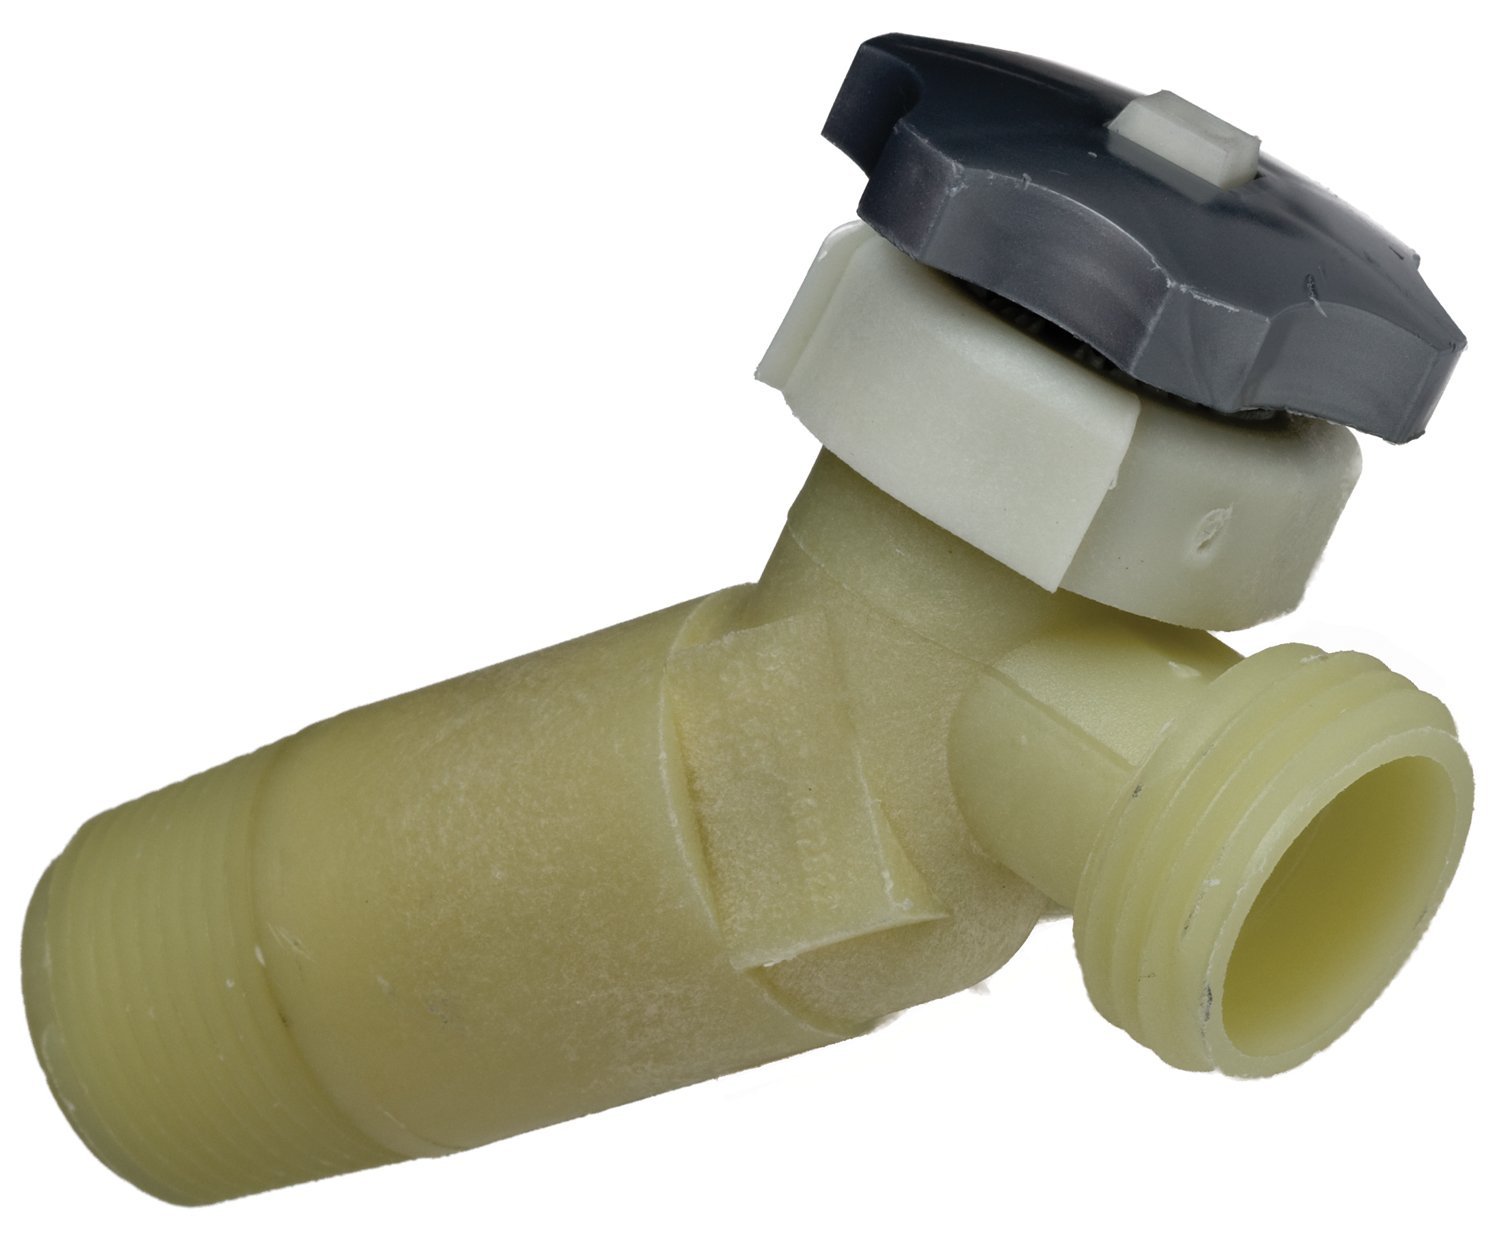
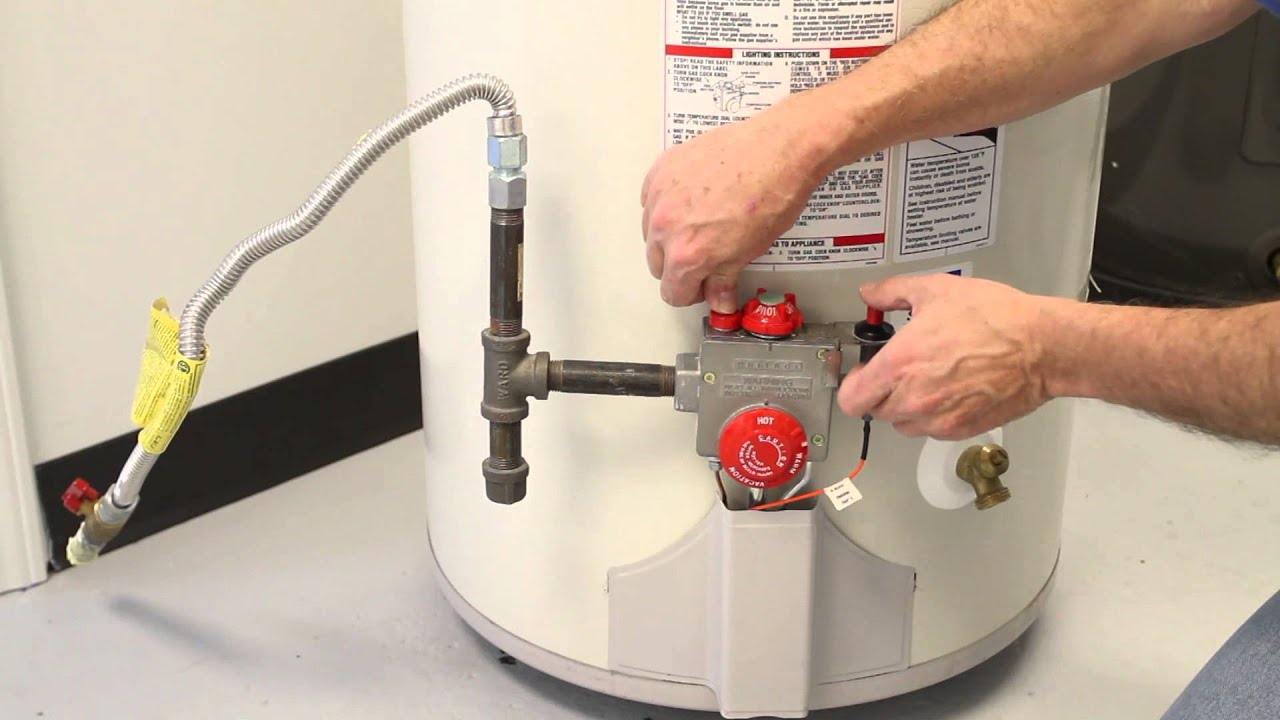
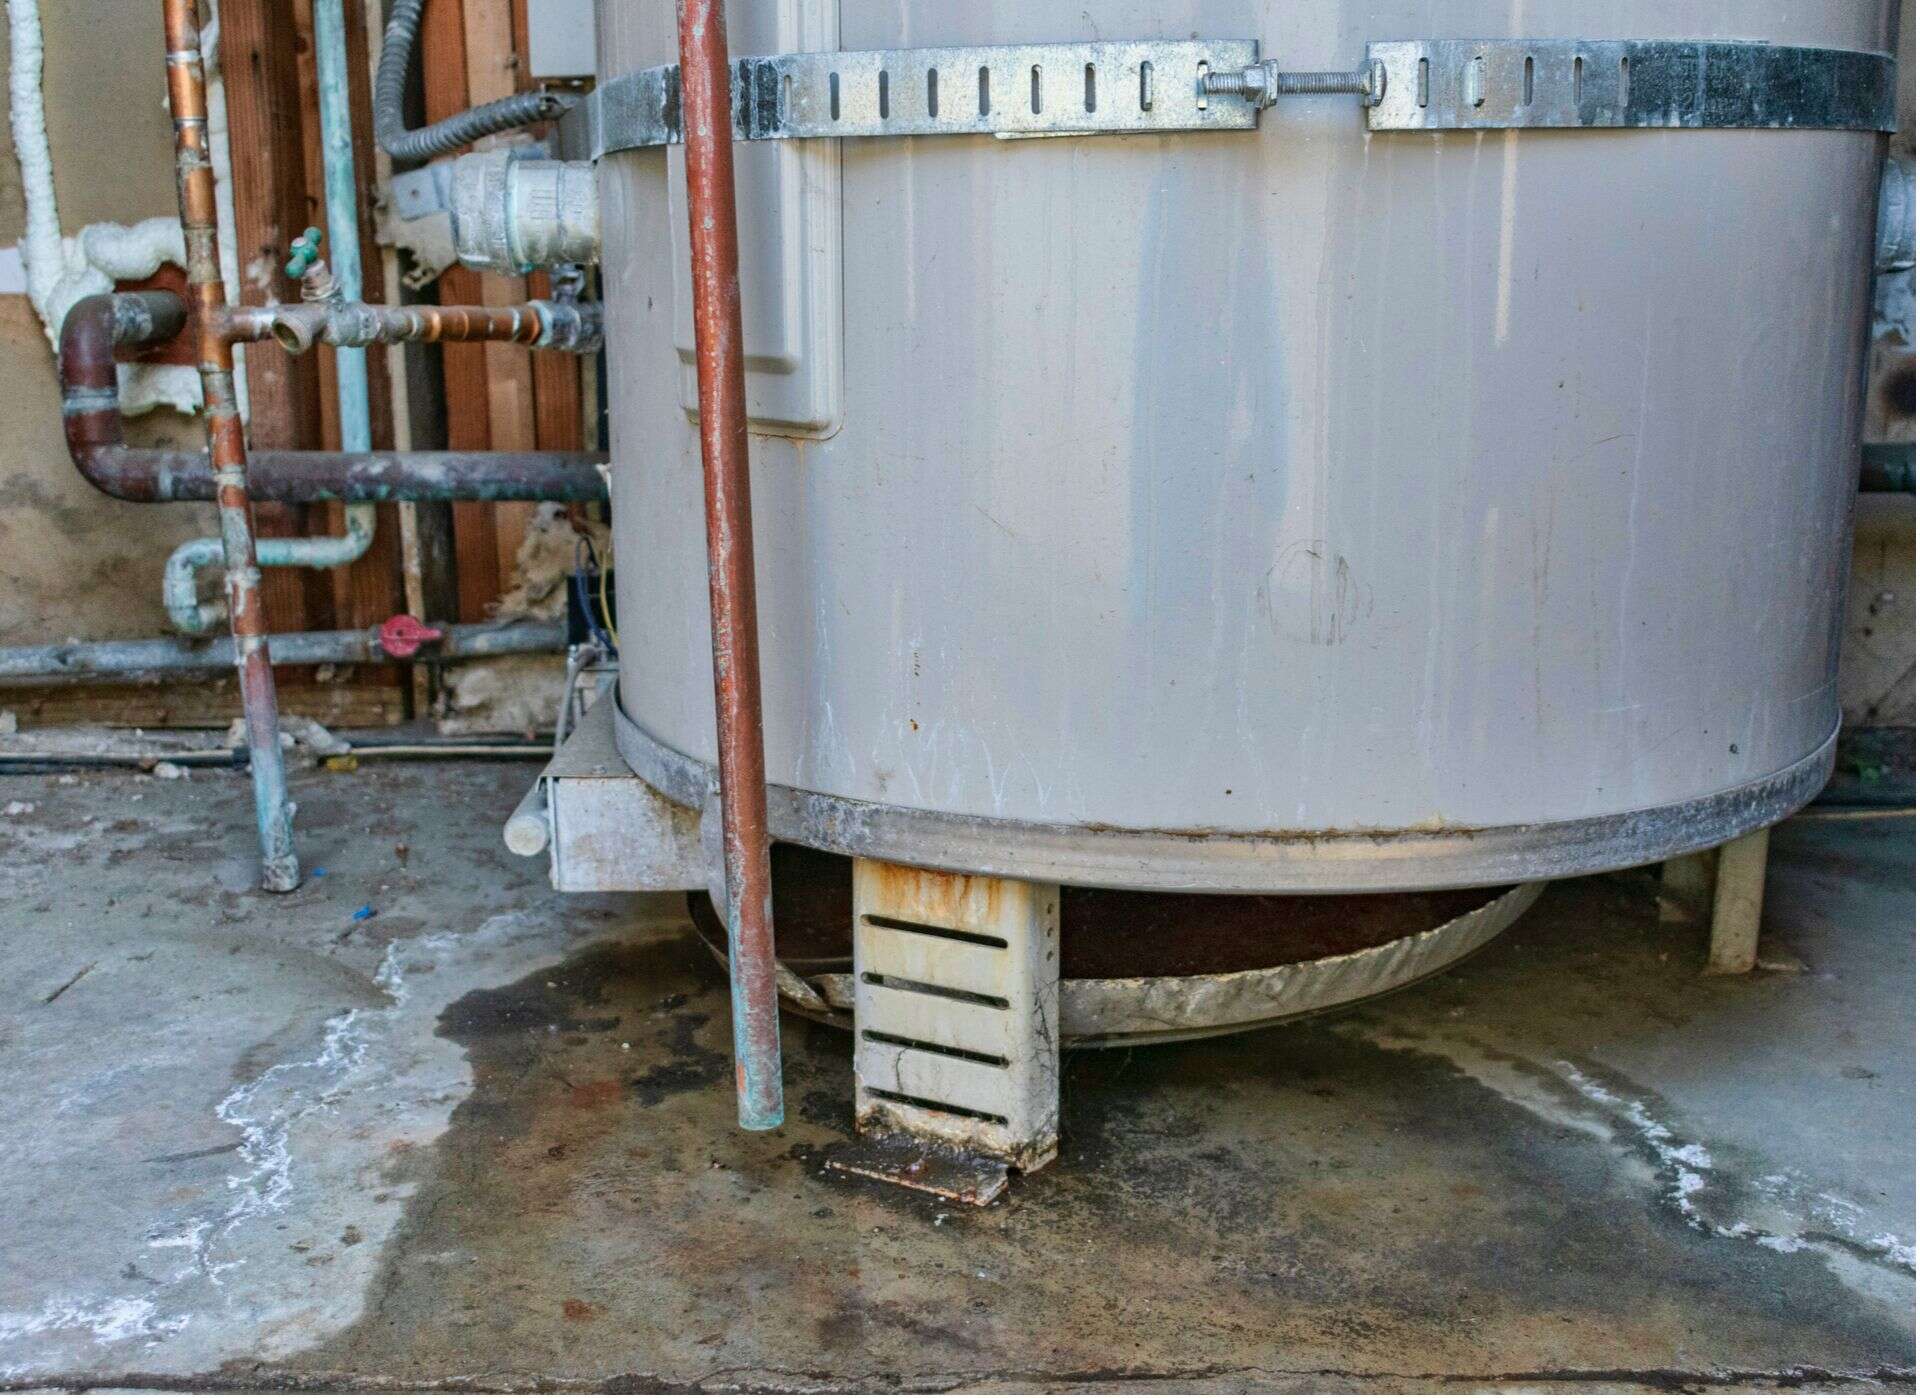
Step 4: Remove the old gas valve
With the water heater drained and the preparations complete, it’s time to remove the old gas valve from your water heater. Removing the old gas valve is a crucial step in the process of replacing it with a new one.
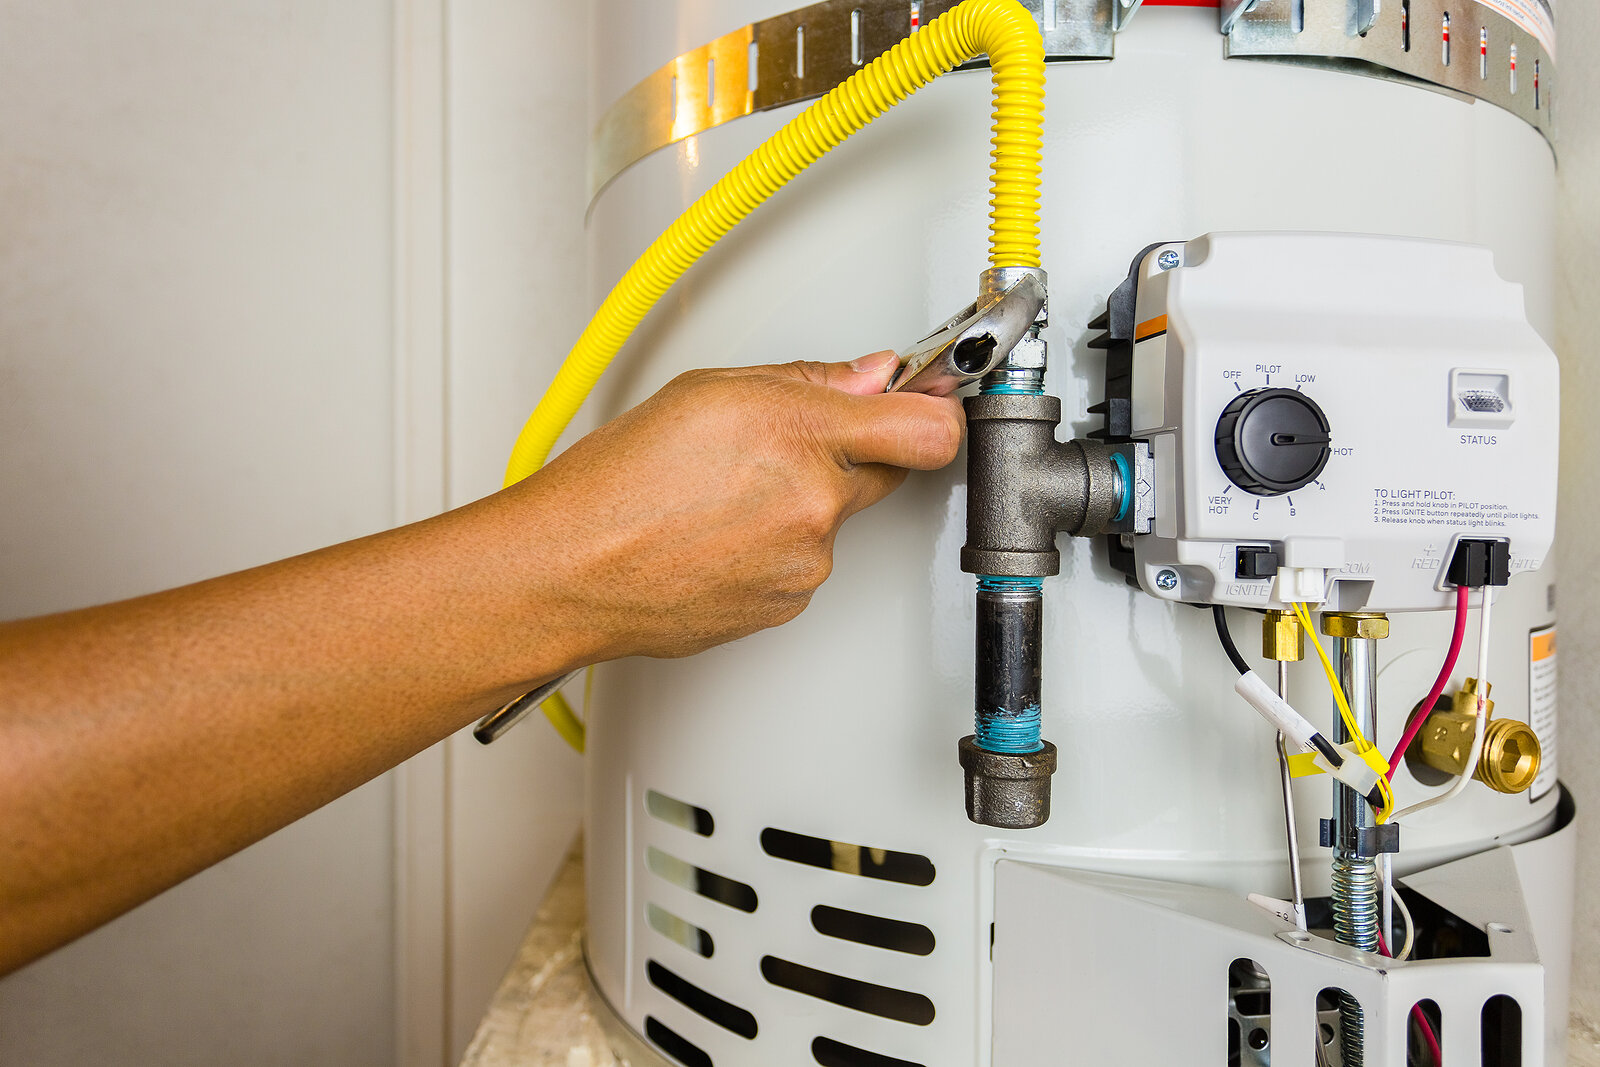
- Disconnect the gas supply line: Locate the gas supply line connected to the gas valve. Using an adjustable wrench, carefully loosen and disconnect the gas supply line. Take care not to damage the gas line or any other components while doing this.
- Loosen the gas valve: With the gas supply line disconnected, use a pipe wrench to loosen the old gas valve. The gas valve is typically threaded onto the water heater, so you will need to rotate it counterclockwise to loosen it. Apply steady pressure while turning to ensure a secure grip on the valve.
- Remove the old gas valve: Once the gas valve is sufficiently loosened, you can remove it from the water heater. Carefully pull the valve straight out, making sure to catch any water or gas residue that may be released.
- Clean the gas valve opening: After removing the old gas valve, take a moment to clean the gas valve opening on the water heater. Use a clean, dry cloth or towel to wipe away any dirt, debris, or old thread sealing tape. This will ensure a clean and secure fit for the new gas valve.
It is important to handle the old gas valve with caution, as it may contain residual gas and debris. Dispose of the old gas valve properly according to local regulations or consult with a professional for guidance.
Now that the old gas valve has been removed and the gas valve opening is clean, you are ready to install the new gas valve. In the next step, we will guide you through the process of installing the new gas valve on your water heater.
Before replacing the gas valve on your water heater, make sure to turn off the gas supply and the water supply to the heater. This will ensure a safe and smooth replacement process.
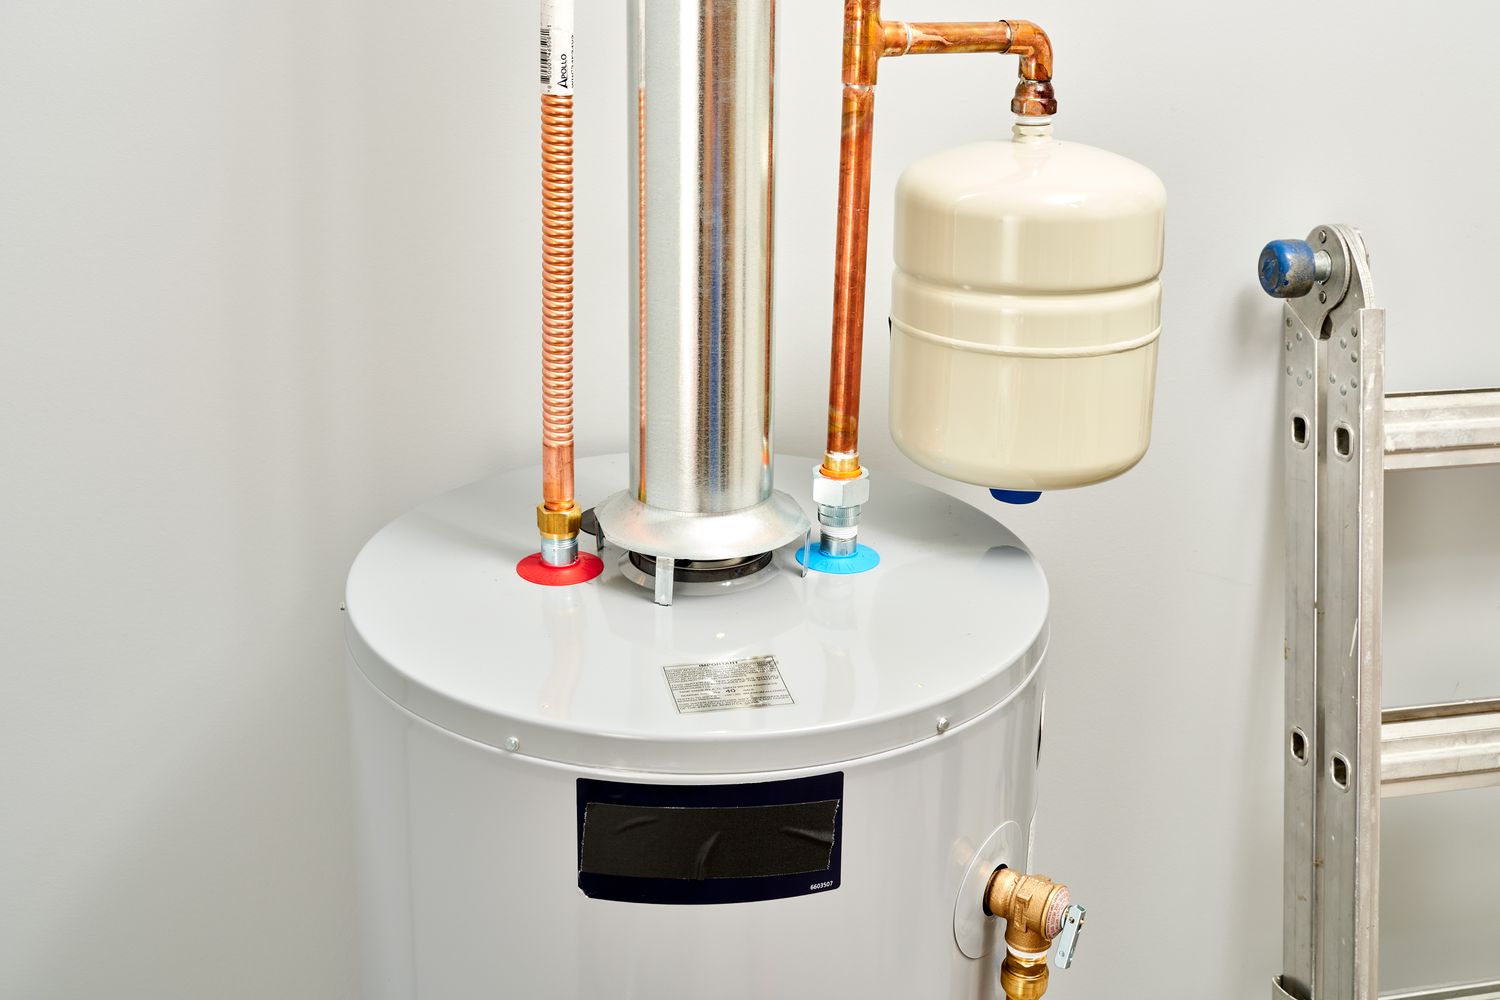
Step 5: Install the new gas valve
Now that you have successfully removed the old gas valve from your water heater, it’s time to install the new gas valve. Installing the new gas valve is a crucial step in ensuring the safe and efficient operation of your water heater.
- Apply thread sealant: Before installing the new gas valve, it’s important to apply thread sealant to the threads of the gas valve. This will help create a tight and secure seal. You can use either thread sealant tape or pipe thread compound for this purpose. Apply a thin, even layer of the sealant to the threads of the gas valve.
- Insert the new gas valve: Carefully insert the new gas valve into the gas valve opening on the water heater. Make sure it is aligned properly and threads smoothly into the opening. Use your hand initially to turn the valve clockwise to ensure it is threading correctly. Then, use a pipe wrench to tighten the gas valve securely. Take care not to overtighten as this can cause damage to the valve or water heater.
- Connect the gas supply line: Once the new gas valve is properly installed, reconnect the gas supply line. Use an adjustable wrench to tighten the connection, ensuring it is secure. Double-check for any leaks at the connection point by applying a gas leak detector solution or soapy water. If any bubbles form, there may be a gas leak. In such cases, tighten the connection further or consult a professional for assistance.
It’s important to note that some gas valves may have specific instructions or additional steps for installation. Be sure to consult the user manual or the manufacturer’s instructions for your specific gas valve and water heater model to ensure proper installation.
With the new gas valve securely installed and the gas supply line connected, you are one step closer to completing the replacement process. In the next step, we will discuss how to reconnect the gas and water supply to your water heater.
Step 6: Reconnect the gas and water supply
With the new gas valve installed, it’s time to reconnect the gas and water supply to your water heater. Reconnecting these supplies is a crucial step in getting your water heater back up and running.
- Turn on the gas supply: Locate the gas shut-off valve and turn it back to the “On” position to allow the flow of gas to your water heater. Take caution while doing this and listen for any hissing sounds or detectable odors of gas. If you suspect a gas leak, stop immediately and seek professional assistance.
- Check for gas leaks: After turning on the gas supply, carefully inspect the gas connections for any signs of leaks. Apply a gas leak detector solution or soapy water to the connections and observe if any bubbles form. If bubbles appear, there may be a gas leak. In such cases, tighten the connections further or seek professional help to rectify the issue.
- Turn on the water supply: Locate the water shut-off valve and turn it back to the fully open position to allow the flow of water to your water heater. This will restore the water supply and prepare your water heater for functioning.
After reconnecting both the gas and water supply, carefully inspect the connections to ensure they are secure and there are no leaks. It’s important to take your time and be thorough during this step, as gas and water leaks can pose serious safety risks.
Now that the gas and water supply have been successfully reconnected, it’s time to move on to the next step: testing for leaks. This step is crucial to ensure the safety and proper functioning of your water heater.
Step 7: Test for leaks
After reconnecting the gas and water supply to your water heater, it’s important to test for any leaks. Testing for leaks is a critical step to ensure the safe and efficient operation of your water heater. By identifying and addressing any leaks, you can prevent potential hazards and ensure the proper functioning of your system.
- Use a gas leak detector solution or soapy water: Apply a small amount of gas leak detector solution or create a mixture of soapy water in a spray bottle.
- Thoroughly inspect gas connections: Begin by spraying or applying the gas leak detector solution or soapy water to all the gas connections, including the gas valve, gas supply line, and any other connection points. Look for any signs of bubbling or foaming, as these indicate a gas leak. If you notice any leaks, immediately tighten the connections or seek professional assistance.
- Check for water leaks: After inspecting the gas connections, shift your attention to the water connections. Look for any signs of water dripping or pooling around the connections. If you find any leaks, consider tightening the connections or replacing any damaged parts. Addressing water leaks promptly will help prevent water damage and ensure the efficient functioning of your water heater.
It’s important to be thorough and patient during the leak testing process. Take your time to inspect each connection carefully and pay attention to any signs of leaks. Even a small leak can lead to significant issues over time, so it’s essential to address them promptly.
If you discover any leaks that you are unable to fix yourself or if you have any concerns about the safety of your water heater, it is recommended to contact a professional plumber or HVAC technician for assistance.
Once you have thoroughly tested for leaks and addressed any issues, you are ready to proceed to the final step: restarting your water heater.
Step 8: Restart the water heater
After completing the gas valve replacement and testing for any leaks, it’s time to restart your water heater. Restarting the water heater is the final step in the process, allowing you to enjoy the benefits of hot water once again.
- Closedown all faucets and fixtures: Before restarting the water heater, ensure that all faucets and fixtures in your home are closed. This will prevent airlocks and ensure a smooth flow of water.
- Locate the pilot light: If your water heater has a pilot light, locate it and ensure it is in the “Off” position.
- Follow the manufacturer’s instructions: Consult your water heater’s user manual or check the manufacturer’s instructions for the specific steps to restart your water heater. Different models may have different procedures, so it’s essential to follow the instructions carefully.
- Restart the water heater: Typically, the process involves turning the thermostat or control knob to the desired temperature and then using a matchstick or electronic igniter to light the pilot light. Once the pilot light is lit, turn the control knob to the “On” position to allow the burner to ignite and start heating the water.
- Wait for the water to heat up: It may take some time for the water heater to reach the desired temperature. Be patient and allow the water heater to heat the water. You can check if the water is heating up by running hot water at a faucet or fixture in your home.
- Monitor for any issues: After restarting the water heater, closely monitor its operation and check for any unusual noises, smells, or malfunctions. If you notice anything out of the ordinary, contact a professional for assistance.
Remember, it’s essential to follow the manufacturer’s instructions and take the necessary precautions during the restart process. If you are unsure or uncomfortable with any step, it’s best to seek the help of a professional plumber or HVAC technician.
Once your water heater is successfully restarted and functioning properly, you can enjoy the comfort of hot water for your daily needs. Regular maintenance and periodic checks will help ensure the long-term performance and efficiency of your water heater.
Congratulations, you have now completed the process of replacing the gas valve on your water heater and successfully restarted it. We hope this guide has been informative and helpful in assisting you with this DIY project.
Keep in mind that if you ever encounter any challenges or if you prefer professional assistance, it’s always a good idea to contact a licensed plumber or HVAC technician to ensure the safety and reliability of your water heater.
Thank you for using this guide, and we wish you many years of trouble-free hot water!
Conclusion
Replacing the gas valve on your water heater may seem like a daunting task, but with the right tools, instructions, and precautions, it is a manageable DIY project. By following the step-by-step guide outlined in this article, you can successfully replace the gas valve and restore the safe and efficient operation of your water heater.
Throughout the process, it’s crucial to prioritize safety. Always remember to turn off the gas and water supply before starting any work and take the necessary precautions to detect and address any gas or water leaks. If you ever feel uncertain or uncomfortable with any step of the process, it is wise to seek the assistance of a qualified professional.
By gathering the necessary tools and materials, turning off the gas and water supply, draining the water heater, removing the old gas valve, installing the new gas valve, reconnecting the gas and water supply, testing for leaks, and finally restarting the water heater, you can successfully complete the gas valve replacement process.
Regular maintenance, including checking for leaks and keeping the area surrounding your water heater clean and clutter-free, is essential to keep it in optimal condition. It is also recommended to follow the manufacturer’s guidelines for regular maintenance tasks such as flushing the tank, replacing the anode rod, or performing annual inspections.
We hope that this comprehensive guide has provided you with the necessary knowledge and confidence to replace the gas valve on your water heater. By following these steps and exercising caution, you can ensure the continued performance and longevity of your water heater, providing you with reliable hot water for years to come.
Remember, if you have any concerns or doubts about the gas valve replacement or any other aspect of your water heater, it’s always best to consult a qualified professional. They can offer expert guidance and ensure the job is done safely and efficiently.
Thank you for taking the time to read this article, and we wish you success in your gas valve replacement project!
Frequently Asked Questions about How To Replace Gas Valve On Water Heater
Was this page helpful?
At Storables.com, we guarantee accurate and reliable information. Our content, validated by Expert Board Contributors, is crafted following stringent Editorial Policies. We're committed to providing you with well-researched, expert-backed insights for all your informational needs.
0 thoughts on “How To Replace Gas Valve On Water Heater”