Home>Articles>How To Plumb For A Stacked Washer And Dryer To Get Access To Shut Off Valve
Articles
How To Plumb For A Stacked Washer And Dryer To Get Access To Shut Off Valve
Modified: August 28, 2024
Learn how to plumb for a stacked washer and dryer with our informative articles. Get easy access to the shut-off valve for effortless maintenance.
(Many of the links in this article redirect to a specific reviewed product. Your purchase of these products through affiliate links helps to generate commission for Storables.com, at no extra cost. Learn more)
Introduction
Welcome to our guide on how to plumb for a stacked washer and dryer to gain access to the shut-off valve. If you’re considering installing a stacked washer and dryer unit in your home, it’s essential to understand the plumbing process involved. By following these steps, you’ll be able to effectively and efficiently connect your appliances to the water supply and ensure proper drainage.
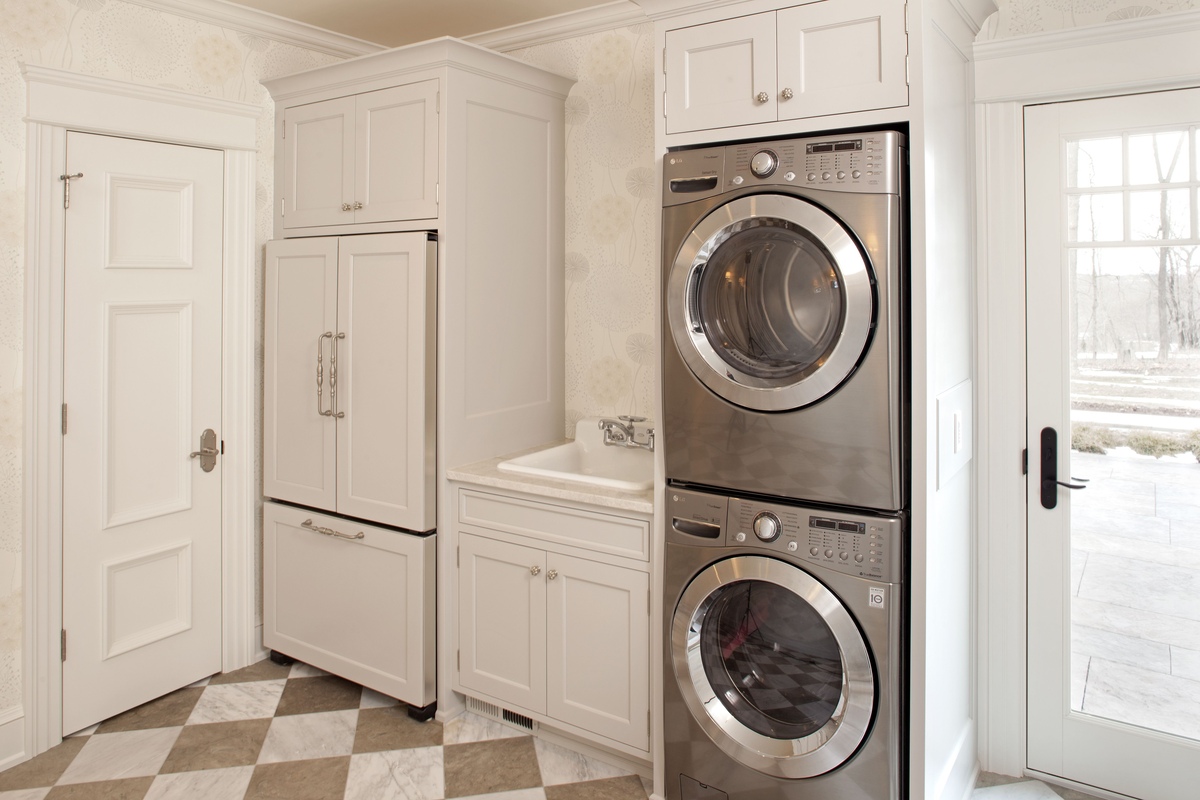
Stacked washer and dryer units are a popular choice for those with limited space, such as apartments or small laundry rooms. They offer the convenience of two essential laundry appliances stacked on top of each other, saving valuable floor space. However, accessing the shut-off valve can be challenging once the appliance is in place. That’s why proper planning and plumbing installation are crucial.
Before we dive into the steps, let’s quickly go over the equipment and tools you’ll need for the job. Having everything prepared beforehand will make the process smoother and more organized.
Key Takeaways:
- Efficiently plumb for a stacked washer and dryer to access the shut-off valve by following steps such as clearing the space, shutting off the water supply, and running water lines. Proper preparation and testing for leaks are crucial for a successful installation.
- Securing the stacked washer and dryer in place is essential for stability and safety. By choosing the right location, connecting the drainage pipe, and testing for leaks, you can enjoy the convenience of a properly connected and efficient laundry setup.
Read more: How To Replace Toilet Shut Off Valve
Equipment and Tools Required
Before you begin the plumbing process for your stacked washer and dryer, gather the following equipment and tools:
- Adjustable wrench
- Plumber’s tape
- Pipe cutter or hacksaw
- Pipe wrench
- Pliers
- Teflon tape
- Water lines
- Drainage pipe
- Shutoff valves
- Gloves
- Masking tape
- Pencil
- Level
Having these tools readily available will ensure that you can complete the plumbing process efficiently and effectively. Now, let’s move on to the steps for plumbing for a stacked washer and dryer.
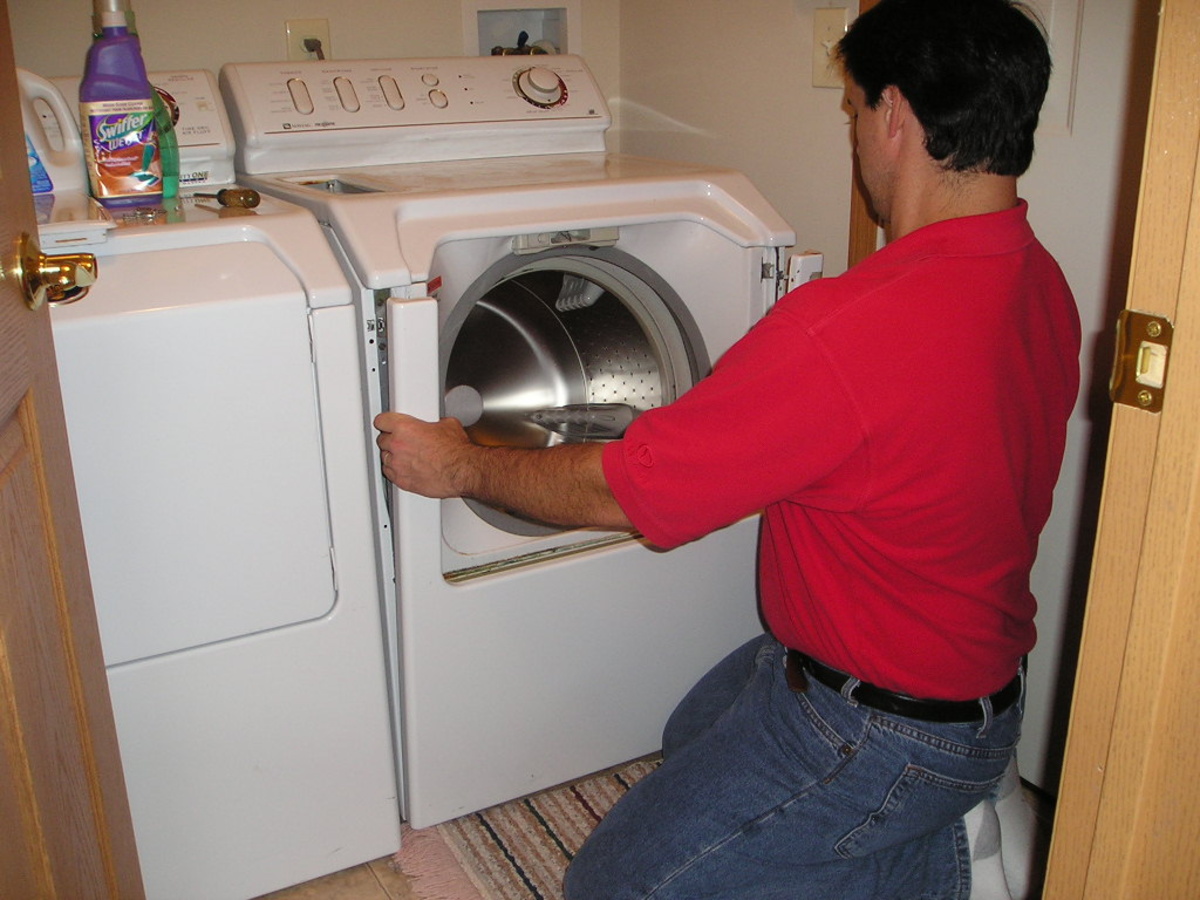
Step 1: Clearing the Space
Before you begin the plumbing installation process, it’s essential to clear the area where the stacked washer and dryer will be located. Remove any furniture, appliances, or other items that might obstruct the installation process. Clearing the space will provide you with a clean and accessible area to work in.
If there are any existing plumbing connections or fixtures in the area, such as a sink or washing machine, make sure to disconnect them and remove them from the space. This will allow you to start with a clean slate and ensure that the plumbing for the stacked washer and dryer is done correctly.
Additionally, take measurements of the space to ensure that it can accommodate the stacked washer and dryer unit. Measure the width, height, and depth of the available area to confirm that the appliances will fit snugly and securely. It’s important to leave a few inches of space at the back of the unit for ventilation and access to the plumbing connections.
Once the space is clear and the measurements are taken, you can proceed to the next step: shutting off the water supply.
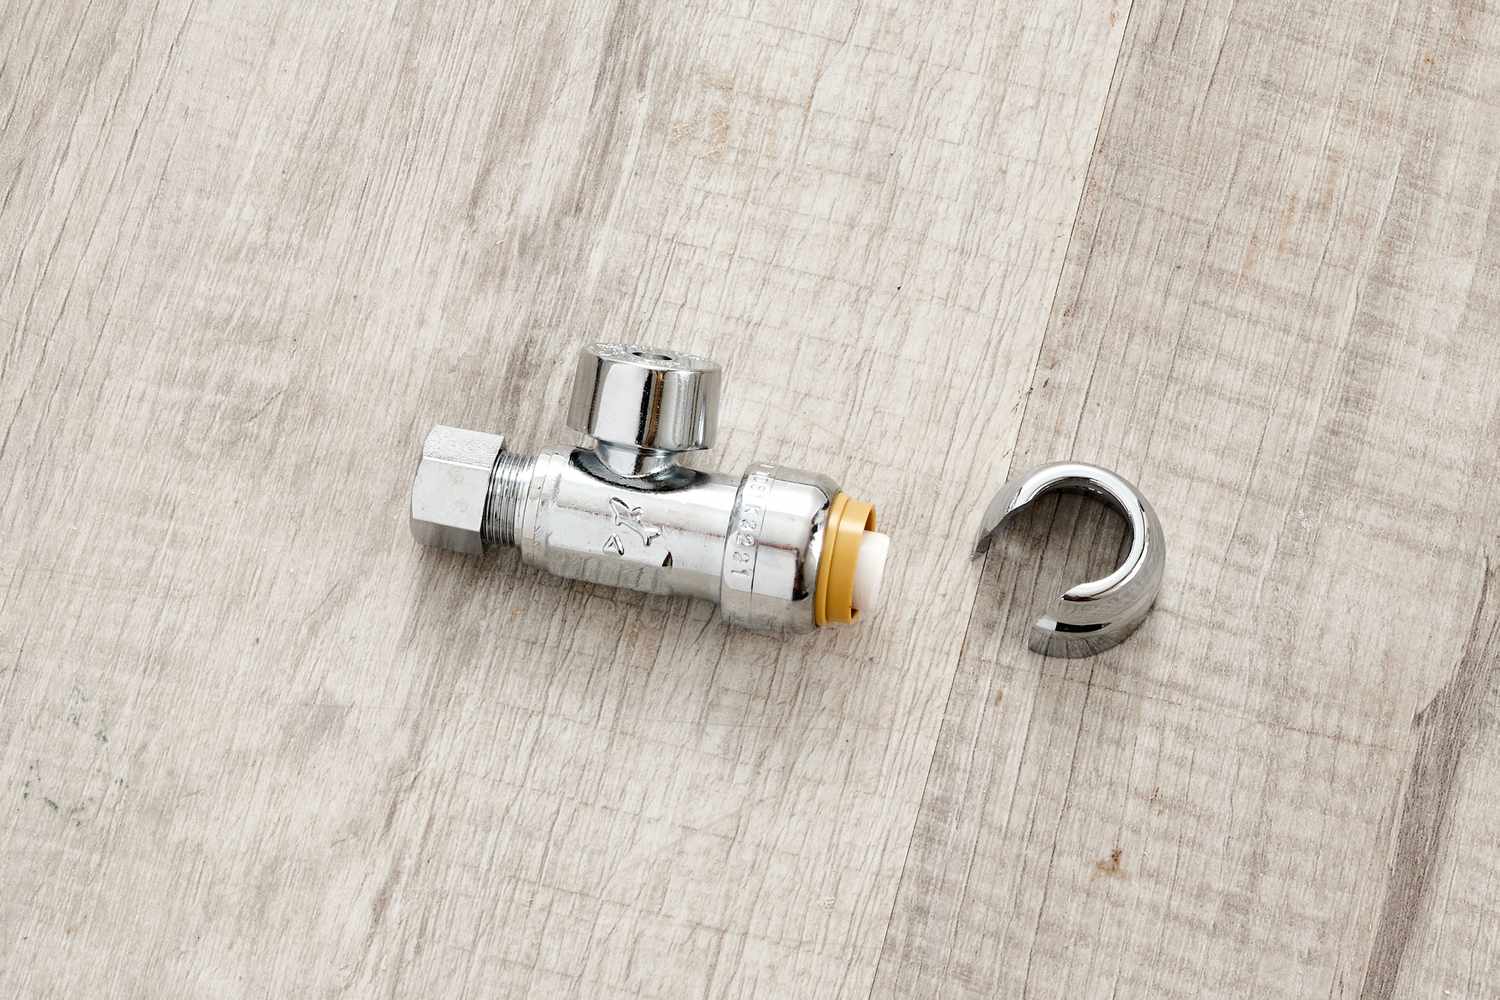
Step 2: Shutting Off the Water Supply
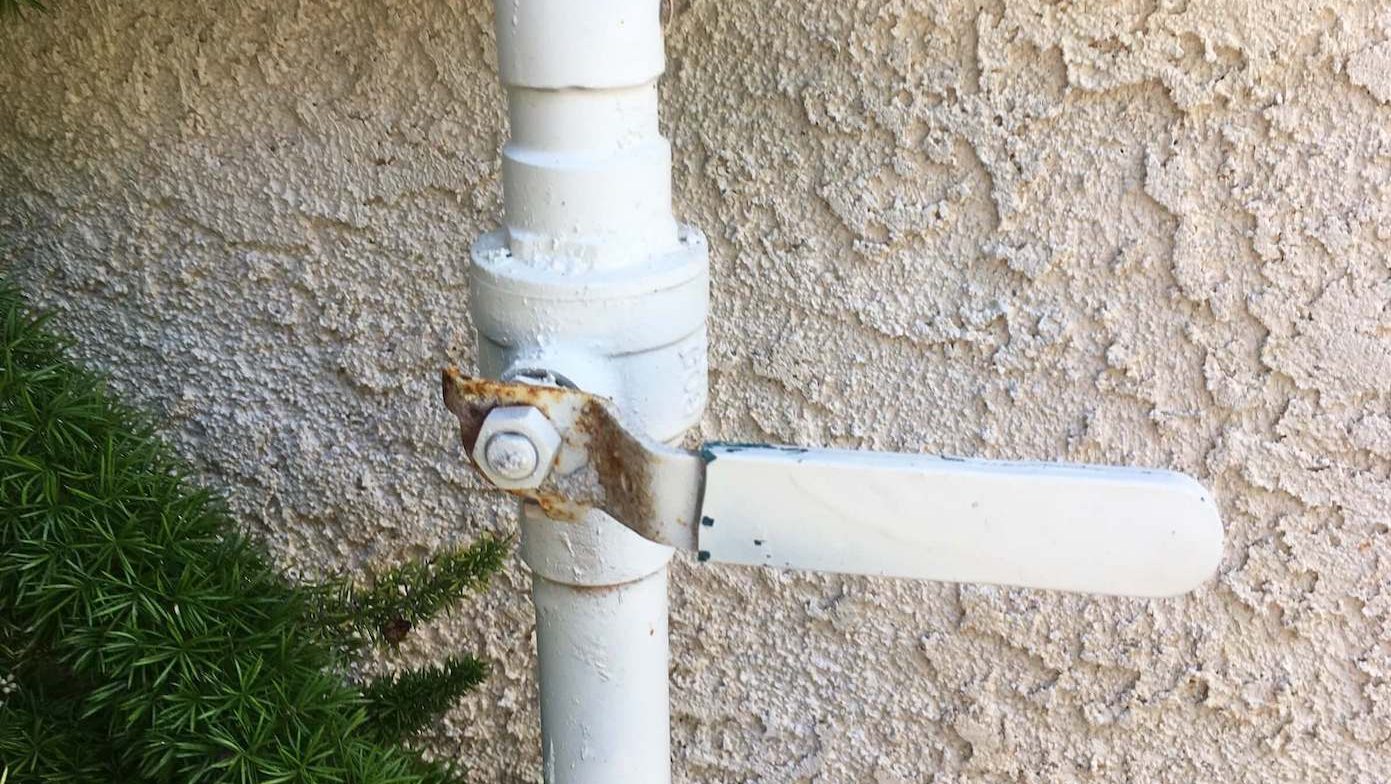
Before you can begin the plumbing installation for your stacked washer and dryer, it’s crucial to shut off the water supply to prevent any leaks or accidents. Locate the main water shut-off valve for your home, usually found near the water meter or in the basement.
Turn the valve clockwise to shut off the water supply. It’s recommended to test if the water is completely shut off by running a faucet in your home. If no water comes out, it indicates that the water supply has been successfully shut off.
However, if you’re unsure which valve controls the water supply to the laundry area, you may need to shut off the water supply for your entire home. In this case, it’s advisable to consult a professional plumber to ensure safety and to avoid any potential damage.
Remember, safety should be your top priority. When working with plumbing, it’s essential to follow proper precautions and take necessary measures to prevent accidents or water damage. Now that the water supply is shut off, it’s time to move on to the next step: choosing the right location for the stacked washer and dryer.
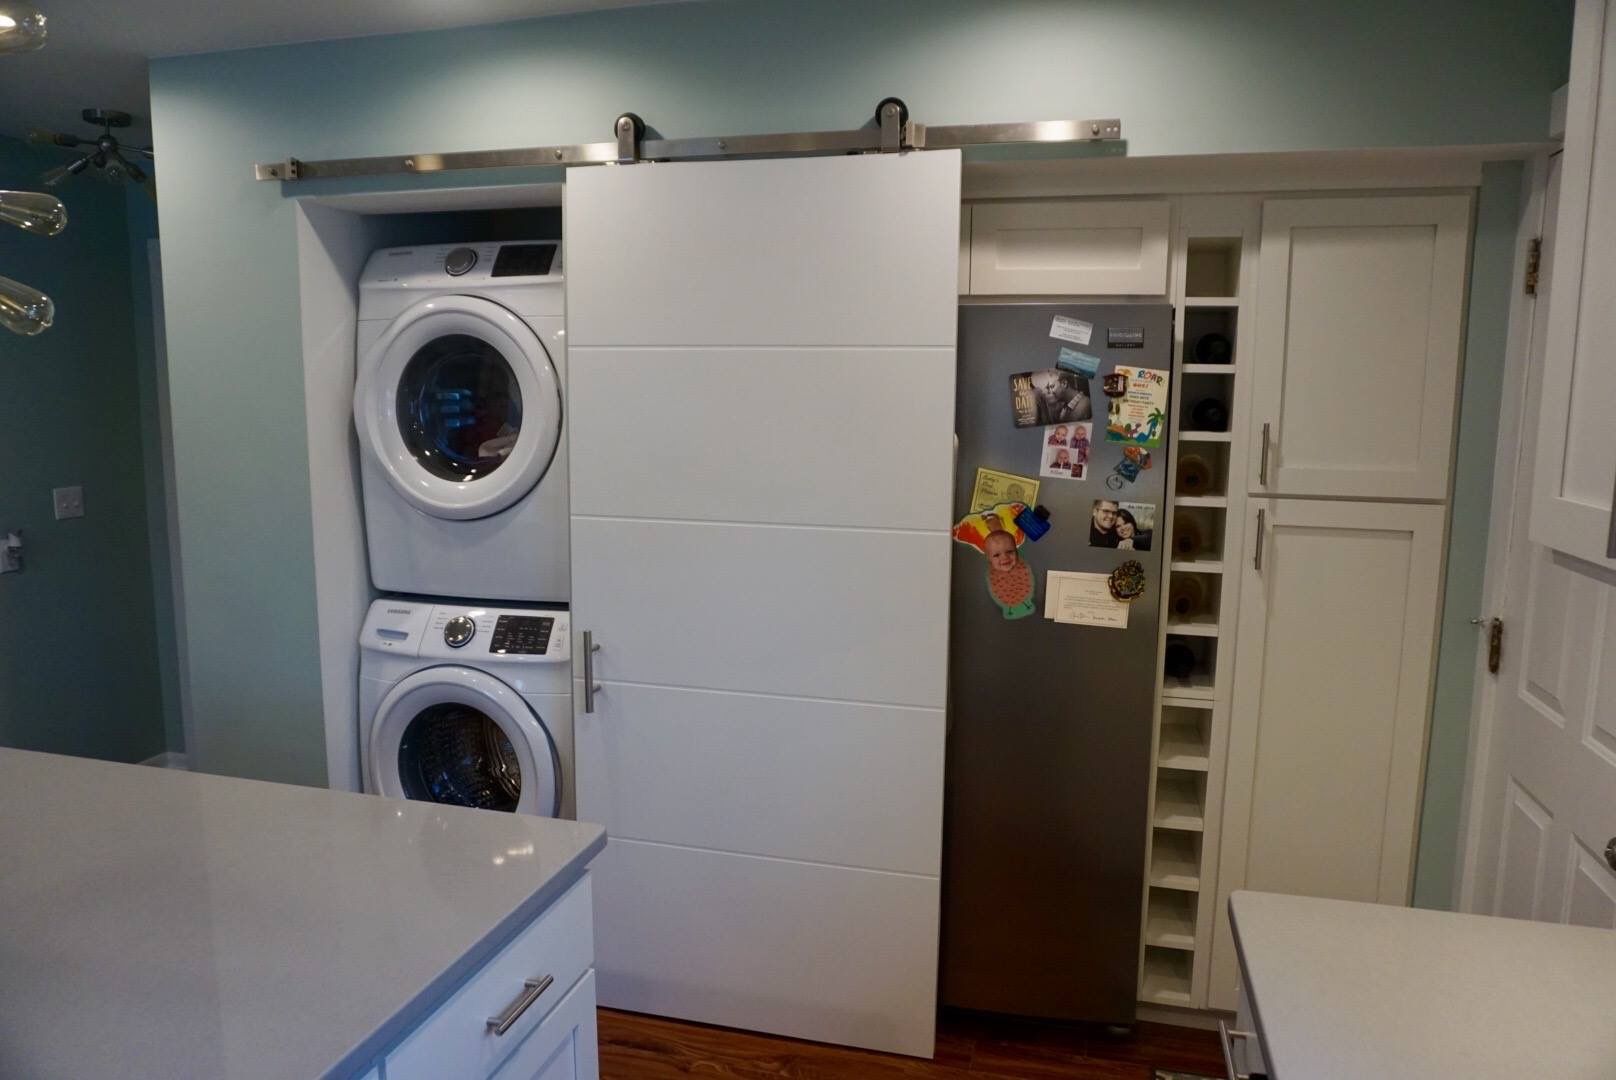
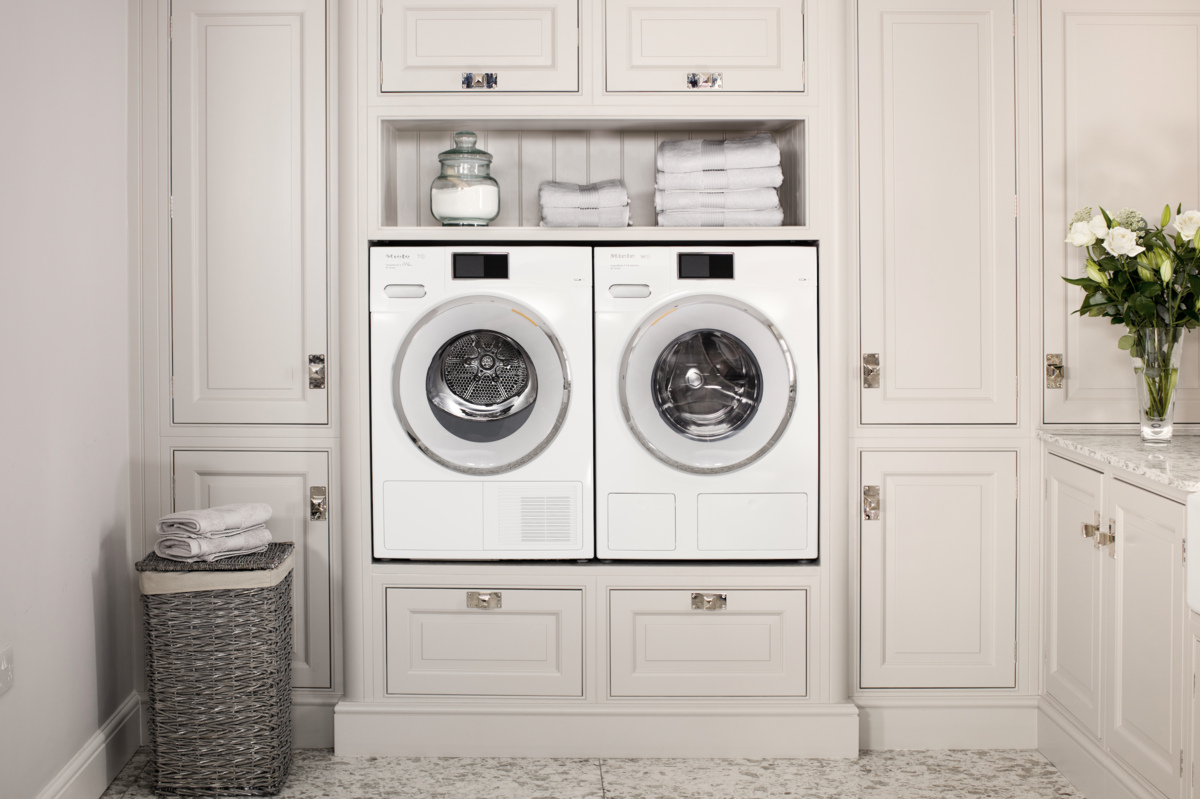
Step 3: Choosing the Right Location for the Stacked Washer and Dryer
Choosing the right location for your stacked washer and dryer is crucial for optimal functionality and convenience. Consider the following factors when deciding where to place your appliances:
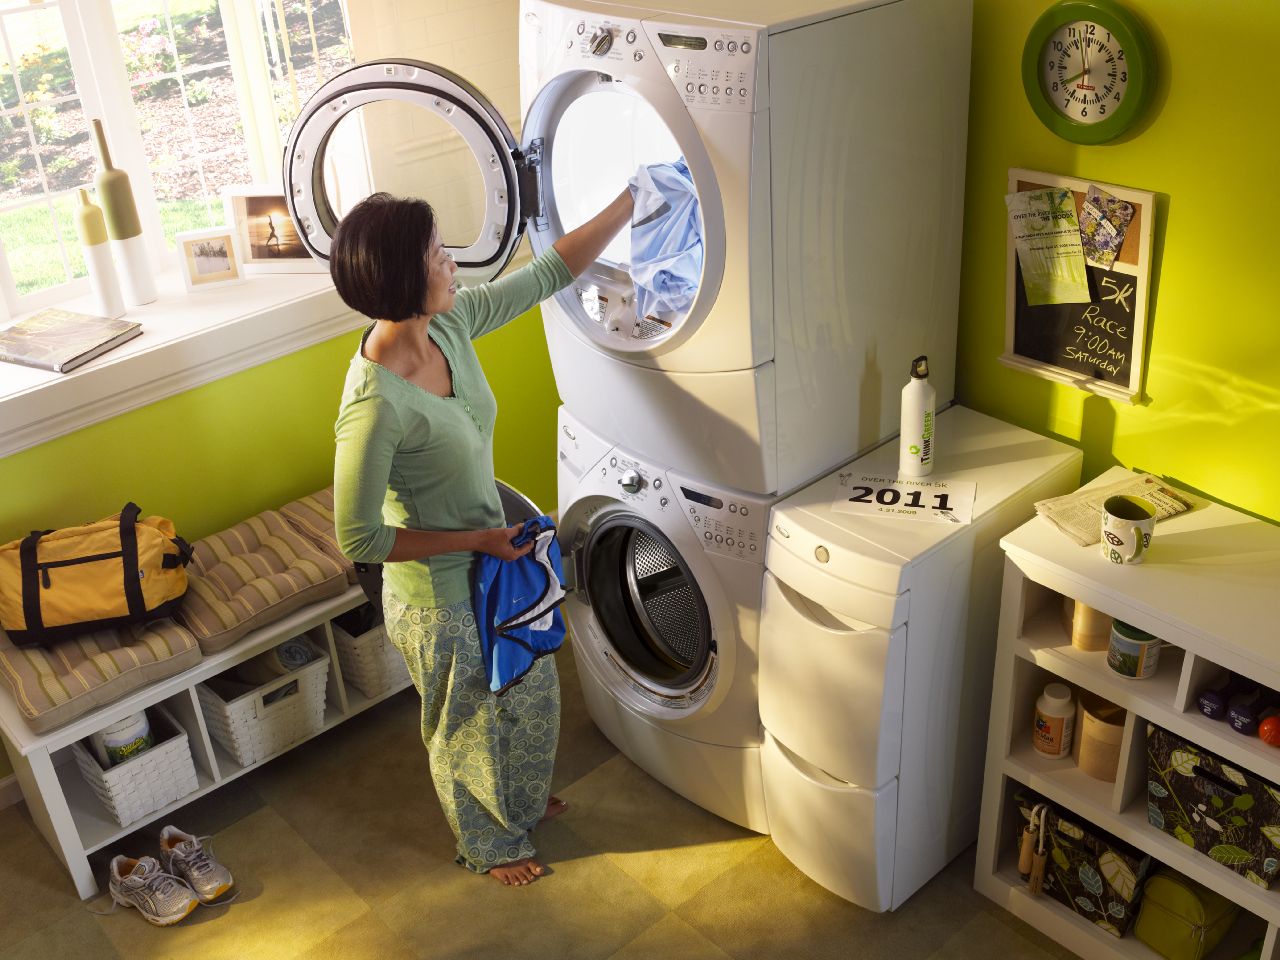
- Accessibility: Ensure that the location allows easy access to the appliances for loading and unloading laundry.
- Level surface: Place the stacked washer and dryer on a level surface to prevent any imbalance or vibration during operation.
- Ventilation: Provide adequate ventilation for the appliances by leaving a few inches of space behind the unit. This allows for proper airflow and helps prevent overheating.
- Proximity to water and drainage lines: Place the appliances near existing water and drainage lines to minimize plumbing modifications. This will make the installation process more straightforward.
- Space availability: Consider the dimensions of the area and ensure that there is enough space to accommodate the stacked washer and dryer comfortably.
Once you have determined the ideal location, mark the spots where the appliances will be placed using masking tape or a pencil. This will provide a visual guide during the installation process and ensure accurate placement.
Keep in mind that stacking the appliances adds height, so make sure there is enough clearance between the stacked washer and dryer and any overhead cabinets or shelves.
Now that you have chosen the location, it’s time to move on to preparing the area for plumbing in the next step.
Read more: Where Is The Outdoor Water Shut Off Valve
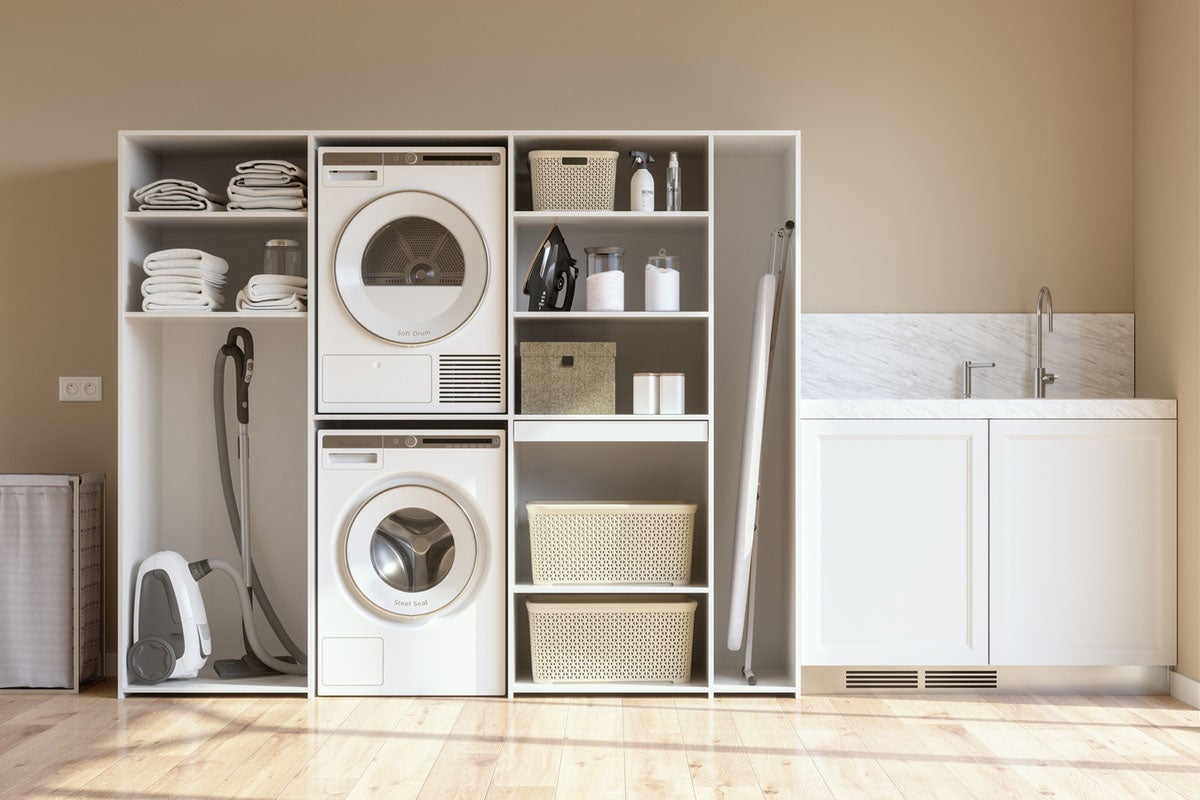
Step 4: Preparing the Area for Plumbing
Now that you have chosen the location for your stacked washer and dryer, it’s time to prepare the area for plumbing. Follow these steps to ensure a smooth and successful installation:
- Clear any debris or obstructions from the area. Sweep or vacuum the floor to create a clean workspace.
- If there is an existing drainpipe, ensure that it is clear of any clogs or blockages. Use a plumber’s snake or drain cleaner, if needed.
- Inspect the plumbing connections near the location to check for any leaks or issues. If you notice any problems, address them before proceeding with the installation.
- If necessary, install an appropriate floor drain or drain pan to catch any potential leaks or spills.
- Consider using a drip tray underneath the stacked washer and dryer to protect the floor from any water damage or leaks.
- Ensure that there is enough space behind the appliances for the water lines and drainage pipe to be properly connected.
- If the water lines and drainage pipe need to be extended or modified, gather the necessary materials and tools to complete the task.
By taking these steps to prepare the area, you will create a clean and organized space for the plumbing installation. This will help prevent any future issues and ensure a smooth flow of water and drainage. Once the area is prepared, you can proceed to the next step: running water lines.
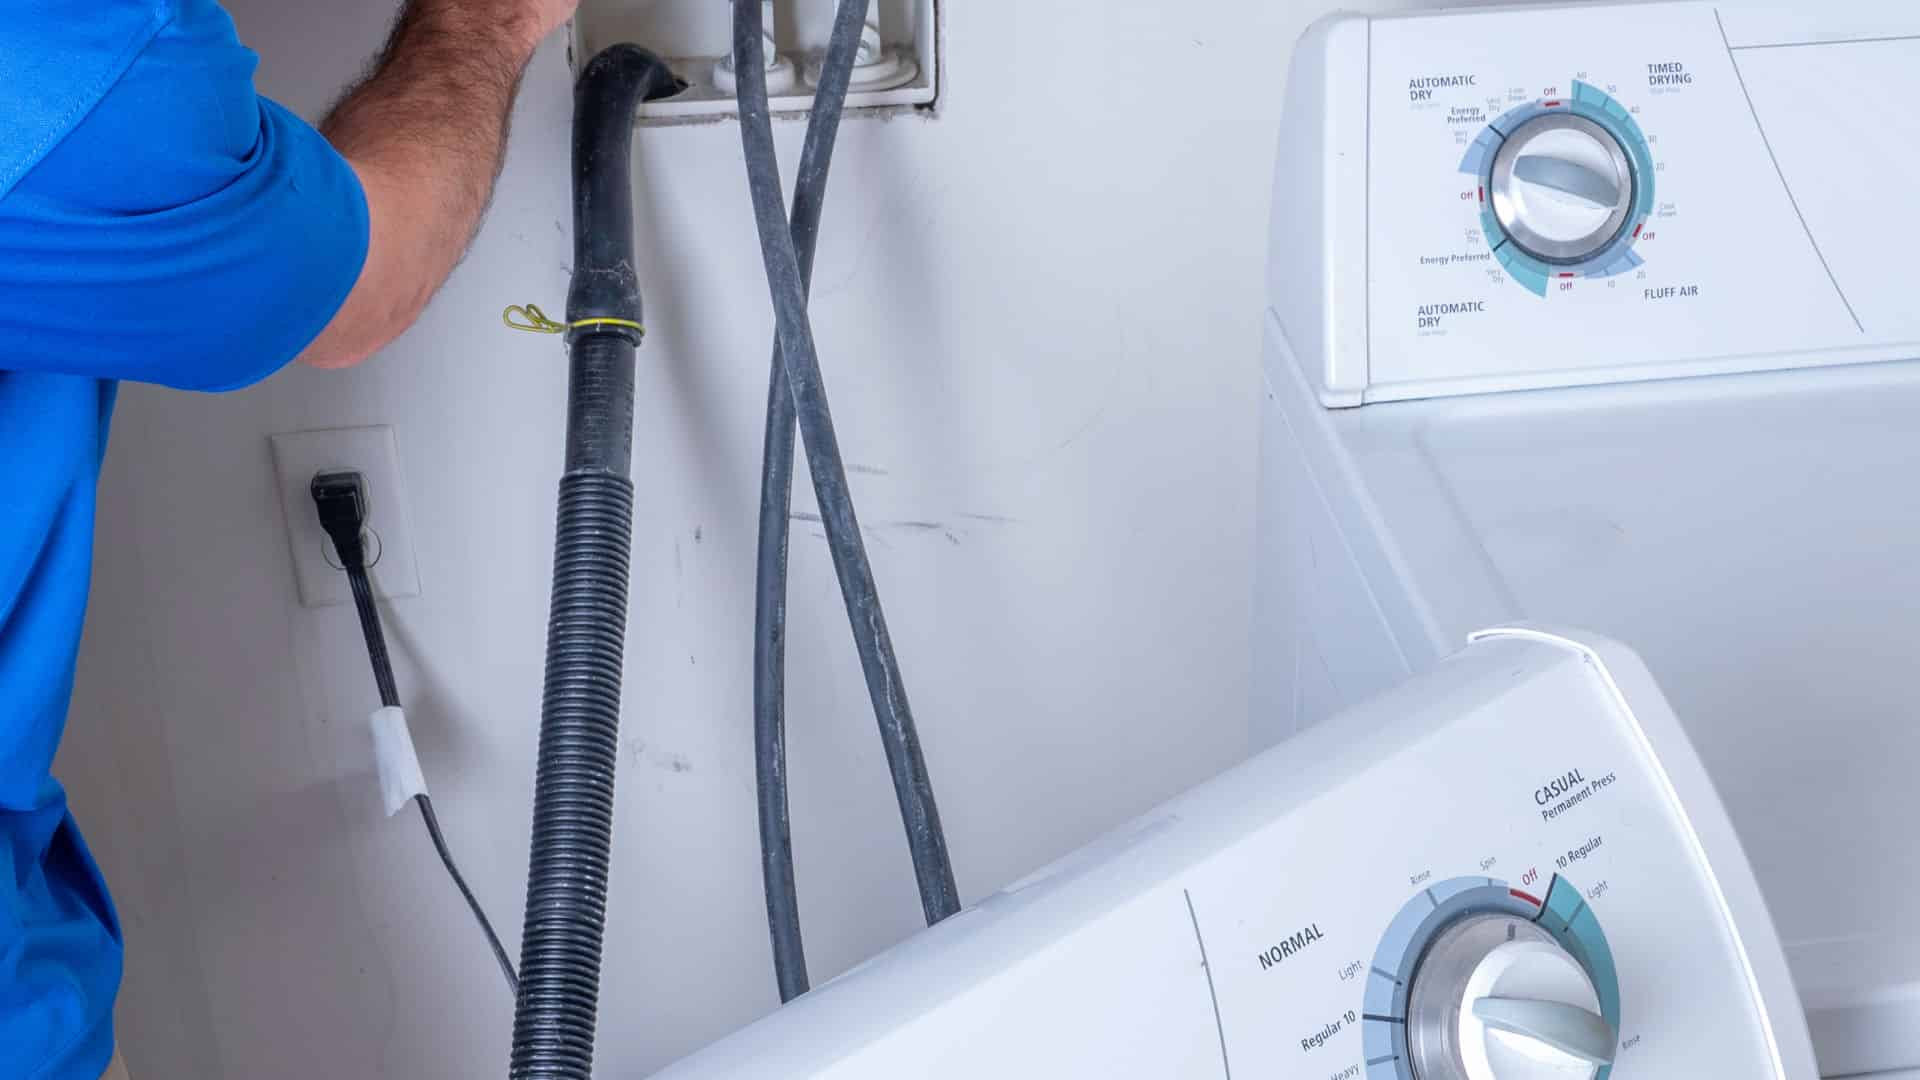
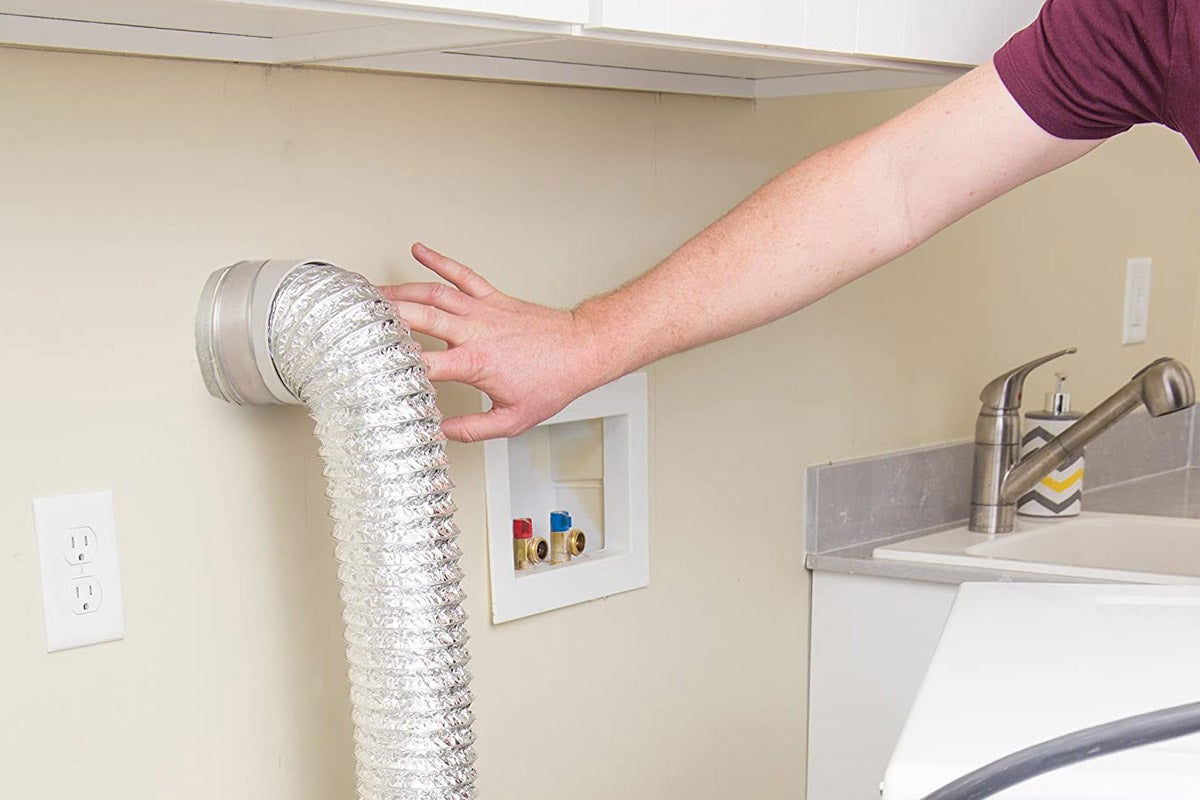
When installing a stacked washer and dryer, make sure to leave enough space behind the units to access the shut-off valves for maintenance or emergencies. Consider using flexible hoses for easier access.
Step 5: Running Water Lines
Running water lines is an essential part of the plumbing process for a stacked washer and dryer. Follow these steps to ensure proper installation:
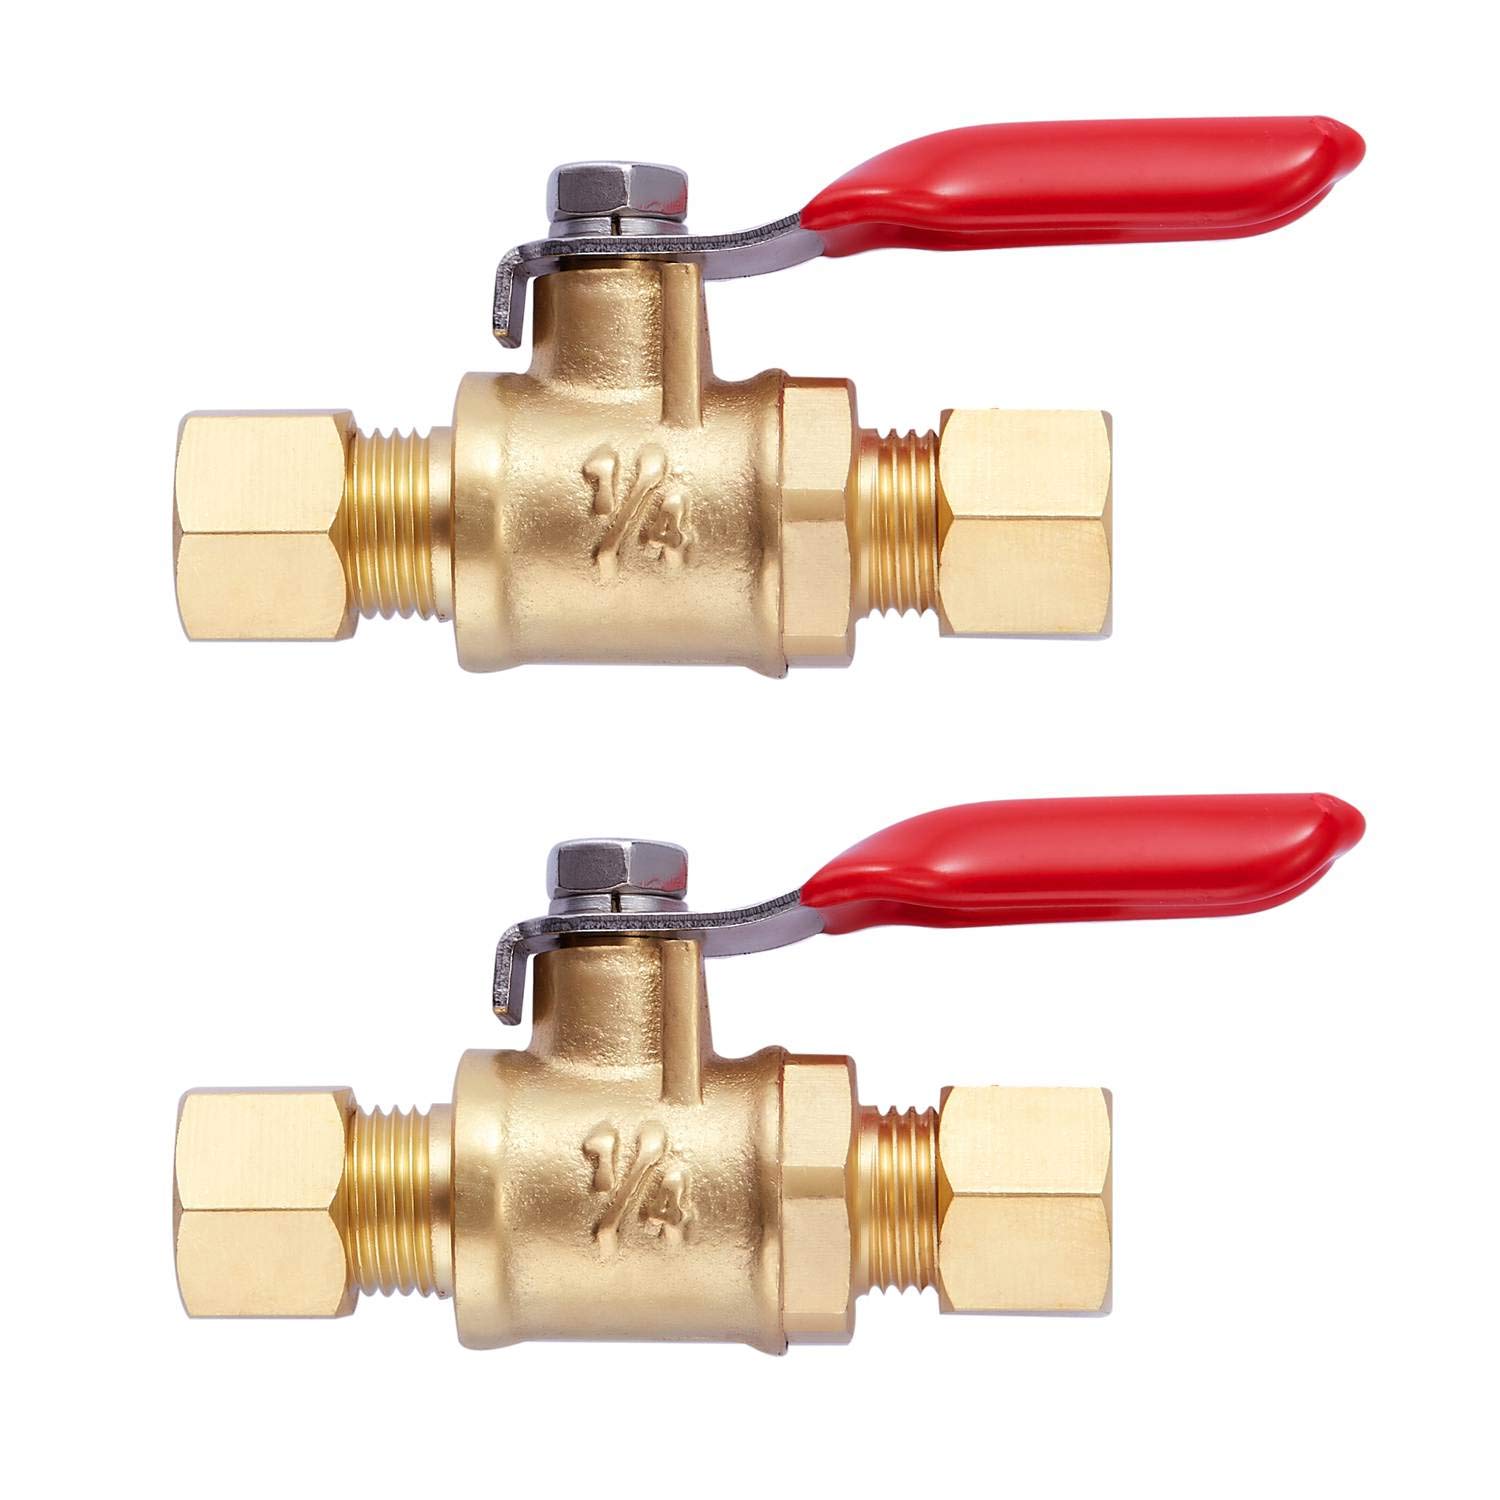
- Measure and cut the appropriate length of water lines to connect the shut-off valve to the washer’s water inlet. It’s recommended to use braided stainless steel hoses for durability and flexibility.
- Apply plumber’s tape to the threaded ends of the shut-off valve and the washer’s water inlet to ensure a tight seal.
- Securely attach one end of the water lines to the shut-off valve and the other end to the washer’s water inlet. Use an adjustable wrench or pliers to tighten the connections without over-tightening.
- Make sure there are no kinks or bends in the water lines that could restrict water flow.
- If the stacked washer and dryer unit has a steam feature, follow the manufacturer’s instructions to connect the steam water line. This line will connect to a separate valve or port on the back of the appliance.
- Double-check all connections to ensure they are tight and secure.
Running water lines correctly is crucial to ensure a steady and reliable water supply for your washer. Take your time in measuring, cutting, and connecting the water lines to avoid any leaks or water flow issues. Once the water lines are connected, you can move on to the next step: connecting the drainage pipe.
Step 6: Connecting the Drainage Pipe
Connecting the drainage pipe is the next important step in plumbing for a stacked washer and dryer unit. Here’s how to do it:
- Measure and cut a suitable length of PVC pipe to connect the washer’s drain outlet to the house’s main drainage line. Ensure that the pipe is long enough to reach the drainage line comfortably.
- Attach a P-trap to one end of the PVC pipe. A P-trap is a curved section of pipe that helps prevent sewer gases from entering your home. Make sure it is installed correctly with the curved side facing down.
- If needed, use a PVC primer and adhesive to securely connect the different sections of pipe and fittings. Follow the manufacturer’s instructions for proper application.
- Connect the other end of the PVC pipe to the washer’s drain outlet. Ensure that the connection is tight and secure to prevent any leaks.
- If the drainage system requires a vent, consult a professional plumber to ensure proper installation. Venting is essential to maintain optimal water flow and prevent drainage issues.
- Double-check all connections to ensure they are correctly aligned and securely fastened.
By following these steps, you will establish a proper connection between the washer’s drain outlet and the house’s drainage system. This will ensure efficient water removal and prevent any potential issues with clogs or backups. Once the drainage pipe is connected, it’s time to move on to the next step: testing for leaks.
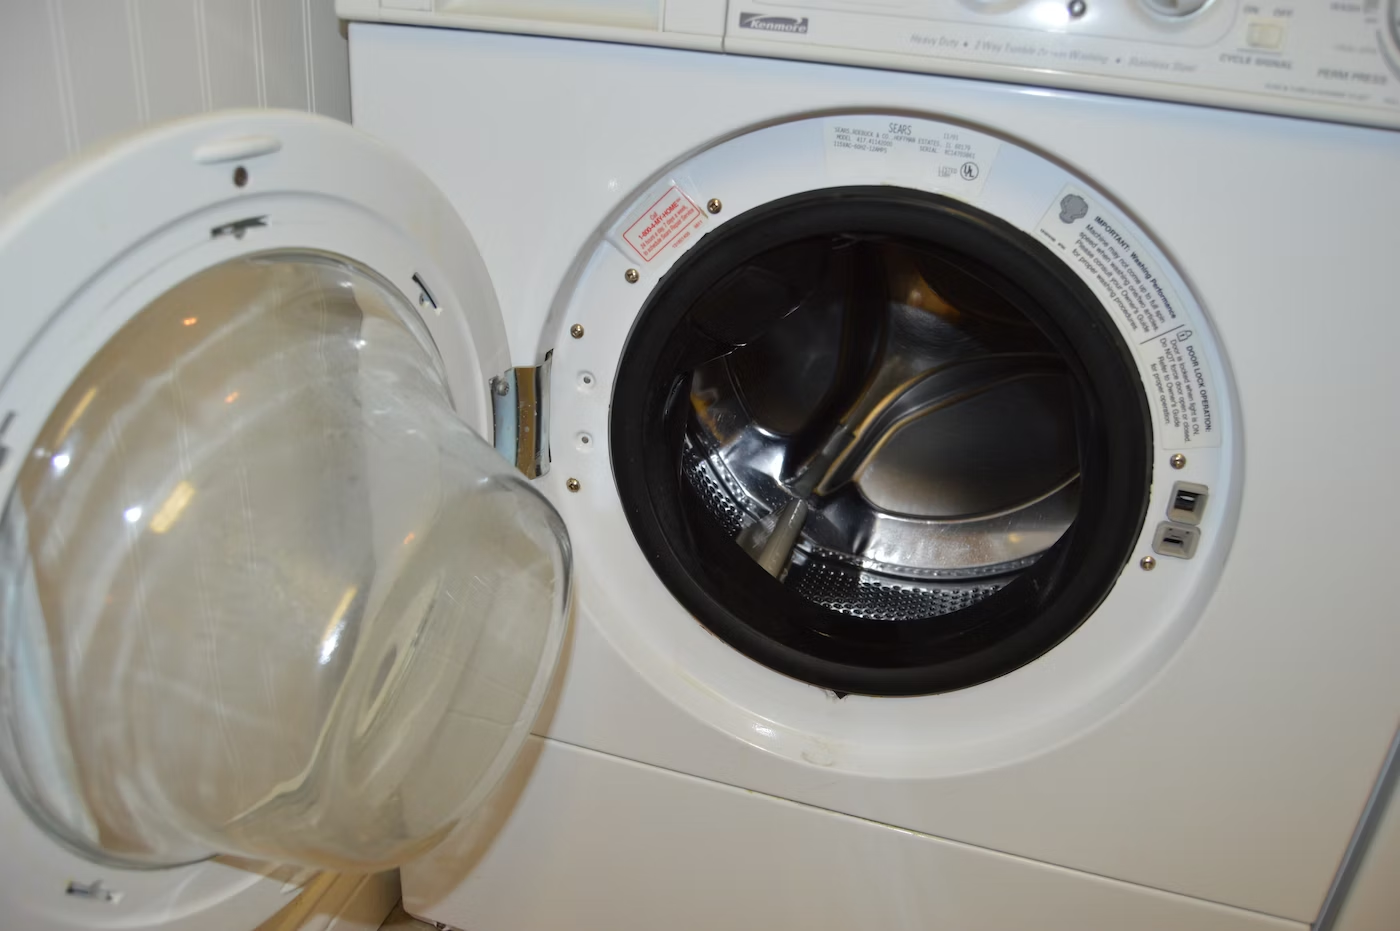
Step 7: Testing for Leaks
Testing for leaks is a critical step in the plumbing process for your stacked washer and dryer. By conducting a thorough check, you can identify and address any potential issues before they escalate. Follow these steps to test for leaks:
- Turn on the water supply to the washer by gradually opening the shut-off valve.
- Inspect all the water line connections, including the shut-off valve, hoses, and washer’s water inlet, for any signs of water leakage.
- Observe the drainage pipe connections, ensuring that there are no visible leaks or drips.
- Run a test cycle on your washer to simulate a typical laundry load. Pay close attention to the water inputs and outputs to confirm there are no leaks or drainage issues.
- Check underneath the stacked washer and dryer, as well as the surrounding area, for any signs of water accumulation or moisture.
- If you notice any leaks or drips, tighten the connections or replace faulty parts as necessary. Re-test the area to ensure the issue has been resolved.
Testing for leaks is essential to prevent water damage and ensure the proper functioning of your stacked washer and dryer unit. Take your time during this step and don’t rush the process. Address any issues promptly to avoid any further complications. Once you are confident that there are no leaks, you can proceed to the final step: securing the stacked washer and dryer in place.
Step 8: Securing the Stacked Washer and Dryer in Place
Securing the stacked washer and dryer in place is the final step in the plumbing process. This ensures stability and prevents any accidental movement or tipping. Follow these steps to securely fasten your appliances:
- Ensure that the appliances are positioned correctly according to the markings made earlier.
- Use a level to confirm that the appliances are perfectly horizontal. Adjust their position if necessary.
- Once the appliances are leveled, secure them to the wall using brackets or straps. These can typically be found as part of the washer and dryer stacking kit or purchased separately.
- Follow the manufacturer’s instructions for installing the brackets or straps. Use the provided screws and secure the appliances firmly to the wall.
- Double-check that the appliances are securely fastened and do not wobble or move when pressure is applied.
- Ensure that the area around the stacked washer and dryer is clear of any obstacles or debris that could interfere with their operation.
By properly securing your stacked washer and dryer, you’ll create a safe and stable environment for their use. This is especially important to prevent any accidents or damage during operation. Once the appliances are securely fastened, you can finally enjoy the convenience and efficiency of your newly plumbed stacked washer and dryer setup!
With the completion of Step 8, you have successfully plumbed your stacked washer and dryer, gaining access to the shut-off valve while ensuring a proper water supply and drainage system. Should you encounter any difficulties during the process, it’s always advisable to consult a professional plumber for assistance. Happy washing and drying!
Conclusion
Plumbing for a stacked washer and dryer to gain access to the shut-off valve is an important task that ensures the functionality and convenience of your laundry appliances. By following the steps outlined in this guide, you can successfully complete the plumbing process and enjoy a properly connected and efficient laundry setup.
From clearing the space and shutting off the water supply to choosing the right location and running water lines, each step plays a crucial role in creating a reliable plumbing system. Connecting the drainage pipe, testing for leaks, and securing the appliances in place are equally important for a successful installation.
Remember to gather all the necessary tools and equipment beforehand and maintain a clear and organized workspace throughout the process. Safety should always be a priority, so follow proper precautions when working with plumbing connections and water supply lines.
If you encounter any difficulties or are unsure about any steps, it’s recommended to consult a professional plumber. They can provide expert guidance and ensure that the plumbing installation is done correctly.
By completing the plumbing process for your stacked washer and dryer, you have gained convenient access to the shut-off valve while optimizing space in your laundry area. Enjoy the benefits of a properly connected and efficient laundry setup, and say goodbye to the hassle of accessing the shut-off valve behind your appliances!
Once you've mastered setting up your stacked washer and dryer, consider tackling your next DIY home improvement project by learning how to replace a toilet shut-off valve. This guide offers straightforward steps and practical advice to ensure your plumbing remains in top condition. Whether you're dealing with a leak or simply updating your fixtures, this article will equip you with the skills needed to handle essential plumbing tasks with confidence.
Frequently Asked Questions about How To Plumb For A Stacked Washer And Dryer To Get Access To Shut Off Valve
Was this page helpful?
At Storables.com, we guarantee accurate and reliable information. Our content, validated by Expert Board Contributors, is crafted following stringent Editorial Policies. We're committed to providing you with well-researched, expert-backed insights for all your informational needs.


0 thoughts on “How To Plumb For A Stacked Washer And Dryer To Get Access To Shut Off Valve”