Home>Furniture & Design>Outdoor Furniture>How To Repair An Outdoor Tile Table Top
Outdoor Furniture
How To Repair An Outdoor Tile Table Top
Published: January 12, 2024
Learn how to effectively repair your outdoor tile table top with our expert tips and techniques. Restore your outdoor furniture and design with our comprehensive guide.
(Many of the links in this article redirect to a specific reviewed product. Your purchase of these products through affiliate links helps to generate commission for Storables.com, at no extra cost. Learn more)
Introduction
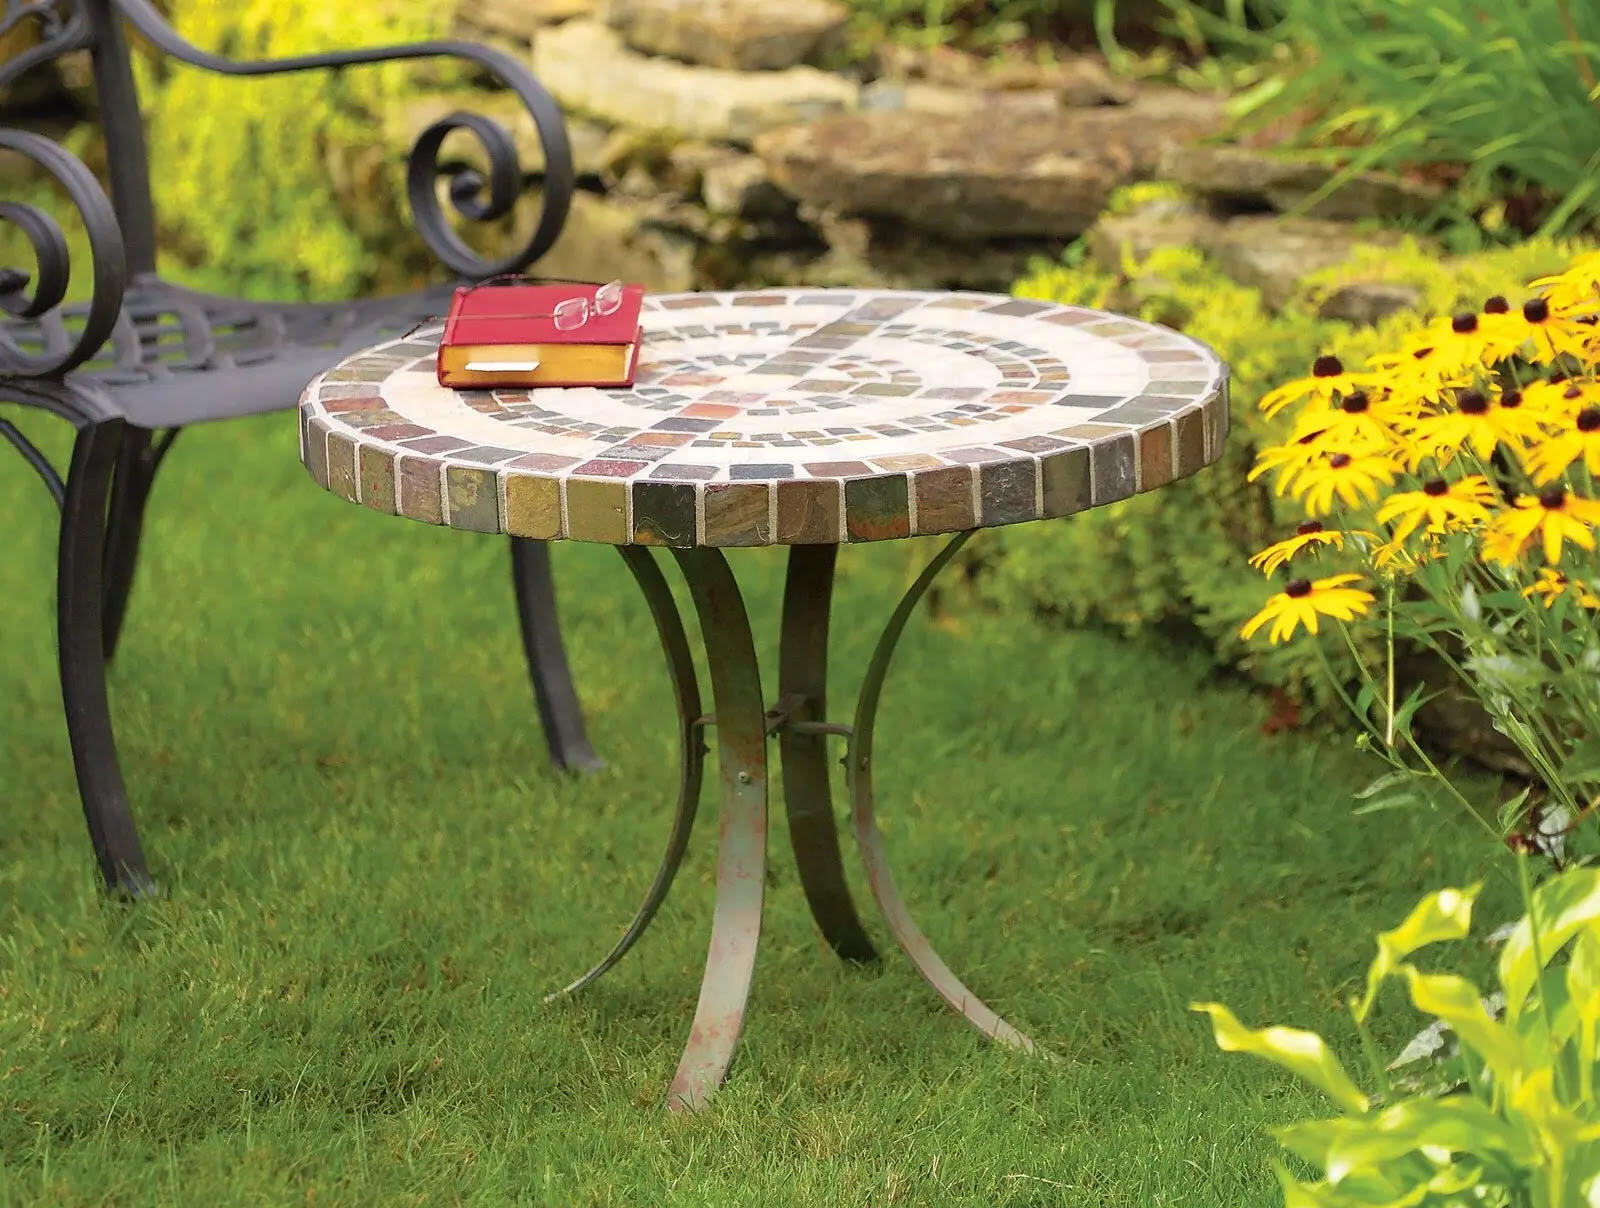
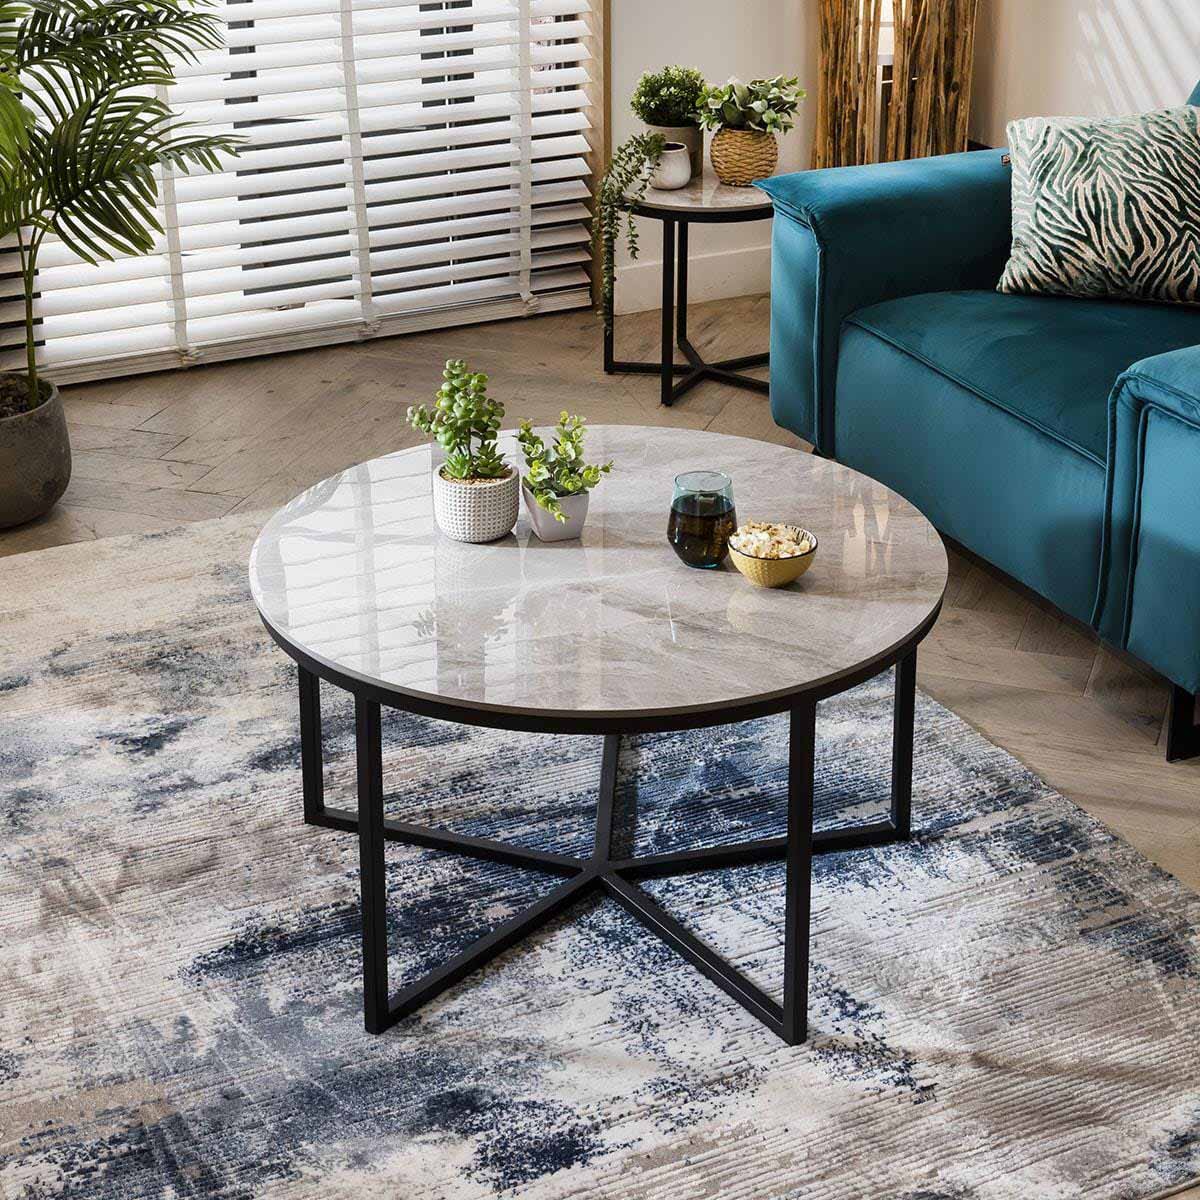
Welcome to the world of outdoor furniture and design, where every piece tells a story of comfort, style, and the beauty of outdoor living. Outdoor tile tables are a popular choice for many homeowners, adding elegance and functionality to their outdoor spaces. However, over time, these tables may succumb to wear and tear, with the tile top being particularly susceptible to damage from the elements.
But fear not! With a little know-how and some simple tools, you can breathe new life into your outdoor tile table and restore its charm. In this comprehensive guide, we'll walk you through the process of repairing an outdoor tile table top, from assessing the damage to the final touches and maintenance. Whether you're a seasoned DIY enthusiast or a novice looking to take on a new project, this guide will equip you with the knowledge and confidence to tackle this endeavor with ease.
So, roll up your sleeves, gather your materials, and let's embark on this fulfilling journey of reviving your outdoor tile table. By the end of this guide, you'll not only have a beautifully restored table but also a sense of accomplishment and pride in your handiwork. Let's dive in and bring back the luster to your outdoor living space!
Key Takeaways:
- Revive your outdoor tile table with ease by assessing damage, gathering materials, and following step-by-step repair instructions. Enjoy a sense of accomplishment and pride in your beautifully restored outdoor living space!
- Restore your outdoor tile table to its former glory with precision and care. From removing damaged tiles to adding final touches, embrace the journey of revitalizing your outdoor sanctuary.
Read more: How To Tile An Outdoor Bar Top
Assessing the Damage
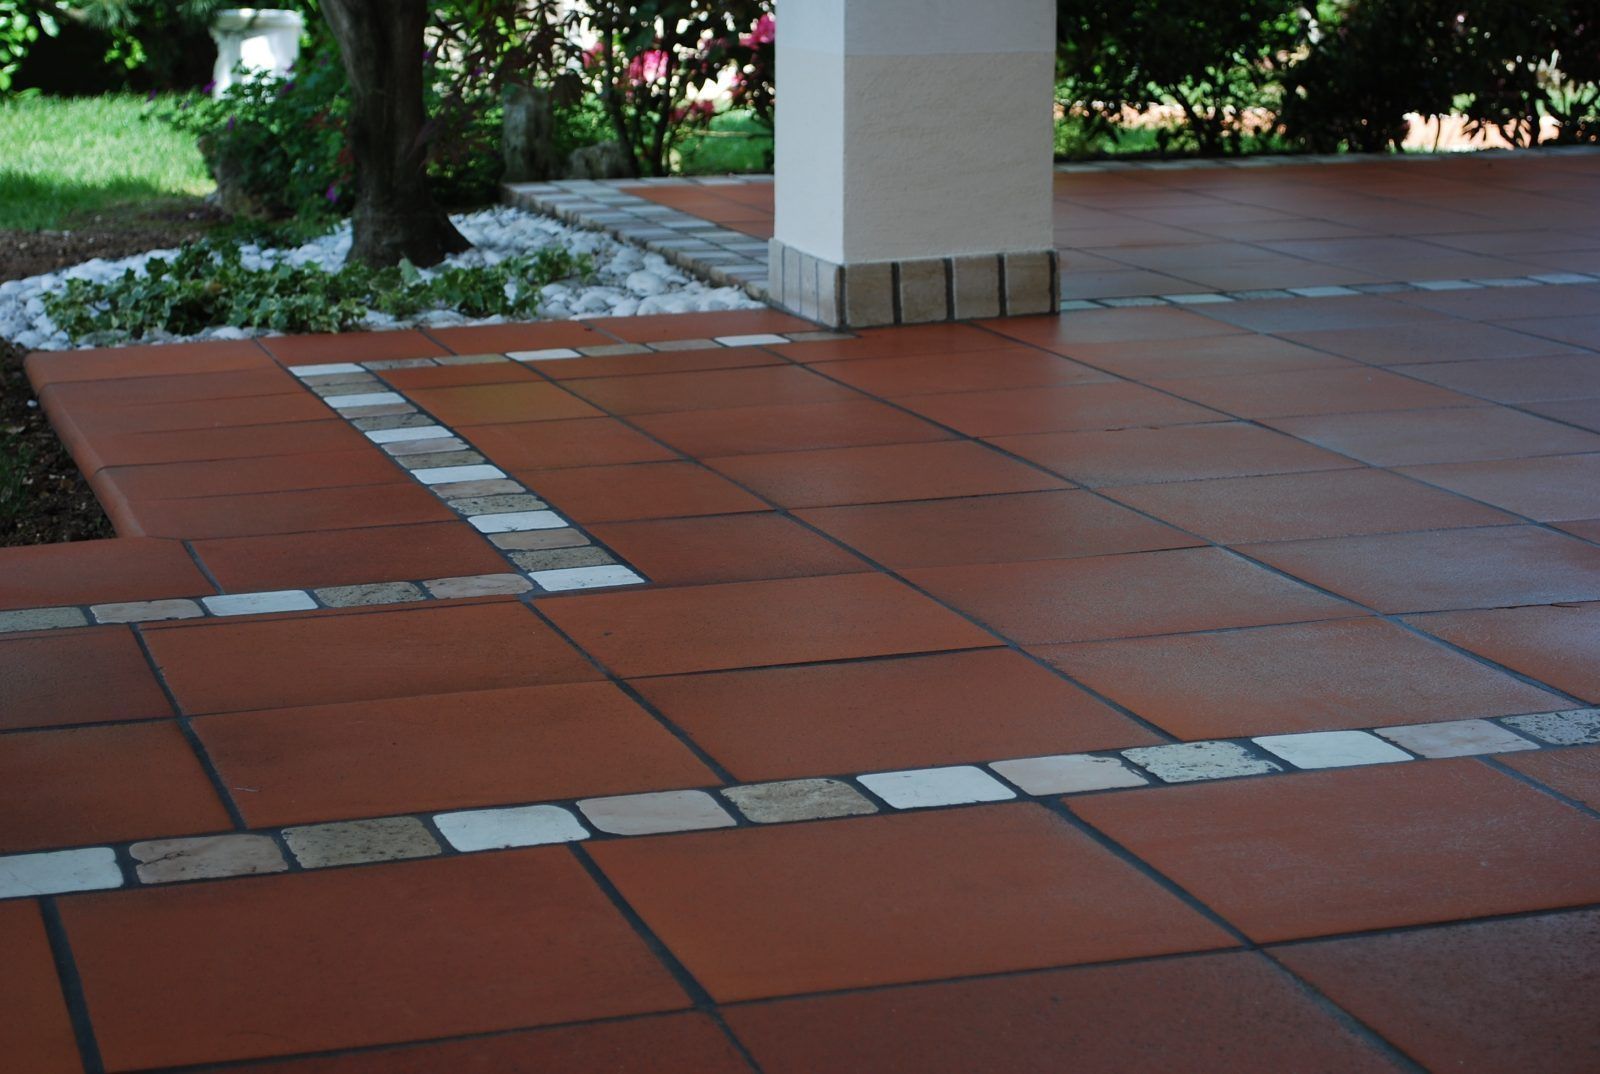
Before diving into the repair process, it’s crucial to assess the extent of the damage to your outdoor tile table top. Start by thoroughly examining the table, paying close attention to the condition of the tiles, grout lines, and the table’s underlying structure. Common forms of damage include chipped or cracked tiles, discolored or deteriorating grout, and water damage to the table’s substrate.
Begin by inspecting each tile for visible signs of damage. Minor cracks or chips in the tiles can often be repaired without the need for replacement, while more extensive damage may require tile removal and replacement. Additionally, check for any loose or hollow-sounding tiles, as these can indicate underlying issues with the adhesive or substrate.
Next, evaluate the condition of the grout lines. Over time, grout can become discolored, cracked, or eroded, compromising the stability and aesthetics of the tile top. Take note of any areas where the grout is in need of repair or replacement, as addressing these issues will be an essential part of the restoration process.
Finally, assess the overall structural integrity of the table. Look for signs of water damage, warping, or deterioration in the substrate beneath the tiles. Water damage can weaken the table’s foundation, leading to potential issues with tile adhesion and stability. Identifying and addressing any underlying structural concerns is key to ensuring a successful and long-lasting repair.
By thoroughly assessing the damage, you’ll gain a clear understanding of the scope of the repair project and the specific areas that require attention. Armed with this knowledge, you’ll be well-prepared to move on to the next steps of gathering materials and preparing the work area for the repair process.
Gathering Materials
With the damage to your outdoor tile table top assessed, it’s time to gather the materials and tools needed to embark on the repair journey. Having the right supplies at your disposal will streamline the repair process and ensure that you can tackle each step with confidence and precision.
Here’s a comprehensive list of materials and tools you’ll need to repair your outdoor tile table top:
- Replacement Tiles: If any of the tiles are irreparably damaged, you’ll need to acquire replacement tiles that match the size, style, and color of the existing ones. It’s essential to ensure a seamless integration of the new tiles with the overall aesthetic of the table.
- Grout: Depending on the condition of the existing grout, you may need to purchase grout for repairs or replacement. Choose a grout color that complements the tiles and enhances the visual appeal of the table.
- Tile Adhesive: High-quality tile adhesive is essential for securely affixing replacement tiles and ensuring their long-term stability. Opt for a weather-resistant adhesive suitable for outdoor use.
- Grout Float: A grout float is a handy tool for applying and smoothing grout into the spaces between tiles. It facilitates the precise application of grout, resulting in a professional finish.
- Grout Sealer: Once the grout has cured, a grout sealer will help protect it from moisture and staining, prolonging its lifespan and maintaining its appearance.
- Protective Gear: Safety should always be a priority. Equip yourself with gloves, eye protection, and a dust mask to safeguard against potential hazards during the repair process.
- Tile Cutter or Wet Saw: If you need to trim or shape replacement tiles to fit specific areas of the table, a tile cutter or wet saw will be indispensable for achieving precise cuts.
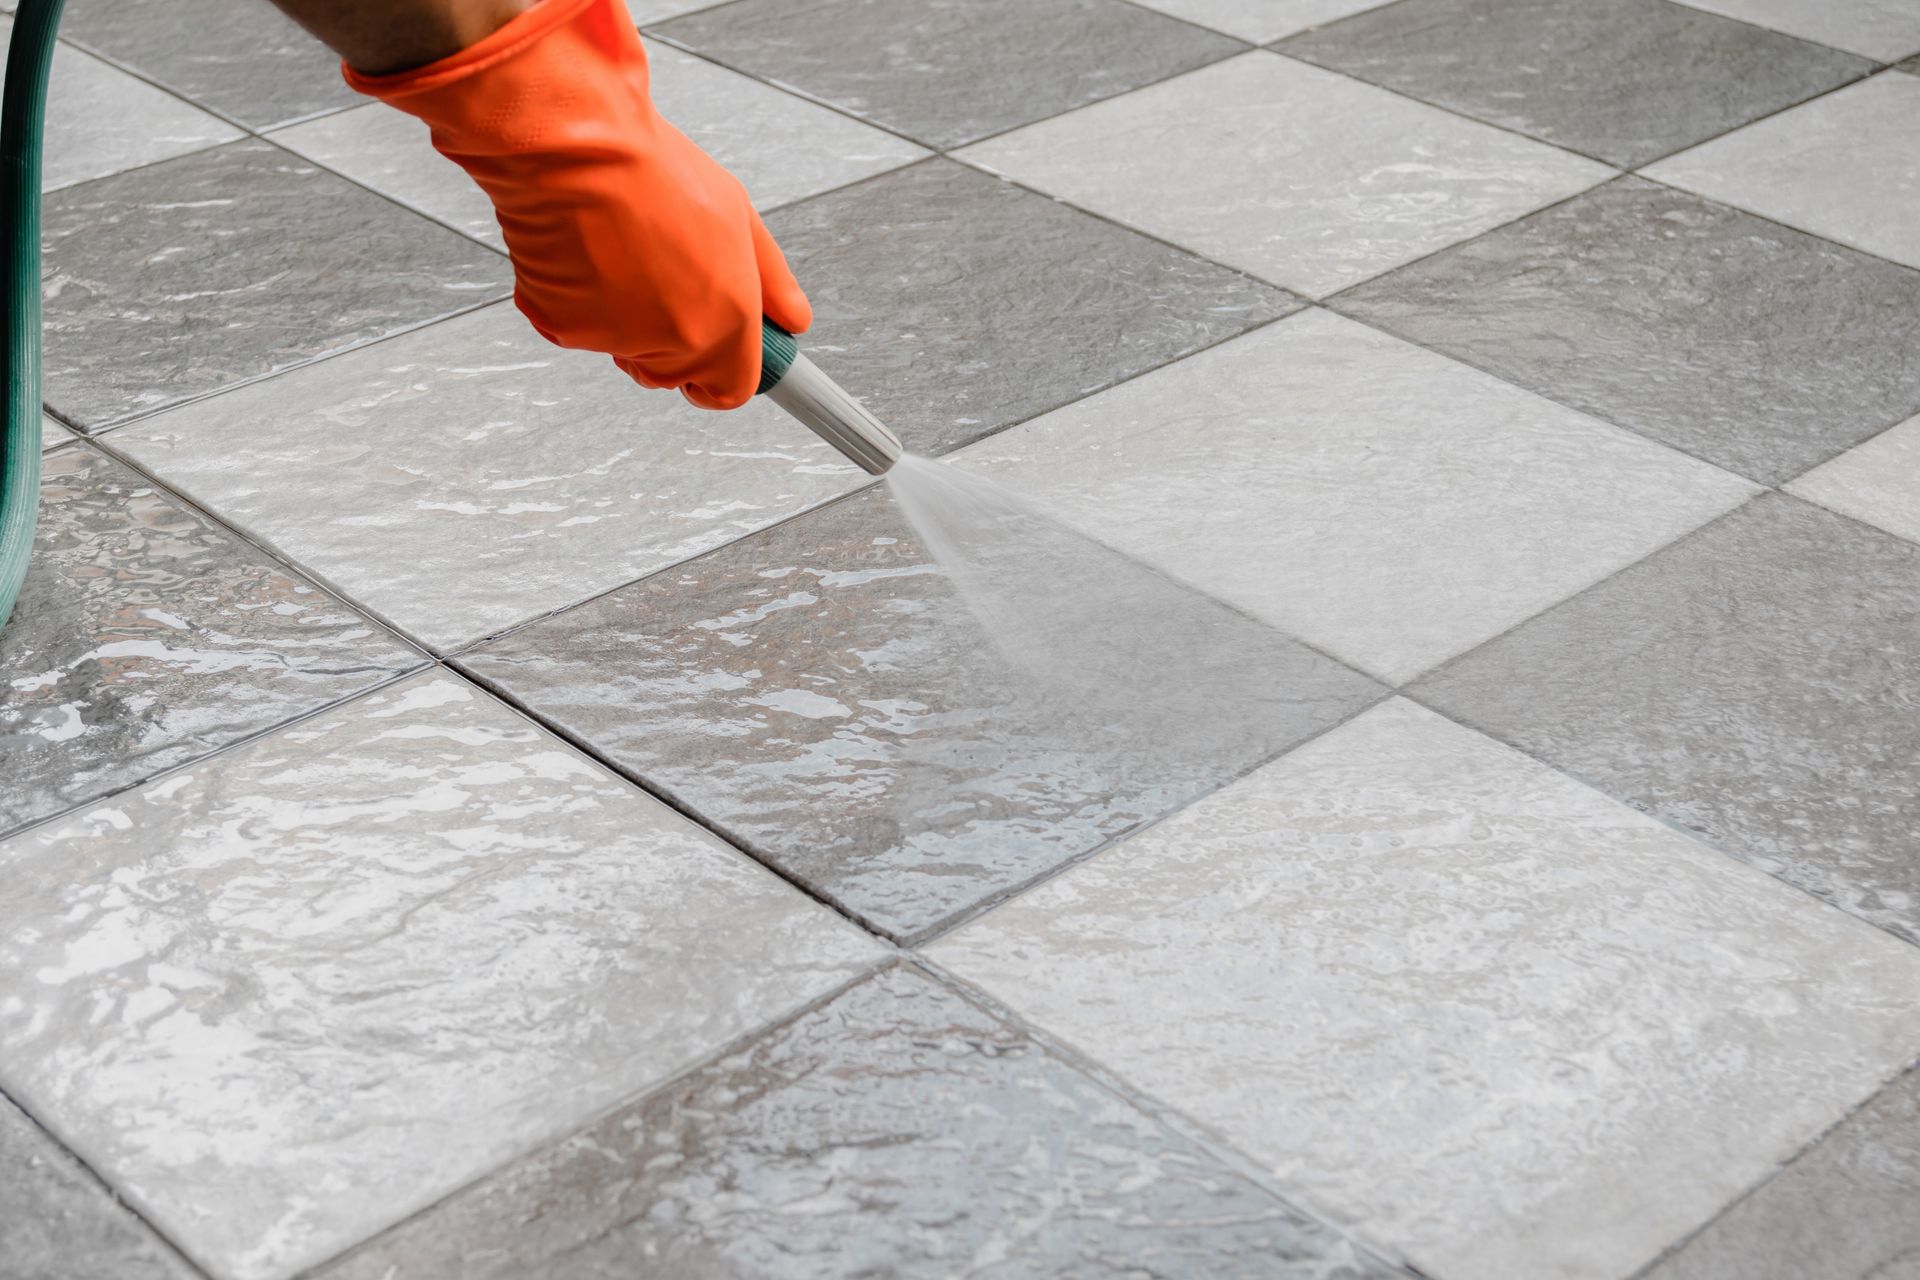
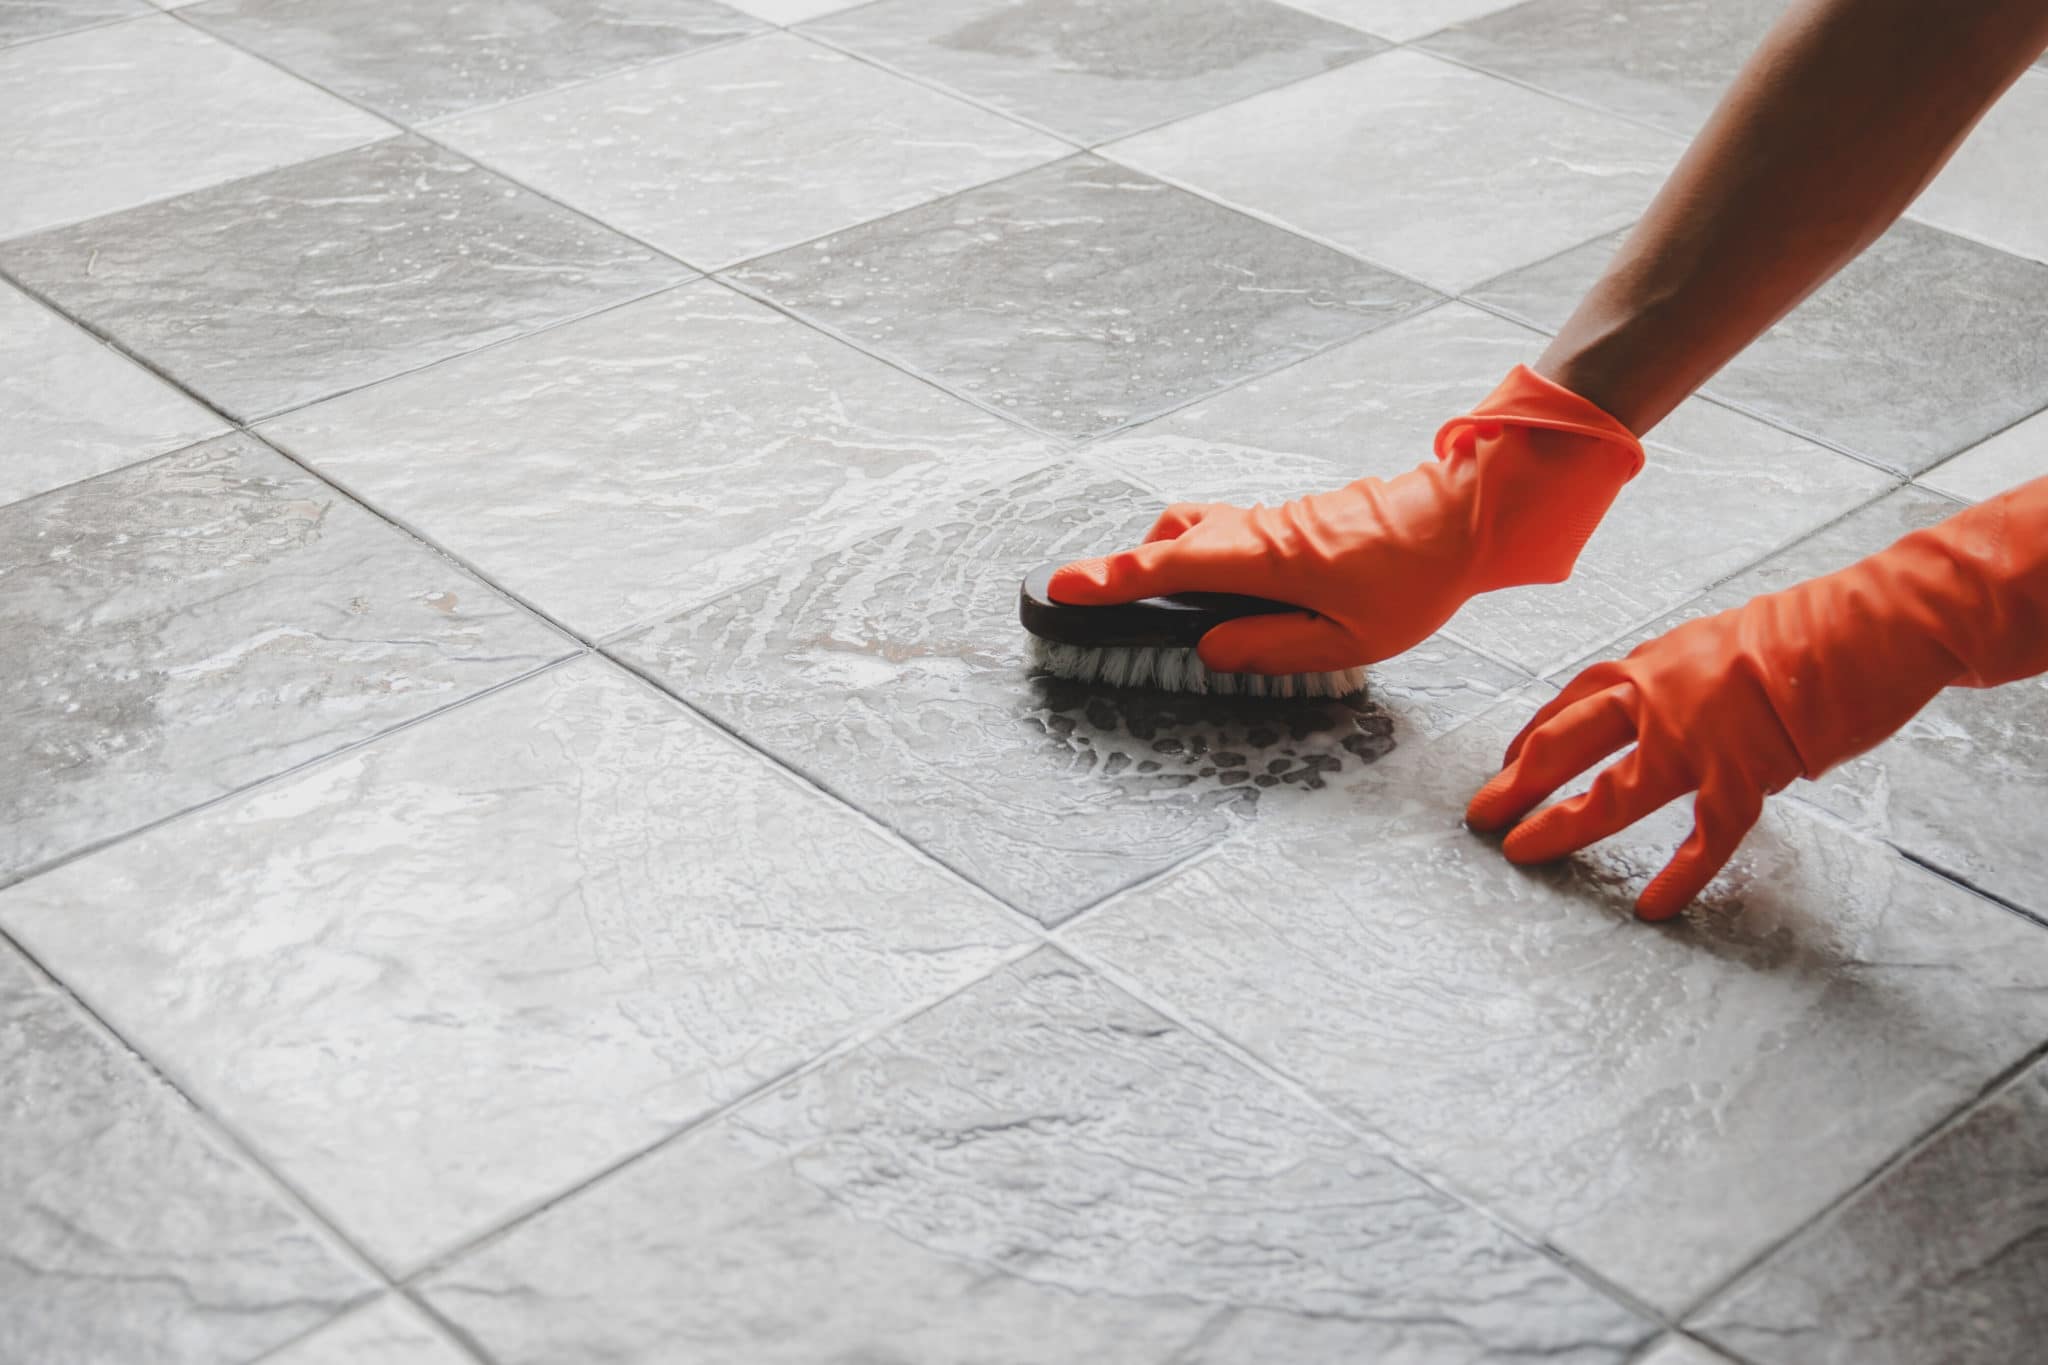
- Cleaning Supplies: Before beginning the repair, gather cleaning supplies such as a mild detergent, a scrub brush, and a sponge to thoroughly clean the table and prepare it for the repair work.
By ensuring that you have all the necessary materials and tools on hand, you’ll be well-prepared to tackle the repair process efficiently and effectively. With these essentials at your disposal, you can proceed to the next step of preparing the work area for the upcoming restoration endeavors.
Preparing the Work Area
Before diving into the intricate process of repairing your outdoor tile table top, it’s essential to prepare the work area to facilitate a smooth and organized restoration process. Proper preparation will not only ensure the safety of the repair endeavor but also contribute to the quality and longevity of the resulting repair.
Here are the essential steps for preparing the work area:
- Clean the Table: Begin by thoroughly cleaning the table to remove any dirt, debris, or residues that may impede the repair process. Use a mild detergent, warm water, and a scrub brush to clean the surface, ensuring that it is free from any contaminants that could affect the adhesion of new tiles and grout.
- Clear the Surrounding Area: Create a clear and spacious work area around the table to allow for unrestricted movement and accessibility during the repair process. Remove any obstacles or unnecessary items to provide ample space for maneuvering and working comfortably.
- Protect Adjacent Surfaces: Cover nearby surfaces, such as the ground or adjacent furniture, with protective materials to prevent them from being exposed to adhesive, grout, or other repair-related substances. This precaution will safeguard surrounding areas from potential damage and simplify the cleanup process.
- Ensure Adequate Ventilation: Proper ventilation is essential, especially when working with adhesives, grout, and sealants. If the repair is conducted indoors or in a partially enclosed space, ensure that windows are open and fans are utilized to promote adequate airflow and minimize the inhalation of fumes.
- Organize Tools and Materials: Arrange your tools, materials, and safety equipment in a well-organized manner within easy reach of the work area. This will streamline the repair process, allowing you to access necessary items promptly without disrupting the flow of the restoration work.
By meticulously preparing the work area, you’ll create an environment that is conducive to a successful and efficient repair process. These preparatory measures will set the stage for the subsequent steps of removing damaged tiles, installing replacement tiles, and achieving a seamless and durable restoration of your outdoor tile table top.
To repair an outdoor tile table top, use a waterproof adhesive to reattach any loose or broken tiles. Clean the area thoroughly before applying the adhesive for best results.
Removing Damaged Tiles
With the work area prepared and the necessary materials at your disposal, it’s time to embark on the initial phase of the repair process: removing damaged tiles from your outdoor table top. This step requires precision and care to ensure that the existing tiles are safely removed without causing further damage to the table’s surface.
Here’s a comprehensive guide to effectively removing damaged tiles:
- Assess the Adhesion: Before attempting to remove a damaged tile, evaluate its adhesion to the substrate. A loose or already damaged tile may be easier to remove, while a securely bonded tile may require additional effort to dislodge.
- Use a Chisel or Putty Knife: Gently insert a chisel or putty knife beneath the edge of the damaged tile, taking care not to apply excessive force that could damage the surrounding tiles or the table’s surface. Gradually work the tool beneath the tile to loosen it from the adhesive underneath.
- Apply Heat (if necessary): In cases where the tile is stubbornly adhered, carefully apply heat to the tile surface using a heat gun or hairdryer. The heat will help soften the adhesive, making it easier to remove the tile without causing undue stress to the surrounding area.
- Remove the Tile: Once the tile is sufficiently loosened, carefully lift it away from the table’s surface, taking care not to disturb adjacent tiles. Inspect the underlying substrate for any remnants of adhesive or grout that may need to be cleaned or smoothed before installing the replacement tile.
- Clean and Prepare the Area: Thoroughly clean the exposed area where the damaged tile was removed, ensuring that it is free from debris, adhesive residues, and any irregularities that could affect the installation of the replacement tile. Smooth out the substrate as needed to create a level and stable surface for the new tile.
By following these steps with precision and patience, you’ll effectively remove damaged tiles from your outdoor table top, laying the groundwork for the subsequent phase of installing replacement tiles. With the damaged tiles removed and the work area meticulously prepared, you’re poised to move forward with confidence and skill in the restoration of your outdoor tile table.
Read more: How To Grout Outdoor Tiles
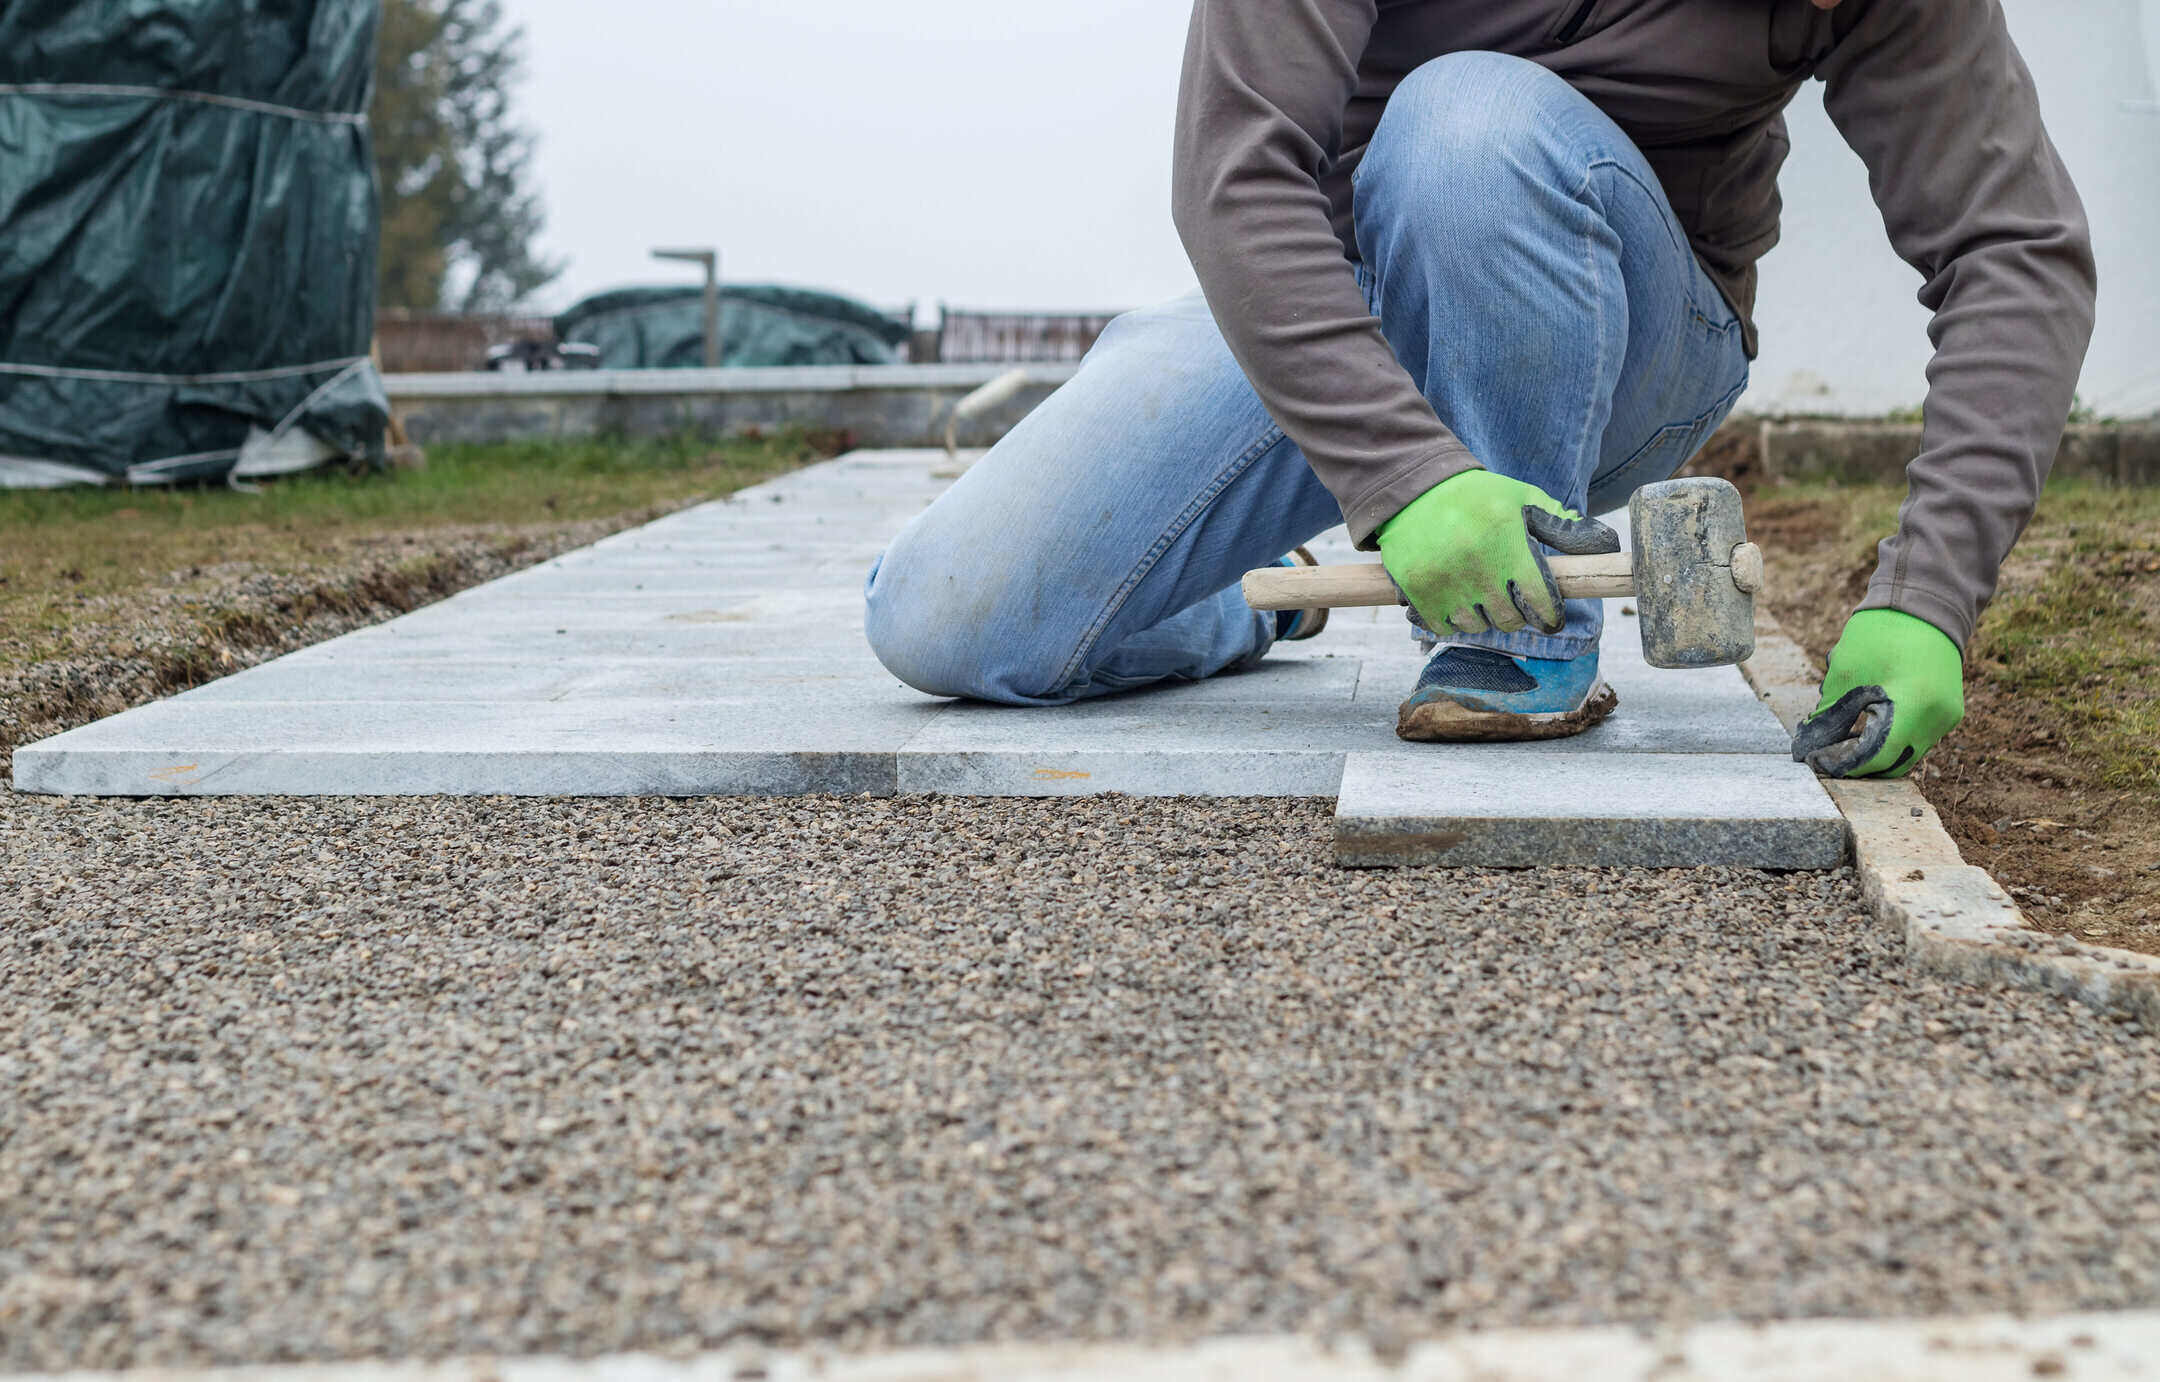
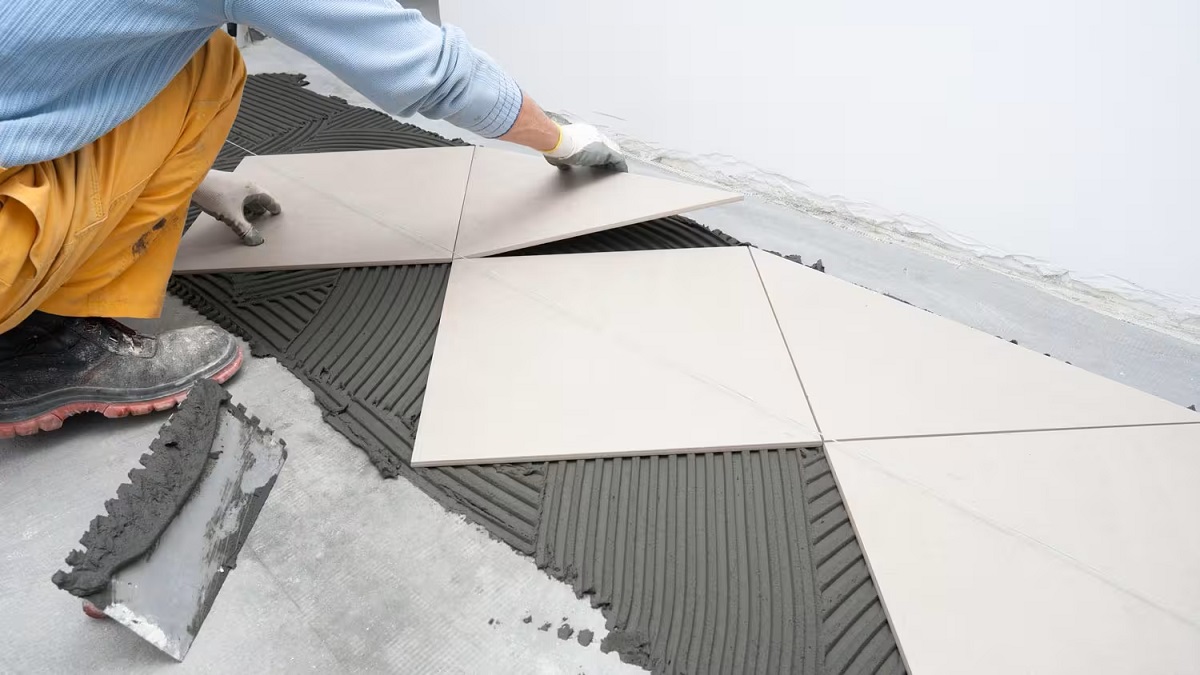
Installing Replacement Tiles
With the damaged tiles successfully removed and the work area prepped, it’s time to embark on the transformative phase of installing replacement tiles to restore the beauty and functionality of your outdoor table top. This pivotal step requires precision, attention to detail, and a methodical approach to ensure the seamless integration of the new tiles with the existing design.
Here’s a comprehensive guide to effectively installing replacement tiles:
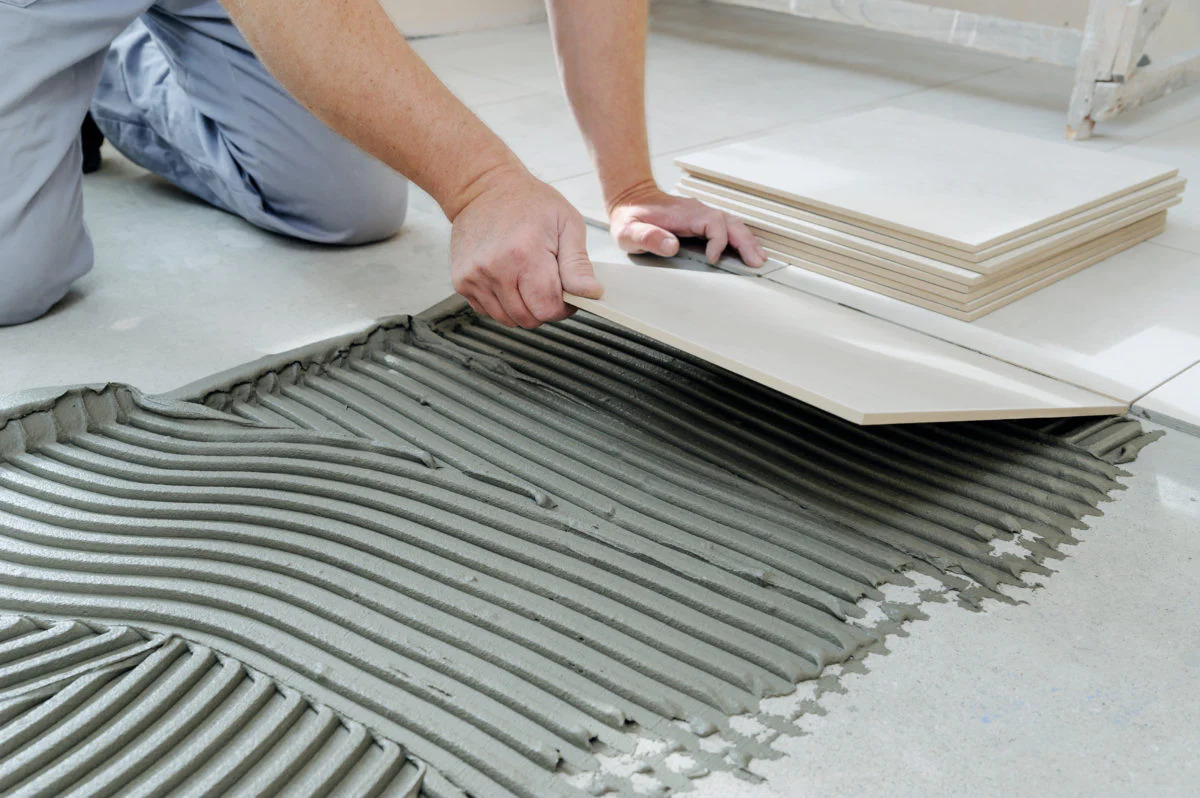
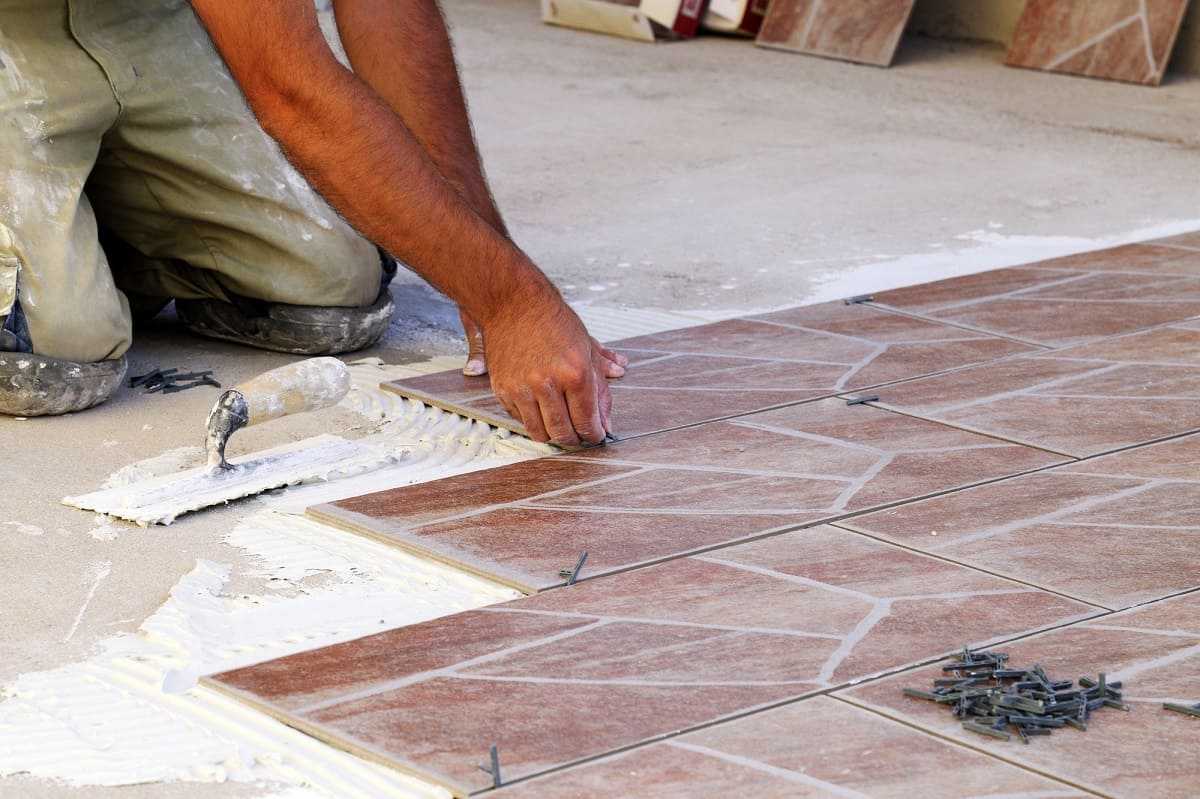
- Apply Tile Adhesive: Using a notched trowel, apply a uniform layer of high-quality tile adhesive to the prepared area where the damaged tile was removed. Ensure that the adhesive layer is of sufficient thickness to securely bond the replacement tile to the substrate.
- Position the Replacement Tile: Carefully place the replacement tile onto the adhesive, aligning it with the surrounding tiles and ensuring a consistent grout joint width. Press the tile firmly into place, applying even pressure to achieve optimal adhesion.
- Adjust and Align: If necessary, make minor adjustments to the position of the replacement tile to ensure precise alignment with the existing tile layout. Use tile spacers to maintain uniform grout joint widths and create a professional, polished appearance.
- Allow for Adhesive Setting: Give the adhesive ample time to set and cure according to the manufacturer’s recommendations. This crucial step is essential for establishing a strong bond between the replacement tile and the substrate, ensuring its long-term stability and durability.
- Remove Excess Adhesive: Once the adhesive has set, carefully remove any excess adhesive that may have squeezed out around the edges of the replacement tile. A putty knife or similar tool can be used to gently scrape away the surplus adhesive without disturbing the newly installed tile.
By meticulously following these steps, you’ll expertly install replacement tiles, seamlessly integrating them into the existing table top and setting the stage for the final phases of grouting, sealing, and adding the finishing touches to your outdoor tile table. With the replacement tiles securely in place, your table is well on its way to being restored to its former glory, ready to be enjoyed for years to come.
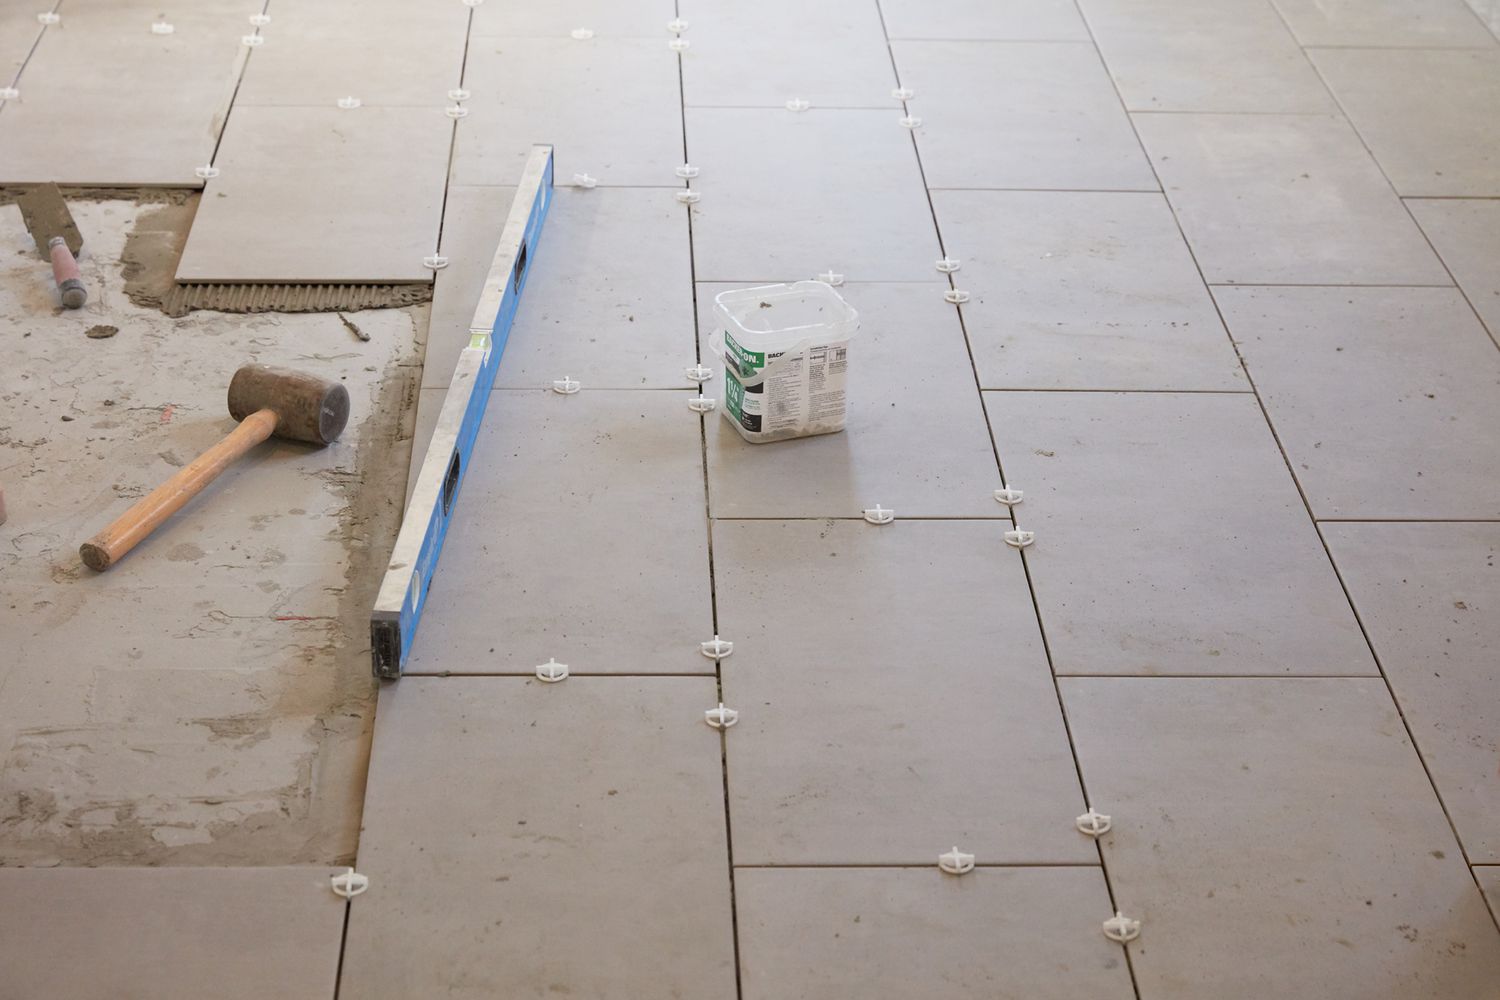
Grouting and Sealing
As the installation of replacement tiles breathes new life into your outdoor table top, the next critical step in the restoration process is grouting and sealing. These essential tasks not only enhance the visual appeal of the table but also contribute to its structural integrity and longevity, safeguarding it against the elements and everyday wear and tear.
Here’s a comprehensive guide to effectively grouting and sealing the newly installed tiles:
- Mix the Grout: Prepare the grout according to the manufacturer’s instructions, ensuring a smooth and consistent texture that is suitable for the grout joint width and the overall aesthetic of the table.
- Apply the Grout: Using a grout float, apply the mixed grout to the spaces between the tiles, working at a diagonal angle to ensure thorough coverage and compacting the grout into the joints. Remove excess grout from the tile surfaces using the edge of the grout float at a 45-degree angle.
- Clean the Tiles: Once the grout has set for a brief period as per the manufacturer’s recommendations, use a damp sponge to gently clean the tile surfaces, removing any grout haze and smoothing the grout lines for a clean, polished appearance.
- Seal the Grout: After allowing the grout to fully cure, apply a high-quality grout sealer to protect the grout from moisture, staining, and discoloration. Use a brush or applicator to evenly distribute the sealer over the grout lines, ensuring comprehensive coverage and absorption.
- Buff and Polish: Once the grout sealer has been applied, buff the tile surfaces with a clean, dry cloth to remove any residual sealer and achieve a lustrous, polished finish. This final touch will enhance the overall aesthetic appeal of the table and protect the grout from potential blemishes.
By meticulously following these steps, you’ll expertly grout and seal the newly installed tiles, elevating the visual allure and durability of your outdoor table top. The grouting and sealing process serves as the crowning touch, ensuring that your restored table is not only visually captivating but also resilient and ready to withstand the rigors of outdoor living.
Final Touches and Maintenance
With the meticulous restoration of your outdoor tile table top nearing completion, it’s time to add the final touches that will elevate its allure and ensure its long-term resilience. These concluding steps, coupled with ongoing maintenance practices, will preserve the beauty and functionality of your table, allowing you to relish its charm for years to come.
Here’s a comprehensive guide to the final touches and maintenance of your revitalized outdoor table:
- Inspect and Touch Up: Carefully inspect the entire table top, ensuring that the grout lines are uniform, the tiles are securely in place, and the overall surface is free from imperfections. Touch up any minor irregularities or blemishes to achieve a flawless finish.
- Enhance with Accessories: Consider embellishing your table with decorative accessories such as a vibrant tablecloth, potted plants, or ambient lighting to accentuate its visual appeal and create an inviting outdoor ambiance.
- Establish a Maintenance Routine: Implement a regular maintenance routine to preserve the pristine condition of your outdoor table. This may include periodic cleaning, resealing of grout as needed, and protecting the table from prolonged exposure to harsh weather conditions.
- Protective Cover: Invest in a quality protective cover designed for outdoor furniture to shield your table from the elements during inclement weather or extended periods of non-use. This simple measure can significantly extend the lifespan of your table.
- Enjoy and Appreciate: Finally, take the time to bask in the beauty of your restored outdoor table. Whether it’s hosting al fresco gatherings, savoring quiet moments with a cup of tea, or simply admiring its elegance, allow yourself to fully appreciate the fruits of your labor and the enduring charm of your outdoor living space.
By embracing these final touches and committing to a proactive maintenance regimen, you’ll ensure that your outdoor tile table continues to exude its enchanting allure and remains a cherished centerpiece of your outdoor sanctuary. With a blend of attentive care and a touch of personal flair, your restored table will stand as a testament to the enduring beauty of outdoor living.
Frequently Asked Questions about How To Repair An Outdoor Tile Table Top
Was this page helpful?
At Storables.com, we guarantee accurate and reliable information. Our content, validated by Expert Board Contributors, is crafted following stringent Editorial Policies. We're committed to providing you with well-researched, expert-backed insights for all your informational needs.

0 thoughts on “How To Repair An Outdoor Tile Table Top”