Home>Furniture & Design>Outdoor Furniture>How To Clean Outdoor Tiles
Outdoor Furniture
How To Clean Outdoor Tiles
Modified: February 18, 2024
Learn how to effectively clean outdoor tiles and maintain the beauty of your outdoor furniture with our expert tips and advice. Keep your outdoor space looking fresh and inviting.
(Many of the links in this article redirect to a specific reviewed product. Your purchase of these products through affiliate links helps to generate commission for Storables.com, at no extra cost. Learn more)
Introduction
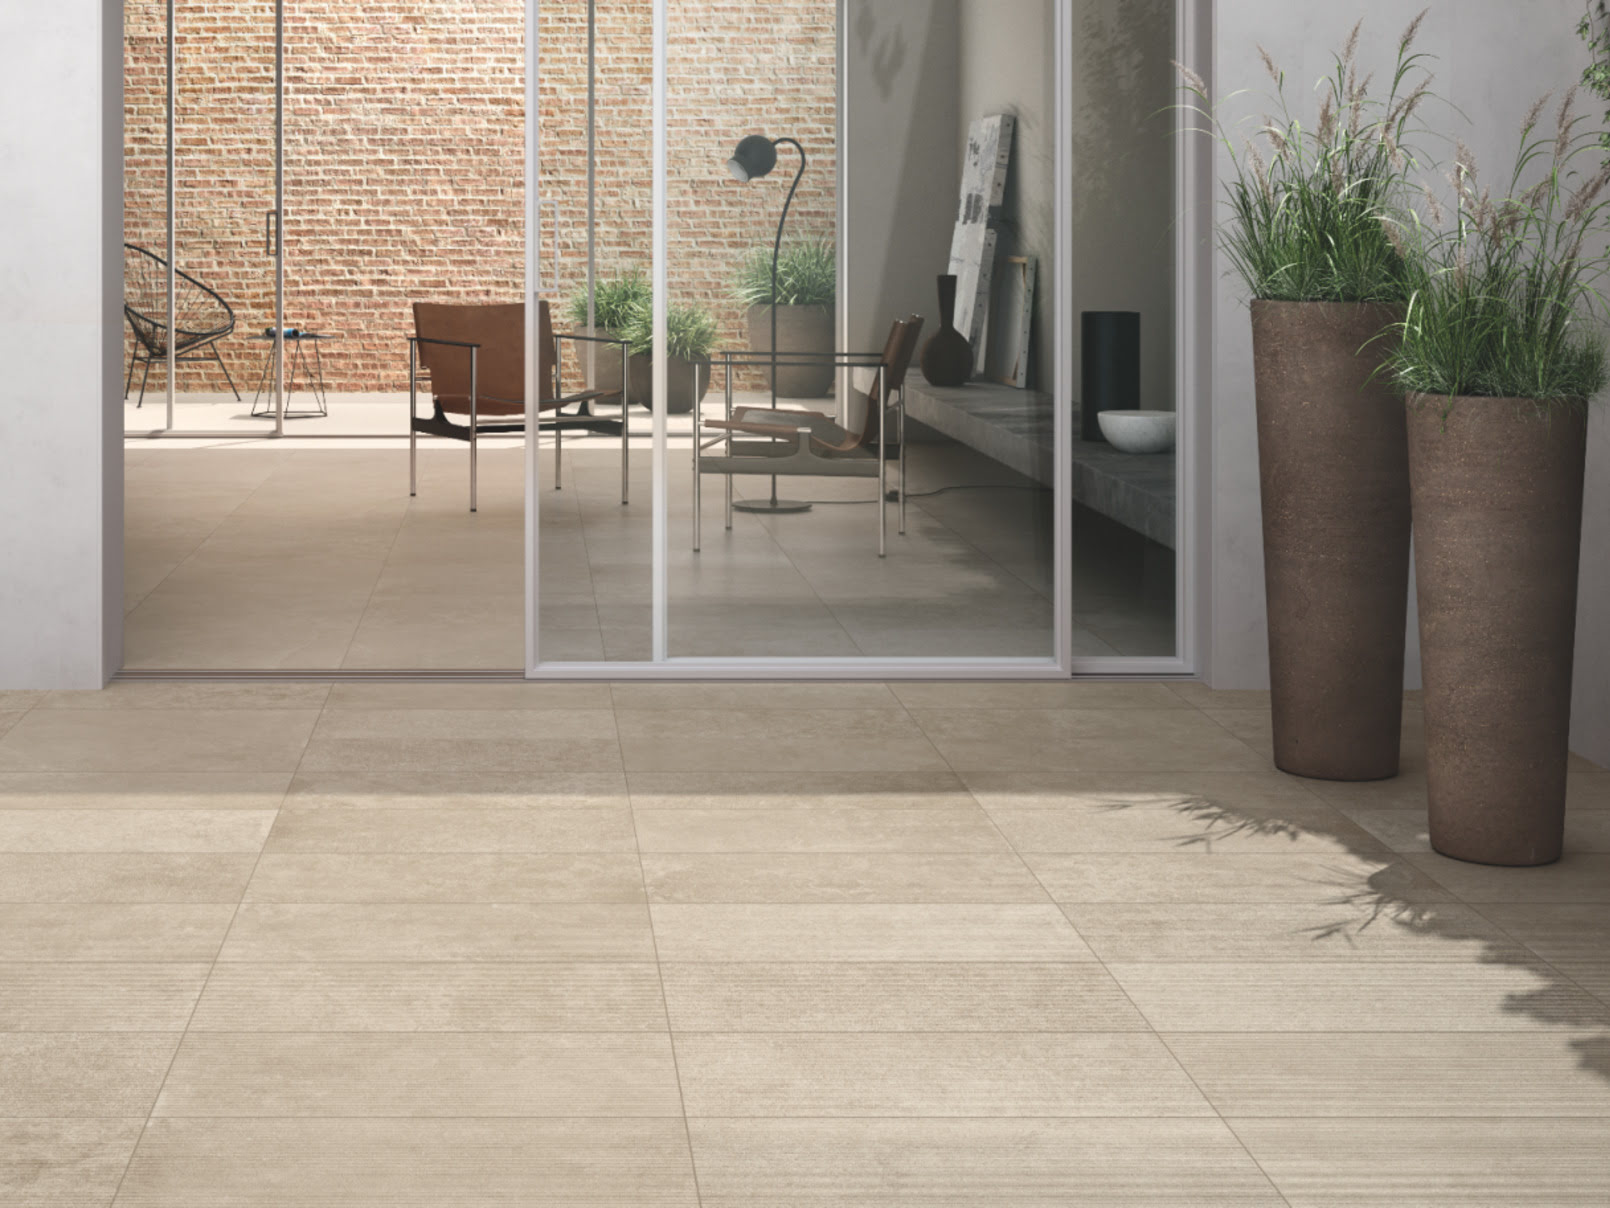
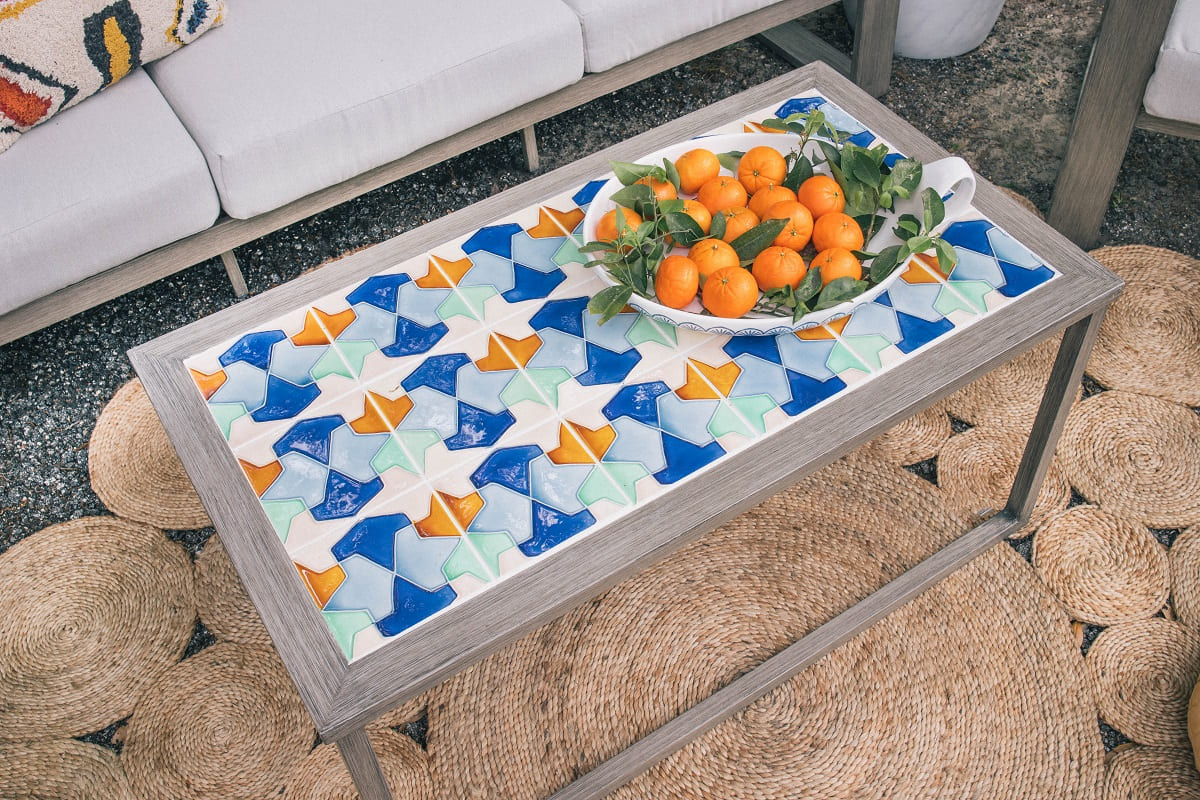
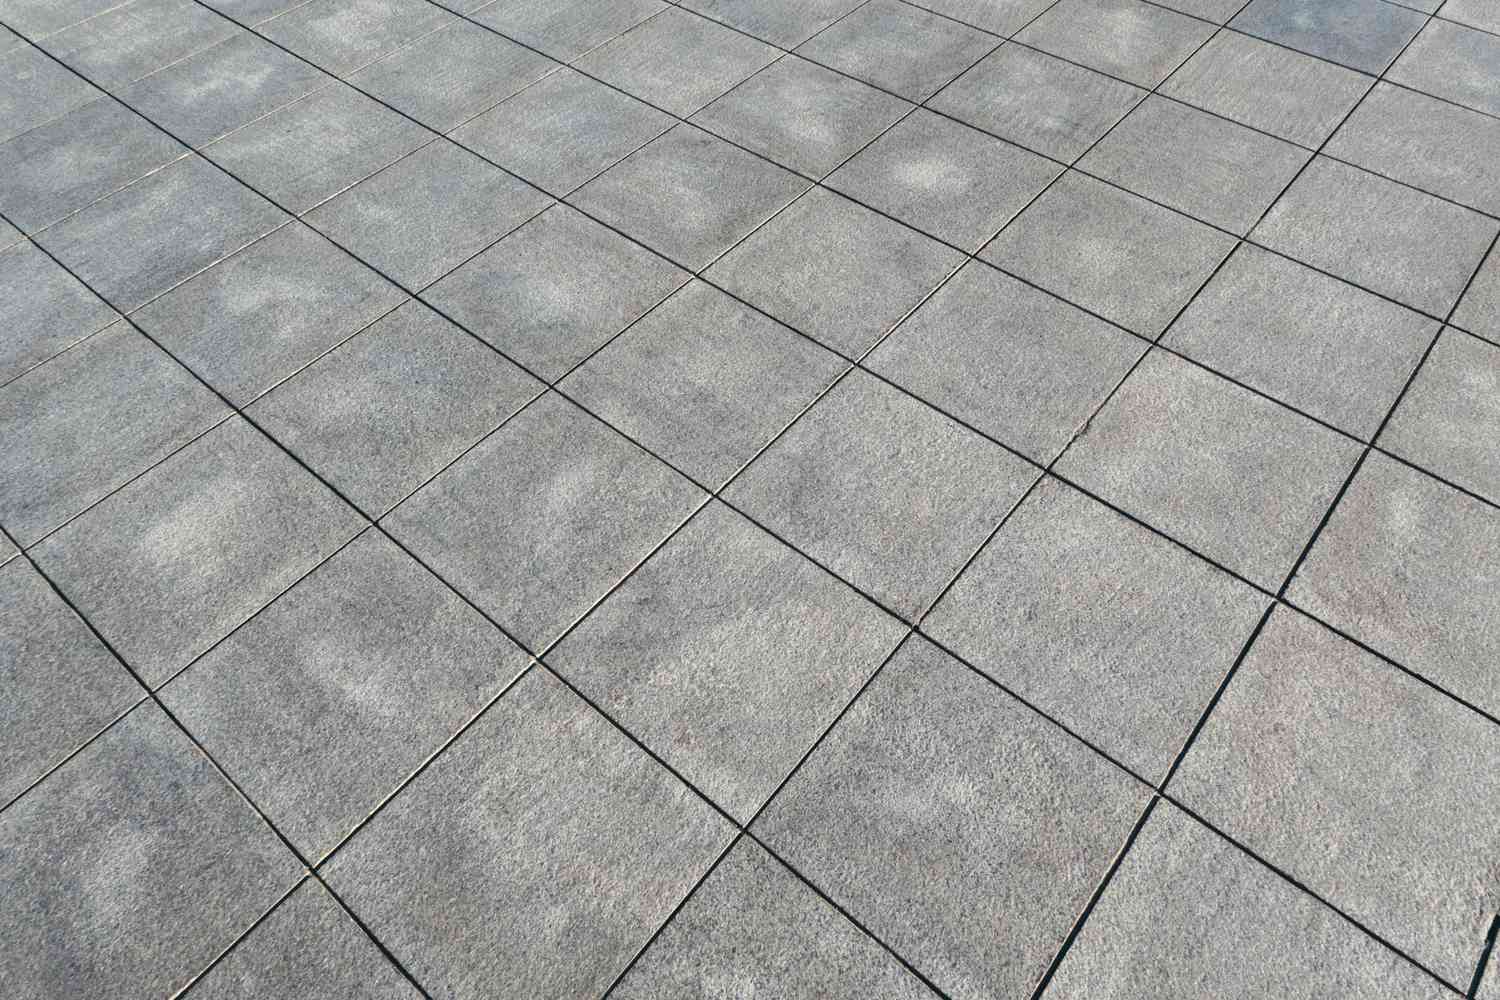
Maintaining the beauty and longevity of your outdoor tiles is essential for creating an inviting and aesthetically pleasing outdoor space. Whether you have a patio, deck, or garden pathway adorned with tiles, regular cleaning is crucial to preserve their pristine appearance and prevent deterioration due to environmental elements. Fortunately, with the right supplies and a systematic approach, you can easily restore the luster of your outdoor tiles and keep them looking their best for years to come.
In this comprehensive guide, we will walk you through the step-by-step process of cleaning outdoor tiles, from gathering the necessary supplies to sealing the tiles for added protection. By following these instructions, you can revitalize your outdoor living area and elevate its visual appeal. Let's delve into the details of this rejuvenating endeavor, ensuring that your outdoor tiles remain a source of pride and enjoyment for you and your guests.
Key Takeaways:
- Regularly cleaning and sealing outdoor tiles with simple supplies like vinegar and mild detergent can restore their beauty and protect them from damage, ensuring a stunning outdoor space for years to come.
- By following a step-by-step cleaning process and diligently rinsing and drying the tiles, you can revitalize your outdoor tiles and enjoy a pristine and inviting outdoor living area.
Read more: How To Clean Outdoor Ceramic Tiles
Supplies Needed
Before embarking on the task of cleaning your outdoor tiles, it’s essential to gather the necessary supplies to ensure a thorough and effective cleaning process. Here’s a list of items you’ll need:
- Broom: A sturdy broom is essential for sweeping away loose debris and dirt from the surface of the tiles.
- Outdoor Brush: An outdoor brush with stiff bristles is ideal for scrubbing stubborn stains and grime from the tiles.
- Mild Detergent: Opt for a gentle, pH-neutral detergent specifically formulated for outdoor surfaces to avoid damaging the tiles.
- Vinegar: White vinegar is an excellent natural cleaner that can help dissolve mineral deposits and grime from the tiles.
- Bucket: A large bucket will be useful for mixing the cleaning solution and transporting water to the cleaning area.
- Water: Access to a water source, such as a garden hose or outdoor faucet, is necessary for rinsing the tiles after cleaning.
- Protective Gear: Depending on the cleaning agents used, protective gear such as gloves and safety goggles may be required to ensure personal safety.
- Sealer: If your outdoor tiles are porous, a quality tile sealer will provide an additional layer of protection against stains and moisture infiltration.
- Soft Cloth or Mop: A soft cloth or mop can be used for applying the cleaning solution and sealer to the tiles.
By having these supplies on hand, you’ll be well-equipped to tackle the task of cleaning and maintaining your outdoor tiles, ensuring that they remain a source of beauty and functionality in your outdoor living space.
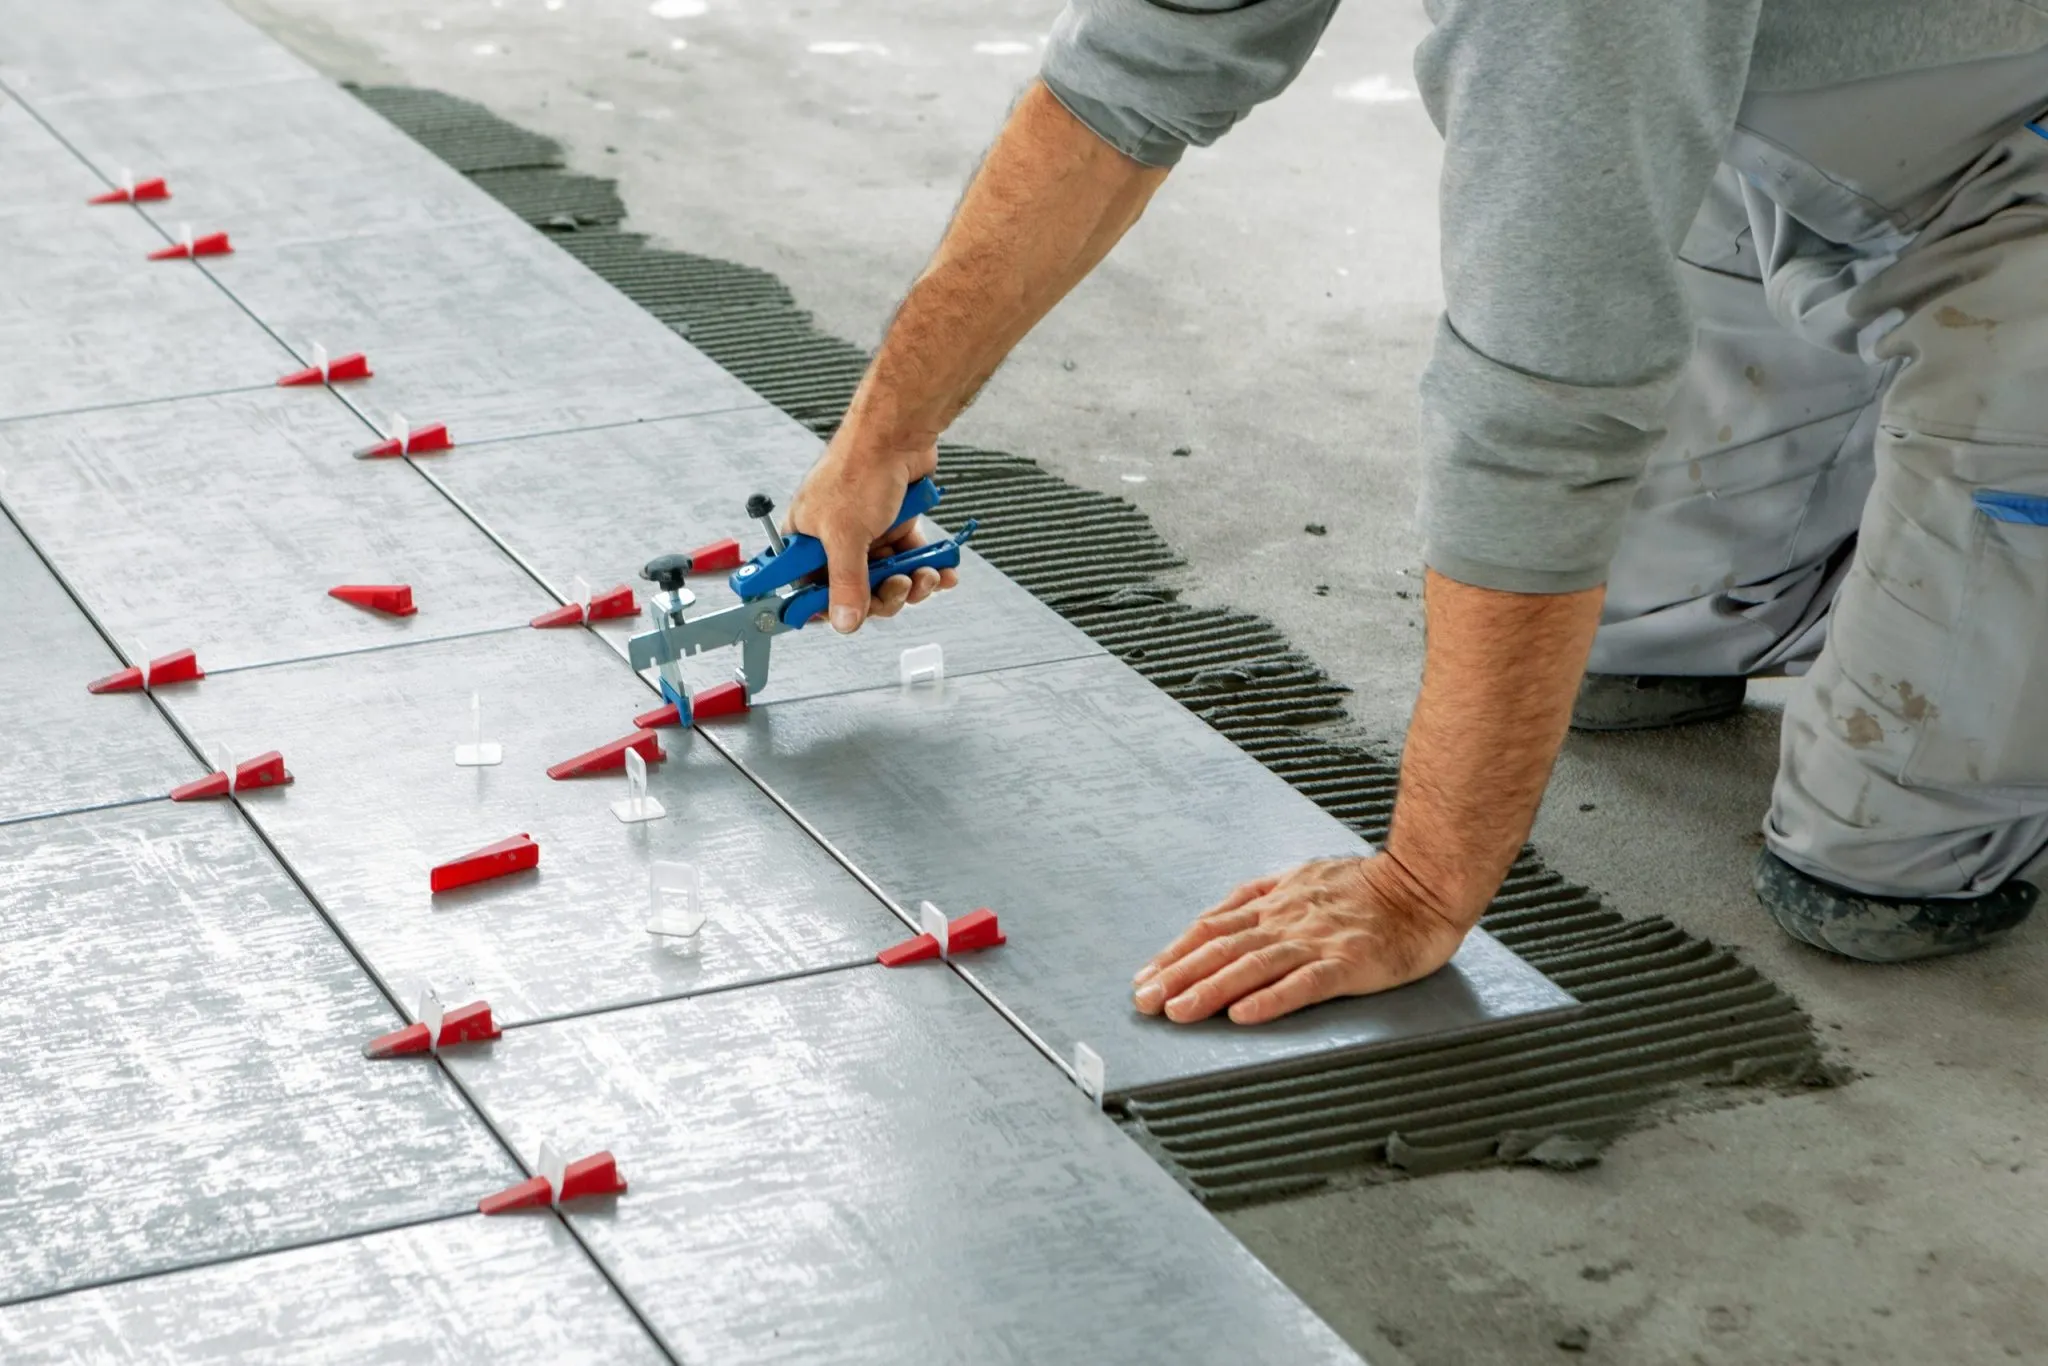
Preparing the Outdoor Tiles
Before diving into the cleaning process, it’s important to prepare the outdoor tiles to optimize the effectiveness of the cleaning solution and ensure a thorough cleaning outcome. Here are the essential steps to prepare the tiles:
- Clear the Surface: Begin by removing any furniture, planters, or decorative items from the tiled area. This will provide unobstructed access to the entire surface, allowing for comprehensive cleaning.
- Sweep the Area: Use a broom to sweep the tiles and remove loose debris, leaves, and dirt. Pay close attention to corners and crevices where debris tends to accumulate.
- Pre-Rinse the Tiles: If the tiles are heavily soiled or covered in a layer of grime, a preliminary rinse with water can help loosen and dislodge surface dirt, making the subsequent cleaning process more effective.
- Test the Cleaning Solution: If you’re using a new cleaning product or detergent, perform a small patch test in an inconspicuous area to ensure that it doesn’t cause discoloration or damage to the tiles.
- Protect Surrounding Areas: If there are adjacent surfaces or landscaping features that you want to shield from the cleaning solution, consider using protective coverings or barriers to prevent overspray or runoff.
By meticulously preparing the outdoor tiles and their surroundings, you’ll set the stage for a successful and efficient cleaning process. These preparatory steps will help streamline the subsequent cleaning tasks and contribute to achieving a pristine and revitalized tiled surface.
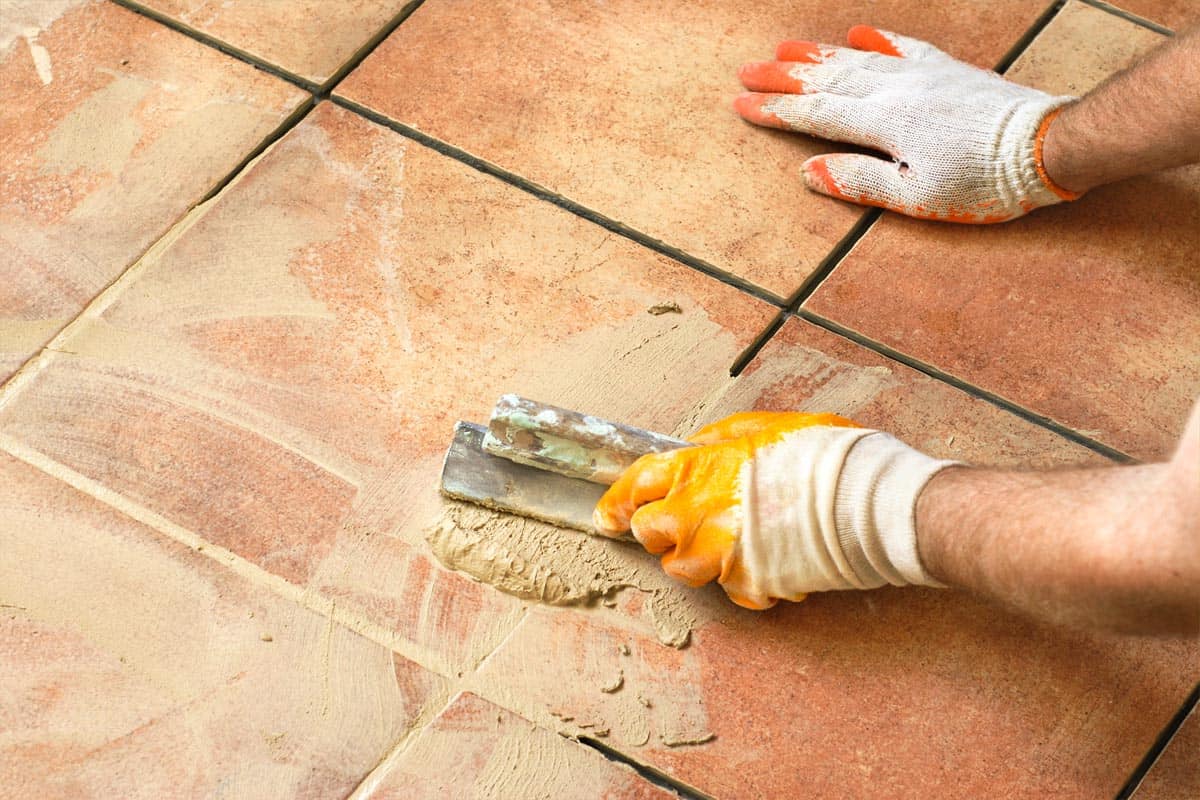
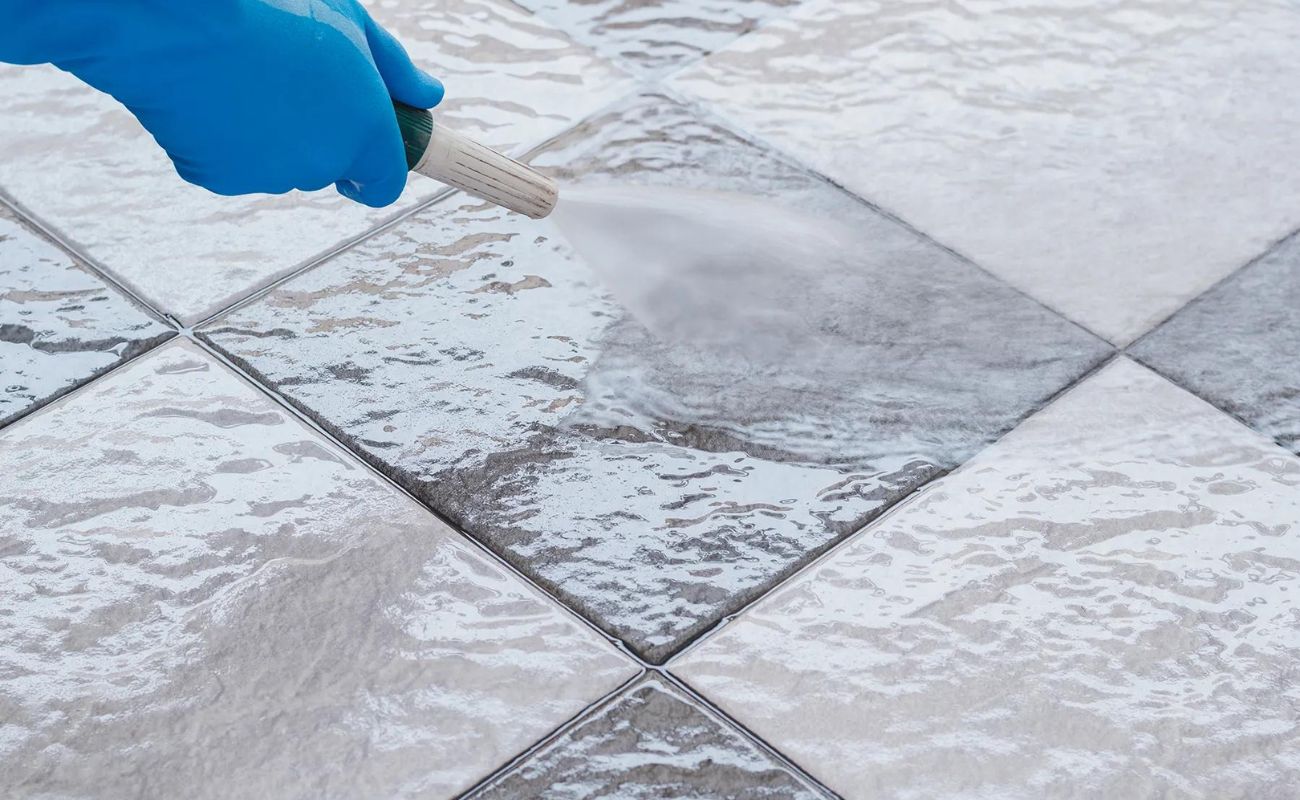
Cleaning the Outdoor Tiles
With the outdoor tiles properly prepared, it’s time to embark on the cleaning process to remove ingrained dirt, stains, and environmental residue. Follow these steps to achieve a thorough cleaning of your outdoor tiles:
- Create the Cleaning Solution: In a bucket, mix a mild detergent with water to create a cleaning solution. Alternatively, you can use a solution of white vinegar and water for a natural and effective cleaning agent.
- Apply the Cleaning Solution: Using a soft cloth or mop, apply the cleaning solution to the tiles, working in manageable sections. Allow the solution to sit on the surface for a few minutes to penetrate and loosen the dirt and grime.
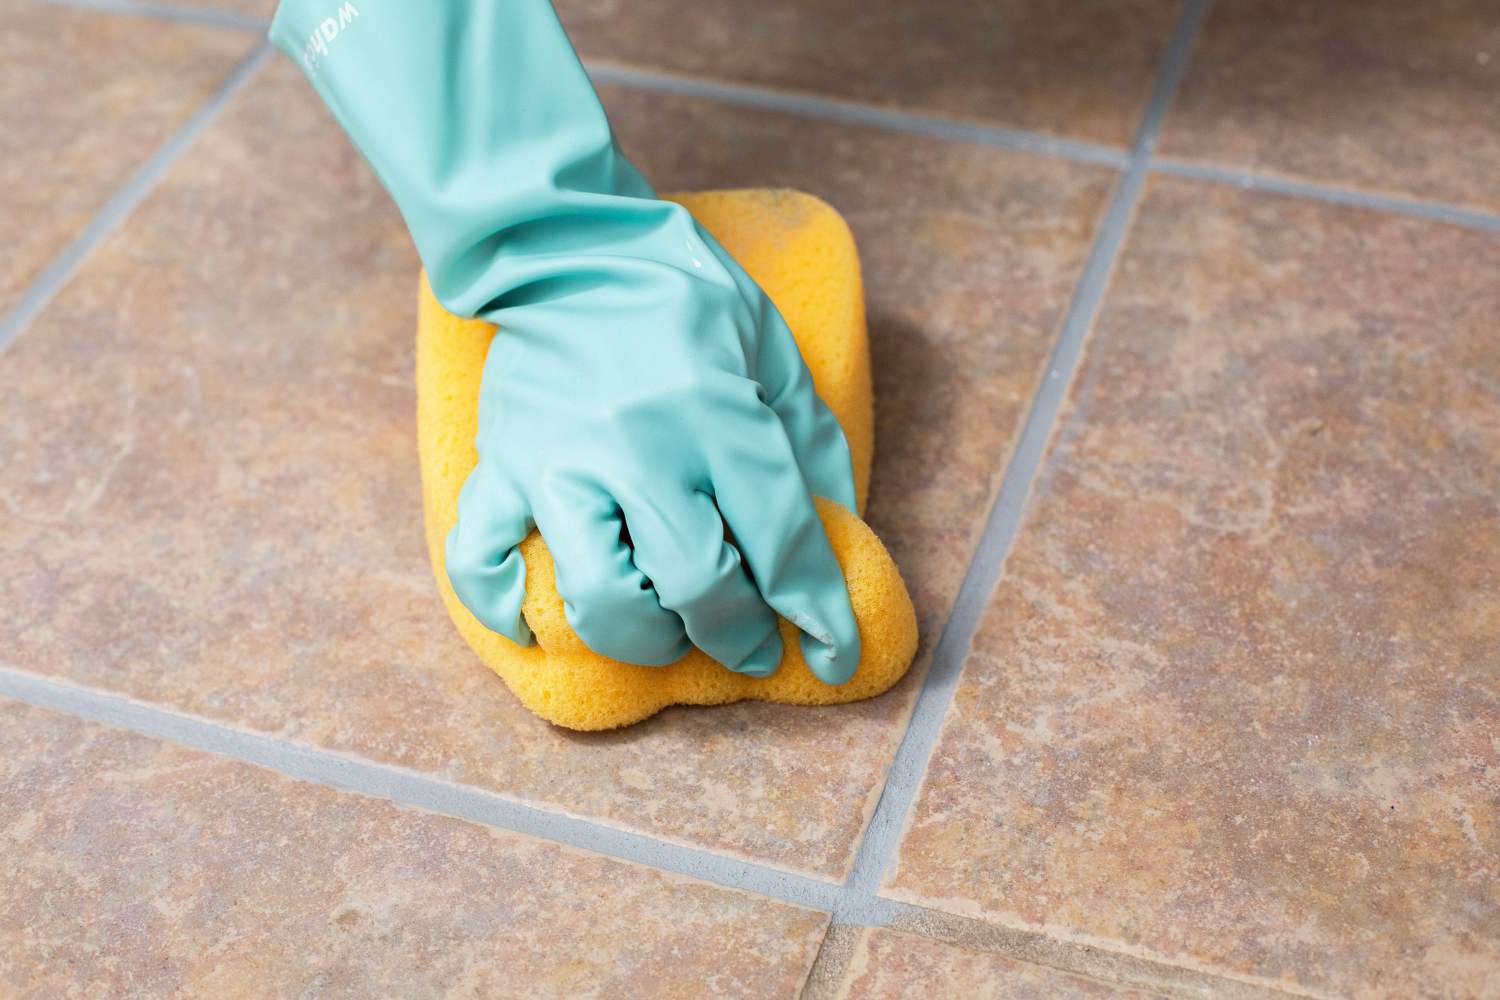
- Scrub the Tiles: With an outdoor brush or scrubbing tool, work the cleaning solution into the tiles, focusing on areas with stubborn stains or discoloration. Use a circular motion to dislodge dirt and ensure even coverage.
- Address Grout Lines: Pay special attention to the grout lines between the tiles, as they can accumulate dirt and mildew. Use a grout brush or an old toothbrush to scrub the grout and remove any embedded debris.
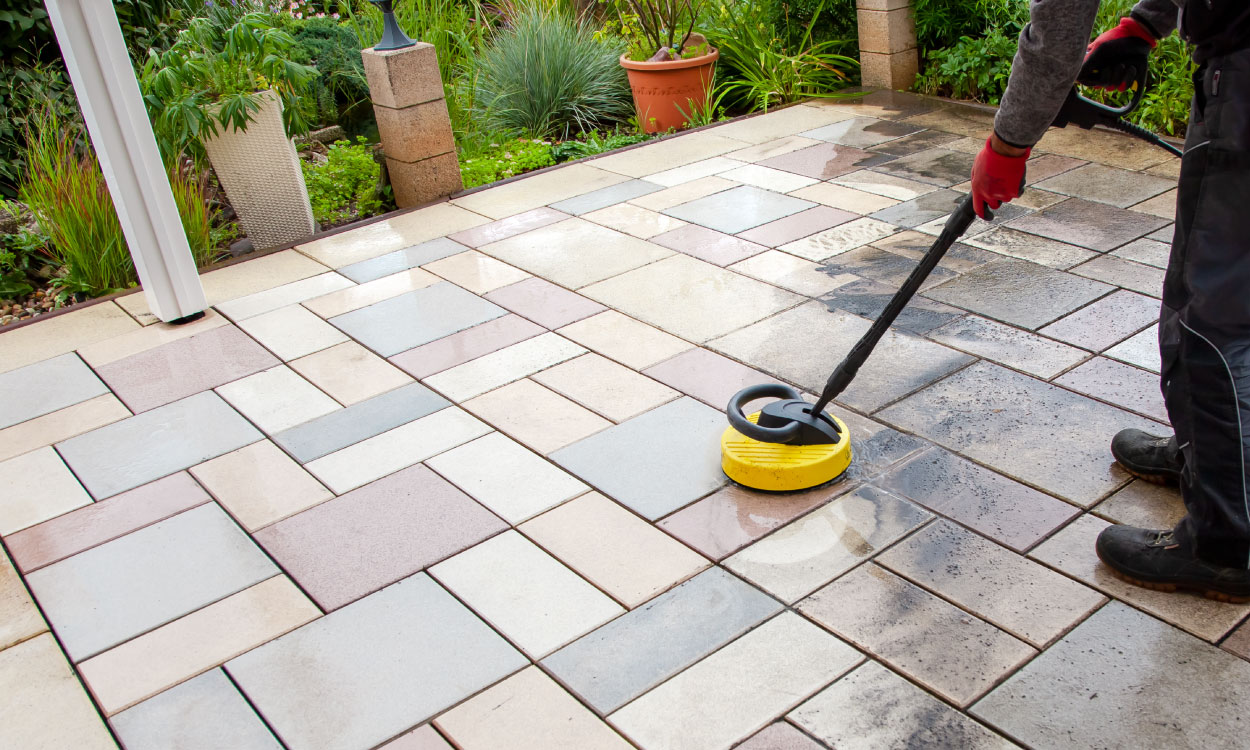
- Rinse Thoroughly: Once the tiles have been scrubbed and the dirt has been lifted, thoroughly rinse the entire area with clean water. A garden hose or pressure washer can be used to ensure complete removal of the cleaning solution and loosened grime.
- Inspect for Remaining Stains: After the initial cleaning and rinsing, inspect the tiles for any remaining stains or areas that require further attention. Spot-treat stubborn stains with a targeted application of the cleaning solution and gentle scrubbing.
By diligently following these steps, you can effectively lift dirt, stains, and grime from your outdoor tiles, restoring their original luster and enhancing the overall appearance of your outdoor living space. The cleaning process sets the stage for the final steps of rinsing, drying, and sealing the tiles for long-lasting protection and beauty.
Use a mixture of warm water and mild dish soap to scrub outdoor tiles with a stiff brush. Rinse with clean water and allow to air dry. Avoid using harsh chemicals that can damage the tiles.
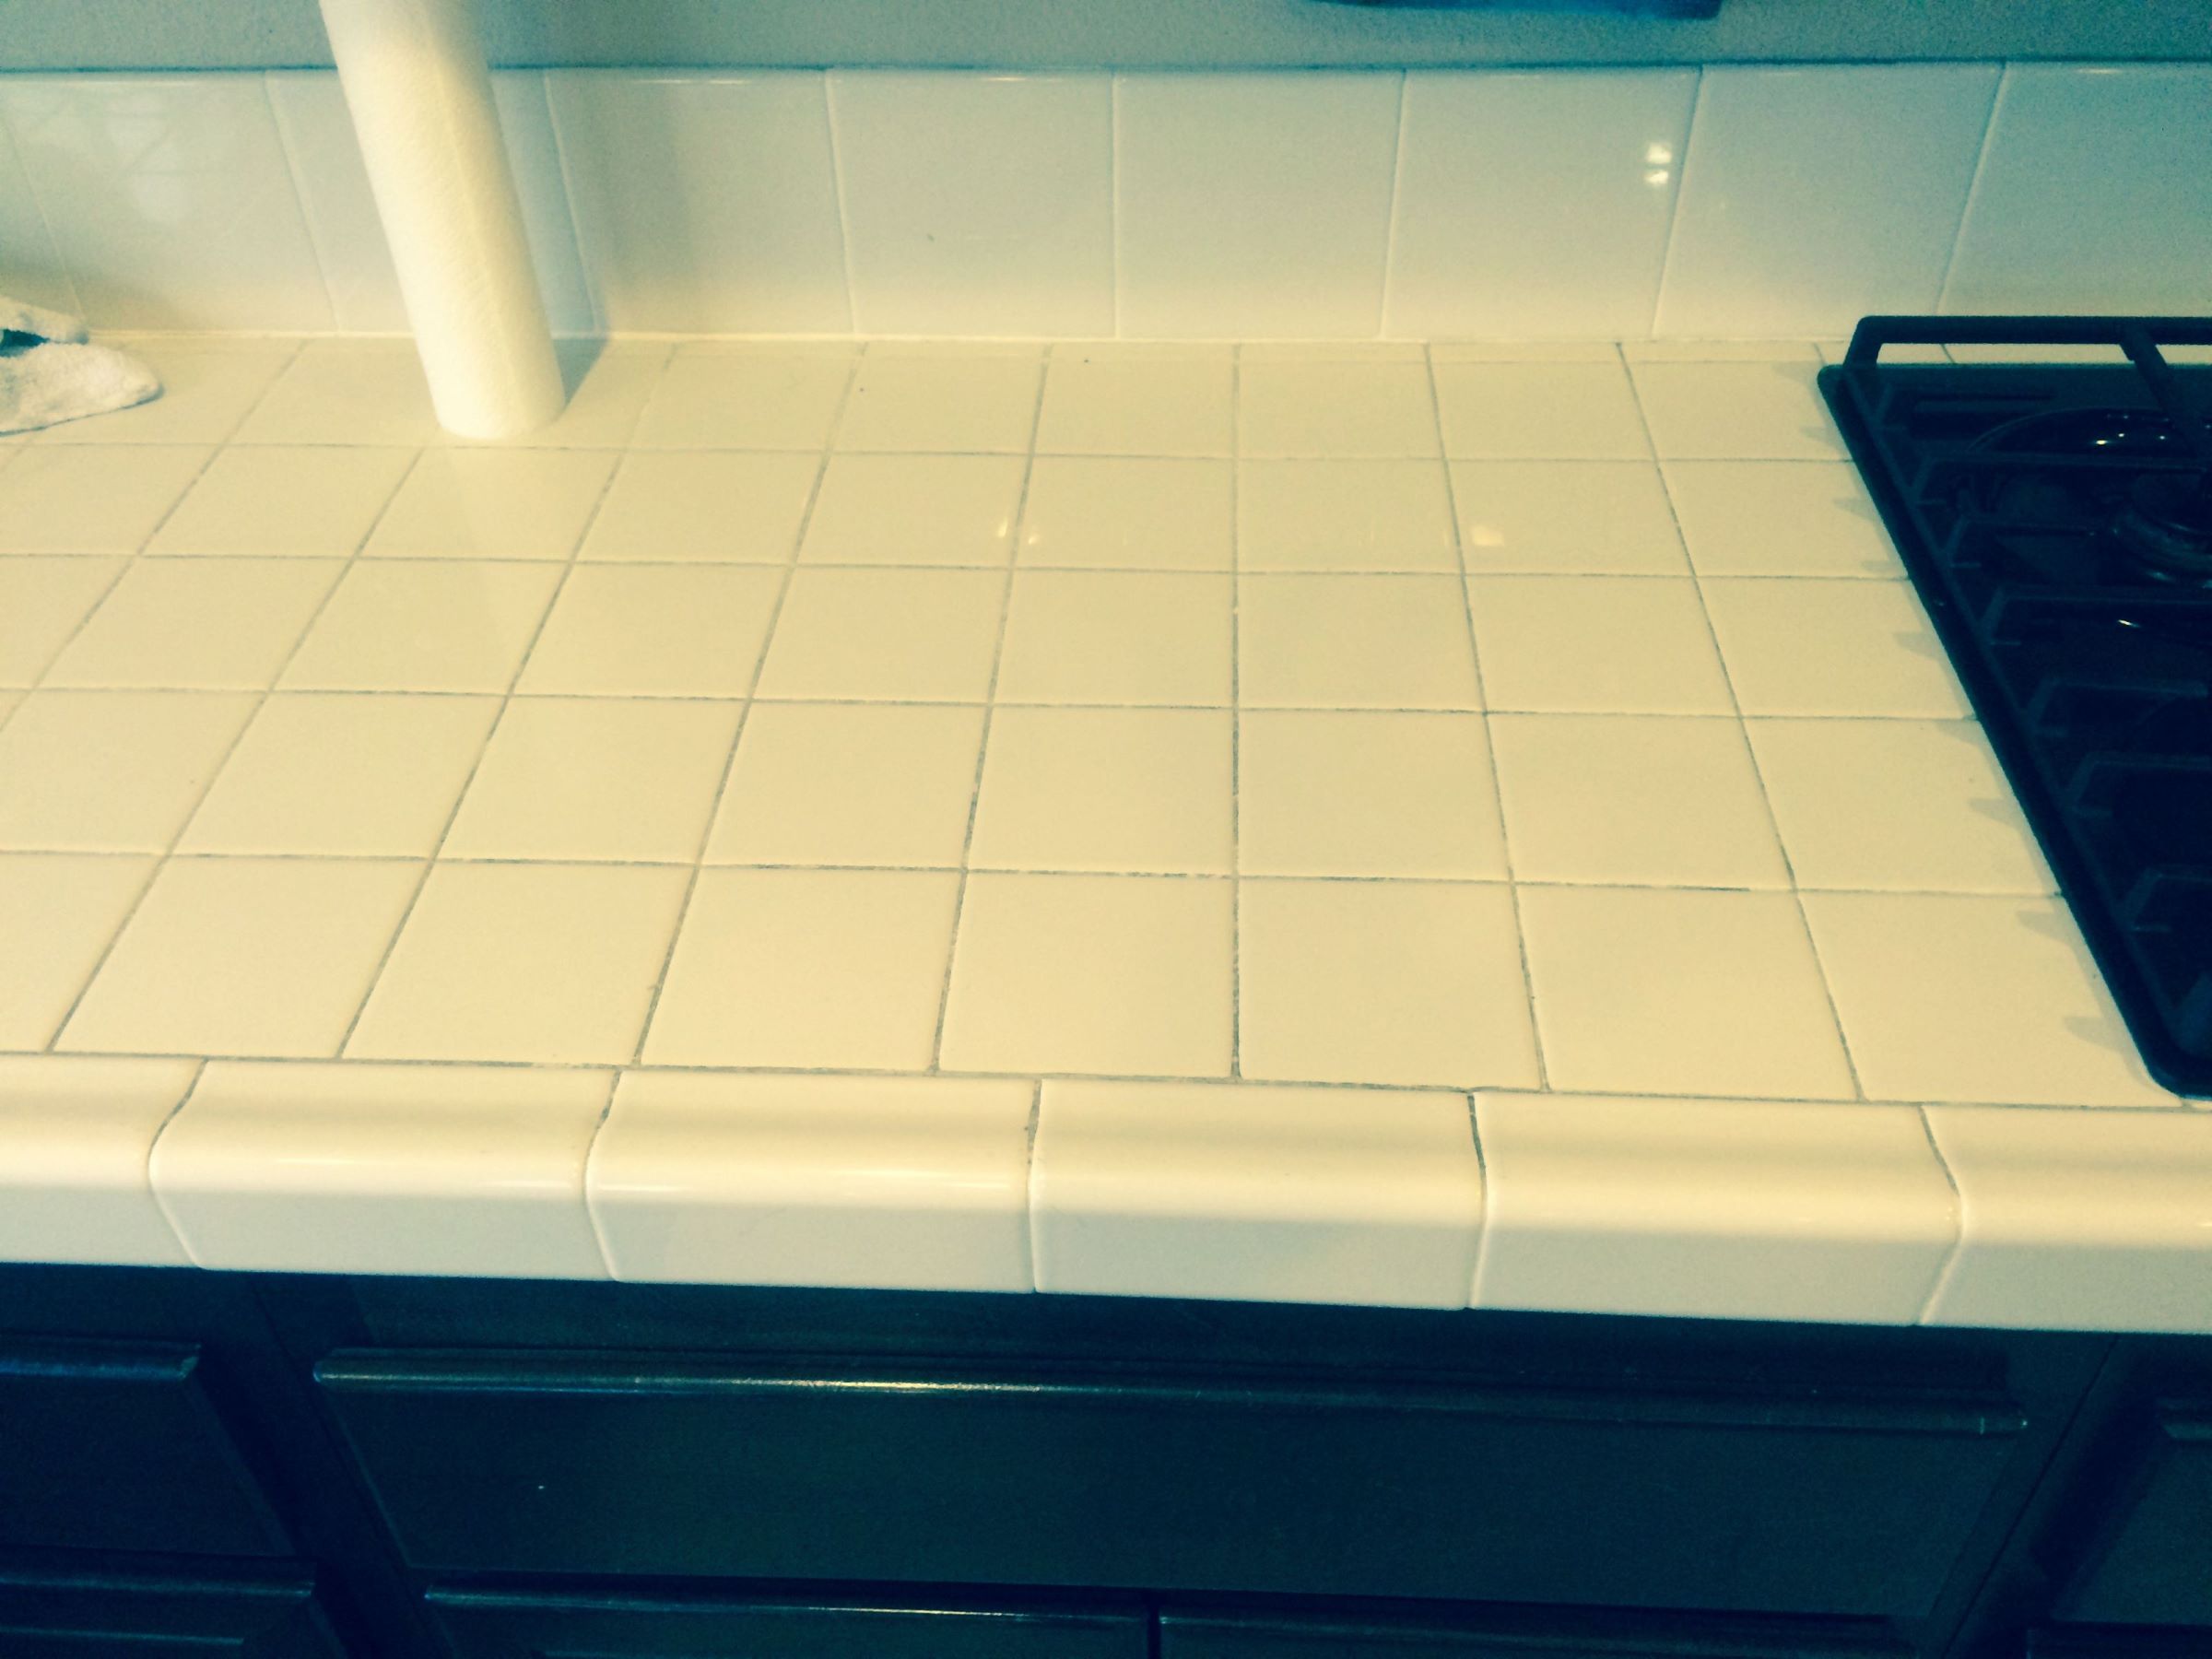
Rinsing and Drying the Tiles
After the thorough cleaning process, it’s crucial to properly rinse and dry the outdoor tiles to remove any residual cleaning solution and prevent water spots or streaks. Follow these steps to ensure the tiles are impeccably clean and ready for the final sealing stage:
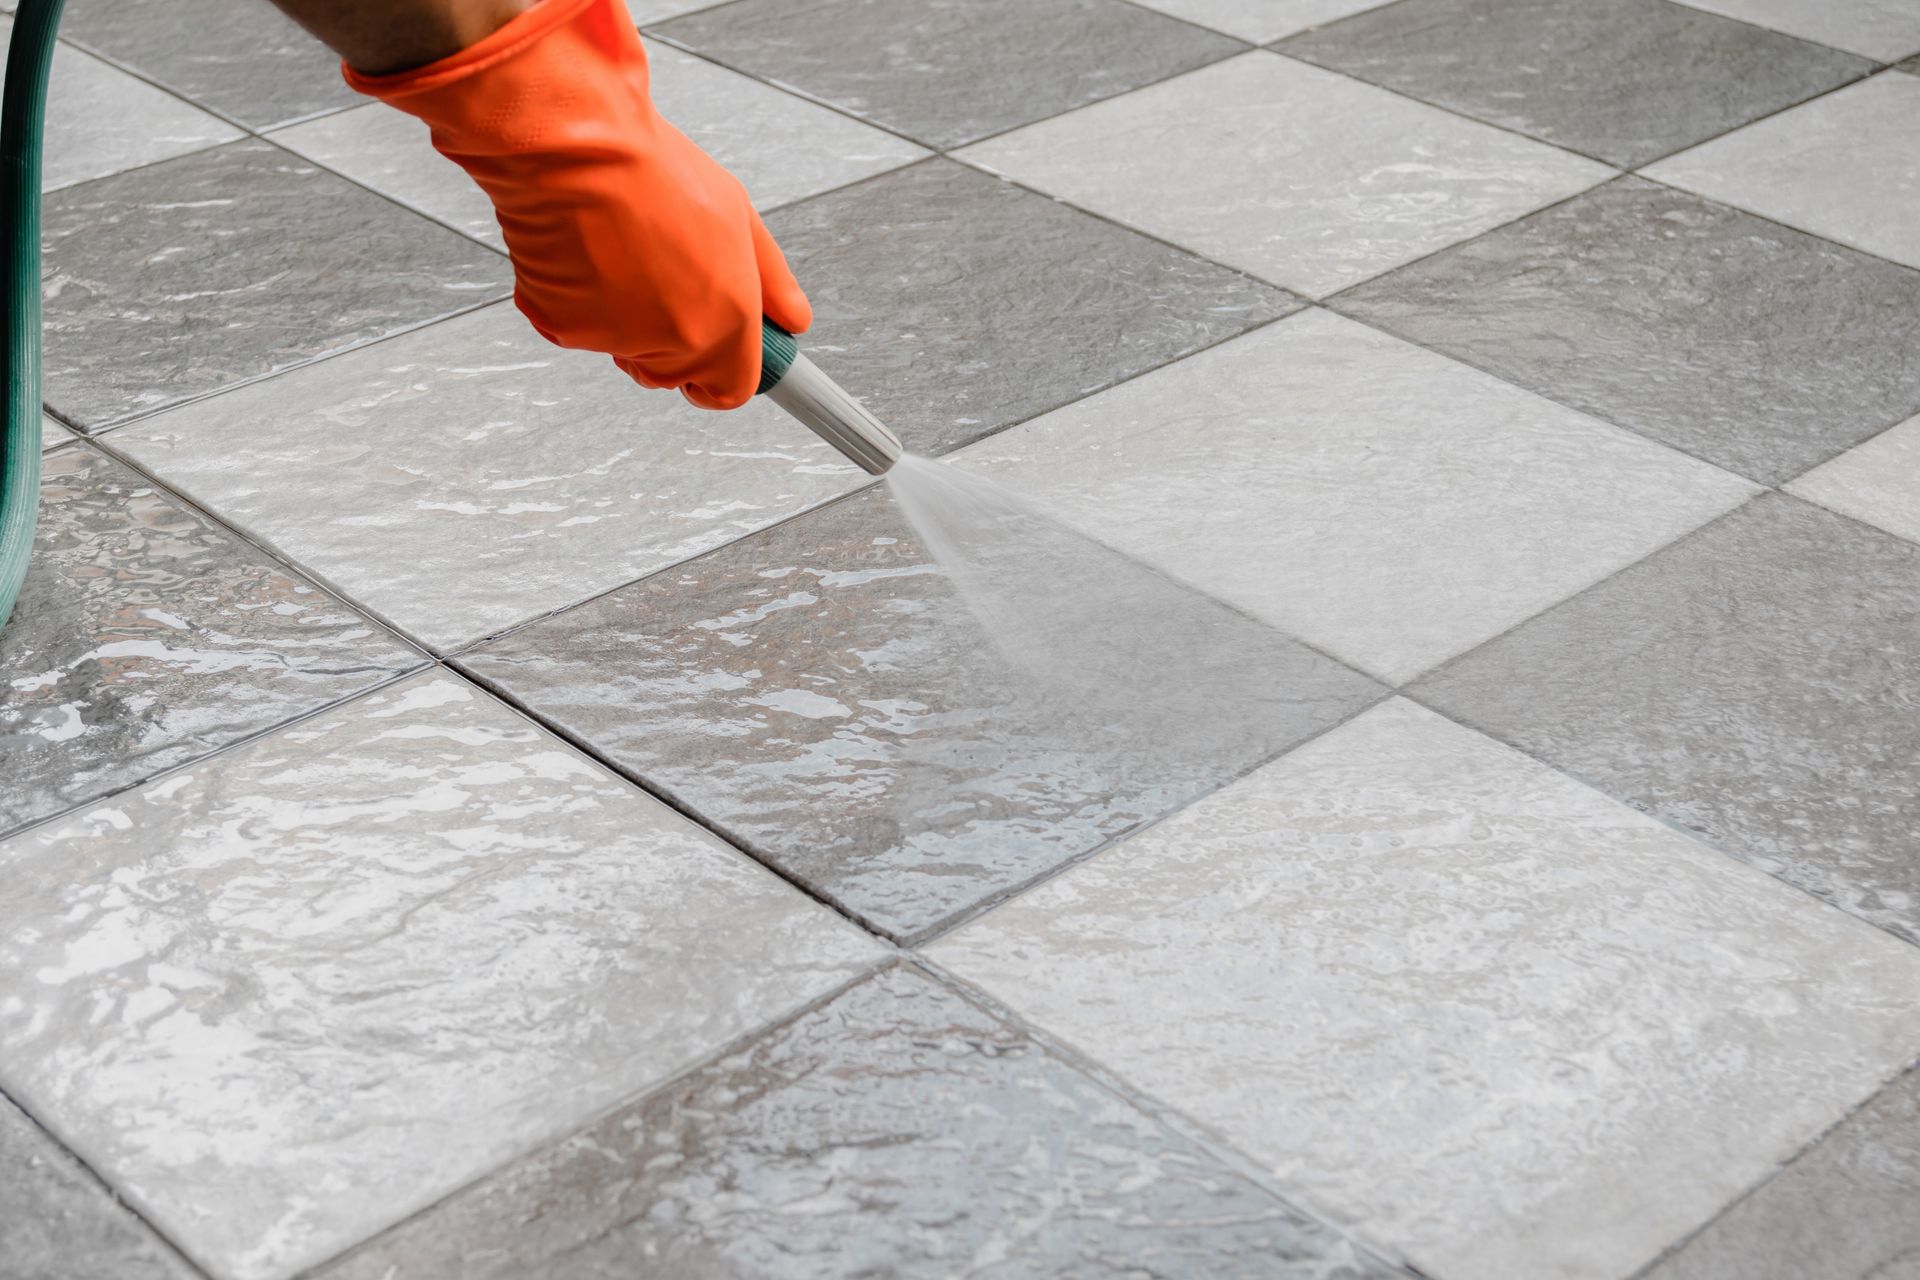
- Rinse with Water: Utilize a garden hose or a bucket of clean water to thoroughly rinse the entire tiled area. Ensure that all traces of the cleaning solution and dislodged grime are completely washed away.
- Check for Residue: Inspect the tiles to confirm that no cleaning solution residue or dirt remains on the surface. Pay attention to corners, edges, and textured areas where water and residue may linger.
- Dry the Tiles: Using a soft, absorbent towel or a squeegee, carefully dry the tiles to prevent water spots and promote a streak-free finish. If the outdoor tiles are located in a sunny area, natural air drying can also be effective.
- Avoid High-pressure Drying: Refrain from using high-pressure air or water to dry the tiles, as this can force water and debris into grout lines or damage the tile surface.
- Inspect for Lingering Stains: Once the tiles are dry, examine the surface for any remaining stains or discoloration. Address any persistent stains with targeted spot cleaning using a mild cleaning solution and gentle scrubbing.
By meticulously rinsing and drying the outdoor tiles, you’ll ensure that they are free from cleaning solution residue, water spots, and streaks, resulting in a clean and pristine surface. This meticulous attention to detail sets the stage for the final step of sealing the tiles to safeguard them against future staining and deterioration.
Read more: How To Clean Outdoor Patio Tiles
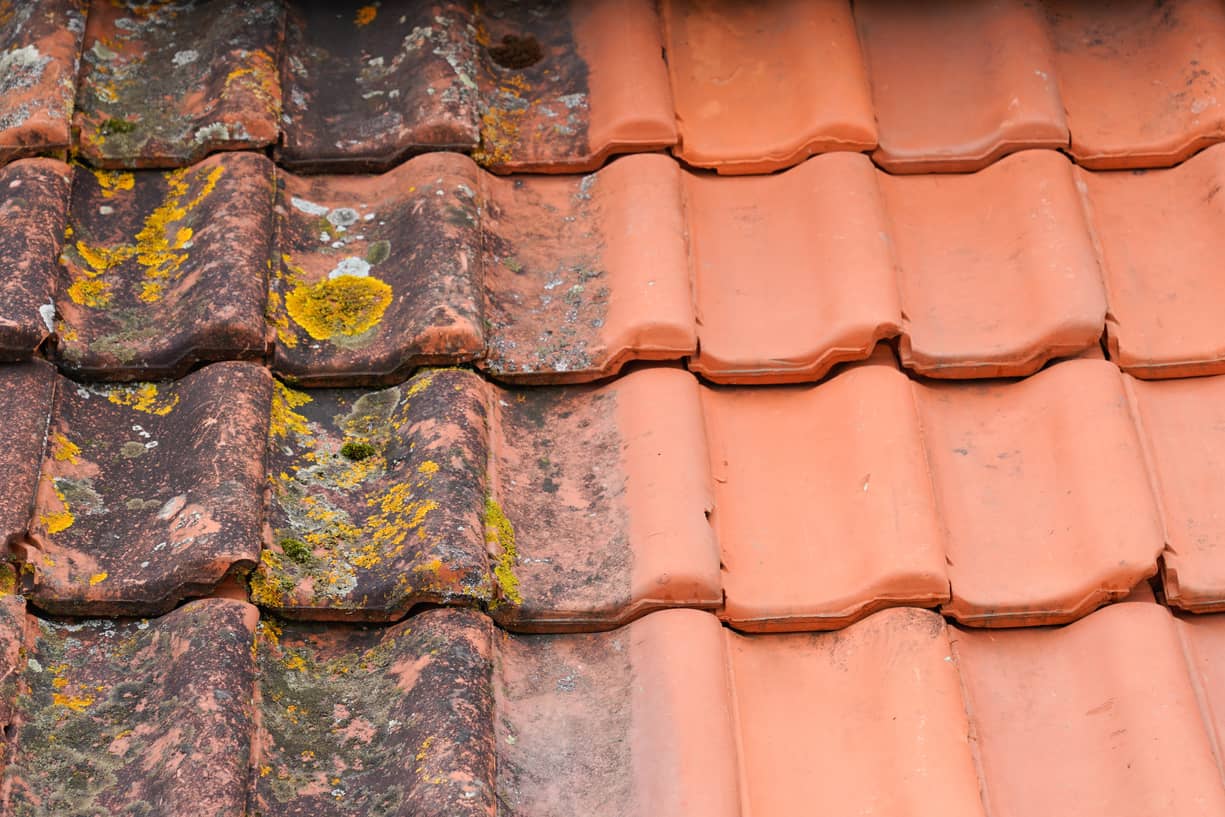
Sealing the Outdoor Tiles
Sealing your outdoor tiles is a crucial step in preserving their appearance and safeguarding them against the damaging effects of moisture, stains, and environmental elements. Whether your tiles are made of natural stone, ceramic, or porcelain, applying a quality sealer can enhance their longevity and protect their pristine finish. Follow these steps to effectively seal your outdoor tiles:
- Choose the Right Sealer: Select a high-quality sealer specifically formulated for the type of tiles you have. Different tile materials may require different types of sealers, so it’s important to choose the appropriate product for optimal results.
- Clean the Tiles: Ensure that the tiles are thoroughly clean and dry before applying the sealer. Any remaining dirt or residue may interfere with the sealer’s ability to bond with the tile surface.
- Apply the Sealer: Using a clean, soft cloth or a paint roller designed for smooth surfaces, apply the sealer evenly to the tiles. Work in small sections to ensure thorough coverage and avoid pooling of the sealer.
- Follow Manufacturer’s Instructions: Adhere to the manufacturer’s guidelines regarding the application and curing process for the sealer. Some sealers may require multiple coats or specific drying times between applications.
- Allow Adequate Drying Time: After applying the sealer, allow sufficient time for it to penetrate the tiles and cure. Avoid foot traffic or placing furniture on the tiles until the sealer has fully dried and set according to the manufacturer’s recommendations.
- Inspect and Reapply if Necessary: Once the initial coat of sealer has dried, inspect the tiles for uniform coverage. If any areas appear undersealed or absorbent, apply an additional coat of sealer to ensure comprehensive protection.
By diligently sealing your outdoor tiles, you provide them with a shield against moisture, stains, and wear, extending their lifespan and preserving their visual appeal. Regular reapplication of the sealer, as recommended by the manufacturer, will help maintain the tiles’ protective barrier and keep them looking their best for years to come.
Conclusion
Embarking on the journey to clean and maintain your outdoor tiles is a gratifying endeavor that yields a revitalized and inviting outdoor living space. By following the comprehensive steps outlined in this guide, you can effectively restore the beauty of your outdoor tiles and ensure their long-term durability. From gathering the essential supplies to meticulously cleaning, rinsing, and sealing the tiles, each step contributes to the overall rejuvenation of your outdoor area.
Regular maintenance and cleaning of outdoor tiles not only enhance their aesthetic appeal but also contribute to their resilience against the elements, prolonging their lifespan and minimizing the need for extensive repairs or replacements. With proper care and attention, your outdoor tiles can continue to serve as a stunning foundation for your outdoor gatherings, relaxation, and leisure activities.
As you revel in the renewed splendor of your outdoor tiles, take pride in the effort and dedication you’ve invested in preserving and enhancing your outdoor living space. With the right approach and a commitment to regular maintenance, you can enjoy the enduring beauty and functionality of your outdoor tiles for years to come.
So, roll up your sleeves, gather your supplies, and embark on the rewarding journey of revitalizing your outdoor tiles. The transformation that awaits will not only elevate the appearance of your outdoor space but also enrich your enjoyment of your outdoor oasis.
Frequently Asked Questions about How To Clean Outdoor Tiles
Was this page helpful?
At Storables.com, we guarantee accurate and reliable information. Our content, validated by Expert Board Contributors, is crafted following stringent Editorial Policies. We're committed to providing you with well-researched, expert-backed insights for all your informational needs.

0 thoughts on “How To Clean Outdoor Tiles”