Home>Furniture & Design>Living Room Furniture>How To Build An Outdoor Dining Table
Living Room Furniture
How To Build An Outdoor Dining Table
Modified: August 27, 2024
Learn how to build a stunning outdoor dining table with our expert tips and designs. Create the perfect addition to your living room furniture and design.
(Many of the links in this article redirect to a specific reviewed product. Your purchase of these products through affiliate links helps to generate commission for Storables.com, at no extra cost. Learn more)
Introduction
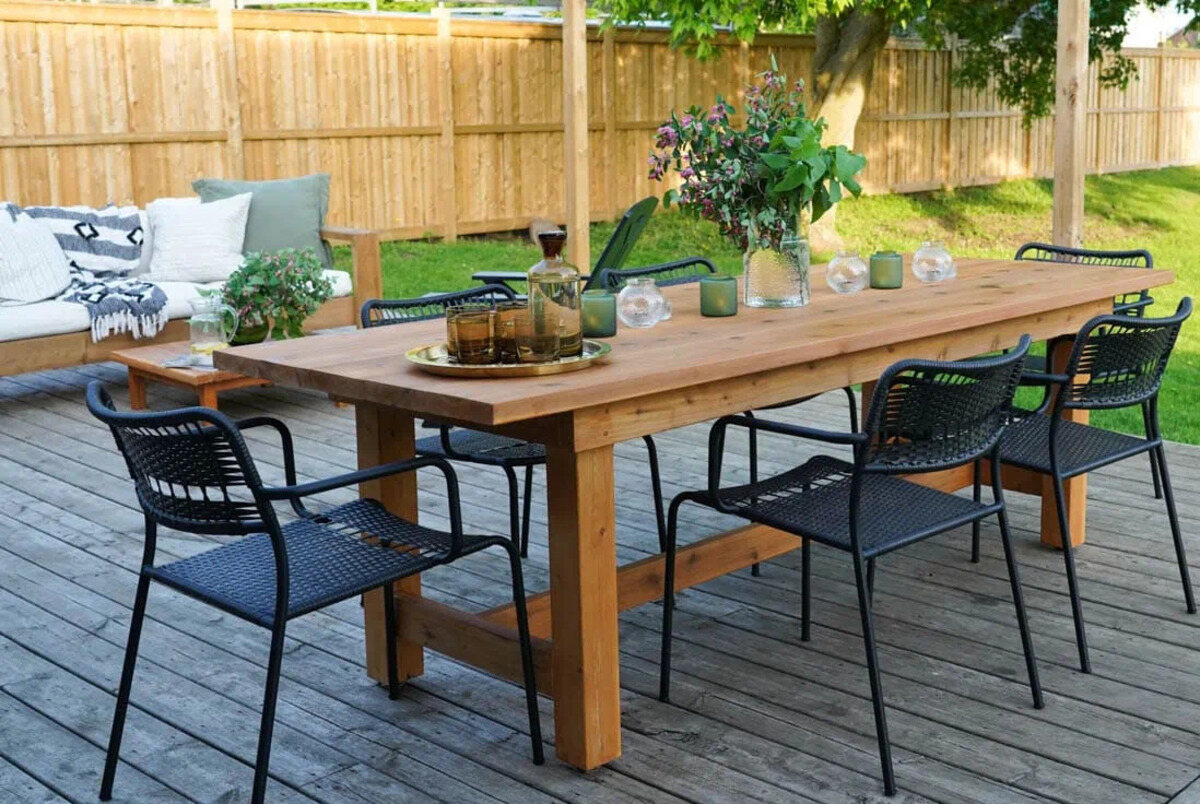
Welcome to the world of outdoor dining and the joy of crafting your very own outdoor dining table! There’s something incredibly special about enjoying a meal with loved ones in the midst of nature, surrounded by the beauty of the outdoors. Building an outdoor dining table allows you to create a customized piece that perfectly fits your space and reflects your personal style. Whether you’re a seasoned DIY enthusiast or a newcomer to the world of woodworking, this project is a fantastic way to unleash your creativity and enhance your outdoor living experience.
In this comprehensive guide, we’ll walk through the step-by-step process of building an outdoor dining table from scratch. From planning and designing to cutting and assembling, each stage is an opportunity to craft a functional and aesthetically pleasing piece of furniture that will be the centerpiece of your outdoor gatherings. With a few essential tools and a passion for hands-on creativity, you can embark on this fulfilling journey to create a stunning outdoor dining table that will be cherished for years to come.
So, roll up your sleeves, gather your tools, and get ready to dive into the rewarding world of woodworking. Whether you’re envisioning a rustic farmhouse-style table or a sleek modern design, this guide will equip you with the knowledge and inspiration to bring your vision to life. Let’s embark on this exciting woodworking adventure and transform your outdoor space into a welcoming oasis for delightful dining experiences.
Key Takeaways:
- Building your own outdoor dining table allows you to unleash your creativity and create a personalized piece that enhances your outdoor living experience. From planning to finishing, each step is an opportunity for hands-on fulfillment.
- By carefully selecting materials and tools, planning and designing, and meticulously assembling and finishing your table, you can create a stunning and durable centerpiece for delightful dining experiences in your outdoor space.
Read more: How To Build A Dining Table Bench
Materials and Tools Needed
Before diving into the construction process, it’s essential to gather all the materials and tools required for building your outdoor dining table. Having everything at hand will streamline the building process and ensure a smooth and efficient workflow. Here’s a comprehensive list of the materials and tools you’ll need:
Materials:
- Pressure-treated lumber or cedar for outdoor use
- Wood screws
- Wood glue
- Waterproof wood sealer or outdoor wood finish
- Sandpaper (medium and fine grit)
- Wood filler
- Optional: decorative hardware such as corner brackets or table leg braces
Tools:
- Measuring tape
- Pencil
- Circular saw or table saw
- Power drill with drill bits
- Countersink bit
- Clamps
- Sandpaper or electric sander
- Paintbrushes or applicators for wood sealer/finish
- Safety goggles
- Ear protection
- Dust mask
These materials and tools will serve as the foundation for your woodworking journey. When selecting lumber, opt for materials that are specifically designed for outdoor use, as they are more resistant to the elements and will ensure the longevity of your table. Additionally, the tools listed above will enable you to accurately measure, cut, assemble, and finish the components of your outdoor dining table.
By having all the necessary materials and tools prepared, you’ll be ready to proceed with the subsequent steps, bringing you closer to the fulfillment of creating your own stunning outdoor dining table.
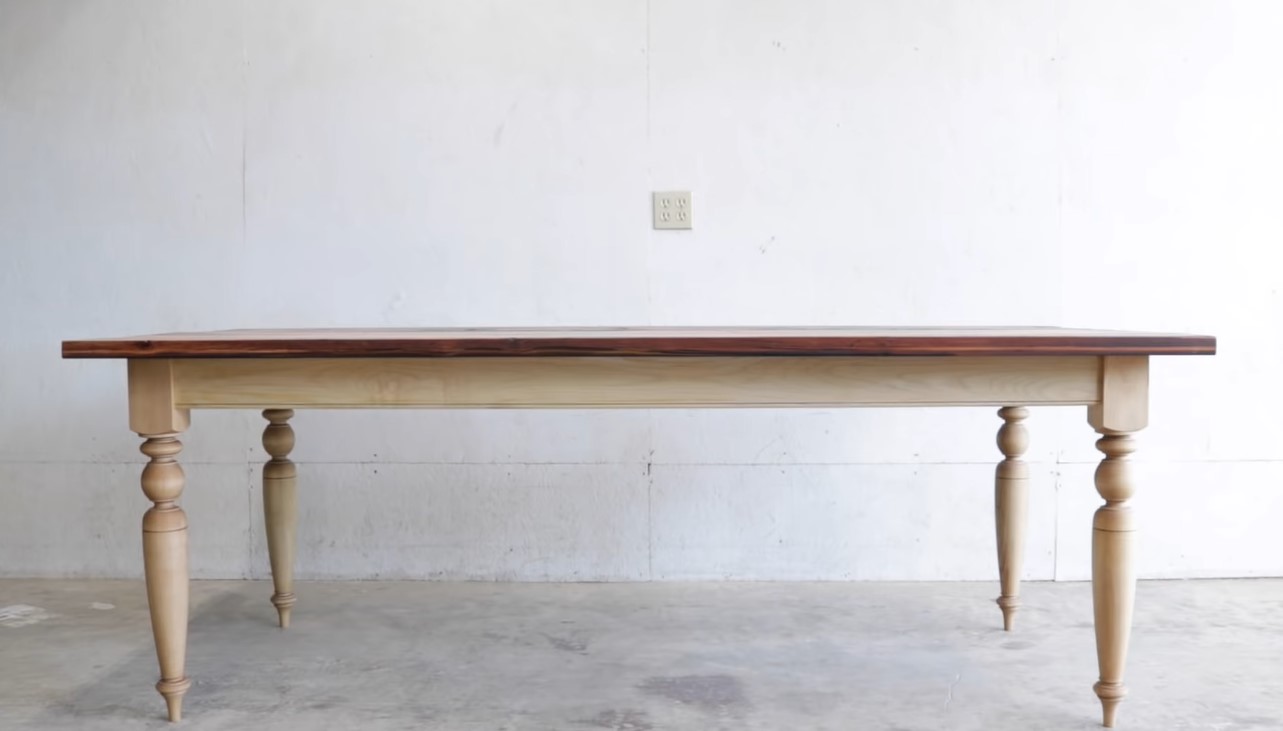
Step 1: Plan and Design
Embarking on the creation of your outdoor dining table begins with the crucial step of planning and designing. This phase is where your creativity takes center stage, allowing you to envision the style, dimensions, and overall look of your table. Here are the key considerations for this initial step:
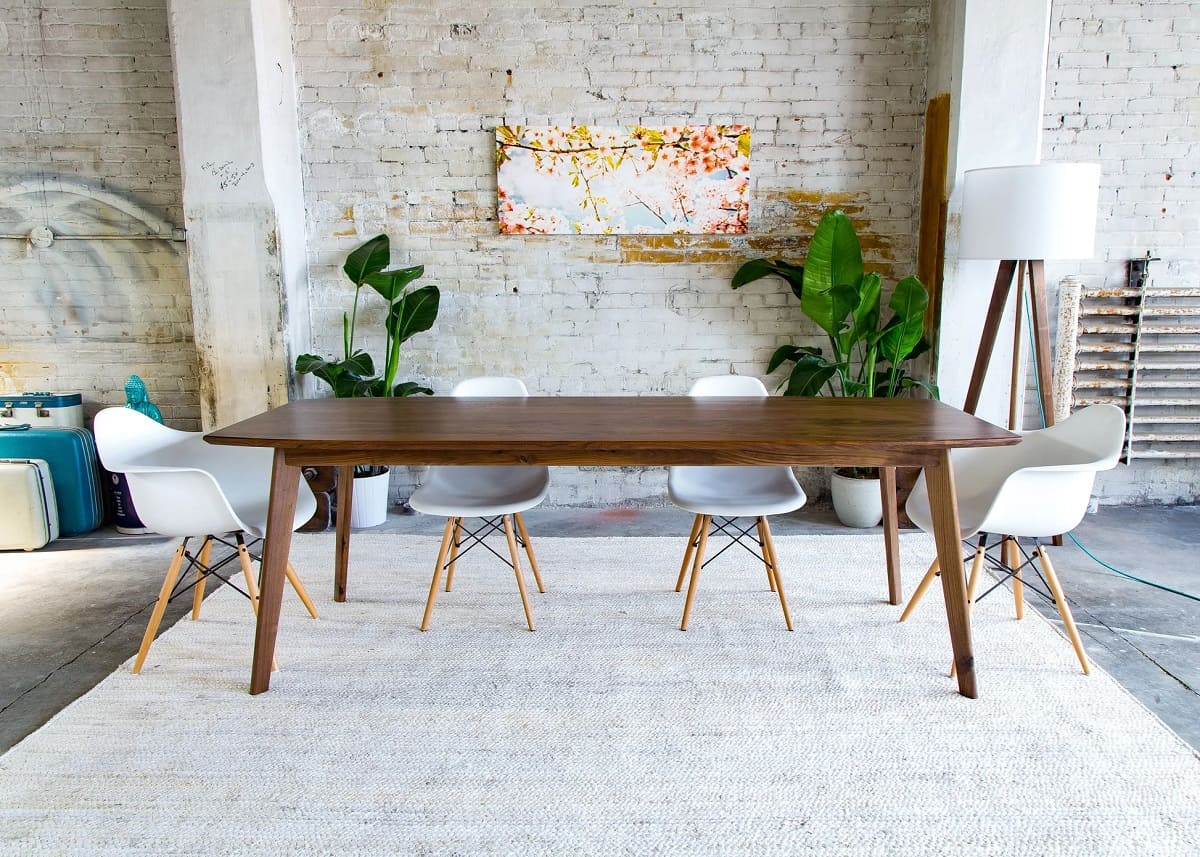
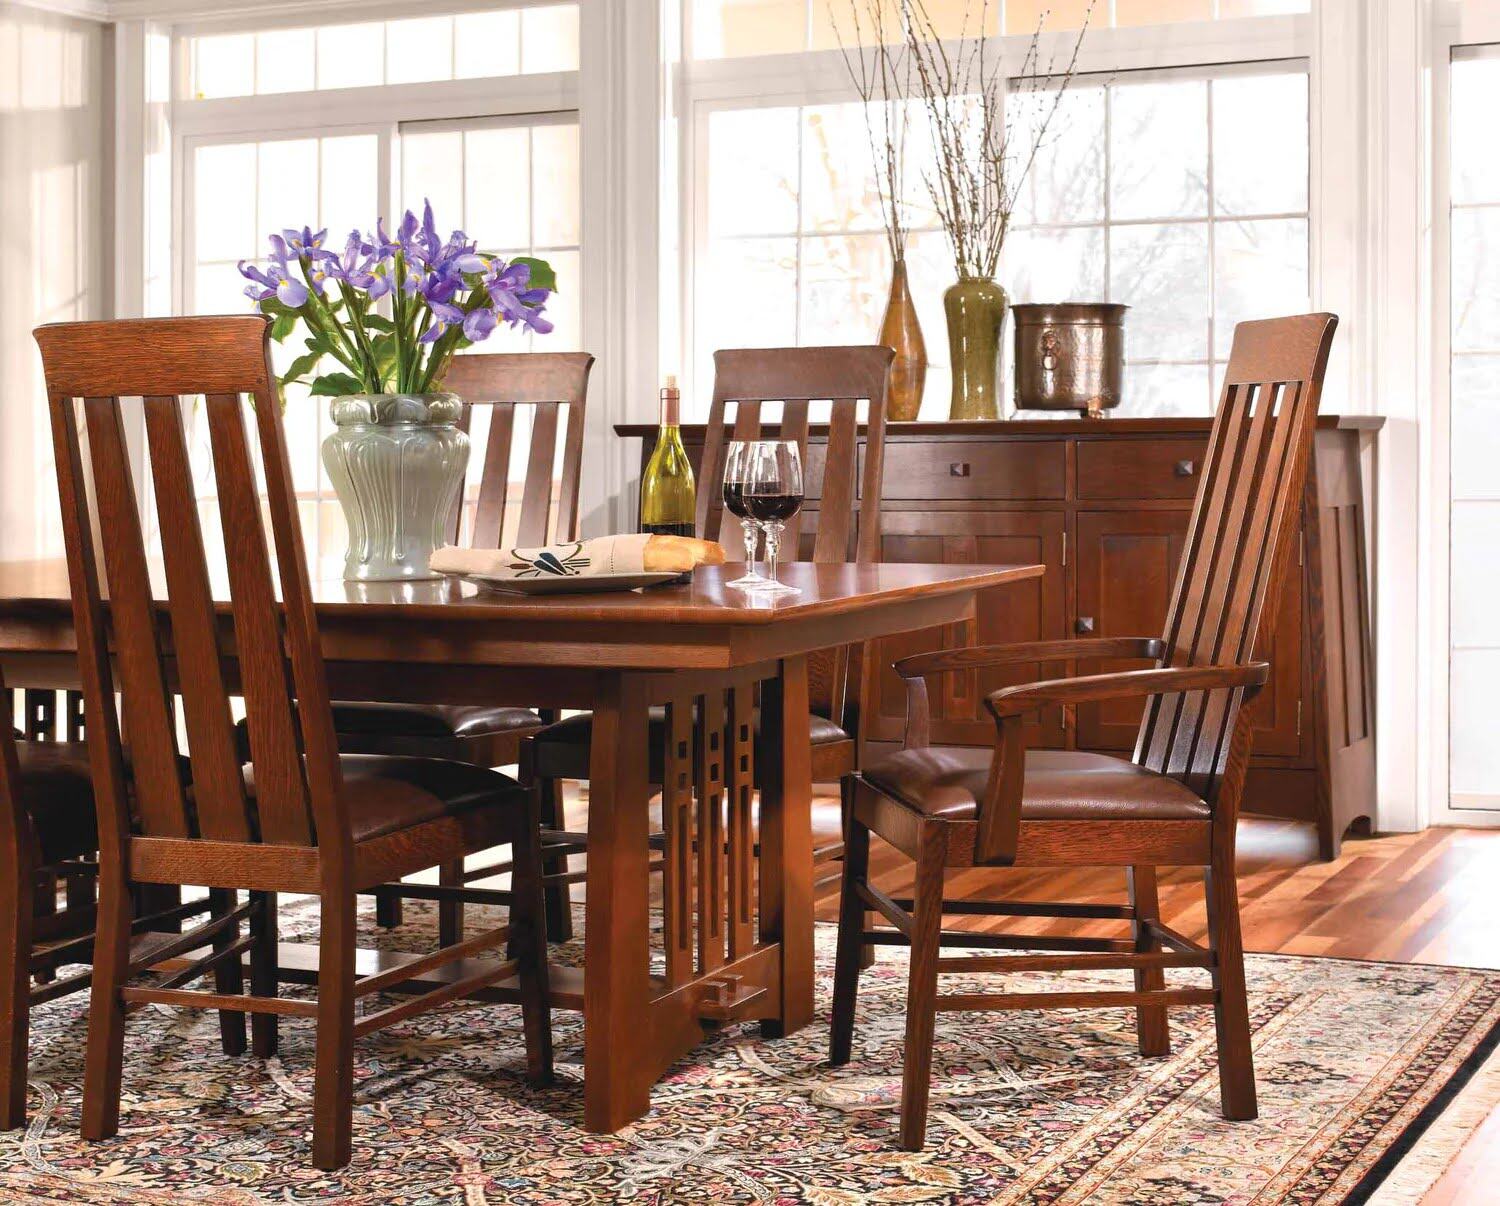
Style and Aesthetic: Consider the existing design elements of your outdoor space and envision how your dining table will complement its surroundings. Whether you prefer a sleek, modern design or a more rustic and traditional look, the style of your table sets the tone for your outdoor dining area.
Dimensions: Determine the ideal size of your table based on the available space and the number of people you intend to accommodate. Standard outdoor dining tables are typically 28-30 inches in height, with widths and lengths varying based on your specific requirements.
Material Selection: Select the best wood for dining table that complements your design vision while ensuring it can withstand outdoor conditions. Pressure-treated lumber and cedar stand out as top options for crafting outdoor dining tables, thanks to their exceptional durability and natural resistance to moisture and decay.
Sketch and Blueprint: Create a rough sketch or blueprint of your table, detailing the dimensions, leg design, and any additional features you plan to incorporate. This visual representation serves as a guide for the construction phase and allows you to refine your design before proceeding.
By investing time in thoughtful planning and design, you lay the foundation for a successful woodworking project. This stage sets the trajectory for the subsequent steps, guiding the construction process as you bring your vision to life. With a clear plan in place, you’re ready to move on to the next phase of material acquisition and preparation.
Read more: How To Build Black Dining Chairs
Step 2: Gather Materials
With your plan and design in hand, it’s time to gather the necessary materials to bring your outdoor dining table to fruition. As you embark on this step, consider the following guidelines to ensure a smooth and efficient material acquisition process:
Quality Lumber Selection: When selecting lumber for your outdoor dining table, prioritize quality and durability. Opt for pressure-treated lumber or cedar, as these materials are specifically designed to withstand outdoor elements, including moisture and temperature variations.
Hardware and Fasteners: Ensure you have an adequate supply of wood screws, wood glue, and any optional decorative hardware you plan to incorporate. Quality fasteners are essential for the structural integrity and longevity of your table, so invest in reliable hardware that complements your chosen wood type.
Wood Finish and Sealant: Choose a waterproof wood sealer or outdoor wood finish to protect your table from the effects of weather exposure. This crucial step will enhance the longevity of your outdoor dining table, preserving its beauty and structural integrity over time.
Safety and Finishing Supplies: Stock up on essential safety gear, including safety goggles, ear protection, and a dust mask to ensure a safe and comfortable woodworking experience. Additionally, gather sandpaper, wood filler, and paintbrushes or applicators for the finishing process.
By proactively gathering all the necessary materials, you set the stage for a seamless and focused construction process. Attention to detail during this phase ensures that you have everything you need to proceed with the upcoming steps, bringing you closer to the realization of your meticulously planned outdoor dining table.
Step 3: Cut Wood to Size
As you transition into the construction phase of building your outdoor dining table, precision and accuracy in cutting the wood are paramount. This step involves transforming raw lumber into the individual components that will form the tabletop and base of your table. Here’s a detailed guide to effectively cutting the wood to size:
Accurate Measurements: Begin by measuring and marking the lumber according to your predetermined dimensions. Use a measuring tape and a pencil to ensure precision in marking the cut lines, accounting for the tabletop, legs, and any additional structural elements.
Cutting Techniques: Whether using a circular saw or a table saw, prioritize safety and precision during the cutting process. Ensure that the saw blade is suitable for cutting wood and adjust the cutting depth to achieve clean and accurate cuts.
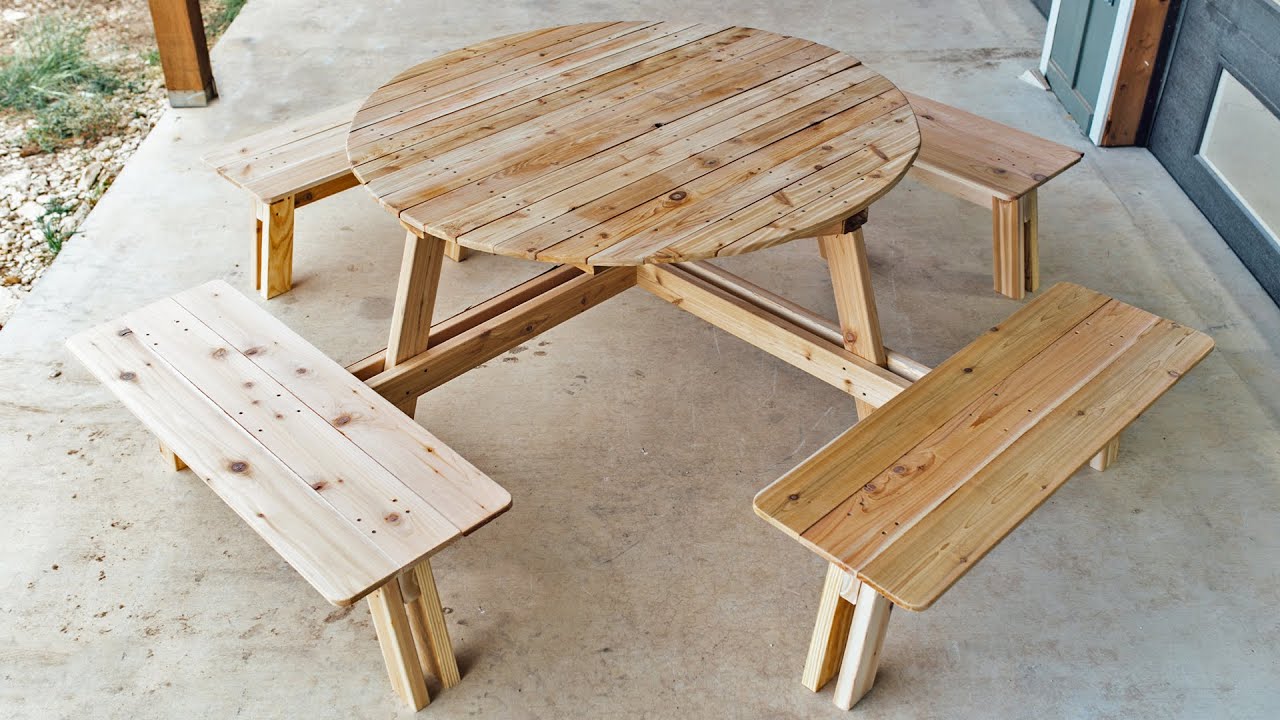
Tabletop Assembly: If your design incorporates a plank-style tabletop, accurately cut the individual planks to the specified lengths. Pay attention to the alignment and uniformity of the planks to create a visually appealing and structurally sound tabletop assembly.
Leg and Base Components: Cut the lumber to create the legs and base components of your table, adhering to the precise measurements outlined in your design plan. The accuracy of these cuts directly impacts the stability and aesthetics of the table base.
By meticulously cutting the wood to size, you lay the groundwork for the subsequent assembly and construction phases. Attention to detail during this step ensures that each component fits seamlessly, setting the stage for the visual and structural coherence of your outdoor dining table.
Step 4: Assemble Tabletop
As the construction of your outdoor dining table progresses, the assembly of the tabletop emerges as a pivotal step in the woodworking process. This phase involves bringing together the individual components of the tabletop, whether it’s a solid panel or a plank-style design. Here’s a detailed guide to effectively assembling the tabletop:
Alignment and Arrangement: If your design features a plank-style tabletop, arrange the individual planks in the desired sequence, paying attention to the visual flow and grain patterns. Ensure that the edges align seamlessly to create a cohesive and visually appealing tabletop surface.
Joinery and Fastening: Utilize wood glue and wood screws to securely join the planks or panels, creating a stable and durable tabletop structure. Employ clamps to hold the components in place during the assembly process, facilitating precise and seamless joinery.
Countersinking and Sanding: To achieve a smooth and uniform tabletop surface, countersink the screw heads slightly below the wood surface. This step allows for the application of wood filler to conceal the screw heads, followed by thorough sanding to create a seamless and polished tabletop finish.
Optional Decorative Elements: If desired, consider incorporating decorative hardware such as corner brackets or table leg braces to enhance the visual appeal and structural integrity of the tabletop assembly.
By meticulously assembling the tabletop, you bring your design vision to life, laying the foundation for the distinctive character and functionality of your outdoor dining table. Attention to detail during this phase ensures that the tabletop embodies the craftsmanship and precision essential to a well-crafted piece of furniture.
When building an outdoor dining table, make sure to use weather-resistant materials such as cedar or teak to ensure durability and longevity.
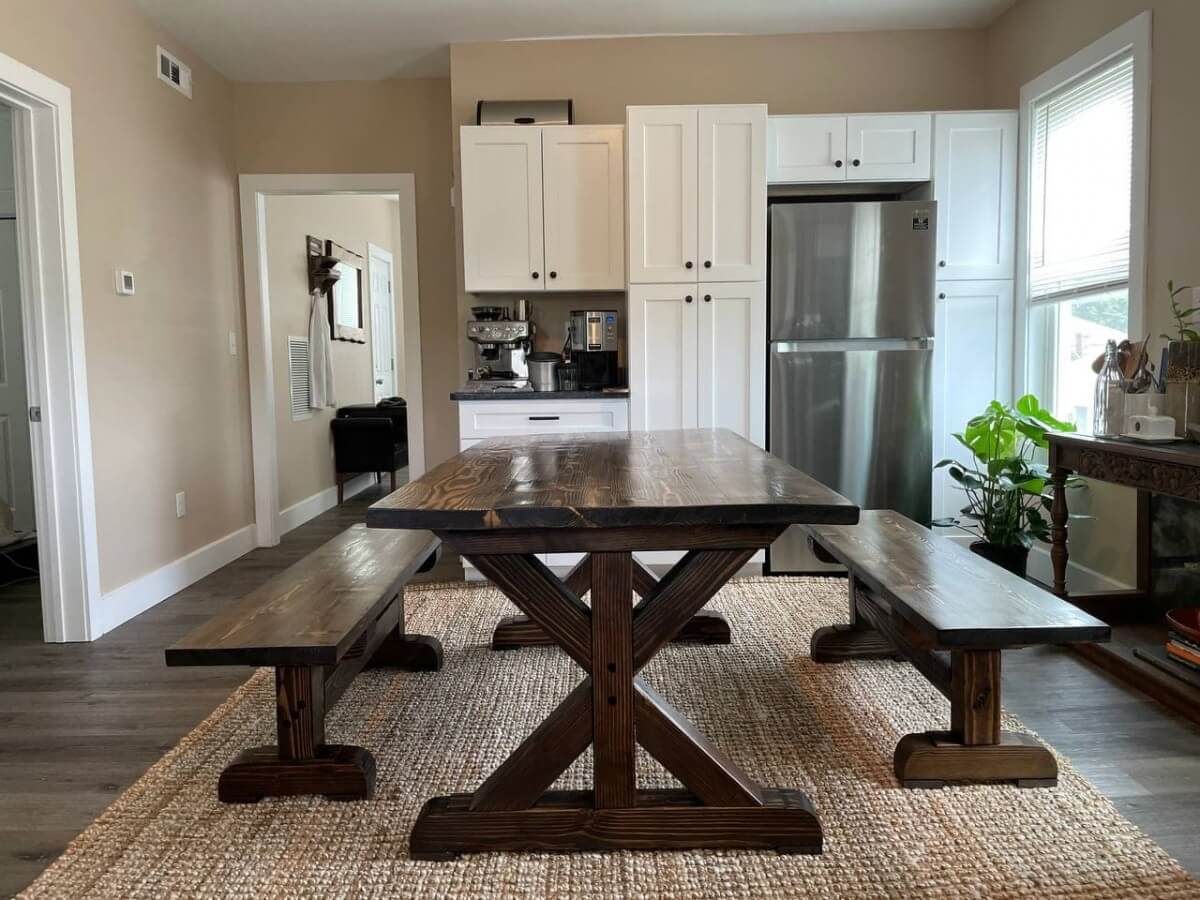
Step 5: Build Table Base
As you progress in the construction of your outdoor dining table, the assembly of the table base takes center stage, shaping the structural foundation and aesthetic appeal of the furniture piece. Building the table base involves creating a sturdy and visually appealing support structure that complements the tabletop. Here’s a comprehensive guide to effectively building the table base:
Leg Construction: Begin by assembling the individual legs of the table, ensuring precise measurements and consistent alignment. Whether you opt for a classic four-leg design or a more intricate arrangement, attention to detail in leg construction is pivotal.
Frame and Support: Construct the frame and support structure that connects the table legs, providing stability and reinforcement. Utilize wood screws and wood glue to securely join the components, creating a robust and durable base for the tabletop.
Optional Design Elements: Consider incorporating decorative elements such as beveled edges, curved supports, or intricate detailing to infuse character and visual interest into the table base. These design elements add a personalized touch to the overall aesthetic of the outdoor dining table.
Alignment and Stability: Throughout the assembly process, prioritize the alignment and stability of the table base, ensuring that all components are securely fastened and contribute to the overall structural integrity of the furniture piece.
By meticulously building the table base, you lay the groundwork for the functionality and visual impact of your outdoor dining table. Attention to detail during this phase ensures that the base complements the tabletop, resulting in a harmonious and well-crafted furniture piece that enhances your outdoor living space.
Read more: How To Build A Counter Height Dining Table
Step 6: Sand and Finish
As you approach the final stages of constructing your outdoor dining table, the sanding and finishing process elevates the visual appeal and durability of the wood, culminating in a refined and polished furniture piece. This crucial step involves meticulous attention to detail and the application of wood finishing techniques to enhance the natural beauty of the wood. Here’s a comprehensive guide to effectively sanding and finishing your outdoor dining table:
Sanding Preparation: Begin by thoroughly sanding all wood surfaces, starting with a medium-grit sandpaper to remove any roughness or imperfections. Progress to a fine-grit sandpaper to achieve a smooth and uniform surface, paying particular attention to the tabletop and base components.
Edge and Detail Sanding: Focus on sanding the edges and intricate details of the table, ensuring that all surfaces are smooth and free of any sharp or rough edges. This step contributes to the overall safety and visual appeal of the finished table.
Wood Filler Application: If necessary, apply wood filler to conceal any visible gaps, cracks, or imperfections in the wood. Once the filler dries, sand the affected areas to achieve a seamless and even surface, preparing the wood for the finishing process.
Wood Finish Application: Apply a waterproof wood sealer or outdoor wood finish to protect the table from the elements and enhance its natural beauty. Use a paintbrush or applicator to ensure even coverage, allowing the wood finish to penetrate and protect the surface of the table.
Multiple Coats and Drying Time: Apply multiple coats of wood finish as recommended by the manufacturer, allowing sufficient drying time between each coat. This process ensures a durable and long-lasting finish that safeguards the wood from moisture and UV exposure.
By meticulously sanding and finishing the outdoor dining table, you elevate the aesthetic appeal and durability of the furniture piece, preparing it for long-term outdoor use. Attention to detail during this phase ensures that your table exudes a refined and lustrous finish, ready to grace your outdoor dining area with timeless elegance.
Step 7: Attach Tabletop to Base
As you near the completion of your outdoor dining table, the final step involves attaching the tabletop to the meticulously crafted base, bringing together the culmination of your woodworking journey. This pivotal phase requires precision and attention to detail to ensure a seamless and secure union between the tabletop and base. Here’s a comprehensive guide to effectively attaching the tabletop to the base:
Alignment and Positioning: Carefully position the tabletop over the base, ensuring that it is centered and aligned according to your design specifications. Take precise measurements to guarantee symmetrical positioning and overhang, if intended.
Secure Fastening: Utilize wood screws and appropriate fastening techniques to securely attach the tabletop to the base. Predrill pilot holes to prevent wood splitting and facilitate accurate screw placement, ensuring a robust and stable connection.
Structural Reinforcement: If necessary, incorporate additional structural reinforcement, such as corner brackets or braces, to further enhance the stability and longevity of the tabletop-to-base connection. These elements contribute to the overall structural integrity of the completed outdoor dining table.
Visual Inspection: Conduct a thorough visual inspection to confirm that the tabletop is securely attached and level with the base. Verify that all fasteners are flush with the wood surface, contributing to a polished and professional finish.
Final Touches: Apply any additional finishing touches, such as concealing screw heads with wood filler and sanding, to achieve a seamless and visually appealing tabletop-to-base connection. This step ensures that the completed outdoor dining table embodies craftsmanship and attention to detail.
By effectively attaching the tabletop to the base, you culminate your woodworking endeavor with a stunning and functional outdoor dining table. Attention to detail during this phase ensures that the tabletop seamlessly integrates with the base, resulting in a cohesive and well-crafted furniture piece that will enrich your outdoor living space for years to come.
Conclusion
Congratulations on successfully completing the journey of building your own outdoor dining table! From the initial stages of planning and design to the meticulous woodworking and assembly processes, you’ve embarked on a fulfilling and creative endeavor that has resulted in a stunning and personalized piece of furniture. As you admire the finished table gracing your outdoor space, it’s a testament to your craftsmanship and dedication to creating a functional and visually captivating centerpiece for delightful dining experiences.
Throughout this woodworking adventure, you’ve not only crafted a beautiful outdoor dining table but also honed your skills as a woodworker, gaining invaluable experience and insight into the art of furniture construction. The attention to detail in each phase, from cutting and assembly to sanding and finishing, has contributed to the exceptional quality and enduring beauty of your creation.
As you gather with family and friends around your handcrafted table, you’ll create cherished memories and meaningful connections in the heart of the outdoors. The table stands as a symbol of your creativity and passion for woodworking, inviting laughter, conversation, and shared meals in a welcoming and stylish setting.
Remember, the skills and knowledge you’ve gained from this project can be applied to future woodworking endeavors, allowing you to continue transforming your living spaces with custom-crafted furniture and decor. Your outdoor dining table serves as a testament to the joy of hands-on creation and the satisfaction of bringing your vision to life.
So, take a moment to relish in the accomplishment of building your own outdoor dining table—a timeless and enduring addition to your outdoor living space. Embrace the pride of craftsmanship and the joy of sharing your creation with those you hold dear. Your woodworking journey has not only resulted in a magnificent table but also a wealth of experiences and memories that will enrich your life for years to come.
Frequently Asked Questions about How To Build An Outdoor Dining Table
Was this page helpful?
At Storables.com, we guarantee accurate and reliable information. Our content, validated by Expert Board Contributors, is crafted following stringent Editorial Policies. We're committed to providing you with well-researched, expert-backed insights for all your informational needs.


0 thoughts on “How To Build An Outdoor Dining Table”