Home>Furniture & Design>Outdoor Furniture>How To Lay Concrete Tiles Outdoor
Outdoor Furniture
How To Lay Concrete Tiles Outdoor
Modified: May 6, 2024
Learn how to lay concrete tiles for your outdoor furniture and design. Our step-by-step guide will help you achieve a professional and durable outdoor space.
(Many of the links in this article redirect to a specific reviewed product. Your purchase of these products through affiliate links helps to generate commission for Storables.com, at no extra cost. Learn more)
Introduction
When it comes to enhancing the outdoor space, concrete tiles offer a versatile and durable solution. Whether you're revamping a patio, creating a stylish walkway, or designing an inviting outdoor entertainment area, laying concrete tiles can elevate the aesthetics and functionality of your outdoor space. This comprehensive guide will walk you through the process of laying concrete tiles outdoors, providing valuable insights and practical tips to ensure a successful and visually appealing outcome.
Laying concrete tiles is a rewarding project that allows you to unleash your creativity while adding value to your property. From selecting the right tiles to mastering the art of installation, each step in this process contributes to the overall charm and functionality of your outdoor area. By understanding the nuances of this endeavor and following the recommended techniques, you can achieve a stunning outdoor space that seamlessly blends style and durability.
Join us on this journey as we delve into the intricacies of laying concrete tiles outdoors, exploring the planning, preparation, installation, and maintenance aspects. Whether you're a seasoned DIY enthusiast or a homeowner eager to embark on a transformative outdoor project, this guide is tailored to equip you with the knowledge and confidence needed to accomplish a professional-quality result. Let's embark on this exciting venture and unlock the potential of your outdoor space through the art of laying concrete tiles.
Key Takeaways:
- Planning and preparation are crucial for laying concrete tiles outdoors. Consider design, measurements, materials, budget, and regulations to ensure a successful and visually appealing project.
- Maintenance is key to preserving the beauty and functionality of outdoor concrete tile installations. Regular cleaning, grout maintenance, sealant inspection, and proactive care contribute to a resilient and captivating outdoor space.
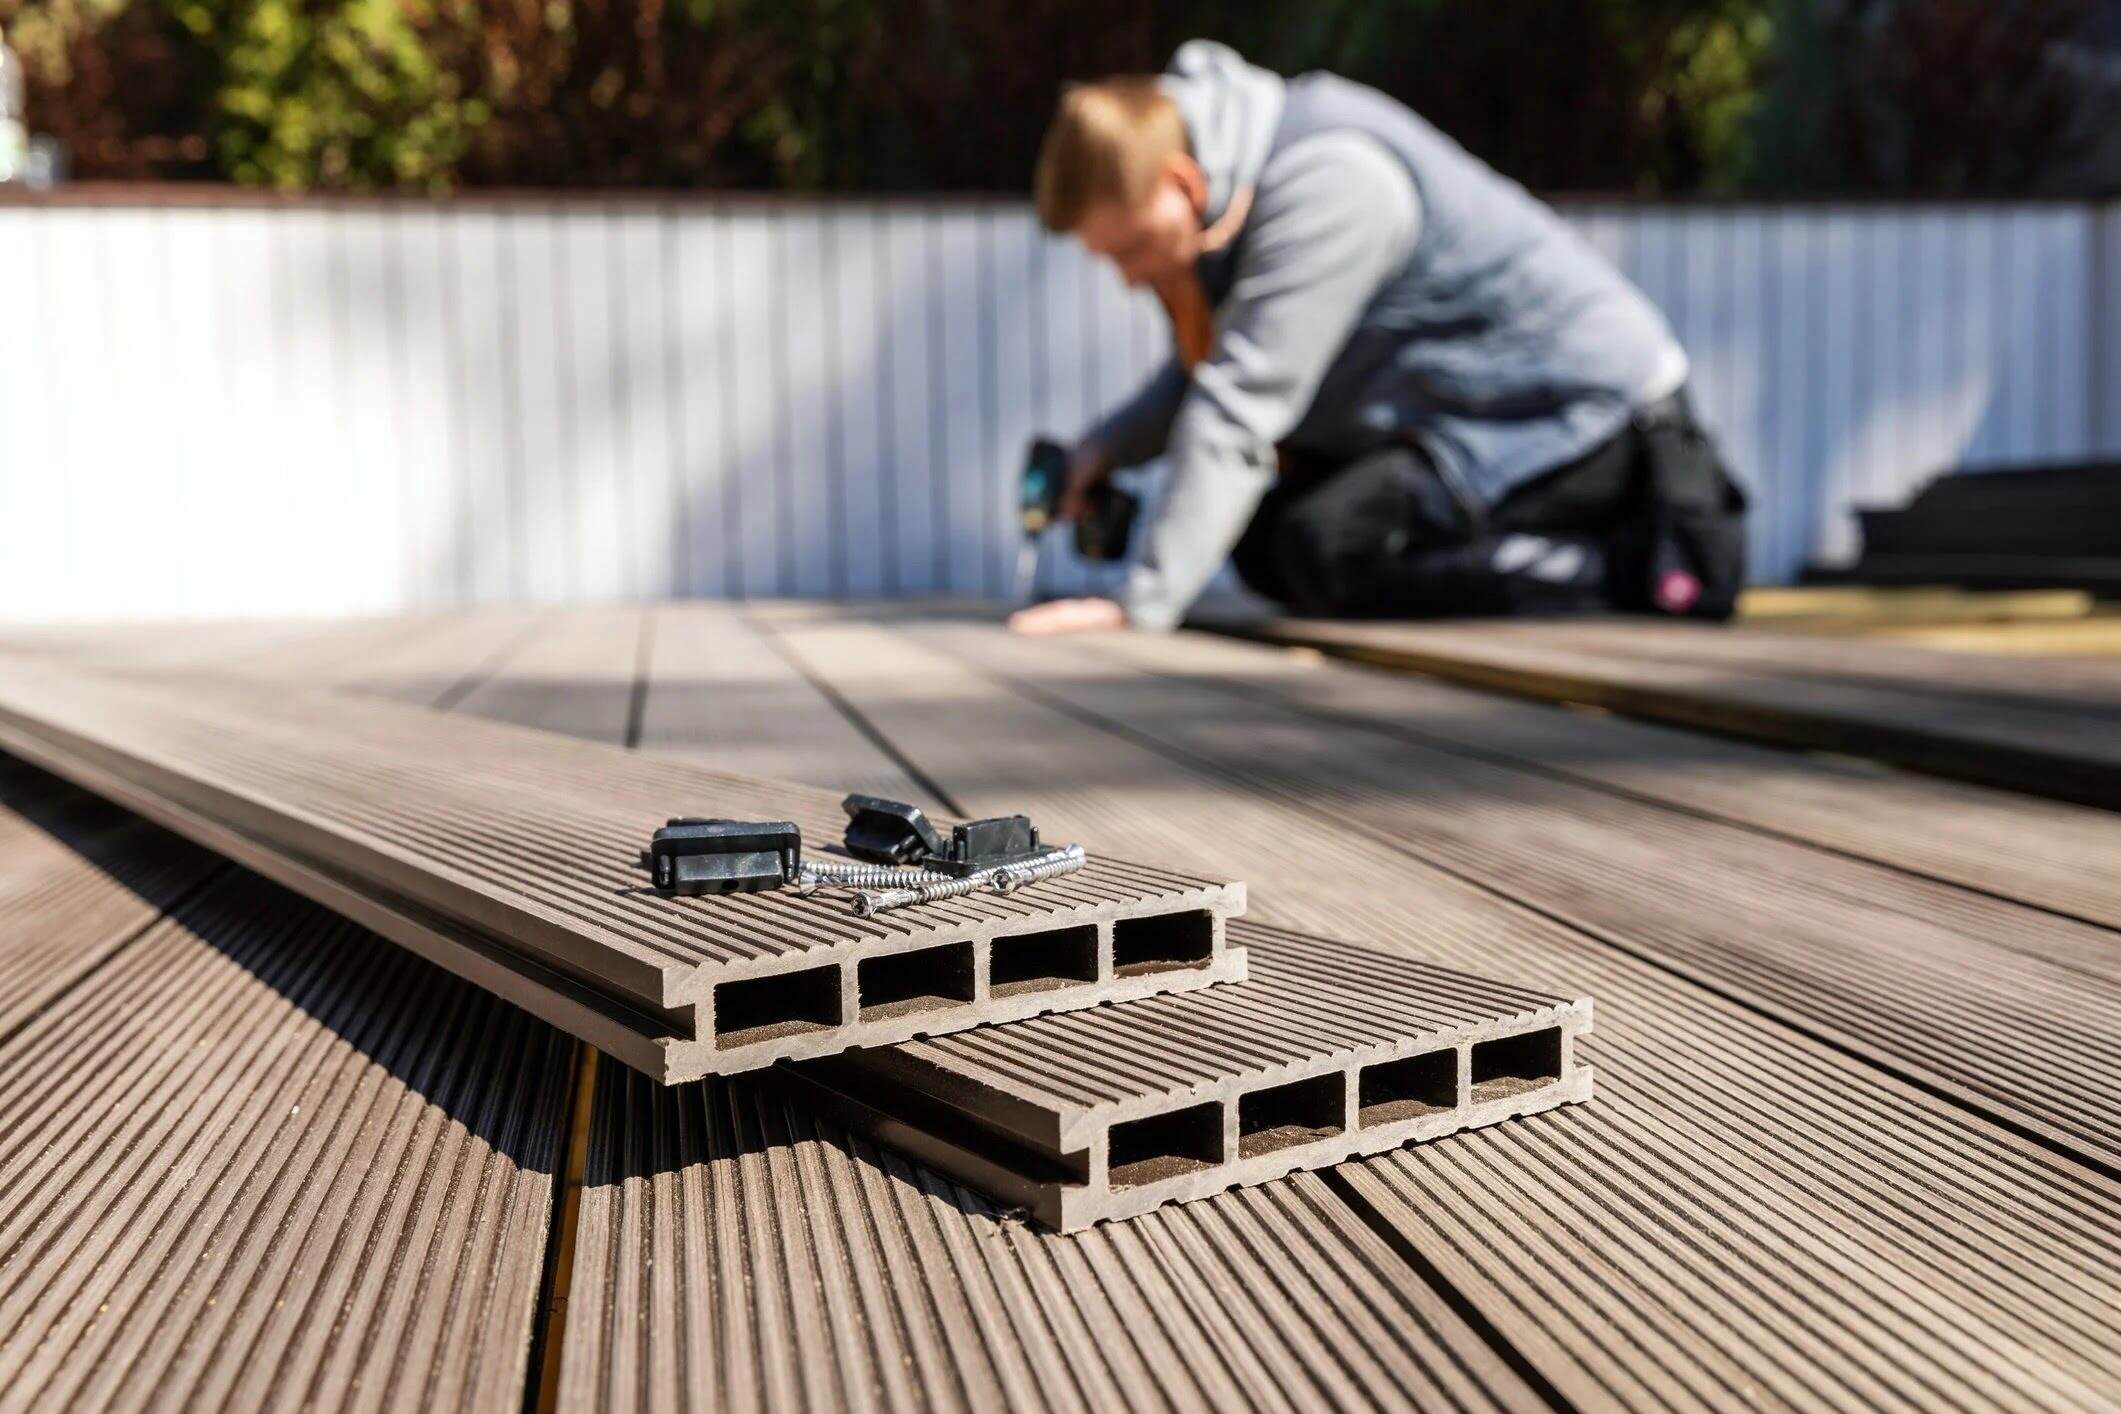
Read more: How To Lay Tile On Concrete Floor
Planning and Preparation
Embarking on a concrete tile laying project necessitates meticulous planning and thorough preparation to ensure a smooth and successful execution. Before diving into the physical aspects of the installation, it’s crucial to map out a comprehensive plan that encompasses design considerations, material selection, and logistical arrangements. Here’s a breakdown of the key steps involved in the planning and preparation phase:
- Design Vision: Commence the process by envisioning the desired look and functionality of the outdoor space. Consider the overall style, color scheme, and layout to align the project with your aesthetic preferences and practical requirements.
- Measurements and Layout: Accurate measurements of the installation area are essential for determining the quantity of concrete tiles needed. Additionally, sketching out a layout plan helps visualize the tile placement and identify any potential challenges or adjustments required.
- Permit and Regulations: Check local building codes and regulations pertaining to outdoor tiling projects. Ensure compliance with any necessary permits and guidelines to avoid complications during or after the installation.
- Material Selection: Explore the diverse range of concrete tiles available, considering factors such as durability, slip resistance, and weather resilience. Select tiles that align with the outdoor environment and cater to the anticipated foot traffic and usage patterns.
- Budget and Timeline: Establish a realistic budget for the project, factoring in material costs, tools, and potential labor expenses. Create a timeline that accommodates the various stages of the installation, allowing for unexpected delays or adjustments.
Effective planning sets the stage for a seamless and gratifying concrete tile laying experience. By investing time and attention into the preparatory phase, you pave the way for a structured and organized approach, ultimately contributing to the overall success and satisfaction derived from the project.
Tools and Materials
Equipping yourself with the appropriate tools and high-quality materials is fundamental to achieving a professional and enduring outdoor concrete tile installation. From essential implements to the core building components, here’s a comprehensive list of the tools and materials required for this project:
- Concrete Tiles: Select durable and weather-resistant concrete tiles in the desired size, shape, and color to complement the outdoor setting. Ensure that the chosen tiles are suitable for outdoor use and possess the necessary strength to withstand varying weather conditions.
- Concrete Mix: Acquire high-grade concrete mix designed for outdoor applications. Opt for a mix that offers optimal strength, durability, and weather resilience, aligning with the specific requirements of the project.
- Gravel and Sand: Utilize gravel for creating a sturdy base and sand for leveling and supporting the concrete tiles. These foundational materials contribute to the stability and longevity of the installation.
- Leveling Tools: Invest in a reliable spirit level and a straight edge to ensure precise and even placement of the concrete tiles. These tools are essential for achieving a visually appealing and structurally sound outcome.
- Trowel and Spacers: A quality trowel facilitates the efficient application of concrete mix, while spacers aid in maintaining consistent spacing between the tiles, promoting uniformity and alignment.
- Protective Gear: Prioritize safety by donning appropriate protective gear, including gloves, goggles, and a dust mask. These items safeguard against potential hazards and enhance comfort during the installation process.
- Mixing Equipment: Depending on the scale of the project, utilize a concrete mixer or a sturdy wheelbarrow and hoe for thoroughly blending the concrete mix and water to achieve the ideal consistency.
- Sealant and Finishing Products: Explore suitable sealants and finishing products designed for concrete tiles to enhance their longevity and resistance to moisture, stains, and external elements.
By procuring the specified tools and materials, you establish a solid foundation for executing the concrete tile laying project with precision and efficiency. Quality resources and proper equipment not only streamline the installation process but also contribute to the durability and visual appeal of the outdoor space, ensuring a gratifying and enduring outcome.
Site Preparation
Prior to commencing the concrete tile installation, meticulous site preparation is essential to establish a stable and conducive environment for the project. This phase involves a series of crucial tasks aimed at clearing, leveling, and priming the designated area, setting the stage for a seamless and enduring installation. Here’s a comprehensive overview of the site preparation process:
- Clearing and Cleaning: Begin by clearing the installation area of any debris, vegetation, or obstructions. Remove existing pavers, rocks, or debris to create a clean and uniform surface for the upcoming installation.
- Excavation and Grading: If the area exhibits unevenness or inadequate drainage, undertake necessary excavation and grading to ensure proper water runoff and a level substrate for the concrete tiles. Address any drainage concerns to prevent water accumulation and potential damage.
- Substrate Inspection: Evaluate the substrate, ensuring its structural integrity and suitability for accommodating the concrete tiles. Address any underlying issues, such as soil compaction or instability, to fortify the foundation of the installation.
- Base Layer Establishment: Introduce a layer of gravel to create a stable and well-draining base for the concrete tiles. Compact the gravel to promote solidity and minimize shifting or settling over time.
- Sand Bed Application: Following the gravel layer, apply a uniform bed of sand to facilitate leveling and support for the concrete tiles. Smooth and level the sand bed to optimize the surface for the impending tile placement.
- Boundary Marking: Utilize marking tools and guidelines to delineate the boundaries and layout of the installation area, ensuring accurate alignment and spacing for the concrete tiles.
- Accessibility and Safety: Assess the accessibility of the site and implement safety measures to facilitate seamless movement and precautionary practices during the installation process. Clear pathways and secure the area to minimize potential hazards.
By diligently addressing the site preparation requirements, you establish a solid groundwork for the concrete tile installation, promoting stability, longevity, and visual appeal. This preparatory phase lays the foundation for a successful and enduring outdoor transformation, setting the stage for the subsequent stages of mixing, laying, and finishing the concrete tiles with confidence and precision.
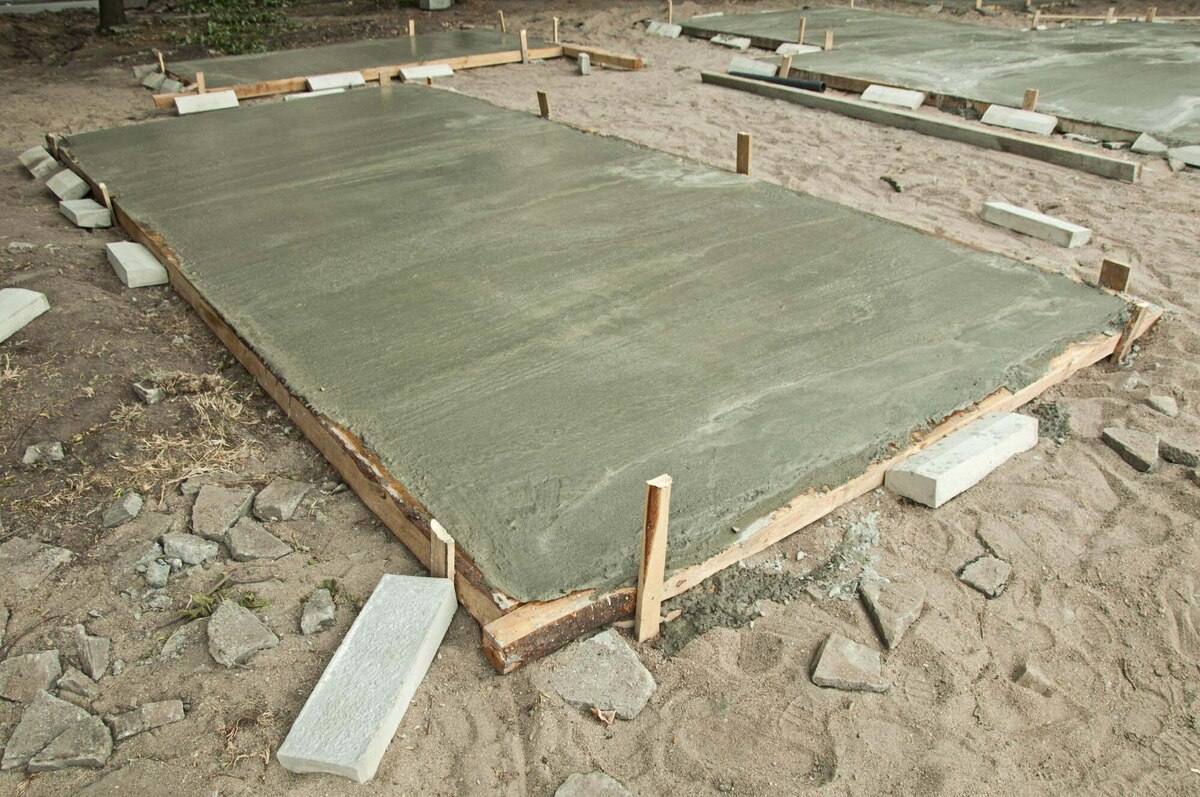
Mixing the Concrete
The process of mixing concrete is a critical phase that directly influences the strength, durability, and overall quality of the concrete tiles. Achieving the optimal concrete mix consistency and composition is essential for ensuring a robust and enduring installation. Here’s a detailed exploration of the steps involved in mixing the concrete for outdoor tile laying:
- Proportional Blending: Accurately measure and combine the concrete mix and water in the designated ratio to achieve the desired consistency and strength. Follow the manufacturer’s guidelines and recommendations for the specific concrete mix being utilized.
- Thorough Mixing: Utilize a concrete mixer or a sturdy wheelbarrow and hoe to thoroughly blend the concrete mix and water until a uniform and lump-free composition is achieved. Consistent mixing is crucial for ensuring the cohesive and workable nature of the concrete.
- Adjustments and Additives: If necessary, incorporate additives or reinforcements into the concrete mix to enhance its performance in outdoor conditions. These may include fibers for added tensile strength or admixtures for improved workability and durability.
- Workable Consistency: Aim for a workable yet firm consistency in the mixed concrete, ensuring that it can be easily manipulated and spread while maintaining structural integrity. Avoid excessive water content, as it can compromise the strength and durability of the concrete.
- Batch Management: Depending on the scale of the project, manage the concrete mixing process in batches to maintain consistency and uniformity across the entire installation. Label and organize the batches to facilitate a streamlined and efficient installation process.
- Quality Assurance: Conduct periodic checks and tests to assess the quality and workability of the mixed concrete. Adjust the mix composition or consistency as needed to align with the specific requirements of the outdoor tile laying project.
By meticulously executing the concrete mixing process, you lay the groundwork for a durable and visually appealing outdoor tile installation. The quality and uniformity of the mixed concrete directly contribute to the structural integrity and longevity of the concrete tiles, ensuring a resilient and enduring outdoor surface that withstands the elements and foot traffic with confidence.
Before laying concrete tiles outdoors, make sure the surface is clean, level, and properly prepared. Use a good quality adhesive and follow the manufacturer’s instructions for the best results.
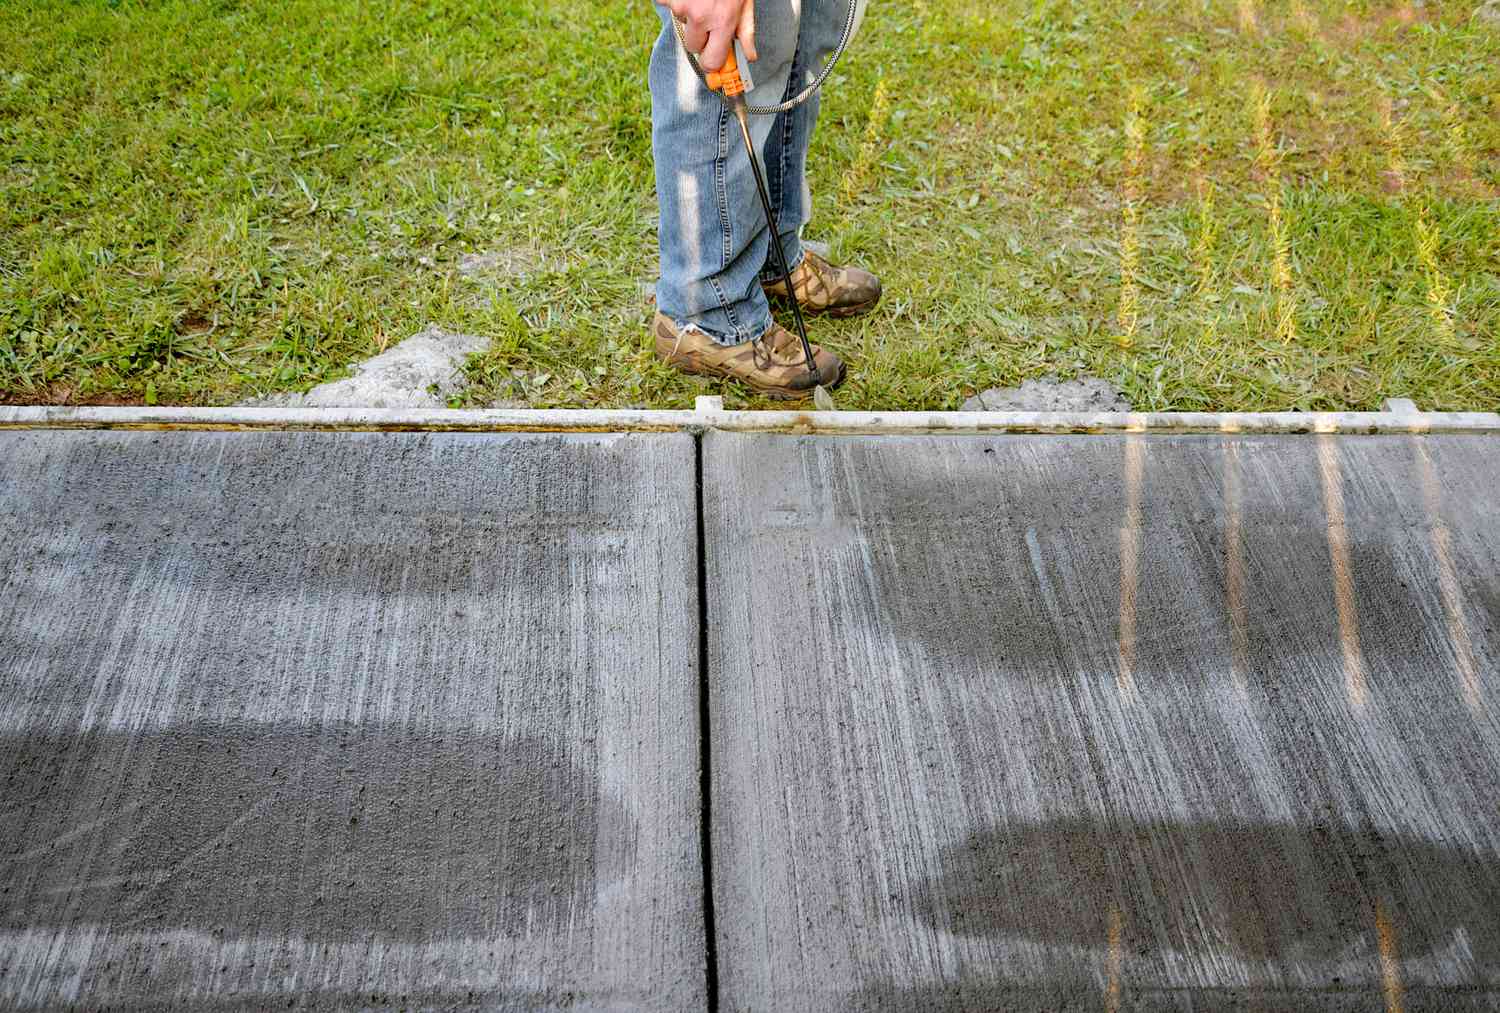
Read more: How To Lay A Concrete Driveway
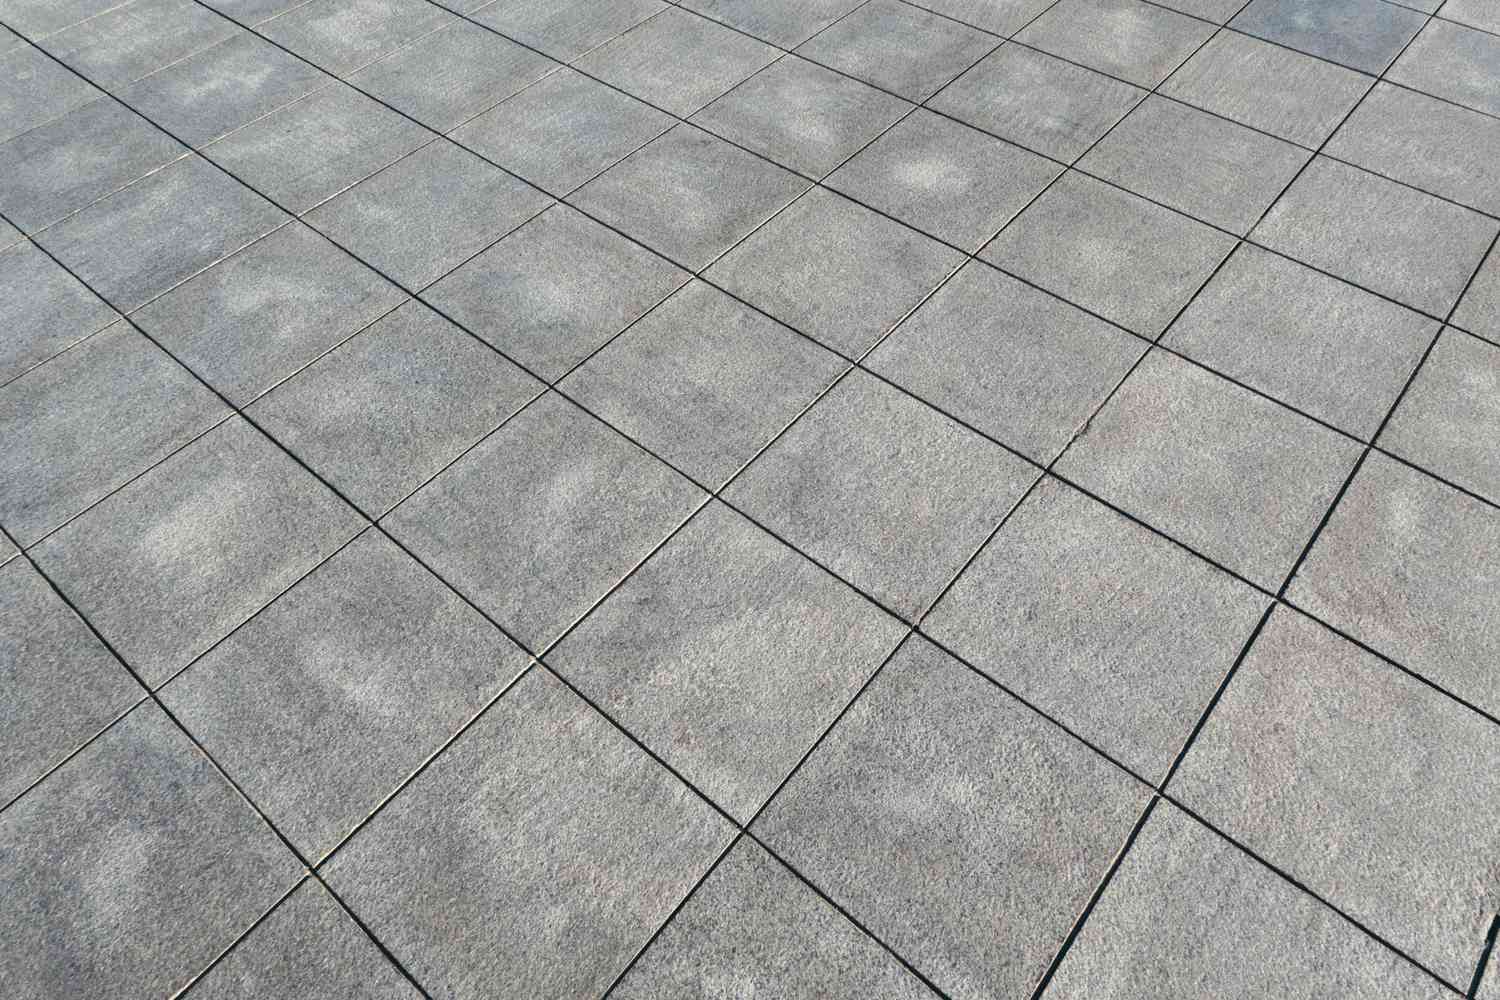
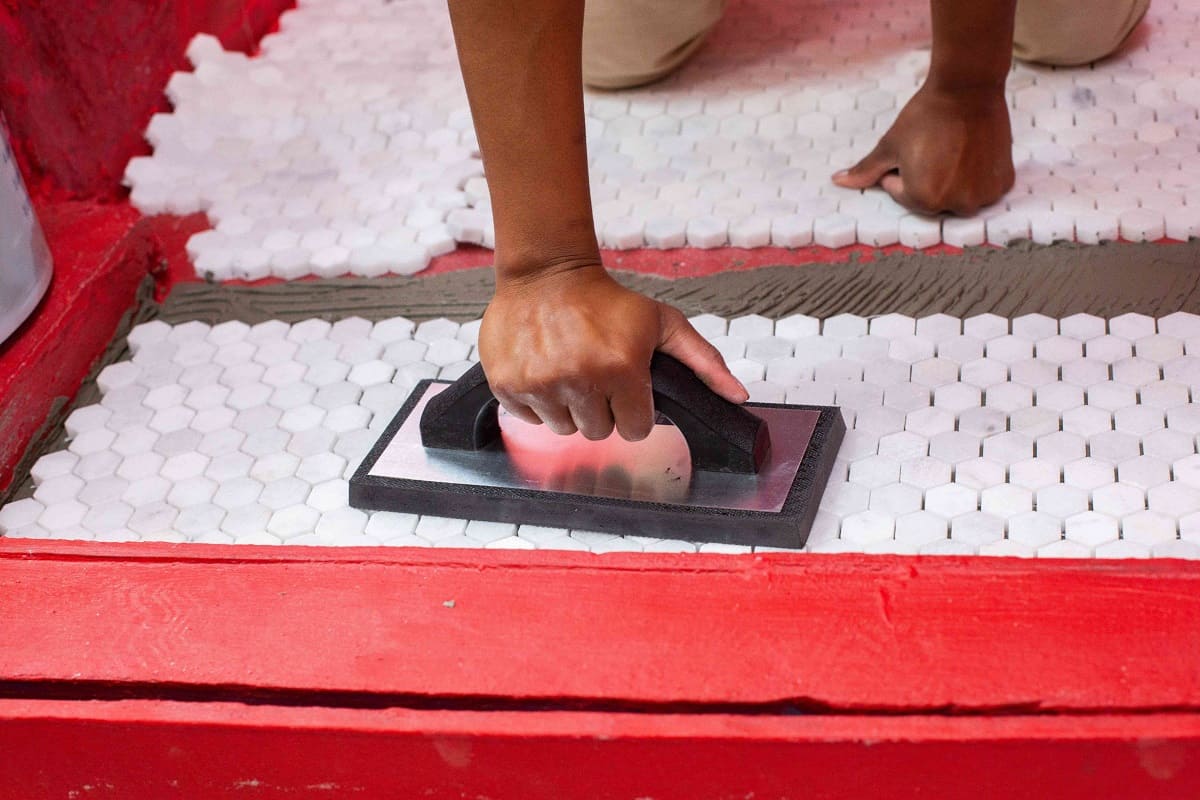
Laying the Tiles
The process of laying concrete tiles outdoors encompasses a series of meticulous steps aimed at ensuring precise placement, uniformity, and structural integrity. From initial positioning to final adjustments, each stage contributes to the overall visual appeal and durability of the installation. Let’s delve into the essential guidelines and techniques for effectively laying concrete tiles in an outdoor setting:
- Starting Point Selection: Identify a strategic starting point for the tile installation, considering factors such as focal points, patterns, and overall layout symmetry. This initial positioning sets the tone for the entire installation and influences the visual flow of the outdoor space.
- Adhesive Application: Apply a suitable adhesive or mortar to the prepared substrate, ensuring even coverage and adherence to the recommended thickness. Use the appropriate trowel to create consistent ridges and promote strong bonding between the concrete tiles and the substrate.
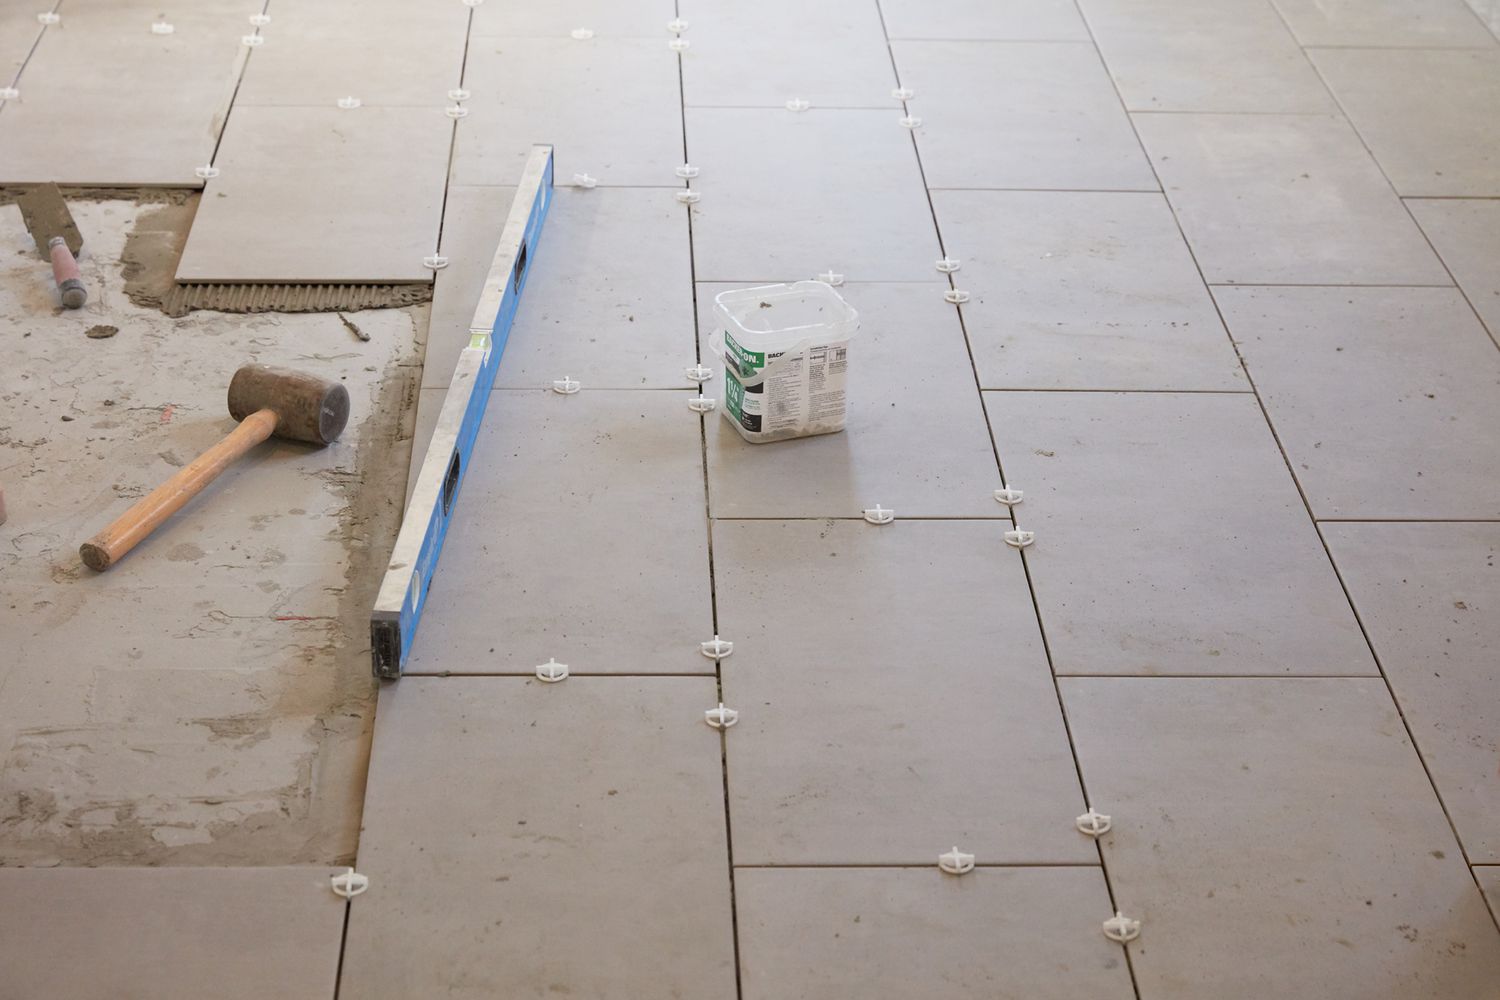
- Alignment and Spacing: Maintain consistent spacing between the tiles by utilizing spacers or guidelines, ensuring uniformity and precision throughout the installation. Verify the alignment and positioning of each tile to achieve a visually appealing and structurally sound layout.
- Leveling and Adjustments: Utilize a spirit level to verify the horizontal and vertical alignment of the laid tiles, making necessary adjustments to correct any deviations. Pay close attention to achieving a level surface with minimal variations for a professional and aesthetically pleasing result.
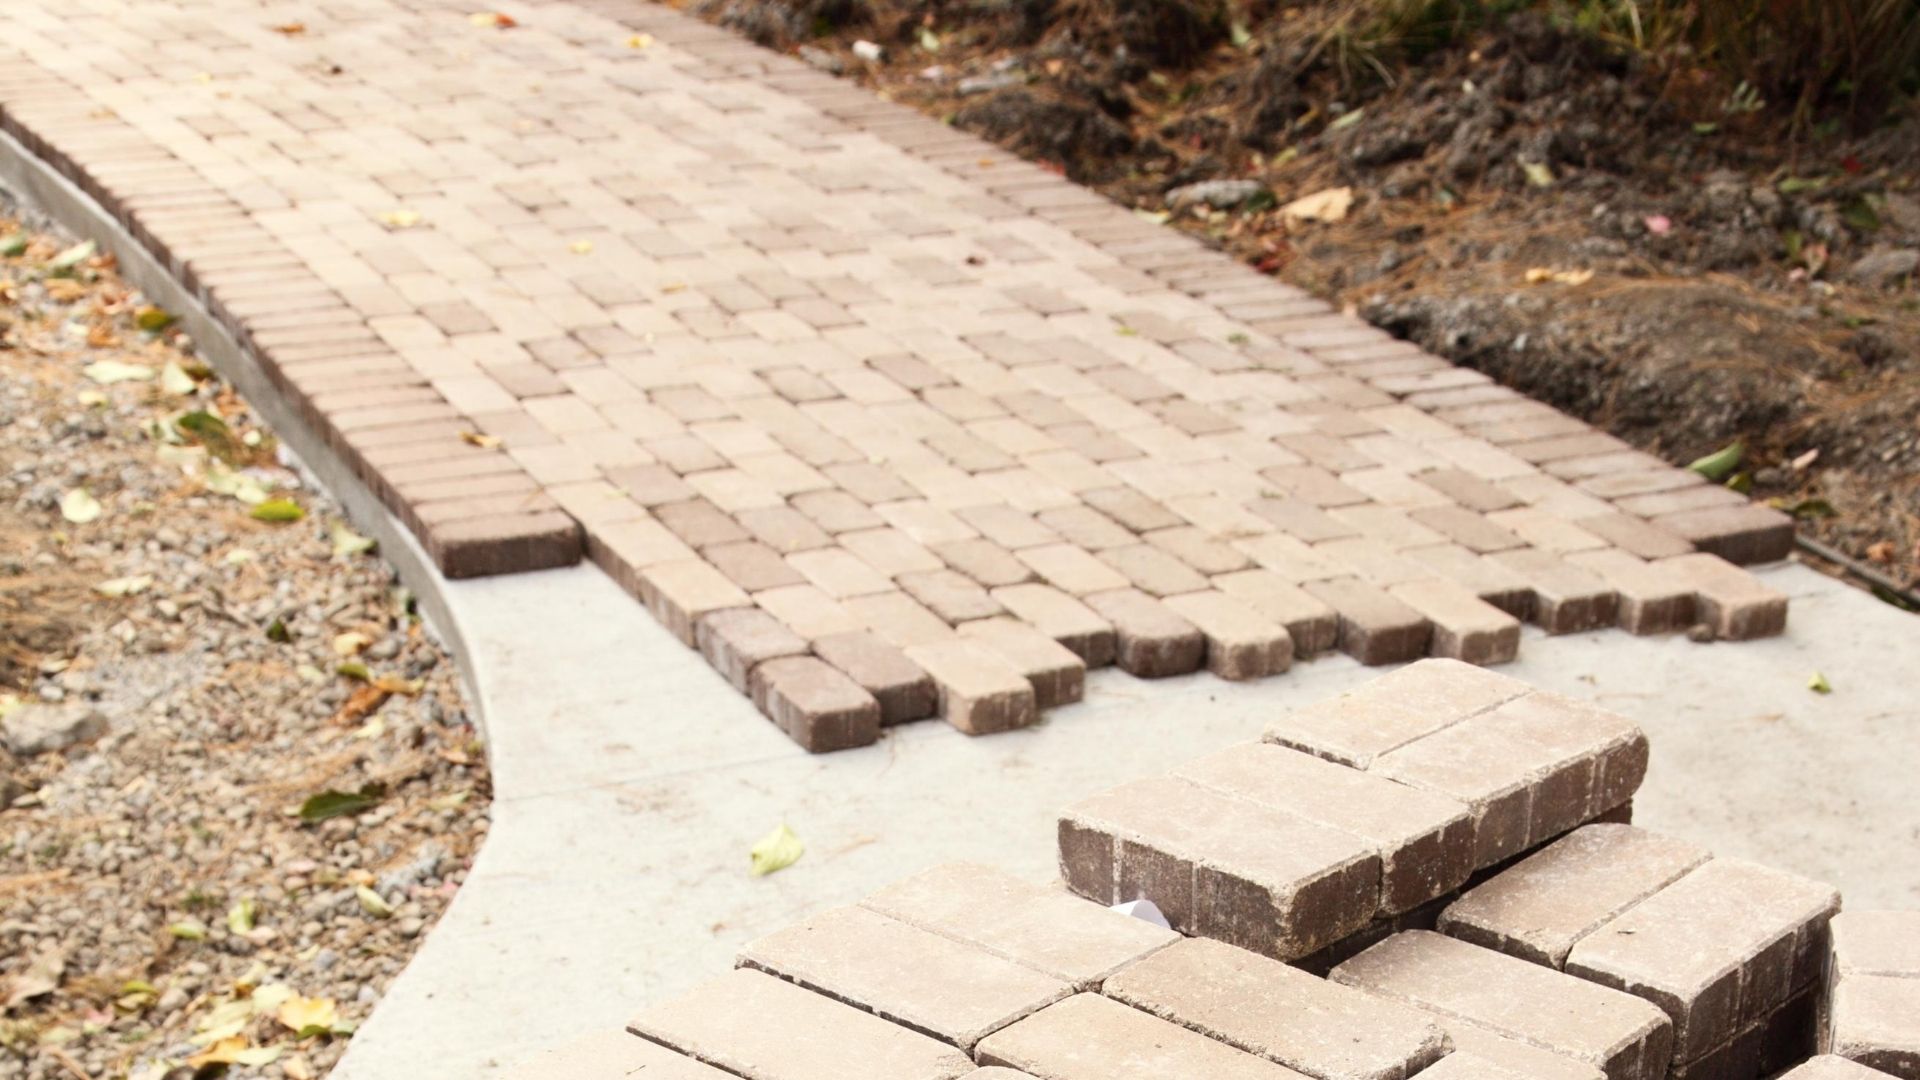
- Cutting and Trimming: Accommodate the layout and edges of the installation area by accurately cutting and trimming the concrete tiles as needed. Employ specialized tools to achieve clean and precise cuts, ensuring seamless integration and a polished overall appearance.
- Grouting and Cleaning: Once the tiles are firmly in place, proceed to grout the joints to enhance stability and visual cohesion. Clean off any excess grout and adhesive residue to reveal the pristine surface of the installed concrete tiles.
- Final Inspection: Conduct a thorough inspection of the installed tiles, verifying their alignment, stability, and overall presentation. Address any remaining adjustments or touch-ups to ensure a flawless and enduring outdoor tile installation.
By adhering to these meticulous guidelines and techniques, you can achieve a captivating and enduring outdoor space through the art of laying concrete tiles. The precision, attention to detail, and quality of the installation process culminate in a visually striking and resilient outdoor surface that elevates the charm and functionality of your property.
Finishing and Sealing
Completing the installation of concrete tiles outdoors involves the crucial steps of finishing and sealing, which are integral to enhancing the durability, aesthetics, and longevity of the installation. From final touches to protective treatments, these stages contribute to the overall resilience and visual appeal of the outdoor surface. Let’s explore the essential considerations and techniques for effectively finishing and sealing outdoor concrete tile installations:
- Surface Cleaning: Thoroughly clean the installed concrete tiles to remove any debris, adhesive residue, or grout haze. Utilize appropriate cleaning solutions and methods to restore the pristine appearance of the surface.
- Grout and Joint Inspection: Verify the integrity and stability of the grouted joints, addressing any areas that require touch-ups or adjustments. Ensure that the grout lines are uniform and free of imperfections for a polished overall presentation.
- Sealant Selection: Choose a high-quality sealant specifically formulated for outdoor concrete tiles. Consider factors such as weather resistance, UV protection, and slip resistance to select the most suitable sealant for the intended application.
- Application Process: Apply the sealant evenly and thoroughly across the entire surface of the installed concrete tiles. Utilize appropriate tools and techniques to achieve consistent coverage and penetration, ensuring comprehensive protection and enhancement of the surface.
- Protective Coating: Depending on the specific requirements of the outdoor space, consider applying a protective coating over the sealed concrete tiles to further fortify their resistance to stains, moisture, and external elements. Choose a coating that complements the desired finish and level of protection.
- Curing and Drying: Allow sufficient time for the sealant and any applied coatings to cure and dry according to the manufacturer’s recommendations. Facilitate proper ventilation and avoid foot traffic or heavy use during the curing period to ensure optimal results.
- Final Inspection and Touch-Ups: Conduct a comprehensive inspection of the finished and sealed concrete tile installation, addressing any remaining touch-ups or adjustments. Verify the uniformity, sheen, and protective properties of the surface to ensure a flawless and resilient outcome.
By meticulously attending to the finishing and sealing stages, you safeguard the integrity and visual allure of the outdoor concrete tile installation, ensuring a durable and captivating outdoor surface that withstands the test of time and environmental exposure. These final touches elevate the overall quality and performance of the installation, culminating in a transformative and enduring enhancement of your outdoor space.
Maintenance and Care
After the successful installation of concrete tiles outdoors, implementing a proactive maintenance and care regimen is crucial for preserving the beauty, functionality, and longevity of the surface. By adhering to regular maintenance practices and adopting protective measures, you can ensure that the outdoor space maintains its appeal and structural integrity over time. Here’s a comprehensive guide to effective maintenance and care for outdoor concrete tile installations:
- Regular Cleaning: Schedule routine cleaning sessions to remove dirt, debris, and organic matter from the surface of the concrete tiles. Utilize gentle cleaning solutions and methods to avoid damage or discoloration while maintaining the pristine appearance of the installation.
- Grout and Joint Maintenance: Inspect the grouted joints periodically, addressing any signs of wear, cracking, or deterioration. Perform necessary touch-ups or regrouting to reinforce the stability and visual cohesion of the tiled surface.
- Sealant Inspection and Reapplication: Monitor the condition of the sealant applied to the concrete tiles, reapplying it as needed to uphold the protective barrier against moisture, stains, and UV exposure. Regularly assess the effectiveness of the sealant and intervene promptly to maintain its efficacy.
- Surface Protection: Implement protective measures to safeguard the concrete tile surface from heavy furniture, sharp objects, and potential abrasive elements. Utilize coasters, furniture pads, and protective mats to prevent scratches, dents, and surface damage.
- Weed and Vegetation Control: Prevent the intrusion of weeds and vegetation between the concrete tiles by implementing proactive weed control measures. Regularly remove any unwanted growth and apply suitable weed deterrents to preserve the integrity of the tiled surface.
- Stain Management: Promptly address any spills or stains on the concrete tiles to prevent discoloration and permanent blemishes. Employ appropriate stain removal techniques and products to mitigate the impact of spills and maintain the aesthetic appeal of the surface.
- Seasonal Inspections: Conduct seasonal assessments of the outdoor concrete tile installation, identifying any weather-related damage, settlement, or surface irregularities. Address these issues proactively to prevent escalating damage and maintain the structural stability of the surface.
By integrating these maintenance practices into your regular routine, you can preserve the allure and functionality of the outdoor concrete tile installation, ensuring a resilient and visually captivating outdoor space that endures the rigors of time and use. Proactive care and attention contribute to the sustained beauty and performance of the surface, allowing you to relish the enduring charm and functionality of your outdoor environment.
Conclusion
Embarking on the journey of laying concrete tiles outdoors is a transformative endeavor that empowers you to elevate the aesthetics, functionality, and enduring appeal of your outdoor space. From meticulous planning and preparation to the final touches of maintenance and care, each phase of the installation process contributes to the creation of a captivating and resilient outdoor environment. By embracing the art of laying concrete tiles, you infuse your outdoor space with enduring charm and functionality, setting the stage for memorable gatherings, peaceful retreats, and cherished moments amidst the natural allure.
Through careful planning and attention to detail, you orchestrate a seamless and visually striking installation that harmonizes with the surrounding landscape and architectural elements. The precision and craftsmanship invested in laying concrete tiles yield a surface that not only captivates the eye but also withstands the tests of time, weather, and daily use with unwavering resilience.
As you navigate the various stages of site preparation, concrete mixing, tile laying, and finishing, you imbue the outdoor space with your unique vision and personality, creating a haven that reflects your distinct style and appreciation for enduring quality. The enduring beauty and functionality of the outdoor concrete tile installation stand as a testament to your dedication to crafting an environment that inspires and rejuvenates, enriching your daily experiences and fostering a deep connection with the natural world.
By embracing the principles of proactive maintenance and care, you safeguard the longevity and allure of the concrete tile surface, ensuring that its enduring charm continues to enrich your outdoor lifestyle for years to come. With each passing season and gathering, the outdoor space adorned with concrete tiles becomes a cherished backdrop for cherished memories, tranquil moments, and the simple joys of outdoor living.
As you bask in the enduring allure and functionality of the outdoor space adorned with meticulously laid concrete tiles, you celebrate the seamless fusion of artistry, durability, and natural splendor. This transformative endeavor stands as a testament to your commitment to creating an outdoor sanctuary that embodies enduring beauty, functionality, and the timeless allure of the great outdoors.
Now that you've mastered laying concrete tiles, why not explore more outdoor enhancement options? If deciding on surfaces for your garden or patio, reading up on the best outdoor flooring will provide valuable insights and ideas. For those who love hands-on projects, our guide on DIY outdoor projects is perfect. These articles offer great tips to further boost your home's curb appeal and make your outdoor spaces truly shine.
Frequently Asked Questions about How To Lay Concrete Tiles Outdoor
Was this page helpful?
At Storables.com, we guarantee accurate and reliable information. Our content, validated by Expert Board Contributors, is crafted following stringent Editorial Policies. We're committed to providing you with well-researched, expert-backed insights for all your informational needs.


0 thoughts on “How To Lay Concrete Tiles Outdoor”