Home>Furniture & Design>Outdoor Furniture>How To Install Outdoor Tiles On Dirt
Outdoor Furniture
How To Install Outdoor Tiles On Dirt
Published: January 12, 2024
Learn how to properly install outdoor tiles on dirt with our comprehensive guide. Create a stylish and functional outdoor space with our expert tips and advice.
(Many of the links in this article redirect to a specific reviewed product. Your purchase of these products through affiliate links helps to generate commission for Storables.com, at no extra cost. Learn more)
Introduction
Welcome to the world of outdoor design and furniture! Whether you're renovating your backyard, creating a cozy patio space, or revamping your garden, outdoor tiles can add a touch of elegance and functionality to your outdoor living area. Installing outdoor tiles on dirt can transform a plain outdoor space into a stylish and inviting extension of your home. With the right guidance and a bit of creativity, you can elevate your outdoor area with a beautiful tiled surface that is both durable and visually appealing.
In this comprehensive guide, we'll walk you through the step-by-step process of installing outdoor tiles on dirt. From preparing the area to laying the foundation and finally installing the tiles, we'll cover everything you need to know to achieve professional-looking results. Whether you're a seasoned DIY enthusiast or a first-time homeowner looking to take on a new project, this guide will equip you with the knowledge and confidence to tackle the installation process with ease.
So, roll up your sleeves, gather your tools, and get ready to embark on a rewarding journey of outdoor transformation. Let's dive into the exciting world of outdoor tile installation and unleash the potential of your outdoor space!
Key Takeaways:
- Transform your outdoor space with elegant and durable outdoor tiles on dirt. Follow the step-by-step guide for a professional-looking result, and embrace the endless possibilities for relaxation and entertainment in your revitalized oasis.
- Elevate your outdoor area with outdoor tile installation, adding charm and functionality to your home. Embrace the transformative power of outdoor living and create cherished memories in your newly revitalized outdoor space.
Read more: How To Install Turf On Dirt
Step 1: Prepare the Area
Before diving into the actual installation of outdoor tiles, it’s crucial to prepare the designated area to ensure a smooth and long-lasting outcome. Here’s a detailed breakdown of the preparatory steps:
- Clear the Area: Start by clearing the designated outdoor space of any debris, rocks, or vegetation. This step is essential to create a clean and level surface for the tile installation.
- Measure and Mark: Use measuring tools to determine the dimensions of the area where the tiles will be installed. Mark the boundaries using chalk or temporary markers to visualize the layout and ensure precise placement.
- Excavate the Soil: Depending on the existing condition of the dirt surface, you may need to excavate the soil to achieve the desired depth for the tile installation. Use a shovel to remove the top layer of soil, taking care to maintain a uniform depth across the entire area.
- Compact the Soil: After excavating the soil, use a compactor or tamper to firmly compact the dirt. This step is crucial for creating a stable base that minimizes the risk of uneven settling once the tiles are in place.
- Install Landscape Fabric: To prevent weed growth and promote better drainage, consider laying landscape fabric over the compacted soil. This additional layer acts as a barrier while allowing water to permeate, enhancing the overall longevity of the tile installation.
- Assess Drainage: Evaluate the drainage patterns in the area to identify any potential water accumulation issues. Proper drainage is essential for preserving the integrity of the outdoor tiles, so take the time to address any drainage concerns before proceeding to the next step.
By meticulously preparing the area, you’ll establish a solid foundation for the outdoor tile installation, setting the stage for a successful and visually stunning outdoor space. With the groundwork laid, it’s time to move on to the next crucial step: laying the foundation.
Step 2: Lay the Foundation
With the area meticulously prepared, it’s time to lay the foundation for the outdoor tile installation. This step sets the stage for the structural integrity and longevity of the tiled surface. Here’s a comprehensive guide to laying the foundation:
- Select the Base Material: Choose a suitable base material, such as gravel or sand, to create a stable and level surface for the tiles. The base material serves as a crucial layer that facilitates proper drainage and minimizes the risk of uneven settling.
- Distribute the Base Material: Spread the selected base material evenly over the compacted soil, ensuring uniform coverage across the entire area. Use a rake or leveling tool to achieve a consistent depth, taking care to maintain the desired thickness for optimal support.
- Compact the Base: Once the base material is distributed, use a compactor or tamper to firmly compact the surface. This step is essential for creating a solid and stable foundation that minimizes the risk of shifting or settling over time.
- Check for Levelness: Use a level to verify the evenness of the compacted base. Making adjustments at this stage will contribute to a flawless and visually appealing tile installation, so take the time to ensure that the foundation is perfectly level.
- Consider Edge Restraints: Depending on the design and layout of the outdoor tile area, consider installing edge restraints to define the boundaries and secure the tiles in place. Edge restraints can be made of materials such as metal, plastic, or concrete, providing a clean and professional finish to the tiled surface.
- Verify Compatibility with Tile Type: If you’re using specific outdoor tile materials, ensure that the chosen base material and installation methods are compatible with the tile type. Different tile materials may require varying foundation specifications, so consult the manufacturer’s guidelines for optimal results.
By meticulously laying the foundation, you’ll establish a robust base that supports the outdoor tiles while promoting proper drainage and stability. With the foundation in place, you’re ready to move on to the exciting phase of installing the outdoor tiles, bringing your vision of a stunning outdoor space one step closer to reality.
Before installing outdoor tiles on dirt, make sure to level the ground and compact the soil to create a stable base. Use a geotextile fabric to prevent weed growth and ensure proper drainage. Then, lay a gravel base and sand layer before placing the tiles.
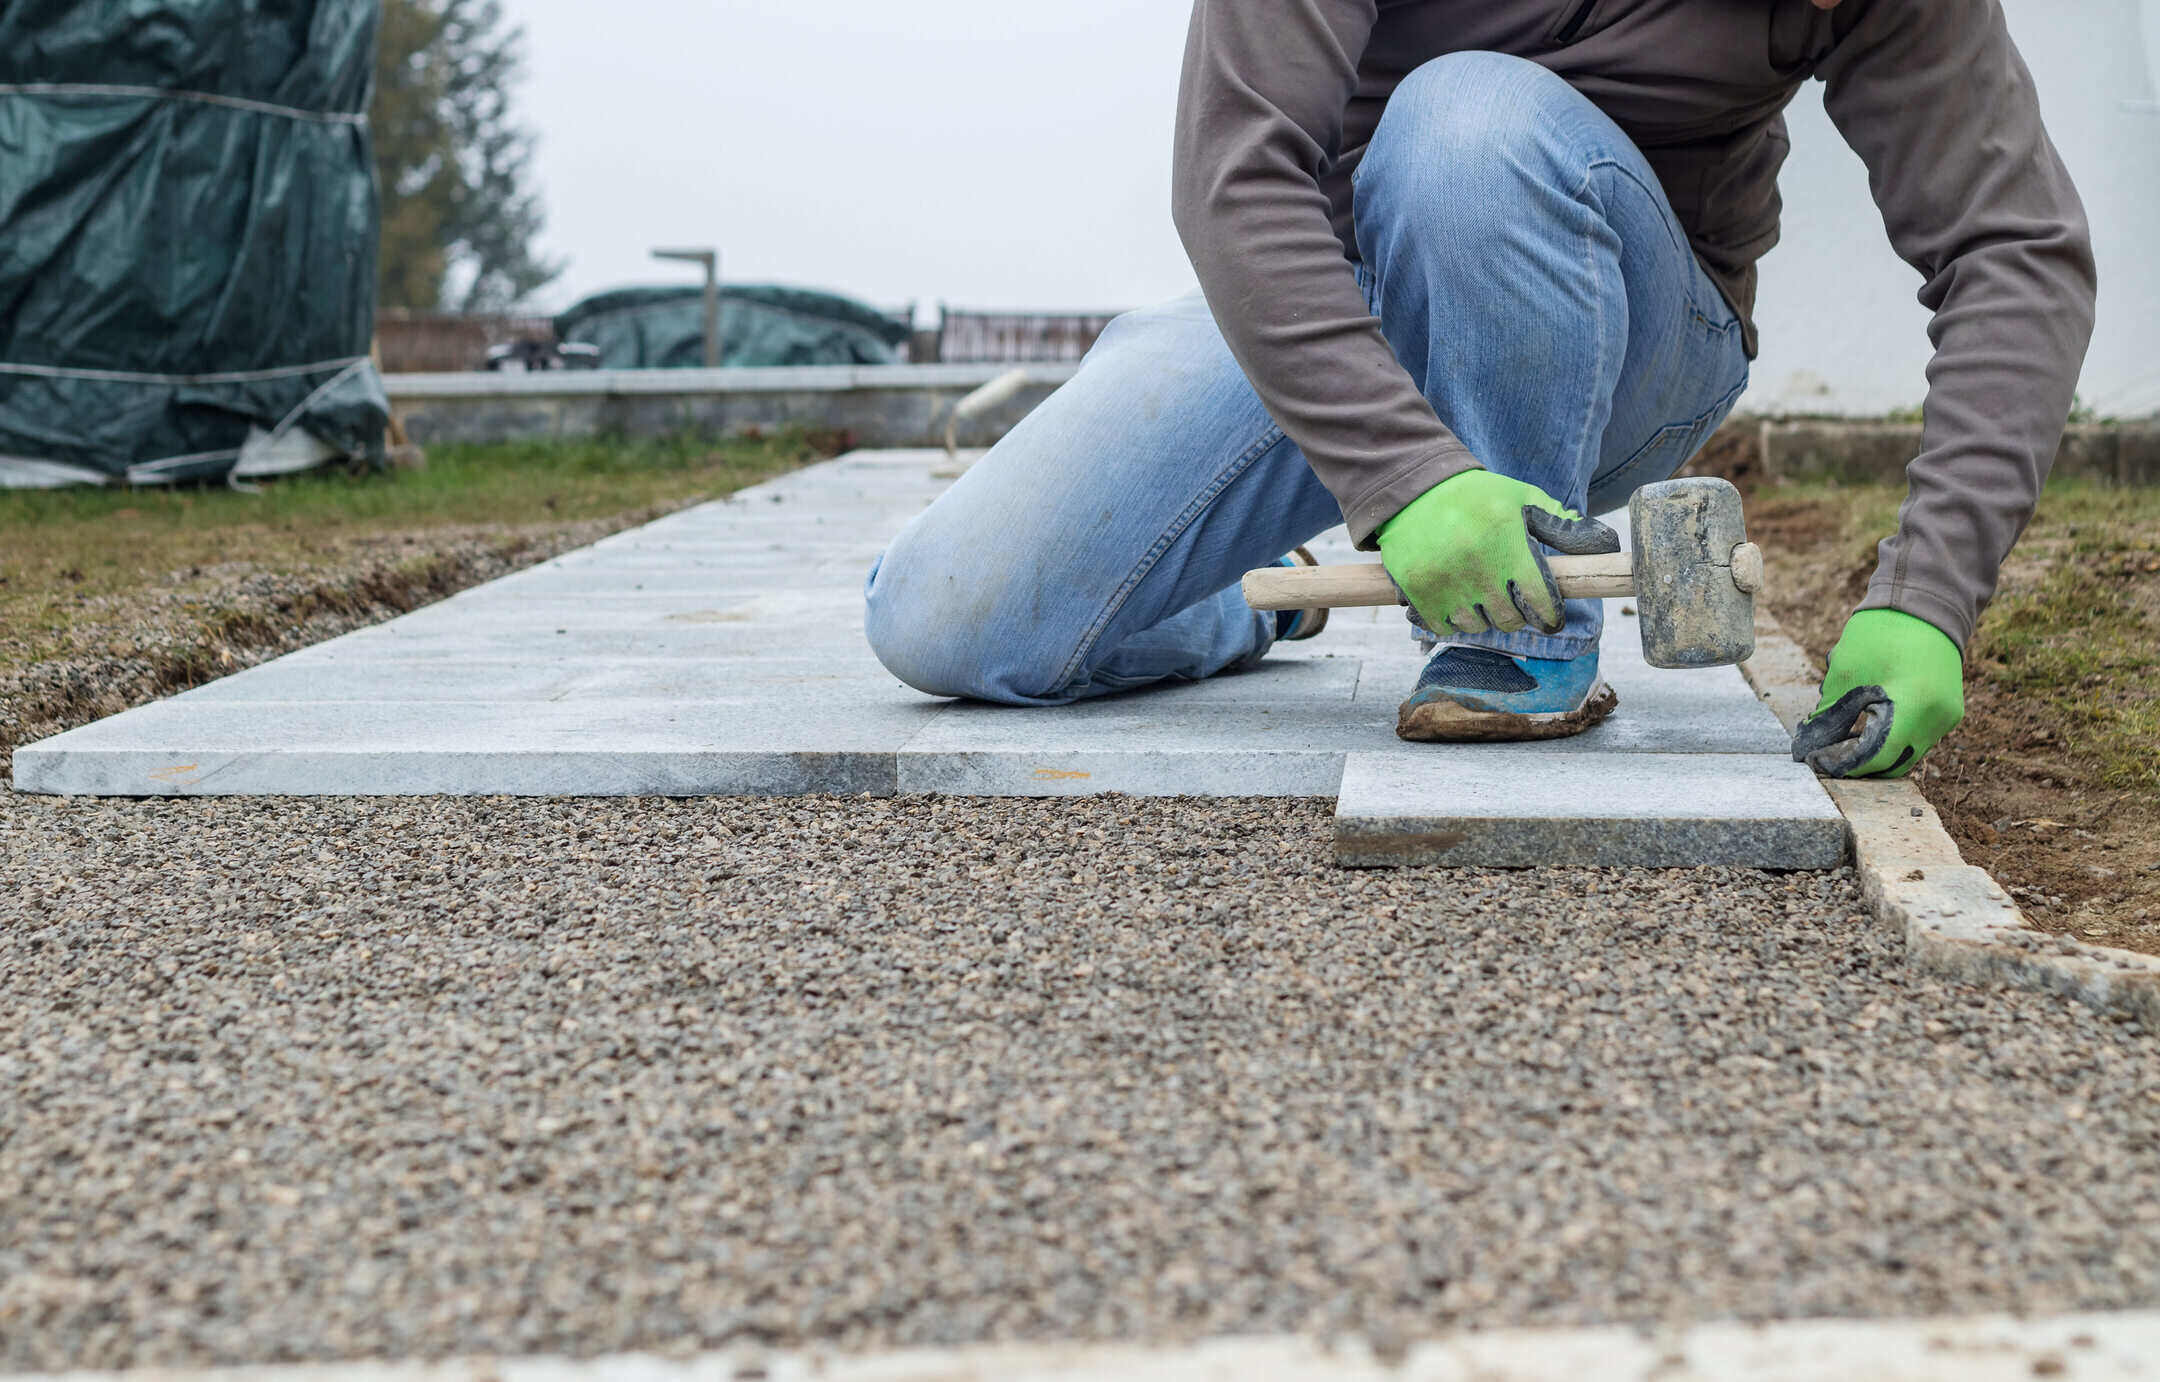
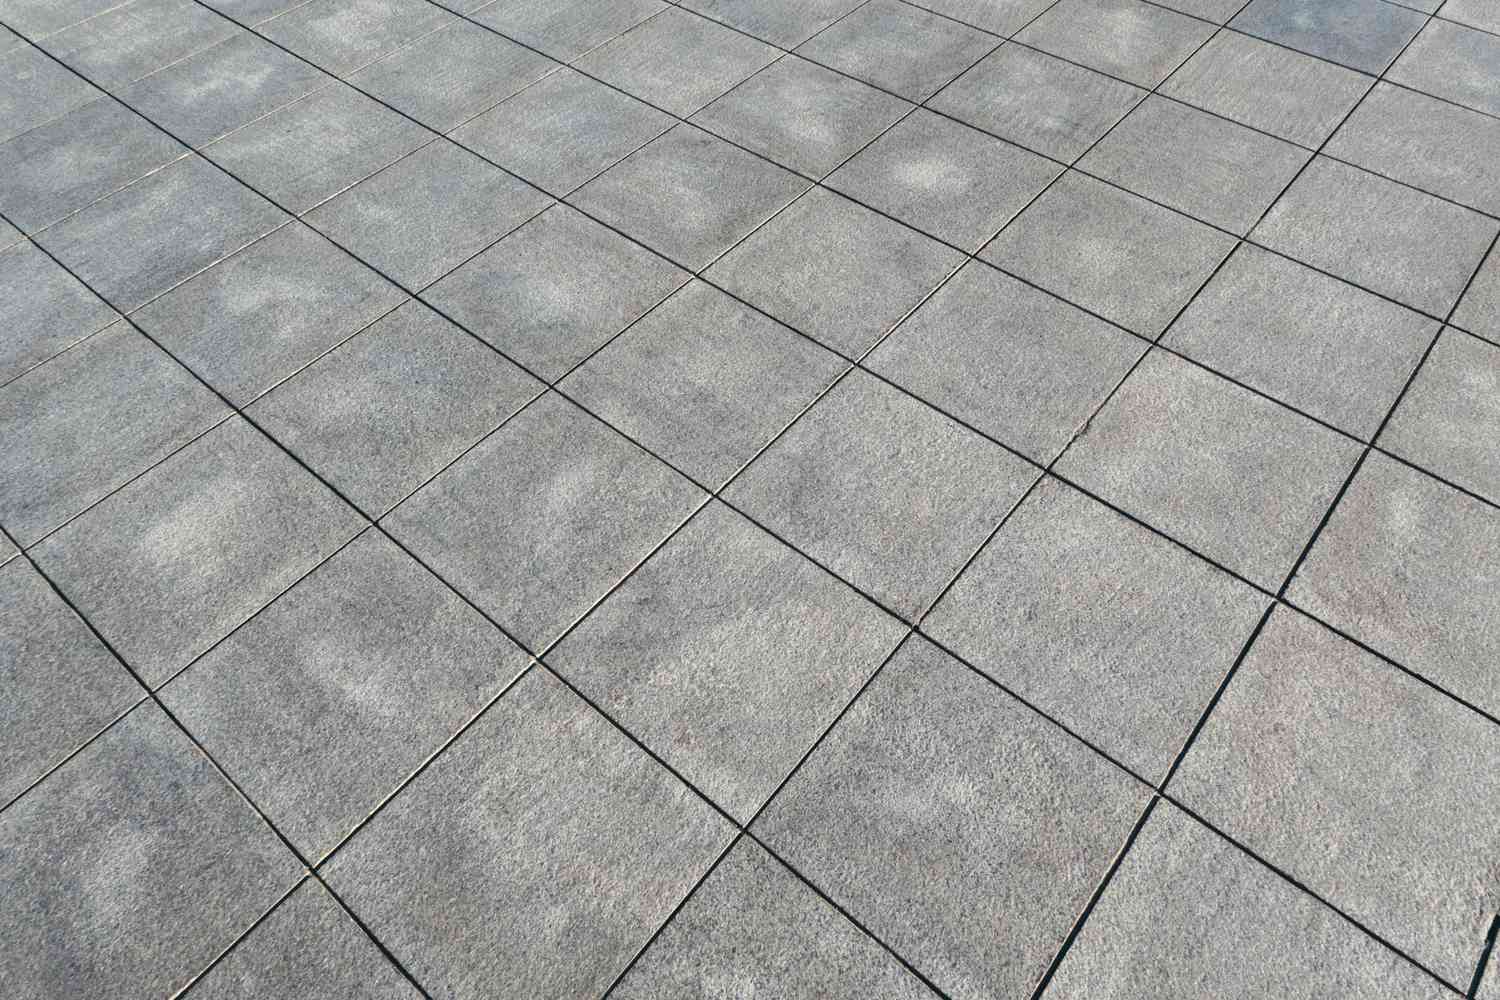
Step 3: Install the Outdoor Tiles
As you embark on the exhilarating phase of installing the outdoor tiles, meticulous attention to detail and precision will ensure a visually stunning and enduring result. Here’s a comprehensive guide to the installation process:
- Choose the Right Tiles: Select outdoor tiles that are specifically designed for exterior use, offering durability and resistance to outdoor elements. Consider factors such as material, texture, and color to complement the overall design of your outdoor space.
- Plan the Layout: Before placing the tiles, plan the layout to achieve a visually appealing pattern and ensure a seamless fit within the designated area. Consider using spacers to maintain consistent spacing between the tiles, creating a professional and polished look.
- Apply Adhesive: Use a high-quality outdoor tile adhesive or mortar to secure the tiles to the prepared foundation. Follow the manufacturer’s instructions for mixing and applying the adhesive, ensuring thorough coverage for strong adhesion.
- Place the Tiles: Carefully place each tile onto the adhesive, pressing firmly to ensure a secure bond. Take care to maintain the planned layout and spacing, making any necessary adjustments as you progress through the installation.
- Verify Alignment and Levelness: Use a level to confirm that the tiles are aligned and level, making adjustments as needed to achieve a uniform and visually pleasing surface. Pay close attention to the positioning of each tile to create a seamless and professional finish.
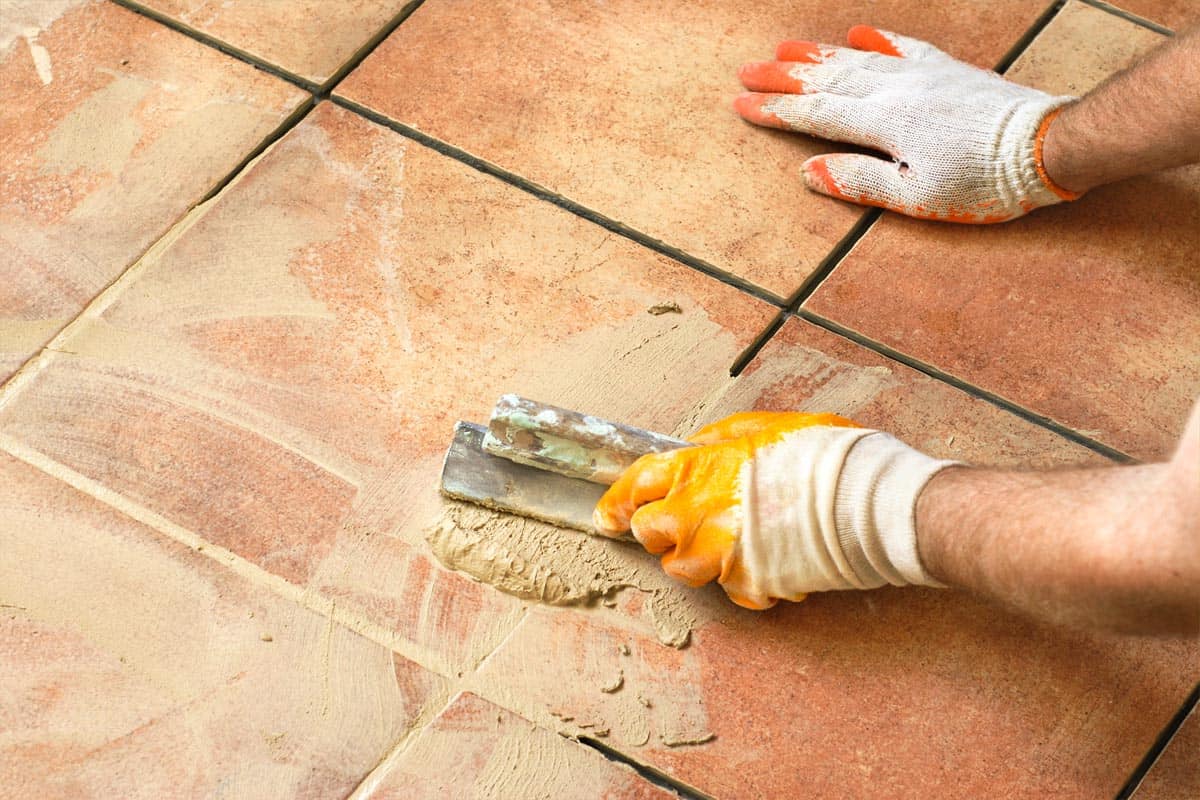
- Grout the Joints: Once the tiles are in place, apply outdoor grout to fill the joints between the tiles. Choose a grout color that complements the tiles and enhances the overall aesthetic appeal of the outdoor space.
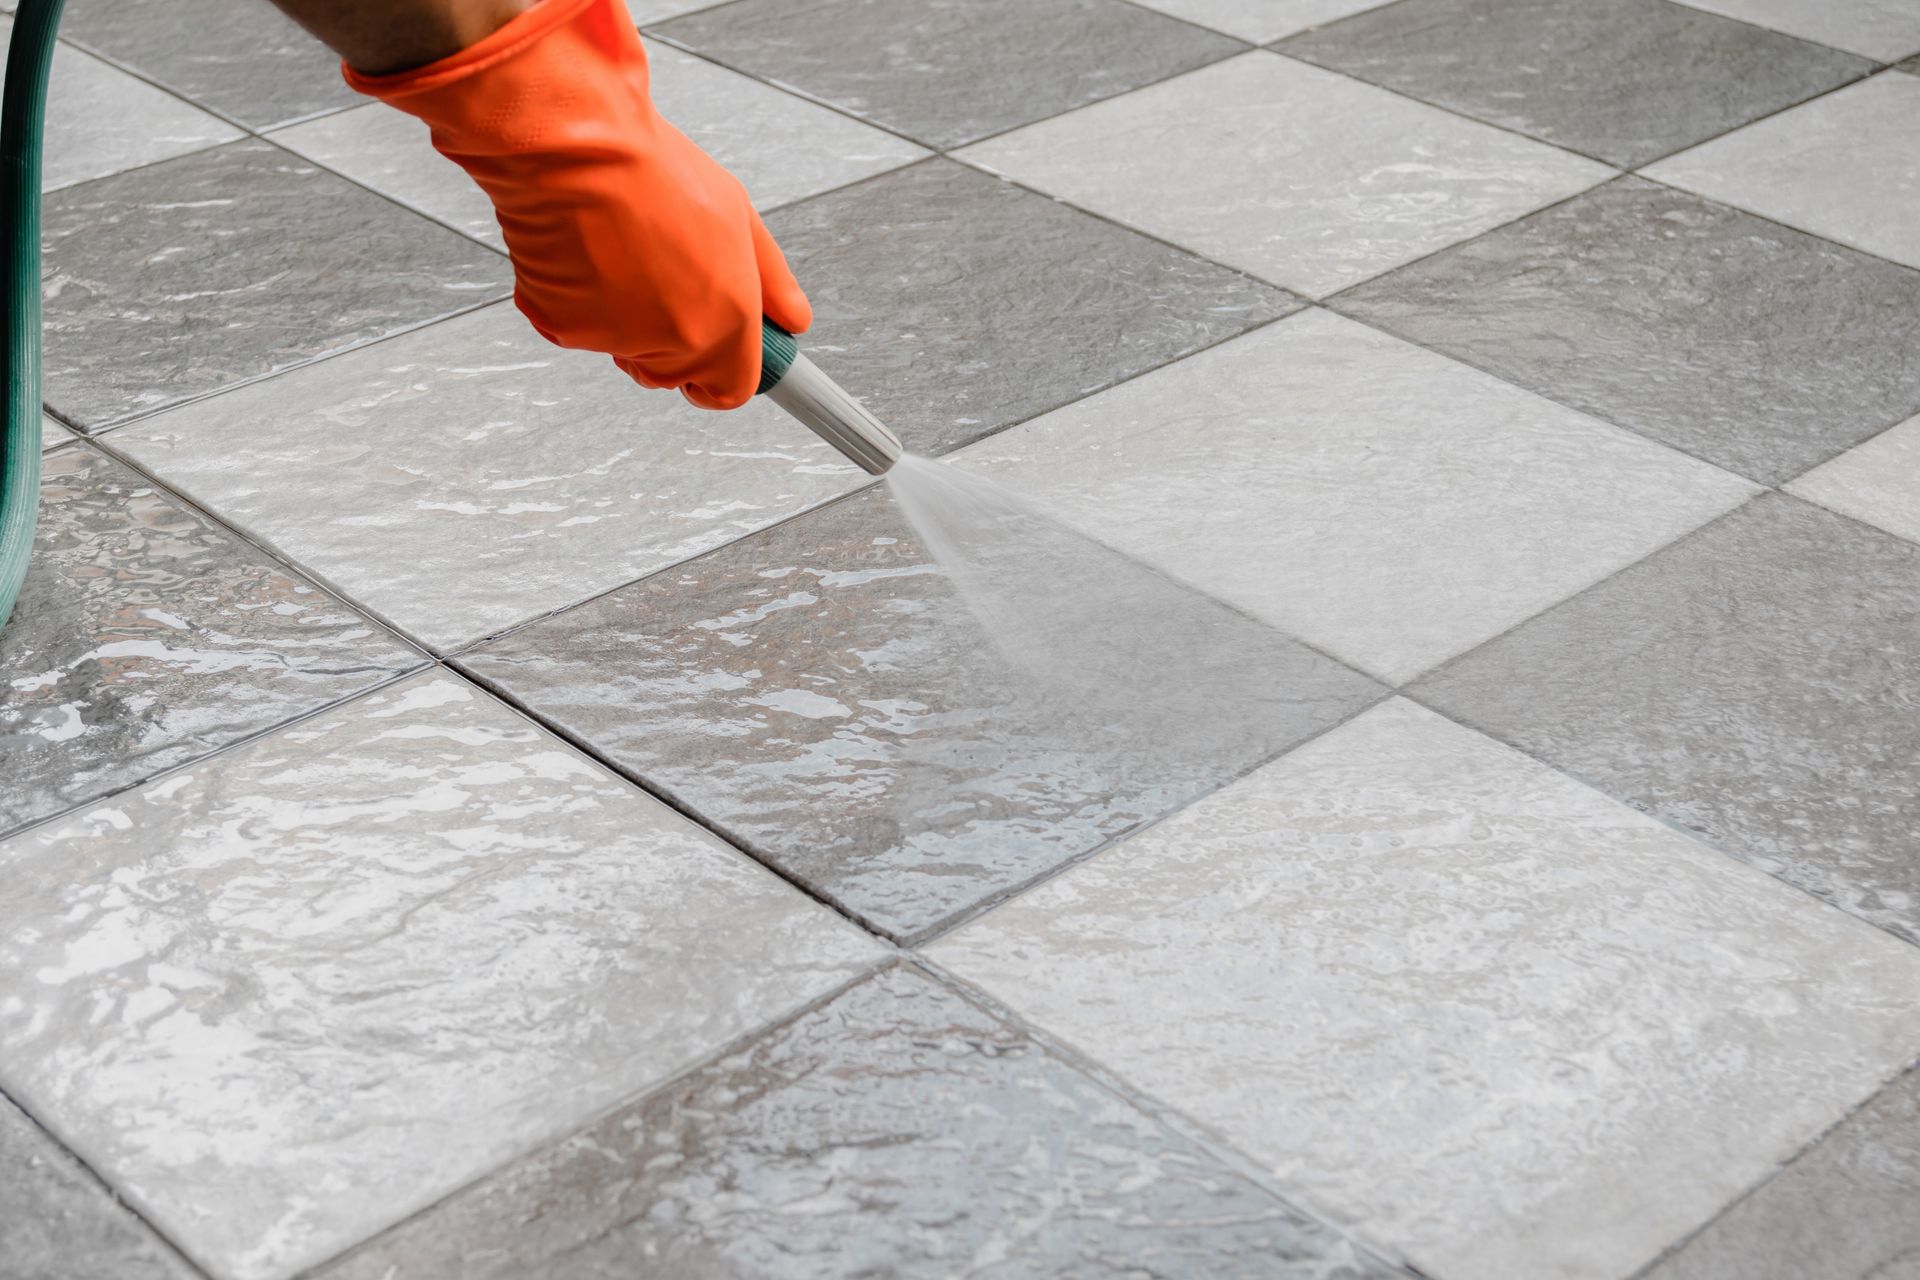
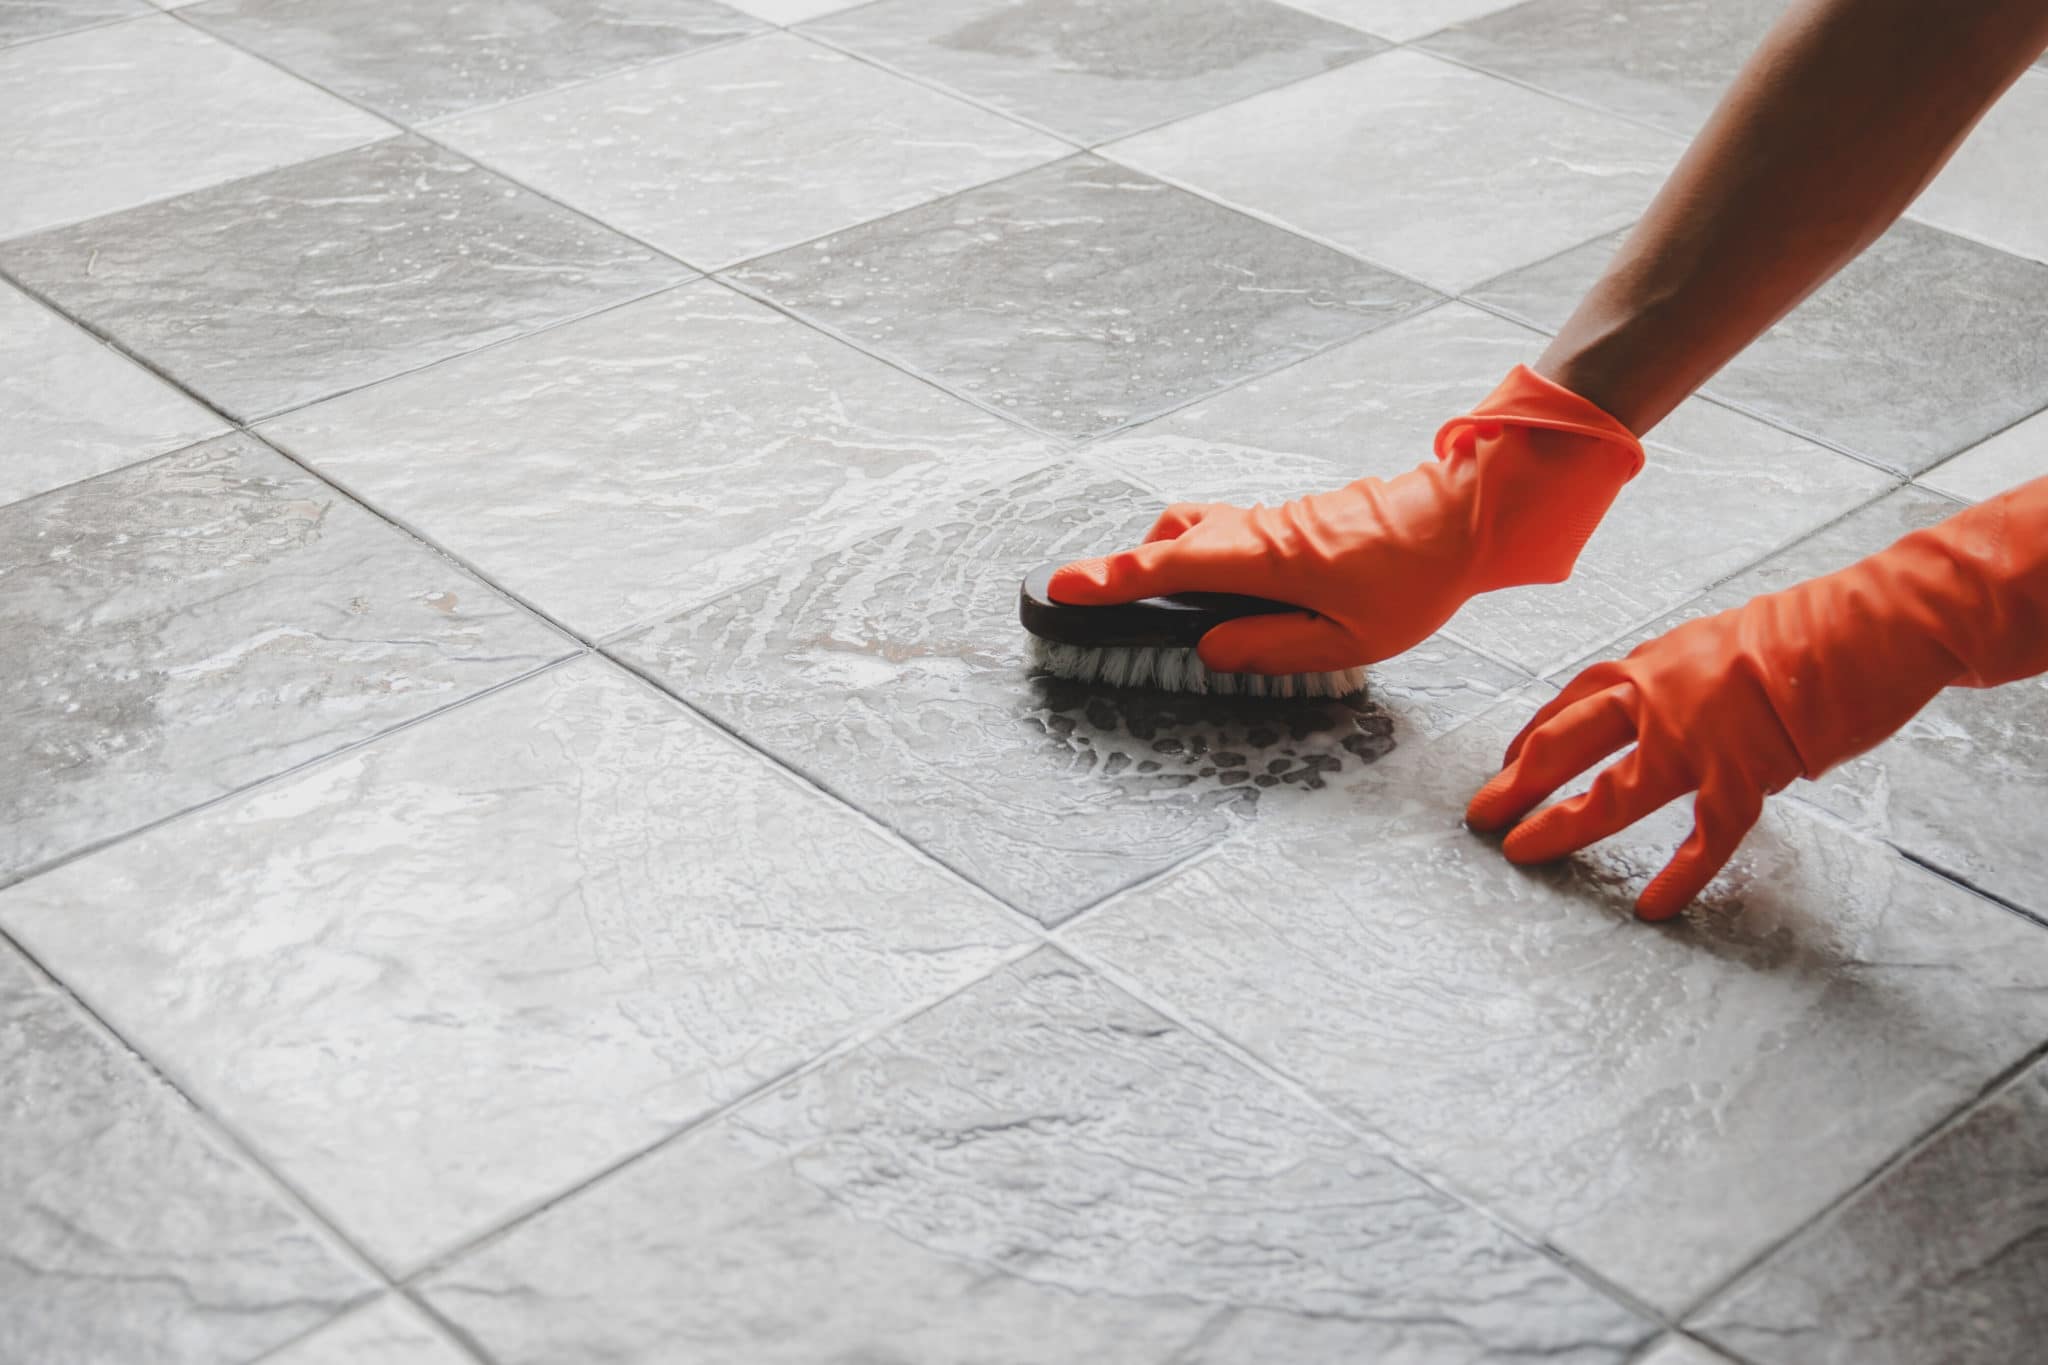
- Clean the Surface: After grouting, carefully clean the surface of the tiles to remove any excess grout and achieve a polished finish. Use a damp sponge or cloth to gently wipe away the grout residue, taking care not to disturb the freshly applied grout.
By following these meticulous steps, you’ll achieve a flawless and professionally installed outdoor tile surface that enhances the beauty and functionality of your outdoor living area. With the tiles securely in place, it’s time to add the finishing touches to complete the transformation of your outdoor space.
Step 4: Finishing Touches
As you approach the final stage of the outdoor tile installation, adding thoughtful finishing touches will elevate the visual appeal and functionality of the transformed outdoor space. Here’s a guide to the essential finishing touches:
- Seal the Tiles: Consider applying a high-quality outdoor tile sealer to protect the surface from stains, moisture, and harsh outdoor elements. This additional layer of protection enhances the longevity and beauty of the tiles, ensuring a lasting investment in your outdoor space.
- Add Decorative Elements: Enhance the ambiance of your outdoor area by incorporating decorative elements such as outdoor furniture, potted plants, or ornamental features. These additions infuse personality and charm into the space, creating an inviting and stylish outdoor environment.
- Install Lighting: Illuminate the beauty of the outdoor tiles and create a captivating ambiance by incorporating strategic outdoor lighting. Whether through path lights, string lights, or wall-mounted fixtures, lighting adds a magical touch to the outdoor space, extending its functionality into the evening hours.
- Create Comfortable Seating Areas: Arrange outdoor furniture to create inviting seating areas that encourage relaxation and socializing. Consider durable and weather-resistant furniture pieces that complement the design of the outdoor tiles, providing comfort and functionality for outdoor gatherings.
- Integrate Greenery: Introduce lush greenery and vibrant plant life to infuse natural beauty into the outdoor space. Consider incorporating planters, vertical gardens, or landscaping features to create a harmonious blend of nature and design within the tiled outdoor environment.
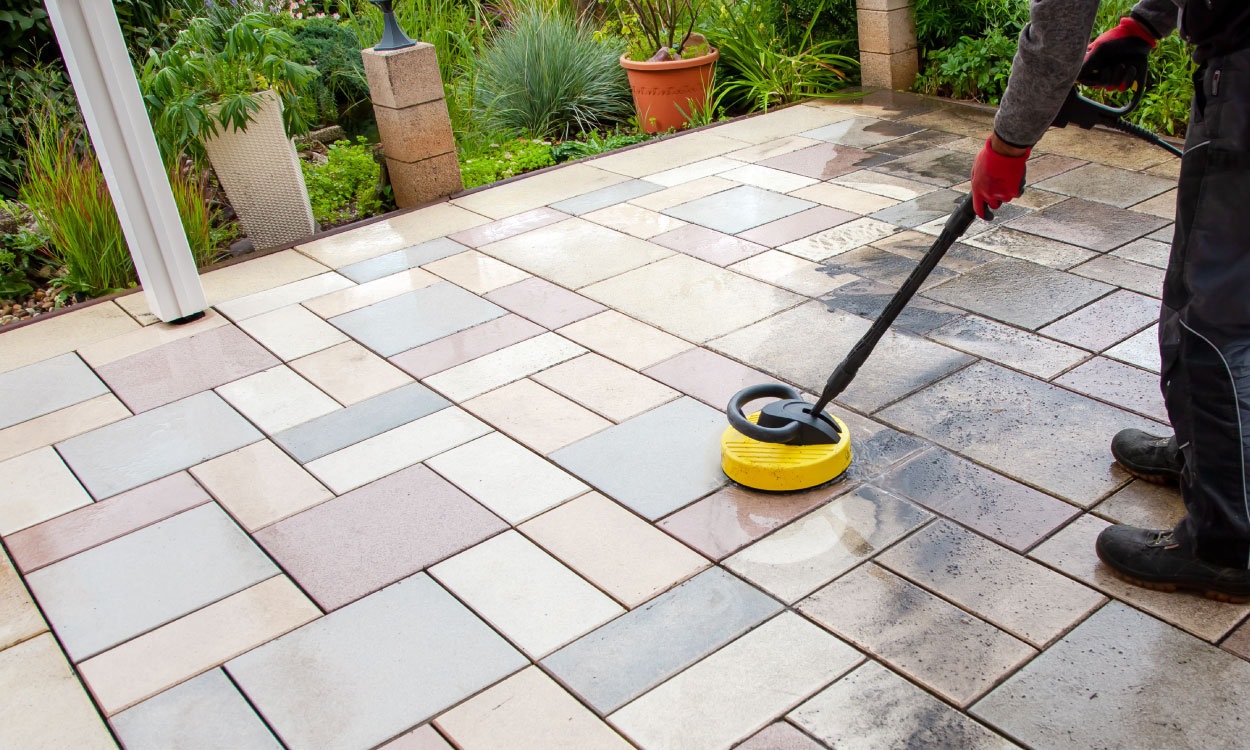
- Maintain Regular Cleaning and Care: Establish a routine for cleaning and maintaining the outdoor tiles to preserve their pristine appearance and structural integrity. Regular sweeping, gentle washing, and proactive maintenance will ensure that the tiled surface remains a captivating focal point of your outdoor living area.
By incorporating these essential finishing touches, you’ll complete the transformation of your outdoor space into a captivating and functional oasis. The thoughtful integration of decorative elements, lighting, and maintenance practices will ensure that your outdoor tile installation continues to impress and inspire for years to come.
Read more: How To Install Astro Turf On Dirt
Conclusion
Congratulations on completing the exhilarating journey of installing outdoor tiles on dirt! Through meticulous preparation, precise foundation laying, meticulous tile installation, and thoughtful finishing touches, you’ve transformed your outdoor space into a captivating and functional oasis. As you admire the stunning results of your efforts, it’s essential to reflect on the transformative power of outdoor tile installations.
By embracing the process of outdoor tile installation, you’ve not only enhanced the visual appeal of your outdoor living area but also expanded the possibilities for relaxation, entertaining, and connecting with nature. The durable and weather-resistant nature of outdoor tiles ensures that your outdoor space remains a welcoming retreat throughout the seasons, providing a versatile canvas for outdoor enjoyment.
Moreover, the installation of outdoor tiles on dirt represents a rewarding investment in the long-term beauty and functionality of your outdoor environment. The meticulous attention to detail and the integration of thoughtful finishing touches have resulted in a space that beckons you to unwind, entertain, and savor the joys of outdoor living.
As you bask in the beauty of your newly tiled outdoor space, remember that regular maintenance and care will preserve its allure for years to come. Embrace the opportunity to create cherished memories, host gatherings, and immerse yourself in the tranquility of your outdoor sanctuary.
Whether you’ve embarked on this journey as a seasoned DIY enthusiast or as a first-time homeowner seeking to elevate your outdoor space, the successful installation of outdoor tiles on dirt exemplifies your dedication to enhancing the beauty and functionality of your home. Your outdoor area now stands as a testament to your creativity, vision, and commitment to creating a space that inspires and rejuvenates.
As you revel in the transformative impact of the outdoor tile installation, take pride in the fact that you’ve unlocked the full potential of your outdoor living area. Embrace the joy of outdoor living and savor the countless moments of relaxation, laughter, and connection that await in your newly revitalized outdoor space.
With the installation process complete, it’s time to embrace the endless possibilities that your stunning outdoor environment offers. Whether it’s a quiet morning coffee on the patio, a lively gathering with friends and family, or a tranquil evening under the stars, your outdoor tiled oasis awaits, ready to enrich your life and elevate your home.
Frequently Asked Questions about How To Install Outdoor Tiles On Dirt
Was this page helpful?
At Storables.com, we guarantee accurate and reliable information. Our content, validated by Expert Board Contributors, is crafted following stringent Editorial Policies. We're committed to providing you with well-researched, expert-backed insights for all your informational needs.


0 thoughts on “How To Install Outdoor Tiles On Dirt”