Home>Furniture & Design>Outdoor Furniture>How To Unfreeze Outdoor Pipes

Outdoor Furniture
How To Unfreeze Outdoor Pipes
Modified: October 20, 2024
Learn how to unfreeze outdoor pipes and prevent damage to your outdoor furniture. Get expert tips on outdoor furniture maintenance and design. Protect your outdoor investment today.
(Many of the links in this article redirect to a specific reviewed product. Your purchase of these products through affiliate links helps to generate commission for Storables.com, at no extra cost. Learn more)
Introduction
Winter brings with it the magic of snow-covered landscapes and the joy of cozy nights by the fire. However, it also brings the potential for frozen outdoor pipes, which can be a major inconvenience and even lead to costly repairs if not addressed promptly. Whether you're a seasoned homeowner or new to the responsibilities of maintaining a property, understanding how to handle frozen outdoor pipes is crucial for ensuring the integrity of your plumbing system.
In this comprehensive guide, we will delve into the various aspects of dealing with frozen outdoor pipes, from identifying the issue to safely thawing the pipes and implementing preventive measures to avoid future freezing. By the end of this article, you will be equipped with the knowledge and confidence to tackle this common winter challenge effectively.
So, grab a warm drink, get comfortable, and let's explore the best practices for dealing with and preventing frozen outdoor pipes.
Key Takeaways:
- Don’t let frozen outdoor pipes put a chill on your winter! Look out for decreased water flow, unusual odors, and visible frost to identify the issue. Safely thaw pipes with gentle heat and warm water, and prevent future freezing by insulating, draining hoses, and using heat tape.
- Stay cozy and worry-free this winter by learning how to handle frozen outdoor pipes. Keep an eye out for signs of frozen pipes, safely thaw them with heat and warm water, and prevent future freezing with insulation, draining hoses, and using heat tape.
Read more: How To Unfreeze Pipes To A Washing Machine
Identifying the Frozen Pipes
Before taking any action, it’s essential to confirm that your outdoor pipes are indeed frozen. The following signs can indicate frozen pipes:
- Decreased or No Water Flow: When attempting to use an outdoor faucet or hose, you may notice a significant reduction in water flow or no water coming out at all. This is a strong indicator of frozen pipes.
- Unusual Odors: If there are foul or unusual odors coming from your outdoor plumbing fixtures, it could be a sign of a blockage caused by frozen debris or ice.
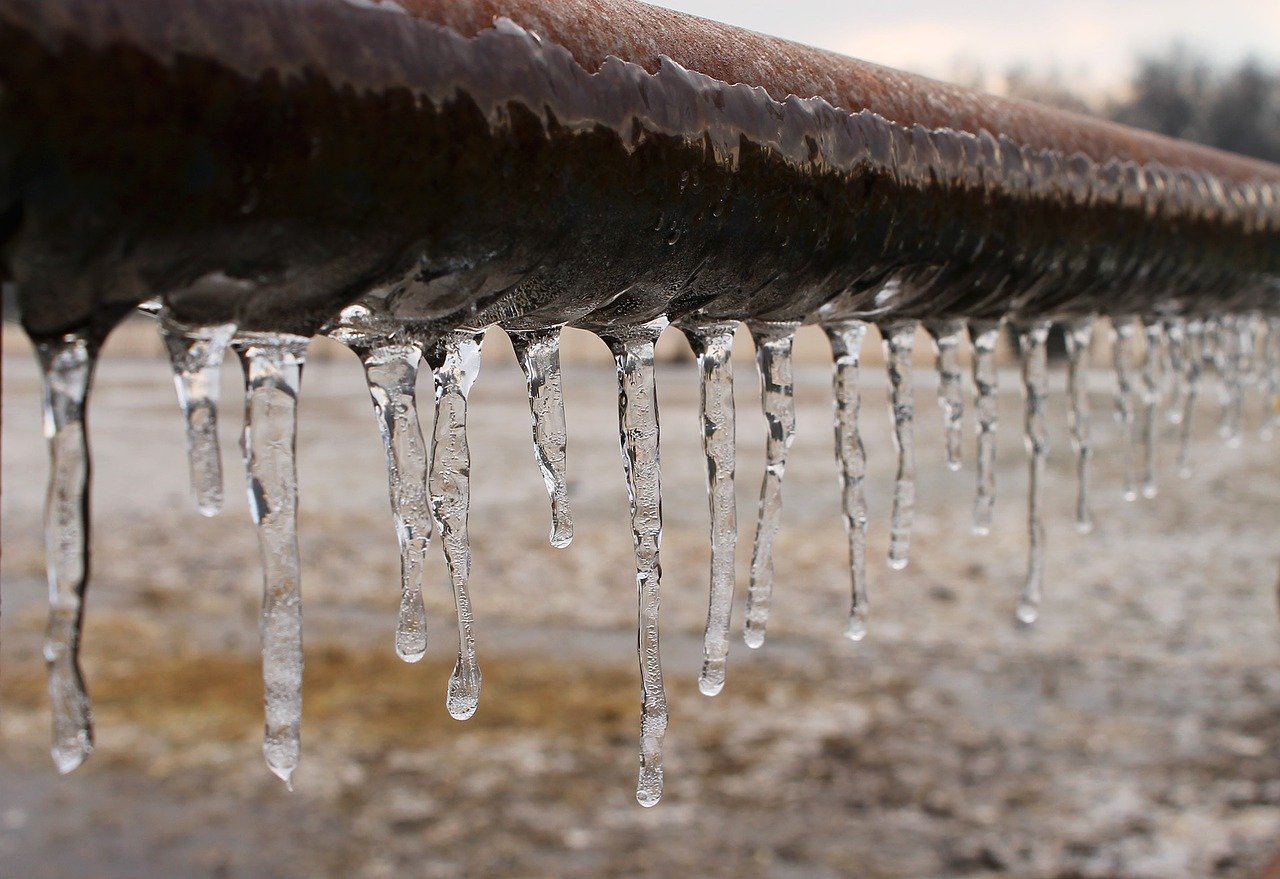
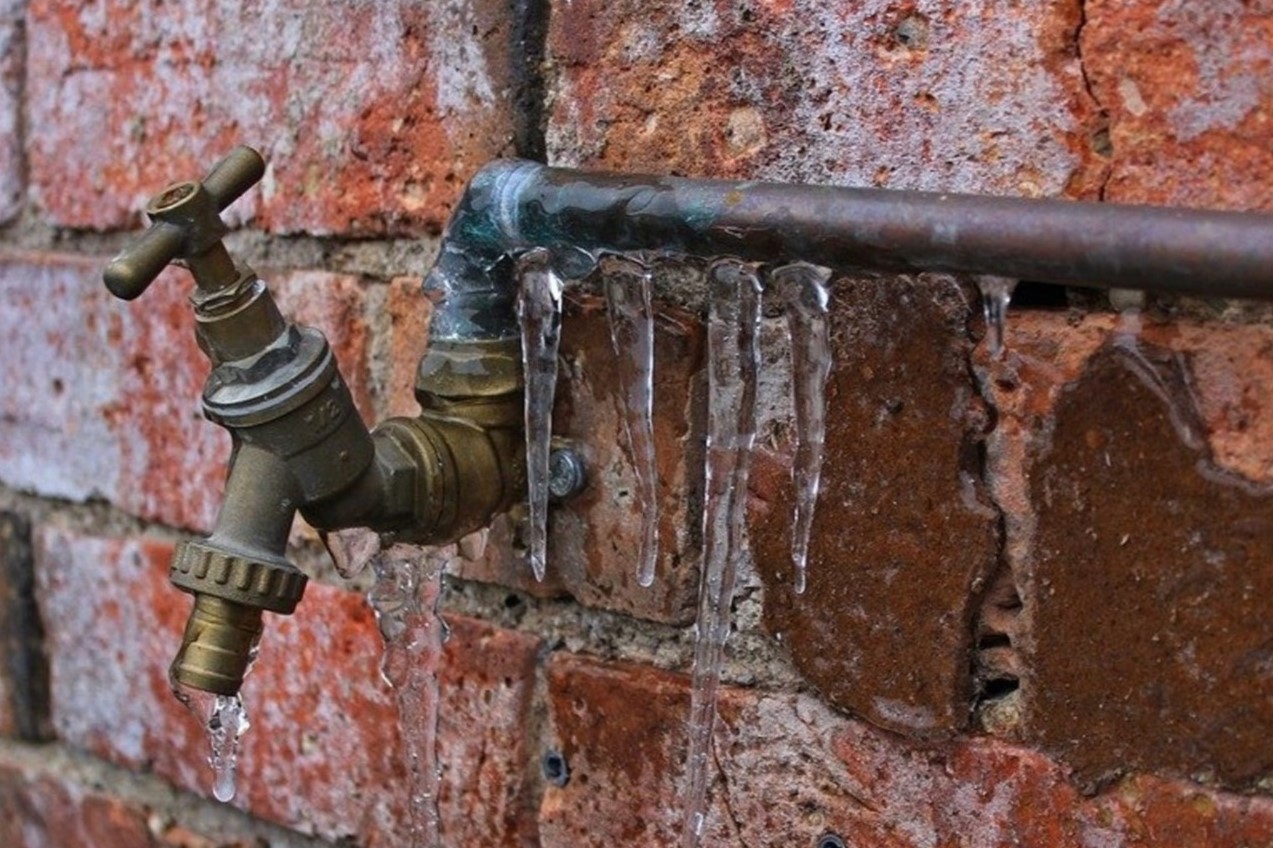
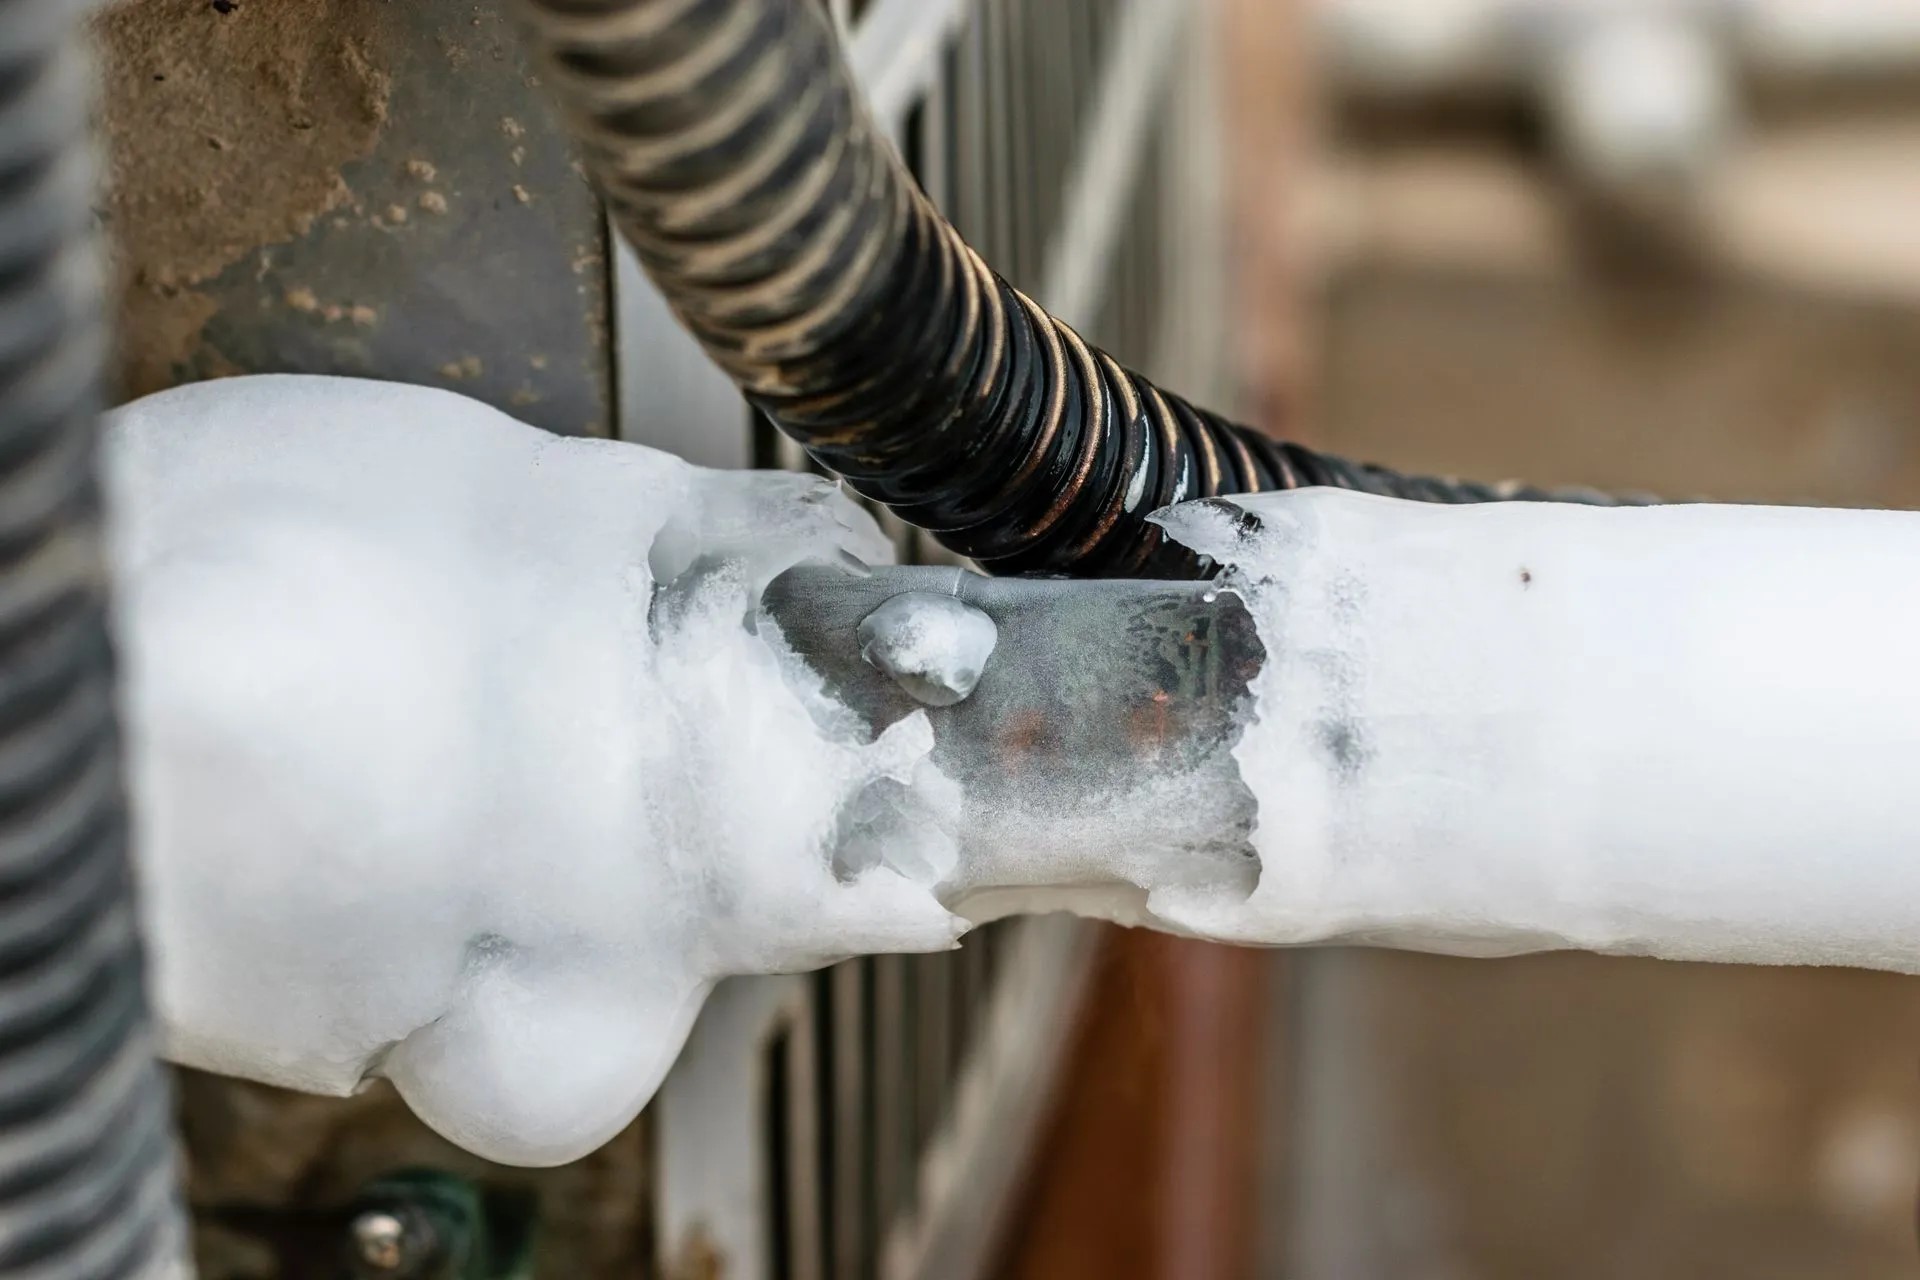
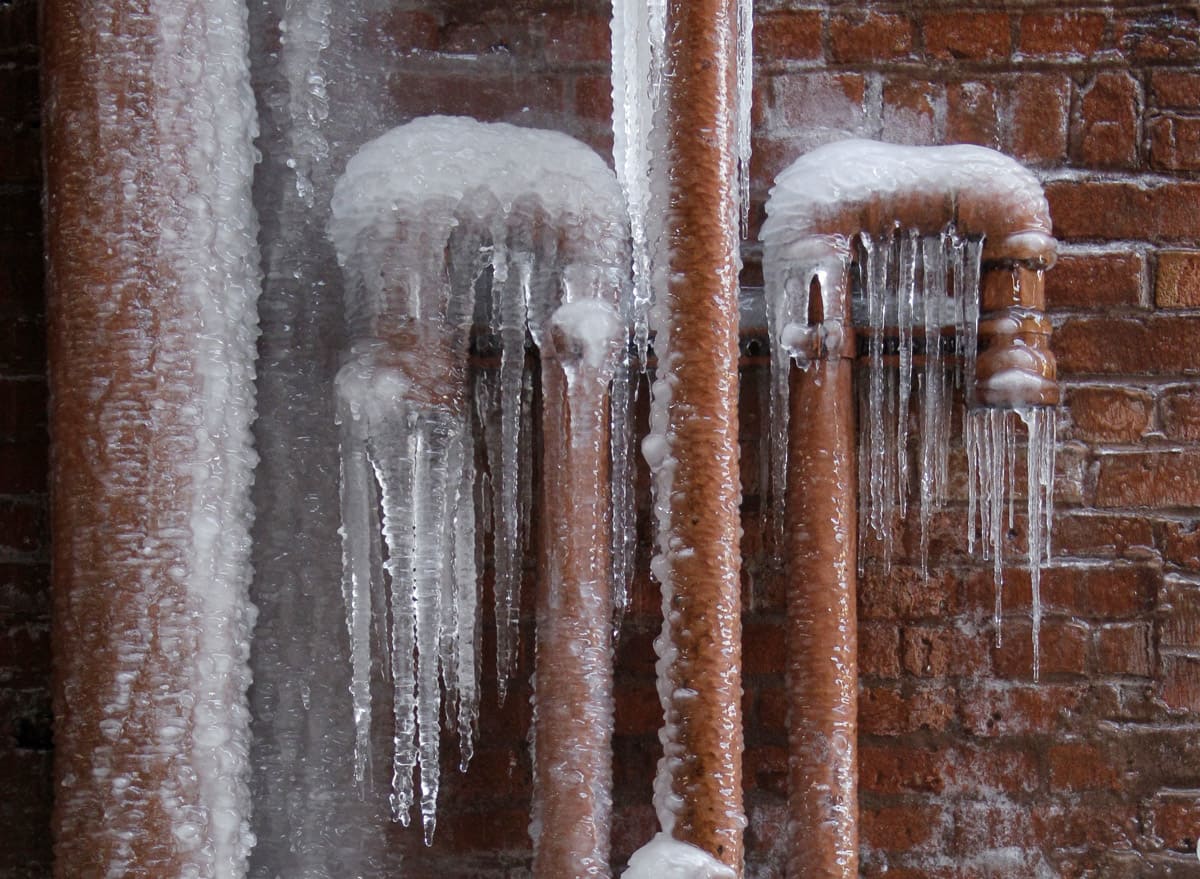
- Visible Frost or Ice: Inspect the exposed outdoor pipes for any visible signs of frost or ice accumulation. This is a clear indication that the pipes are frozen and in need of attention.
It’s important to act promptly upon noticing these signs to prevent any further damage to the pipes and associated fixtures. Identifying the location of the frozen section is crucial for effective thawing, which we will explore in the next section.
Remember, safety is paramount when dealing with frozen pipes. Always exercise caution and consider enlisting the help of a professional if you’re unsure about the best course of action.
To unfreeze outdoor pipes, you can use a hairdryer, heat lamp, or hot towels to gently warm the pipe. Never use an open flame as it can damage the pipe and create a fire hazard.
Thawing the Pipes
Once you’ve confirmed that your outdoor pipes are frozen, it’s time to initiate the thawing process. Here are some effective methods to safely thaw the pipes:
- Apply Heat: One of the most common and reliable methods is to apply gentle heat to the affected pipes. This can be done using a hairdryer, heat lamp, or a portable space heater. Start from the end of the pipe nearest to the faucet and work your way towards the blockage. Never use an open flame or high-temperature heating devices, as they can damage the pipes and pose a fire hazard.
- Use Hot Towels or Rags: Soaking towels or rags in hot water and wrapping them around the frozen section of the pipe can help expedite the thawing process. Replace the towels as they cool to maintain consistent heat transfer.
- Open Faucets: As the pipes begin to thaw, open the associated faucets to allow the water to flow and relieve the pressure. This can also help in identifying the exact location of the blockage as water starts to trickle out.
- Apply Warm Water: Pouring warm (not boiling) water over the affected area can aid in melting the ice within the pipes. This method should be used with caution to avoid thermal shock to the pipes.
It’s crucial to be patient during the thawing process and avoid using excessive force or sharp objects to chip away at the ice. These actions can lead to pipe damage and potential leaks once the pipes thaw completely. If you’re unable to locate the frozen section, or if the situation seems complex, don’t hesitate to seek professional assistance.
After successfully thawing the pipes and restoring water flow, it’s advisable to inspect the pipes for any signs of damage or leaks. Addressing any issues promptly can prevent further complications down the line.
Remember, prevention is key to avoiding the hassle of dealing with frozen outdoor pipes. Let’s explore some preventive measures in the next section.
Preventing Future Freezing
While thawing frozen outdoor pipes is a necessary task during the winter months, taking proactive measures to prevent freezing in the first place can save you time, effort, and potential damage. Here are some effective strategies to prevent future freezing:
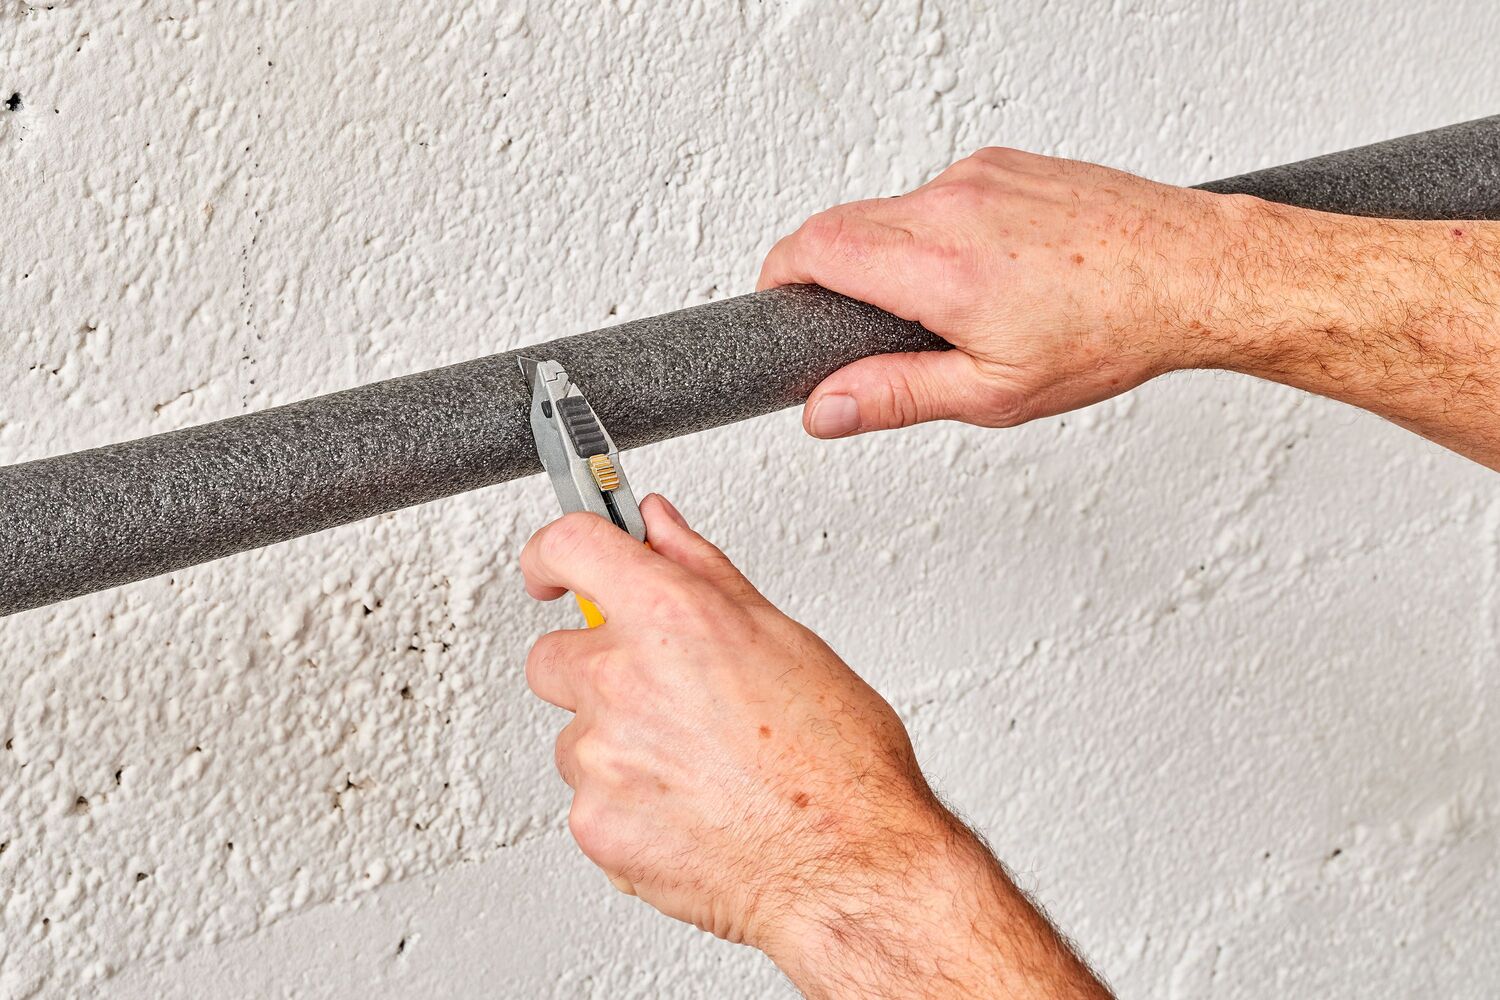
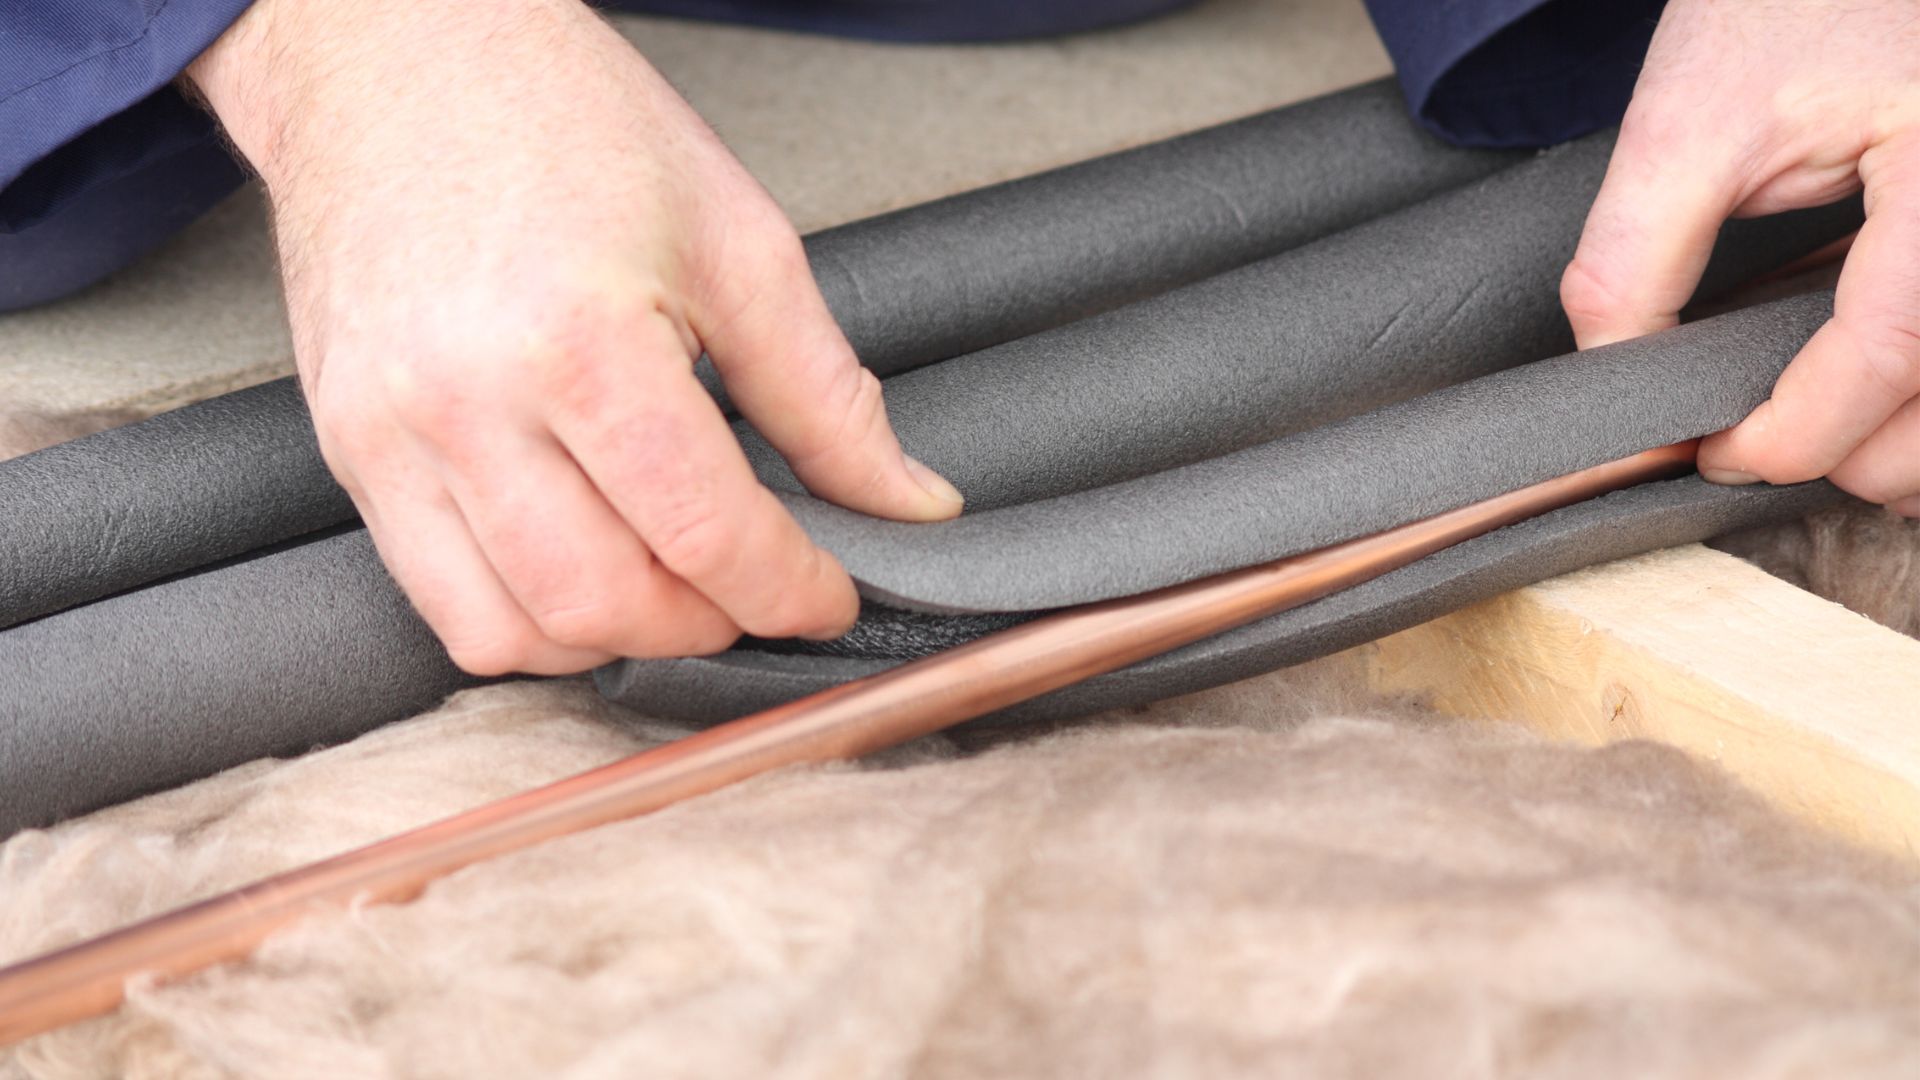
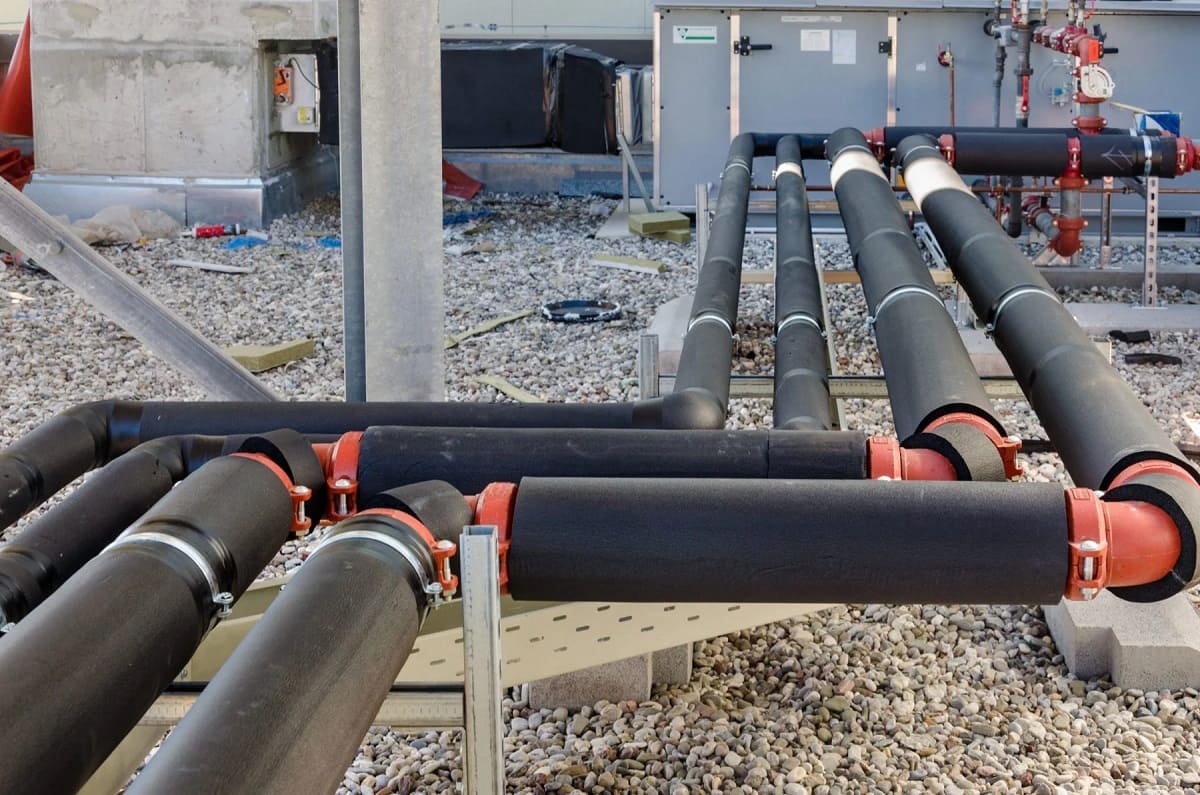
- Insulate Exposed Pipes: Insulating outdoor pipes with foam sleeves or insulating tape can provide a protective barrier against freezing temperatures. Focus on areas where pipes are exposed to the elements, such as outdoor faucets and hose bibs.
- Drain and Disconnect Hoses: Before the onset of freezing temperatures, drain and disconnect all outdoor hoses. Leaving hoses connected can trap water in the pipes, leading to freezing and potential damage.
- Install Frost-Free Hose Bibs: Consider installing frost-free hose bibs, which are designed to prevent water from remaining inside the pipe where it can freeze. These bibs are equipped with a long valve stem that extends into the heated area of the building.
- Keep Faucets Dripping: During extremely cold weather, allowing outdoor faucets to drip slightly can help prevent freezing. The continuous flow of water, even at a slow rate, can inhibit ice formation within the pipes.
- Seal Cracks and Openings: Inspect the areas around outdoor pipes and seal any cracks or openings that allow cold air to reach the pipes. This can be done using caulking or insulation to create a barrier against the cold.
- Use Heat Tape: For particularly vulnerable pipes, consider using electrical heat tape. This tape can be wrapped around the pipes and activated when temperatures drop, providing consistent low-level heat to prevent freezing.
By implementing these preventive measures, you can significantly reduce the likelihood of encountering frozen outdoor pipes and the associated challenges. It’s important to stay proactive and address potential vulnerabilities before the arrival of freezing temperatures.
With a combination of vigilance, insulation, and strategic maintenance, you can safeguard your outdoor plumbing from the effects of winter and enjoy a hassle-free season.
Frequently Asked Questions about How To Unfreeze Outdoor Pipes
Was this page helpful?
At Storables.com, we guarantee accurate and reliable information. Our content, validated by Expert Board Contributors, is crafted following stringent Editorial Policies. We're committed to providing you with well-researched, expert-backed insights for all your informational needs.

0 thoughts on “How To Unfreeze Outdoor Pipes”