Articles
How To Paint A Pipe Fence
Modified: September 1, 2024
Discover helpful articles on how to paint a pipe fence and achieve a professional finish. Learn step-by-step techniques and expert tips for a lasting result.
(Many of the links in this article redirect to a specific reviewed product. Your purchase of these products through affiliate links helps to generate commission for Storables.com, at no extra cost. Learn more)
Introduction
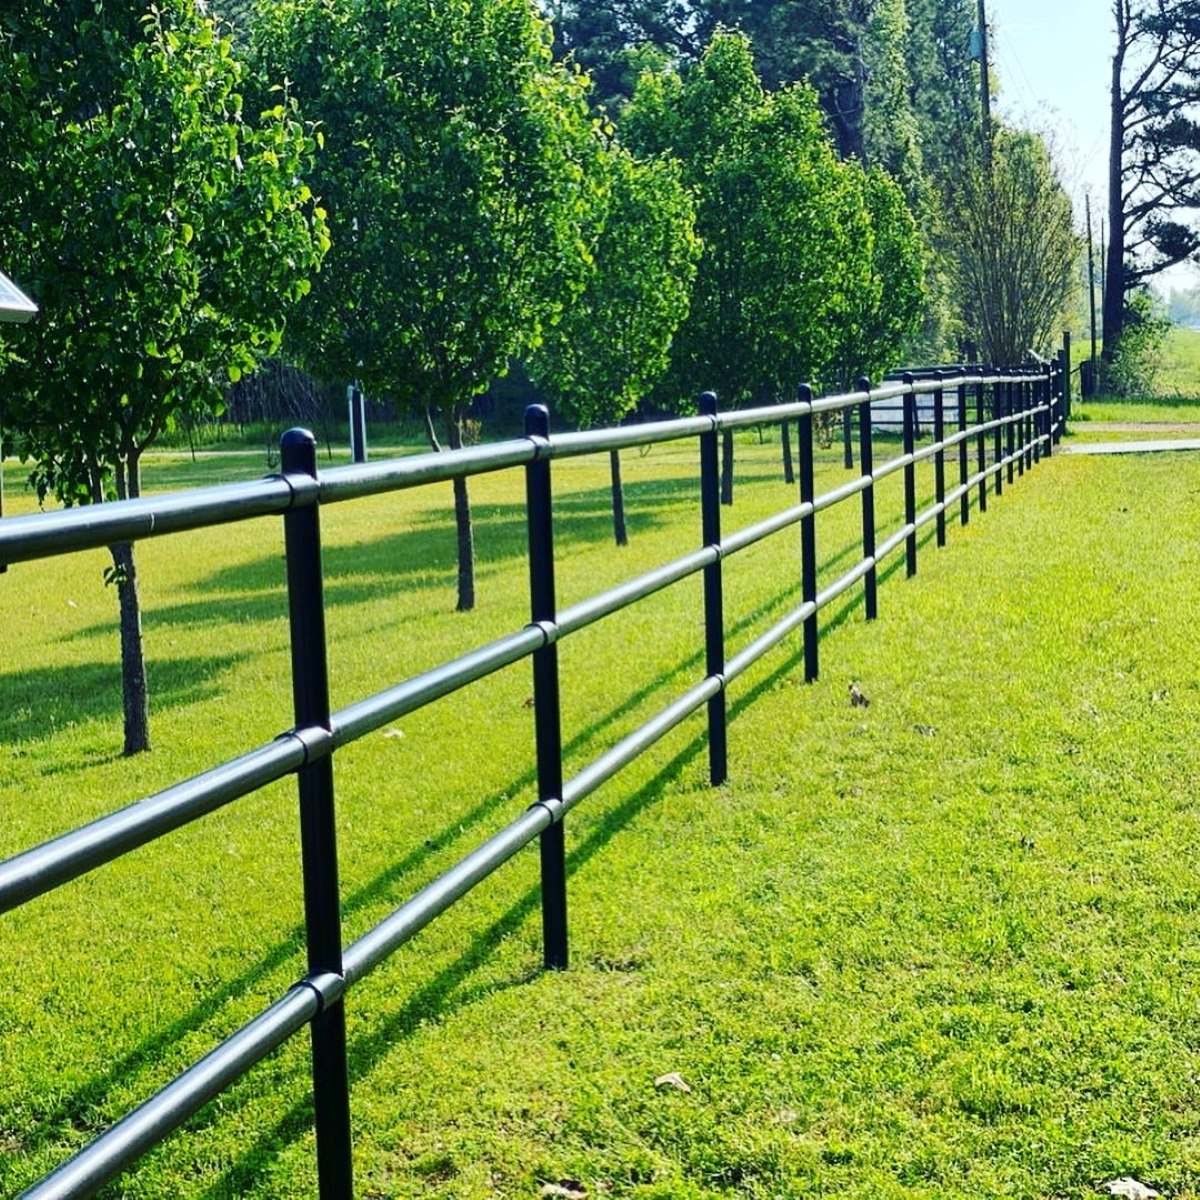
Painting a pipe fence is a great way to enhance its appearance and protect it from the elements. Whether you have a pipe fence surrounding your property or you are planning to install one, knowing how to properly paint it will ensure that it looks its best and lasts for years to come.
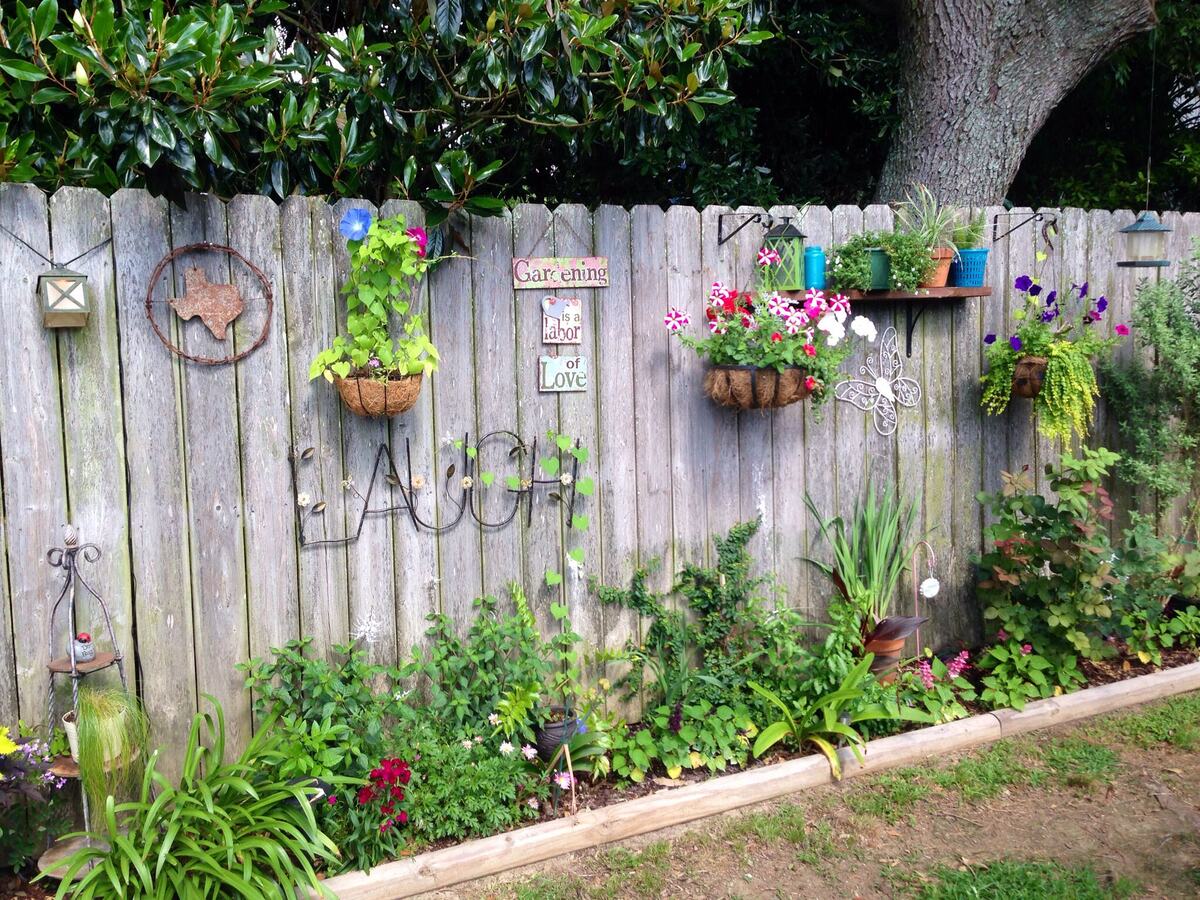
A pipe fence is a versatile and durable option for marking boundaries, securing livestock, or adding a decorative element to your landscape. However, over time, exposure to sunlight, rain, and other weather conditions can cause the paint on the fence to fade, peel, or chip. By following a few simple steps, you can refresh the look of your pipe fence and extend its lifespan.
In this article, we will walk you through a step-by-step guide on how to paint a pipe fence. From gathering the necessary materials to applying the final coat, we will cover everything you need to know to achieve a professional-looking finish. So, let’s roll up our sleeves and get started!
Key Takeaways:
- Revitalize your pipe fence by following a step-by-step guide to achieve a professional and long-lasting finish. Proper preparation, cleaning, priming, and painting will enhance its appearance and protect it from the elements.
- Choosing the right materials, applying primer, selecting durable paint, and allowing proper drying time are essential for a successful pipe fence painting project. Regular maintenance will ensure its longevity and structural integrity.
Read more: How To Weld Pipe Fence
Step 1: Gather Materials
Before you begin painting your pipe fence, it’s important to gather all the necessary materials. Having everything ready and within reach will make the process more efficient and ensure that you have everything you need to complete the job.
Here’s a list of materials you will need:
- Paint brushes or rollers: Choose brushes or rollers suitable for applying paint to metal surfaces. Make sure they are clean and in good condition.
- Primer: Select a primer specifically designed for metal surfaces. The primer will help the paint adhere better and provide an even finish.
- Paint: Consider using a high-quality paint that is formulated for exterior use and is resistant to fading and chipping. Choose a color that complements your property’s aesthetic.
- Drop cloth or plastic sheets: Use these to protect the surrounding area from paint splatters and drips.
- Cleaning materials: This includes a stiff brush or wire brush for removing rust and dirt from the fence, as well as soap and water for cleaning the surface.
- Safety gear: Protect yourself by wearing gloves, safety glasses, and a dust mask during the cleaning and painting process.
- Ladder or scaffolding: Depending on the height of your fence, you may need a ladder or scaffolding to reach all areas for painting.
- Optional: If you have any areas that require repairs, gather the necessary tools and materials, such as a welding machine or epoxy putty.
Having these materials readily available will save you time and prevent any interruptions during the painting process. It’s also a good idea to check the condition of your materials beforehand and replace any worn-out brushes or rollers.
Now that you have all the necessary materials at hand, it’s time to move on to the next step: preparing the fence for painting.
Step 2: Prepare the Fence
Preparing the fence before painting is crucial to ensure adhesion and a smooth, long-lasting finish. Here’s what you need to do to prepare your pipe fence:
- Inspect the fence: Walk along the fence line and carefully inspect it for any damage, such as dents, rust spots, or loose connections. Take note of any areas that require repairs.
- Remove obstacles: Clear the area around the fence and remove any obstacles that may hinder your painting process.
- Secure loose components: If you notice any loose bolts, screws, or connectors, tighten them to ensure the fence is stable and secure.
- Trim vegetation: Trim any plants or bushes near the fence that could obstruct your painting or potentially damage the freshly painted surface.
- Protect nearby surfaces: Use drop cloths or plastic sheets to cover any nearby surfaces, such as plants, furniture, or pavement, to prevent accidental paint splatters or drips.
- Consider weather conditions: Choose a day with dry weather and moderate temperatures for optimal painting conditions. Avoid painting on windy days to prevent debris from sticking to the wet paint.
By thoroughly preparing the fence, you ensure that the paint will adhere properly and provide the best possible results. Addressing any damage or loose components beforehand will also extend the longevity of your pipe fence.
Once you have prepared the fence, it’s time to move on to the next step: cleaning the surface.
Step 3: Clean the Surface
Before applying paint to your pipe fence, it’s essential to thoroughly clean the surface to remove dirt, dust, rust, and any other debris that may hinder paint adhesion. Follow these steps to clean the surface effectively:
- Start by using a stiff brush or wire brush to remove any loose rust, paint chips, or dirt from the fence. Scrub the surface vigorously to ensure a clean and smooth base for painting.
- If there are stubborn rust spots, you may need to use sandpaper or a wire brush attachment on a drill to remove them. Sand the affected areas until the surface is smooth and free from rust.
- Next, fill a bucket with warm water and add a mild detergent or soap. Use a sponge or soft brush to wash the entire fence, paying particular attention to areas that were heavily rusted or dirty.
- Rinse the fence thoroughly with clean water to remove any soap residue or remaining dirt.
- If there are still signs of rust, consider using a rust converter or primer specifically designed to neutralize rust. Apply it to the affected areas according to the manufacturer’s instructions and allow it to dry.
- Once the fence is clean and dry, inspect the surface to ensure there are no remaining debris or contaminants.
Cleaning the surface properly will ensure that the paint adheres well and provides a smooth finish. By removing rust and dirt, you also prevent further corrosion and maintain the overall integrity of your pipe fence.
With the surface now clean and ready, it’s time to move on to the next step: applying primer.
Step 4: Apply Primer
Applying a primer is an important step in painting a pipe fence. The primer acts as a bonding agent between the surface and the paint, promoting better adhesion and extending the lifespan of the paint job. Here’s how to apply primer to your pipe fence:
- Begin by stirring the primer thoroughly to ensure even consistency.
- Using a paintbrush or a roller, apply an even coat of primer to the entire surface of the fence. Start at one end and work your way along the length of the fence, applying primer to one section at a time.
- Make sure to cover all areas and pay extra attention to any areas where rust or damage was present.
- Allow the primer to dry completely according to the manufacturer’s instructions. This may take a few hours to overnight, depending on the type of primer used and the environmental conditions.
- Inspect the fence after the primer has dried to ensure that the coverage is thorough and there are no missed spots.
- If necessary, apply a second coat of primer for enhanced protection and coverage. Follow the same application process as the first coat and allow it to dry completely.
Applying a primer is crucial to provide a strong foundation for the paint and ensures better adhesion to the pipe fence. The primer will also help prevent rust and corrosion, further protecting the longevity of your fence.
Once the primer is applied and dried, you are ready to move on to the next step: choosing the paint for your pipe fence.
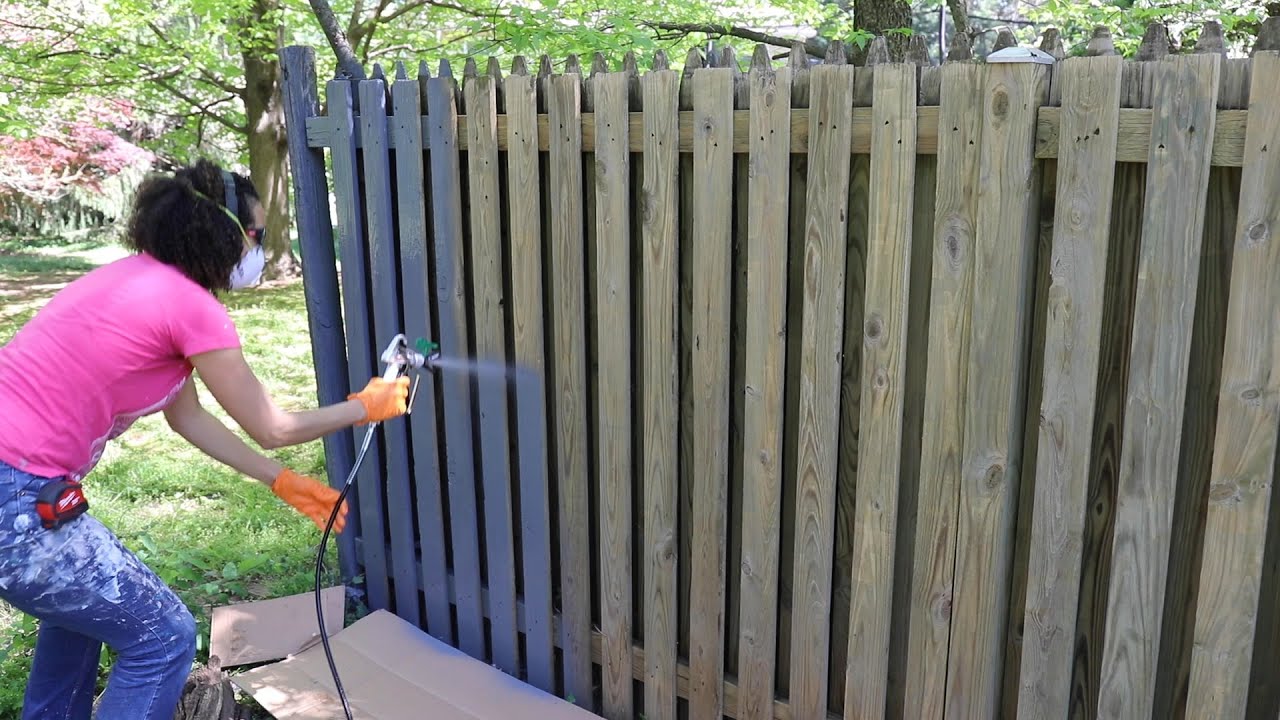
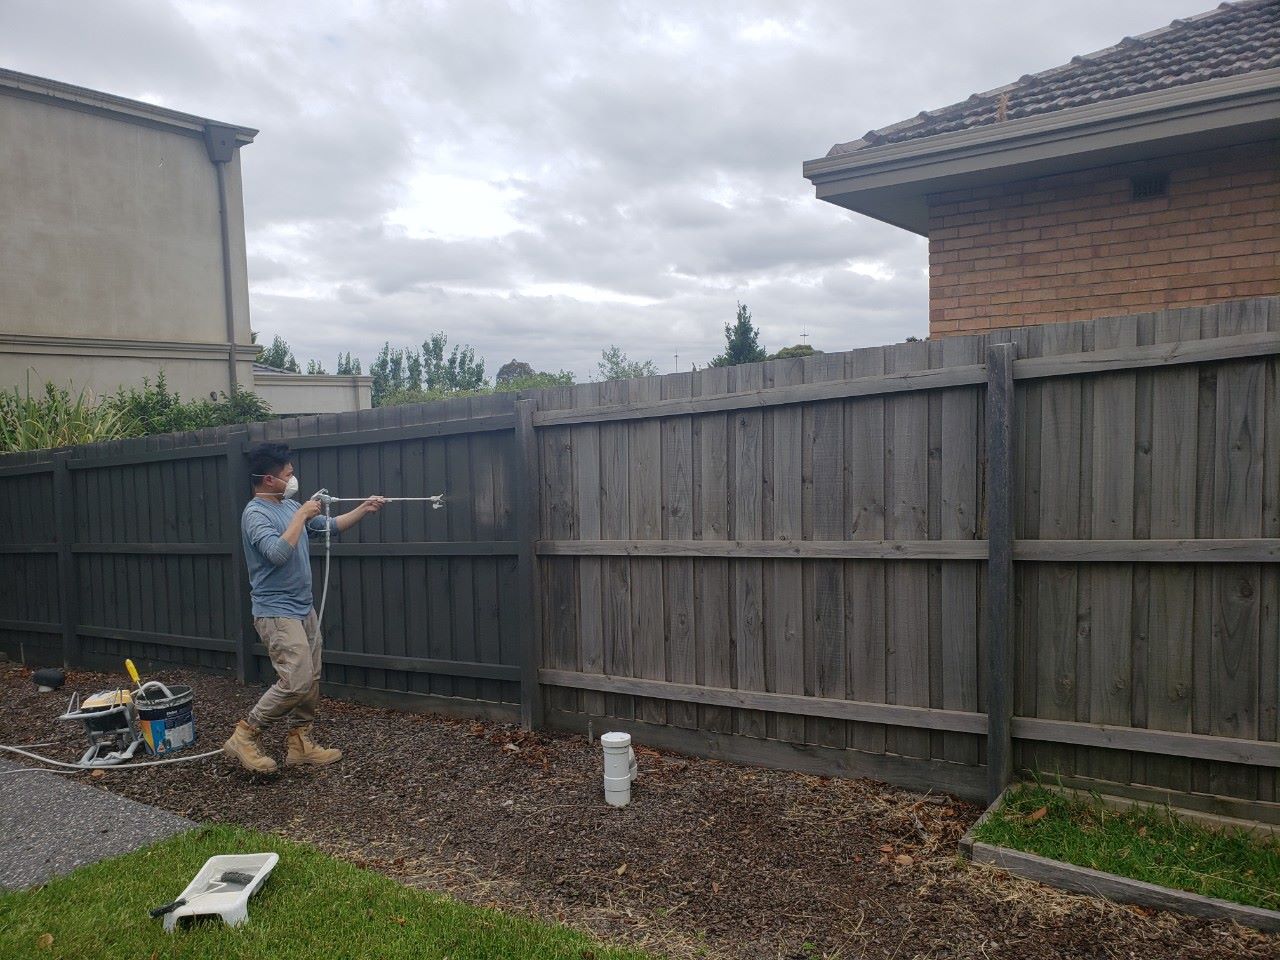
Read more: How To Spray Paint A Fence
Step 5: Choose the Paint
Choosing the right paint for your pipe fence is essential to achieve a long-lasting and visually appealing finish. Here are some factors to consider when selecting the paint:
- Outdoor suitability: Ensure that the paint you choose is formulated for exterior use and can withstand exposure to sunlight, rain, and other weather conditions. Look for paints labeled as “exterior” or “outdoor” on the label.
- Durability: Opt for a paint that is known for its durability and resistance to fading, chipping, and peeling. This is particularly important for a fence, as it is exposed to constant wear and tear.
- Finishes: Paints come in various finishes, such as matte, satin, or glossy. Consider the aesthetic you want to achieve and choose a finish that complements your property’s overall style.
- Color selection: Select a color that suits your preferences and the surrounding environment. Take into account factors such as the architecture of your property, landscaping, and any other design elements that need to be coordinated.
- Compatibility with primer: Ensure that the paint you choose is compatible with the primer you applied in the previous step. Some paint brands recommend using their specific primer for optimal results.
It’s always a good idea to consult with a paint specialist or a knowledgeable staff member at your local home improvement store to assist you in choosing the right paint for your pipe fence. They can provide recommendations based on your specific needs and requirements.
Once you have selected the paint, you’re ready to move on to the next step: applying the first coat of paint to your pipe fence.
When painting a pipe fence, start by cleaning the surface with a wire brush to remove any rust or debris. Then, use a high-quality rust-inhibiting primer before applying the paint for a longer-lasting finish.
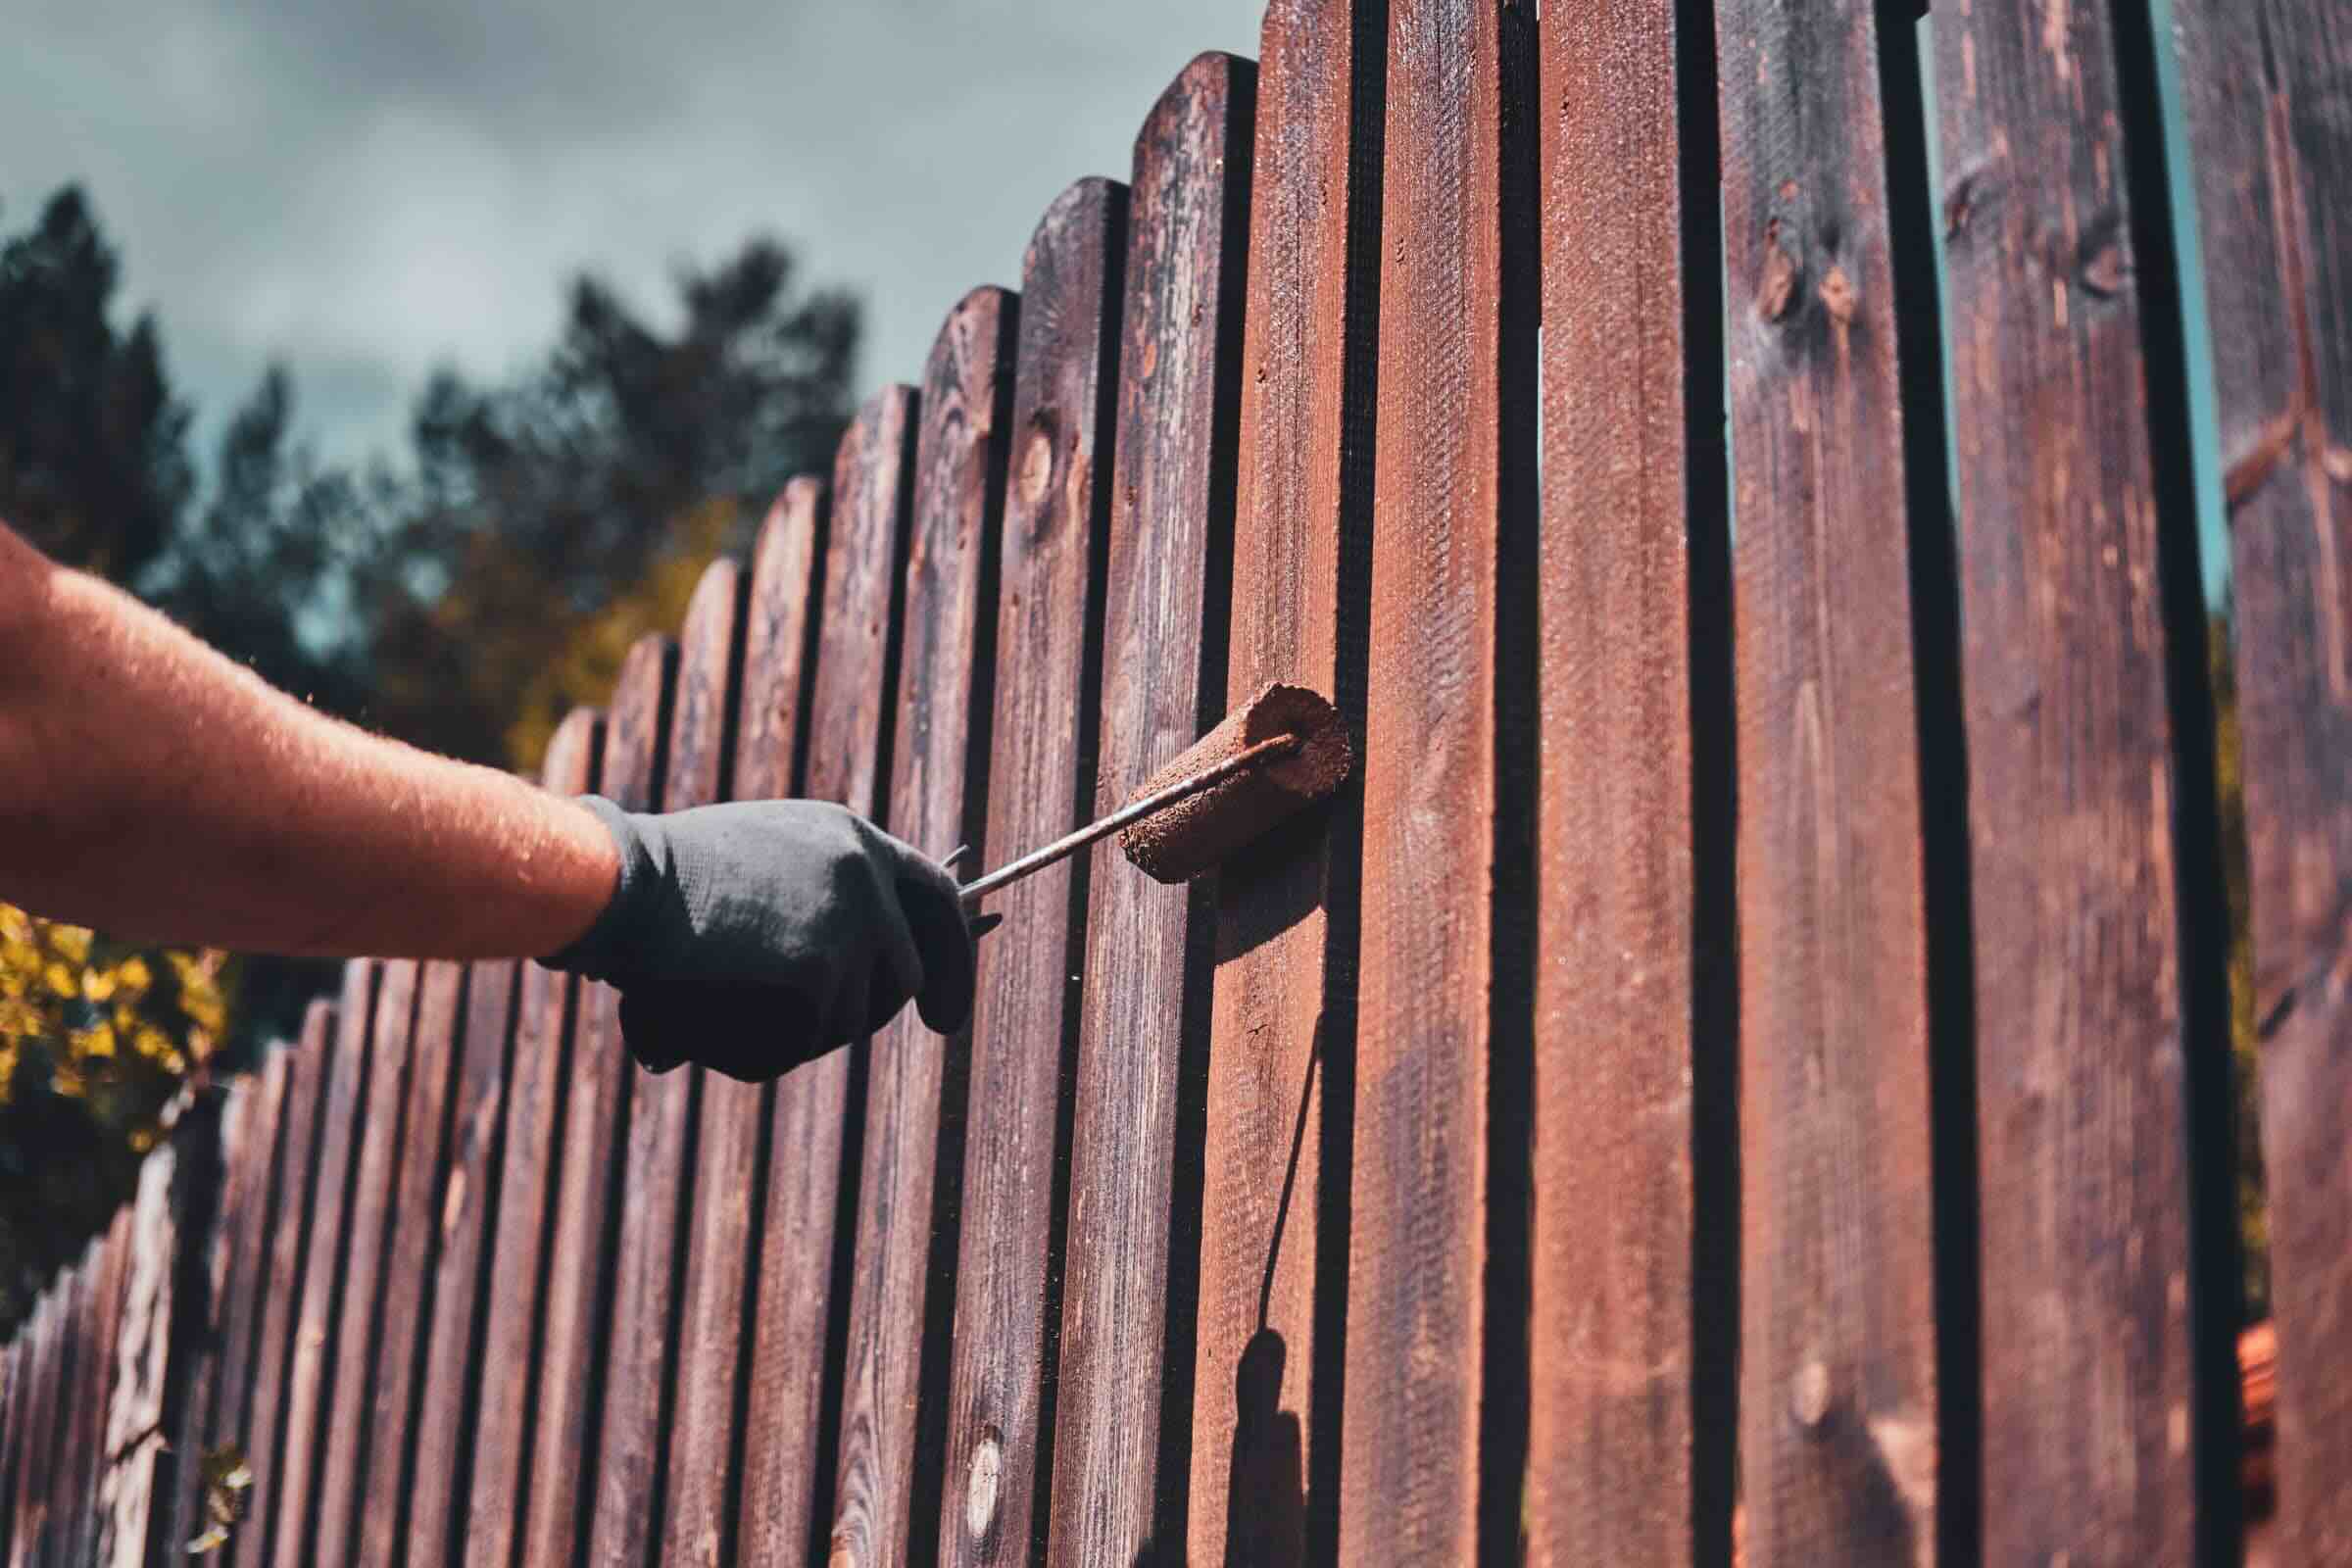
Step 6: Apply the First Coat
Now that you’ve gathered the materials, prepared the fence, applied primer, and selected the paint, it’s time to start applying the first coat of paint to your pipe fence. Follow these steps for a successful application:
- Stir the paint thoroughly to ensure an even consistency and proper mixing of the pigments.
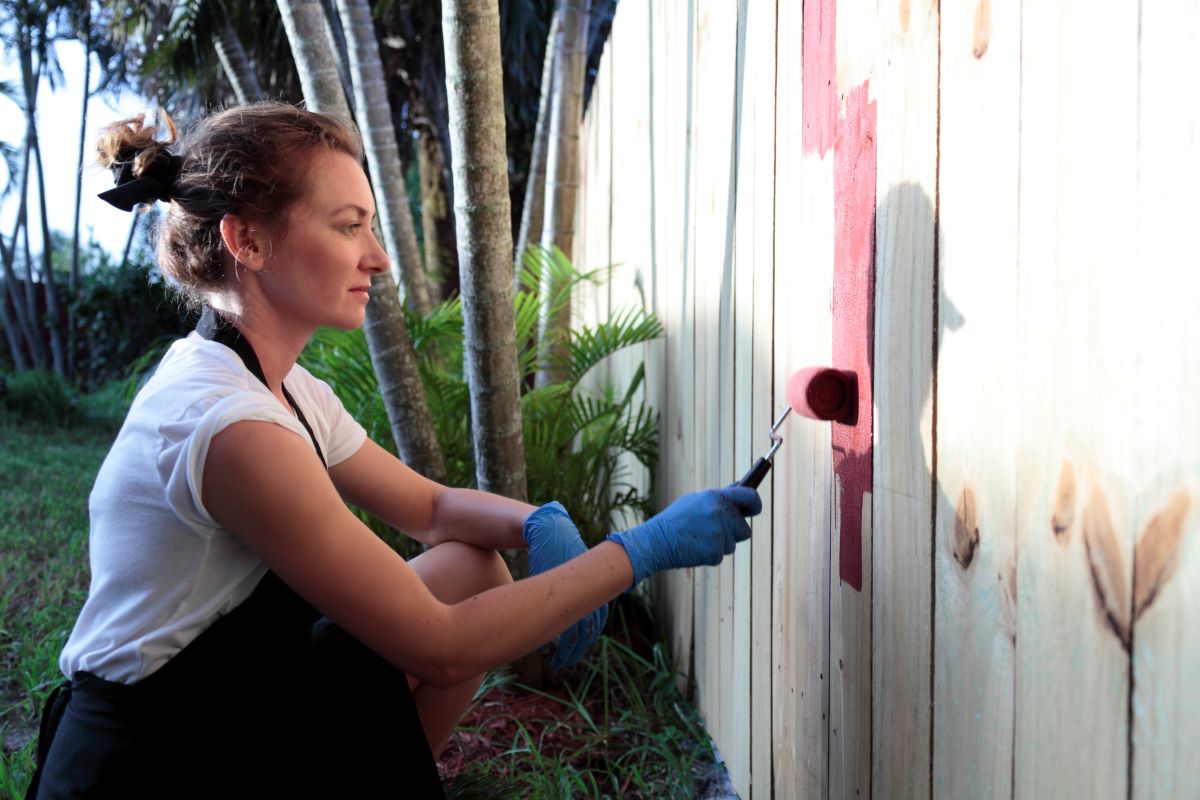
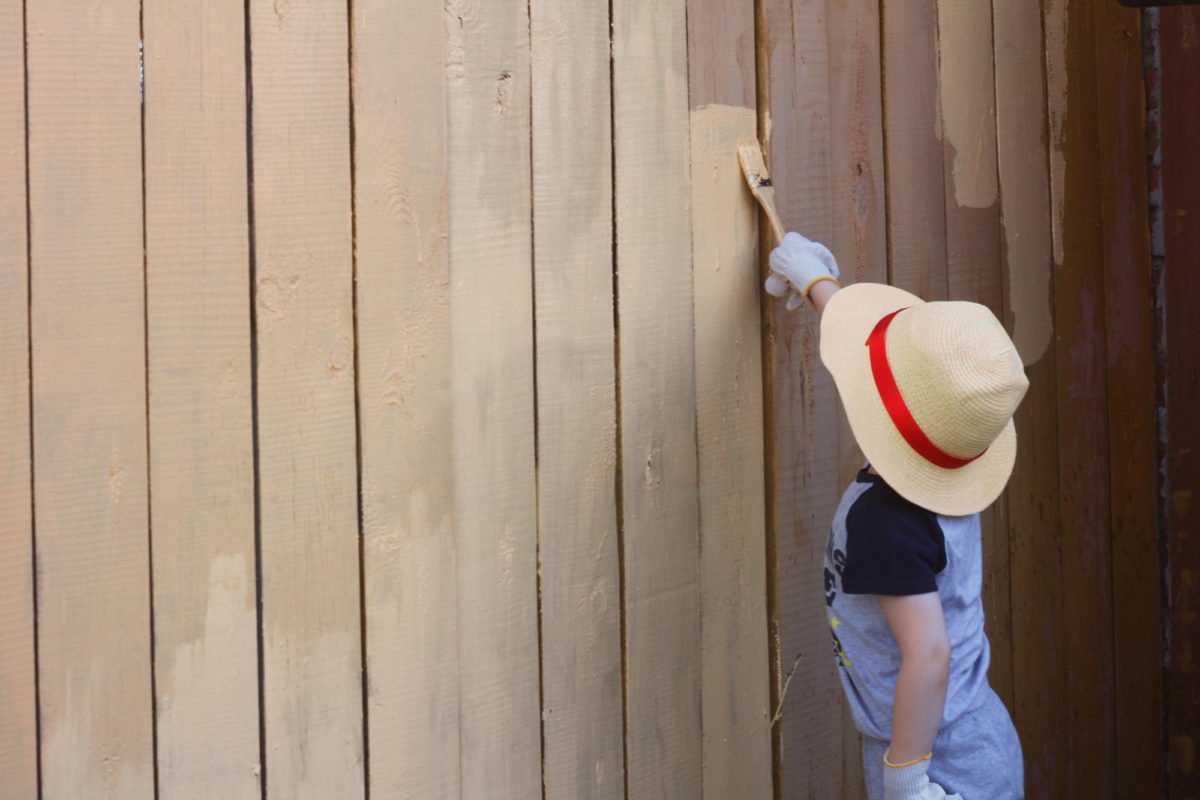
- Using a paintbrush or a roller, start at one end of the fence and work your way along the length, applying the paint to one section at a time.
- Be sure to apply the paint evenly and cover the entire surface of the fence. Pay extra attention to any areas that require additional coverage, such as areas with rust or damage.
- If using a paintbrush, use long, smooth strokes, overlapping each stroke slightly to ensure even coverage. If using a roller, apply the paint in a W or M motion to evenly distribute the paint.
- Continue applying the first coat until you have covered the entire fence. Take breaks as needed, but try to complete one section or side of the fence before taking a break to ensure an even finish.
- Once the first coat is applied, step back and inspect the fence for any areas that may have been missed or require touch-ups.
Remember to follow the manufacturer’s instructions regarding drying times and any specific recommendations for the paint you are using. Allow the first coat to dry thoroughly before applying additional coats or making any touch-ups.
Congratulations! You have successfully applied the first coat of paint to your pipe fence. Now, it’s time to move on to the next step and apply any additional coats if necessary.
Step 7: Apply Additional Coats
Applying additional coats of paint to your pipe fence will help ensure a more durable and long-lasting finish. Depending on the paint you have chosen and the desired level of coverage, one or more additional coats may be necessary. Follow these steps to apply additional coats:
- Before applying the next coat, ensure that the previous coat is completely dry. Refer to the drying time mentioned by the paint manufacturer, which can vary depending on the type of paint and environmental conditions.
- If there are any uneven areas, visible brush strokes, or thin spots from the first coat, consider lightly sanding those areas with fine-grit sandpaper. This will help create a smoother surface for the subsequent coats.
- Stir the paint thoroughly to ensure consistency and apply it in the same manner as the first coat. Use a brush or roller to cover the surface evenly, paying extra attention to any areas that may require more coverage.
- Be mindful of any drips or runs that may occur during the application process. Smooth them out immediately to avoid any unevenness in the final finish.
- Continue applying additional coats, allowing sufficient drying time between each coat, until you achieve the desired coverage and color depth. Two or three coats are typically recommended for an even and durable finish.
- As with each previous coat, step back and inspect the fence after applying the additional coats. Look for any missed areas or inconsistencies that require touch-ups.
Remember, the number of additional coats needed will depend on the type and quality of paint used, as well as the condition of the pipe fence surface. Applying multiple coats will provide added protection and longevity to your paint job, ensuring that your fence looks great for years to come.
Once you have applied the additional coats, it’s time to move on to the next step: allowing proper drying time.
Step 8: Allow Drying Time
After applying the final coat of paint to your pipe fence, it is crucial to allow sufficient drying time. Proper drying ensures that the paint fully cures, creating a durable and long-lasting finish. Here are some guidelines to follow:
- Refer to the paint manufacturer’s instructions for the recommended drying time. This can vary depending on factors such as the type of paint, environmental conditions, and thickness of the coats applied.
- It is generally recommended to allow the paint to dry undisturbed for at least 24 to 48 hours before touching or handling the fence. This will help prevent smudging or marring the finish.
- Take into account the weather conditions during the drying time. If it is humid or there is high moisture in the air, consider extending the drying time to ensure proper curing.
- During the drying process, avoid touching or leaning objects against the painted fence to prevent any accidental damage or marks.
Allowing sufficient drying time ensures that the paint bonds properly to the surface, preventing premature peeling, chipping, or fading. It also helps maintain the overall appearance and durability of your painted pipe fence.
Once the paint is fully dried and cured, you can proceed to the final step: inspecting and touching up the fence, if necessary.
Read more: How To Paint Vinyl Fence
Step 9: Inspect and Touch Up
After the paint has fully dried and cured, it’s time to inspect your pipe fence for any areas that may need touching up or additional attention. By conducting a thorough inspection, you can ensure that the finished result is flawless. Follow these steps:
- Carefully examine the entire surface of the fence, paying close attention to corners, joints, and any hard-to-reach areas. Look for any missed spots, uneven coverage, or imperfections in the paint.
- If you notice any areas that require touching up, use a small brush or roller to apply paint to those specific spots. Feather out the paint to blend it seamlessly with the surrounding area.
- For any major imperfections or areas that need more significant attention, consider lightly sanding the affected area with fine-grit sandpaper to create a smooth surface for touch-ups.
- Once you have touched up any necessary areas, step back and assess the overall appearance of the pipe fence. Ensure that the paint is evenly applied and that the color is consistent throughout.
By conducting a meticulous inspection and addressing any touch-ups, you can achieve a professional-looking finish for your pipe fence. This final step ensures that the paint job is seamless, improving the appearance and durability of your fence for years to come.
Now that you have completed the inspection and touch-up process, your pipe fence is ready to impress with its refreshed and vibrant appearance!
Conclusion
Painting a pipe fence is a worthwhile endeavor that not only enhances its visual appeal but also extends its lifespan. By following the step-by-step guide outlined in this article, you can achieve a professional and long-lasting finish. Here is a recap of the process:
First, gather all the necessary materials, including paint brushes or rollers, primer, paint, cleaning materials, safety gear, and a ladder or scaffolding if needed. Once you have everything ready, proceed to prepare the fence by inspecting for damage, securing loose components, trimming vegetation, and protecting nearby surfaces.
Next, thoroughly clean the surface of the fence by removing rust, dirt, and debris. Use a brush, sandpaper, and soapy water to achieve a clean and smooth base for painting. Apply a suitable primer to promote paint adhesion and protect against rust and corrosion.
After selecting the appropriate paint for your pipe fence, apply the first coat evenly, using long strokes or a roller in a W or M motion. Allow the paint to dry, inspecting for missed spots or inconsistencies. Apply additional coats as needed to achieve the desired coverage and depth of color.
Allow the final coat of paint to dry thoroughly, ensuring proper curing and durability. Once dry, inspect the fence for any touch-ups or areas that require attention. Use a small brush or roller to touch up any imperfections and create a seamless finish.
By following these steps and dedicating time and effort to the painting process, you can transform the appearance of your pipe fence. The freshly painted fence will not only enhance your property’s aesthetic but also provide protection against the elements and extend its lifespan.
Remember, painting a pipe fence is not just about aesthetics, but also about maintaining its structural integrity. Regular maintenance, such as periodic inspections and touch-ups, will help ensure that your pipe fence remains in optimal condition for years to come.
So, roll up your sleeves, gather your materials, and embark on the journey of revitalizing your pipe fence with a fresh coat of paint. Enjoy the process, and marvel at the transformed appearance of your fence once the project is complete!
Frequently Asked Questions about How To Paint A Pipe Fence
Was this page helpful?
At Storables.com, we guarantee accurate and reliable information. Our content, validated by Expert Board Contributors, is crafted following stringent Editorial Policies. We're committed to providing you with well-researched, expert-backed insights for all your informational needs.


0 thoughts on “How To Paint A Pipe Fence”