Articles
How To Insulate Plumbing Pipes
Modified: October 31, 2024
Learn effective ways to insulate plumbing pipes with these helpful articles. Protect your pipes from freezing and minimize heat loss for optimum efficiency.
(Many of the links in this article redirect to a specific reviewed product. Your purchase of these products through affiliate links helps to generate commission for Storables.com, at no extra cost. Learn more)
Introduction
When it comes to protecting your plumbing system from the cold weather, insulating your pipes is absolutely crucial. Insulation helps to prevent heat loss and freezing, which can lead to costly repairs and inconvenience. Additionally, properly insulated pipes can also help improve energy efficiency and reduce your utility bills. In this article, we will guide you through the process of insulating your plumbing pipes, ensuring that your system is well-protected and functioning optimally.
Before we jump into the steps of insulating pipes, it’s important to understand why it’s necessary. During the winter months, temperatures can drop significantly, putting your plumbing system at risk. When water freezes, it expands, and this expansion can cause pipes to burst. Burst pipes can result in extensive water damage to your home and require expensive repairs.
Fortunately, insulating your pipes helps to prevent this from happening. Insulation acts as a barrier, creating a layer of protection between the cold air and your pipes. This helps to maintain a consistent temperature and prevent freezing. Additionally, insulation can also help to conserve heat in hot water pipes, increasing energy efficiency and reducing heat loss.
Insulating plumbing pipes is a relatively simple process that can be done by homeowners with basic DIY skills. By following a few steps and using the right materials, you can effectively insulate your pipes. In the next sections, we will discuss the materials and tools you’ll need, as well as the step-by-step process to insulate your plumbing pipes.
Key Takeaways:
- Properly insulating your plumbing pipes is crucial for protecting your home from freezing temperatures, reducing energy waste, and potentially saving money on utility bills. Follow the step-by-step process to ensure comprehensive insulation coverage.
- Regularly inspect your insulation for signs of damage or wear, as it may deteriorate over time. By maintaining optimal insulation performance, you can continue to protect your plumbing system and improve energy efficiency.
Read more: How To Clean Plumbing Pipes
Materials and Tools Needed
Before you begin insulating your plumbing pipes, it’s important to gather all the necessary materials and tools. Here’s a list of what you’ll need:
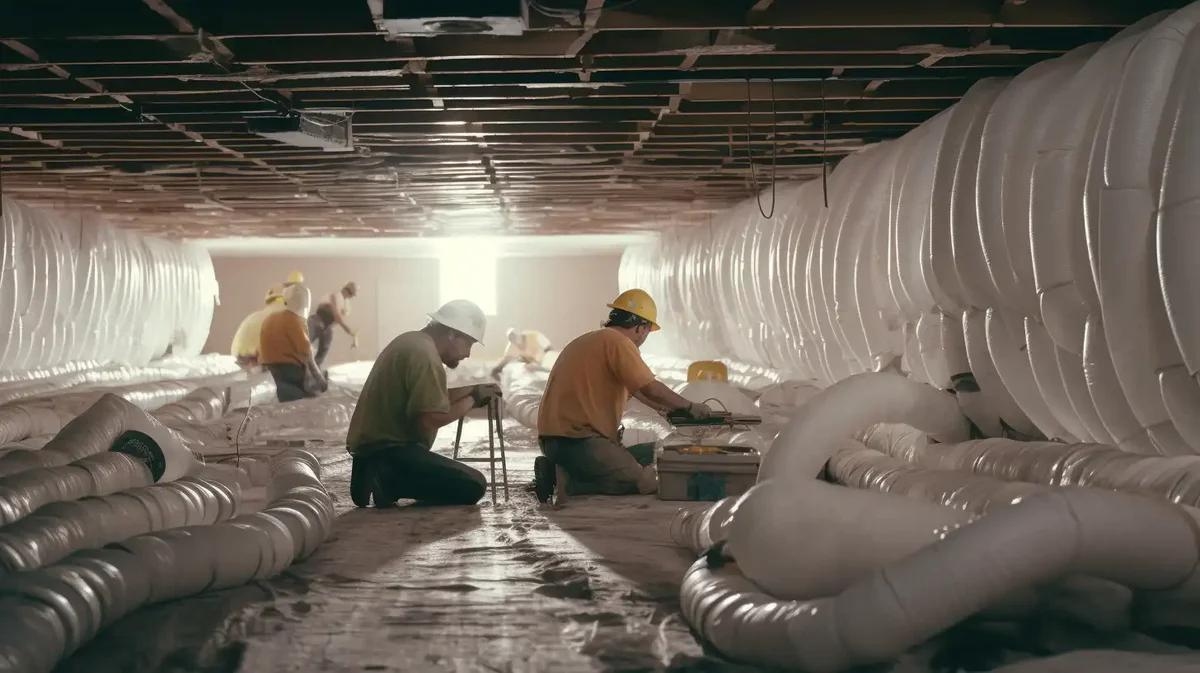
- Pipe insulation: This can be in the form of foam sleeves or wraps. It’s important to choose insulation that is suitable for the diameter of your pipes and the climate you live in.
- Insulation tape: This is used to secure the insulation in place and create a tight seal.
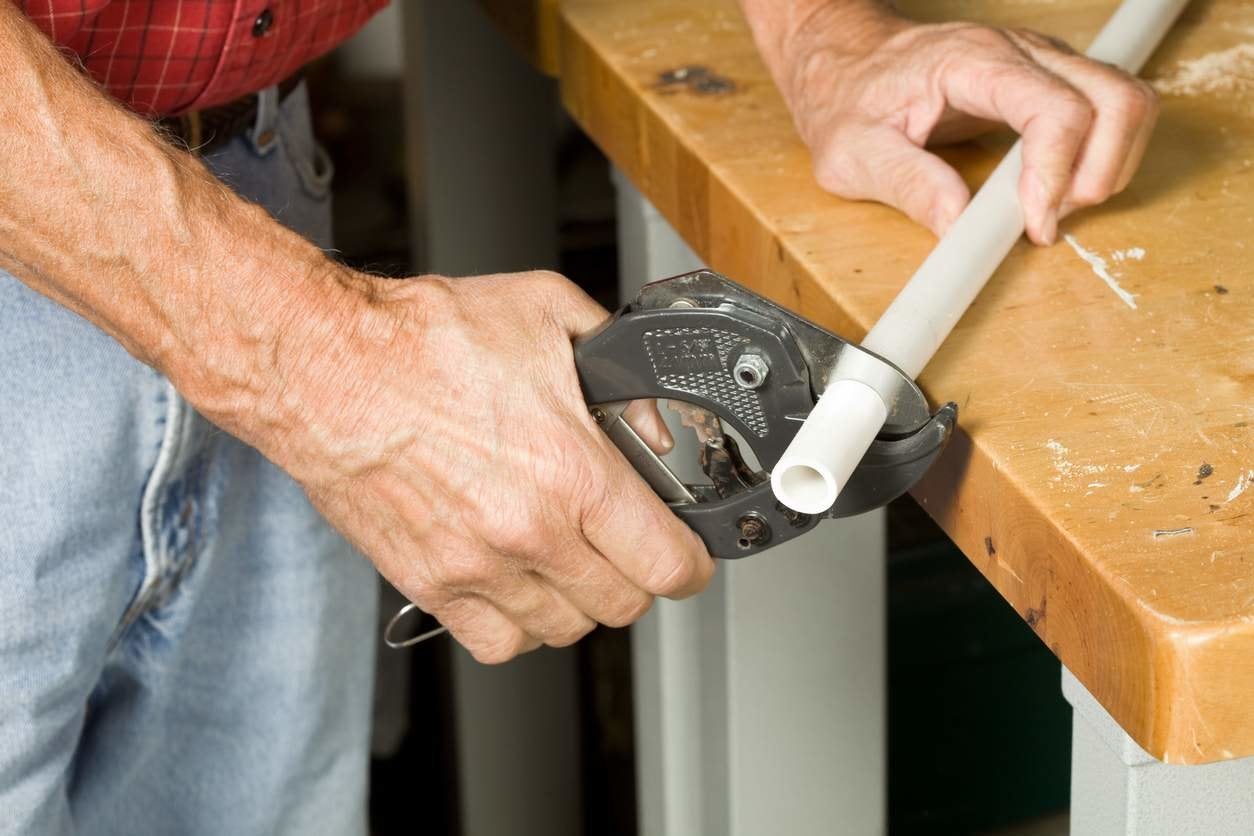
- Scissors or a utility knife: These will be needed to cut the insulation to the appropriate size.
- Measuring tape: Use this to measure the length and diameter of your pipes to ensure you purchase the correct size of insulation.
- Zip ties or wire: These can be used to fasten the insulation in place, especially for larger pipes or areas with limited space.
- Gloves: Insulation materials may be itchy or irritating to the skin, so it’s important to protect your hands.
- Safety goggles: Protect your eyes from any debris or particles that may be released during the installation process.
Make sure to gather all these materials and have them readily available before you start insulating your plumbing pipes. It’s important to have everything organized and within reach to ensure a smooth and efficient installation process.
Now that you have all the necessary materials and tools, let’s move on to the steps of insulating your plumbing pipes.
Step 1: Assess the Existing Pipes
Before you begin insulating your plumbing pipes, it’s important to assess the current condition of the pipes and identify any areas that may need attention. Here’s what you should do:
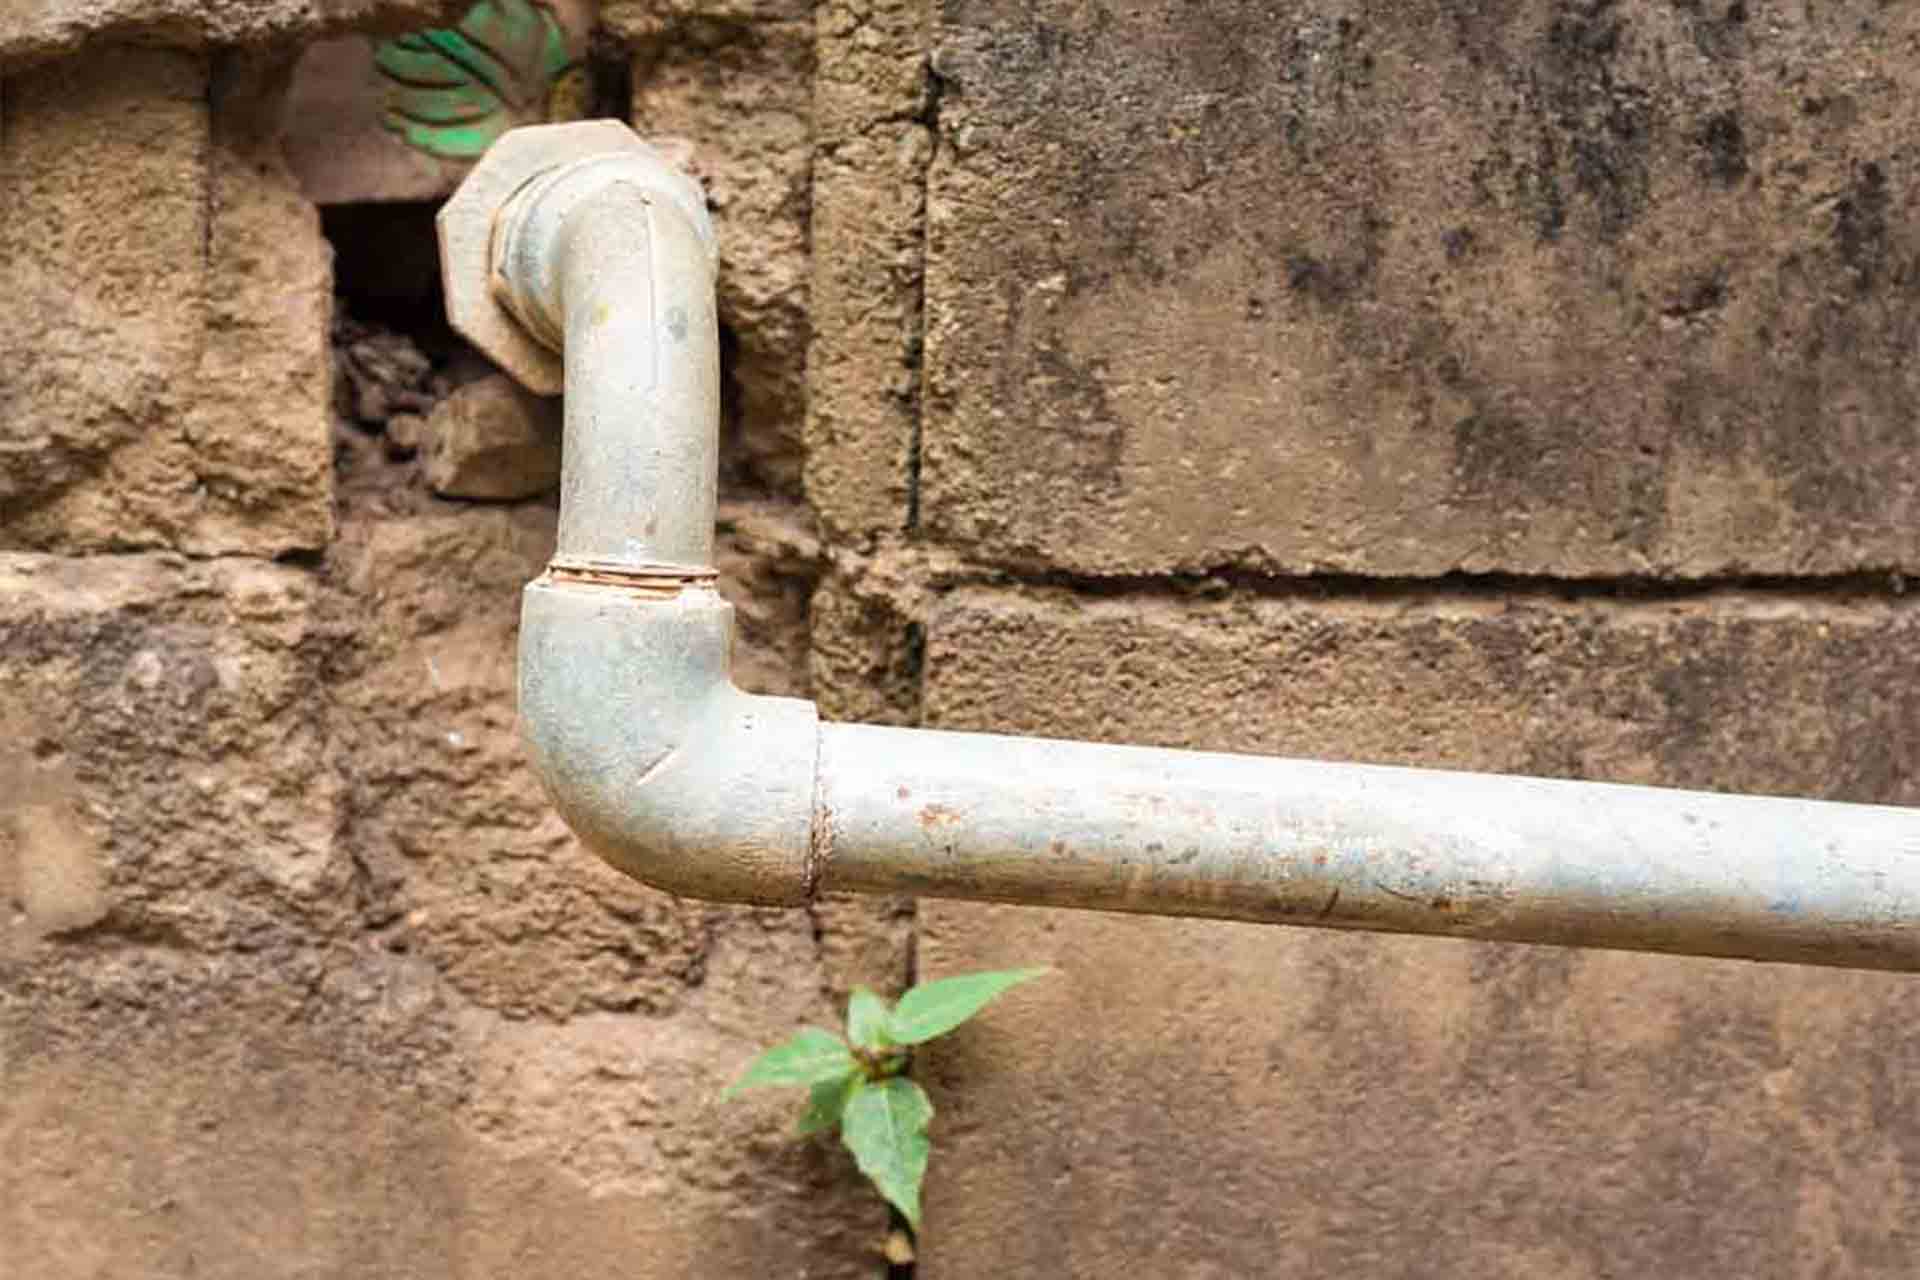
- Inspect the pipes: Take a close look at all the pipes in your plumbing system. Look for any signs of corrosion, leaks, or damage. It’s important to fix any issues before proceeding with the insulation process.
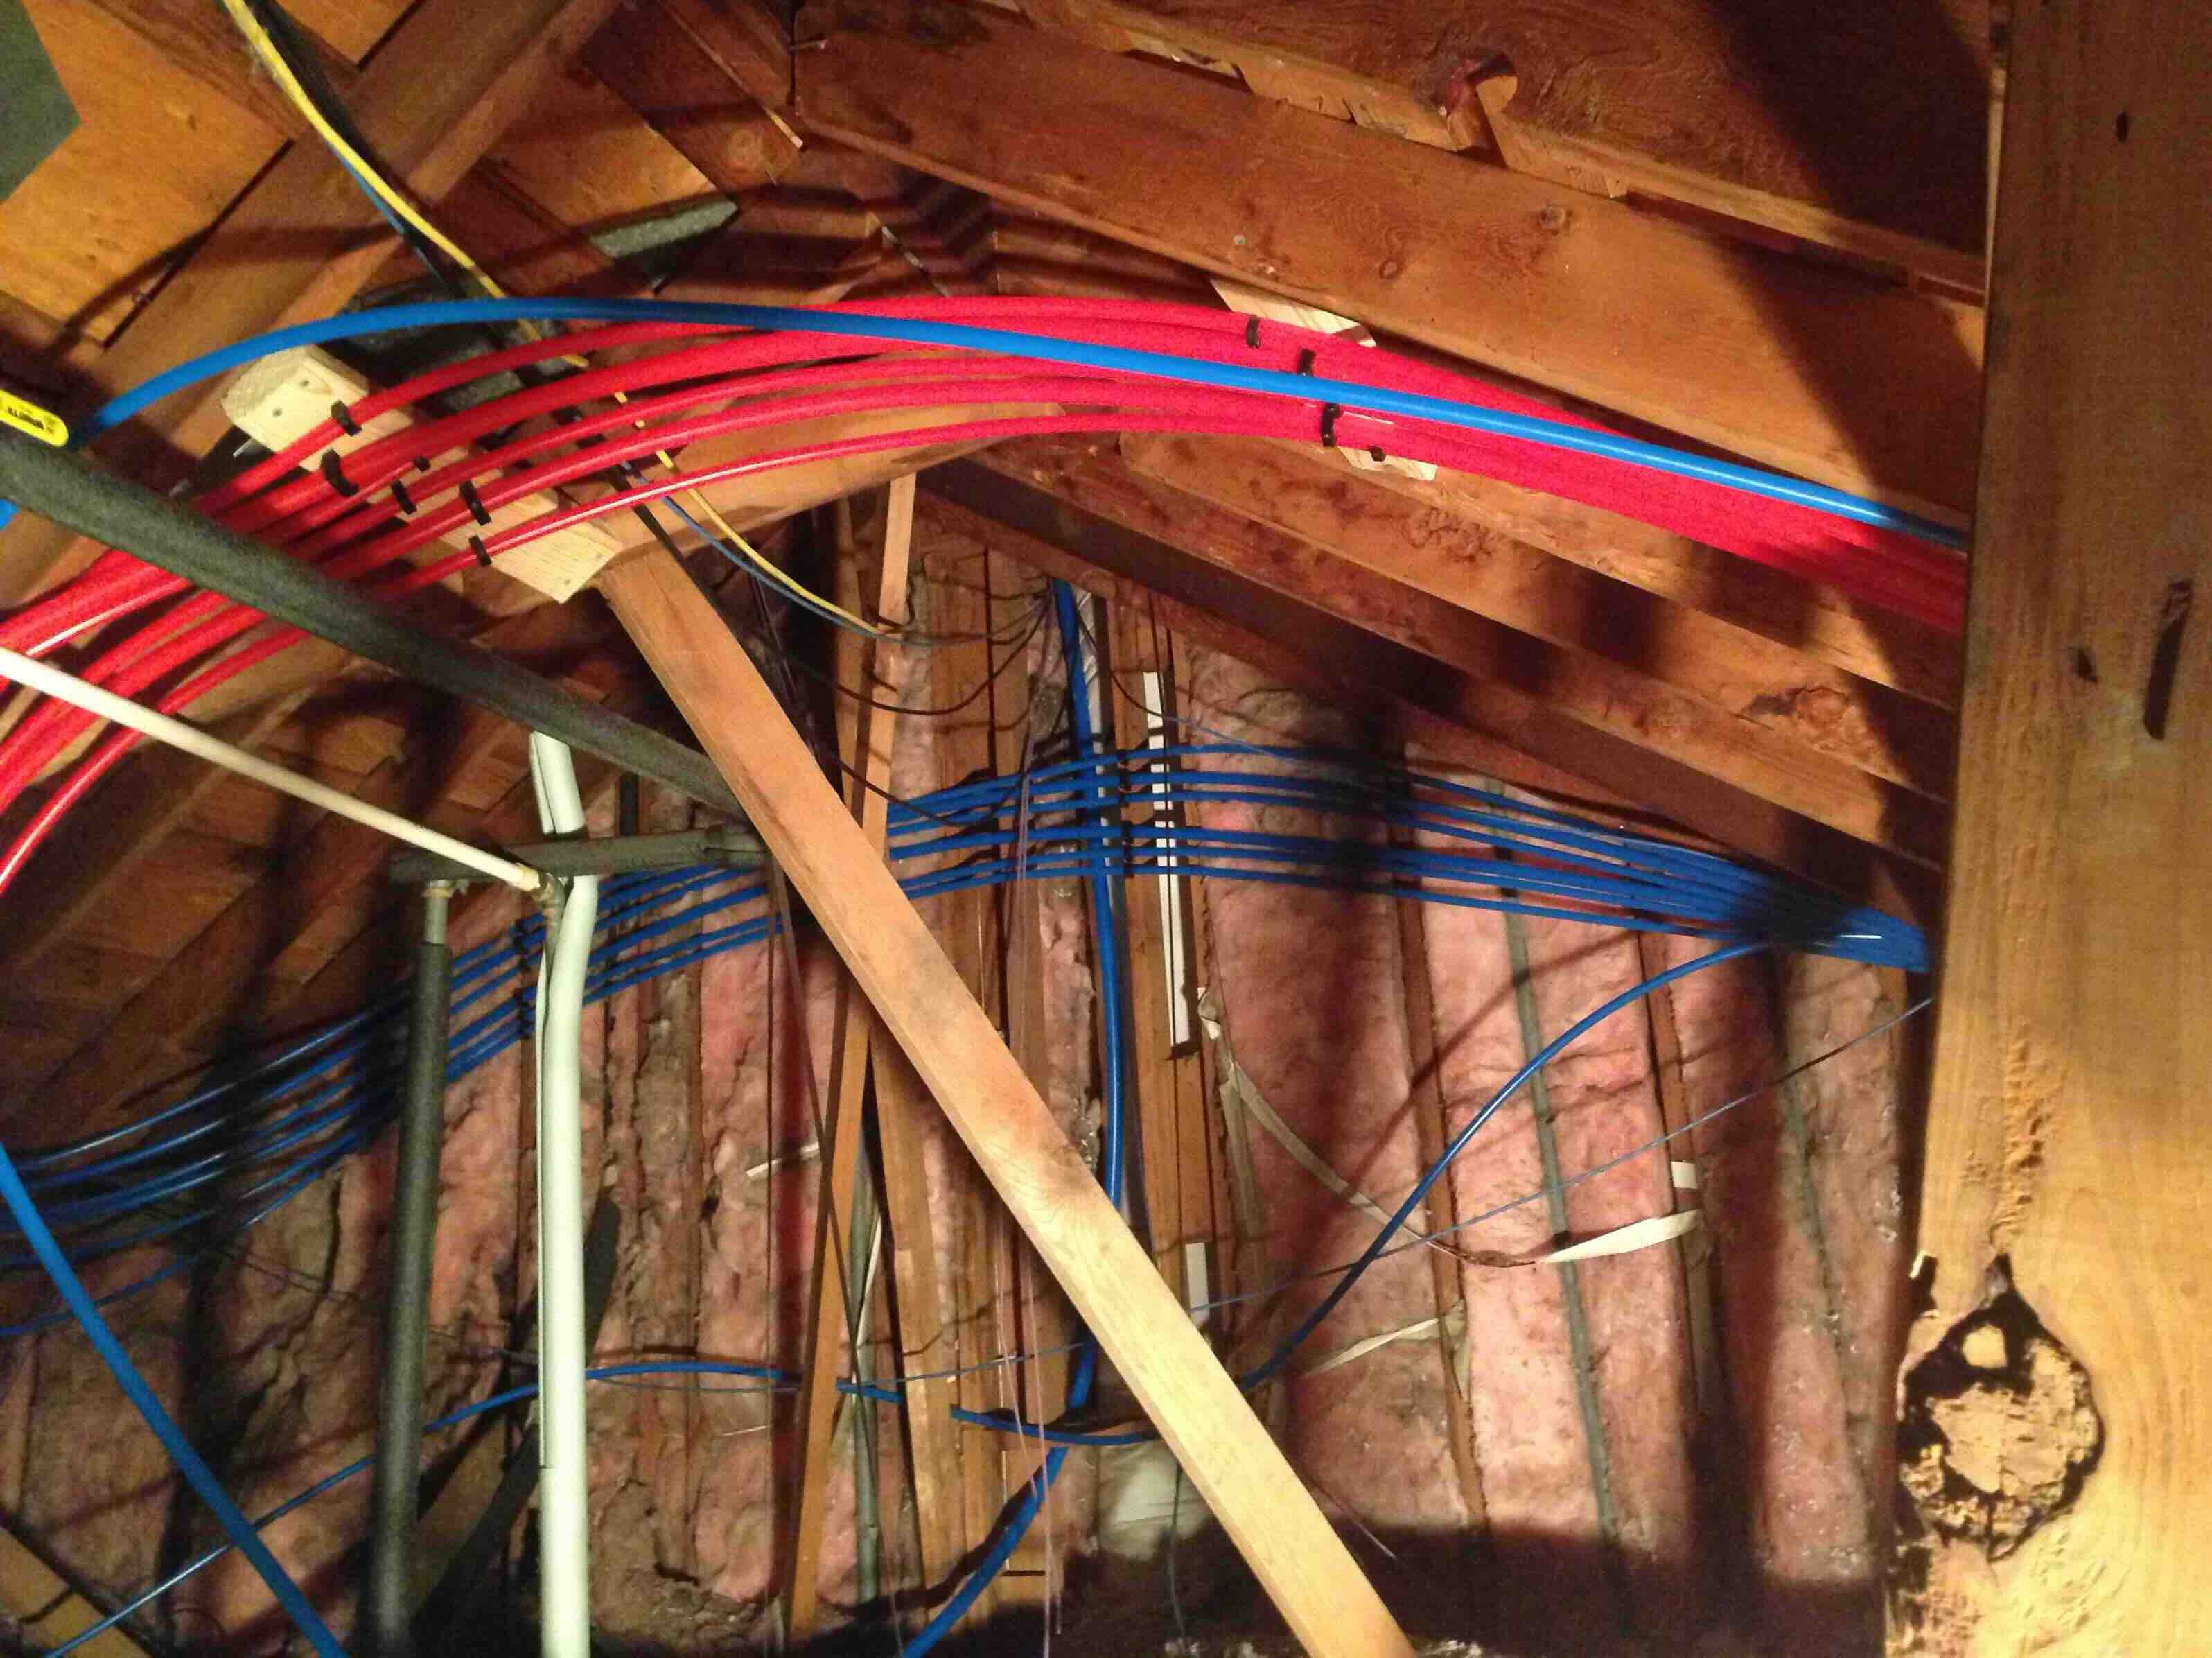
- Identify exposed pipes: Determine which pipes are most exposed to cold temperatures. These are the pipes that will benefit the most from insulation.
- Check for gaps and joints: Look for any gaps or joints in the pipes where insulation may be needed. These areas are prone to heat loss and should be thoroughly insulated.
- Note the pipe diameter: Measure the diameter of the pipes you plan to insulate. This will help you choose the appropriate size of insulation for a snug fit.
By thoroughly assessing the existing pipes, you’ll have a better understanding of the areas that require insulation. This will ensure that you provide adequate coverage and protection for your plumbing system.
Once you have assessed the pipes, it’s time to move on to the next step: choosing the right insulation for your plumbing pipes.
Step 2: Choose the Right Insulation
Choosing the right insulation for your plumbing pipes is essential to ensure effective protection and energy efficiency. Here are some factors to consider when selecting insulation:
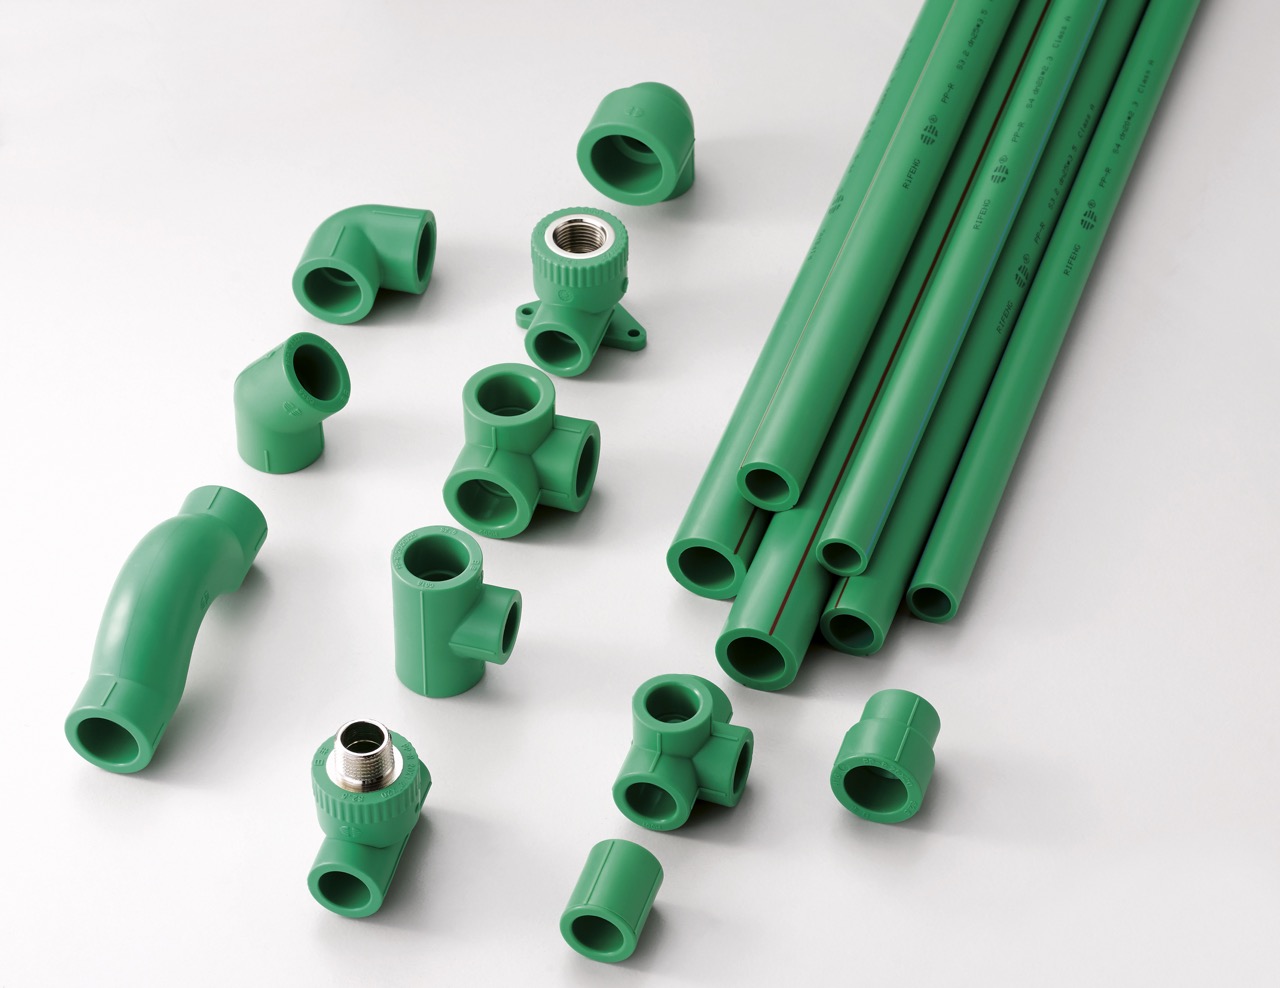
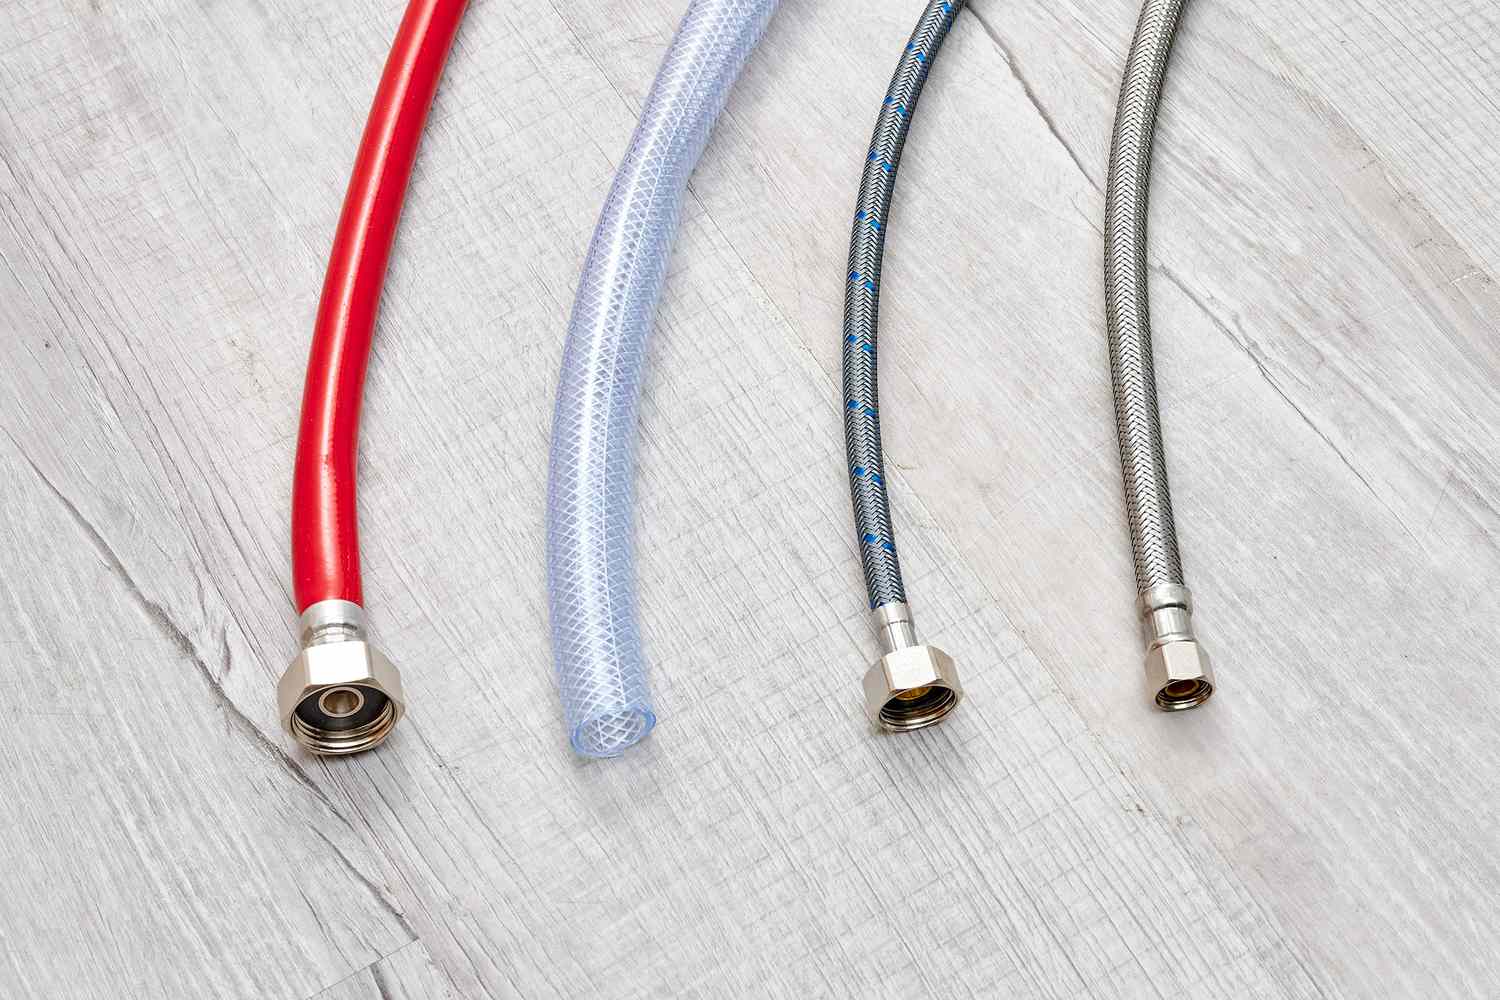
- Insulation material: There are different types of insulation materials available, such as foam sleeves, tubular insulation, or fiberglass wraps. Consider the pros and cons of each type and choose the one that best suits your needs.
- R-value: The R-value measures the insulation’s thermal resistance. The higher the R-value, the better the insulation properties. Consider the climate in your area and choose insulation with an appropriate R-value to withstand the expected temperatures.
- Pipe diameter: Measure the diameter of your pipes accurately and choose insulation that is compatible with the pipe size. Properly fitting insulation will provide better coverage and ensure maximum effectiveness.
- Durable and moisture-resistant: Ensure that the insulation you choose is durable and moisture-resistant. This will prevent any damage from water leaks or condensation and maintain the integrity of the insulation over time.
Take your time to research and find the insulation that meets your requirements. Check with a local hardware store or consult with a professional if you’re unsure about which type of insulation to choose.
Remember that proper insulation is crucial for the efficient functioning and longevity of your plumbing system. Once you’ve chosen the right insulation material, you can move on to the next step: preparing the pipes for insulation.
Step 3: Prepare the Pipes for Insulation
Before you can install the insulation on your plumbing pipes, it’s important to properly prepare the pipes to ensure a smooth and secure installation. Here are the steps to follow:
- Clean the pipes: Start by cleaning the pipes that you plan to insulate. Remove any dirt, dust, or debris that may hinder the adhesive properties of the insulation tape.
- Dry the pipes: Make sure the pipes are completely dry before applying the insulation. Moisture can affect the adhesion of the insulation tape and may lead to mold or mildew growth in the future.
- Repair any leaks or damages: Take this opportunity to fix any leaks or damages you identified during the assessment process. Repairing the pipes before insulation will ensure that they are in good condition and prevent further issues down the line.
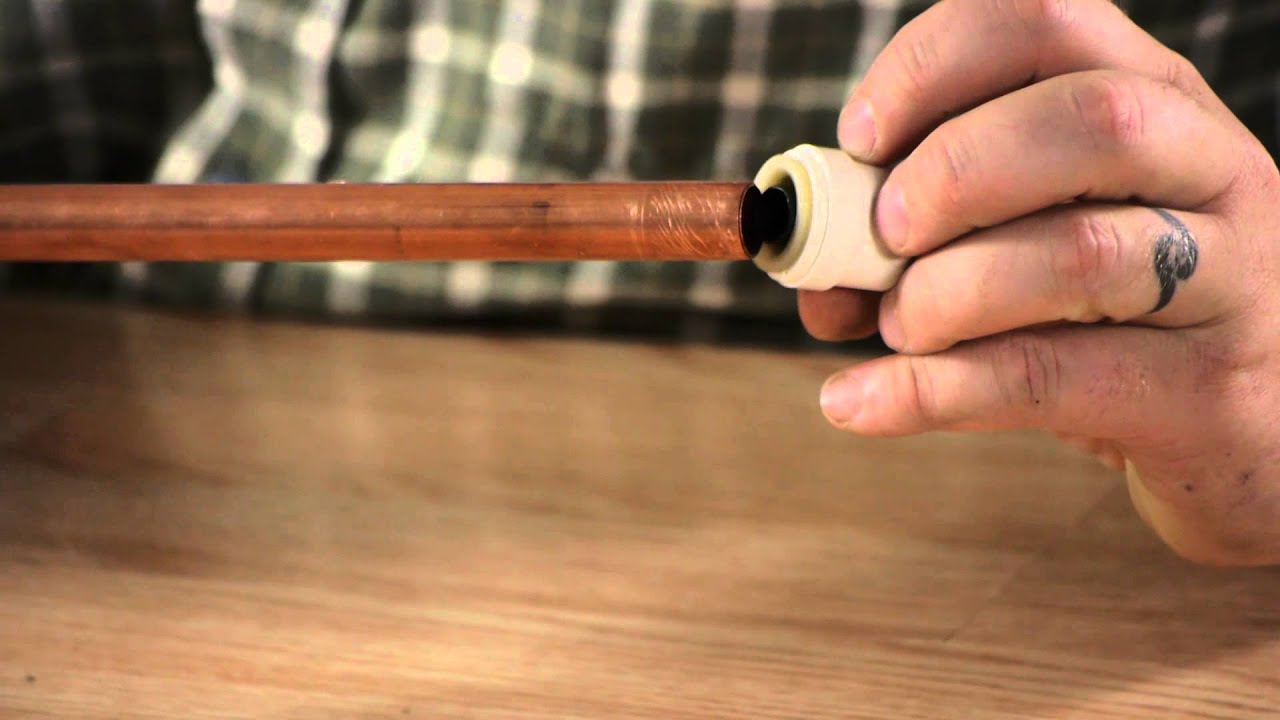
- Wrap exposed joints: If you have any exposed joints in your plumbing system, apply a layer of pipe joint compound or Teflon tape. This will help seal any gaps and prevent heat loss.
- Remove any existing insulation: If there is any old or damaged insulation on the pipes, remove it before installing the new insulation. This will ensure a clean and effective installation.
By preparing the pipes thoroughly, you’ll create a solid foundation for the insulation to be applied. This step is crucial for the long-term effectiveness and stability of the insulation on your plumbing pipes.
Once you have prepared the pipes, it’s time to move on to the next step: measuring and cutting the insulation.
Read more: How To Replace Plumbing Pipes
Step 4: Measure and Cut the Insulation
Now that your pipes are prepared for insulation, it’s time to measure and cut the insulation to the appropriate size. Here’s how to do it:
- Measure the length of the pipe: Use a measuring tape to determine the length of the pipe you are insulating. Make sure to measure from one end of the pipe to the other, excluding any fittings or joints.
- Mark the measurement on the insulation: Transfer the measurement to the insulation material. Use a pen or marker to make a clear and visible mark.
- Double-check the measurement: Once you have marked the insulation, double-check the measurement to ensure accuracy. It’s better to be cautious and measure twice to avoid any errors.
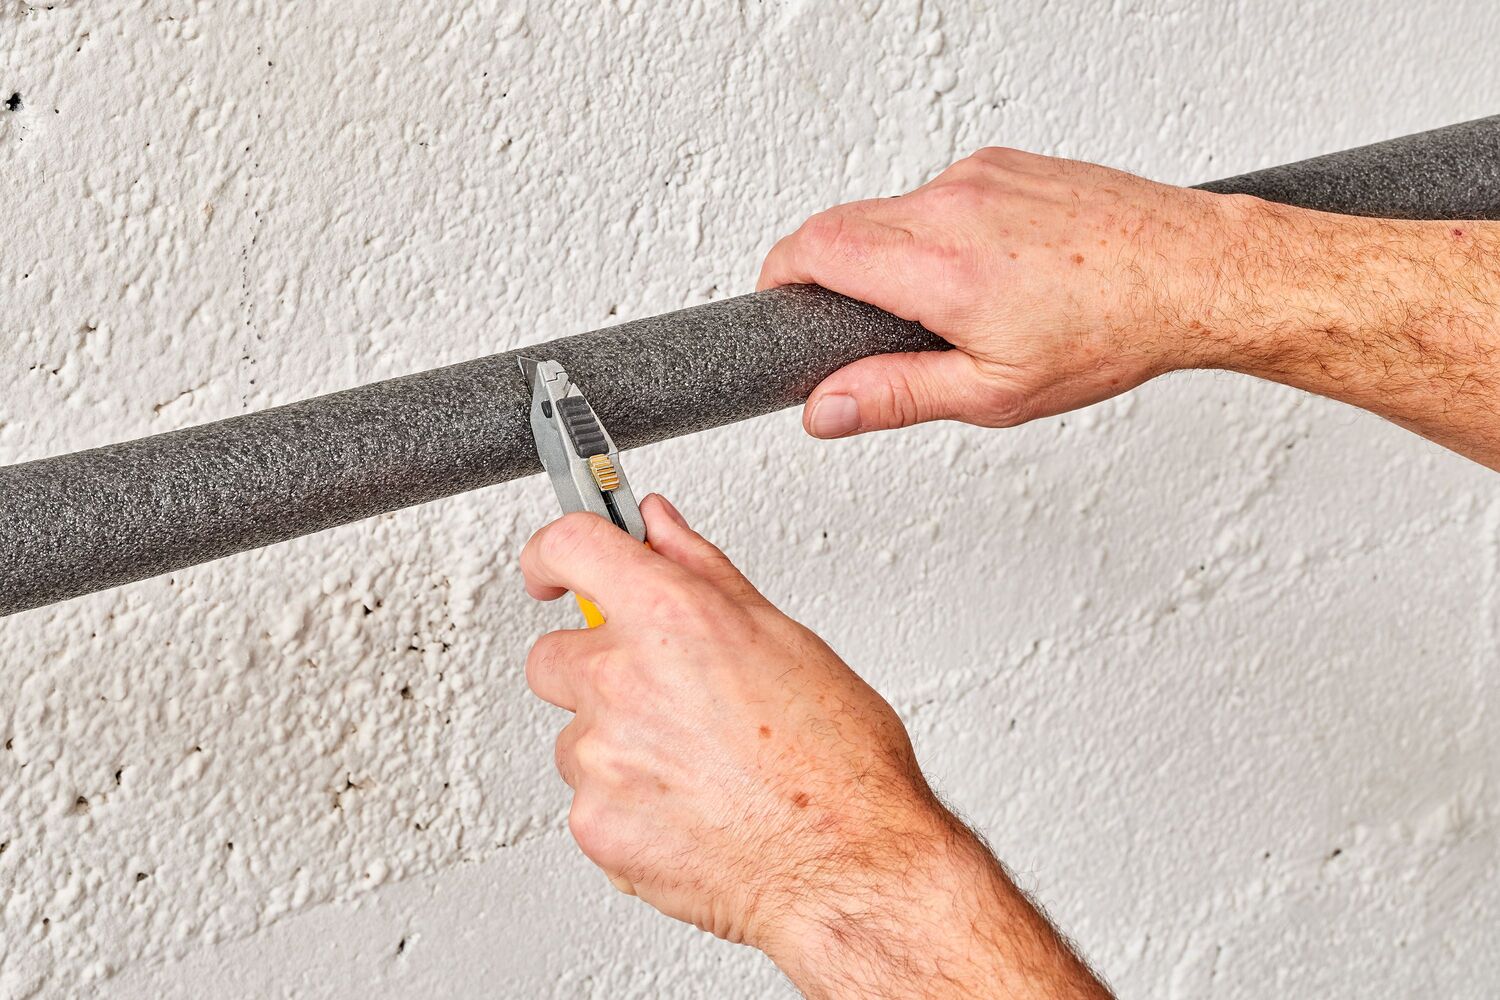
- Cut the insulation: Using scissors or a utility knife, carefully cut the insulation along the marked line. Make sure to follow a straight line to achieve a clean and precise cut.
Repeat these steps for each section of pipe that you need to insulate. Take your time to measure and cut accurately to ensure a proper fit for the insulation.
During the cutting process, be mindful of your safety. Always use sharp tools and exercise caution to avoid any accidents or injuries. If needed, wear gloves to protect your hands from any sharp edges.
Once the insulation is cut to the correct size, you’re ready to move on to the next step: installing the insulation on the pipes.
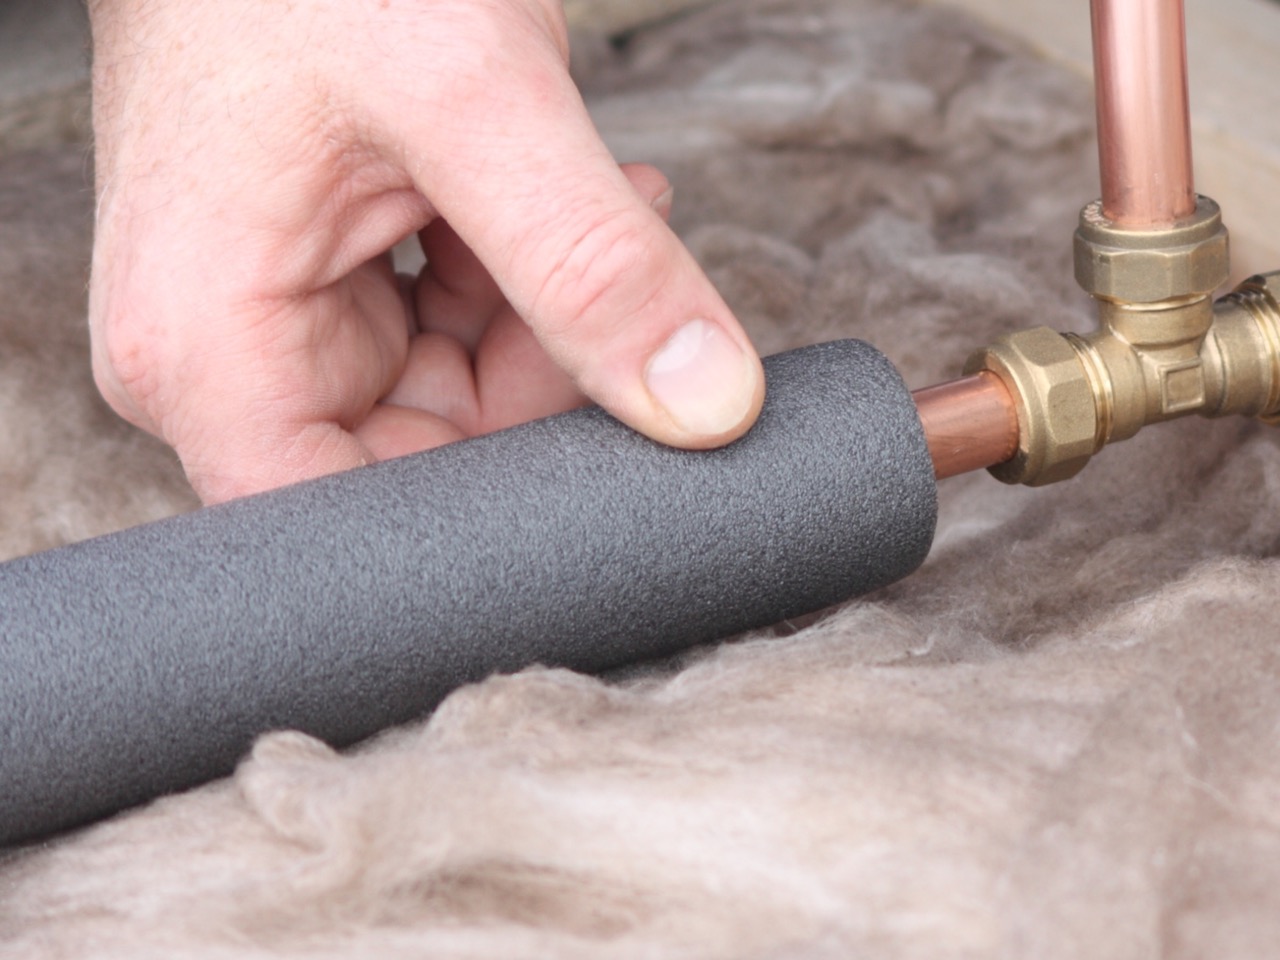
Consider using foam pipe insulation to wrap around your plumbing pipes. This can help prevent heat loss and protect against freezing temperatures. Make sure to choose the correct size for your pipes and secure the insulation with tape or zip ties.
Step 5: Install the Insulation on the Pipes
With the insulation cut to the appropriate size, it’s time to install it on your plumbing pipes. Follow these steps to properly install the insulation:
- Open the insulation: If you are using foam sleeves, split them open lengthwise to create a slit that will fit over the pipe. If you are using tubular insulation, there may already be a pre-cut slit that you can use.
- Slide the insulation onto the pipe: Carefully place the insulation over the pipe, making sure it fits snugly. If needed, you can use a gentle twisting motion to help the insulation slide smoothly onto the pipe.
- Ensure proper coverage: Make sure the entire length of the pipe is covered by the insulation. There should be no gaps or exposed areas. If necessary, adjust the position of the insulation to achieve complete coverage.
- Seal the seams: If you are using foam sleeves, seal the seams by pressing them together. If you are using tubular insulation, ensure that the edges are butted tightly against each other.
It’s important to note that for pipes with bends or joints, you may need to cut the insulation at an angle to fit over the sections properly. Use a utility knife to make clean cuts and ensure a secure fit around these areas.
As you install the insulation, ensure that it is centered and straight along the length of the pipe. This will not only provide maximum coverage but also create a professional and tidy appearance.
Once the insulation is securely installed on your plumbing pipes, you can move on to the next step: securing the insulation in place.
Step 6: Secure the Insulation in Place
After installing the insulation on your plumbing pipes, it’s important to secure it in place to ensure long-term effectiveness. Follow these steps to properly secure the insulation:
- Use insulation tape: Start by wrapping insulation tape around the ends of the insulation where it meets the pipe. This will provide an extra layer of security and prevent the insulation from slipping or coming loose.
- Wrap the tape tightly: Make sure to wrap the insulation tape tightly around the pipe, without overlapping too much. This will ensure a secure fit and prevent air from getting in.
- Repeat at intervals: Place additional strips of insulation tape along the length of the insulation at regular intervals. This will further secure the insulation and prevent it from shifting or sliding off the pipe.
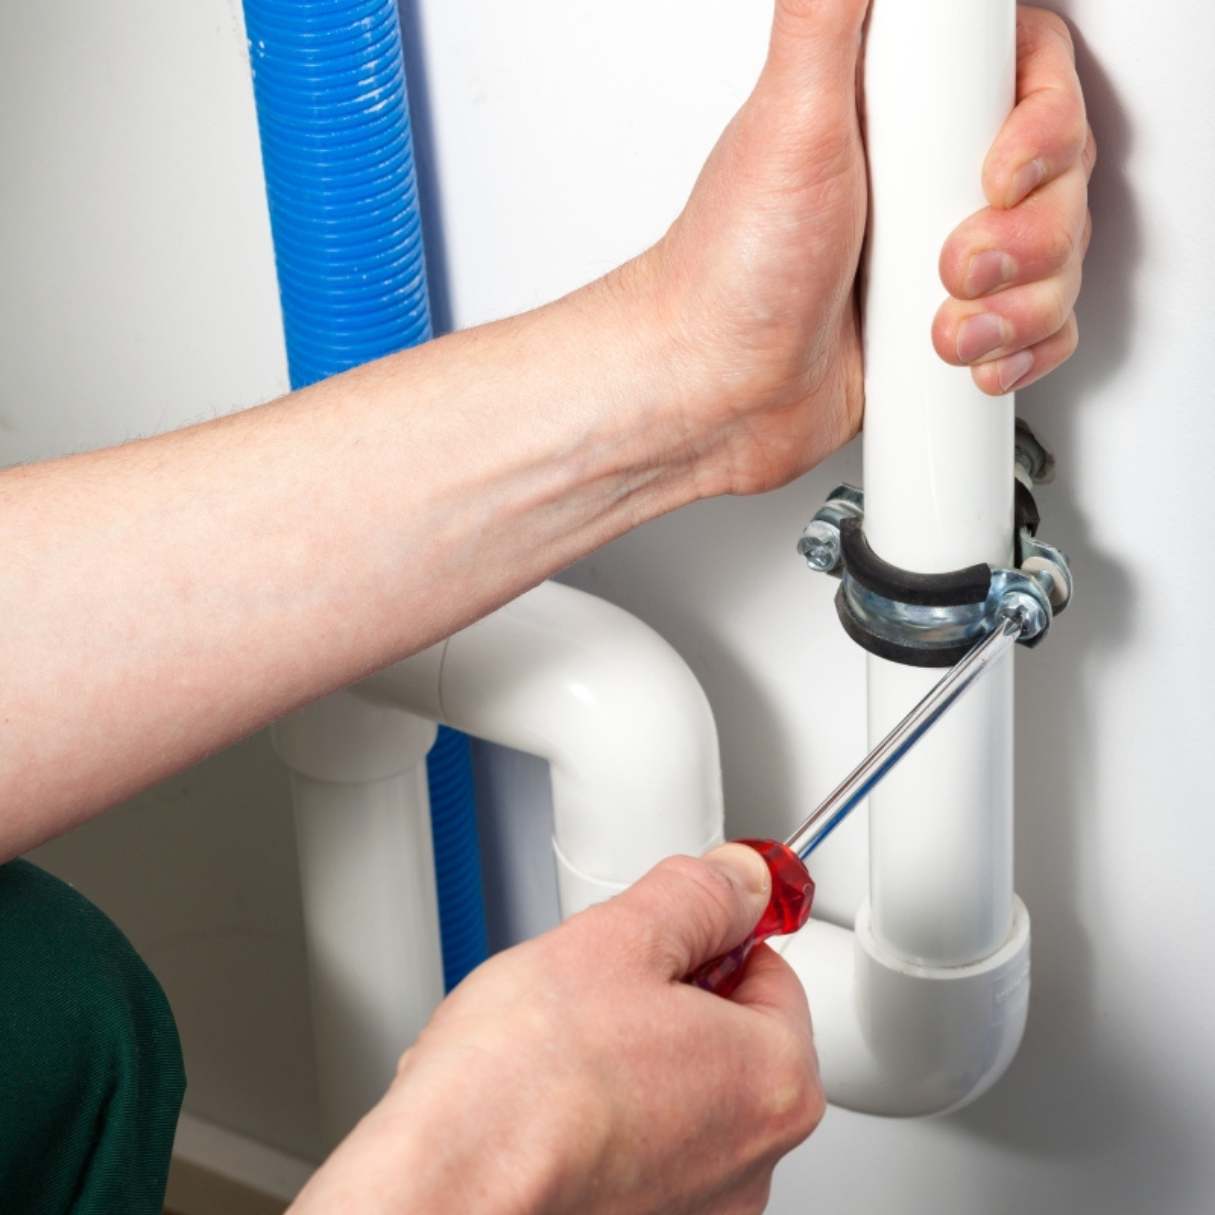
- Use zip ties or wire for larger pipes: If you are insulating larger pipes or areas with limited space, you may need to use zip ties or wire to fasten the insulation in place. Wrap them around the insulation and tighten them to hold the insulation securely.
When securing the insulation, be mindful not to overtighten or compress it too much. This can affect its effectiveness and may lead to damage or cracks in the insulation material. Maintain a firm but gentle grip to ensure a proper seal.
Additionally, check the wrapped insulation regularly to ensure that none of the tape is coming loose or peeling off. If you notice any issues, reapply the insulation tape to maintain a secure and reliable installation.
With the insulation securely in place, you’re ready to move on to the next step: insulating any exposed joints or gaps.
Step 7: Insulate Any Exposed Joints or Gaps
As you near the completion of insulating your plumbing pipes, it’s important to pay attention to any exposed joints or gaps that may require additional insulation. Here’s how to insulate these areas:
- Identify exposed joints or gaps: Take a close look at your plumbing system and identify any areas where there are joints or gaps that are not adequately covered by the insulation.
- Apply insulation tape or foam: Use insulation tape or foam to cover the exposed joints or gaps. Wrap the tape around the joint or gap, ensuring it is tightly secured. For larger gaps or joints, you may need to use foam insulation and cut it to the appropriate size.
- Seal the seams: Press the insulation tape together firmly to create a tight seal. If using foam insulation, ensure that it is securely in place and covers the entire exposed area.
- Check for proper coverage: Double-check that all the exposed joints or gaps are completely covered and insulated. There should be no areas where cold air can penetrate or heat can escape.
Insulating exposed joints or gaps is essential to maximize the efficiency and effectiveness of your insulation. By sealing these areas, you can prevent heat loss and ensure that your plumbing system is well-protected from freezing temperatures.
After insulating the exposed joints or gaps, take a moment to review the overall coverage and ensure that all areas of your plumbing pipes are properly insulated. This will guarantee that your system is well-prepared for the colder months.
With the additional insulation in place, you’re ready to move on to the final step: checking for proper insulation coverage.
Read more: How To Hide Plumbing Pipes
Step 8: Check for Proper Insulation Coverage
The final step in insulating your plumbing pipes is to check for proper insulation coverage to ensure that your system is adequately protected. Follow these steps to verify the insulation coverage:
- Inspect the entire length of the pipes: Carefully examine each section of the insulated pipes. Look for any gaps, exposed areas, or loose insulation.
- Ensure tight and secure insulation: Check that the insulation is tightly secured to the pipes and there are no areas where it is loose or slipping off.
- Verify complete coverage: Confirm that all sections of the pipes, including bends, joints, and exposed areas, are fully covered by the insulation.
- Check for gaps or cracks in the insulation: Look for any gaps or cracks in the insulation material. These can compromise its effectiveness and lead to heat loss.
- Inspect the insulation tape or fasteners: Review the condition of the insulation tape or fasteners. Make sure they are secure and not peeling off.
If you notice any deficiencies in the insulation coverage or any areas that require additional attention, make the necessary adjustments or apply extra insulation as needed. It’s crucial to have complete coverage to ensure maximum insulation effectiveness.
Remember, proper insulation coverage not only protects your plumbing system from freezing temperatures but also improves energy efficiency by minimizing heat loss. Taking the time to check and confirm the insulation coverage will give you peace of mind knowing that your plumbing pipes are well-insulated.
Congratulations! By following these steps, you have successfully insulated your plumbing pipes, providing them with the protection they need during cold weather. Properly insulated pipes will help prevent freezing, reduce energy waste, and extend the lifespan of your plumbing system.
As a final note, it’s important to regularly check your plumbing system for any signs of damage or wear. Insulation can deteriorate over time, so keep an eye out for any issues and make necessary repairs or re-insulate if needed. With proper maintenance, your plumbing pipes will continue to function optimally for years to come.
Conclusion
Insulating your plumbing pipes is a vital step towards protecting your home and ensuring the efficient functioning of your plumbing system. By following the step-by-step process outlined in this article, you have learned how to properly insulate your pipes, preventing freezing, reducing energy waste, and potentially saving money on utility bills.
During the insulation process, you assessed the existing pipes, chose the right insulation materials, prepared the pipes, measured and cut the insulation, installed and secured it in place, insulated any exposed joints or gaps, and checked for proper coverage. Each step was crucial in achieving comprehensive insulation coverage and providing your plumbing system with the necessary protection.
Remember to periodically inspect your insulation for any signs of damage or wear. Over time, insulation may deteriorate or become less effective, so it’s important to address any issues promptly to maintain optimal insulation performance.
By insulating your plumbing pipes, you have not only protected your home and plumbing system from the potential damage caused by freezing temperatures but also improved energy efficiency. Insulation reduces heat loss, allowing you to conserve energy and lower your utility bills.
Don’t forget to share your newfound knowledge with family, friends, or neighbors. Properly insulated plumbing pipes benefit everyone by preventing common plumbing problems and minimizing the risk of costly repairs.
In conclusion, insulating your plumbing pipes is a simple and cost-effective measure that can save you from headaches and expenses in the long run. Take the time to assess your pipes, choose the right insulation materials, and follow the step-by-step process outlined in this article. With proper insulation, you can enjoy a well-protected and efficient plumbing system all year round.
Frequently Asked Questions about How To Insulate Plumbing Pipes
Was this page helpful?
At Storables.com, we guarantee accurate and reliable information. Our content, validated by Expert Board Contributors, is crafted following stringent Editorial Policies. We're committed to providing you with well-researched, expert-backed insights for all your informational needs.

0 thoughts on “How To Insulate Plumbing Pipes”