Home>Home Appliances>Bathroom Appliances>How To Replace The Tip On A Waterpik Water Flosser
Bathroom Appliances
How To Replace The Tip On A Waterpik Water Flosser
Modified: August 17, 2024
Learn how to easily replace the tip on your Waterpik Water Flosser with our step-by-step guide. Keep your bathroom appliances in top condition!
(Many of the links in this article redirect to a specific reviewed product. Your purchase of these products through affiliate links helps to generate commission for Storables.com, at no extra cost. Learn more)
Introduction
Replacing the tip on a Waterpik Water Flosser is a simple yet essential maintenance task that ensures the optimal performance and hygiene of this indispensable bathroom appliance. Whether you're upgrading to a different type of tip or replacing a worn-out one, this process is straightforward and can be completed in just a few minutes. By following the steps outlined in this guide, you'll be able to seamlessly replace the tip on your Waterpik Water Flosser, allowing you to maintain your oral health regimen without any interruptions.
Ensuring that your Waterpik Water Flosser is equipped with a functional and appropriate tip is crucial for achieving effective oral hygiene. The tip plays a pivotal role in directing the water flow to the targeted areas in your mouth, facilitating the removal of plaque and debris from between your teeth and along the gumline. Additionally, regularly replacing the tip helps to uphold the device's overall hygiene and performance, ensuring that it continues to provide the optimal level of dental care.
In the following steps, we will guide you through the process of replacing the tip on your Waterpik Water Flosser, providing you with the confidence and knowledge to maintain this essential bathroom appliance. By gathering the necessary tools and following the straightforward instructions, you'll be able to seamlessly replace the tip, ensuring that your Waterpik Water Flosser remains an integral part of your oral care routine. Let's dive into the steps to ensure that your Waterpik Water Flosser continues to deliver the exceptional performance you rely on for a healthy, radiant smile.
Key Takeaways:
- Regularly replacing the tip on your Waterpik Water Flosser ensures effective plaque removal and gum health, contributing to a healthier smile and overall dental well-being.
- By seamlessly replacing the tip on your Waterpik, you can maintain a consistent and thorough oral care routine, ensuring the optimal performance of this essential bathroom appliance.
Read more: How To Use The Waterpik Water Flosser
Step 1: Gather the necessary tools
Before embarking on the process of replacing the tip on your Waterpik Water Flosser, it's essential to gather the necessary tools to ensure a smooth and efficient transition. By having these items at your disposal, you'll be well-prepared to complete the task without any interruptions, allowing you to maintain the optimal functionality of your Waterpik Water Flosser.
Here are the essential tools you'll need:
-
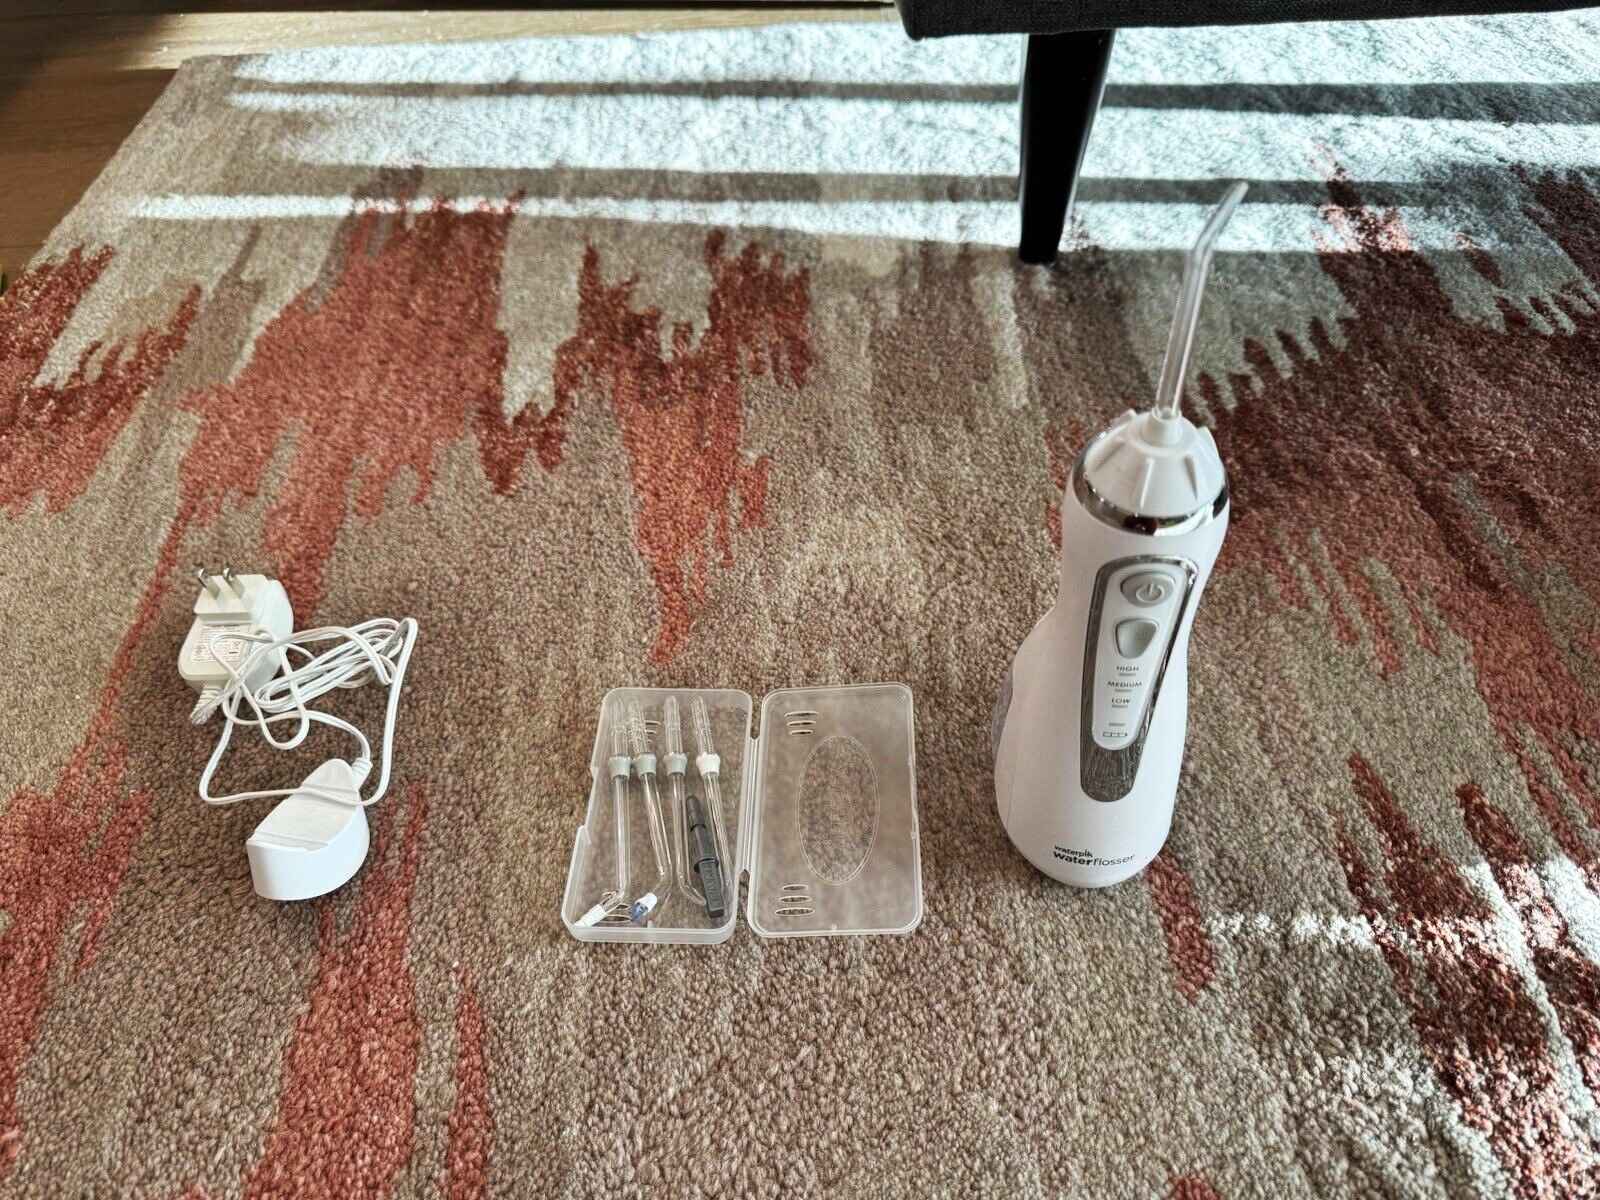
New Tip: Ensure that you have the replacement tip readily available. Waterpik offers a variety of tips designed to cater to specific oral care needs, including standard, orthodontic, plaque seeker, and periodontal tips. Select the appropriate tip based on your dental requirements and ensure it is compatible with your Waterpik model.
-
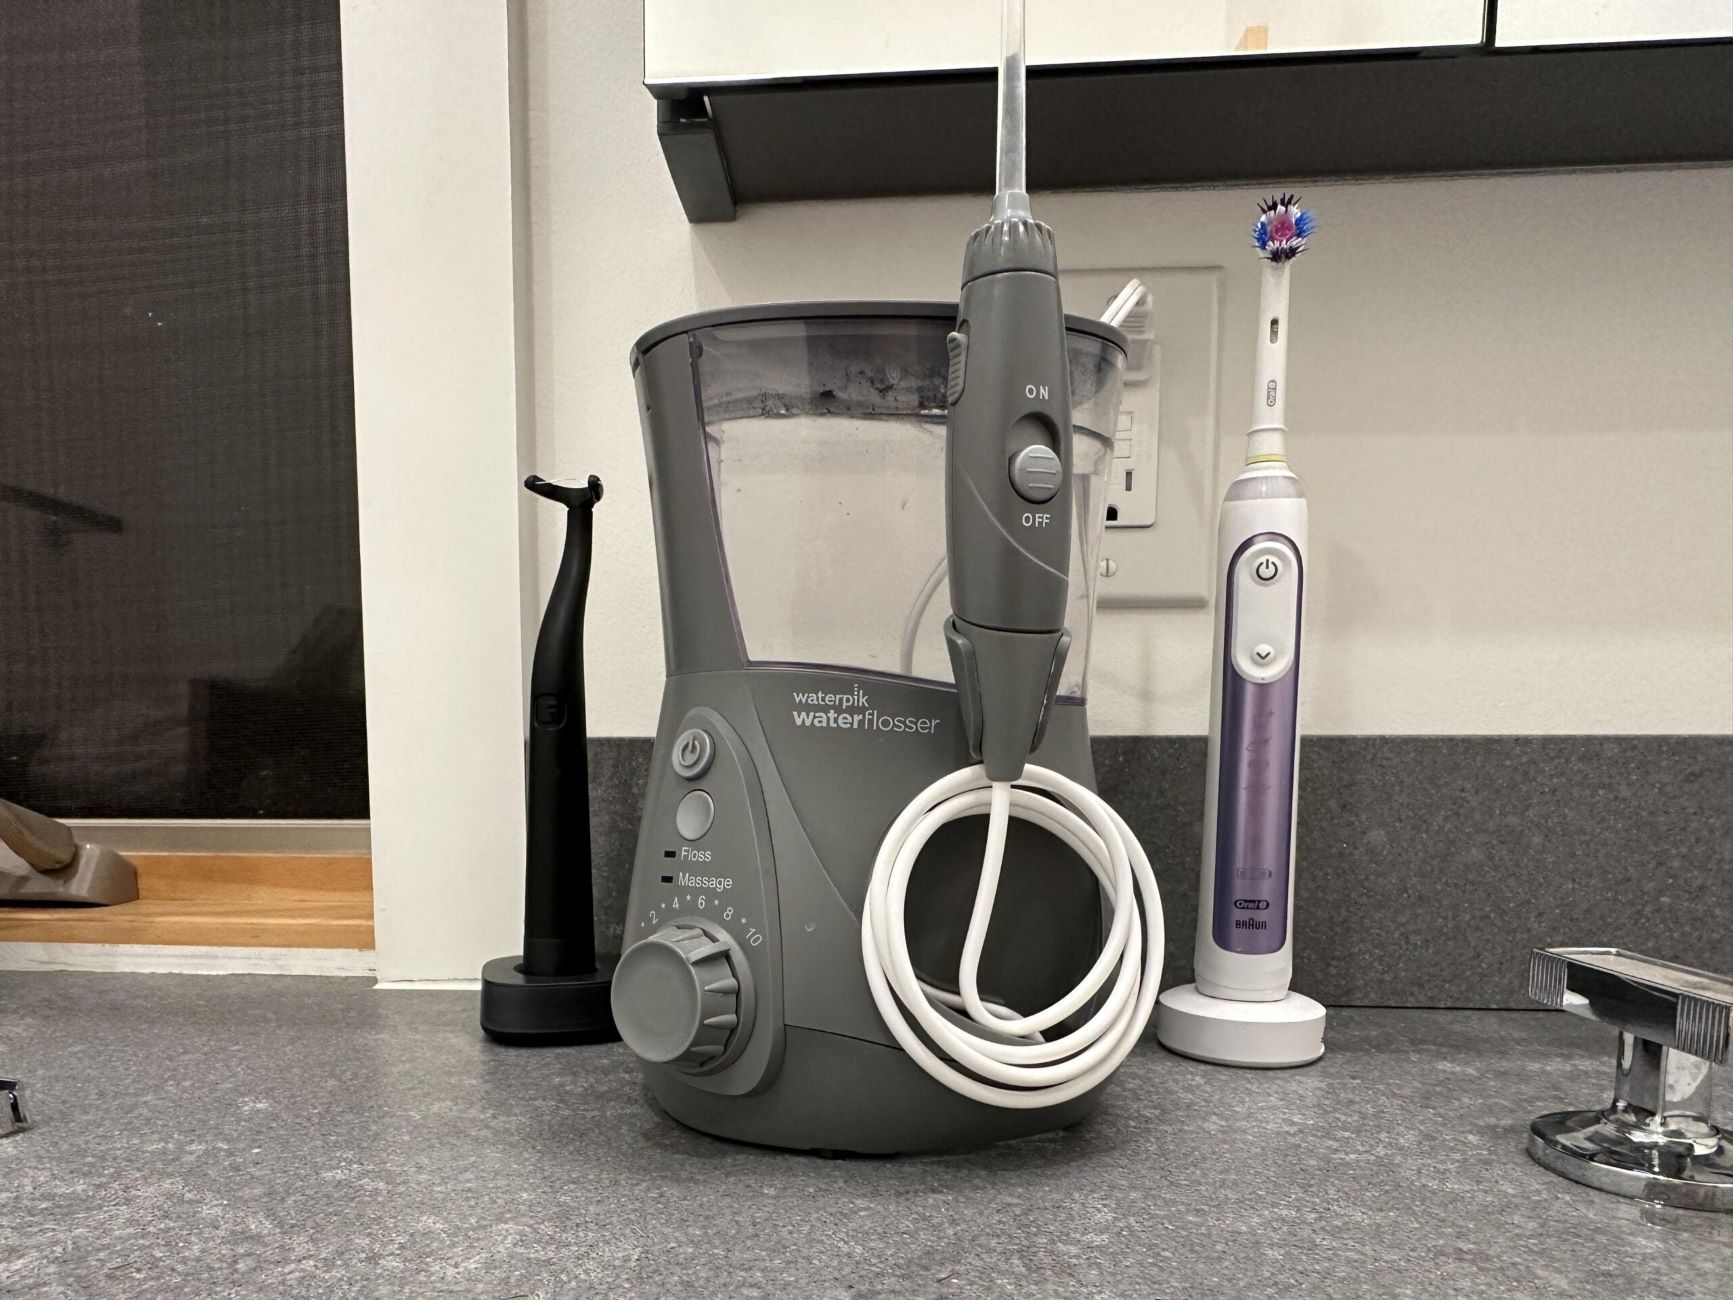
Waterpik Water Flosser: Have your Waterpik device on hand, ensuring it is clean and unplugged. This will allow you to seamlessly proceed with the tip replacement process without any obstructions.
-
Clean Cloth or Towel: Keep a clean cloth or towel nearby to wipe any excess water or moisture from the Waterpik and the surrounding area during the tip replacement process.
-
Work Area Preparation: Ensure you have a well-lit and spacious area to work in. This will facilitate a comfortable and organized environment for carrying out the tip replacement procedure.
By gathering these essential tools, you'll be fully equipped to proceed with confidence to the subsequent steps of removing the old tip and installing the new one. This proactive approach ensures that you can seamlessly complete the tip replacement process, allowing your Waterpik Water Flosser to continue providing the optimal level of oral care.
Step 2: Remove the old tip
Removing the old tip from your Waterpik Water Flosser is a crucial step in the process of replacing it with a new one. This task is relatively simple and can be accomplished in just a few easy steps, ensuring that you can seamlessly transition to the installation of the new tip. Here's a detailed guide on how to remove the old tip from your Waterpik Water Flosser:
-
Turn Off and Unplug: Before beginning the removal process, ensure that your Waterpik Water Flosser is turned off and unplugged from the power source. This precautionary measure guarantees your safety and prevents any accidental activation of the device during the tip removal.
-
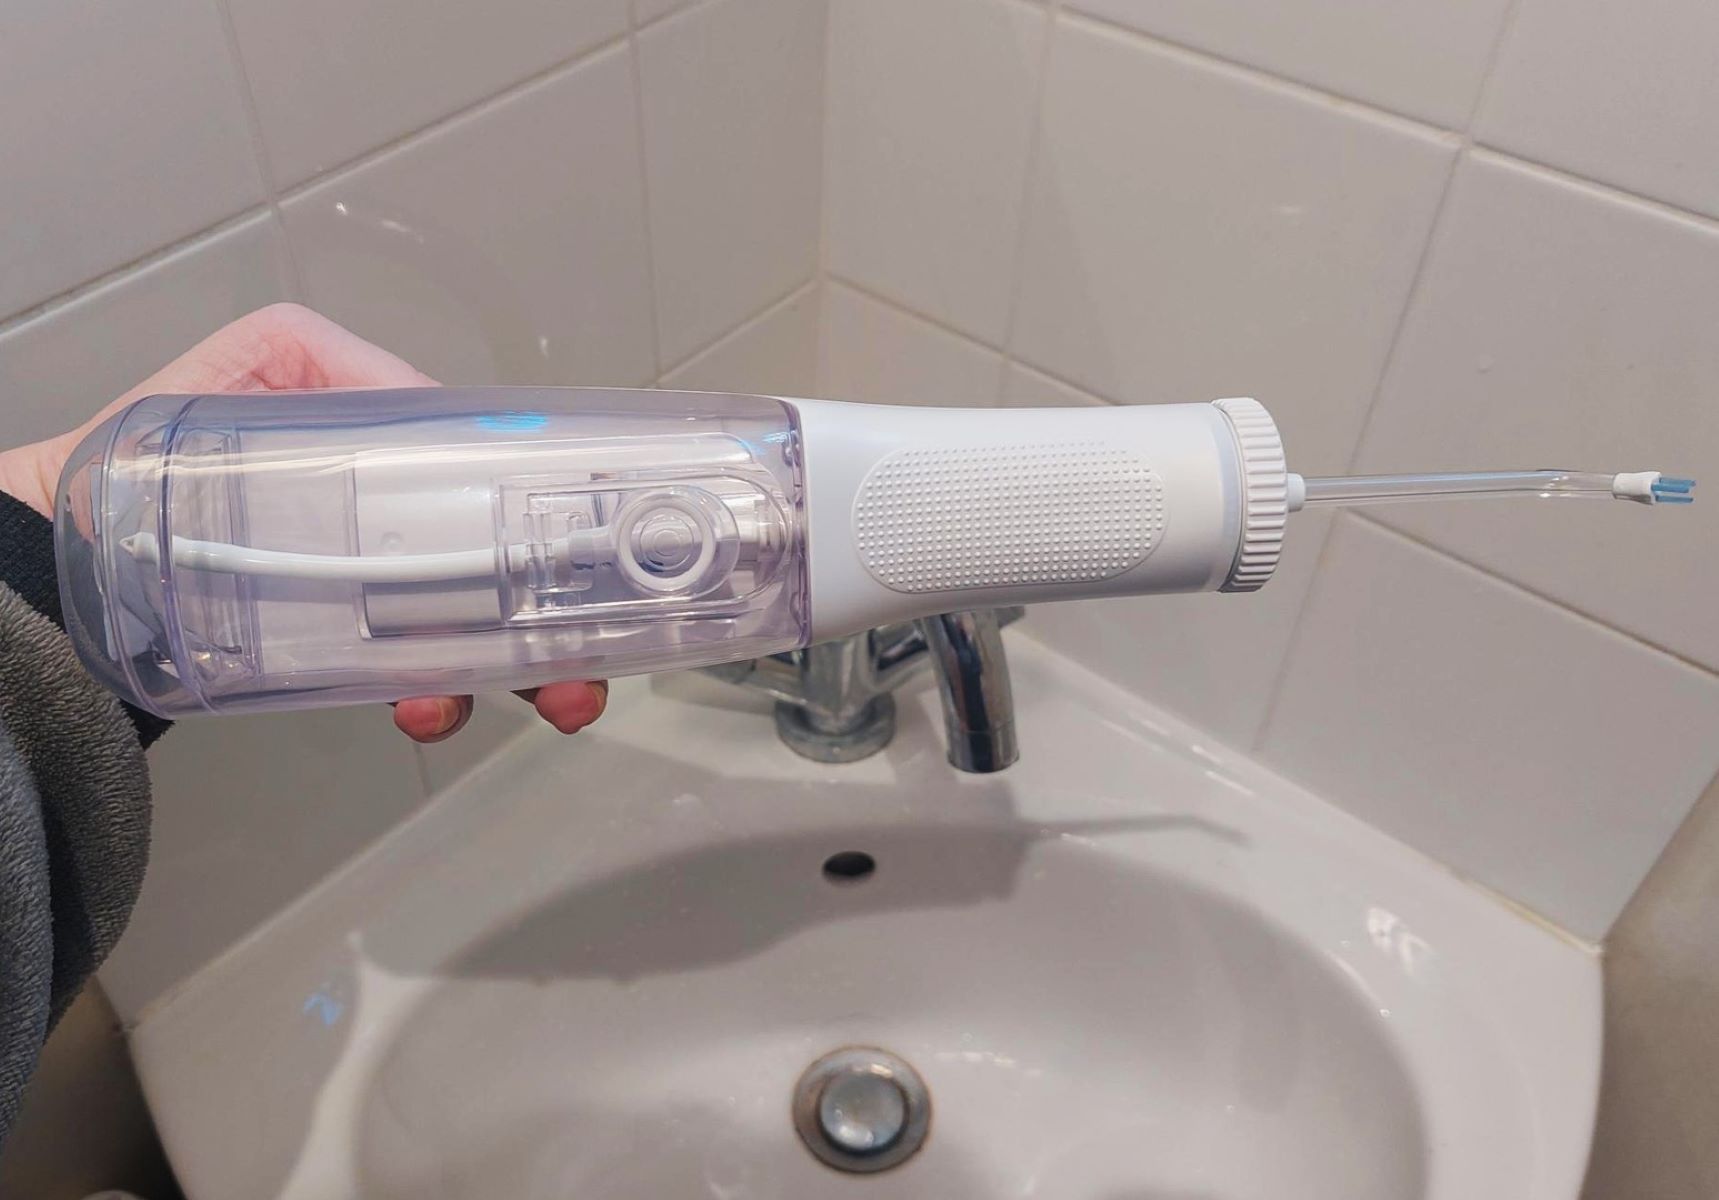
Eject the Old Tip: Depending on the model of your Waterpik, the method for ejecting the old tip may vary. For most models, gently press the tip release button located on the handle of the Water Flosser. This action will disengage the old tip, allowing you to remove it effortlessly.
-
Dispose or Store: Once the old tip is ejected, carefully remove it from the Waterpik handle. If the tip is worn out or damaged, dispose of it appropriately. However, if the tip is still in good condition, consider storing it in a clean and dry location as a backup.
-
Inspect the Connection: After removing the old tip, take a moment to inspect the connection point on the Waterpik handle. Ensure that there is no debris or residue that could hinder the installation of the new tip. If necessary, use a clean, damp cloth to wipe the connection point, ensuring it is free from any obstructions.
By following these steps, you can effectively remove the old tip from your Waterpik Water Flosser, setting the stage for the seamless installation of the new tip. This process ensures that your Waterpik remains in optimal condition, allowing you to continue benefiting from its exceptional oral care capabilities.
Remember, the removal of the old tip is a preparatory step that paves the way for the installation of the new tip, which we will cover in the subsequent section. With the old tip successfully removed, you are now ready to proceed to the next step of installing the new tip onto your Waterpik Water Flosser.
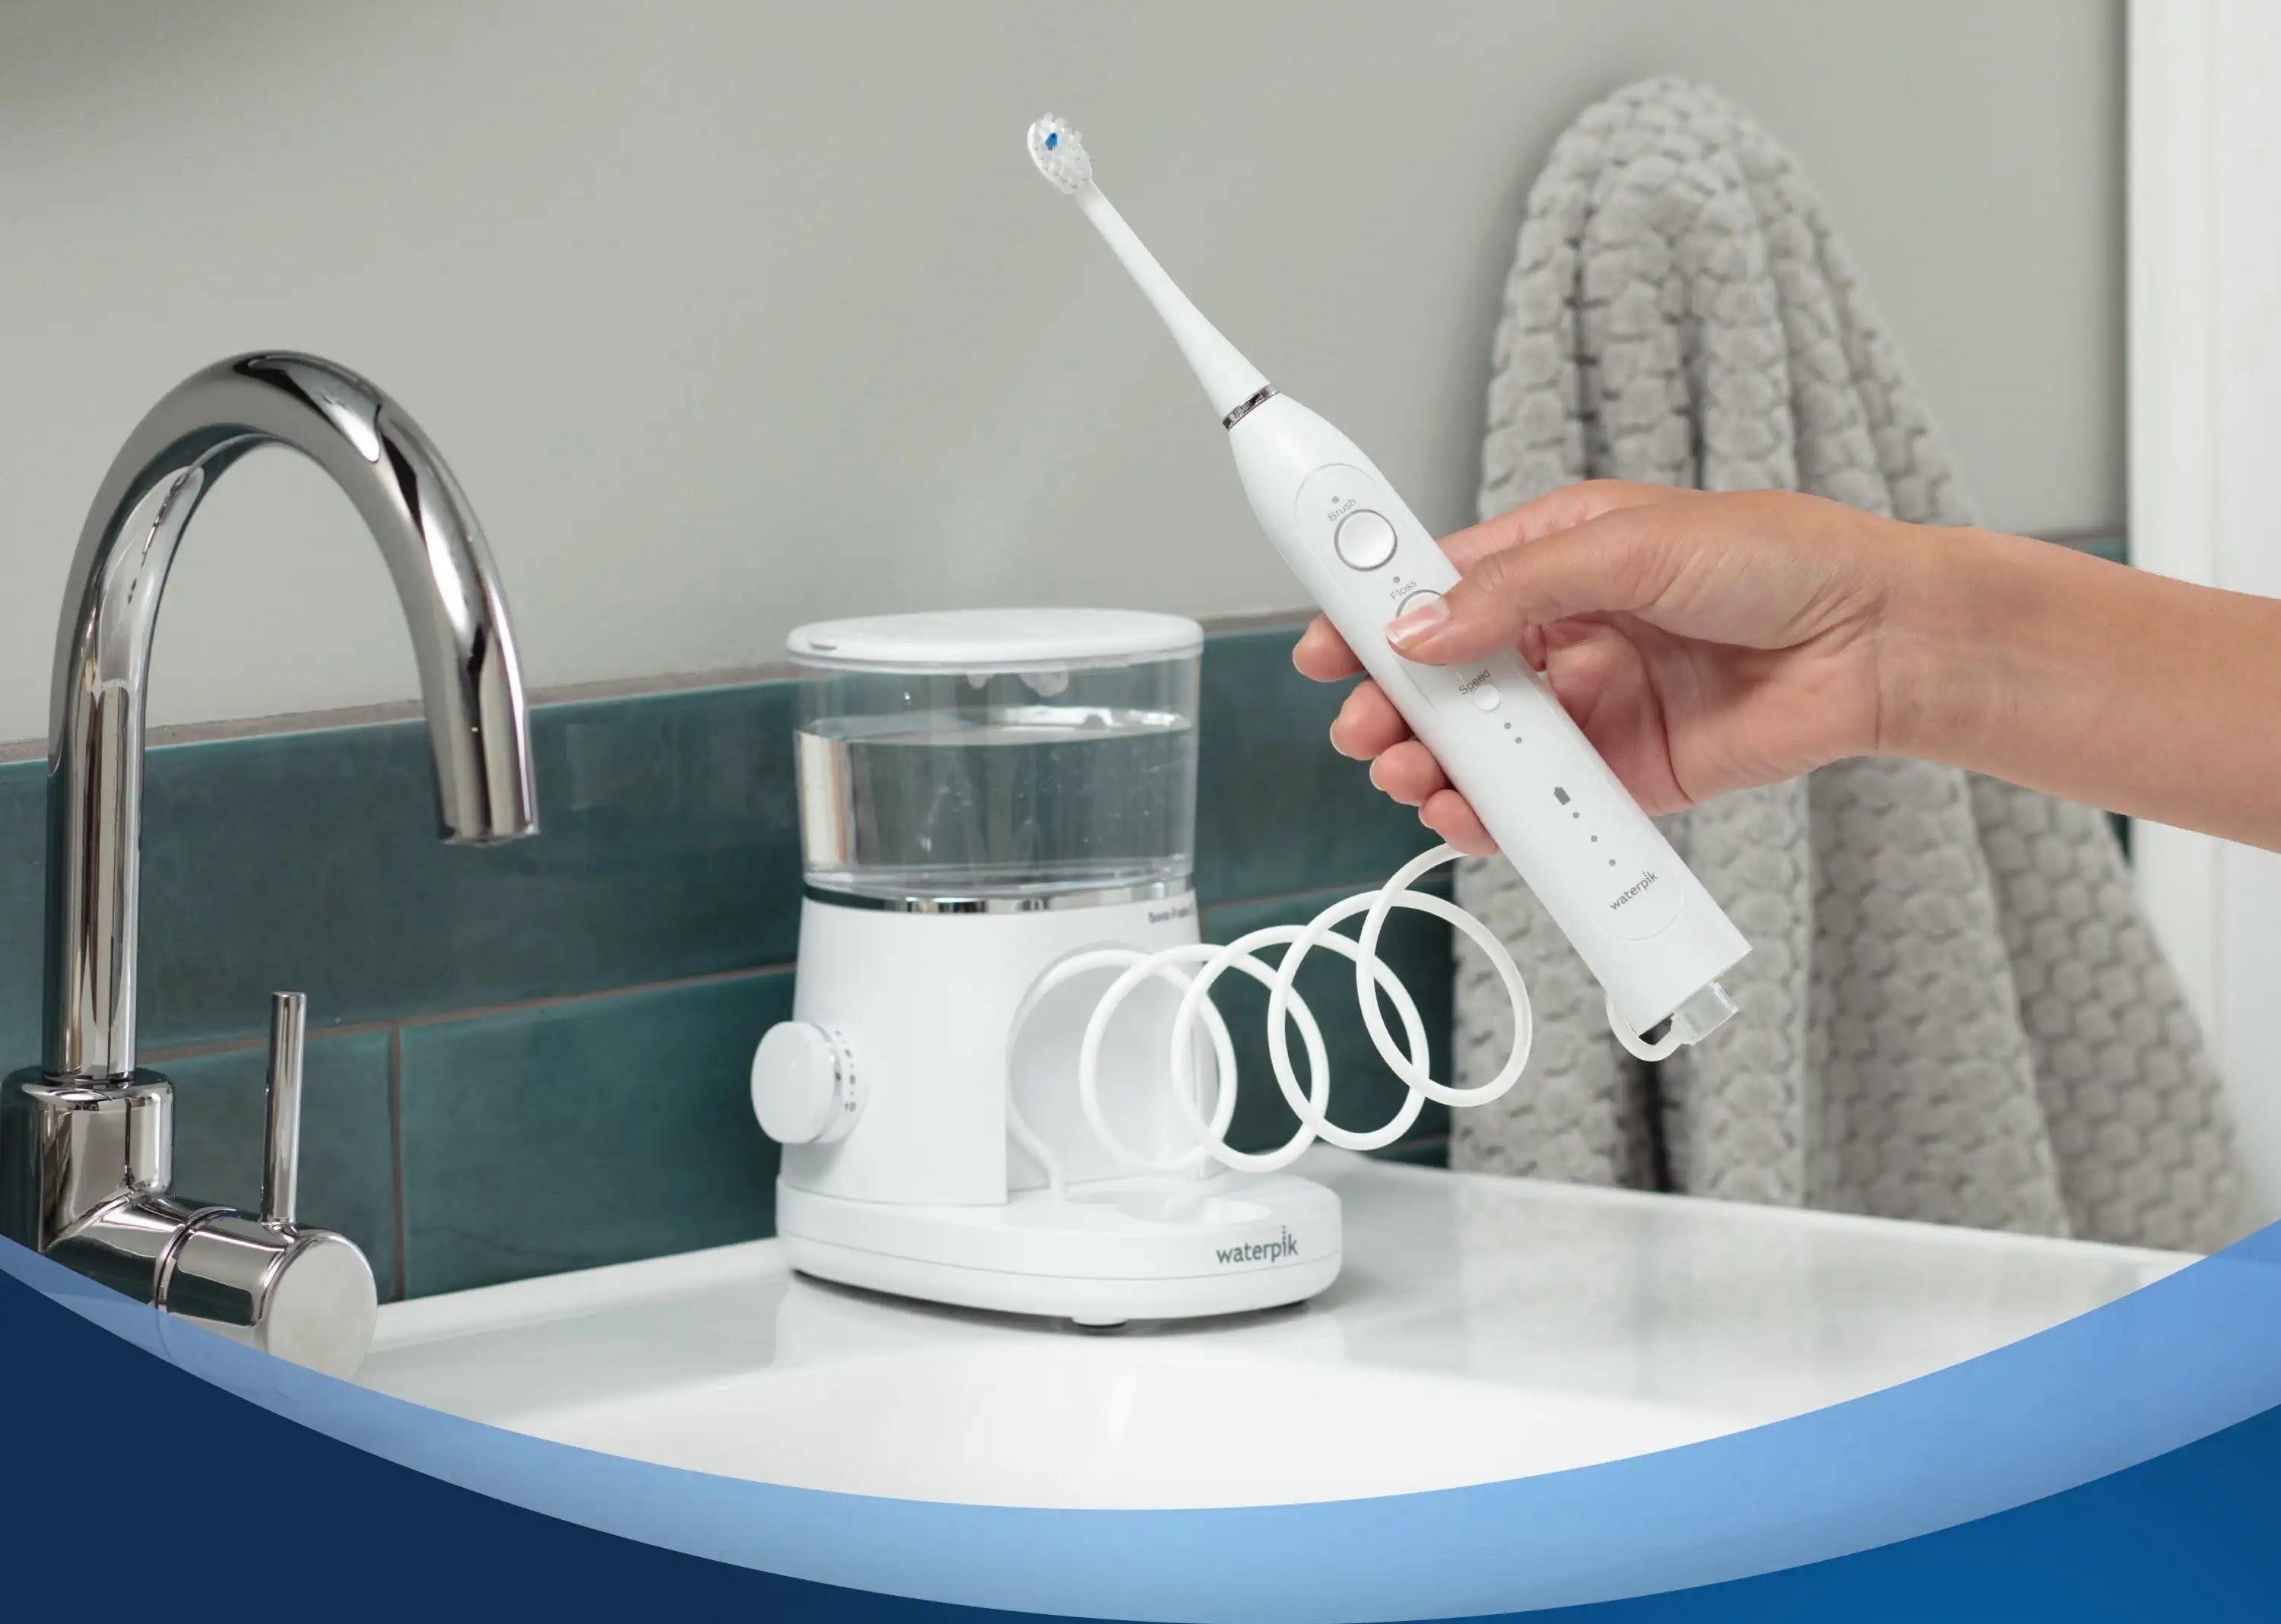
To replace the tip on a Waterpik Water Flosser, simply grasp the base of the tip and pull it straight out. Then, push the new tip firmly into the handle until it clicks into place.
Step 3: Install the new tip
With the old tip successfully removed from your Waterpik Water Flosser, it's time to proceed with the installation of the new tip. This pivotal step ensures that your Waterpik remains fully equipped to deliver the optimal level of oral care, tailored to your specific dental needs. Follow these detailed instructions to seamlessly install the new tip onto your Waterpik Water Flosser:
-
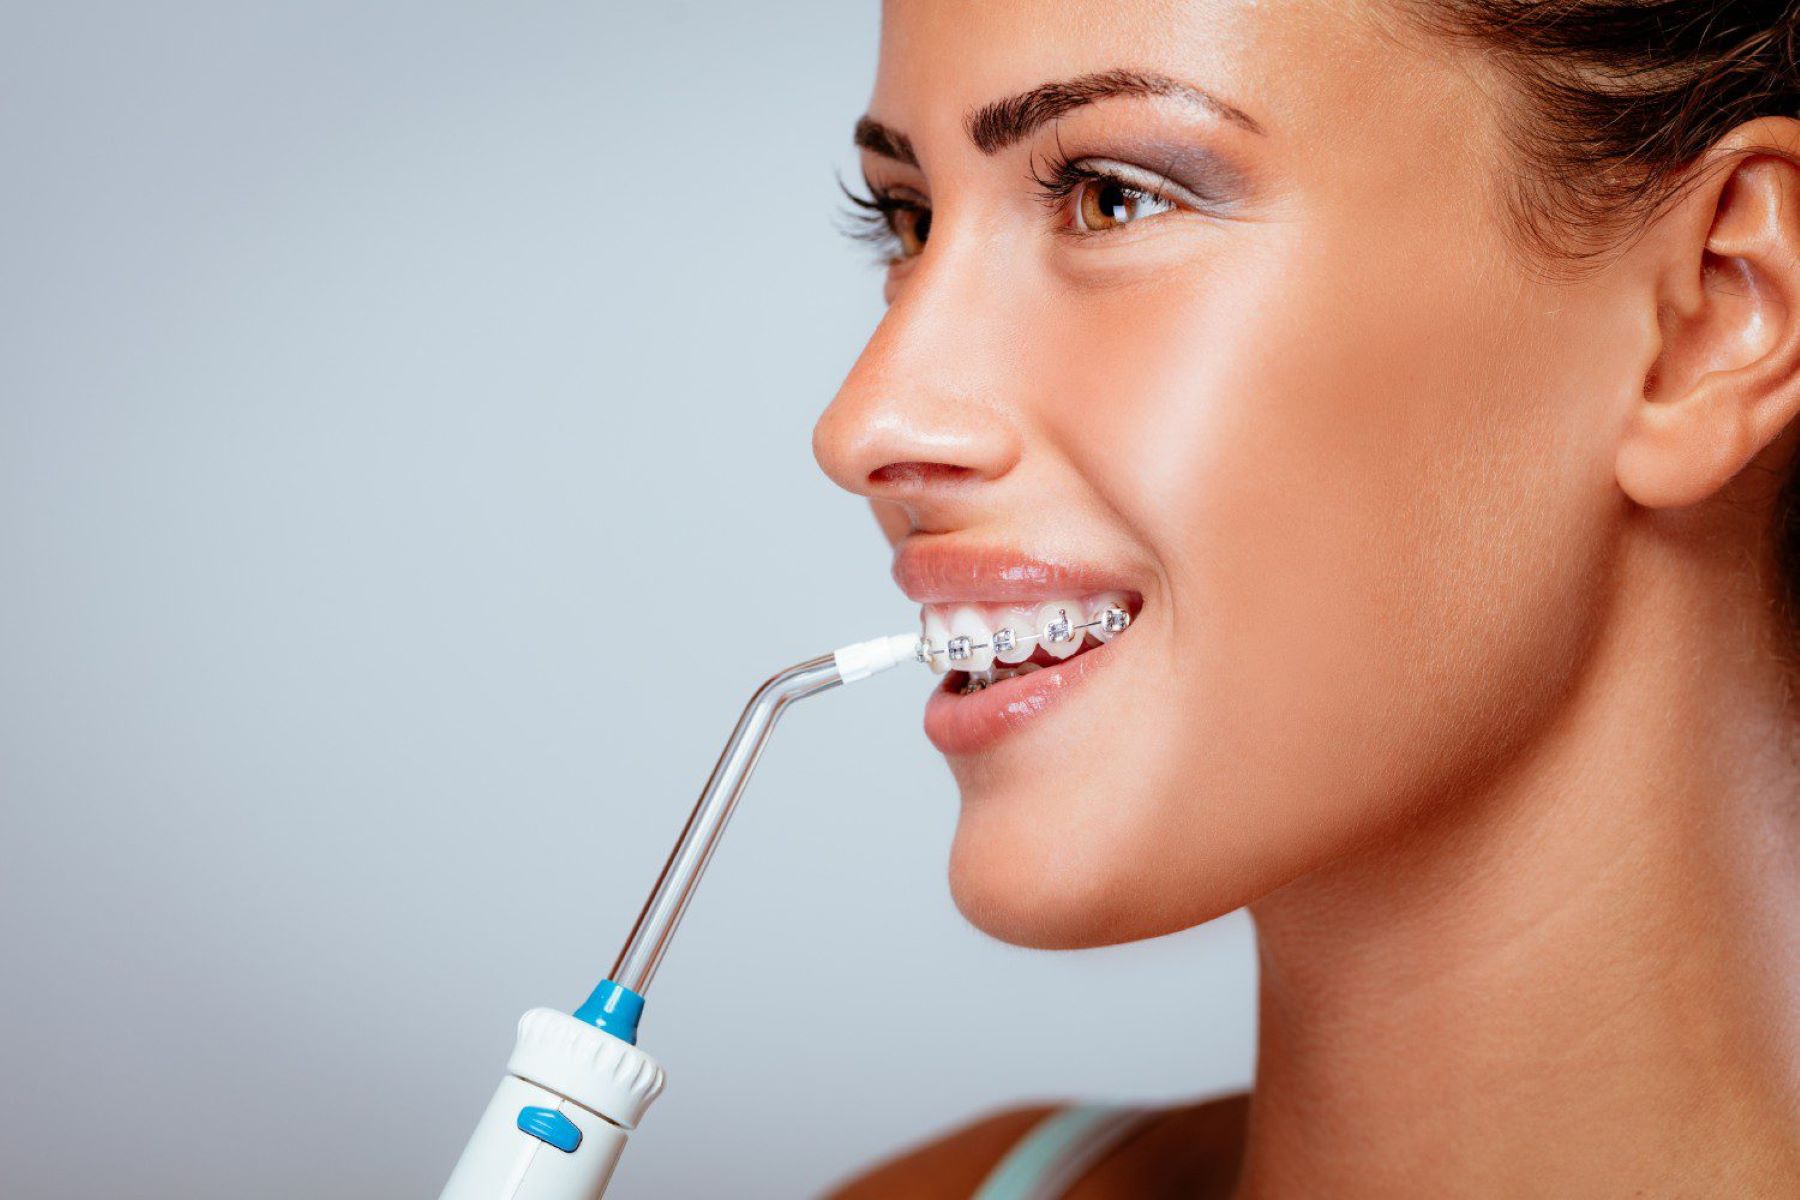
Select the New Tip: Begin by selecting the new tip that best aligns with your oral care requirements. Whether you opt for a standard tip for daily use, an orthodontic tip for braces, a plaque seeker tip for targeted cleaning, or a periodontal tip for gum health, ensure that it is compatible with your Waterpik model.
-
Align and Insert: Hold the handle of your Waterpik Water Flosser securely and align the new tip with the connection point on the handle. Once aligned, gently insert the new tip into the designated slot until you hear or feel a distinct click, indicating that it is securely in place.
-
Secure the Connection: After inserting the new tip, give it a slight tug to ensure that it is firmly secured to the handle. This step verifies that the new tip is properly attached and ready for use, minimizing the risk of dislodgment during operation.
-
Check for Stability: With the new tip in place, visually inspect the connection to confirm that it is stable and aligned correctly. A secure and stable connection is essential for the effective delivery of targeted water flow during the flossing process.
-
Prepare for Use: Once the new tip is securely installed, you can prepare your Waterpik Water Flosser for use. If necessary, fill the reservoir with water and reposition the flosser to your desired angle, ensuring that it is ready to provide the optimal oral care experience.
By following these steps, you can seamlessly install the new tip onto your Waterpik Water Flosser, ensuring that it is fully equipped to cater to your specific oral care needs. With the new tip securely in place, your Waterpik is poised to deliver the exceptional performance and targeted cleaning capabilities that contribute to a healthy and radiant smile.
Now that the new tip is successfully installed, the final step involves testing the new tip to verify its functionality and alignment, ensuring that your Waterpik Water Flosser is ready to resume its integral role in your oral care routine.
Step 4: Test the new tip
After successfully installing the new tip on your Waterpik Water Flosser, it's essential to conduct a thorough test to ensure that the tip is functioning optimally and aligned correctly. This crucial step allows you to verify the performance of the new tip, confirming that it delivers the targeted water flow necessary for effective oral hygiene. Follow these detailed instructions to conduct a comprehensive test of the new tip:
-
Water Flow Verification: Turn on your Waterpik Water Flosser and activate the water flow to test the functionality of the new tip. Observe the water flow pattern to ensure that it is directed precisely as intended by the specific type of tip you have installed. For example, if you have chosen a plaque seeker tip, verify that the water flow is concentrated and effective for targeted plaque removal.
-
Targeted Cleaning Assessment: Position the new tip at the recommended angle for optimal flossing and assess its performance in reaching the targeted areas between your teeth and along the gumline. Pay attention to the coverage and effectiveness of the water flow, ensuring that it provides thorough cleaning and stimulation for your gums.
-
Comfort and Stability: During the test, evaluate the comfort and stability of the new tip during operation. Ensure that it feels secure and comfortable in your mouth, allowing for a smooth and controlled flossing experience. Additionally, verify that the water flow does not cause any discomfort or irregular sensations.
-
Adjustment and Reorientation: If necessary, make minor adjustments to the angle or positioning of the new tip to optimize its performance based on your individual comfort and cleaning requirements. This step allows you to customize the flossing experience to suit your specific oral care needs.
-
Reservoir and Pressure Check: Confirm that the water reservoir is adequately filled and that the water pressure settings are adjusted to your preference. This ensures that the new tip receives the appropriate water pressure for effective flossing, contributing to a comfortable and efficient oral care routine.
By meticulously testing the new tip, you can confidently verify its functionality and alignment, ensuring that your Waterpik Water Flosser is fully equipped to deliver the exceptional performance and targeted cleaning capabilities that contribute to a healthy and radiant smile. With the successful completion of the test, you can seamlessly incorporate the new tip into your oral care routine, knowing that your Waterpik is ready to provide the optimal level of dental care tailored to your specific needs.
Read more: How To Clean The Waterpik Water Flosser
Conclusion
In conclusion, the process of replacing the tip on a Waterpik Water Flosser is a fundamental aspect of maintaining optimal oral hygiene and ensuring the continued effectiveness of this essential bathroom appliance. By following the step-by-step guide outlined in this article, you have gained the knowledge and confidence to seamlessly replace the tip on your Waterpik, allowing you to uphold a consistent and thorough oral care routine.
The significance of regularly replacing the tip on your Waterpik Water Flosser cannot be overstated. The tip plays a pivotal role in directing the targeted water flow to remove plaque and debris from hard-to-reach areas between your teeth and along the gumline. By selecting the appropriate tip based on your specific oral care needs and ensuring its proper installation, you can maximize the benefits of your Waterpik, contributing to a healthier smile and overall dental well-being.
Furthermore, the process of replacing the tip serves as a proactive measure to maintain the overall hygiene and functionality of your Waterpik Water Flosser. By routinely inspecting and replacing the tip as needed, you can prevent the accumulation of bacteria or residue within the device, ensuring that it continues to deliver the optimal level of oral care without compromise.
As you embark on the journey of replacing the tip on your Waterpik Water Flosser, it's important to approach the task with attentiveness and care, ensuring that each step is executed with precision. From gathering the necessary tools to testing the new tip, your proactive engagement in this maintenance process reflects your commitment to prioritizing your oral health and well-being.
By seamlessly integrating the new tip into your oral care routine, you are poised to experience the targeted cleaning capabilities and personalized flossing experience that the Waterpik Water Flosser is renowned for. Whether you have selected a standard tip for daily use, an orthodontic tip for braces, a plaque seeker tip for targeted cleaning, or a periodontal tip for gum health, the successful replacement of the tip ensures that your Waterpik is tailored to meet your specific dental requirements.
In essence, the process of replacing the tip on your Waterpik Water Flosser is not merely a maintenance task; it is a proactive investment in your oral health and well-being. By embracing this essential aspect of caring for your Waterpik, you are empowered to maintain a consistent and effective oral care routine, contributing to a radiant smile and a healthier you.
Frequently Asked Questions about How To Replace The Tip On A Waterpik Water Flosser
Was this page helpful?
At Storables.com, we guarantee accurate and reliable information. Our content, validated by Expert Board Contributors, is crafted following stringent Editorial Policies. We're committed to providing you with well-researched, expert-backed insights for all your informational needs.

0 thoughts on “How To Replace The Tip On A Waterpik Water Flosser”