Articles
How To Replace Plumbing Pipes
Modified: December 7, 2023
Learn how to replace plumbing pipes with our informative articles. Avoid costly repairs and get step-by-step instructions for a successful DIY project.
(Many of the links in this article redirect to a specific reviewed product. Your purchase of these products through affiliate links helps to generate commission for Storables.com, at no extra cost. Learn more)
Introduction
Welcome to this comprehensive guide on how to replace plumbing pipes. If you are experiencing issues with your plumbing system or simply looking to upgrade to newer pipes, this step-by-step tutorial will provide you with the necessary knowledge and techniques to successfully complete the project.
Plumbing pipes play a crucial role in any residential or commercial building, ensuring the proper flow of water and waste. Over time, pipes can become corroded, leaky, or damaged, resulting in a range of plumbing issues such as low water pressure, water leaks, and even water damage to your property.
By replacing your plumbing pipes, you can eliminate these problems and restore the efficiency and functionality of your plumbing system. While hiring a professional plumber is always an option, tackling this project yourself can be a rewarding and cost-effective endeavor, provided you have the right tools, materials, and knowledge.
In this guide, we will walk you through each step of the process, from assessing your plumbing system to cleaning up after the installation. By following these steps, you can successfully replace your plumbing pipes and enjoy a reliable and leak-free plumbing system.
It is important to note that this guide is intended for informational purposes only and may not cover every possible scenario or variation. If you are not confident in your plumbing abilities or encounter any difficulties during the process, it is advisable to seek professional assistance to ensure the job is completed safely and correctly.
Now that we have covered the basics, let’s dive into the first step: assessing your plumbing system.
Key Takeaways:
- Replacing plumbing pipes is a manageable and rewarding DIY project that can eliminate issues like low water pressure and leaks. With the right tools and knowledge, you can enjoy a reliable and efficient plumbing system.
- Prioritize safety, follow local regulations, and consult professionals if needed when replacing plumbing pipes. Enjoy the benefits of a smoothly flowing water supply and the peace of mind that comes with a job well done.
Read more: How To Clean Plumbing Pipes
Step 1: Assessing the Plumbing System
Before you begin the process of replacing your plumbing pipes, it is important to assess the condition of your existing system. This step will help you determine the scope of the project and ensure you have all the necessary tools and materials.
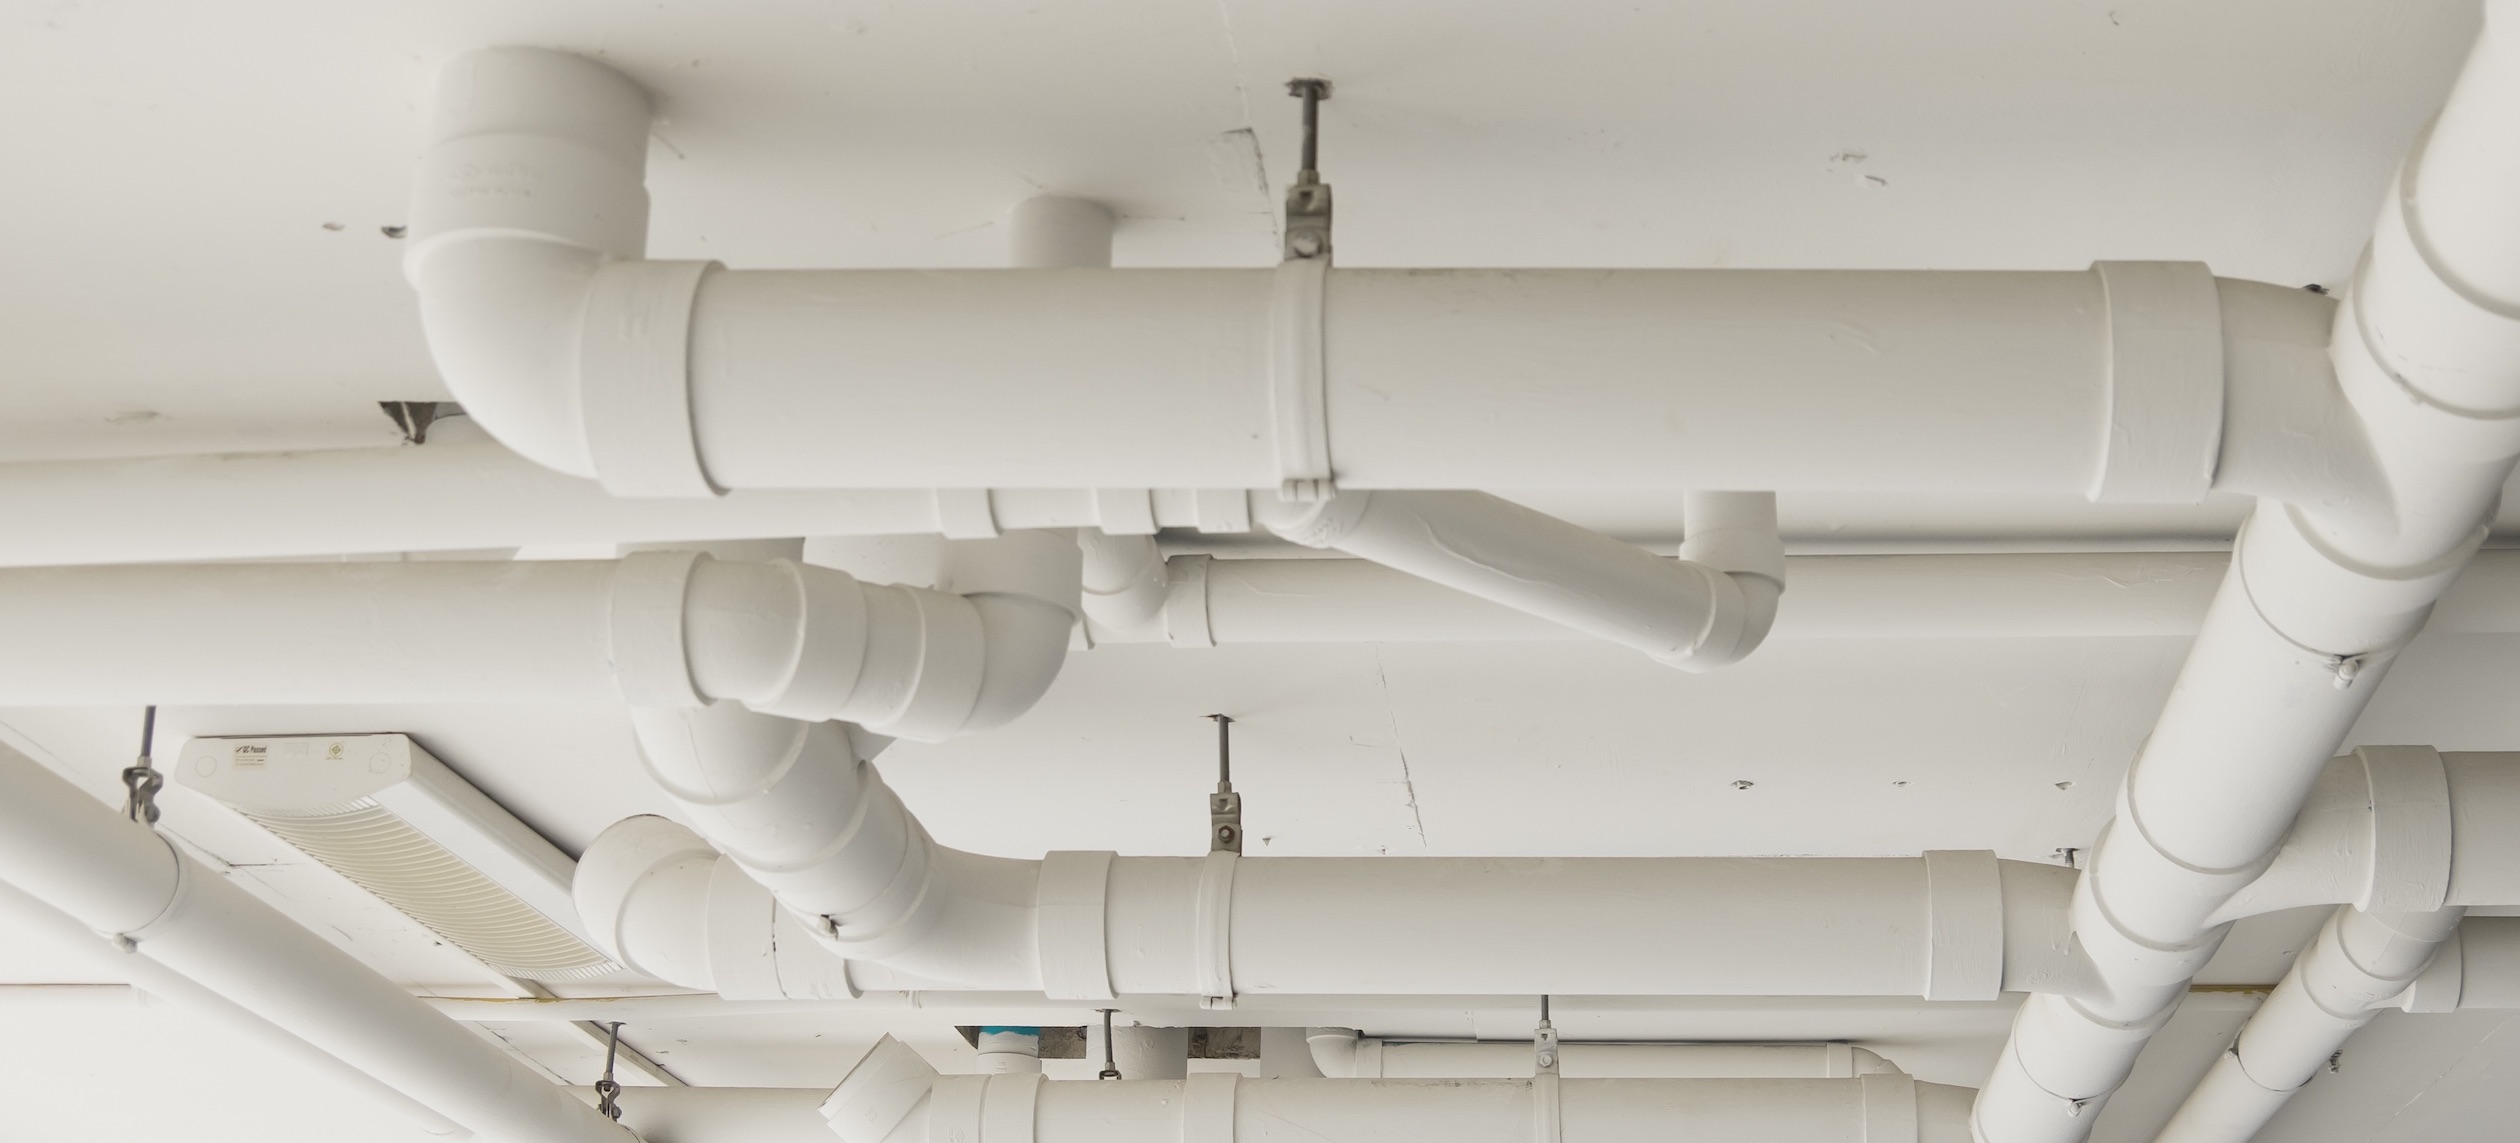
Start by taking a close look at the plumbing pipes throughout your home or building. Look for signs of corrosion, leaks, damaged joints, or any other visible issues. Pay attention to areas where pipes are exposed, such as under sinks or in the basement.
Additionally, check for any strange odors or unusual noises coming from your plumbing system. These can be indicators of underlying pipe problems that need to be addressed.
If you notice any significant issues or if your pipes are made from materials known to have a shorter lifespan, such as galvanized steel or polybutylene, it may be time to replace the entire plumbing system.
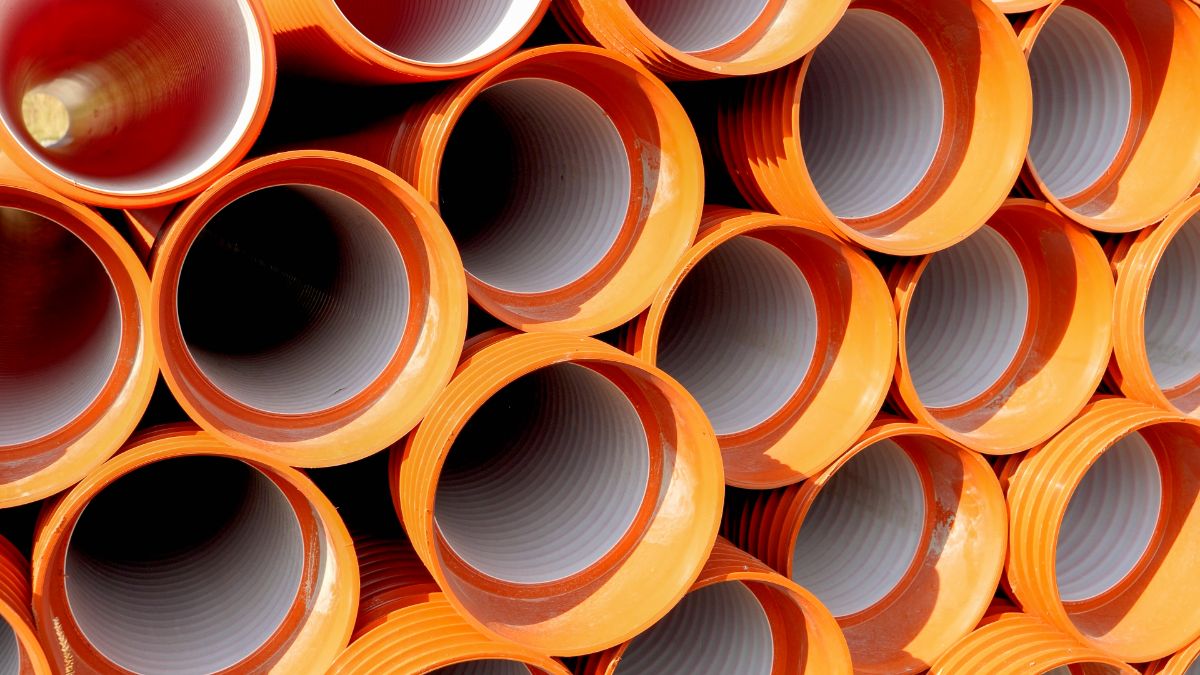
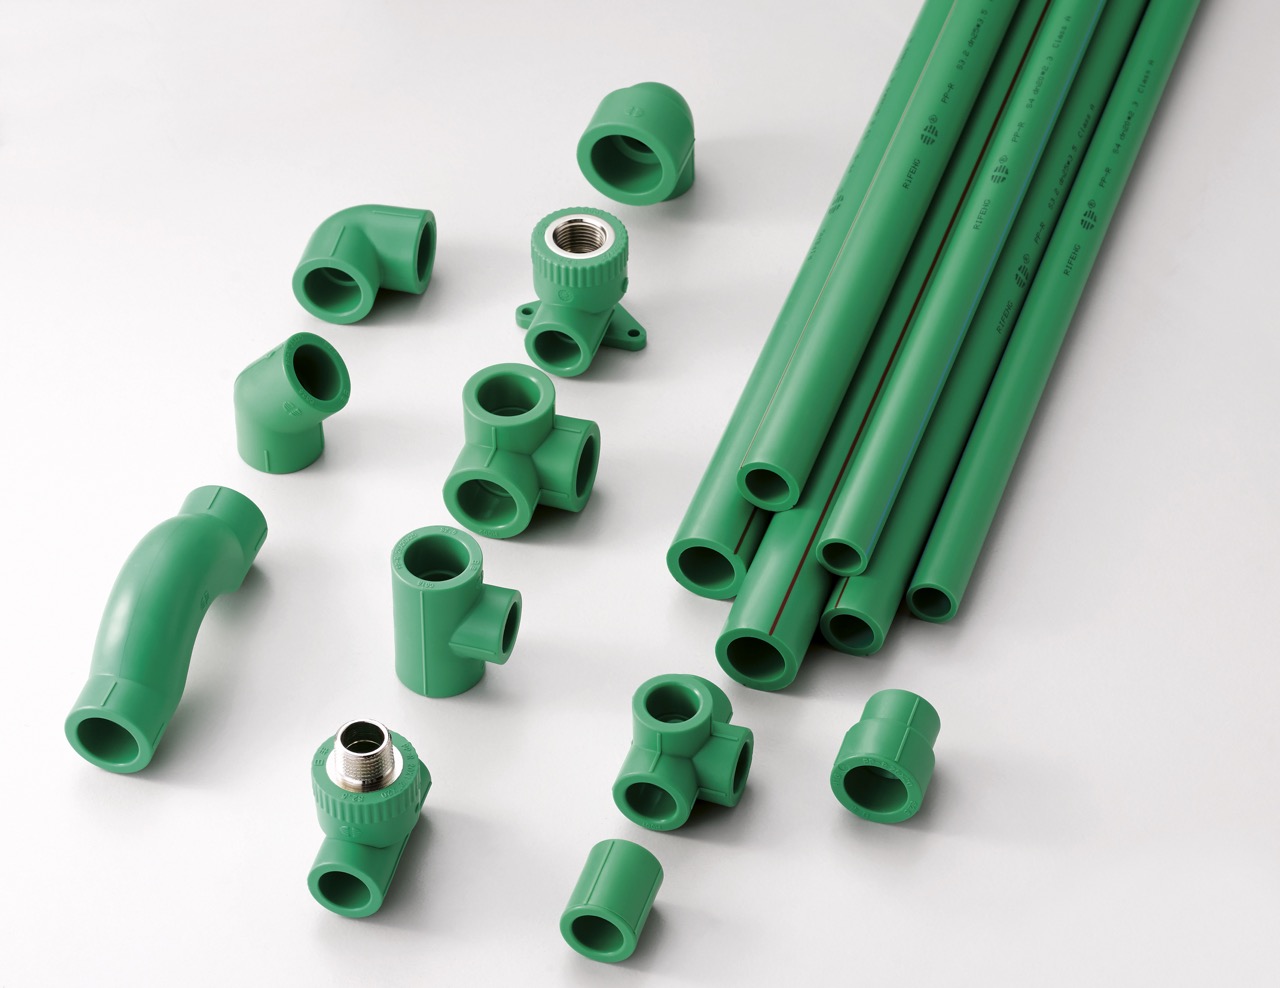
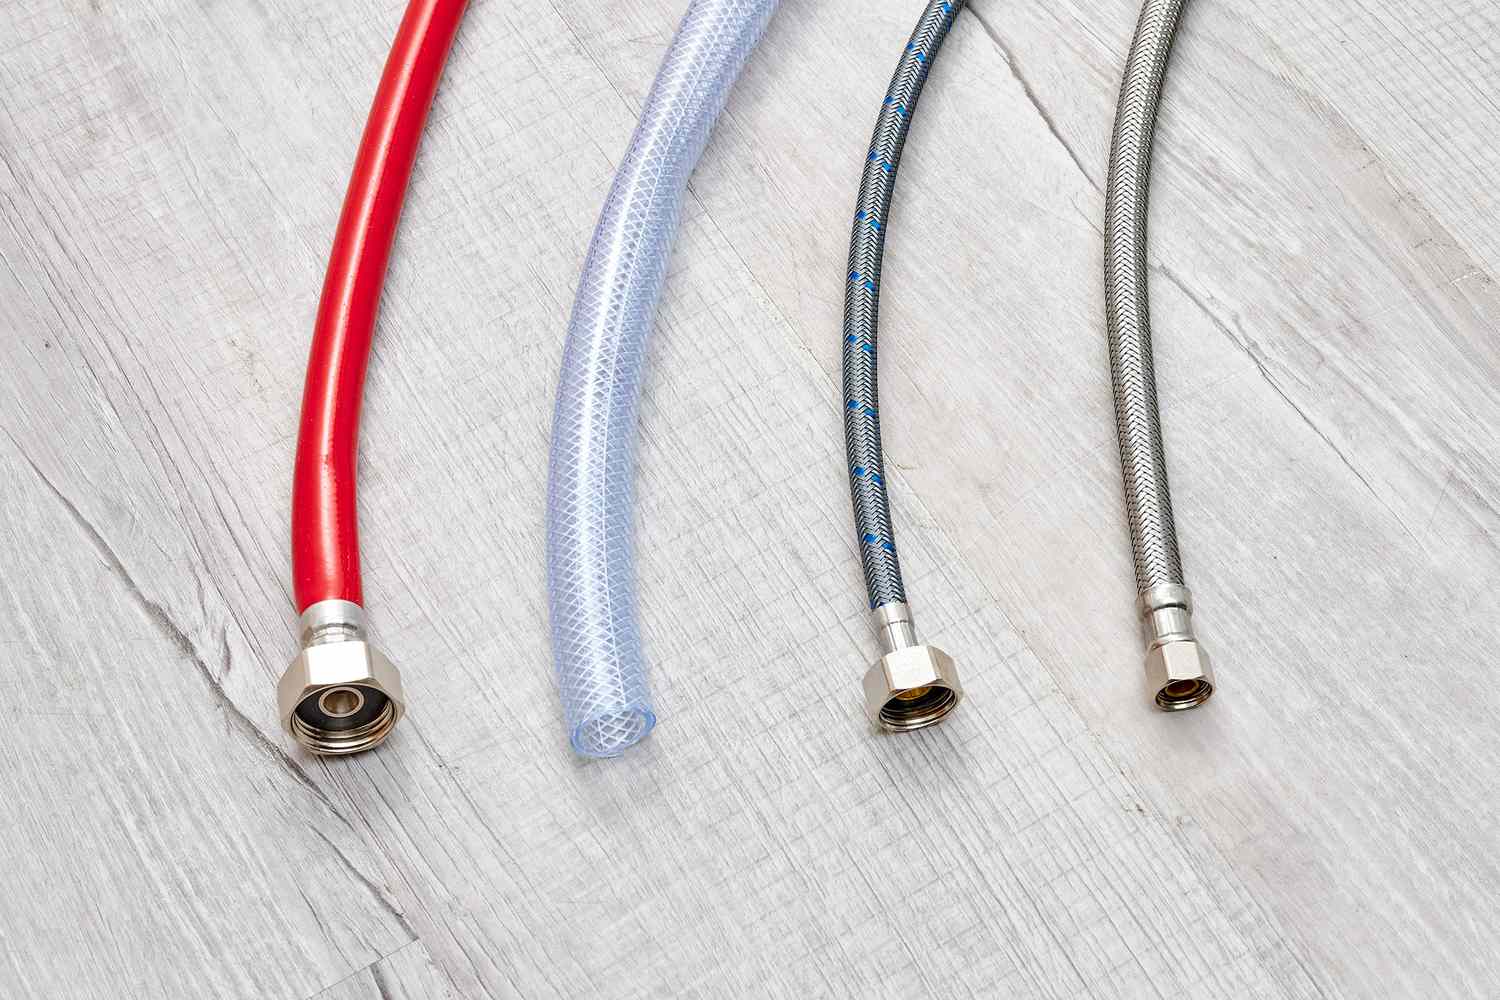
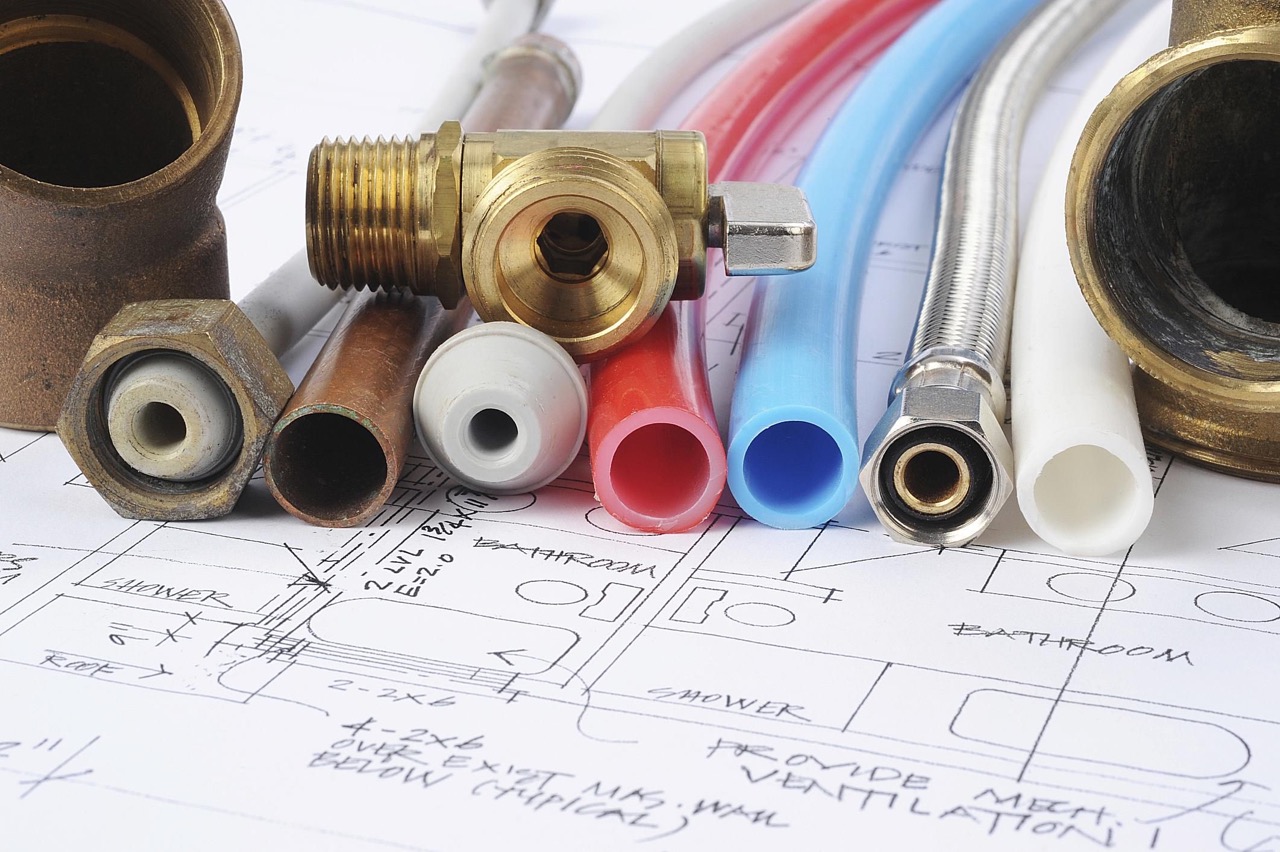
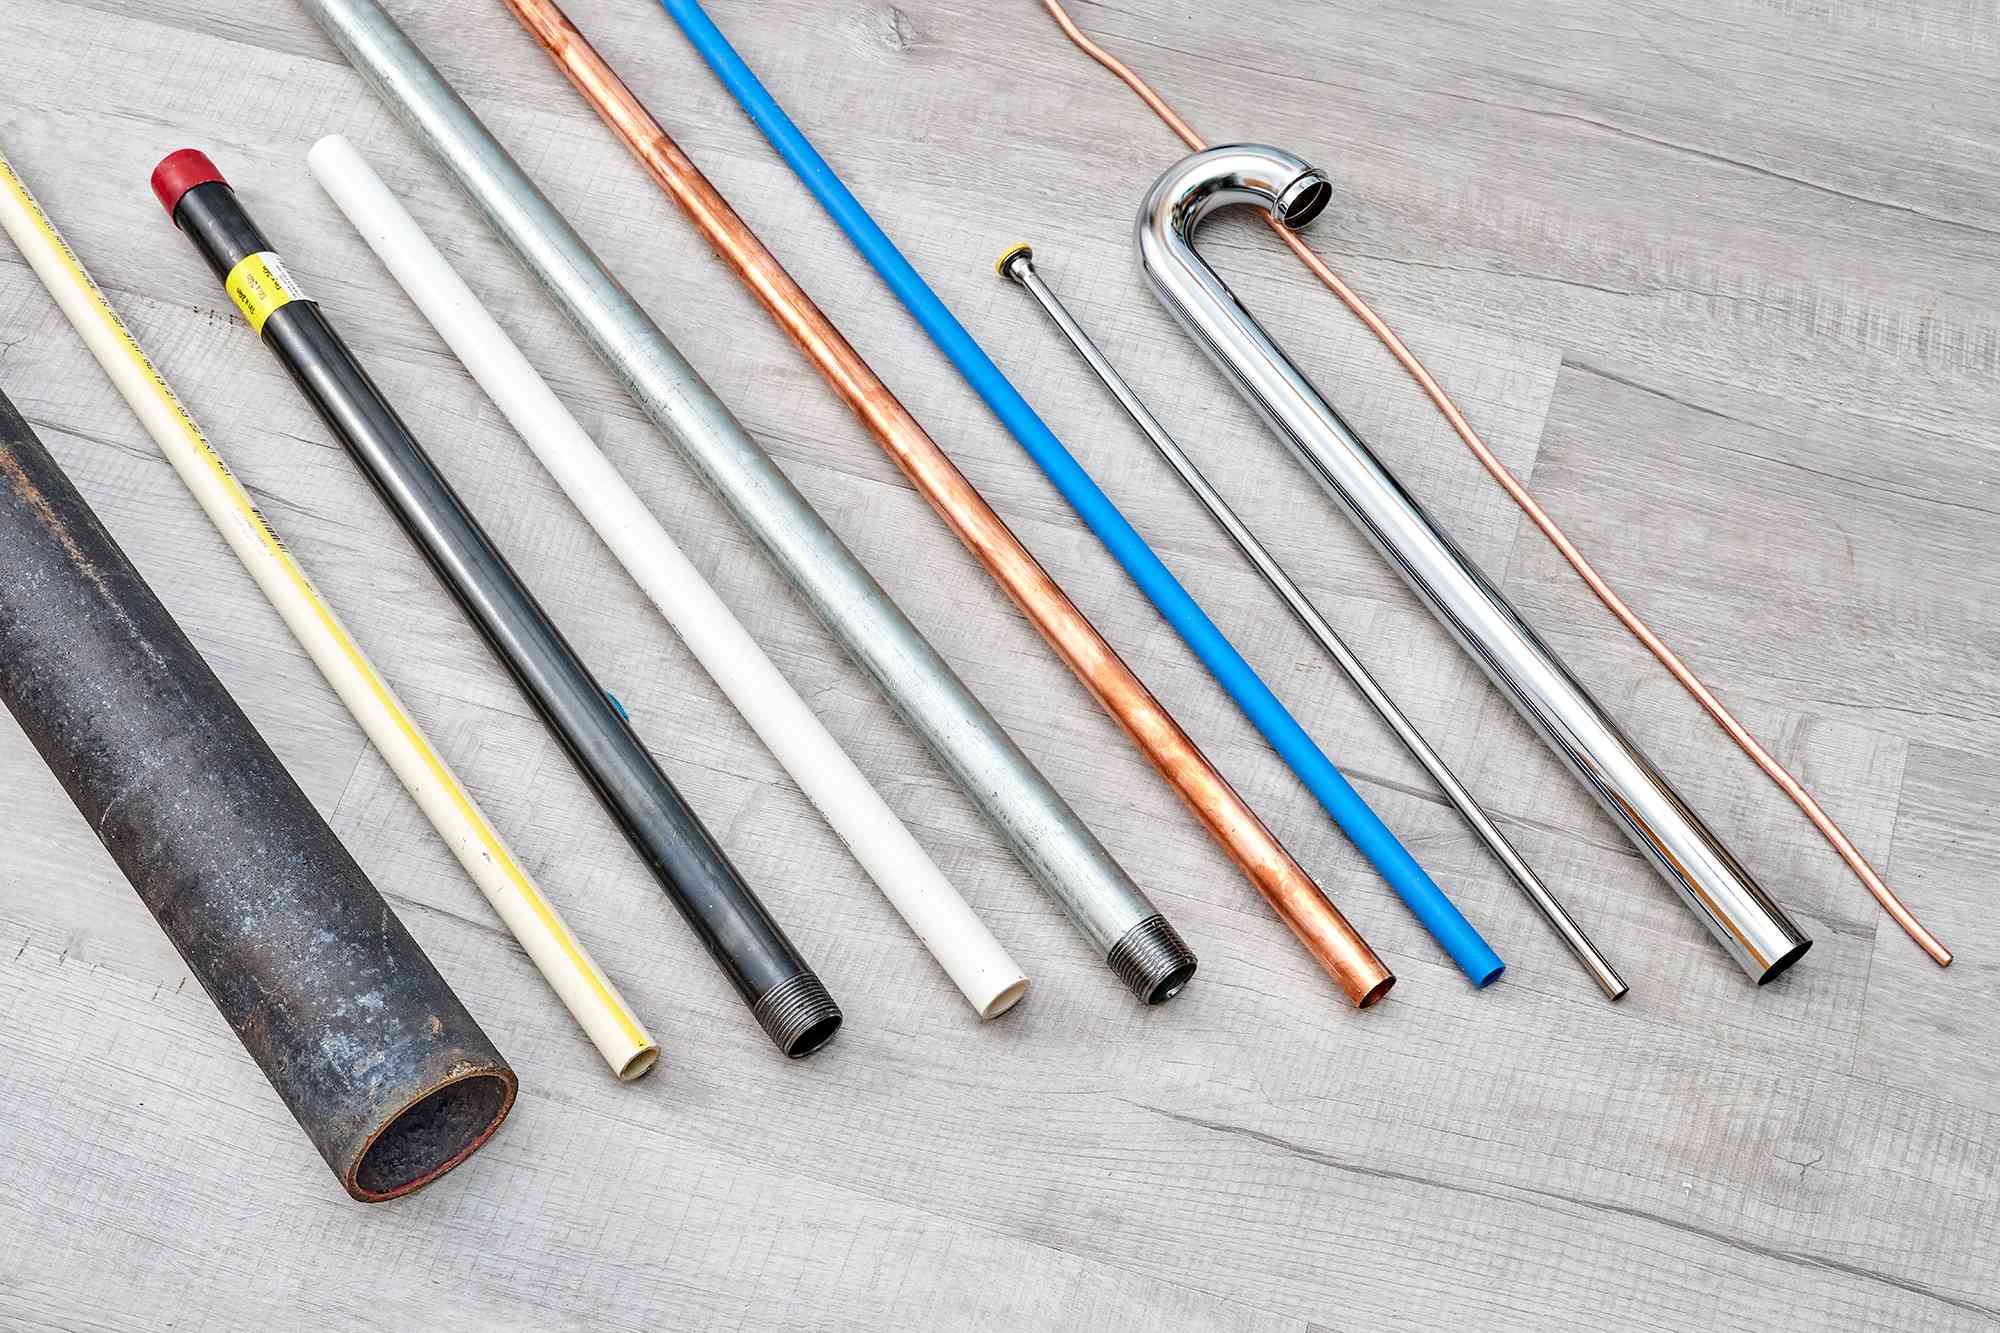
Next, determine the type and size of the existing plumbing pipes. Common materials include copper, PVC, or PEX. Measure the diameter of the pipes to ensure you purchase the correct size replacements.
After assessing your plumbing system, you may discover that only a portion of the pipes needs to be replaced. In some cases, you may decide to replace certain sections that are causing issues while leaving the rest intact.
Once you have a clear understanding of the condition and scope of your plumbing system, you can move on to the next step: gathering the necessary tools and materials.
Step 2: Gathering Necessary Tools and Materials
Now that you have assessed your plumbing system, it’s time to gather the tools and materials you’ll need for the replacement process. Having everything prepared in advance will help make the project more efficient and minimize any delays.
Here’s a list of common tools and materials you may need:
- Pipe cutter: This tool is essential for cutting through the old pipes and preparing them for removal.
- Pipe wrench: A pipe wrench will be useful for loosening and tightening pipe fittings.
- Pliers: Pliers will come in handy for gripping and maneuvering small parts.
- Teflon tape: Also known as plumber’s tape, Teflon tape is used to create watertight seals on threaded pipe connections.
- PVC primer and cement: If you’re working with PVC pipes, you’ll need primer and cement to securely connect the pipes and fittings.
- Soldering kit: If you’re working with copper pipes, you’ll need a soldering kit to join the pipes and fittings together.
- Replacement pipes: Purchase the necessary length and type of pipes to replace the old ones. Consider the material, size, and any additional fittings or connectors needed.
- Protective gear: It’s important to wear safety goggles, gloves, and appropriate clothing to protect yourself during the process.
Make sure to check your plumbing system’s specifications and consult with a professional if needed to ensure you have all the correct tools and materials.
In addition to the items listed above, it’s wise to have a bucket or container nearby to catch any water that may leak during the pipe replacement process. It’s also a good idea to have rags or towels on hand to wipe up any spills or clean surfaces as needed.
Once you have gathered all the necessary tools and materials, you’re ready to move on to the next step: turning off the water supply.
Step 3: Turning off the Water Supply
Before you begin removing the old plumbing pipes, it is crucial to turn off the water supply to prevent any water damage or accidents. Here’s how to do it:
- Locate the main water shut-off valve: The main shut-off valve is typically located near the water meter or where the main water line enters your property. It is usually a wheel or lever that you can turn or rotate.
- Turn off the main water supply: Use a wrench or your hand to close the shut-off valve in a clockwise direction. This will stop the flow of water into your home or building.
- Relieve the pressure: Open a faucet or two in your home to relieve any remaining water pressure in the pipes. This will help prevent any residual water from spraying or causing a mess when you start disconnecting the pipes.
Once you have turned off the water supply and released the pressure, it is important to double-check that the water is indeed shut off. Verify that no water is flowing from any faucets or fixtures in your home.
Turning off the water supply before beginning the pipe replacement process is crucial to ensure your safety and minimize any potential water damage. It is important to take this step seriously and make sure the water supply remains off until the project is complete.
With the water supply shut off, you’re now ready to move on to the next step: removing the old plumbing pipes.
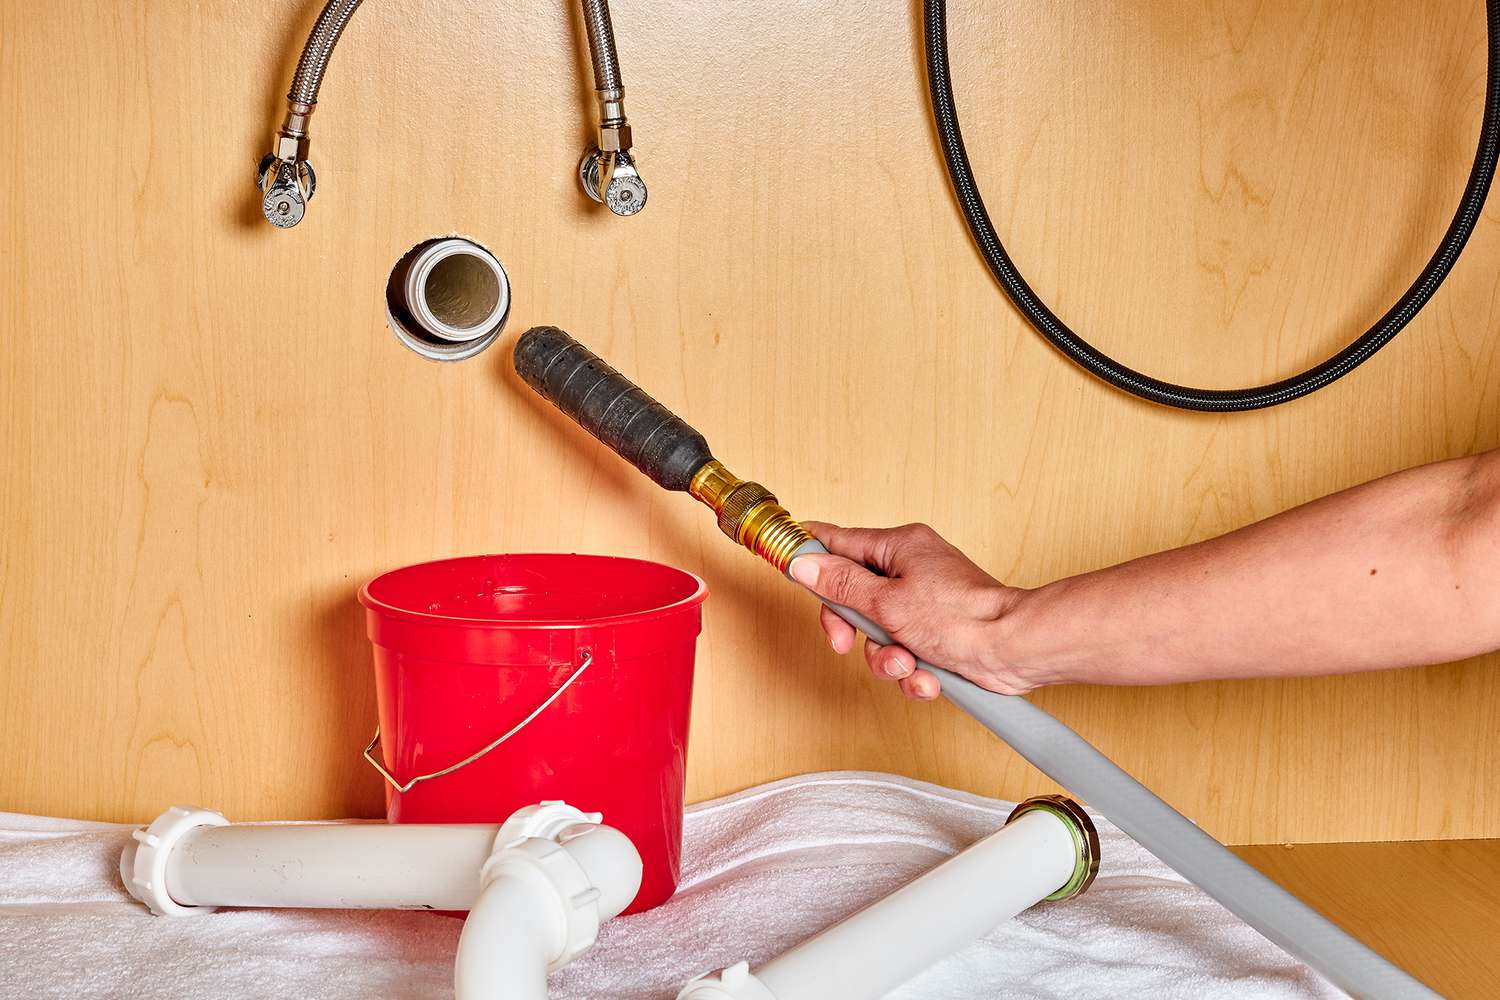
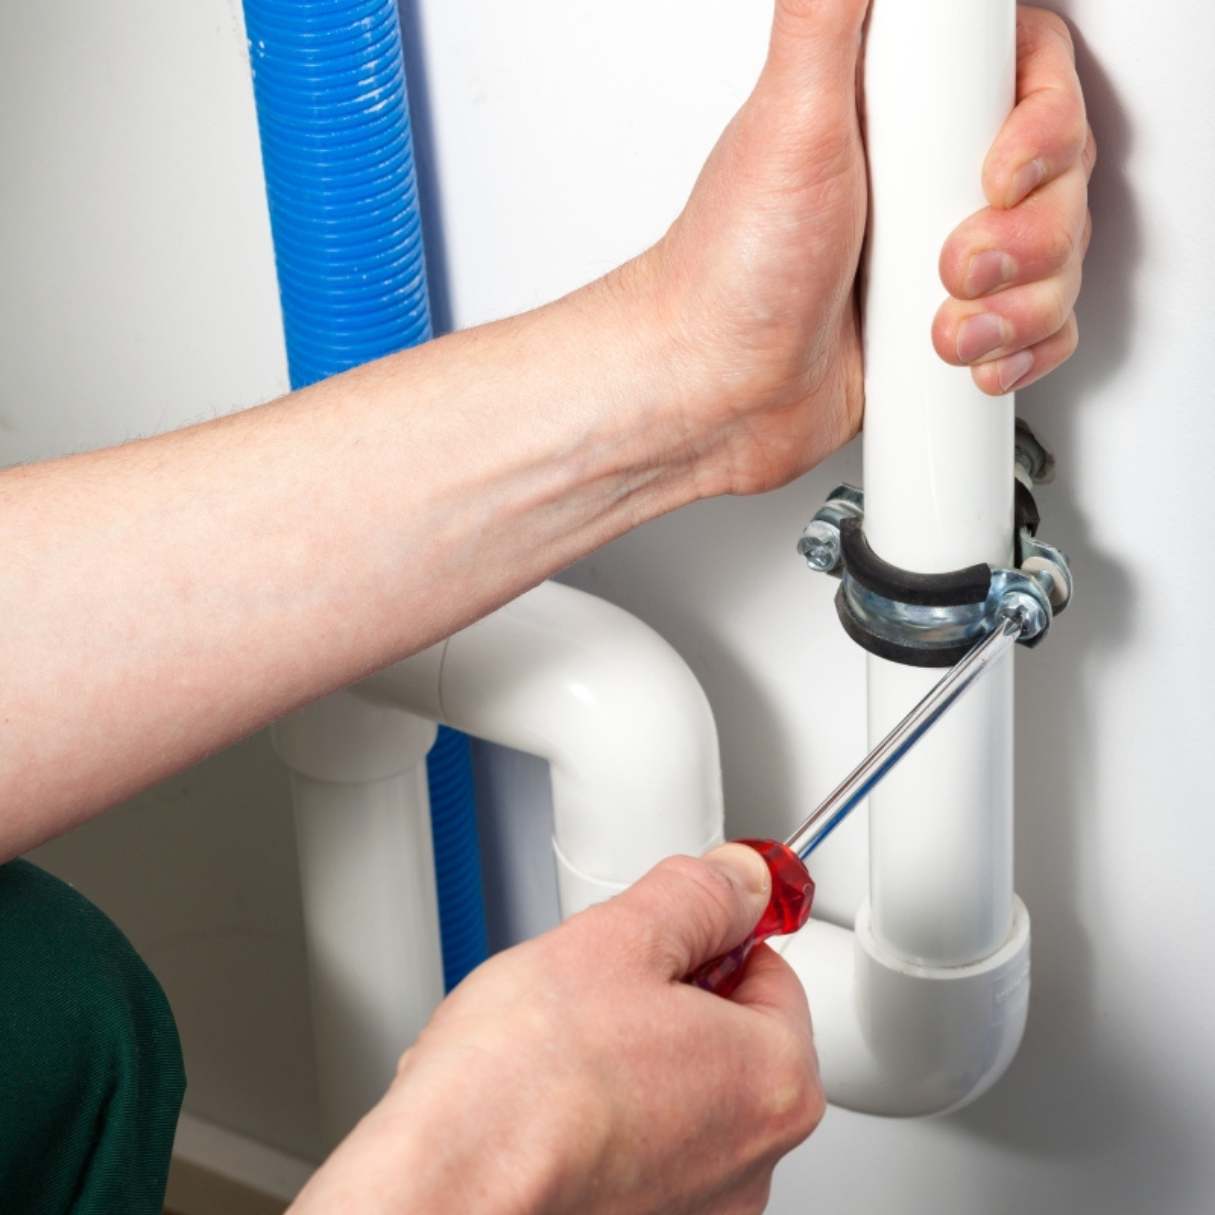
Step 4: Removing the Old Plumbing Pipes
Now that you have turned off the water supply, it’s time to start removing the old plumbing pipes. This step requires caution and attention to detail to avoid damaging surrounding fixtures or causing any unnecessary disruptions. Here’s how to proceed:
- Begin with the section of the plumbing system you wish to replace. This could be a specific area or the entire system, depending on your assessment in Step 1.
- Use a pipe cutter to cut through the old pipes. Start by placing the pipe cutter around the pipe, then tighten the cutter’s blade against the pipe’s surface. Rotate the cutter around the pipe, applying slight pressure after each rotation until the pipe is fully cut.
- If the old pipes are joined by threaded fittings, use a pipe wrench to loosen and remove them. Turn the pipe wrench counterclockwise to loosen the fittings, then continue to spin them off until they are completely removed.
- For pipes joined by soldering (commonly used with copper pipes), use a propane torch to heat the solder joint. Once the solder has melted, use pliers to disconnect the pipes. Be cautious of hot surfaces and always wear proper protective gear.
- As you remove the old pipes, be aware of any additional fixtures or connections they may be attached to. Take note of their location and ensure they remain intact for later installation.
- Dispose of the old pipes properly. Depending on local regulations, you may need to recycle or dispose of them at a designated facility. Check with your local waste management authority for guidelines on proper pipe disposal.
It is important to work slowly and carefully during this step to avoid damaging any surrounding structures or causing unnecessary damage. Take your time to ensure that each pipe is fully disconnected and removed before moving on to the next one.
With the old plumbing pipes successfully removed, you’re ready to move on to the next step: installing the new plumbing pipes.
When replacing plumbing pipes, always turn off the water supply before starting the project to avoid any potential flooding or water damage.
Read more: How To Insulate Plumbing Pipes
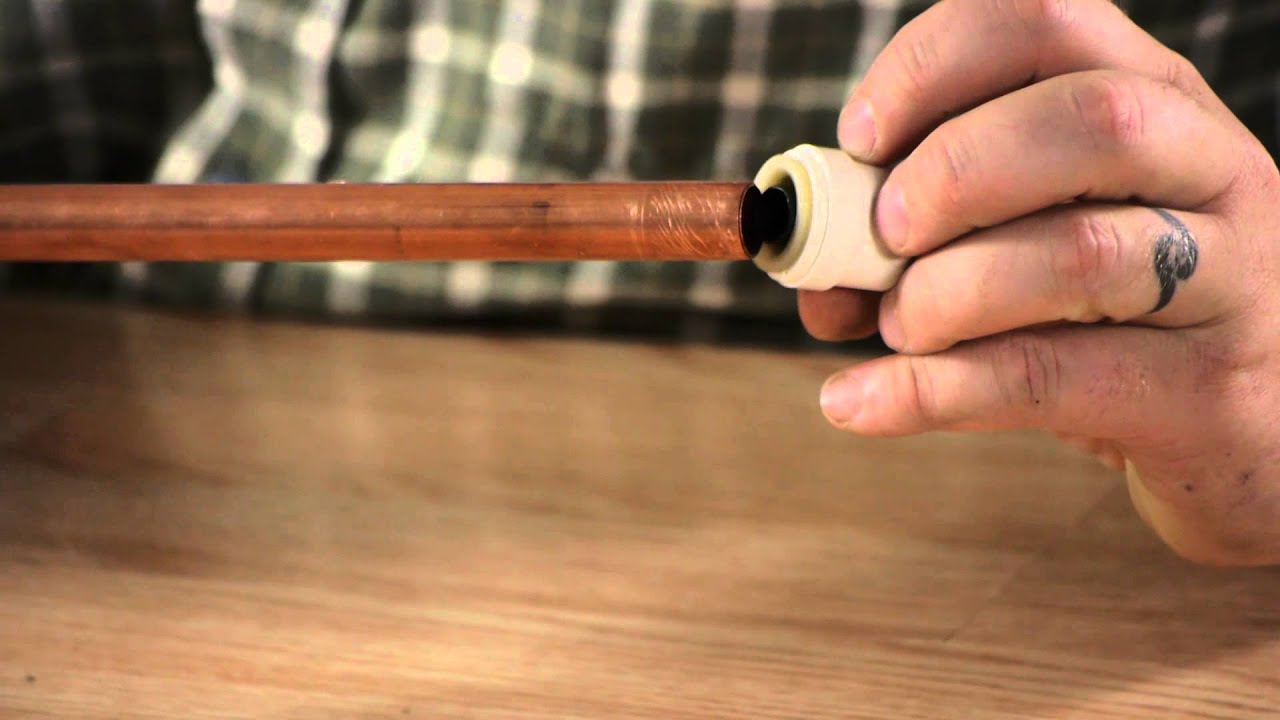
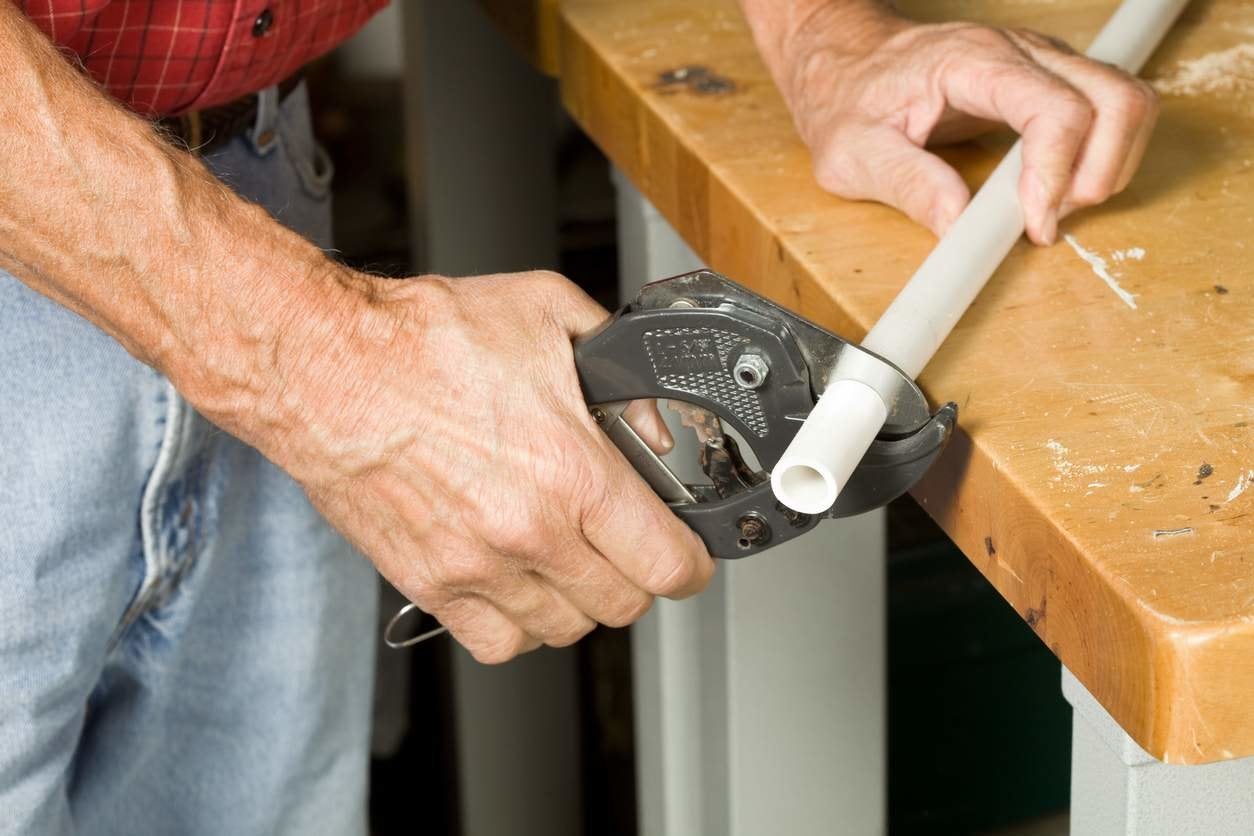
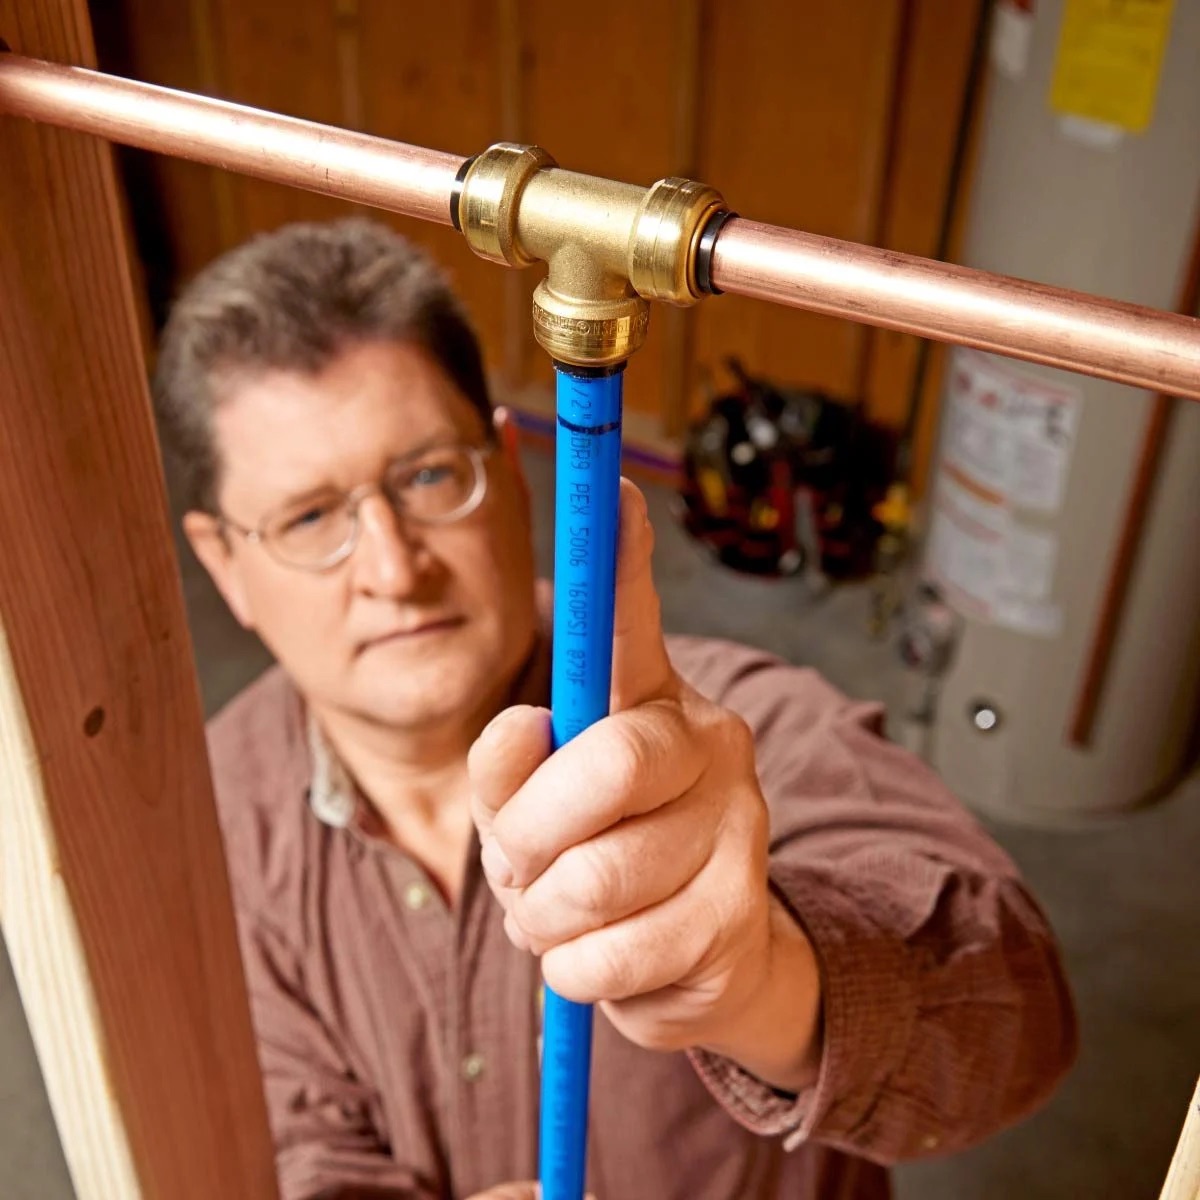
Step 5: Installing the New Plumbing Pipes
With the old plumbing pipes removed, it’s time to install the new pipes. This step requires precision and attention to detail to ensure proper connections and functionality. Follow these steps to install the new plumbing pipes:
- Measure and cut the new pipes: Use a pipe cutter to cut the new pipes to the desired lengths. Measure carefully and ensure the cuts are straight for accurate and secure connections.
- If you’re working with PVC pipes, use PVC primer and cement to join the pipes and fittings. Apply primer to the outside of the pipe and the inside of the fitting, then apply cement to both surfaces. Quickly insert the pipe into the fitting and twist it slightly to create a secure bond. Hold the connection together for a few seconds to allow the cement to set.
- If you’re working with copper pipes, clean the inside of the fittings and the outside of the pipes using emery cloth or a wire brush. Apply flux to both surfaces, then use a propane torch to heat the joint. Once the joint is hot enough, apply solder to the joint, allowing it to flow into the connection. Wipe away any excess solder and let the joint cool.
- Continue installing the new pipes, making sure each connection is secure and leak-free. Use Teflon tape on any threaded connections to create a watertight seal.
- If necessary, install any additional fixtures or connections onto the new pipes, such as valves, faucets, or drains. Follow the manufacturer’s instructions for proper installation.
During the installation process, double-check your measurements and connections to ensure everything fits properly. Take your time to ensure each connection is secure and leak-free. It’s also a good practice to periodically test for leaks by turning on the water supply and inspecting the connections for any signs of water seepage.
Remember to follow local plumbing codes and regulations during the installation process. If you’re unsure about any aspect of the installation, it’s always recommended to consult with a professional plumber to ensure the job is done correctly and safely.
With the new plumbing pipes successfully installed, you’re ready to move on to the next step: testing the new plumbing system.
Step 6: Testing the New Plumbing System
Now that the new plumbing pipes are installed, it’s crucial to test the system to ensure it’s functioning properly and free of leaks. Testing the new plumbing system will give you peace of mind and allow you to make any necessary adjustments before fully restoring the water supply. Follow these steps to test the new plumbing system:
- Before turning on the water supply, visually inspect all the connections and joints to ensure there are no obvious signs of leaks or problems.
- Slowly turn on the water supply, allowing the water to flow into the newly installed pipes. Pay close attention to each connection and listen for any unusual sounds or vibrations.
- Check for leaks: Use a dry cloth or tissue to wipe each connection and joint. If you notice any water on the cloth or tissue, there may be a leak. Tighten the connection or joint as needed to eliminate the leak.
- Test the functionality of sinks, toilets, showers, and any other fixtures connected to the new plumbing system. Ensure that water flows smoothly and that there are no issues with drainage or water pressure.
- If you detect any leaks or problems during the testing phase, make the necessary adjustments and retest the system until all issues are resolved.
It’s important to be patient and thorough during the testing phase. Take your time to identify and address any issues to ensure that the new plumbing system is fully functional and reliable.
Once you’re satisfied with the performance of the new plumbing system and there are no leaks or problems, you’re ready to move on to the final step: cleaning up and restoring the water supply.
Step 7: Cleaning up and Restoring Water Supply
After successfully testing the new plumbing system, it’s time to clean up the work area and restore the water supply to your home or building. Here’s how to complete the final step:
- Turn off all the faucets and fixtures you opened during the testing phase, ensuring there are no residual leaks or dripping water.
- Inspect the work area and surrounding spaces for any debris or tools that may have been left behind. Clean up any materials, dust, or dirt to ensure a tidy and safe environment.
- If you had to shut off the main water supply valve earlier, carefully turn it back on in a counterclockwise direction to restore the water flow.
- Slowly turn on the faucets and fixtures throughout your home to release any trapped air in the pipes. Let the water flow for a few minutes until it runs clear and without any sputtering.
- Monitor the system for any signs of leaks or irregularities as the water flow is restored. Pay particular attention to the connections and joints that were recently replaced or worked on.
- If you notice any leaks or issues, immediately shut off the water supply and address the problem. This may involve tightening a connection, replacing a faulty fitting, or seeking professional assistance if necessary.
Once you are confident that the new plumbing system is fully functional, leak-free, and restored to normal operation, you can consider the project complete. Take a moment to appreciate your hard work and the improved efficiency of your plumbing system.
Remember to keep a record of the plumbing pipes and fittings you used during the replacement process. This information may be helpful in the future for maintenance or repairs.
By following these steps and taking the necessary precautions, you have successfully replaced your plumbing pipes. Congratulations on a job well done!
Now, sit back, relax, and enjoy the benefits of a reliable and efficient plumbing system in your home or building.
Conclusion
Replacing plumbing pipes may seem like a daunting task, but with the right knowledge and careful execution, it can be a rewarding and cost-effective project. Throughout this comprehensive guide, we have covered the step-by-step process of how to replace plumbing pipes. By assessing your plumbing system, gathering the necessary tools and materials, turning off the water supply, removing the old plumbing pipes, installing the new ones, testing the system, and finally, cleaning up and restoring the water supply, you have successfully completed the project.
Remember that safety should always be a top priority when working on any plumbing project. Use the appropriate tools and protective gear, follow local plumbing codes and regulations, and consult with professionals if needed.
By replacing your old, damaged, or corroded plumbing pipes, you can enjoy a reliable and efficient plumbing system. You can eliminate issues such as low water pressure, leaks, and potential water damage. Moreover, this project allows you to gain a better understanding of your plumbing system and potentially save on professional plumbing costs.
Should you encounter any challenges during the process or if you are uncertain about any aspect of the project, it is always wise to seek the guidance of a professional plumber. They can provide expert advice and assist you in completing the project safely and effectively.
With the completion of this project, you can have confidence in the integrity and functionality of your plumbing system. Enjoy the benefits of a smoothly flowing water supply and the peace of mind that comes with a job well done.
Thank you for joining us on this plumbing adventure, and we hope this guide has helped you successfully replace your plumbing pipes!
Frequently Asked Questions about How To Replace Plumbing Pipes
Was this page helpful?
At Storables.com, we guarantee accurate and reliable information. Our content, validated by Expert Board Contributors, is crafted following stringent Editorial Policies. We're committed to providing you with well-researched, expert-backed insights for all your informational needs.

0 thoughts on “How To Replace Plumbing Pipes”