Home>Furniture & Design>Outdoor Furniture>How To Wrap Outdoor Pipes For Winter
Outdoor Furniture
How To Wrap Outdoor Pipes For Winter
Modified: August 17, 2024
Protect your outdoor furniture and design by learning how to properly wrap outdoor pipes for winter. Keep your outdoor space safe and functional all year round.
(Many of the links in this article redirect to a specific reviewed product. Your purchase of these products through affiliate links helps to generate commission for Storables.com, at no extra cost. Learn more)
Introduction
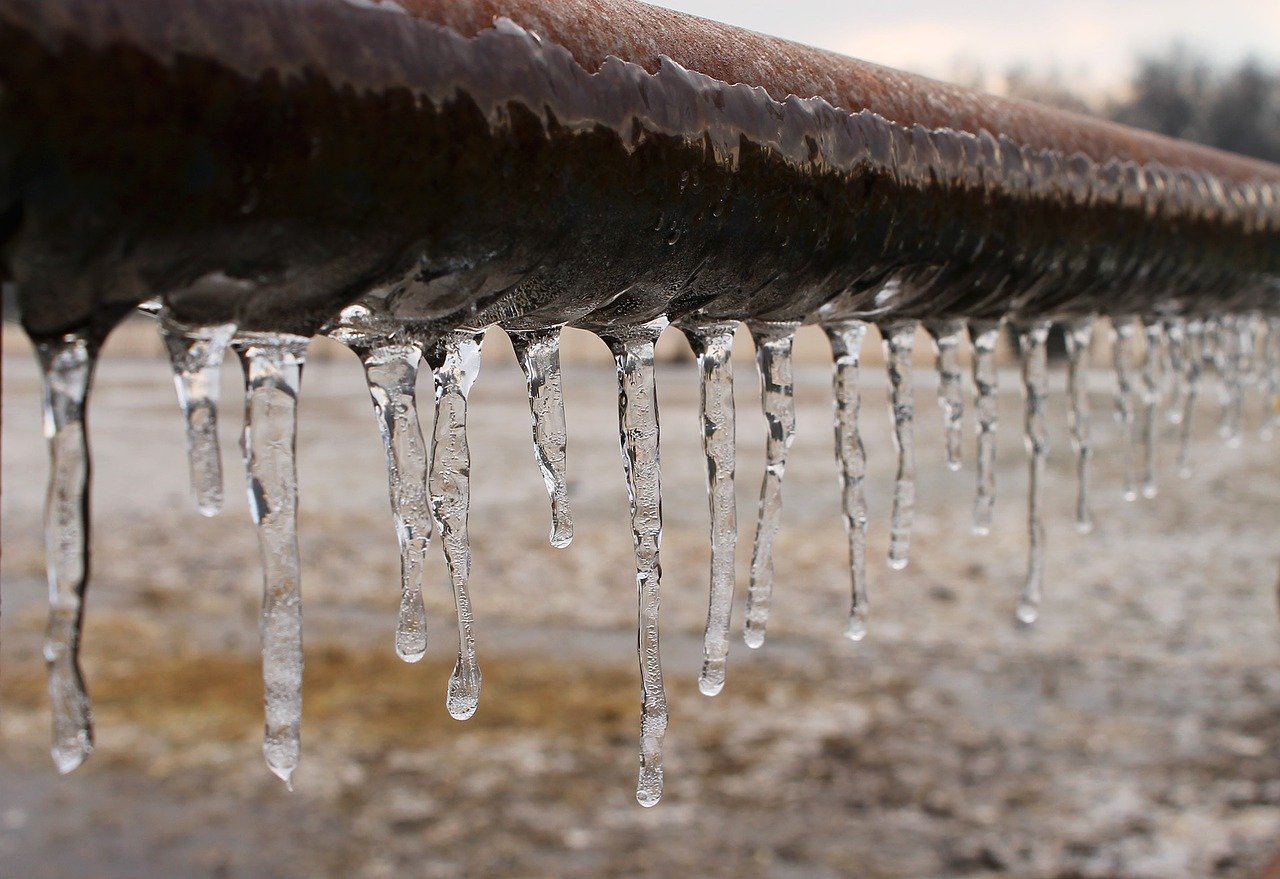
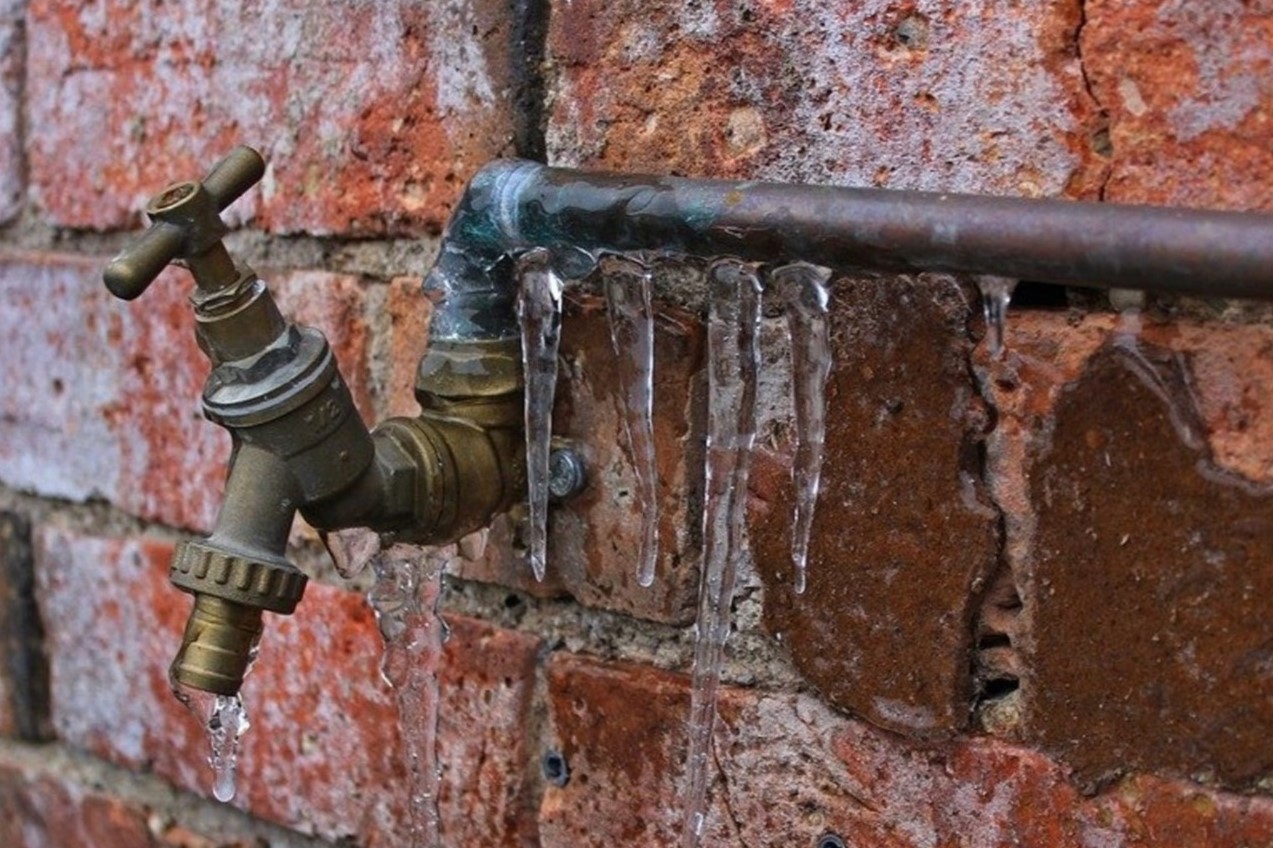
As the crisp air of autumn gives way to the chill of winter, it’s essential to prepare your outdoor spaces for the seasonal shift. One crucial aspect often overlooked is the protection of outdoor pipes. The freezing temperatures of winter can wreak havoc on exposed pipes, causing them to freeze and potentially burst, leading to costly repairs and water damage. However, with the right knowledge and materials, you can safeguard your outdoor pipes from the icy grip of winter. In this guide, we’ll explore the importance of wrapping outdoor pipes, the materials needed for this task, and the step-by-step process to effectively protect your pipes from the harsh winter conditions.
By taking the time to properly prepare and insulate your outdoor pipes, you can avoid the inconvenience and expense of dealing with burst pipes during the colder months. Let’s delve into the essential steps for wrapping outdoor pipes to ensure they remain intact and functional throughout the winter season.
Key Takeaways:
- Protect outdoor pipes from freezing by wrapping them with insulation sleeves, tape, and heating cables. This prevents costly damage and promotes energy efficiency.
- Monitor weather, allow faucets to drip, and disconnect garden hoses to further protect outdoor pipes from freezing and ensure their functionality throughout winter.
Read more: How To Wrap Outdoor Faucets
Why Wrap Outdoor Pipes
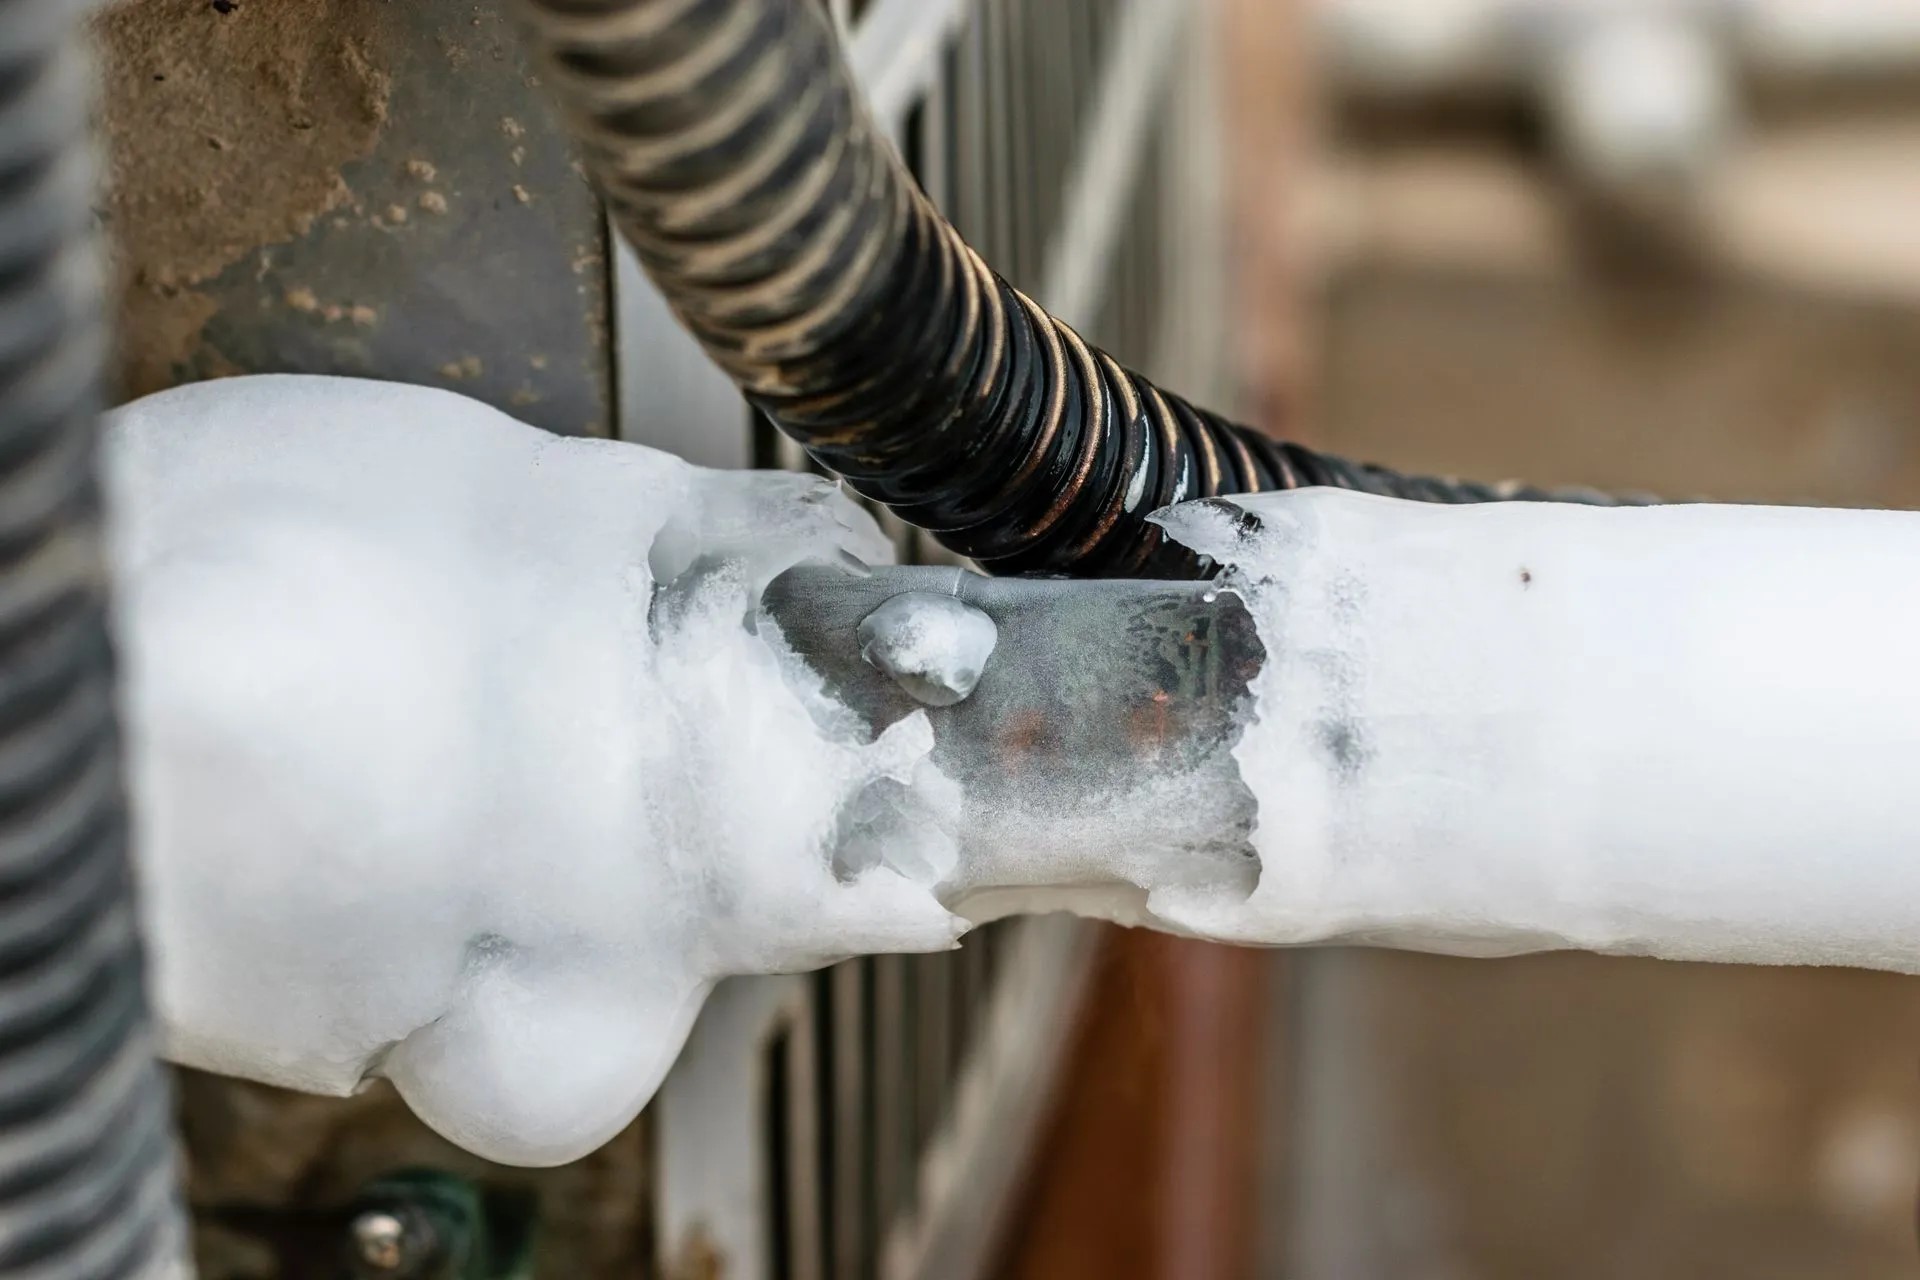
Outdoor pipes are particularly vulnerable to the frigid temperatures of winter. When water inside the pipes freezes, it expands, exerting immense pressure on the pipe walls. This pressure can lead to cracks or even complete rupture, causing extensive water damage and requiring costly repairs. By wrapping outdoor pipes, you create a protective barrier that helps to retain heat and prevent the water inside from reaching freezing temperatures.
Furthermore, wrapping outdoor pipes serves as a proactive measure to conserve energy. Insulating the pipes helps to maintain the temperature of the water flowing through them, reducing the energy required to heat the water as it travels from its source to its destination. This not only contributes to energy savings but also promotes environmental sustainability by minimizing energy consumption.
Another crucial reason to wrap outdoor pipes is to safeguard the water supply. When pipes burst due to freezing, the water supply to your outdoor fixtures, such as faucets and sprinkler systems, can be compromised. This can disrupt your outdoor activities and landscaping maintenance, causing inconvenience and potential damage to your outdoor spaces.
Moreover, protecting outdoor pipes from freezing extends their longevity. By shielding them from the detrimental effects of extreme cold, you can prevent premature deterioration and extend the lifespan of your outdoor plumbing infrastructure. This proactive approach to maintenance can save you from the hassle and expense of replacing damaged pipes.
Overall, wrapping outdoor pipes is a proactive and cost-effective measure to prevent the potentially disastrous consequences of frozen and burst pipes. By understanding the significance of this protective measure, you can ensure the functionality, durability, and efficiency of your outdoor plumbing system, even in the harshest winter conditions.
Materials Needed
Before embarking on the task of wrapping outdoor pipes for winter, it’s essential to gather the necessary materials to ensure a thorough and effective insulation process. Here are the materials you’ll need:
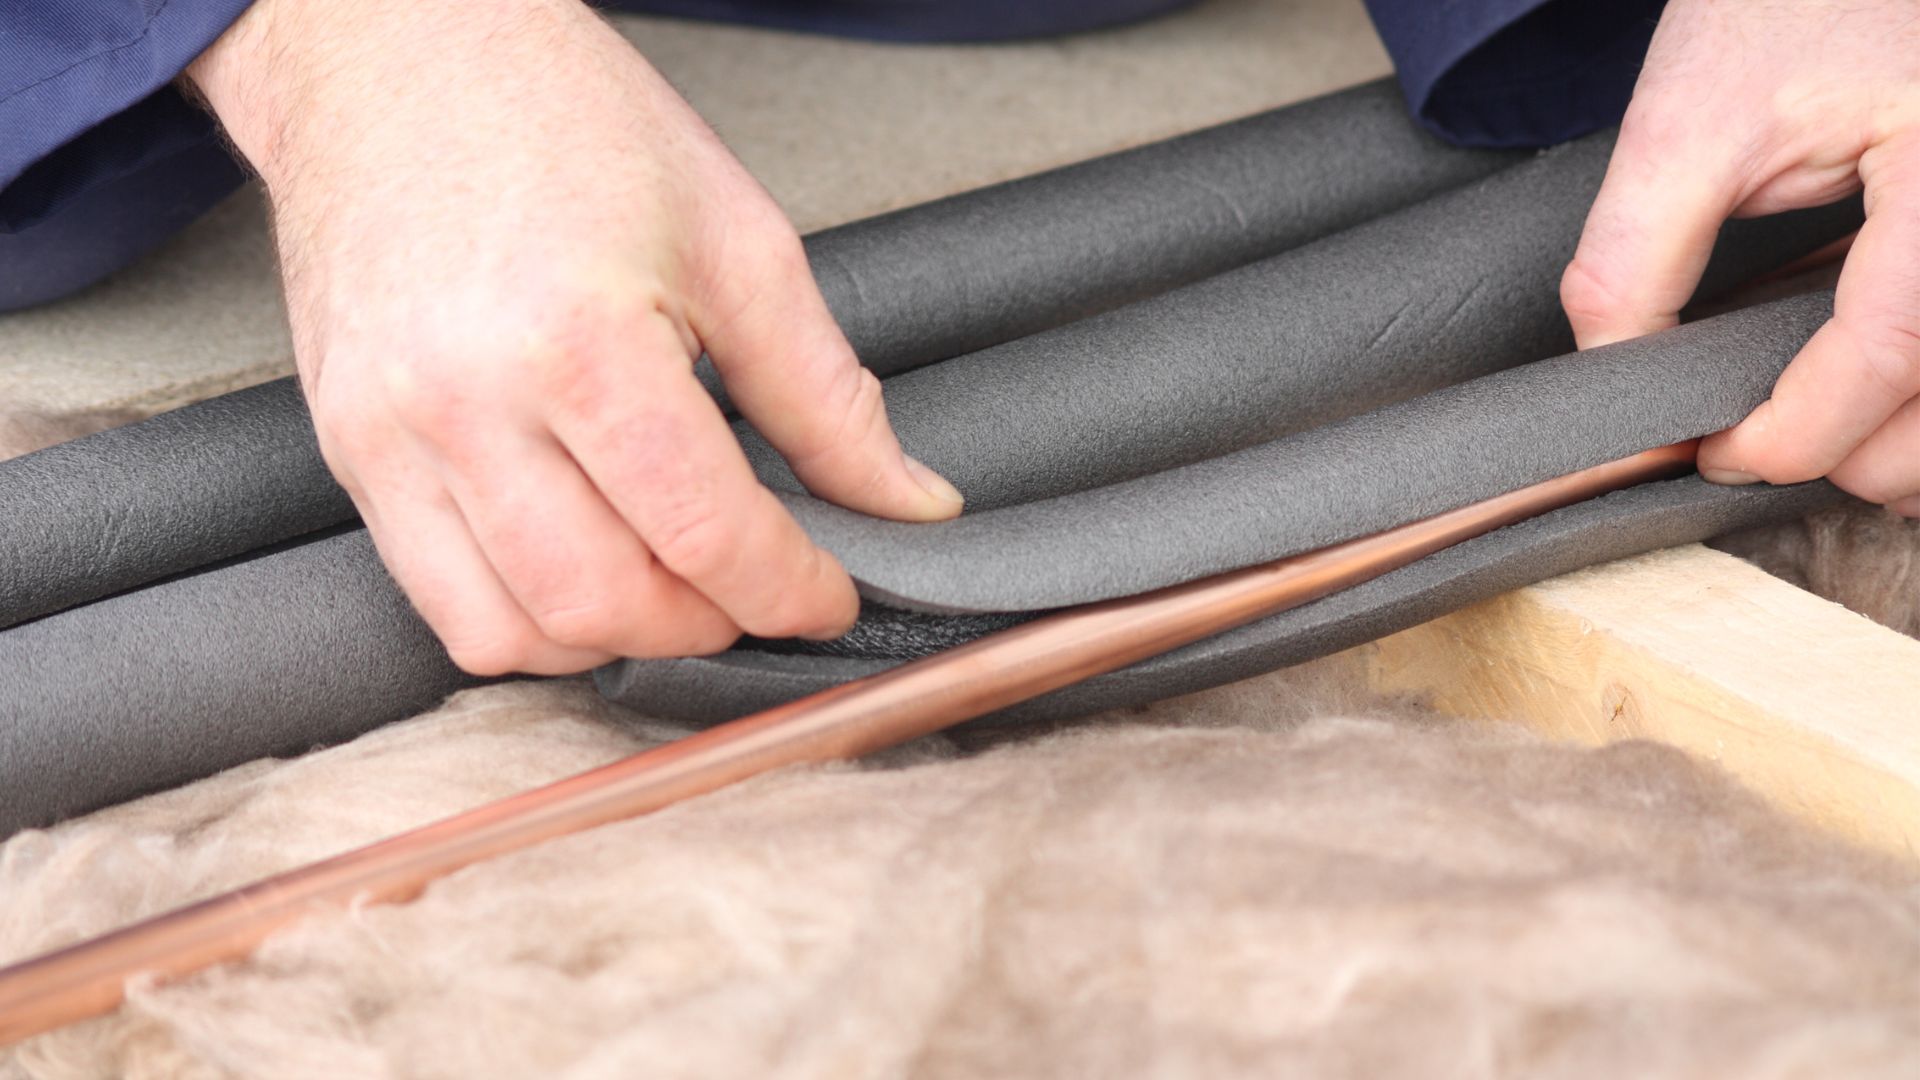
- Insulation Sleeves: These are designed to fit around outdoor pipes, providing a protective layer to prevent heat loss and inhibit freezing. Insulation sleeves come in various sizes to accommodate different pipe diameters.
- Insulating Tape: This tape is specifically formulated for insulating pipes and fittings. It helps seal gaps and secure the insulation sleeves in place.
- Pipe Heating Cable: In areas where extremely low temperatures are anticipated, a pipe heating cable can be a valuable addition to your insulation materials. This cable generates heat to prevent freezing in vulnerable sections of the outdoor pipes.
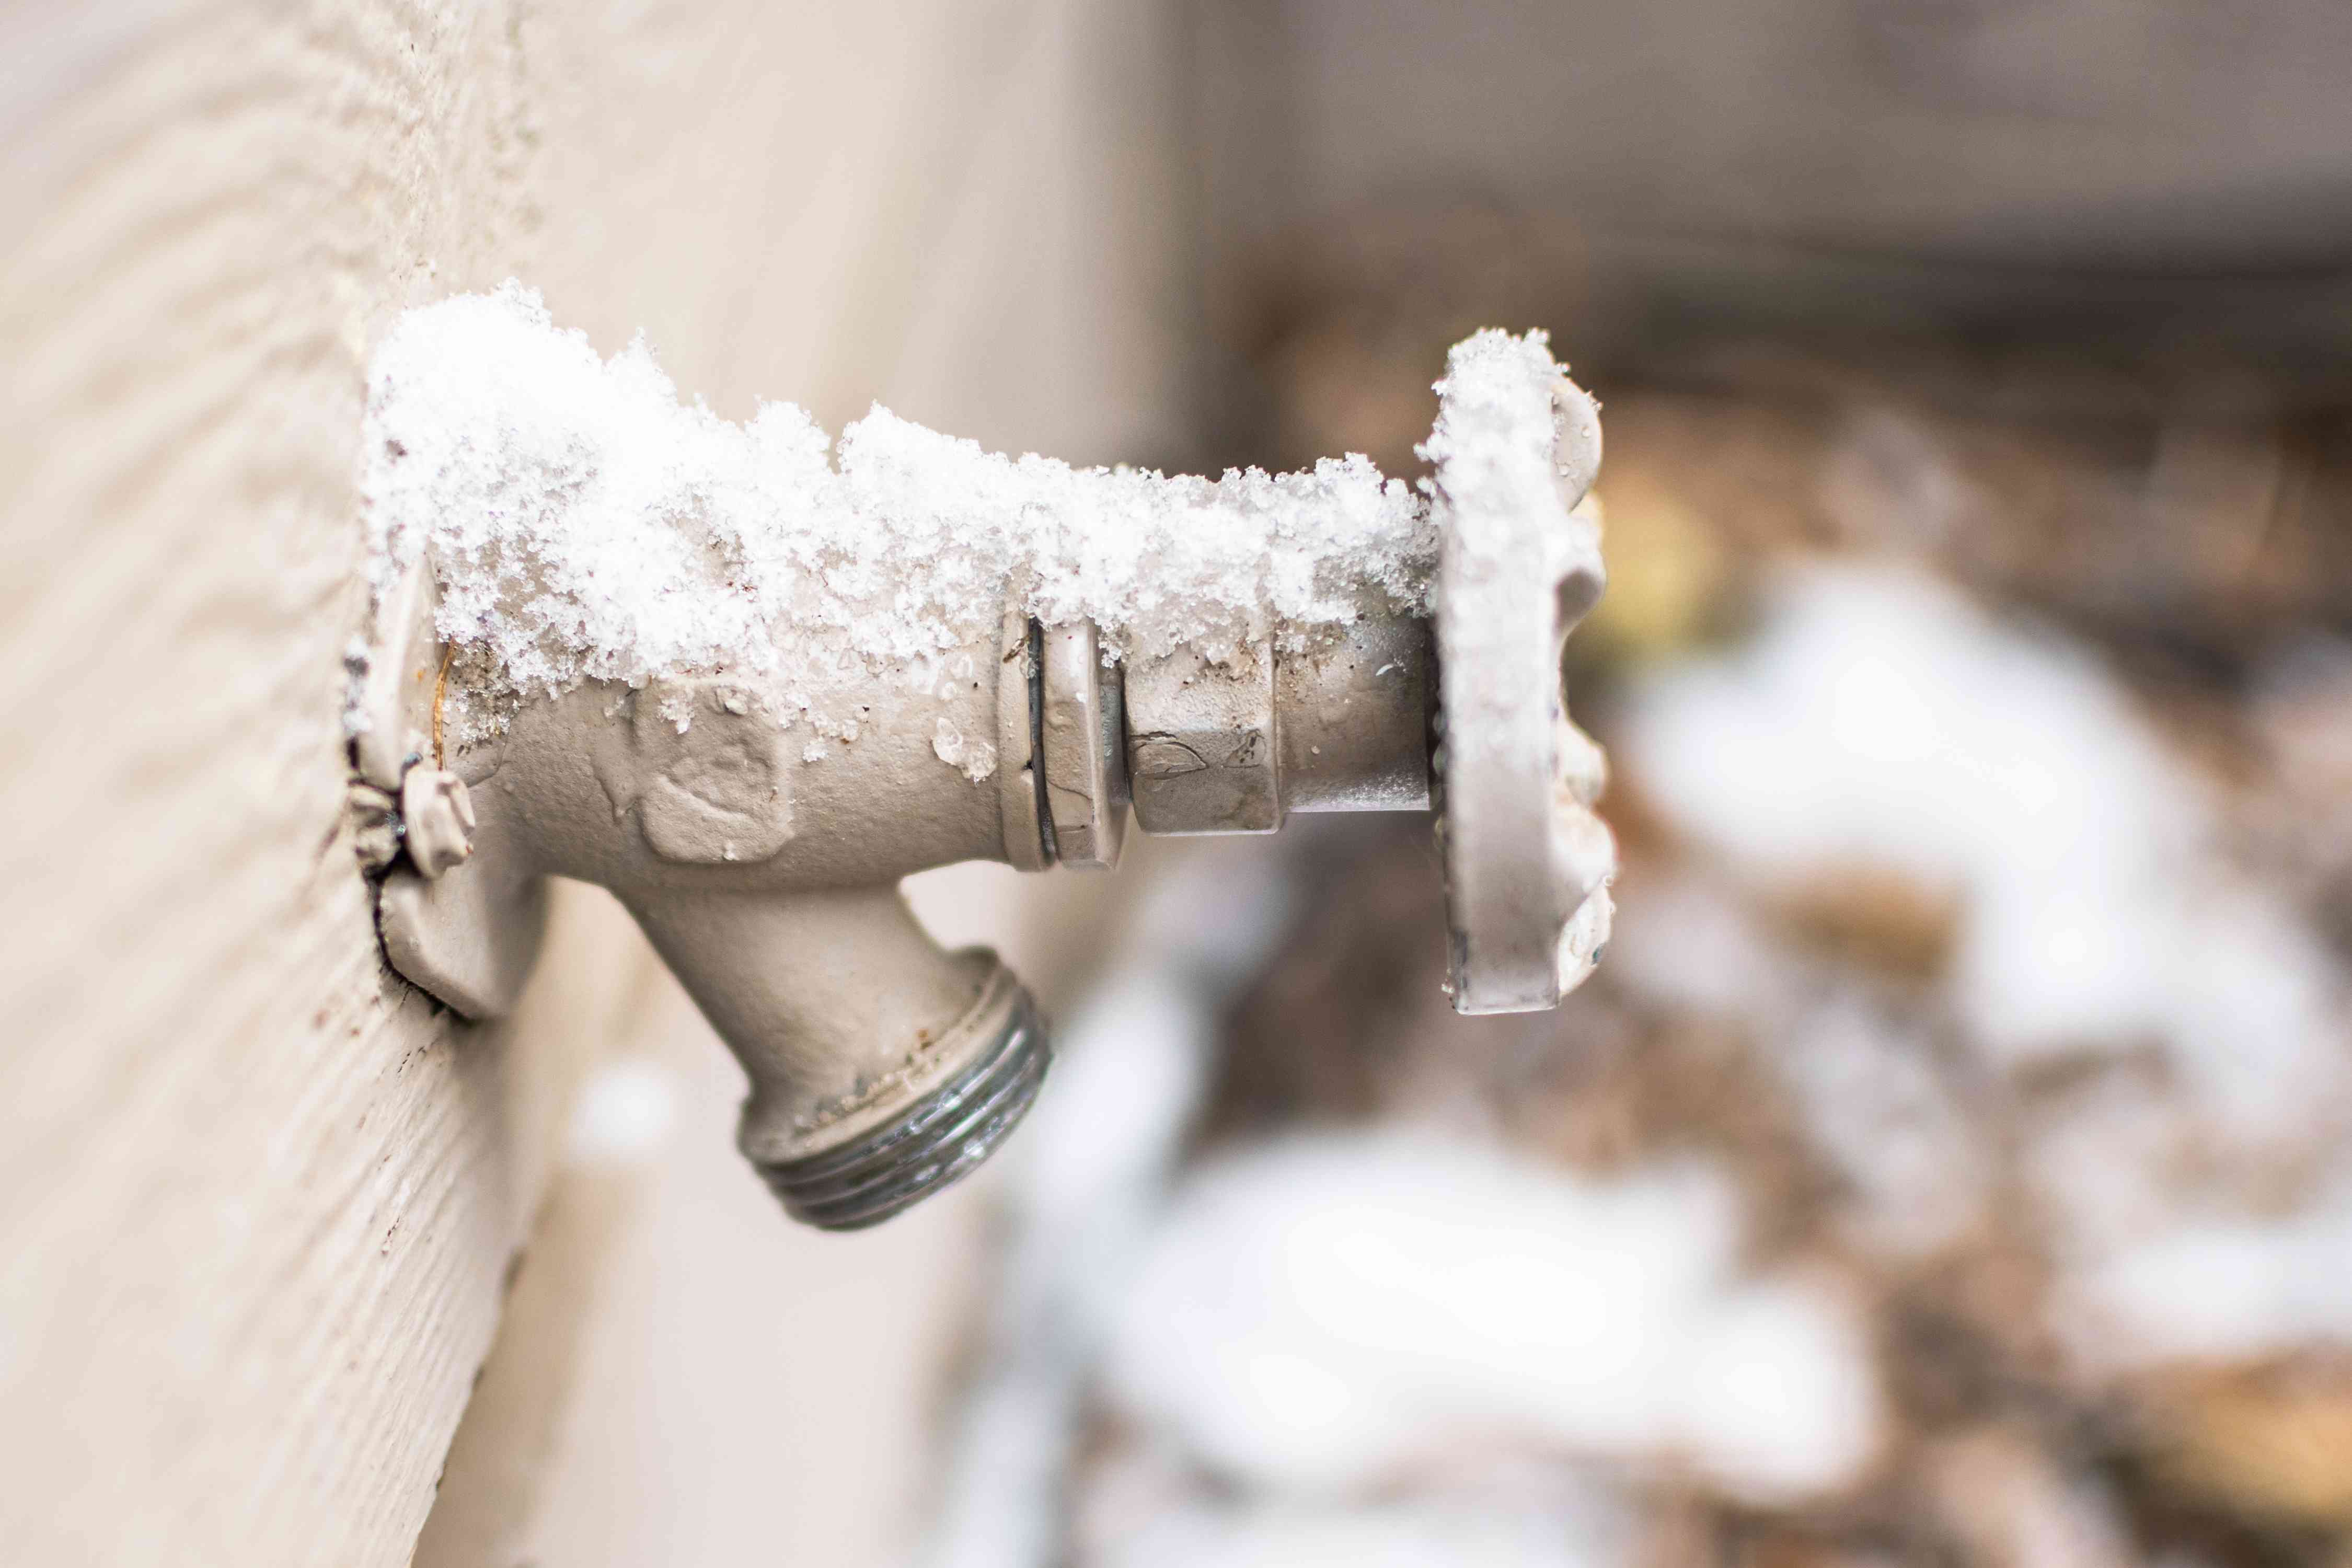
- Plastic or Foam Insulation: For outdoor faucets and spigots, plastic or foam insulating covers can provide an extra layer of protection against freezing temperatures.
- Waterproof Sealant: A waterproof sealant is essential for sealing any gaps or openings in the vicinity of the outdoor pipes, ensuring that cold air and moisture are kept at bay.
- Protective Gloves: When working with insulation materials and sealants, it’s important to protect your hands with durable gloves to avoid skin irritation and exposure to chemicals.
- Measuring Tape and Scissors: These basic tools will be used to accurately measure and cut the insulation sleeves and other materials to the appropriate sizes for your outdoor pipes.
By ensuring that you have these materials on hand, you can proceed with confidence, knowing that you have everything necessary to effectively insulate your outdoor pipes and protect them from the harsh winter conditions.
Tip: Use foam insulation sleeves or heat tape to wrap outdoor pipes for winter. Make sure to cover any exposed areas and secure the insulation with duct tape to prevent freezing and bursting.
Steps for Wrapping Outdoor Pipes
Wrapping outdoor pipes for winter requires a systematic approach to ensure thorough insulation and protection. Follow these essential steps to safeguard your outdoor plumbing from the potential damage caused by freezing temperatures:
- Assess the Pipes: Begin by inspecting all outdoor pipes to identify vulnerable areas that are exposed to the elements. Look for any existing damage or signs of wear that may compromise the integrity of the pipes.
- Prepare the Pipes: Thoroughly clean the exterior of the pipes to remove any dirt, debris, or moisture. Ensure that the surface is dry and free from any obstructions that could hinder the insulation process.
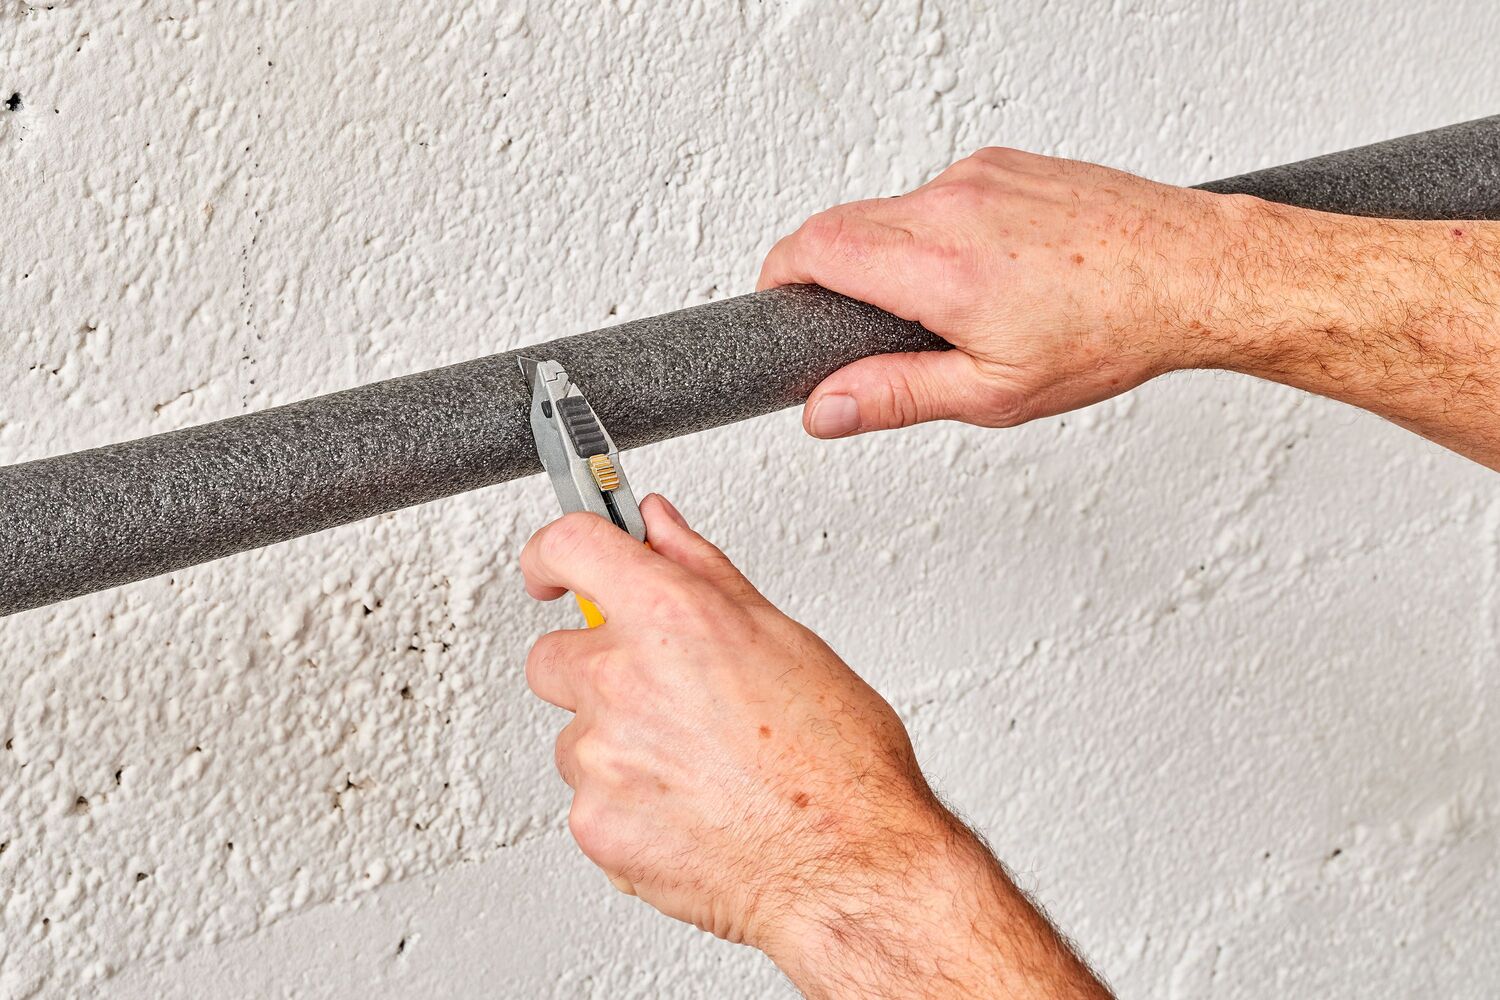
- Measure and Cut Insulation Sleeves: Use a measuring tape to determine the length of insulation sleeves needed for each pipe. Cut the sleeves to the appropriate size, allowing for a snug fit around the pipes without leaving gaps or exposed areas.
- Apply Insulating Tape: Wrap insulating tape around any fittings, joints, or irregular surfaces of the pipes to create a secure and uniform base for the insulation sleeves. This helps to seal gaps and enhance the overall effectiveness of the insulation.
- Install Insulation Sleeves: Slide the insulation sleeves onto the pipes, ensuring that they fit snugly and cover the entire length of the exposed sections. Secure the sleeves in place, making sure there are no gaps or loose areas that could compromise the insulation.
- Use Pipe Heating Cable (if necessary): In areas where extreme cold is a concern, consider installing a pipe heating cable along the length of the outdoor pipes. Follow the manufacturer’s instructions for proper installation and ensure that the cable is secured in place.
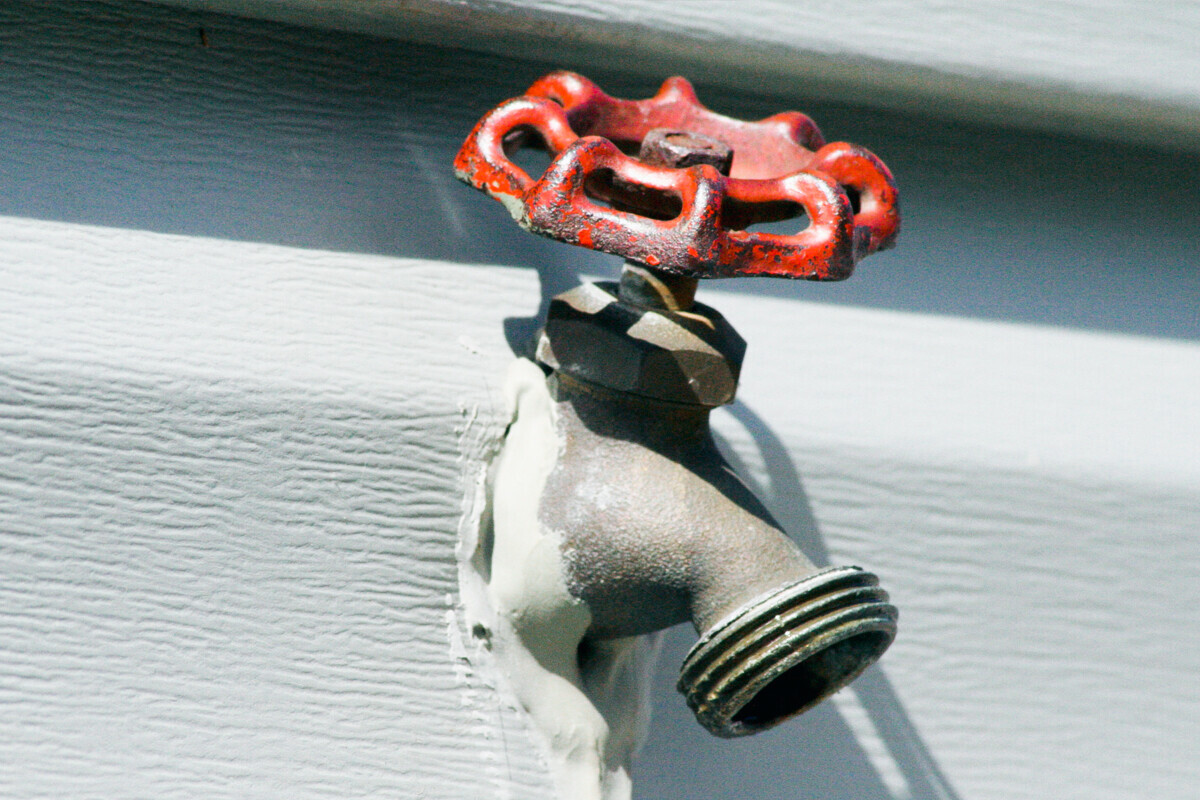
- Insulate Outdoor Faucets and Spigots: For outdoor faucets and spigots, cover them with plastic or foam insulation to protect them from freezing. Ensure that the covers fit securely and provide adequate insulation for these vulnerable fixtures.
- Seal Any Gaps: Use waterproof sealant to fill any gaps or openings near the outdoor pipes, such as where they enter the house or through exterior walls. This helps to prevent cold air and moisture from compromising the insulation.
- Test the Insulation: Once the insulation process is complete, run a thorough check to ensure that all outdoor pipes and fixtures are adequately protected. Look for any areas that may require additional insulation or sealing.
By following these steps meticulously, you can effectively wrap your outdoor pipes for winter, providing them with the necessary insulation to withstand the freezing temperatures and maintain their functionality throughout the season.
Additional Tips
When it comes to preparing outdoor pipes for winter, attention to detail and proactive measures can make a significant difference in protecting your plumbing infrastructure. Consider the following additional tips to enhance the effectiveness of your pipe-wrapping efforts:
- Monitor Weather Forecasts: Stay informed about upcoming weather patterns and temperature fluctuations. By anticipating extreme cold spells, you can take preemptive measures to reinforce the insulation of your outdoor pipes.
- Allow Faucets to Drip: During particularly cold nights, allowing outdoor faucets to drip slowly can help prevent water from stagnating and freezing inside the pipes. This continuous flow can reduce the risk of ice formation and alleviate pressure within the pipes.
- Disconnect Garden Hoses: Before the onset of freezing temperatures, disconnect and drain garden hoses to prevent water from freezing and causing damage to both the hoses and the outdoor faucets they are connected to.
- Insulate Exposed Plumbing in Unheated Areas: If you have outdoor pipes in unheated areas, such as a garage or crawl space, ensure that they are adequately insulated to prevent freezing. Consider using heat tape or additional insulation in these vulnerable locations.
- Regularly Inspect Insulation: Periodically check the condition of the insulation sleeves and other protective materials on your outdoor pipes throughout the winter. Repair or replace any damaged or deteriorated insulation to maintain optimal protection.
- Seek Professional Assistance if Needed: If you encounter complex plumbing configurations or are uncertain about the best approach to insulating certain outdoor pipes, consider consulting a professional plumber for expert guidance and assistance.
- Prepare Early: It’s advisable to begin the process of wrapping outdoor pipes well before the arrival of the coldest winter temperatures. Procrastination can lead to oversight and inadequate preparation.
By incorporating these additional tips into your winterization strategy, you can fortify the protection of your outdoor pipes and minimize the risks associated with freezing temperatures. Taking a proactive and thorough approach to insulating your outdoor plumbing will help ensure a smooth transition through the winter months without encountering the inconvenience of frozen or burst pipes.
Read more: How To Wrap Outdoor Extension Cords
Conclusion
As the winter season approaches, the task of wrapping outdoor pipes is a crucial component of preparing your home for the challenges of cold weather. By understanding the importance of this protective measure and following the recommended steps, you can safeguard your outdoor plumbing from the potential hazards of freezing temperatures.
Wrapping outdoor pipes not only helps to prevent costly damage and repairs but also contributes to energy efficiency and environmental sustainability. By conserving energy and preserving the functionality of your outdoor plumbing infrastructure, you can enjoy peace of mind throughout the winter months, knowing that your pipes are well-insulated and resilient against the elements.
Remember that the key to effective pipe wrapping lies in thorough preparation, meticulous attention to detail, and proactive maintenance. By utilizing the right materials, following the recommended steps, and incorporating additional tips, you can ensure that your outdoor pipes remain protected and fully operational, even in the harshest winter conditions.
As you embark on the process of wrapping your outdoor pipes for winter, approach the task with diligence and a commitment to maintaining the integrity of your plumbing system. By doing so, you can minimize the risks associated with frozen and burst pipes, allowing you to fully enjoy your outdoor spaces without the disruption of plumbing issues during the colder months.
With the knowledge and guidance provided in this comprehensive guide, you are well-equipped to tackle the essential task of wrapping outdoor pipes for winter, ensuring the continued functionality and durability of your outdoor plumbing infrastructure.
Frequently Asked Questions about How To Wrap Outdoor Pipes For Winter
Was this page helpful?
At Storables.com, we guarantee accurate and reliable information. Our content, validated by Expert Board Contributors, is crafted following stringent Editorial Policies. We're committed to providing you with well-researched, expert-backed insights for all your informational needs.

0 thoughts on “How To Wrap Outdoor Pipes For Winter”