Home>Furniture & Design>Outdoor Furniture>How To Winterize Outdoor Kitchen

Outdoor Furniture
How To Winterize Outdoor Kitchen
Published: January 12, 2024
Learn how to properly winterize your outdoor kitchen to protect your outdoor furniture and design. Follow these tips to ensure your outdoor space is ready for the winter months.
(Many of the links in this article redirect to a specific reviewed product. Your purchase of these products through affiliate links helps to generate commission for Storables.com, at no extra cost. Learn more)
Introduction
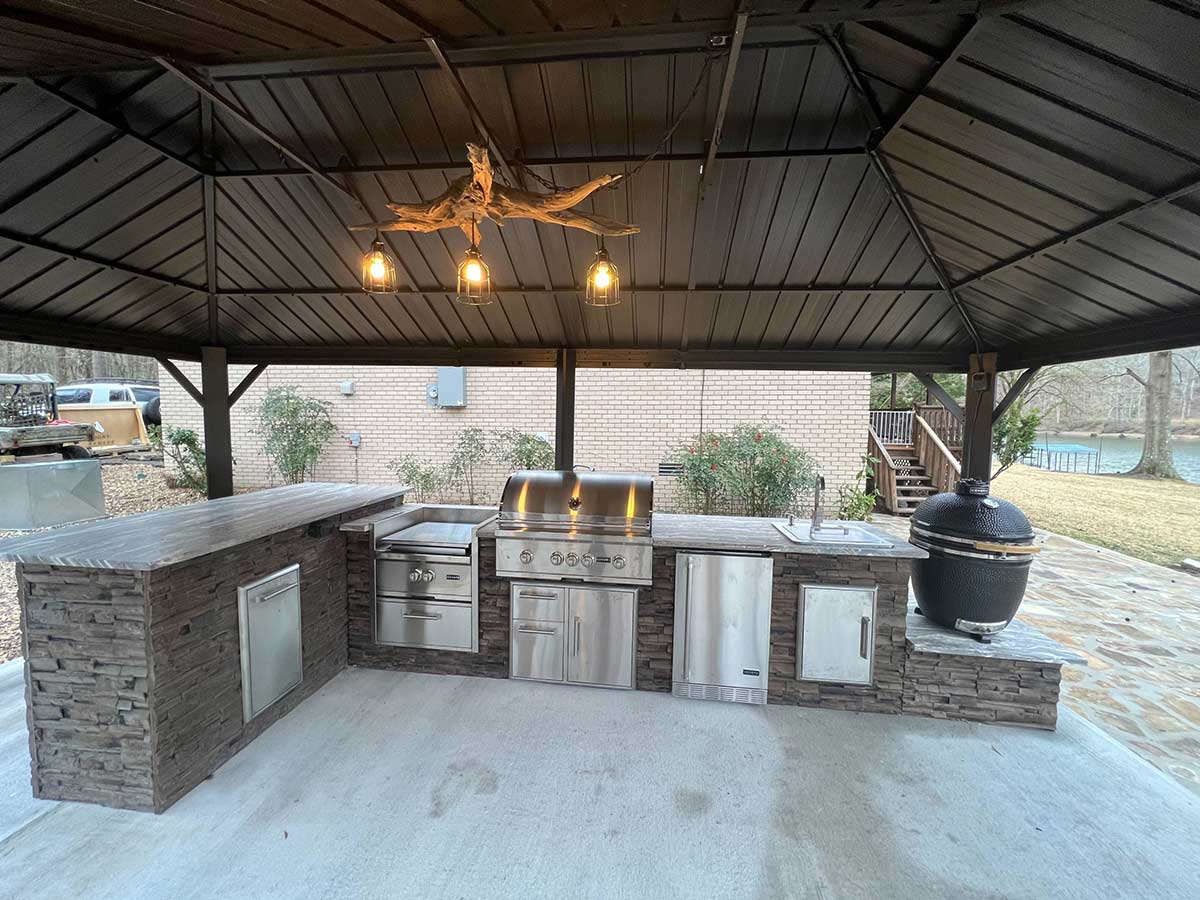
As the crisp air of autumn gives way to the chilly embrace of winter, it's essential to prepare your outdoor kitchen for the seasonal shift. Winterizing your outdoor kitchen not only safeguards its components from the harsh elements but also ensures that it remains in top condition for the warmer months ahead. By taking proactive measures to protect your outdoor kitchen, you can prolong its longevity and minimize the need for extensive repairs. In this guide, we'll explore the fundamental steps to winterize your outdoor kitchen effectively, allowing you to enjoy peace of mind during the colder months.
Preparing your outdoor kitchen for winter is a comprehensive process that involves inspecting, cleaning, and safeguarding various elements, including the grill, countertops, cabinets, appliances, and water supply. By following these steps, you can shield your outdoor kitchen from potential damage caused by freezing temperatures, snow, and ice. Whether you're an avid entertainer who cherishes outdoor gatherings or simply seek to maintain the allure of your outdoor space, winterizing your outdoor kitchen is a prudent investment in its long-term functionality and aesthetics.
Let's delve into the essential tasks required to winterize your outdoor kitchen effectively, ensuring that it remains a welcoming and functional oasis throughout the winter season.
Key Takeaways:
- Protect your outdoor kitchen by inspecting, cleaning, and covering components like the grill, countertops, and appliances. This ensures they remain in top condition for the warmer months ahead.
- Safeguard your outdoor kitchen from freezing temperatures and snow by draining the water supply, sealing surfaces, and protecting with custom-fit covers. This proactive approach preserves its functionality and aesthetics.
Read more: How To Winterize An Outdoor Faucet
Inspect and Clean the Grill
Before the winter chill sets in, it’s crucial to give your outdoor grill the attention it deserves. Start by thoroughly inspecting the grill for any signs of wear and tear, such as rust, corrosion, or damaged components. Check the burners, igniters, and gas lines for any potential issues that may worsen during the winter months. Addressing these issues promptly can prevent them from escalating into more significant problems.
Once the inspection is complete, embark on a comprehensive cleaning regimen to rid the grill of built-up grease, food residue, and other debris. Begin by removing the grates and thoroughly scrubbing them with a grill brush to dislodge any stubborn residue. For stainless steel grates, a dedicated stainless steel cleaner can restore their luster and protect them from corrosion.
Next, focus on the interior of the grill. Use a wire brush to clean the burners and ensure that the gas outlets are free from obstructions. Clear any accumulated debris from the bottom of the grill and dispose of it properly. For gas grills, it’s advisable to detach the gas tank and store it in a safe, well-ventilated area for the winter.
For charcoal grills, ensure that the ash and leftover charcoal are completely removed. Cleaning the exterior of the grill with a mild detergent and water can help preserve its appearance and protect it from the corrosive effects of winter weather. Once cleaned, consider applying a protective coating to the grill’s exterior to safeguard it from moisture and oxidation.
By meticulously inspecting and cleaning your outdoor grill, you can mitigate the risk of damage and deterioration during the winter months, ensuring that it’s ready for action when the warmer weather returns.
Protect the Countertops and Cabinets
As winter approaches, it’s essential to safeguard the countertops and cabinets of your outdoor kitchen from the potentially damaging effects of cold temperatures, moisture, and debris. Start by thoroughly cleaning the countertops, using a mild detergent and warm water to remove any accumulated dirt, grease, or food residue. For stone countertops, such as granite or marble, consider applying a specialized stone sealer to protect them from moisture penetration and staining during the winter months.
Inspect the cabinets for any signs of wear, such as peeling paint, warped wood, or loose hinges. Address any issues promptly to prevent them from worsening due to exposure to winter conditions. Consider applying a weatherproof sealant to wooden cabinets to shield them from moisture and prevent warping or rotting.
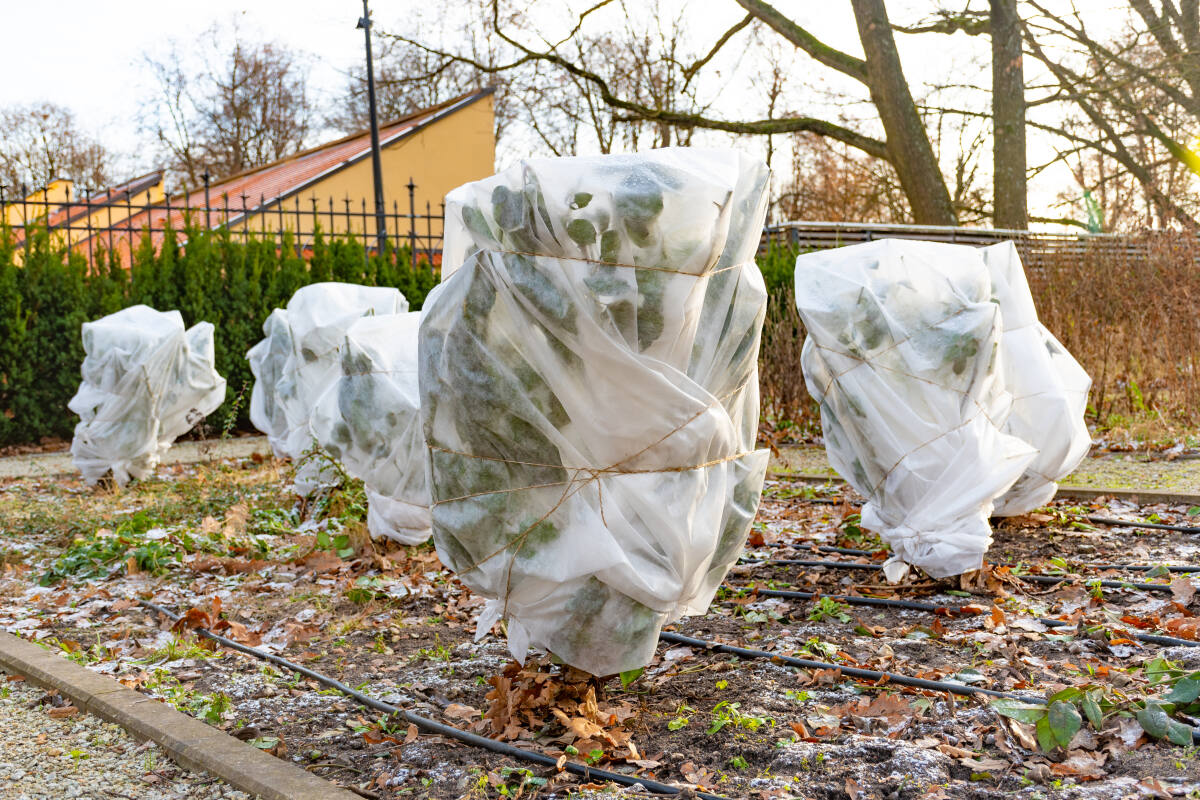
To further protect the countertops and cabinets, consider investing in custom-fit covers or tarps designed specifically for outdoor kitchen components. These covers can shield the surfaces from snow, ice, and debris, preserving their integrity and aesthetics. Ensure that the covers are securely fastened to prevent them from being dislodged by strong winds or inclement weather.
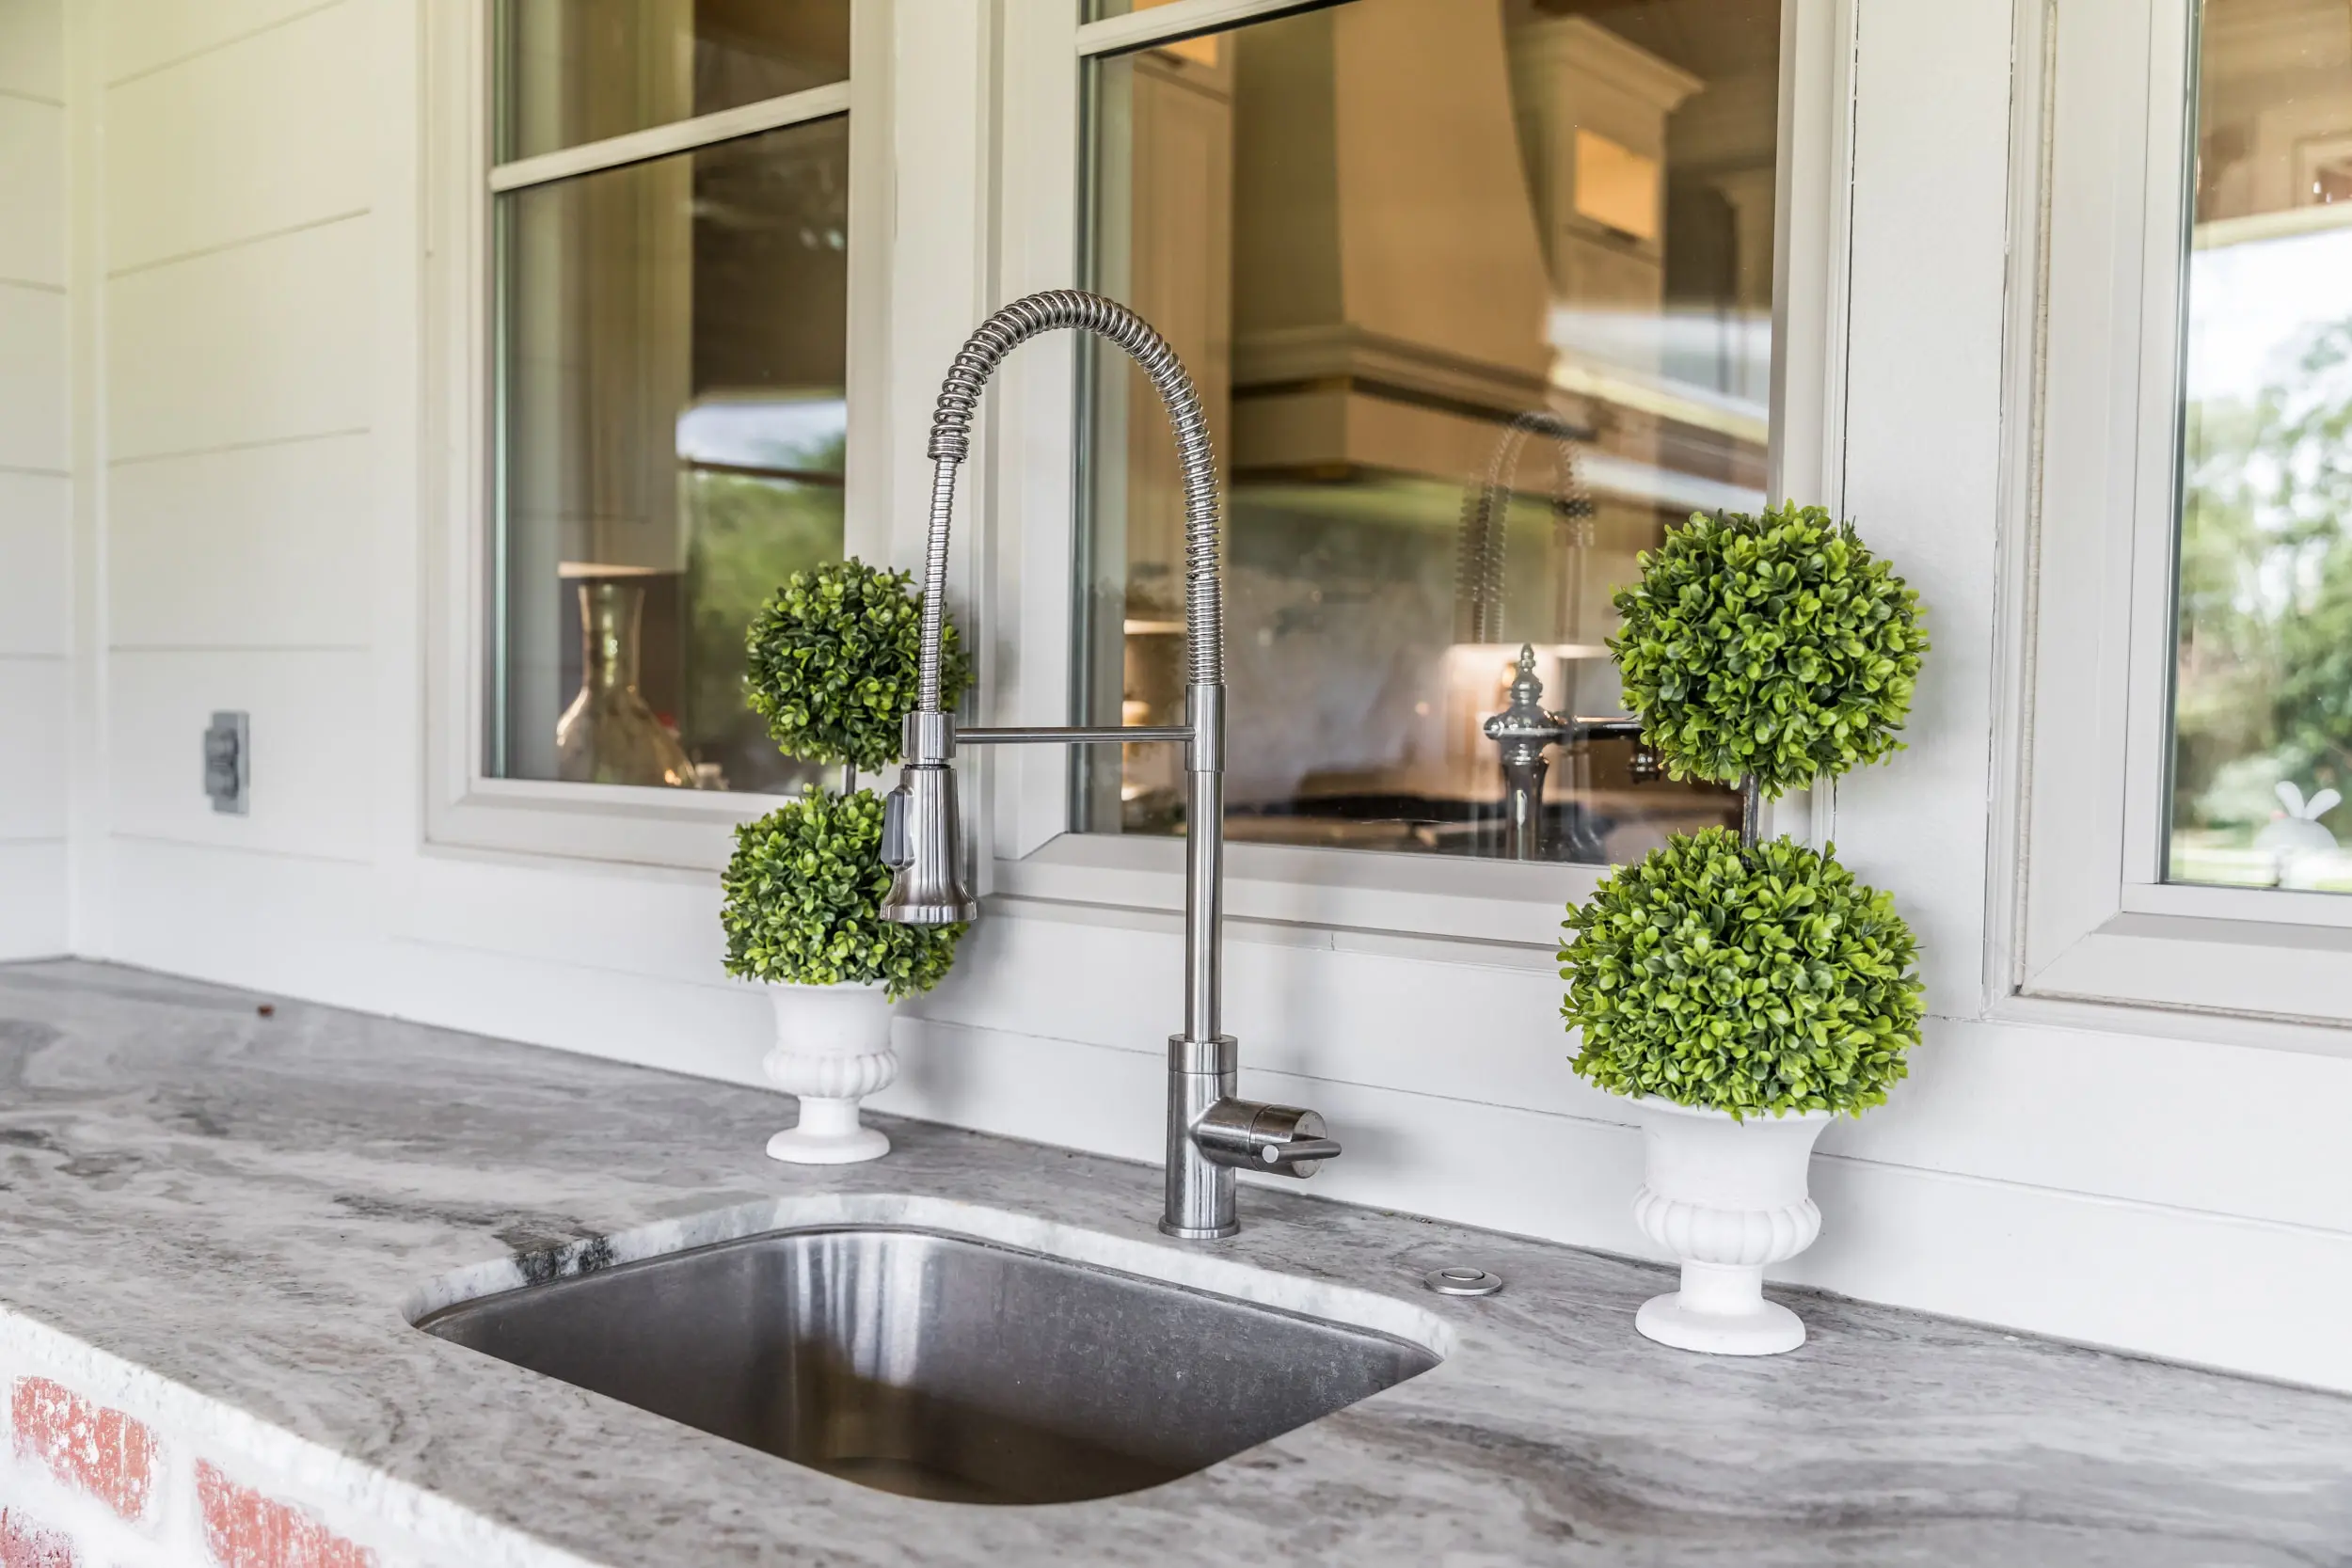
If your outdoor kitchen features a sink, it’s crucial to drain and disconnect the water supply to prevent freezing and potential damage to the plumbing components. Clear any residual water from the pipes and faucets to eliminate the risk of freezing and bursting during cold spells.
By taking proactive measures to protect the countertops, cabinets, and plumbing fixtures of your outdoor kitchen, you can minimize the risk of damage and deterioration, ensuring that they remain in optimal condition for the upcoming spring and summer seasons.
Cover or Store Outdoor Appliances
As the winter season approaches, it’s essential to safeguard your outdoor appliances from the adverse effects of cold temperatures, moisture, and inclement weather. Whether you have a refrigerator, ice maker, or other specialized outdoor appliances, taking proactive measures to protect them can prolong their longevity and ensure their functionality when warmer weather returns.
Begin by thoroughly cleaning and inspecting each outdoor appliance to ensure that it’s in optimal condition before winterizing it. Remove any food items, beverages, or perishables from the refrigerator and thoroughly clean its interior to prevent odors and the accumulation of mold or mildew during the winter months.
For outdoor ice makers, disconnect the water supply and thoroughly drain any remaining water to prevent freezing and potential damage to the internal components. Clean the ice maker according to the manufacturer’s recommendations and ensure that it’s completely dry before proceeding with winterization.
Once the appliances are cleaned and inspected, consider covering them with specialized appliance covers or tarps designed to protect them from snow, ice, and debris. Ensure that the covers fit securely and provide adequate protection from the elements. If space permits, consider relocating smaller appliances to a designated storage area, such as a garage or shed, where they can remain shielded from winter weather.
For larger built-in appliances, such as outdoor refrigerators or wine coolers, consult the manufacturer’s guidelines for winterization recommendations. Some appliances may require specific steps for winter storage or may include built-in features designed to withstand cold temperatures and moisture.
By covering or storing your outdoor appliances appropriately, you can safeguard them from potential damage and deterioration, ensuring that they’re ready for use when the outdoor entertaining season resumes.
To winterize your outdoor kitchen, make sure to disconnect and drain all water lines, cover or store any outdoor appliances, and protect any exposed surfaces from snow and ice to prevent damage.
Drain and Turn off Water Supply
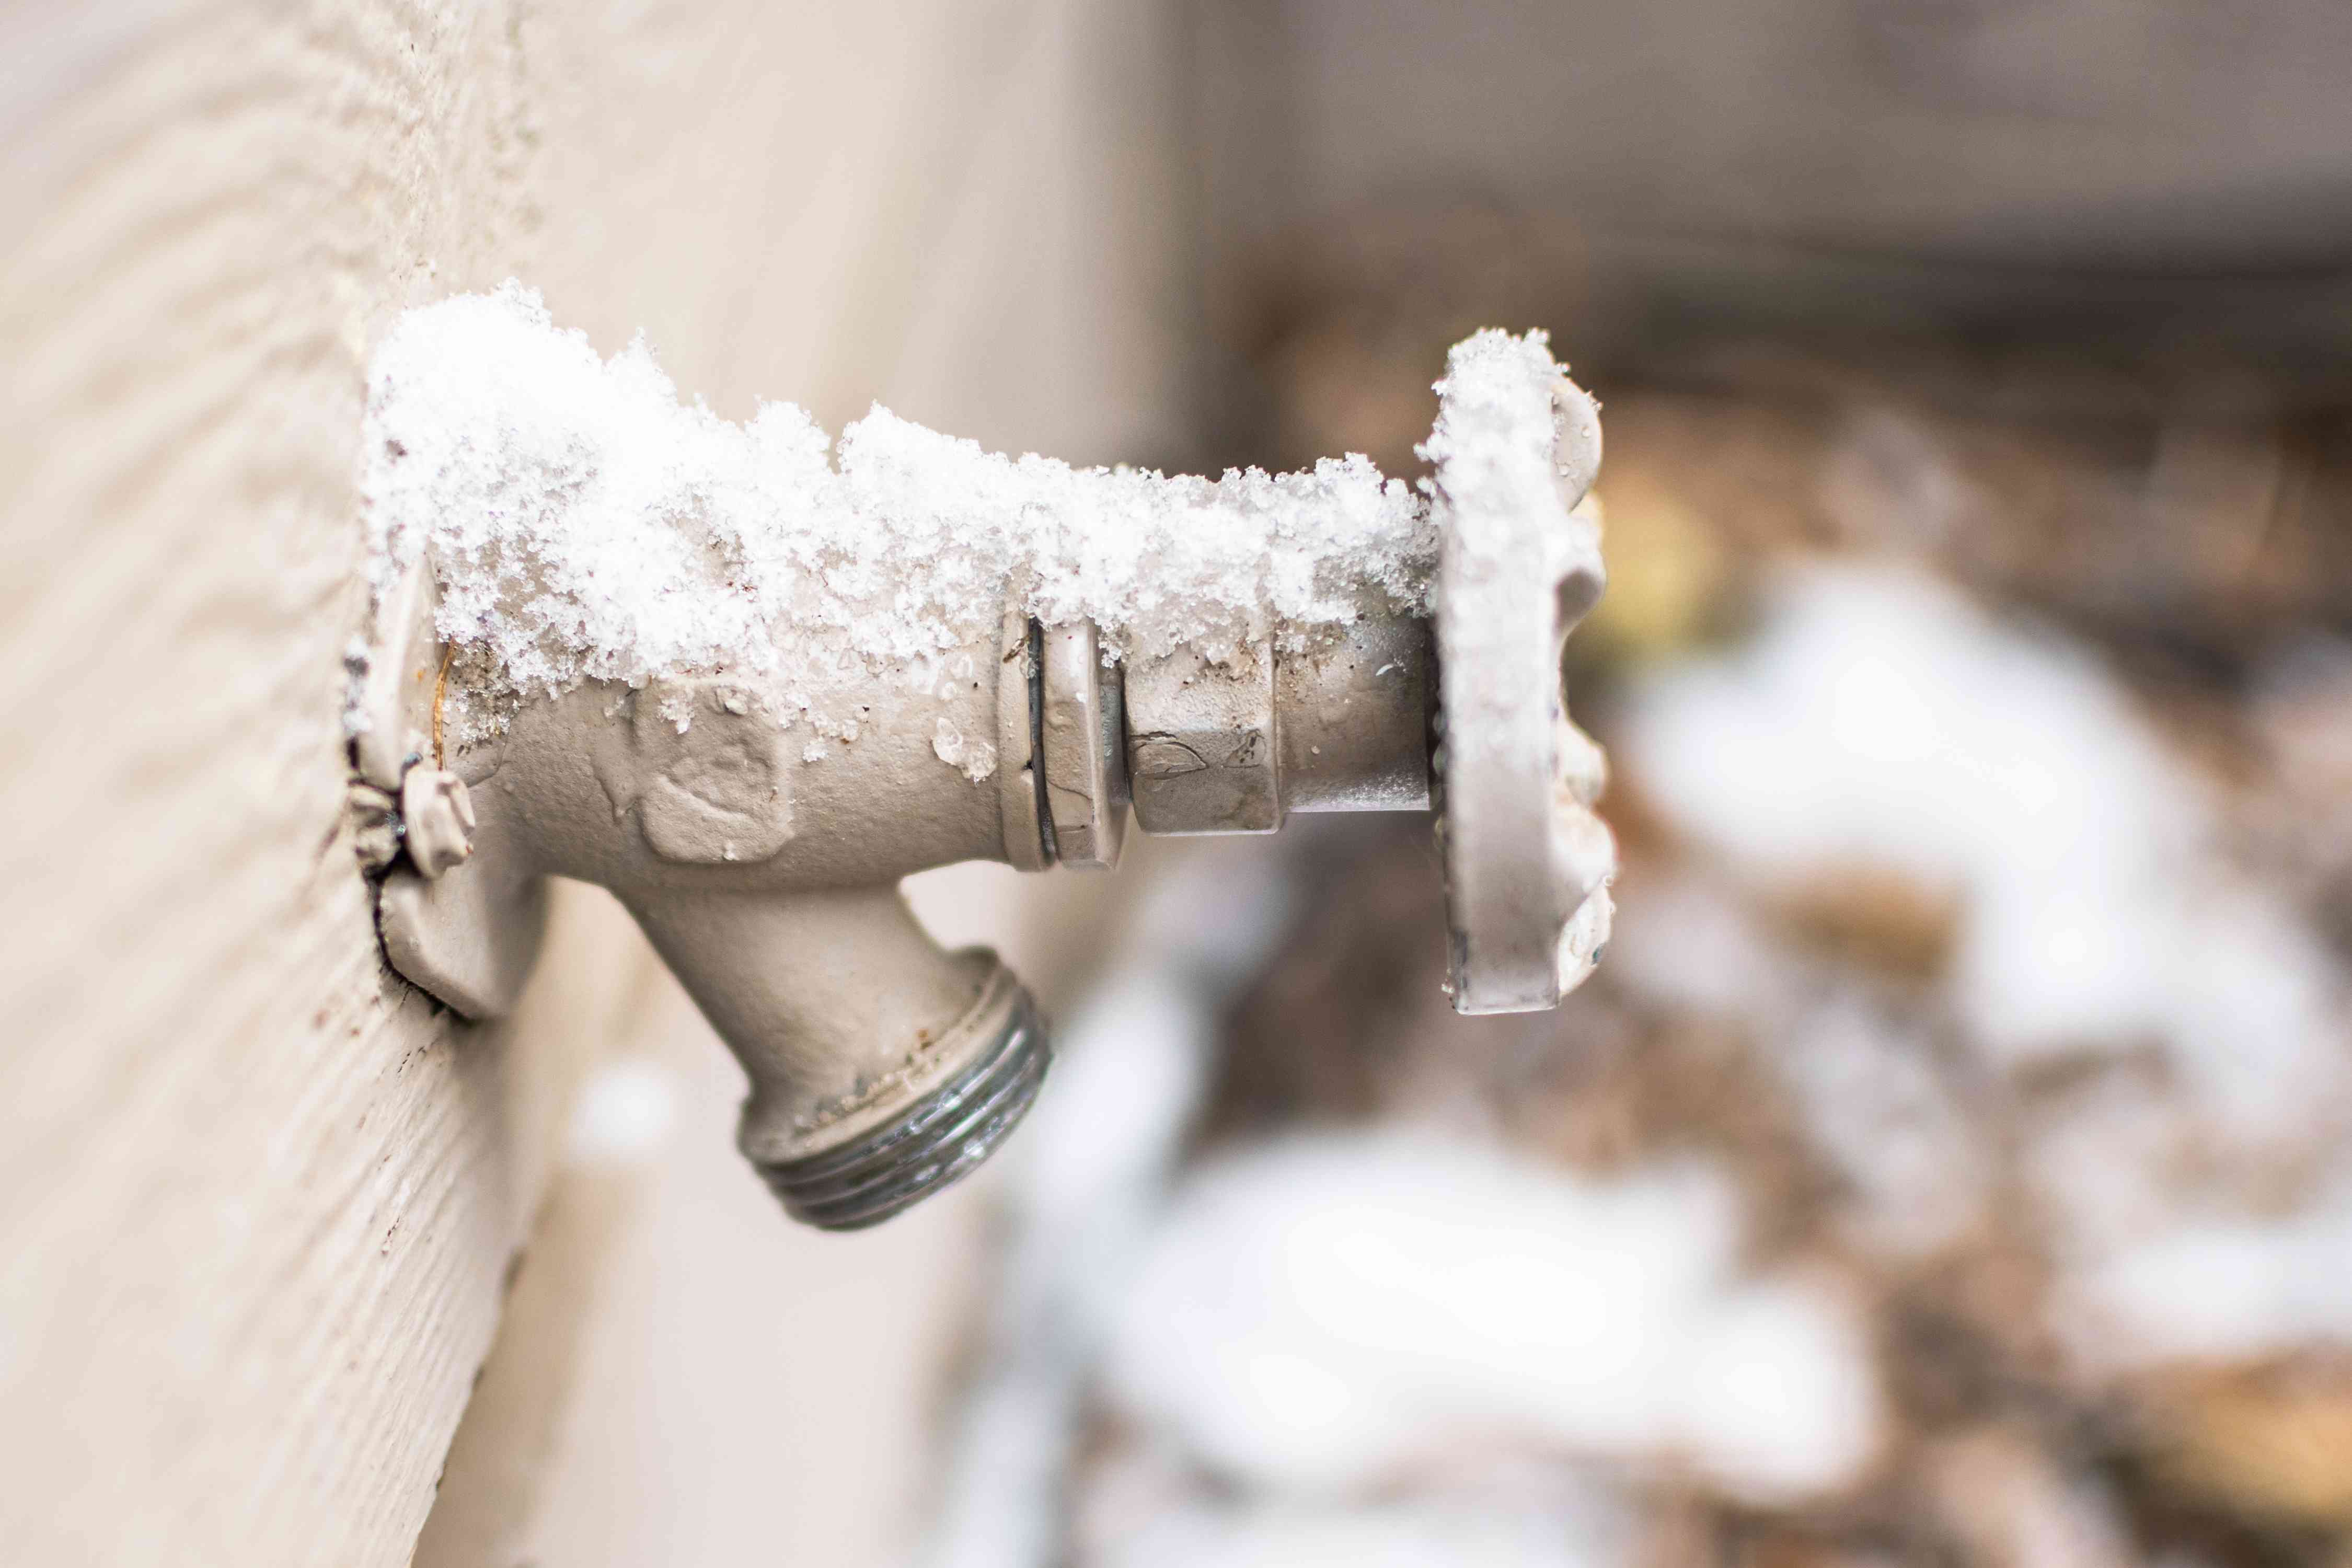
As the temperatures drop and the threat of freezing conditions looms, it’s crucial to address the water supply and plumbing fixtures in your outdoor kitchen to prevent potential damage and costly repairs. Start by locating the main water shut-off valve that supplies water to your outdoor kitchen. This valve is typically located near the point where the water line enters the outdoor space. Once located, turn off the water supply to prevent water from flowing into the outdoor plumbing fixtures.
After shutting off the water supply, it’s essential to drain any remaining water from the outdoor plumbing system to eliminate the risk of freezing and subsequent damage. Begin by opening all faucets and allowing any residual water to flow out. This includes the kitchen sink, outdoor bar sink, and any additional water fixtures in the outdoor kitchen. Ensure that all water lines are completely drained to prevent freezing and potential bursting of the pipes.
If your outdoor kitchen includes a dishwasher, it’s crucial to run a cycle to clear any remaining water from the system. Once the dishwasher has completed its cycle, disconnect the water supply and ensure that the interior is dry to prevent freezing and damage to the internal components.
For outdoor refrigerators with water or ice dispensers, it’s essential to disconnect the water supply and thoroughly drain any remaining water from the lines and dispensing mechanisms. Clearing the water lines and ensuring that the internal components are dry can prevent freezing and damage to the appliance.
By diligently draining and turning off the water supply to your outdoor kitchen, you can mitigate the risk of frozen and burst pipes, ensuring that the plumbing fixtures remain intact and fully functional when the warmer months return.
Read more: How To Winterize Outdoor Ferns
Seal and Protect the Outdoor Kitchen
As the winter season approaches, it’s essential to fortify your outdoor kitchen against the elements to ensure its resilience and longevity. Sealing and protecting the various components of your outdoor kitchen can shield them from moisture, freezing temperatures, and potential damage, preserving their functionality and aesthetics for the upcoming spring and summer seasons.
Start by inspecting the surfaces and materials of your outdoor kitchen, including countertops, cabinets, and any exposed structural elements. Address any cracks, gaps, or areas of vulnerability that could allow moisture to penetrate and cause damage during the winter months. Utilize specialized sealants and weatherproofing products designed for outdoor use to fortify these surfaces and create a protective barrier against the elements.
For stone countertops, such as granite or marble, consider applying a high-quality stone sealer to prevent moisture penetration and staining. This step is particularly crucial in regions prone to freezing temperatures and snowfall, as moisture can seep into porous stone surfaces and cause damage over time.
Inspect the grout and caulking around sinks, fixtures, and other areas where moisture could infiltrate. Reapply caulking as needed to ensure a tight seal and prevent water intrusion. Similarly, assess the condition of any outdoor kitchen islands, bars, or seating areas, and apply a protective sealant to the surfaces to safeguard them from the effects of winter weather.
Consider investing in custom-fit covers or tarps designed specifically for outdoor kitchen components, such as grills, appliances, and furniture. These covers can provide an additional layer of protection, shielding the surfaces from snow, ice, and debris. Ensure that the covers are securely fastened to prevent them from being dislodged by strong winds or inclement weather.
By sealing and protecting your outdoor kitchen, you can fortify its resilience and minimize the risk of damage caused by winter weather, ensuring that it remains a functional and inviting space for outdoor gatherings and culinary pursuits in the seasons to come.
Conclusion
Winterizing your outdoor kitchen is a proactive and essential undertaking that safeguards its components from the challenges posed by the colder months. By following the fundamental steps outlined in this guide, you can protect your outdoor kitchen from potential damage caused by freezing temperatures, snow, and moisture, ensuring that it remains in optimal condition for the warmer seasons.
Inspecting and cleaning the grill sets the stage for a successful winterization process, allowing you to address any issues and ensure that it’s ready for action when the outdoor entertaining season resumes. Protecting the countertops, cabinets, and plumbing fixtures shields these essential elements from the adverse effects of winter weather, preserving their integrity and functionality.
Covering or storing outdoor appliances and draining the water supply are critical steps that prevent potential damage and deterioration, ensuring that these components remain in top condition. Sealing and protecting the outdoor kitchen fortifies its resilience against the elements, creating a barrier against moisture and freezing temperatures.
By taking these proactive measures to winterize your outdoor kitchen, you can enjoy peace of mind knowing that it’s well-prepared to withstand the challenges of winter. Whether you relish outdoor gatherings, culinary adventures, or simply savor the ambiance of your outdoor space, winterizing your outdoor kitchen is a prudent investment in its long-term functionality and allure.
As you embark on the winterization process, consider it an opportunity to care for and preserve the heart of your outdoor living space. By nurturing and protecting your outdoor kitchen, you can look forward to enjoying its warmth, functionality, and beauty when the vibrant energy of spring returns.
Frequently Asked Questions about How To Winterize Outdoor Kitchen
Was this page helpful?
At Storables.com, we guarantee accurate and reliable information. Our content, validated by Expert Board Contributors, is crafted following stringent Editorial Policies. We're committed to providing you with well-researched, expert-backed insights for all your informational needs.





0 thoughts on “How To Winterize Outdoor Kitchen”