Home>Furniture & Design>Outdoor Furniture>How To Winterize An Outdoor Sink
Outdoor Furniture
How To Winterize An Outdoor Sink
Modified: February 18, 2024
Learn how to properly winterize your outdoor sink to protect it from the cold weather. Follow these essential steps to ensure your outdoor furniture and design are preserved for the winter season.
(Many of the links in this article redirect to a specific reviewed product. Your purchase of these products through affiliate links helps to generate commission for Storables.com, at no extra cost. Learn more)
Introduction
As the days grow shorter and the air becomes crisper, the arrival of winter prompts us to prepare our outdoor spaces for the harsh conditions ahead. While many homeowners focus on winterizing their gardens and patios, it's equally important to safeguard outdoor sinks from potential damage caused by freezing temperatures. Whether you use your outdoor sink for gardening, cleaning tools, or washing hands, taking the time to properly winterize it can prevent costly repairs and ensure its longevity.
In this comprehensive guide, we'll explore the essential steps to winterize an outdoor sink effectively. By following these steps, you can protect your outdoor sink from freezing, cracking, and other cold-weather-related issues. Let's dive into the process of safeguarding this valuable asset, ensuring it remains in optimal condition for the seasons to come.
Key Takeaways:
- Protect your outdoor sink from freezing by disconnecting the water supply, draining the pipes, and insulating exposed plumbing. Covering the sink with a weather-resistant cover and using antifreeze in cold climates can further safeguard its functionality throughout the winter.
- Winterizing your outdoor sink is essential to prevent costly damage. By following the steps of disconnecting, draining, insulating, covering, and using antifreeze if necessary, you can ensure your outdoor sink remains in optimal condition for future use.
Read more: How To Winterize An Outdoor Faucet
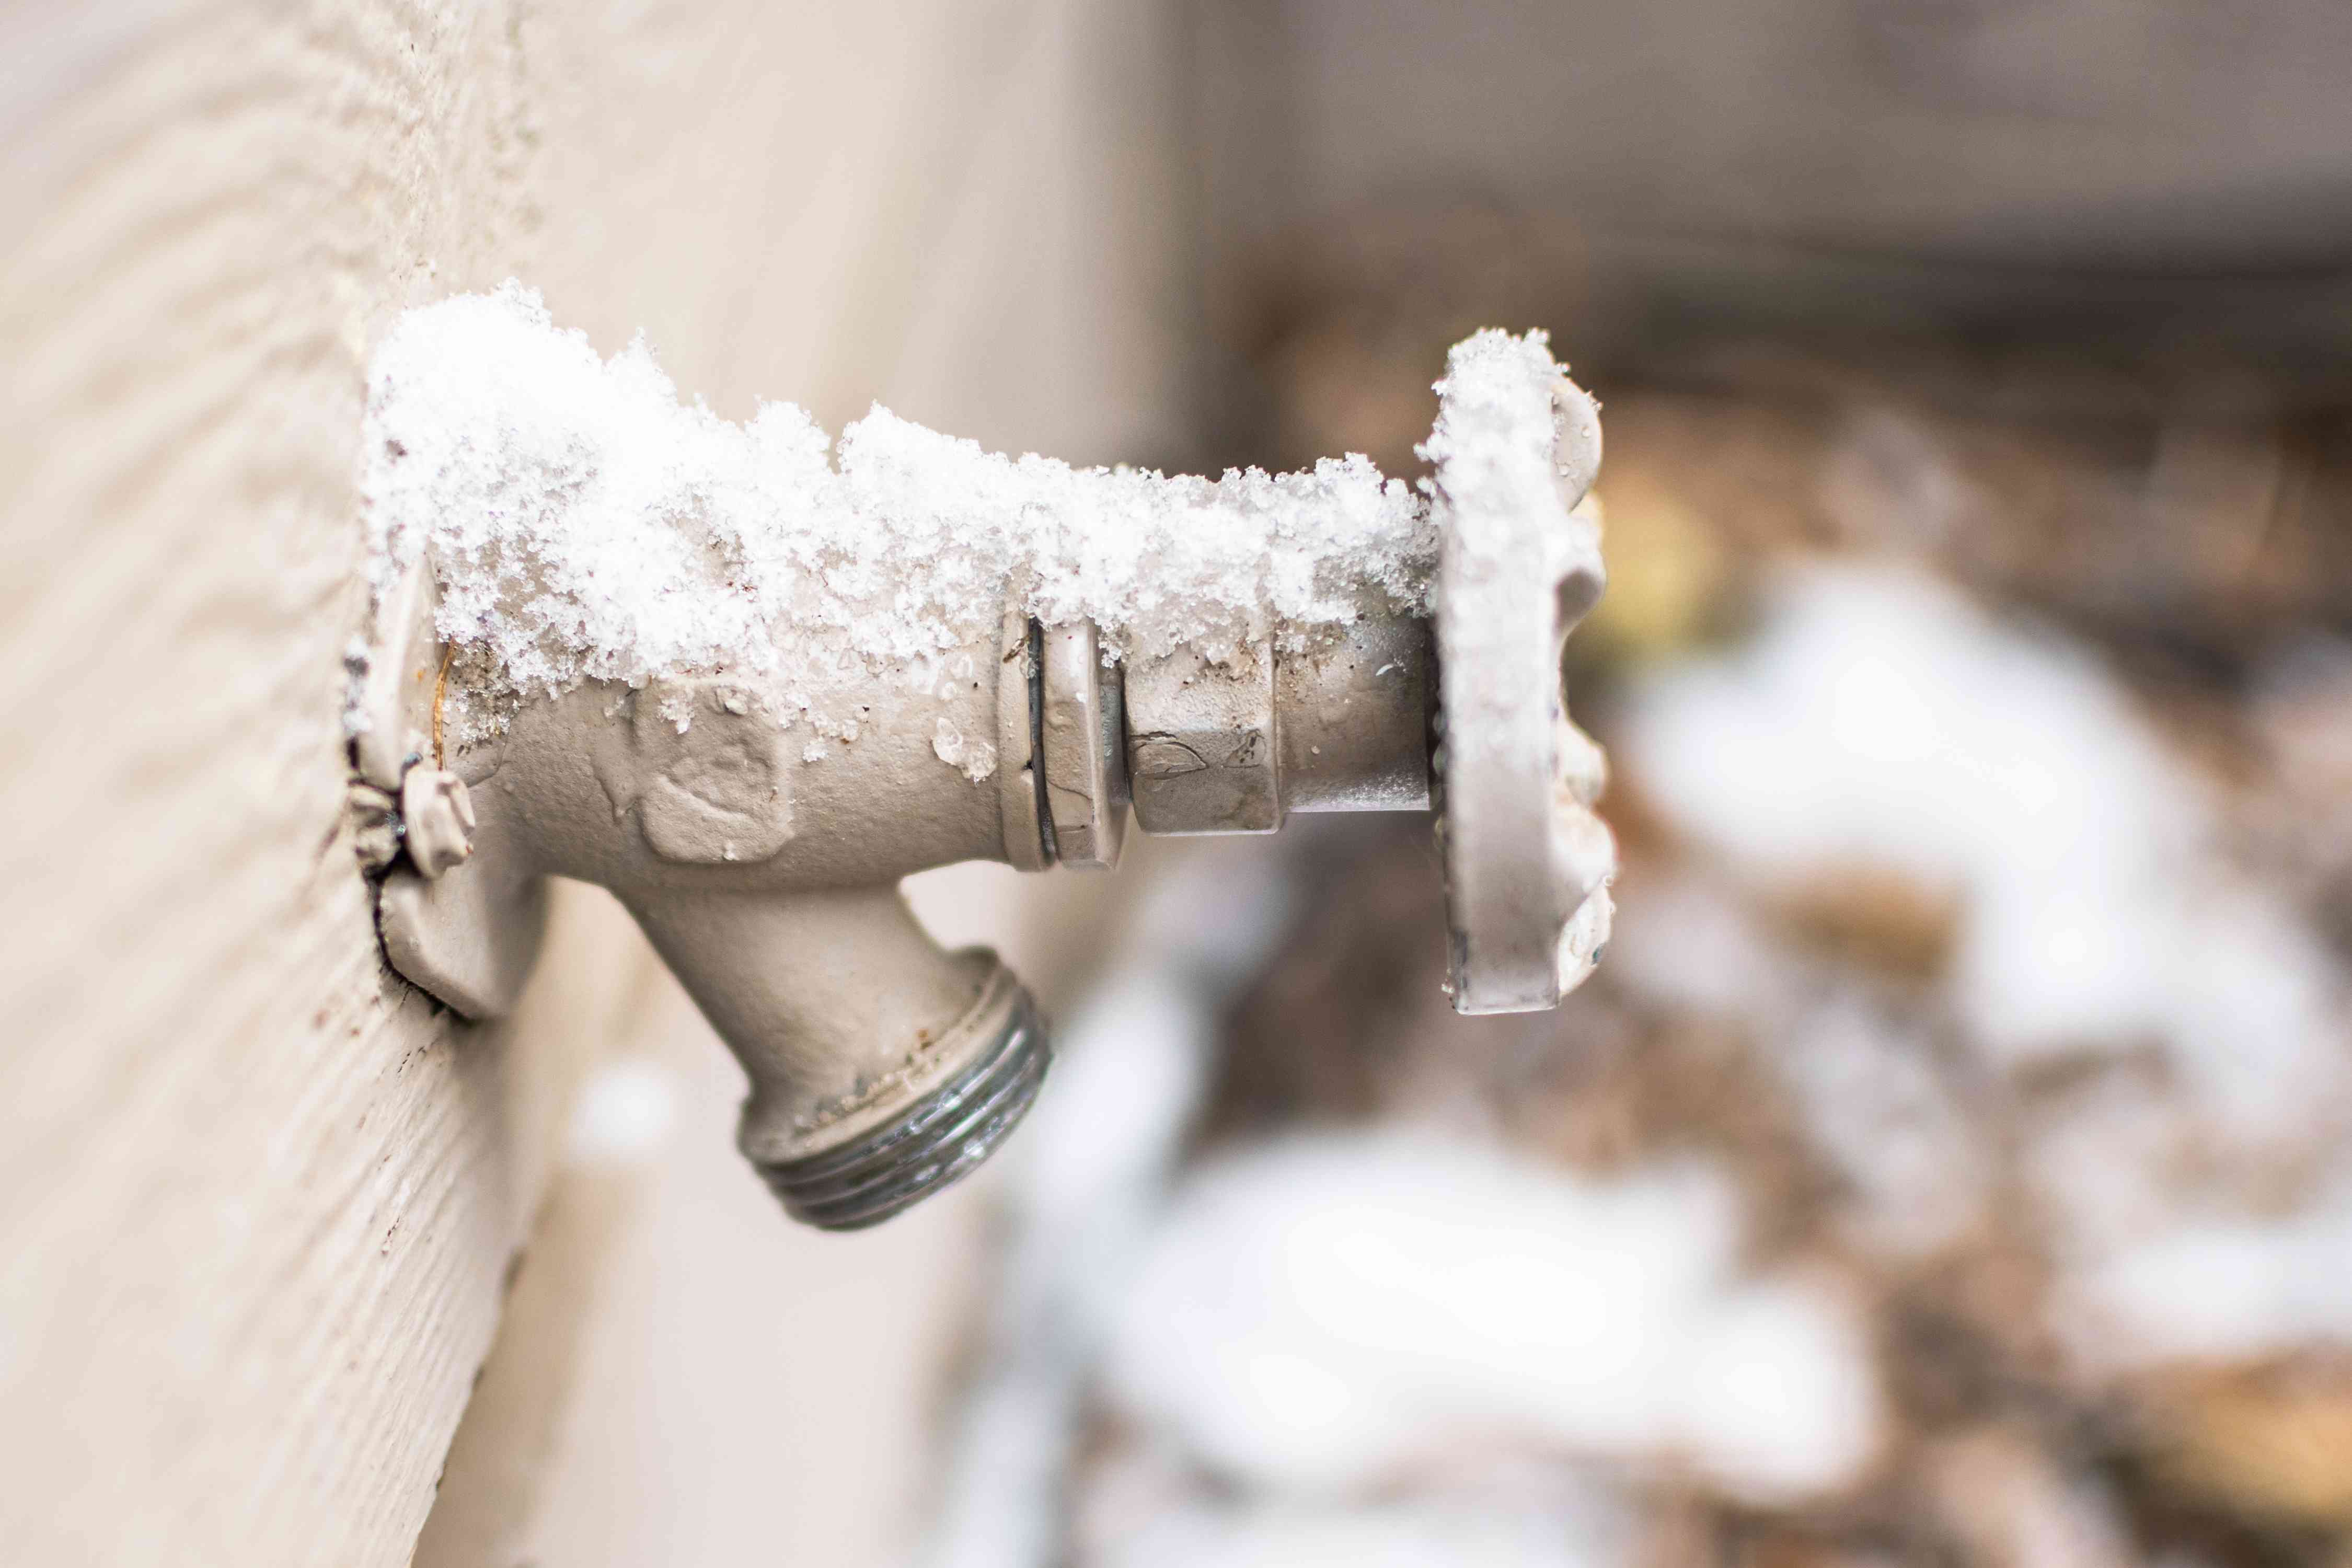
Step 1: Disconnect Water Supply
The first crucial step in winterizing your outdoor sink is to disconnect the water supply. Start by turning off the water source that feeds the outdoor sink. This may involve shutting off a valve inside your home or at the main water supply. Once the water is turned off, open the faucet of the outdoor sink to drain any remaining water from the pipes. This will prevent water from freezing inside the pipes and causing potential damage.
After draining the water, disconnect any hoses or attachments from the outdoor sink. Remove any spray nozzles, wands, or other accessories and store them in a dry, sheltered location for the winter. By removing these components, you can prevent them from being damaged by freezing temperatures and ensure they are ready for use when spring arrives.
Inspect the water supply lines for any signs of damage or wear. If you notice any issues, such as cracks or leaks, it's essential to address them before winter sets in. Repairing or replacing damaged water supply lines will help prevent water from seeping into unwanted areas and causing potential harm to your outdoor sink.
By disconnecting the water supply and removing any accessories, you can take the first step toward safeguarding your outdoor sink for the winter months. This proactive measure will help prevent freezing and ensure that your outdoor sink remains in optimal condition for the seasons ahead.
Step 2: Drain the Pipes
Once the water supply has been disconnected, the next critical step in winterizing your outdoor sink is to thoroughly drain the pipes. Even a small amount of water left in the pipes can freeze and cause significant damage, so it’s essential to ensure that all water is removed.
Start by opening all the faucets connected to the outdoor sink to allow any remaining water to flow out. This includes both the hot and cold water taps, as well as any additional faucets or spigots. Keep the faucets open until no more water is flowing out, indicating that the pipes are completely drained.
In addition to draining the faucets, it’s important to remove any water from the P-trap, which is the curved section of pipe located beneath the sink. Place a bucket or container beneath the P-trap to catch any water, then carefully remove the trap to empty out the remaining liquid. Once the P-trap is emptied, reattach it securely to prevent any unwanted odors or pests from entering the sink during the winter months.
After draining the faucets and P-trap, it’s a good idea to use compressed air to blow out any remaining water from the pipes. This can be done using a simple air compressor or a can of compressed air. By thoroughly removing all water from the pipes, you can minimize the risk of freezing and protect the integrity of your outdoor sink’s plumbing system.
By taking the time to drain the pipes completely, you can safeguard your outdoor sink from potential damage caused by freezing temperatures. This proactive measure will help ensure that your outdoor sink remains in optimal condition throughout the winter, ready to serve you when the warmer months return.
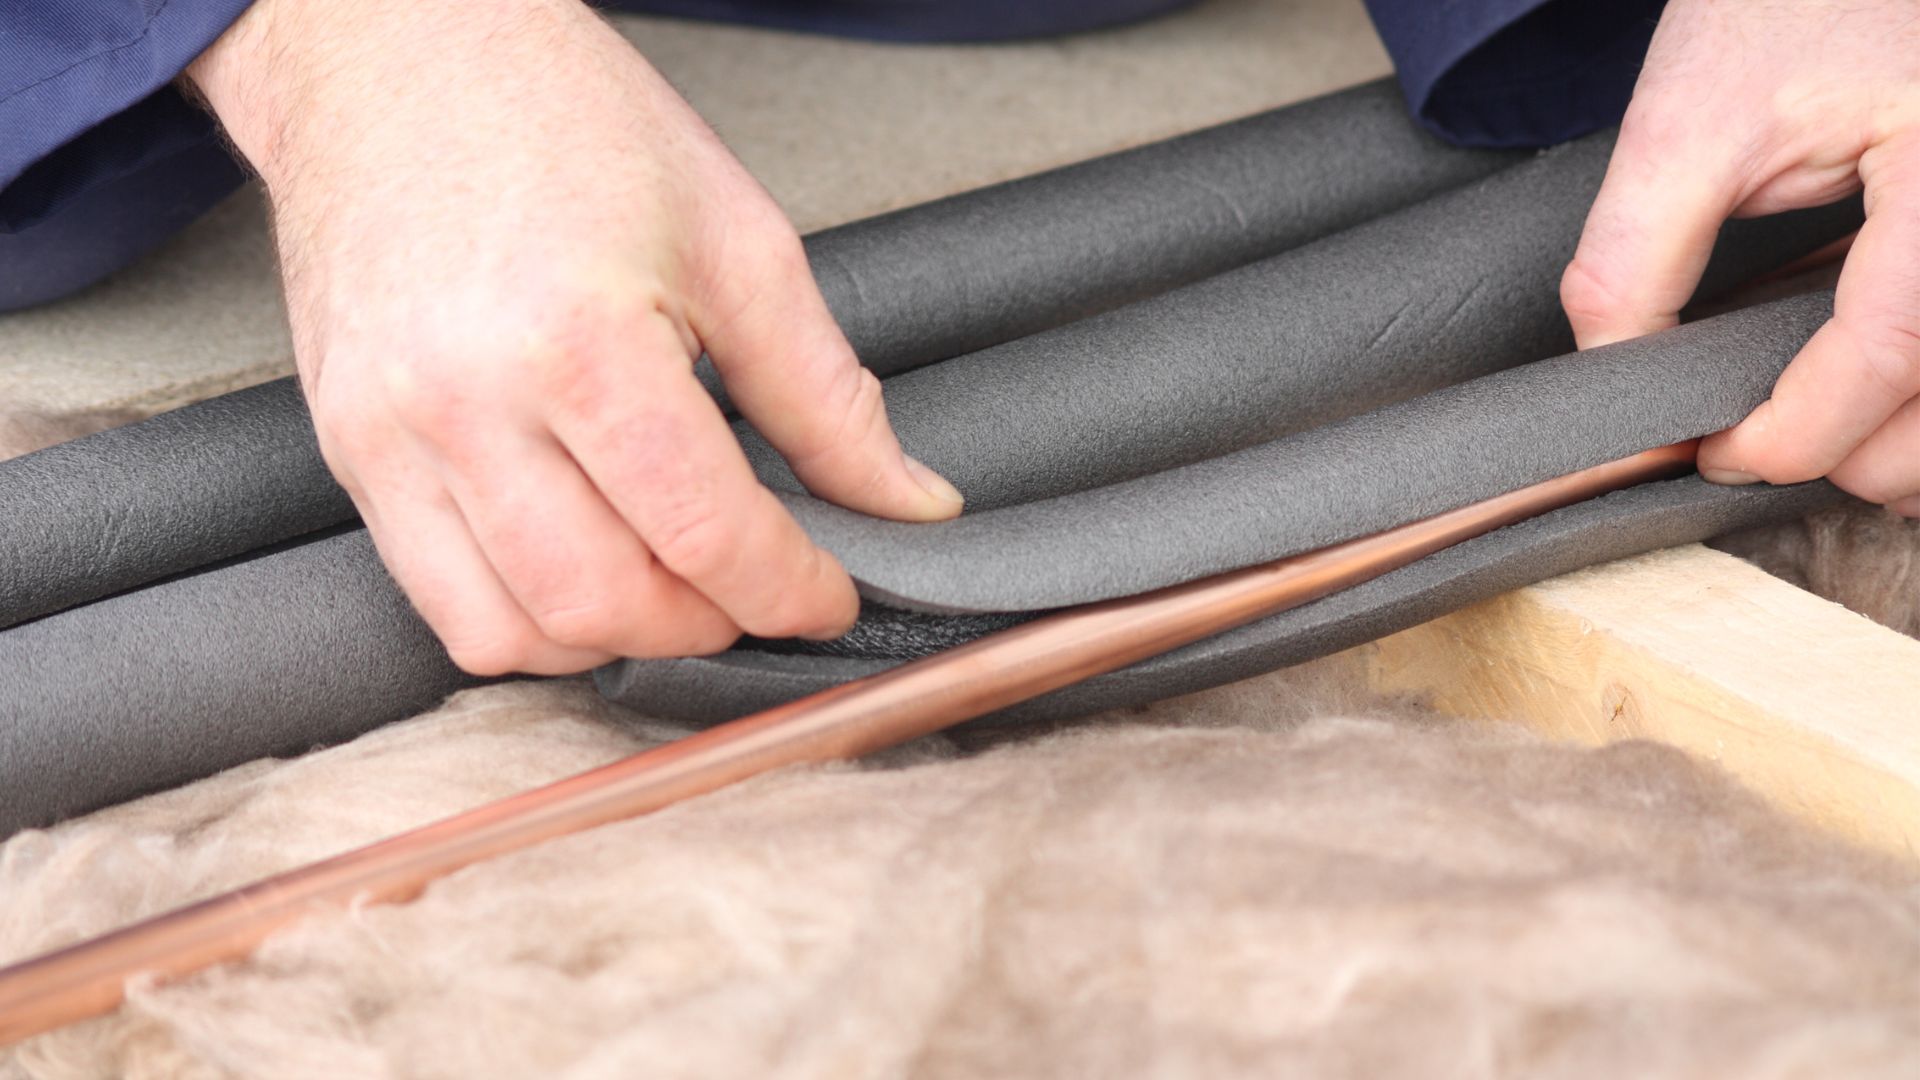
Step 3: Insulate Pipes
After draining the pipes, the next step in winterizing your outdoor sink is to insulate the exposed pipes to provide an extra layer of protection against freezing temperatures. Insulation helps to retain heat and prevent the pipes from reaching temperatures low enough to freeze the remaining moisture inside.
Start by identifying any exposed pipes leading to and from the outdoor sink. These may include pipes running along exterior walls, beneath the sink, or in other areas vulnerable to cold temperatures. Once you’ve located the exposed pipes, you can choose from a variety of insulation materials to protect them.
One of the most common and effective insulation materials is foam pipe insulation. This pre-slit, tubular foam material is designed to fit around standard pipe sizes and can be easily cut to the desired length. Simply wrap the foam insulation around the exposed pipes, ensuring a snug fit to provide maximum protection against the cold. Pay special attention to areas where pipes may be more exposed or susceptible to drafts.
In addition to foam pipe insulation, you can also use heat tape to protect vulnerable pipes from freezing. Heat tape is a flexible electrical heating element that can be wrapped around pipes to provide consistent warmth and prevent freezing. Be sure to follow the manufacturer’s instructions when installing heat tape to ensure safe and effective operation.
For outdoor sinks located in particularly cold climates, consider using a combination of insulation methods to provide comprehensive protection. By insulating the exposed pipes, you can minimize the risk of freezing and ensure that your outdoor sink’s plumbing remains intact throughout the winter.
By taking the proactive step of insulating the exposed pipes, you can provide an added layer of protection for your outdoor sink, safeguarding it from the potential hazards of freezing temperatures. This simple yet effective measure will help keep your outdoor sink in optimal condition, ready for use when the warmer weather returns.
Disconnect and drain the water supply to the outdoor sink before the first freeze. Remove any hoses and store them indoors to prevent damage. Cover the sink with a waterproof material to protect it from snow and ice.
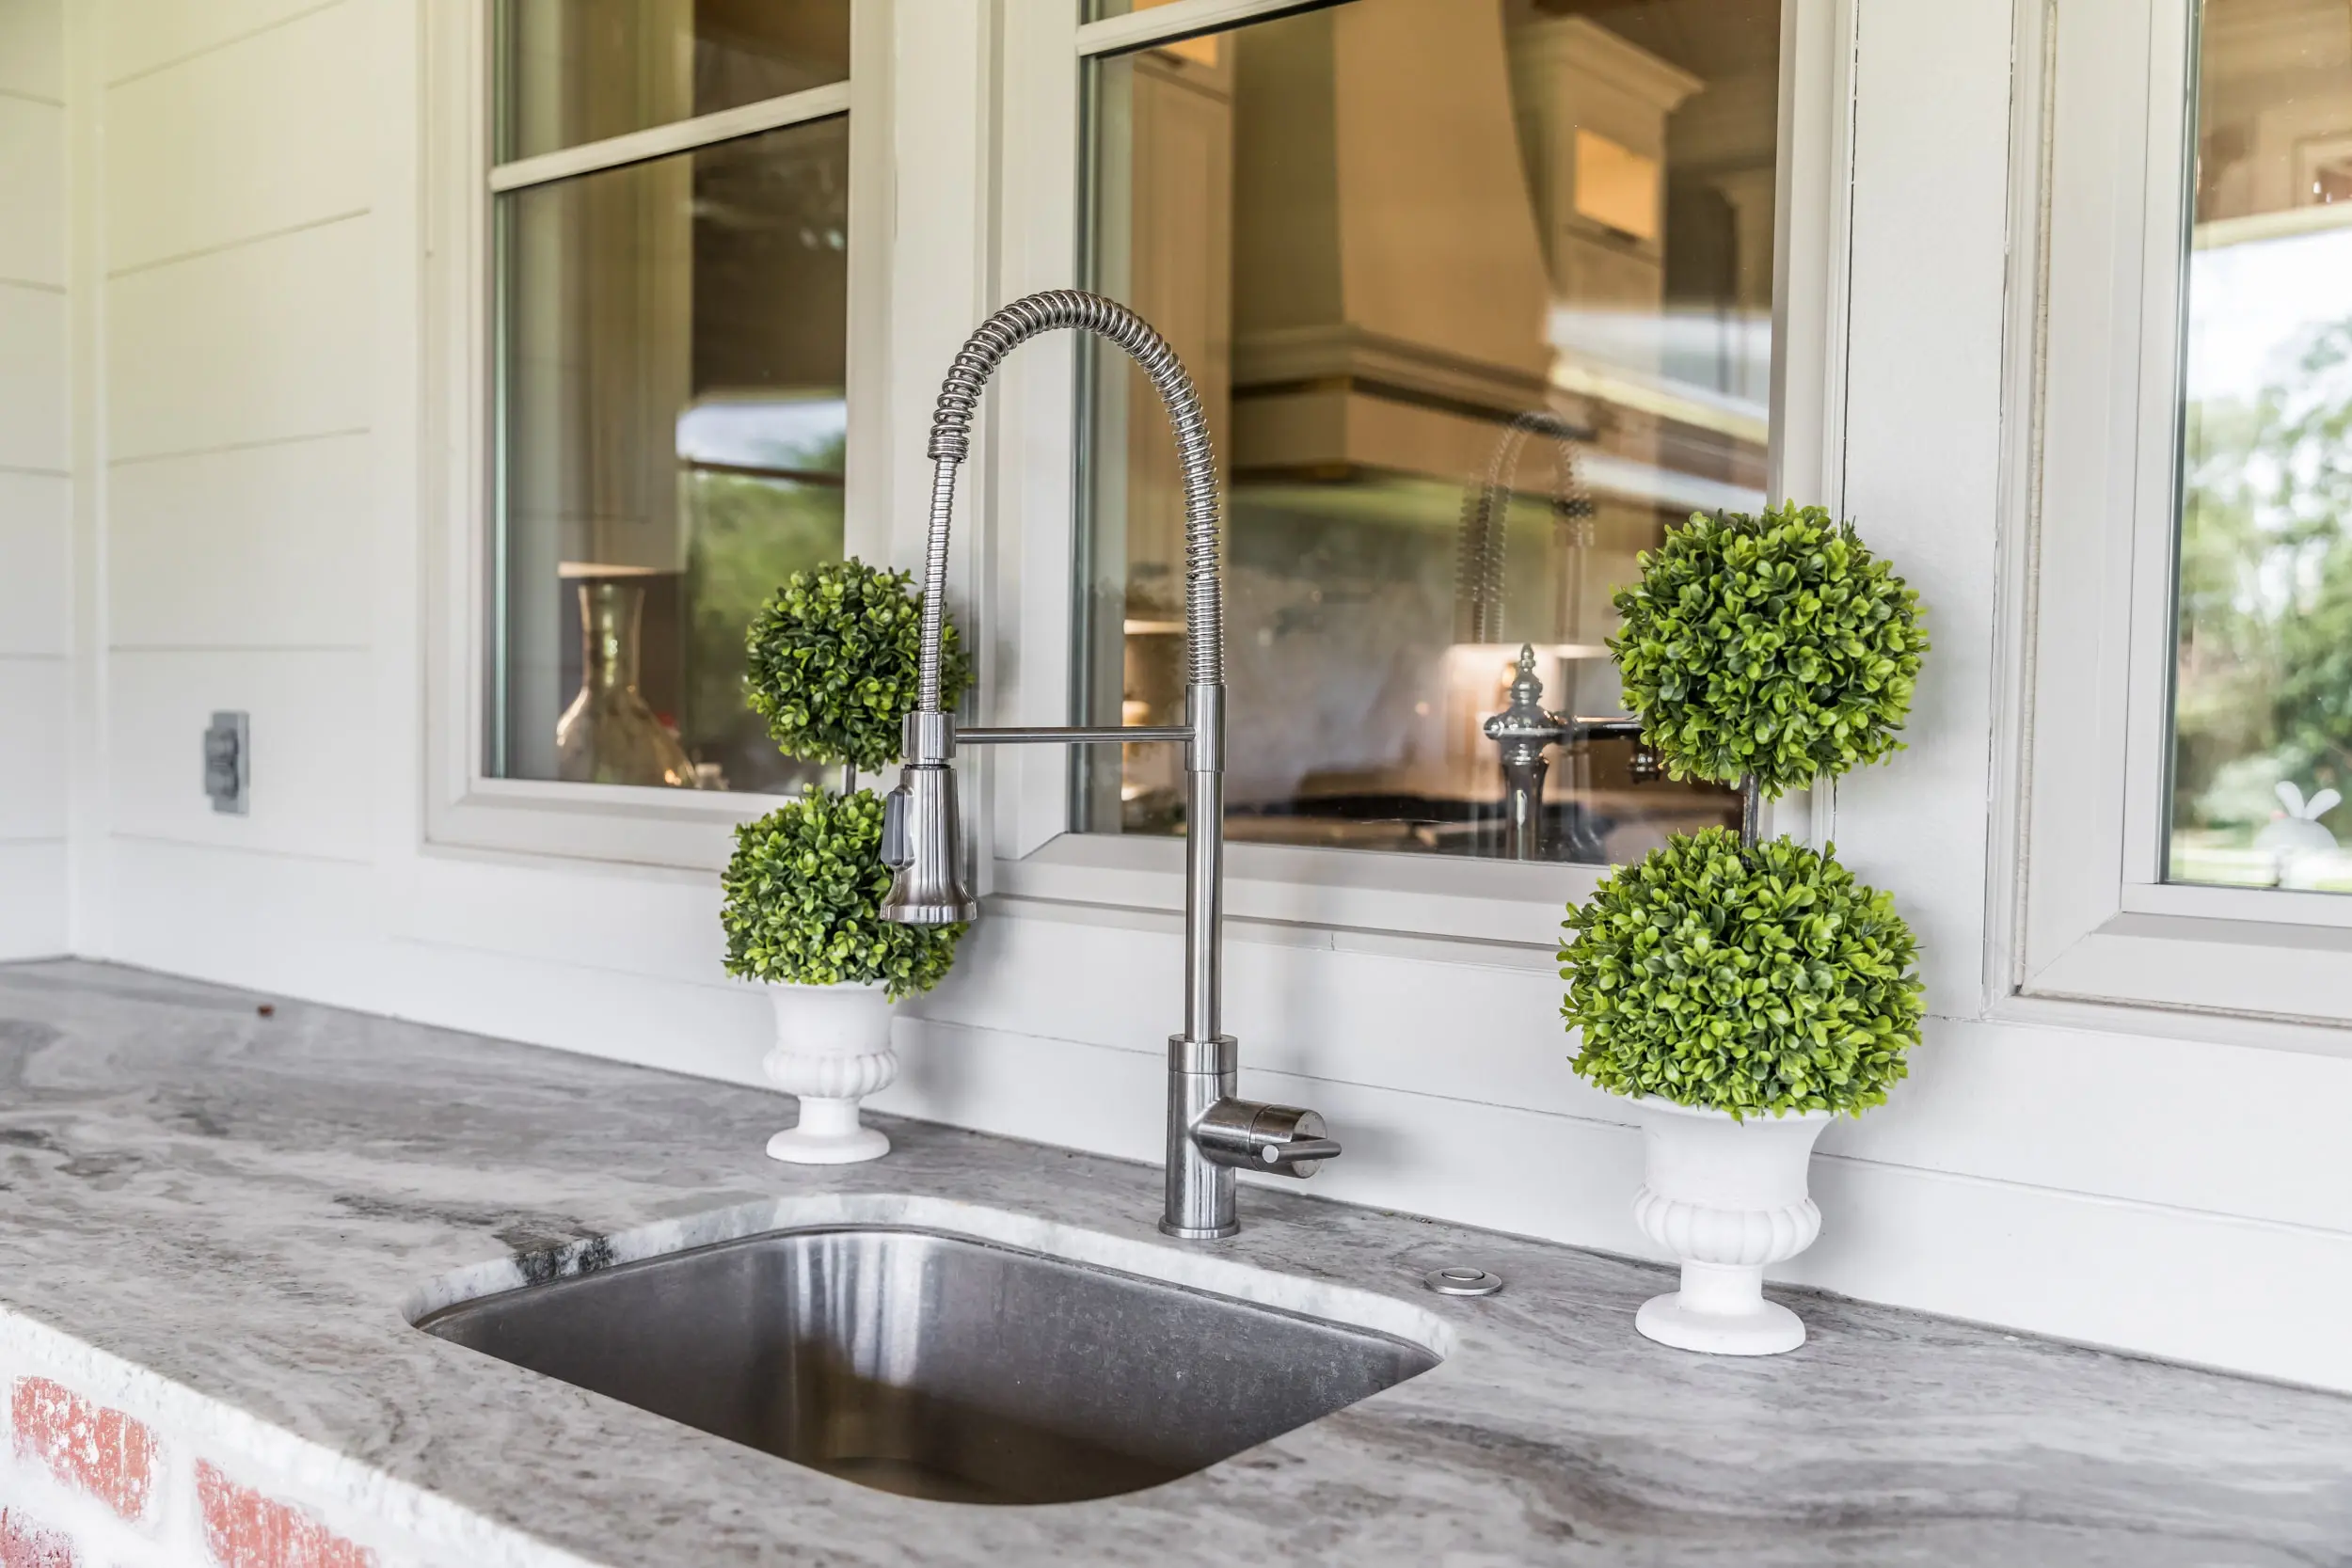
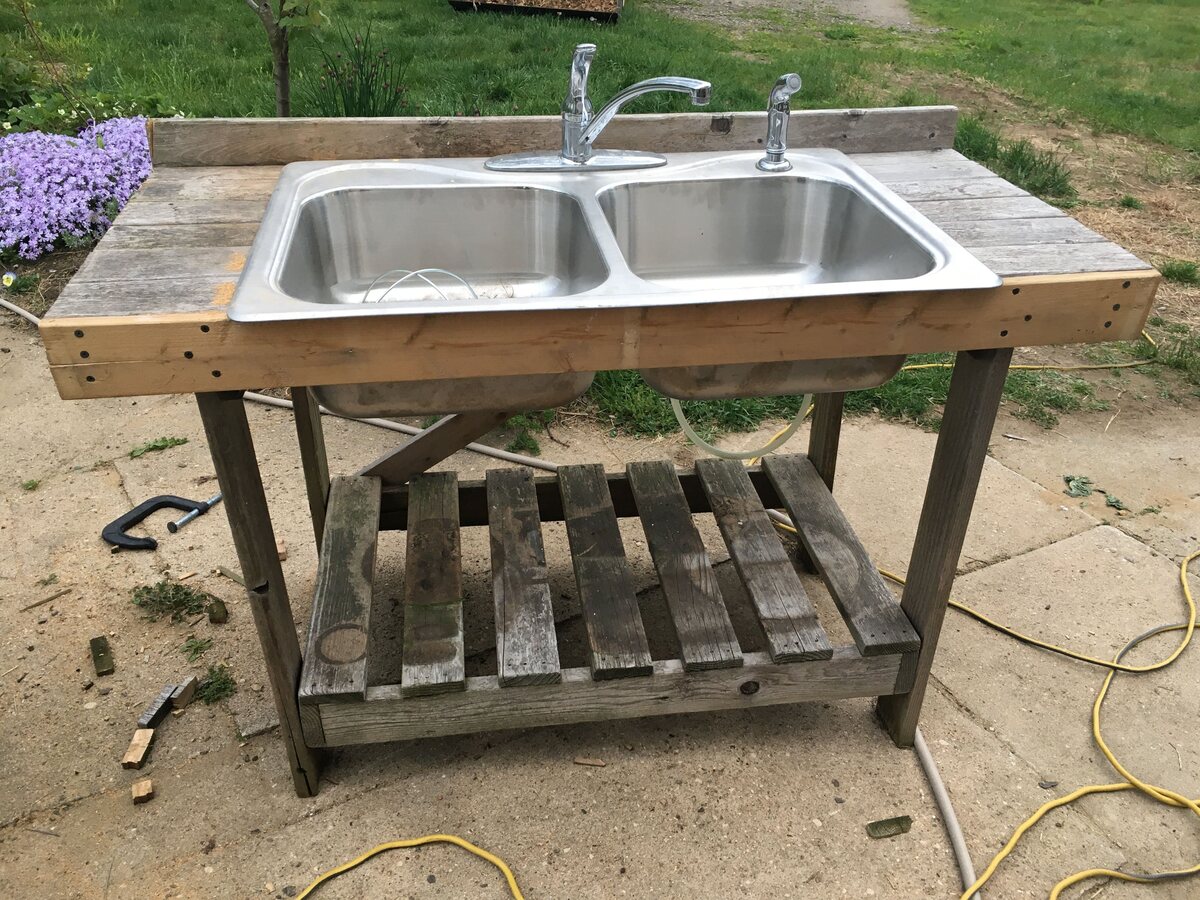
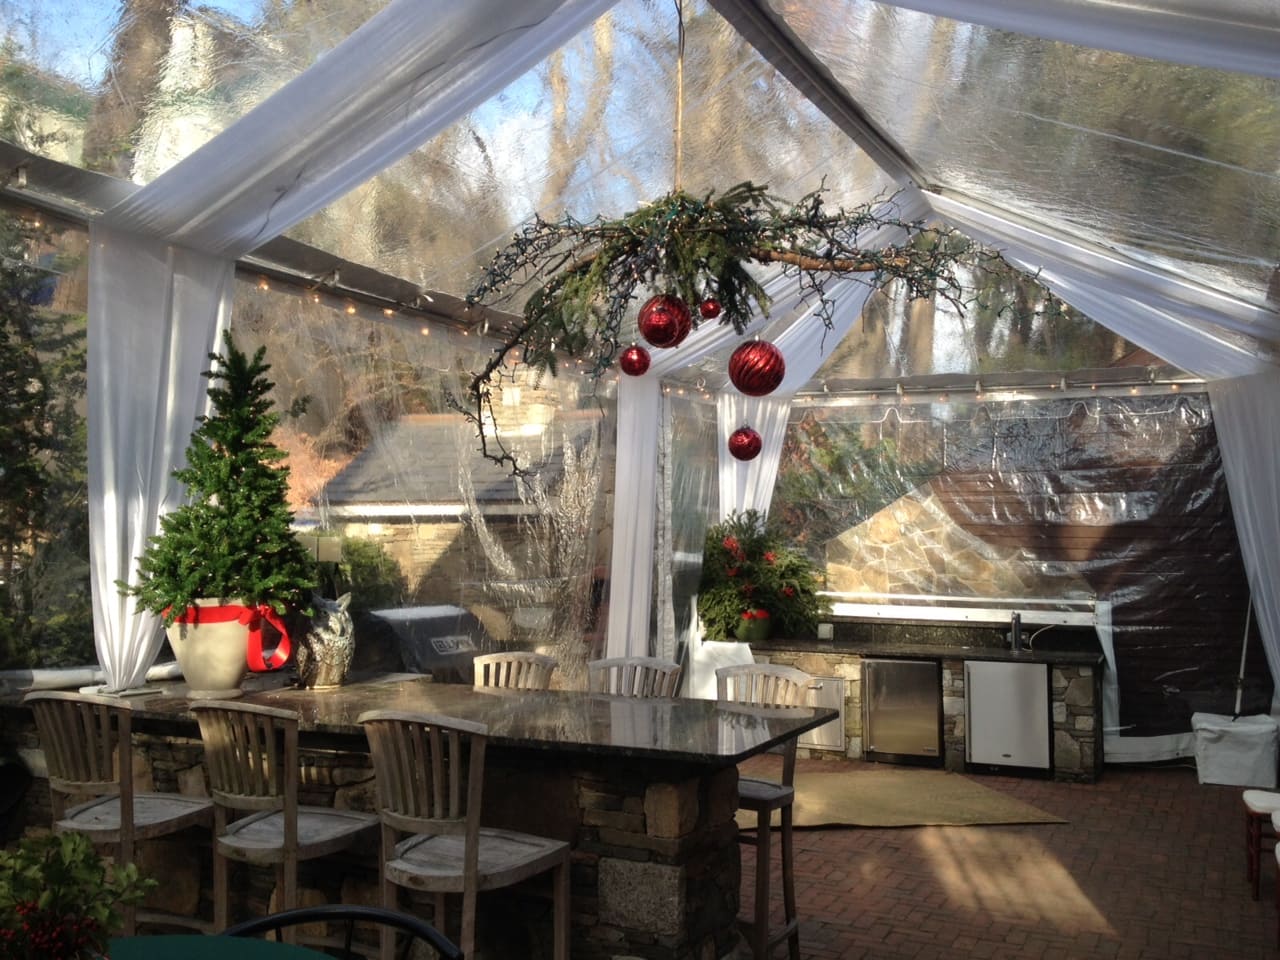
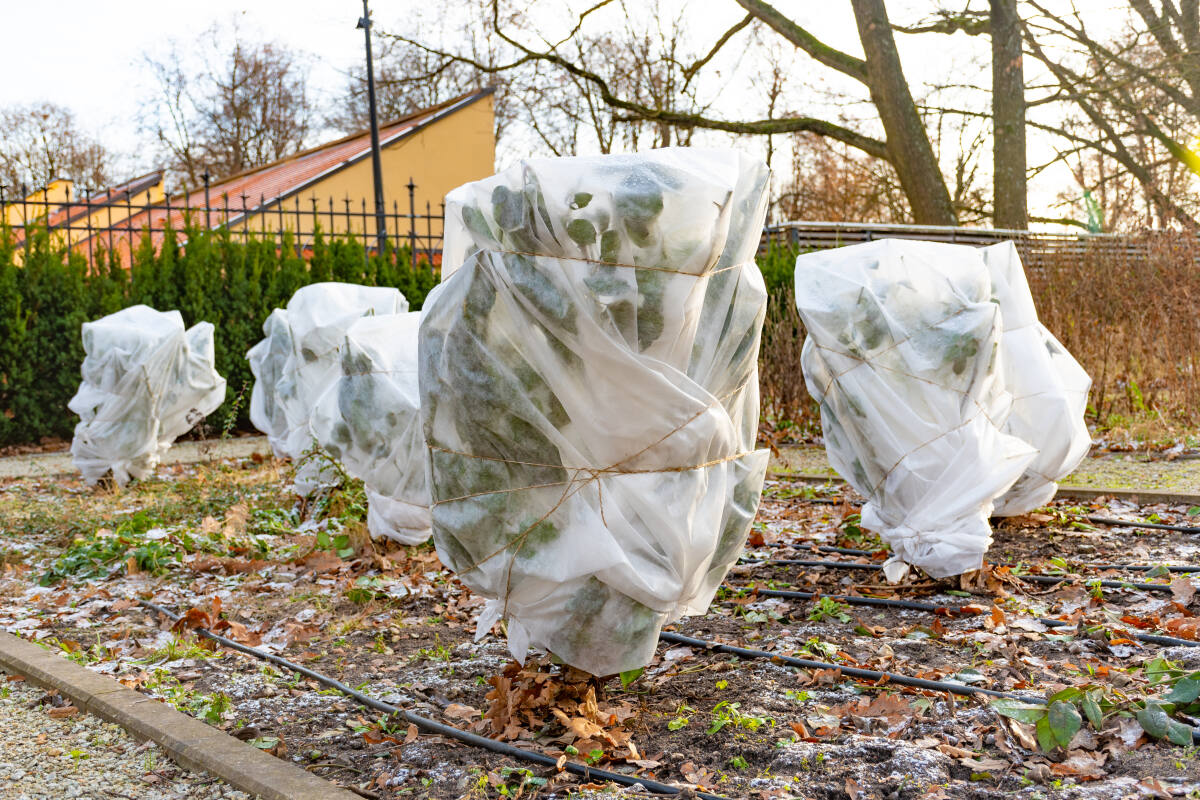
Step 4: Cover the Sink
Once the pipes are insulated, the next important step in winterizing your outdoor sink is to cover it to shield it from the elements. A durable cover will help protect the sink from snow, ice, and debris, preventing potential damage and extending its lifespan.
When selecting a cover for your outdoor sink, opt for a material that is waterproof, UV-resistant, and durable enough to withstand the rigors of winter weather. Look for covers specifically designed for outdoor sinks or choose a high-quality cover that provides a snug fit and ample protection. Measure your outdoor sink carefully to ensure that the cover fits securely and provides full coverage.
Before placing the cover over the sink, be sure to clean and dry the sink thoroughly to prevent the growth of mold, mildew, or rust during the winter months. Remove any debris, such as dirt or leaves, from the sink and surrounding area to create a clean surface for the cover. This simple step will help maintain the condition of your outdoor sink while it’s not in use.
Once the sink is clean and dry, carefully position the cover over the entire sink area, ensuring a secure fit. Many outdoor sink covers feature elastic hems, straps, or other fastening mechanisms to hold them in place, providing added protection against wind and inclement weather. Confirm that the cover is securely in place and that the entire sink, including any attached faucets or accessories, is adequately protected.
By covering your outdoor sink, you can shield it from the harsh effects of winter weather, including snow, ice, and freezing temperatures. This proactive measure will help preserve the appearance and functionality of your outdoor sink, ensuring that it remains in optimal condition for the seasons to come.
Read more: How To Winterize Outdoor Ferns
Step 5: Use Antifreeze (if necessary)
In regions where temperatures regularly drop below freezing, using antifreeze can provide an additional layer of protection for your outdoor sink. Antifreeze, also known as “freeze-proof” or “RV” antifreeze, is designed to prevent water from freezing in plumbing systems, making it a valuable tool for winterizing outdoor sinks in colder climates.
If your outdoor sink is equipped with a drain trap or P-trap, it’s essential to ensure that these components are protected from freezing. Start by pouring a small amount of antifreeze into the drain to fill the trap and create a barrier against freezing temperatures. This will help prevent any remaining water in the trap from solidifying and causing potential damage to the plumbing system.
When selecting antifreeze for your outdoor sink, be sure to choose a non-toxic, propylene glycol-based formula that is safe for use in plumbing systems. Avoid using ethylene glycol-based antifreeze, as it is toxic and should not come into contact with potable water sources. Read the product label carefully to confirm that the antifreeze is suitable for use in outdoor plumbing applications.
After adding antifreeze to the drain trap, consider pouring a small amount into the sink basin to provide additional protection for the drain and plumbing components. This extra measure can help safeguard the entire plumbing system from freezing and ensure that your outdoor sink remains in optimal condition throughout the winter.
It’s important to note that antifreeze should only be used as a supplemental measure in conjunction with other winterization steps, such as draining the pipes and insulating exposed plumbing. When used responsibly and in accordance with the manufacturer’s instructions, antifreeze can provide valuable protection for outdoor sinks in cold climates, helping to prevent freezing and potential damage to the plumbing system.
Conclusion
Winterizing your outdoor sink is a vital task that can help protect this valuable asset from the potential hazards of freezing temperatures and harsh winter weather. By following the essential steps outlined in this guide, you can safeguard your outdoor sink and ensure its longevity and functionality for the seasons to come.
Disconnecting the water supply and draining the pipes are the initial crucial steps in the winterization process, preventing water from freezing inside the plumbing system and causing damage. Insulating exposed pipes provides an additional layer of protection, helping to retain heat and minimize the risk of freezing. Covering the sink with a durable, weather-resistant cover shields it from snow, ice, and debris, preserving its condition during the winter months.
In regions where temperatures regularly drop below freezing, using antifreeze can provide an extra measure of protection for the plumbing system, preventing water from solidifying and causing potential damage. When used responsibly and in conjunction with other winterization steps, antifreeze can help ensure that your outdoor sink remains in optimal condition throughout the winter.
By taking the time to properly winterize your outdoor sink, you can avoid costly repairs and potential damage, ensuring that it’s ready for use when the warmer weather returns. This proactive approach to maintenance can extend the lifespan of your outdoor sink and provide peace of mind throughout the winter months.
Remember that each outdoor sink may have unique features and requirements, so it’s essential to adapt these steps to suit your specific setup. Whether you use your outdoor sink for gardening, cleaning tools, or other activities, investing time in winterizing it can pay off in the form of a well-maintained and functional outdoor space.
With these essential winterization steps, you can protect your outdoor sink and enjoy the convenience and utility it provides, year after year.
Frequently Asked Questions about How To Winterize An Outdoor Sink
Was this page helpful?
At Storables.com, we guarantee accurate and reliable information. Our content, validated by Expert Board Contributors, is crafted following stringent Editorial Policies. We're committed to providing you with well-researched, expert-backed insights for all your informational needs.


0 thoughts on “How To Winterize An Outdoor Sink”