Home>Furniture & Design>Outdoor Furniture>How To Winterize An Outdoor Spigot
Outdoor Furniture
How To Winterize An Outdoor Spigot
Modified: October 20, 2024
Learn how to properly winterize your outdoor spigot to protect your outdoor furniture and design from freezing temperatures. Follow these easy steps to prevent damage and ensure a smooth transition into the colder months.
(Many of the links in this article redirect to a specific reviewed product. Your purchase of these products through affiliate links helps to generate commission for Storables.com, at no extra cost. Learn more)
Introduction
Welcome to the world of outdoor living! As the seasons change and the temperatures drop, it's essential to ensure that your outdoor spigot is adequately prepared for the winter months. In this guide, we'll explore the importance of winterizing your outdoor spigot and provide you with the necessary steps to safeguard it from potential damage caused by freezing temperatures.
Whether you're a seasoned homeowner or just beginning to explore the joys of outdoor living, understanding the significance of winterizing your outdoor spigot is crucial. This simple yet vital task can prevent costly repairs and preserve the integrity of your outdoor water supply system.
So, grab a warm beverage, settle into your favorite outdoor furniture, and let's delve into the world of outdoor spigot winterization.
Key Takeaways:
- Protect your outdoor spigot from freezing by winterizing it with insulation, a faucet cover, and regular maintenance. This ensures a reliable water supply and prevents costly repairs.
- Winterizing your outdoor spigot not only safeguards against freezing damage but also contributes to water conservation, sustainability, and a functional home environment.
Read more: How To Change An Outdoor Spigot
Why Winterizing Your Outdoor Spigot is Important
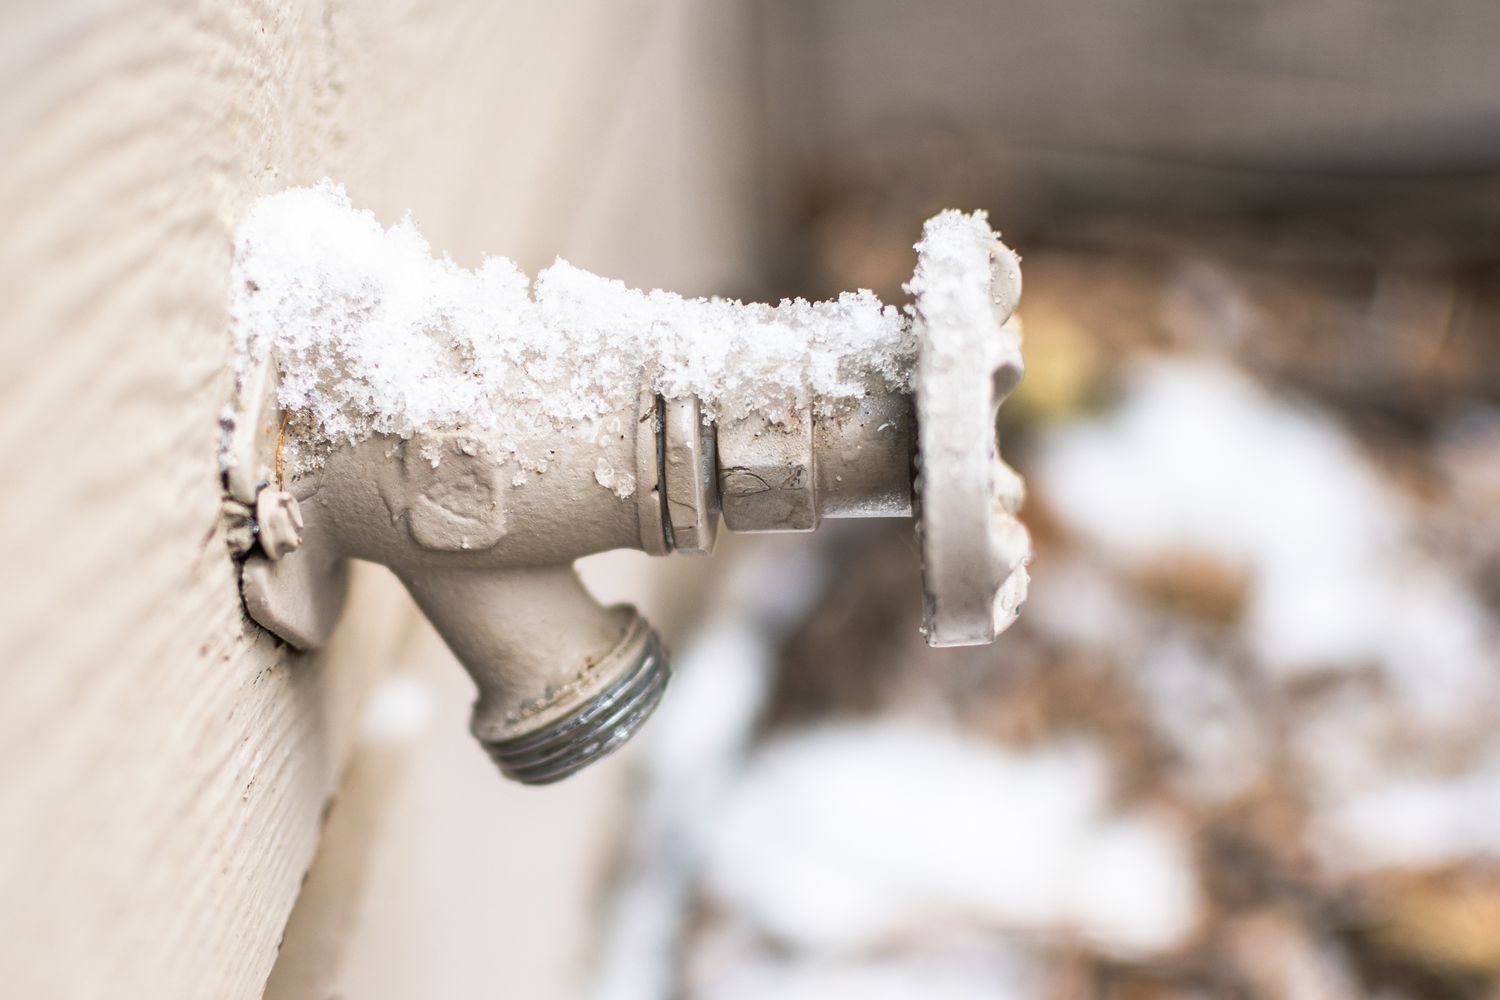
Winterizing your outdoor spigot is a critical step in protecting your home's water supply system from potential damage caused by freezing temperatures. When water freezes, it expands, and this expansion can lead to burst pipes and costly water damage. By winterizing your outdoor spigot, you can safeguard against these risks and ensure that your water supply remains intact throughout the winter months.
Furthermore, winterizing your outdoor spigot helps to prolong its lifespan and functionality. By taking proactive measures to protect it from freezing temperatures, you can prevent the need for repairs or replacements, saving both time and money in the long run.
Another essential reason to winterize your outdoor spigot is to preserve the overall integrity of your outdoor water supply system. By preventing freezing and potential damage to the spigot and connected pipes, you can maintain a reliable and efficient water supply for all your outdoor needs, from watering the garden to washing outdoor furniture.
Moreover, by winterizing your outdoor spigot, you contribute to the sustainability of your water usage. By ensuring that your outdoor water supply remains intact and free from damage, you can avoid unnecessary water waste and conserve this precious resource.
Overall, winterizing your outdoor spigot is a proactive and essential step in maintaining the functionality, longevity, and sustainability of your home's outdoor water supply system. By taking the time to winterize your spigot, you can enjoy peace of mind throughout the winter months, knowing that your water supply is protected from potential damage and costly repairs.
Tools and Materials Needed
Before embarking on the winterization process for your outdoor spigot, it’s essential to gather the necessary tools and materials. Ensuring that you have the right supplies on hand will streamline the winterization process and help you protect your outdoor spigot effectively. Here’s a comprehensive list of the tools and materials you’ll need:
- Adjustable wrench
- Pipe insulation or foam insulating covers
- Teflon tape
- Bucket
- Garden hose (if applicable)
- Screwdriver
- Gloves
- Towel or rag
- Plastic faucet cover or outdoor faucet sock
- Plumber’s tape
- Waterproof sealant
These tools and materials will enable you to effectively prepare your outdoor spigot for the winter months, protecting it from potential damage caused by freezing temperatures. By having these supplies readily available, you can proceed with confidence through each step of the winterization process, ensuring the longevity and functionality of your outdoor spigot.
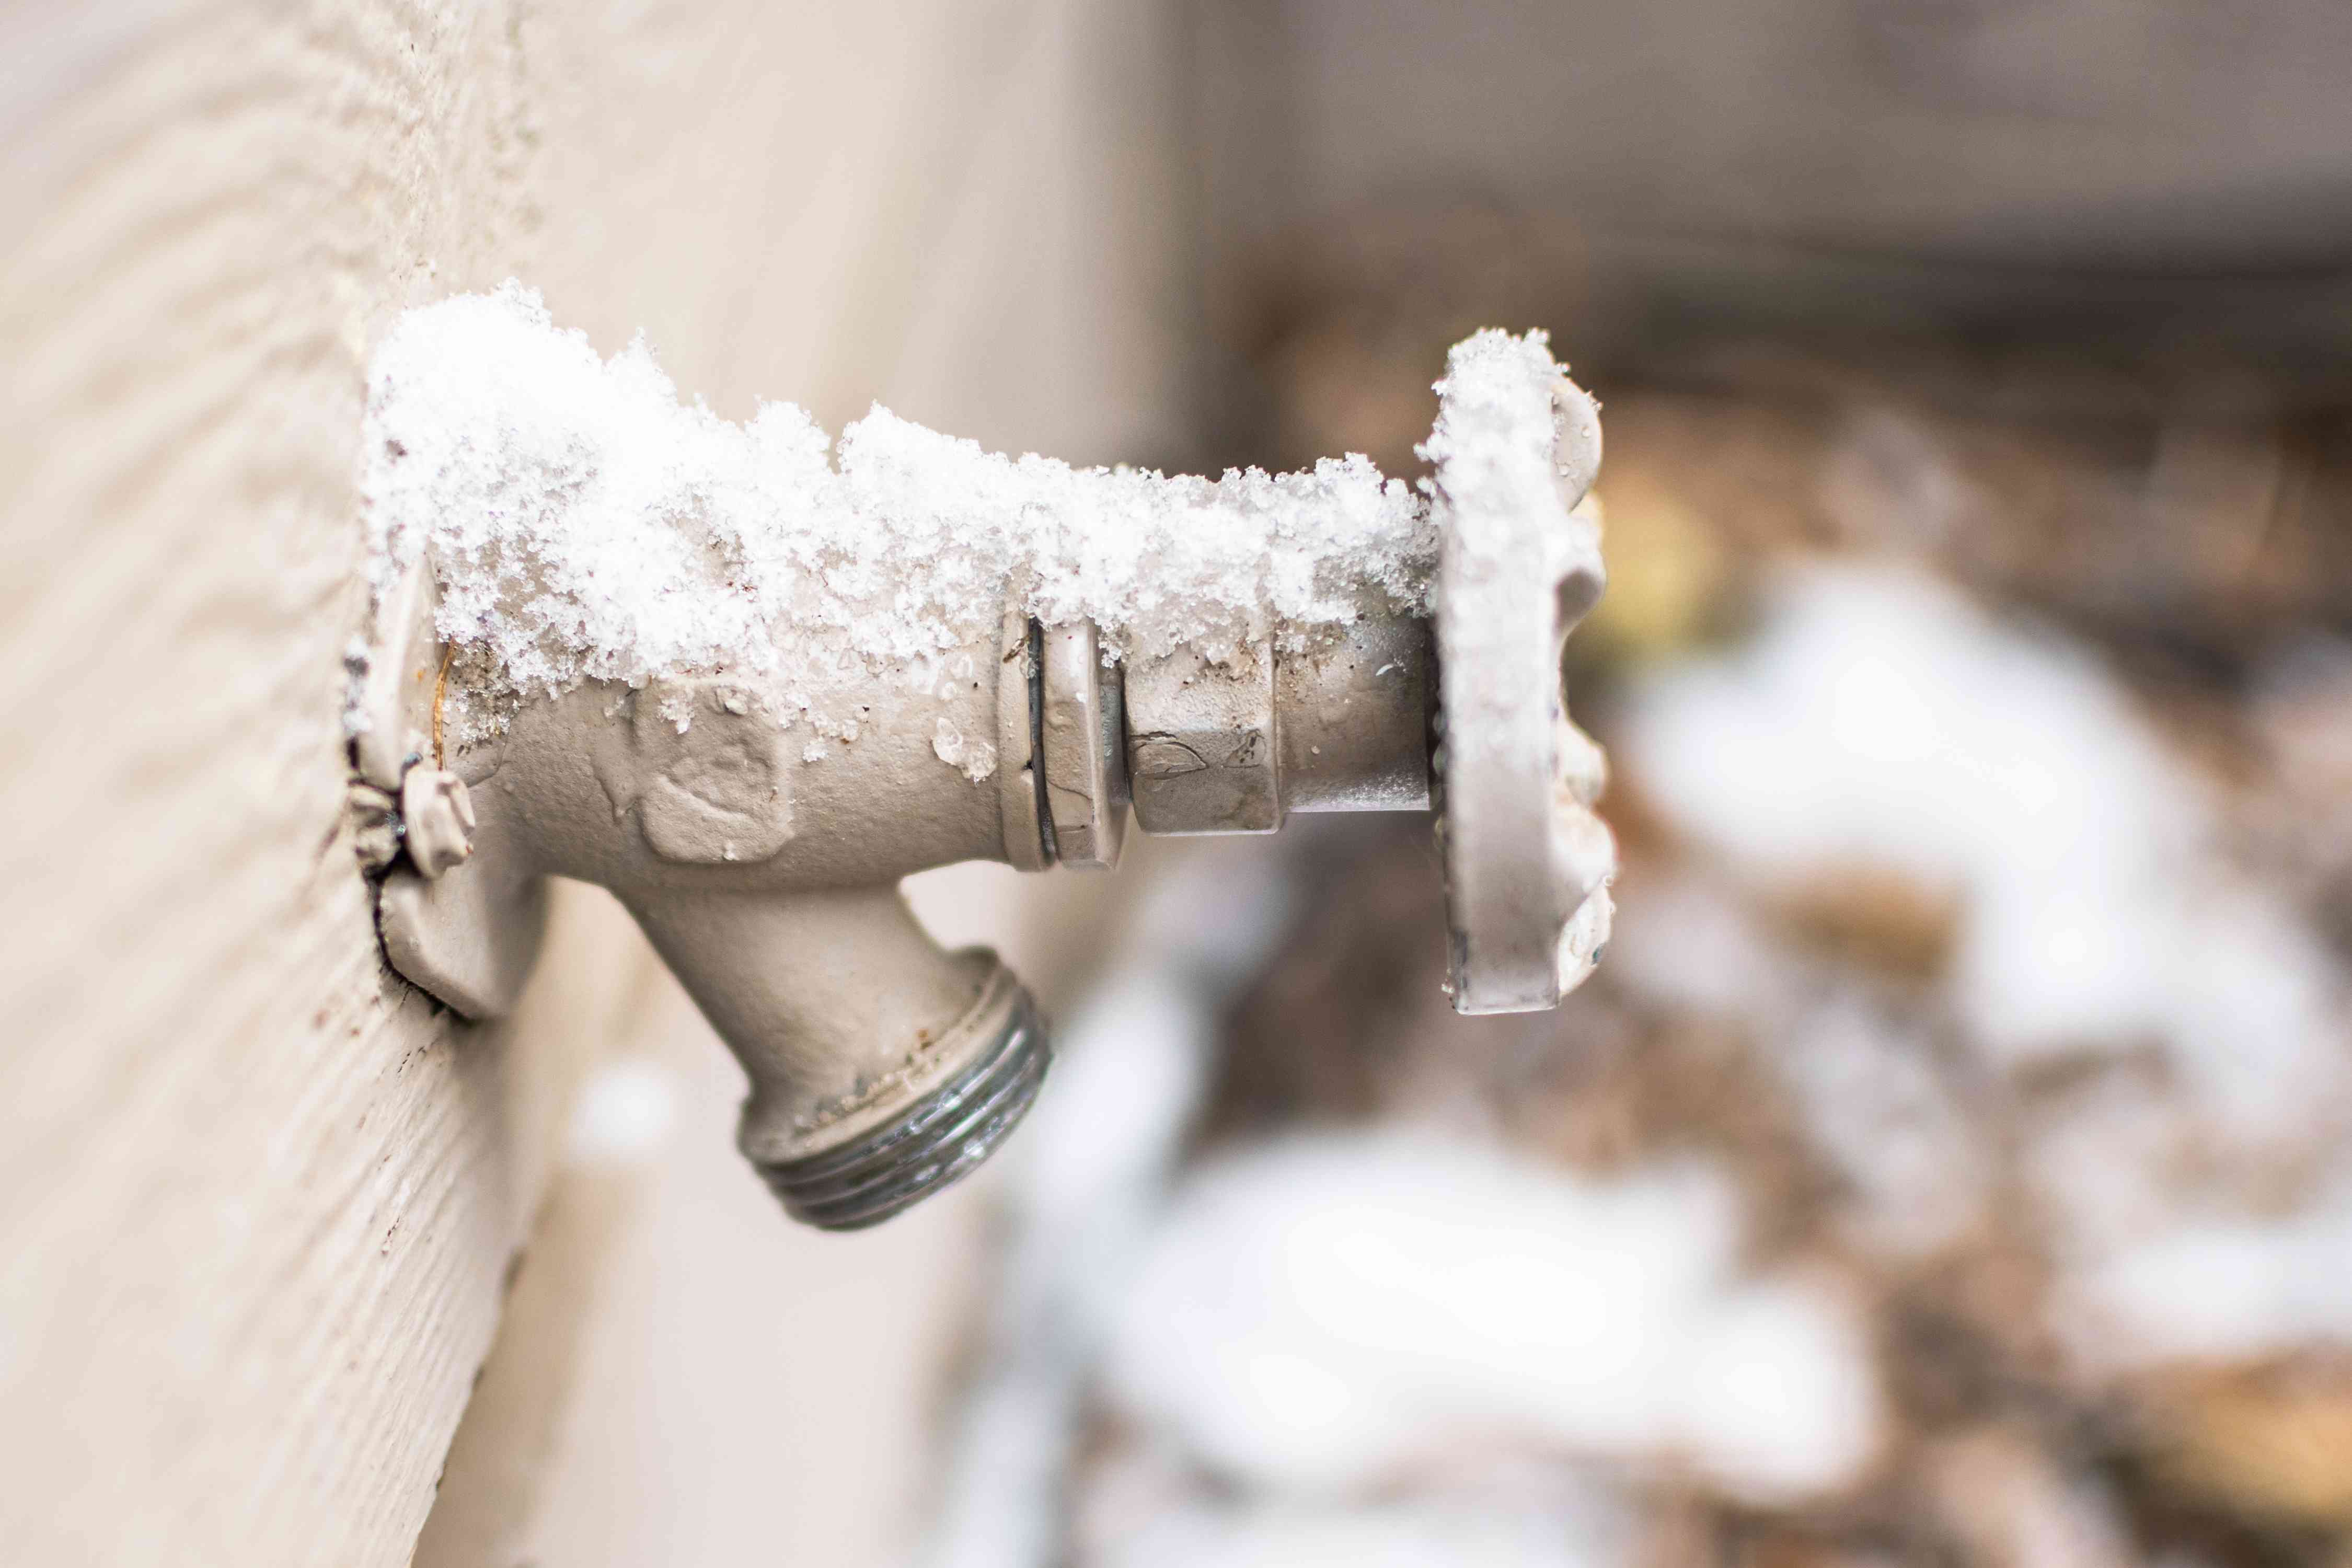
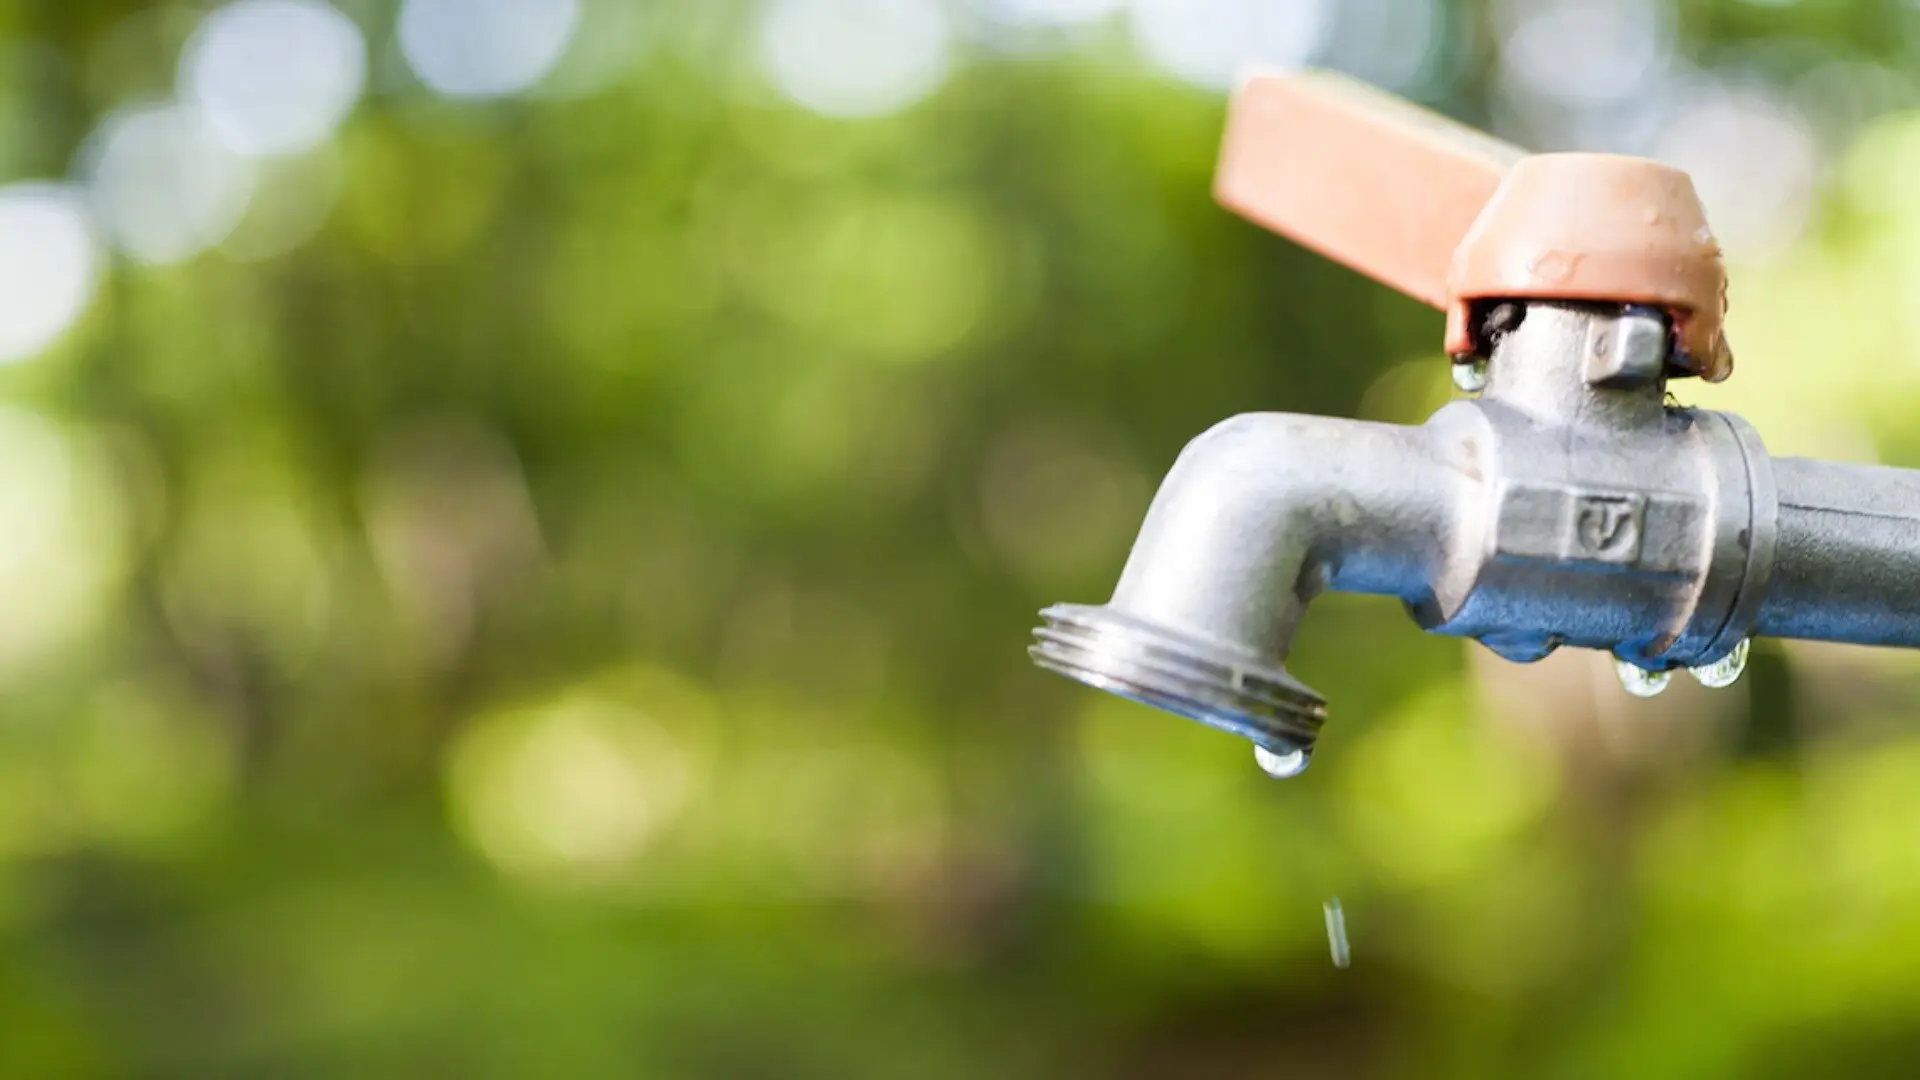
Disconnect and drain your outdoor spigot before the first freeze. Turn off the water supply, unscrew the hose, and let any remaining water drain out. This will prevent the spigot from freezing and bursting.
Steps to Winterize Your Outdoor Spigot
Winterizing your outdoor spigot is a straightforward yet essential process that can protect your home’s water supply system from potential damage during the colder months. By following these simple steps, you can safeguard your outdoor spigot and ensure its functionality for years to come:
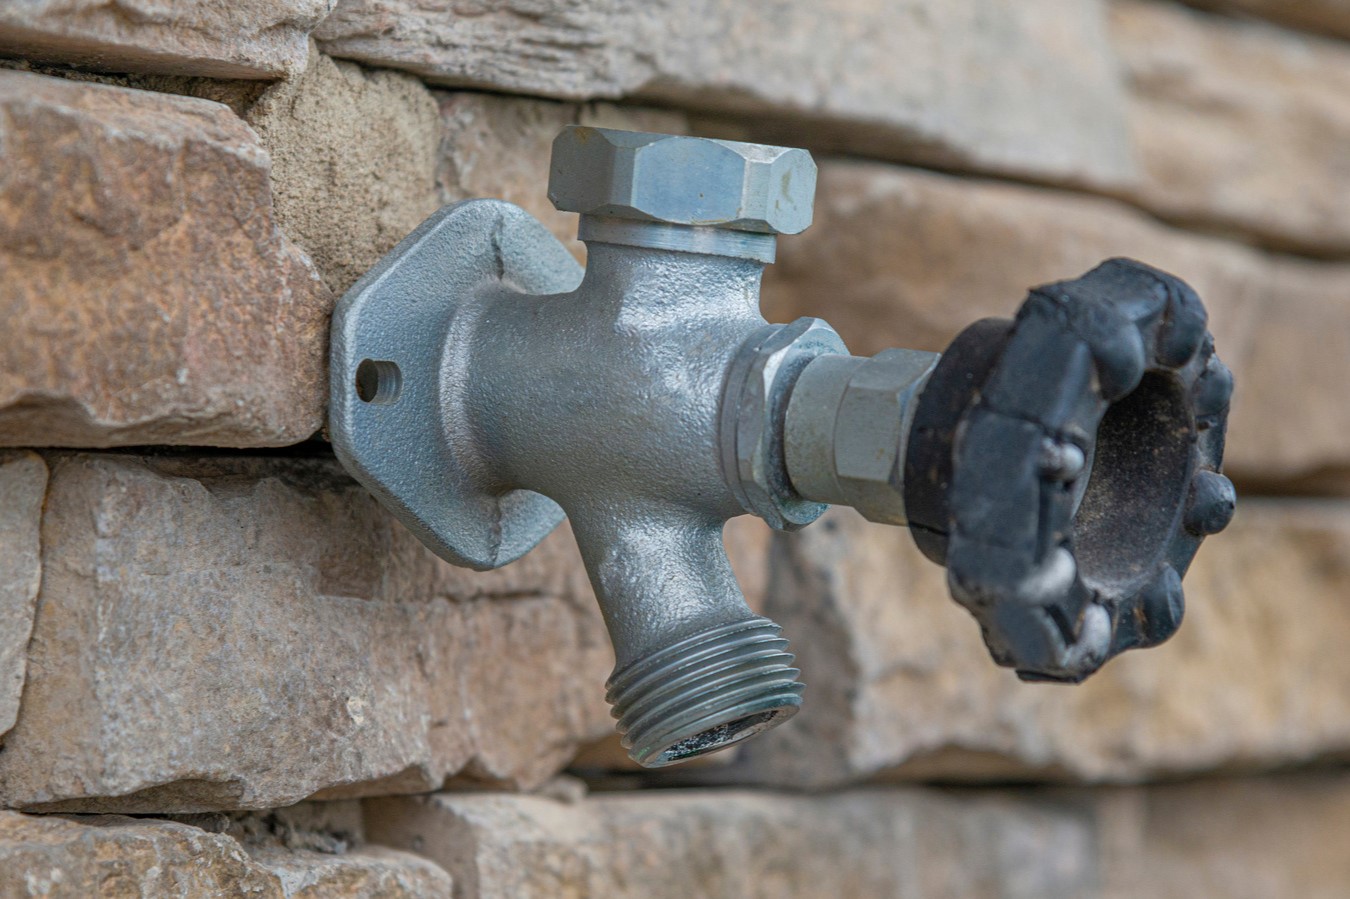
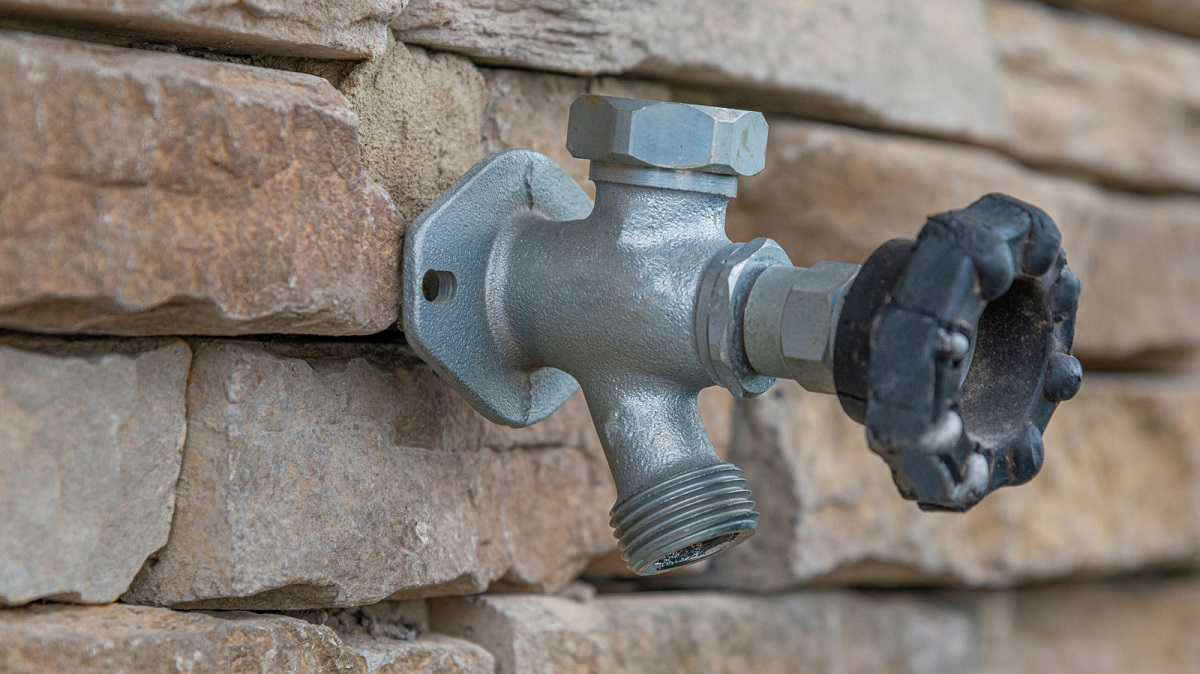
- Turn Off the Water Supply: Begin by locating the shut-off valve that controls the water supply to the outdoor spigot. Turn off the water supply by closing the valve to prevent water from flowing to the spigot.
- Drain the Spigot: Once the water supply is turned off, open the outdoor spigot to allow any remaining water to drain out. This step is crucial in preventing water from freezing inside the spigot and causing potential damage.
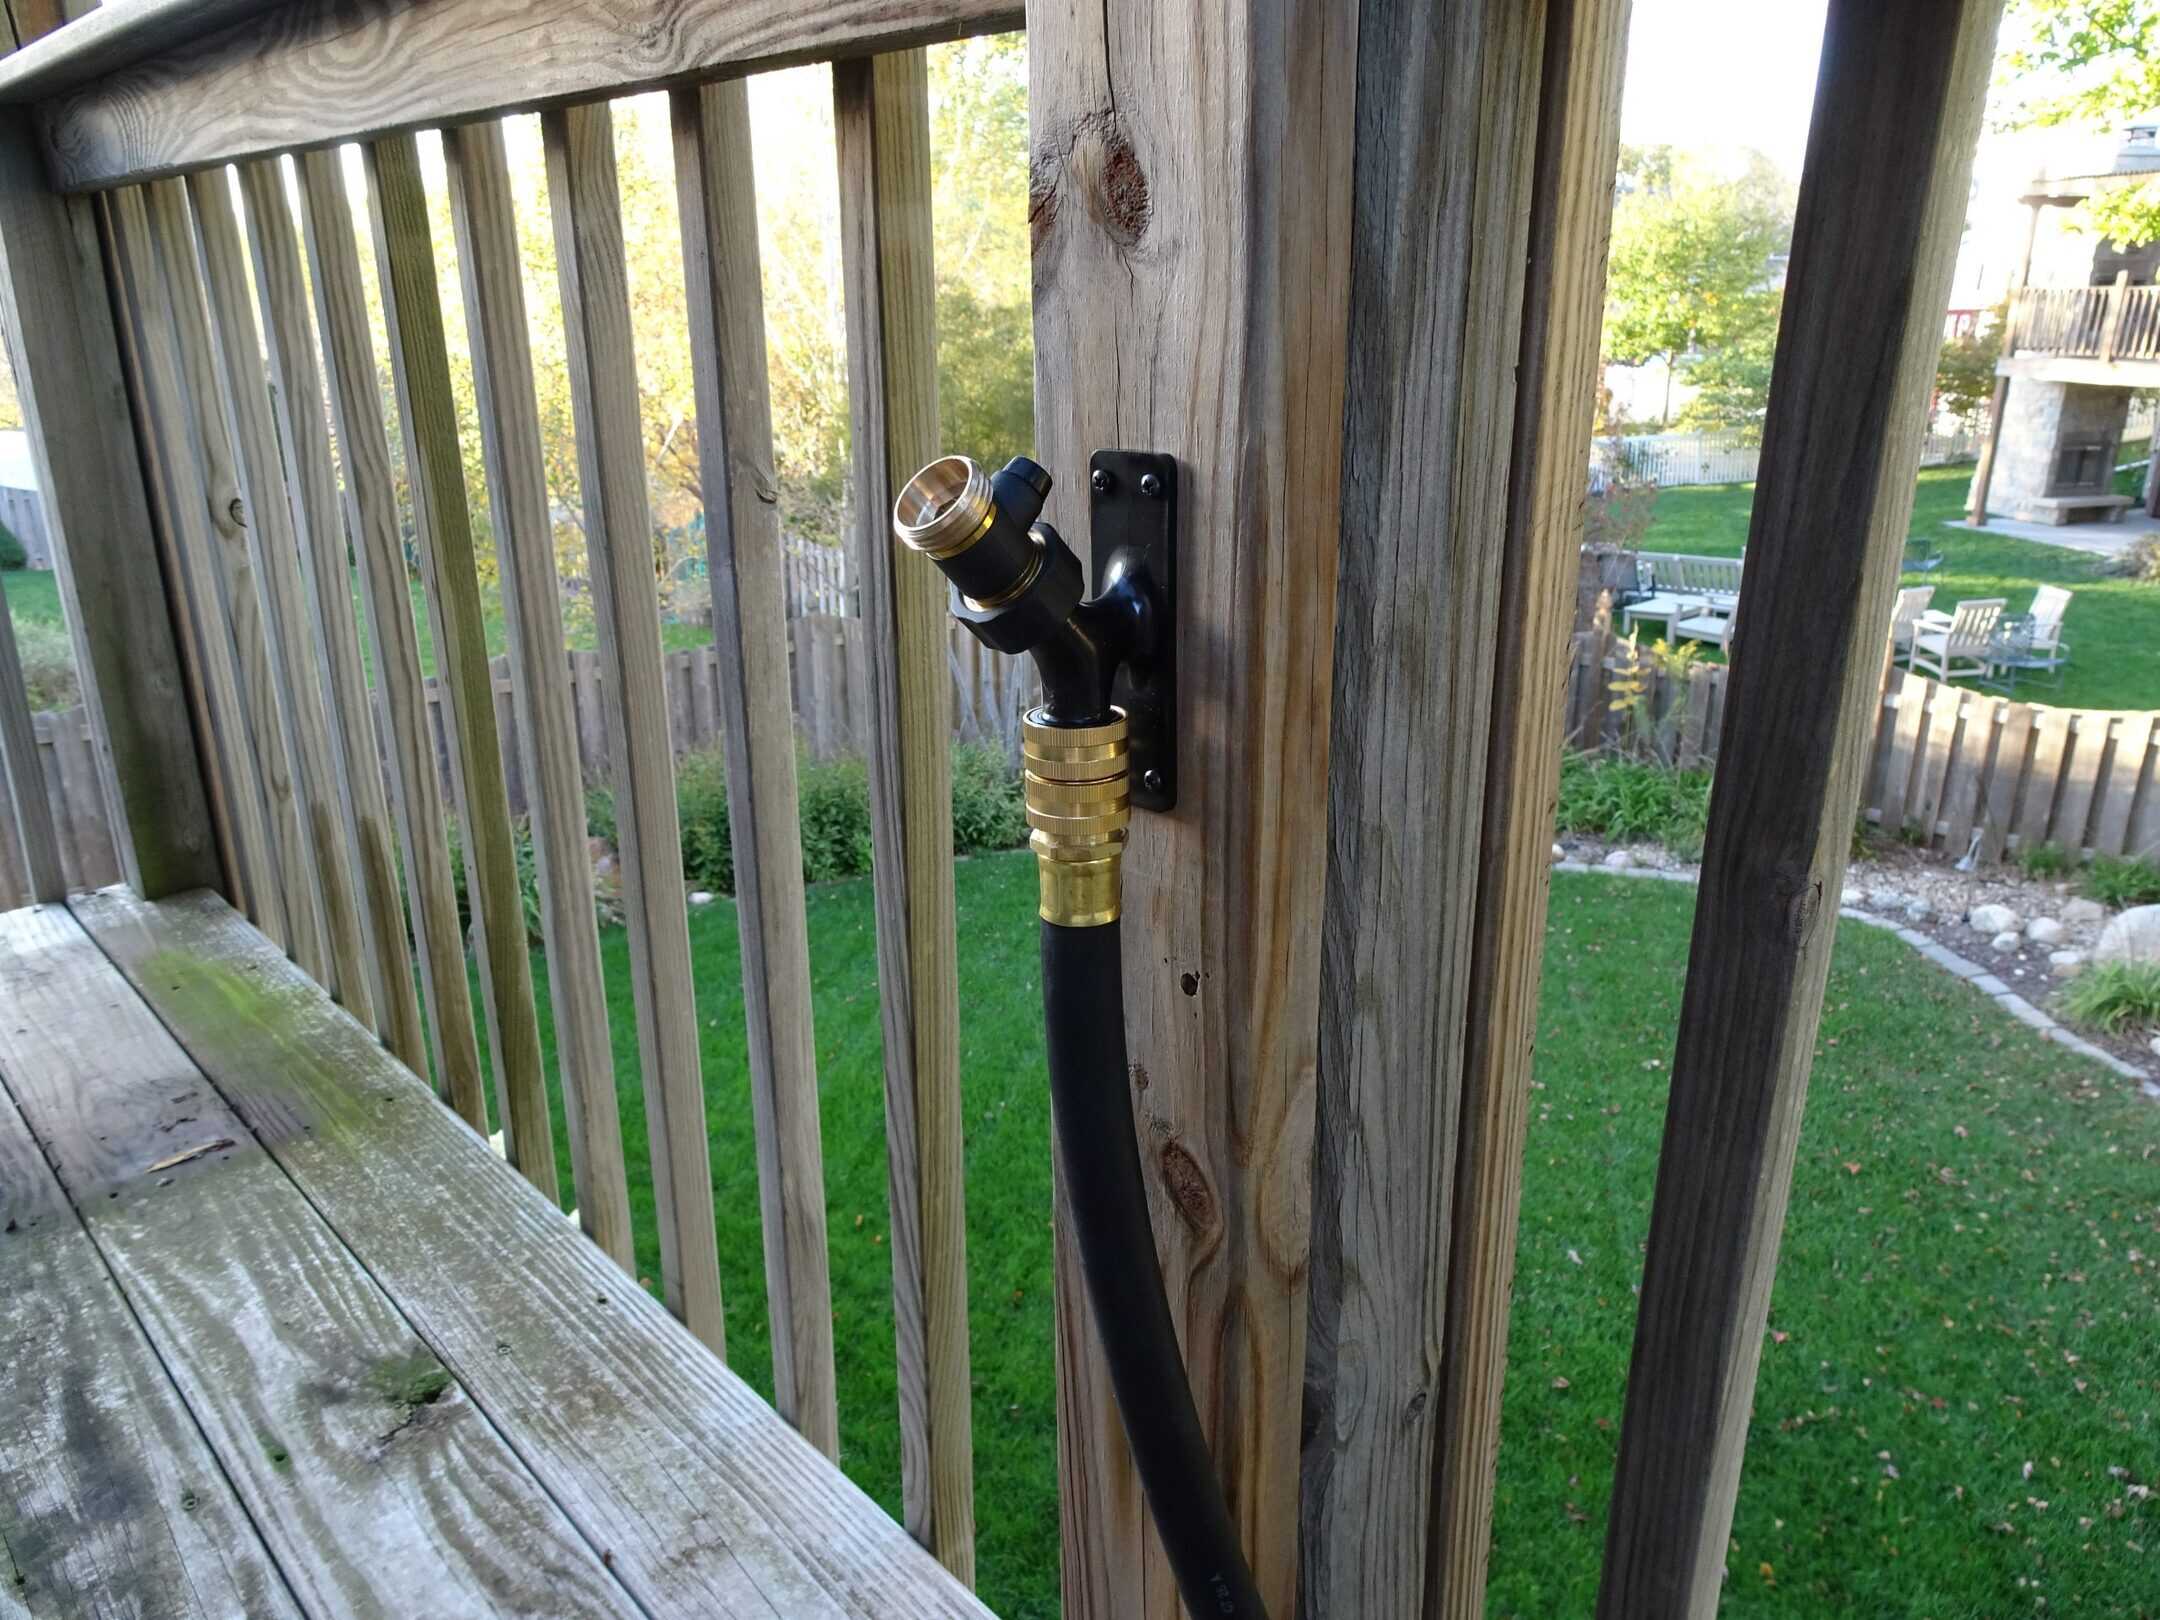
- Disconnect Hoses and Store Indoors: If there are any connected hoses or attachments, disconnect them from the outdoor spigot. Drain the hoses thoroughly and store them indoors to prevent damage from freezing temperatures.
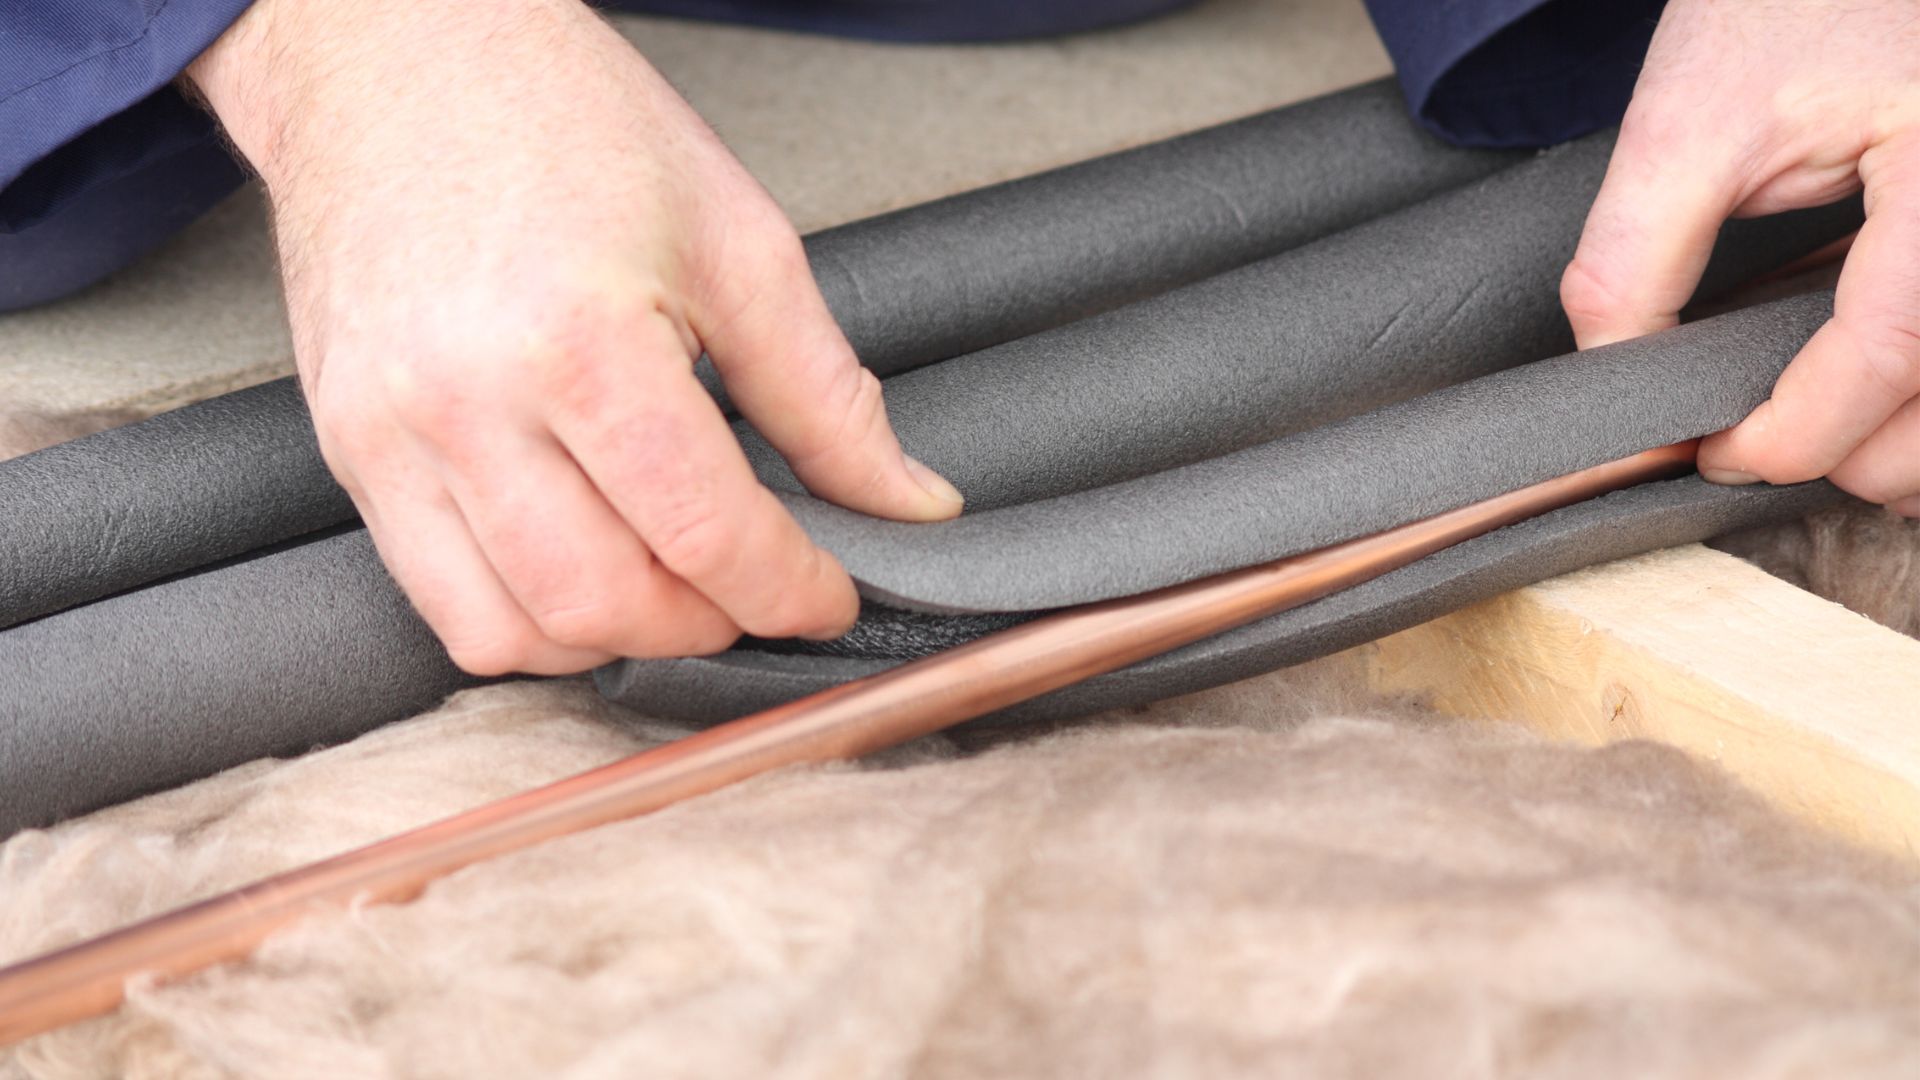
- Install Insulation: Use pipe insulation or foam insulating covers to wrap the outdoor spigot and any exposed pipes. Secure the insulation in place to provide an extra layer of protection against freezing temperatures.
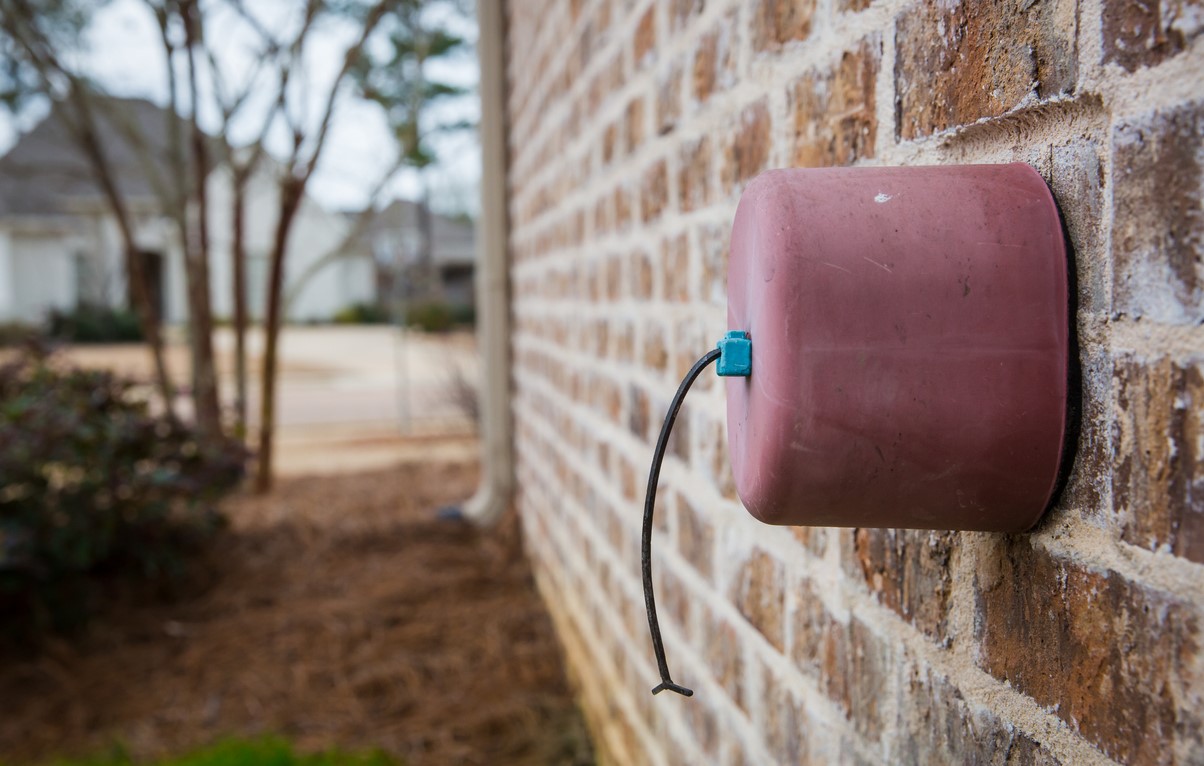
- Apply Faucet Cover: Install a plastic faucet cover or outdoor faucet sock over the outdoor spigot to shield it from cold weather and potential frost damage. Ensure that the cover fits securely and provides adequate protection.
- Seal Any Gaps: Check for any gaps or openings around the outdoor spigot and seal them with waterproof sealant. This additional step helps to prevent cold air from reaching the spigot and causing freezing.
- Inspect and Maintain: Periodically check the outdoor spigot throughout the winter months to ensure that the insulation and cover remain intact. Make any necessary adjustments or repairs to maintain the spigot’s protection.
By following these steps, you can effectively winterize your outdoor spigot and protect it from potential damage due to freezing temperatures. This proactive approach will help preserve the integrity of your outdoor water supply system and ensure that your spigot remains functional and reliable, even in the harshest winter conditions.
Conclusion
Congratulations on taking the proactive step to winterize your outdoor spigot! By following the steps outlined in this guide and understanding the importance of winterization, you have safeguarded your home’s water supply system from potential damage caused by freezing temperatures. As you settle into the winter months, you can rest assured that your outdoor spigot is protected and ready to withstand the challenges of cold weather.
Remember, winterizing your outdoor spigot is not only a practical measure to prevent damage but also a way to preserve the longevity and functionality of your outdoor water supply system. By investing a little time and effort into winterization, you can avoid costly repairs and ensure that your outdoor spigot remains reliable for years to come.
Additionally, the act of winterizing your outdoor spigot contributes to the sustainable use of water. By protecting your water supply system from potential damage and leaks, you are actively participating in the conservation of this precious resource.
As you enjoy the comfort of your indoor and outdoor spaces during the winter season, take pride in knowing that your outdoor spigot is well-prepared to handle the elements. Your proactive approach to winterization reflects your commitment to maintaining a functional and sustainable home environment.
Thank you for joining us on this journey to learn about the importance of winterizing your outdoor spigot. We hope this guide has equipped you with the knowledge and confidence to protect your outdoor water supply system and embrace the winter season with peace of mind.
Frequently Asked Questions about How To Winterize An Outdoor Spigot
Was this page helpful?
At Storables.com, we guarantee accurate and reliable information. Our content, validated by Expert Board Contributors, is crafted following stringent Editorial Policies. We're committed to providing you with well-researched, expert-backed insights for all your informational needs.


0 thoughts on “How To Winterize An Outdoor Spigot”