Home>Furniture>Bedroom Furniture>How To Attach A Headboard To A Metal Bed Frame


Bedroom Furniture
How To Attach A Headboard To A Metal Bed Frame
Modified: May 6, 2024
Learn how to easily attach a headboard to your metal bed frame for a sturdy and stylish addition to your bedroom furniture.
(Many of the links in this article redirect to a specific reviewed product. Your purchase of these products through affiliate links helps to generate commission for Storables.com, at no extra cost. Learn more)
Introduction
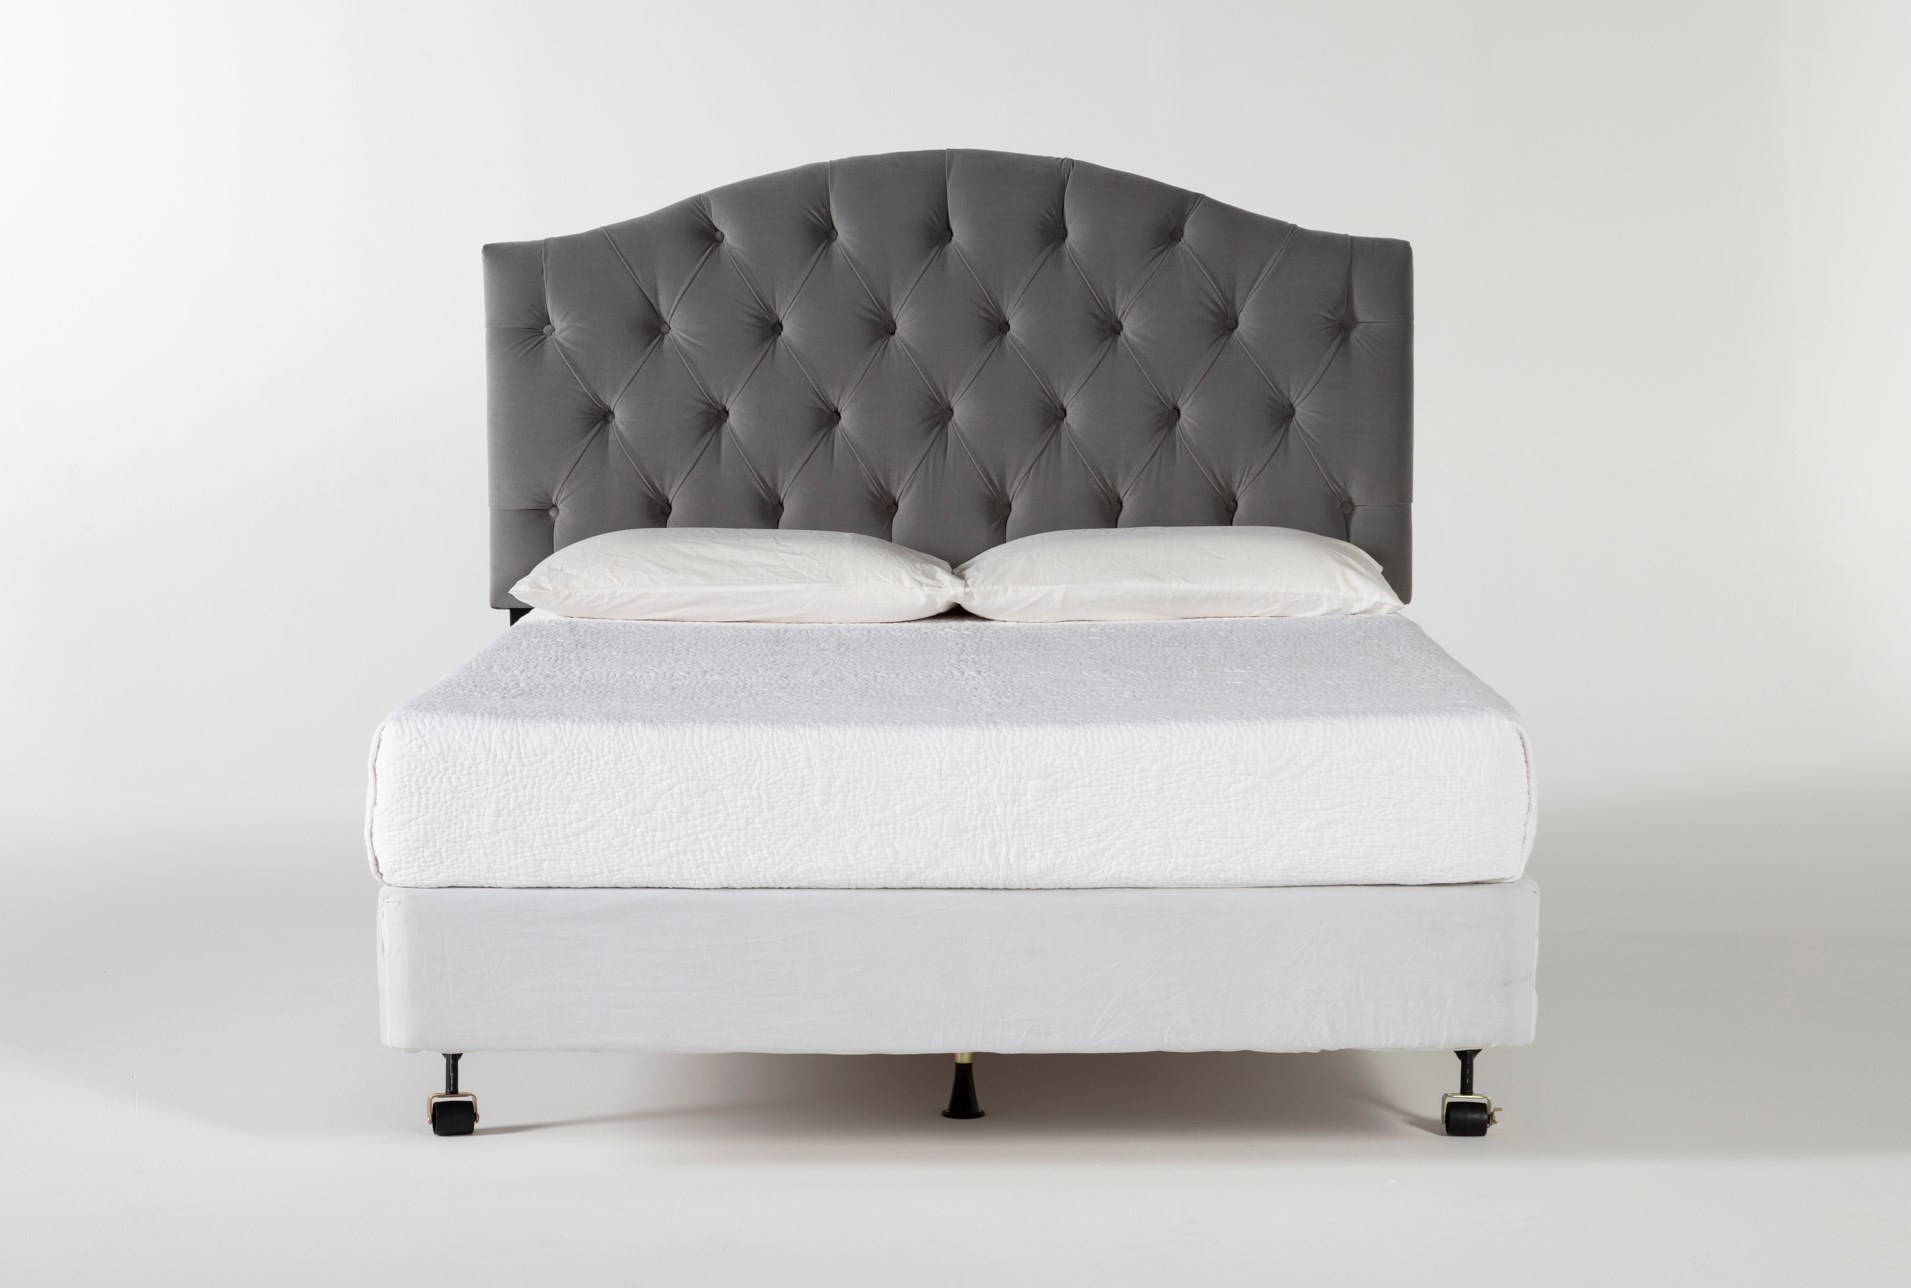
Having a comfortable and stylish bedroom is essential for a good night’s sleep. One of the key elements in creating a cozy and inviting bedroom is the choice of furniture, particularly the bed and headboard. While a metal bed frame is versatile and sturdy, it may lack the aesthetic appeal of a beautiful headboard. Fortunately, attaching a headboard to a metal bed frame is a simple process that can dramatically transform the look of your bedroom.
In this article, we will guide you through the step-by-step process of attaching a headboard to a metal bed frame. We’ll cover everything from the tools and materials you’ll need to the techniques for securely mounting your headboard. So, let’s get started and give your bedroom a stylish upgrade!
Key Takeaways:
- Elevate your bedroom’s style and comfort by easily attaching a headboard to a metal bed frame. Follow the simple steps outlined to transform your bed into a more inviting and visually appealing space.
- Ensure a secure and stable attachment by measuring, prepping, aligning, and periodically checking the headboard. Enjoy a stylish and comfortable bedroom for years to come with this simple upgrade.
Read more: How To Attach A Headboard To A Bed Frame
Tools and Materials Needed
Before you begin attaching a headboard to a metal bed frame, it’s important to gather all the necessary tools and materials. Here’s a list of what you’ll need:
- Measuring tape: To measure the width and height of your headboard and bed frame.
- Pencil or marker: To mark the attachment points on the bed frame and headboard.
- Mounting brackets: These brackets will be used to securely attach the headboard to the bed frame.
- Screws: Choose screws that are appropriate for the thickness of your headboard and bed frame.
- Screwdriver or drill: Depending on the type of screws you’re using, you’ll need a screwdriver or a drill to attach the brackets and screws.
- Level: A level will help ensure that the headboard is straight and properly aligned.
- Wrench or pliers: These tools may be needed to tighten any bolts or nuts on the bed frame.
- Protective gloves and safety glasses: It’s always a good idea to protect your hands and eyes while working with tools.
Once you have gathered all the necessary tools and materials, you’re ready to begin the process of attaching your headboard to the metal bed frame.
Step 1: Measure and Mark the Attachment Points
Before you start attaching the headboard to the metal bed frame, it’s important to accurately measure and mark the attachment points. This will ensure that the headboard is properly aligned and securely mounted. Here’s how you can do it:
- Measure the width of the headboard: Use a measuring tape to measure the width of the headboard. This will help you determine the spacing for the attachment points on the bed frame.
- Mark the attachment points on the bed frame: Once you have measured the width of the headboard, mark the attachment points on the bed frame using a pencil or marker. Make sure the marks are evenly spaced and accurately aligned with the width of the headboard.
- Measure the height of the headboard: Next, measure the height of the headboard from the bottom edge to the desired mounting height.
- Mark the attachment points on the headboard: Using the measurements from the previous step, mark the attachment points on the back of the headboard. These marks should align with the ones on the bed frame.
By measuring and marking the attachment points, you will ensure that the headboard is properly aligned with the bed frame. This step is crucial for a secure and visually pleasing installation.
Step 2: Prep Your Headboard
Before attaching the headboard to the metal bed frame, it’s important to prepare the headboard to ensure a smooth and secure installation. Here are the steps to follow:
- Clean the back of the headboard: Use a clean cloth or sponge to wipe down the back of the headboard. This will remove any dust or debris that could hinder the attachment process.
- Inspect the headboard: Take a close look at the back of the headboard to ensure it’s in good condition. Check for any loose or damaged parts that may affect the attachment stability.
- Attach brackets to the headboard (if necessary): Some headboards come with pre-installed brackets, while others require you to attach them yourself. If your headboard doesn’t have brackets, follow the manufacturer’s instructions to attach them securely.
- Reinforce weak spots (if needed): If you notice any weak or wobbly areas on the headboard, reinforce them before attaching it to the bed frame. You can use wood glue or screws to strengthen the structure.
By properly prepping your headboard, you’ll ensure that it’s in good condition and ready to be securely attached to the metal bed frame. This step will help prevent any issues during the installation process and ensure a stable and long-lasting attachment.
Use brackets or mounting plates to attach the headboard to the metal bed frame. Make sure to measure and align the headboard properly before securing it in place.
Step 3: Attach the Mounting Brackets
Once you have prepped your headboard, it’s time to attach the mounting brackets. These brackets will serve as the connection point between the headboard and the metal bed frame. Follow these steps to securely attach the brackets:
- Position the brackets: Place the mounting brackets on the back of the headboard, aligning them with the marked attachment points. Make sure the brackets are positioned evenly on both sides of the headboard.
- Mark the screw holes: Once the brackets are in position, use a pencil or marker to mark the locations of the screw holes on the headboard. This will guide you during the attachment process and ensure that the brackets are aligned correctly.
- Drill pilot holes (if necessary): Depending on the material of your headboard, you may need to drill pilot holes before attaching the brackets. Pilot holes will prevent the wood from splitting and make it easier to insert the screws.
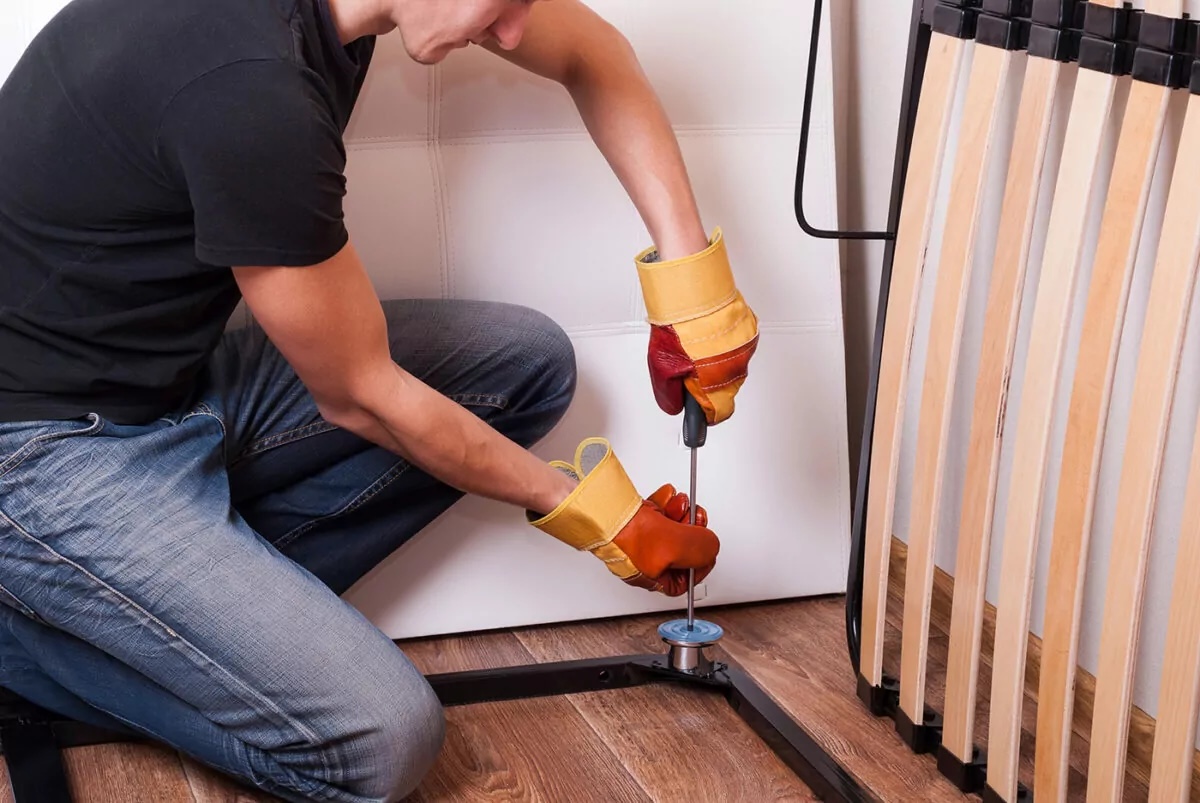
- Secure the brackets: Using a screwdriver or a drill, attach the brackets to the headboard by screwing them in place. Make sure the screws are tightened securely, but be careful not to over-tighten them, as this could damage the headboard.
By properly attaching the mounting brackets, you’ll ensure that the headboard is securely connected to the metal bed frame. This step is essential for the stability and support of the headboard, providing a safe and durable attachment.
Read more: How To Assemble A Bed Frame With Headboard
Step 4: Align and Attach the Headboard
With the mounting brackets securely in place, it’s time to align and attach the headboard to the metal bed frame. Follow these steps for a proper installation:
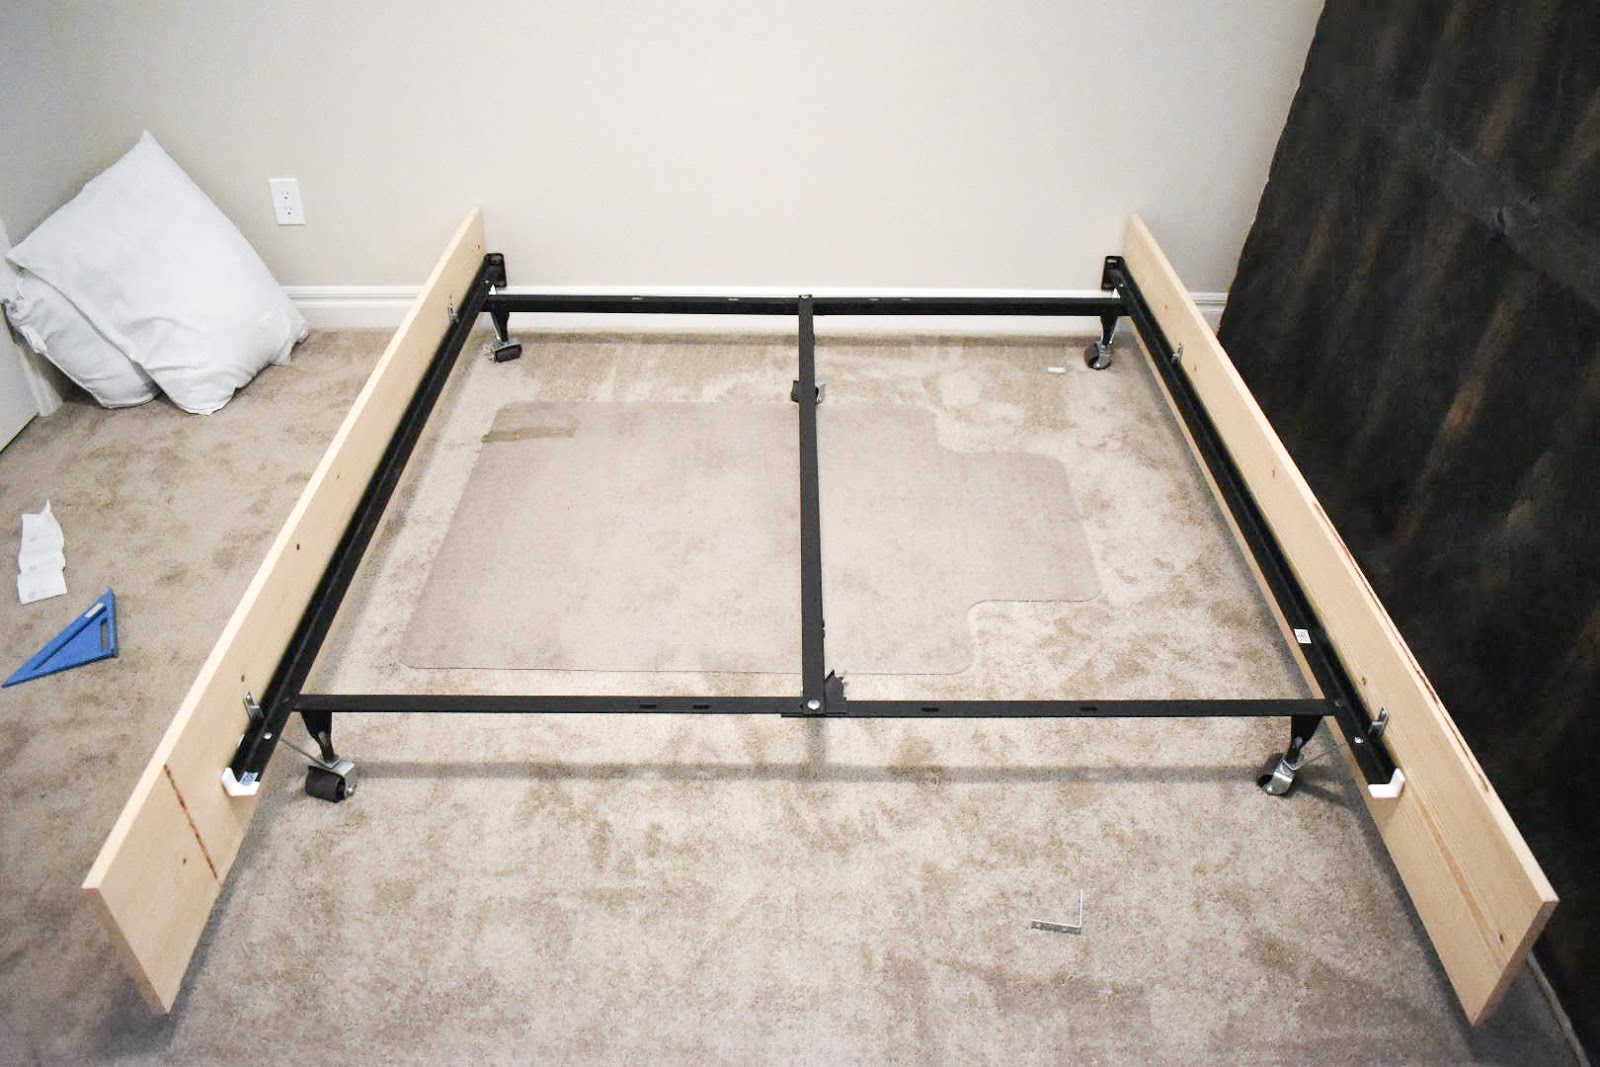
- Move the bed frame: Carefully move the metal bed frame away from the wall, creating enough space to position the headboard.
- Align the headboard: Position the headboard in front of the bed frame, aligning the mounting brackets with the marked attachment points on the frame.
- Check for alignment: Use a level to ensure that the headboard is perfectly straight and aligned with the bed frame. Make any necessary adjustments to achieve proper alignment.
- Attach the headboard: With the headboard properly aligned, use a screwdriver or drill to secure the brackets to the bed frame. Insert the screws through the brackets into the pre-drilled holes or directly into the metal frame, depending on the design of your bed frame.
- Tighten the screws: Carefully tighten the screws, ensuring that the headboard is securely attached to the bed frame. Be cautious not to overtighten them, as this could cause damage to the brackets or bed frame.
By aligning and attaching the headboard properly, you’ll ensure that it sits securely in place and complements the overall design of your bedroom. Take your time during this step to achieve a precise and visually appealing installation.
Step 5: Secure the Headboard in Place
Once the headboard is attached to the metal bed frame, it’s important to ensure that it is securely in place. This will prevent any movement or wobbling, providing stability and safety. Follow these steps to secure the headboard:
- Check for stability: Gently shake the headboard to check for any movement or looseness. If you notice any instability, tighten the screws on the brackets or adjust the alignment as needed.
- Inspect and reinforce: Take a close look at the attachment points and brackets to ensure they are secure. If necessary, add additional screws or brackets for extra reinforcement.
- Test for sturdiness: Apply some pressure to the headboard from different angles to test its sturdiness. The headboard should remain firmly in place without any shifting or swaying.
- Retighten screws periodically: Over time, screws may become loose due to normal use. Periodically check and retighten the screws on the brackets to maintain a secure attachment.
By securing the headboard in place, you’ll have peace of mind knowing that it will stay firmly attached to the bed frame. This not only enhances the overall aesthetic of your bedroom but also ensures a safe and comfortable sleep environment.
Conclusion
Attaching a headboard to a metal bed frame is a simple yet effective way to elevate the style and comfort of your bedroom. By following the step-by-step process outlined in this article, you can easily transform the look of your bed and create a more inviting space. Here’s a recap of the steps:
- Measure and mark the attachment points on the bed frame and headboard.
- Prep your headboard by cleaning it, inspecting for any damage, and attaching mounting brackets if needed.
- Attach the mounting brackets securely to the headboard, ensuring proper alignment.
- Align the headboard with the bed frame, making sure it is straight, and attach it using screws.
- Double-check the stability of the headboard and make any necessary adjustments.
Remember to periodically check and retighten the screws to maintain a secure attachment over time. With a properly attached headboard, you can enjoy a stylish and comfortable bedroom for years to come.
So, go ahead and give your bedroom a fresh new look by attaching a headboard to your metal bed frame. The process is simple, and the results are sure to impress. Sweet dreams!
Now that you've mastered attaching your headboard to a metal bed frame, why stop there? Expand your bedroom's appeal with our guide on selecting the perfect metal bed frame, perfect for any room aesthetic. These stylish and durable options promise to transform your sleeping space into a haven of comfort and style. Don't miss out on finding your ideal match for a complete bedroom makeover.
Frequently Asked Questions about How To Attach A Headboard To A Metal Bed Frame
Was this page helpful?
At Storables.com, we guarantee accurate and reliable information. Our content, validated by Expert Board Contributors, is crafted following stringent Editorial Policies. We're committed to providing you with well-researched, expert-backed insights for all your informational needs.










0 thoughts on “How To Attach A Headboard To A Metal Bed Frame”