Articles
How To Attach Picture Frames Together
Modified: December 7, 2023
Looking for articles on how to attach picture frames together? Check out our comprehensive guide for step-by-step instructions and helpful tips!
(Many of the links in this article redirect to a specific reviewed product. Your purchase of these products through affiliate links helps to generate commission for Storables.com, at no extra cost. Learn more)
Introduction
Welcome to our comprehensive guide on how to attach picture frames together. Whether you’re a DIY enthusiast or a professional carpenter, this article will provide you with step-by-step instructions on how to join multiple picture frames to create a stunning display for your artwork, photographs, or cherished memories.
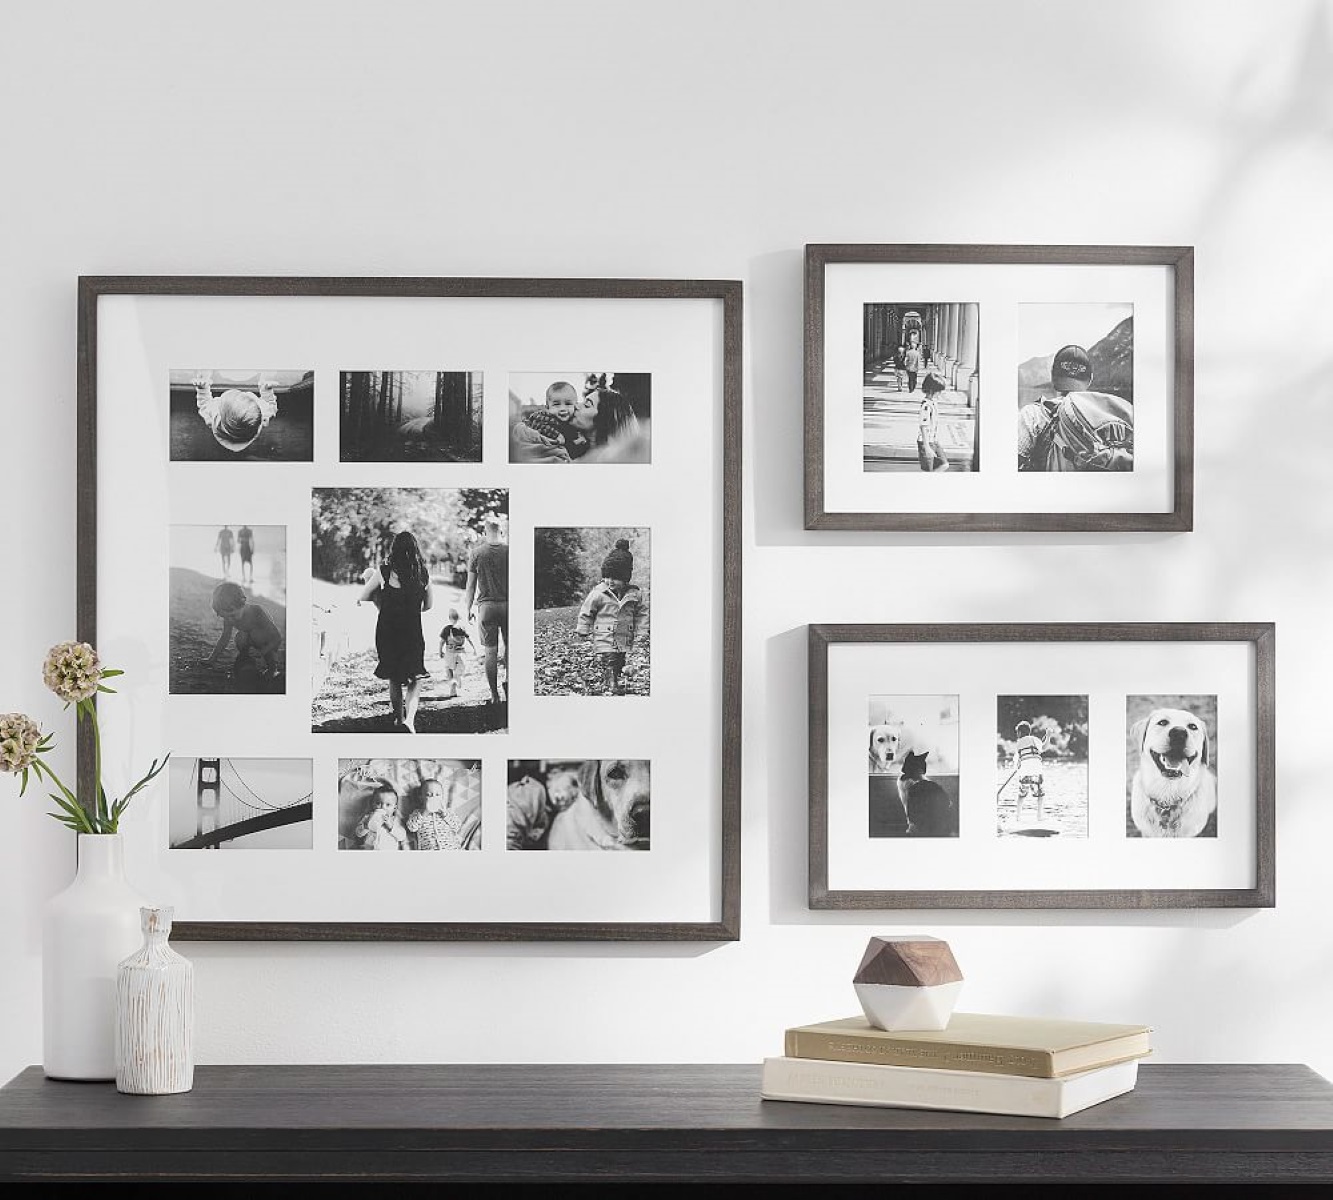
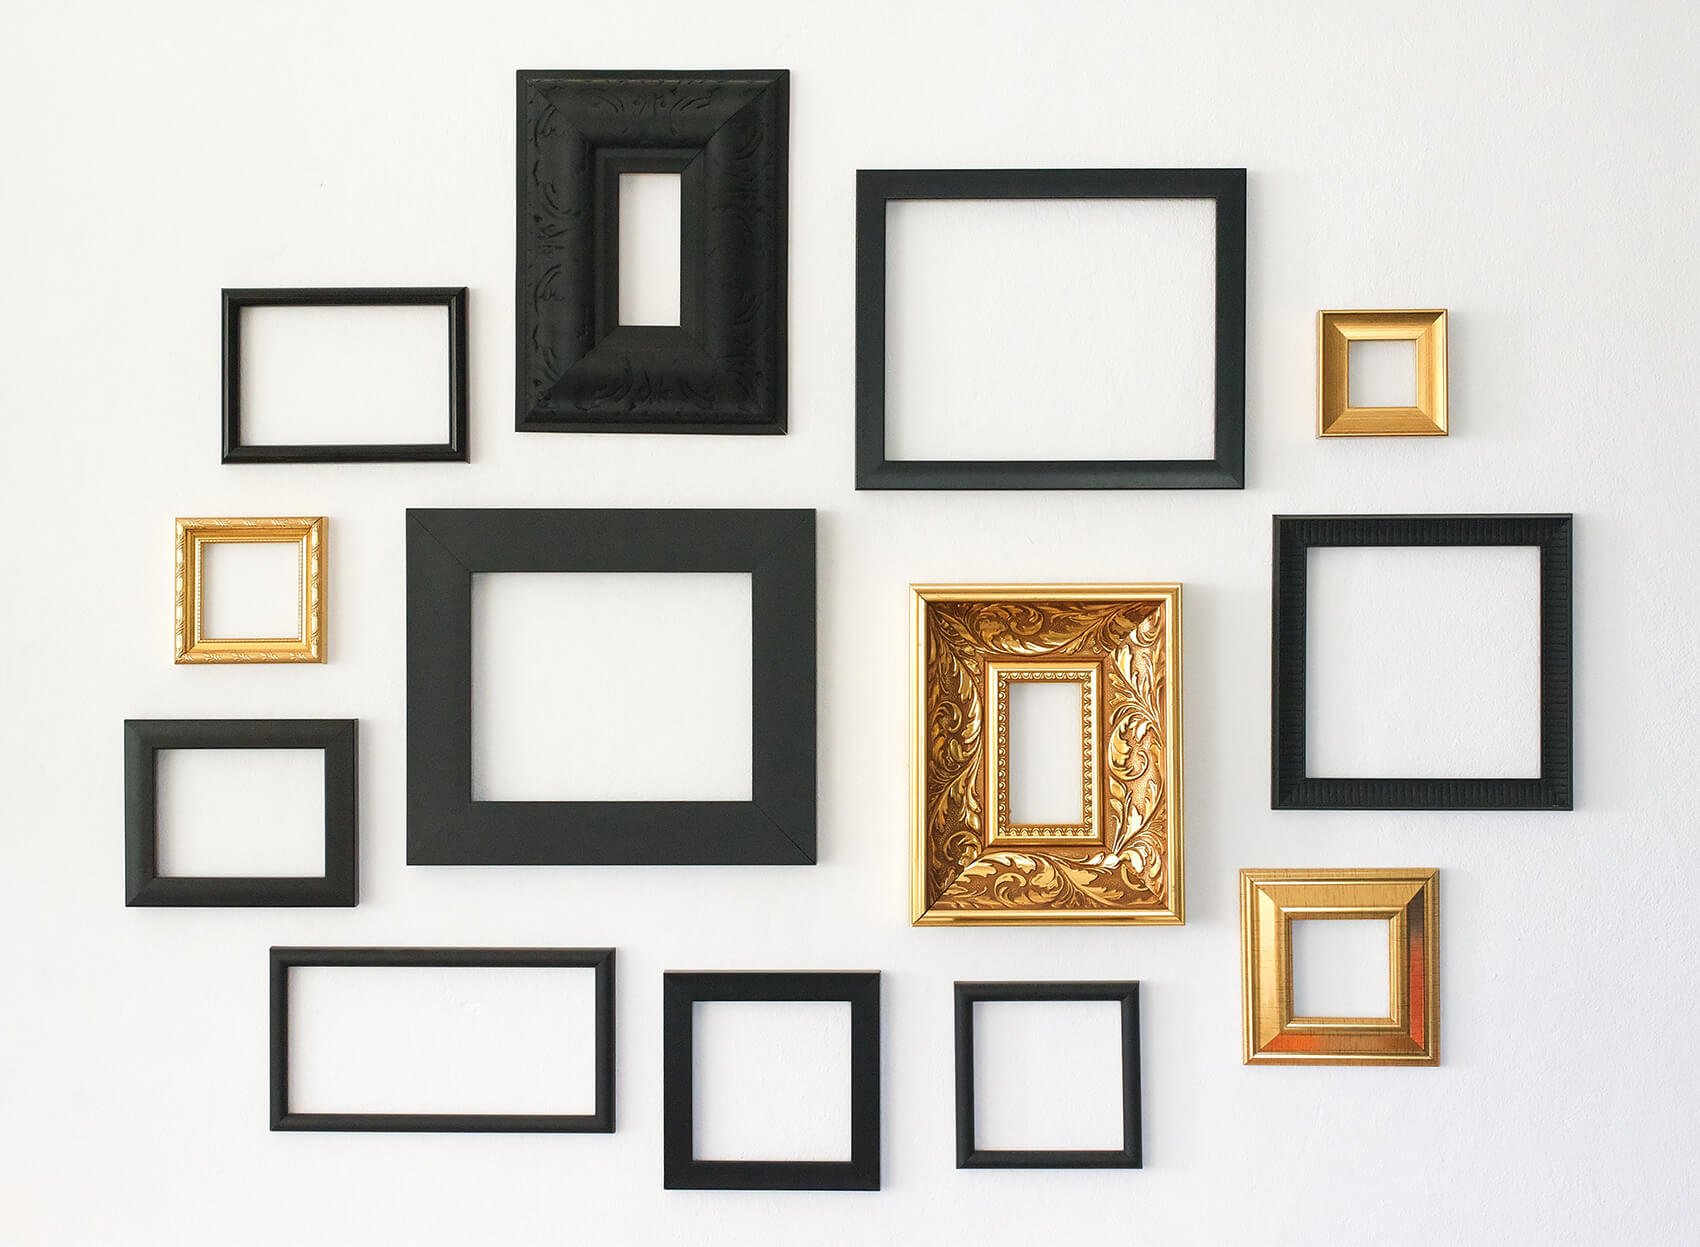
Attaching picture frames together can be a great way to create a unique and personalized wall collage, or to display a large image that requires multiple frames. By connecting the frames securely, you can ensure that your artwork remains stable and visually appealing.
In this guide, we will walk you through the process, from gathering the necessary tools and materials to applying the finishing touches. We’ll also provide you with helpful tips and tricks along the way to make your frame-joining project a success.
Before we dive into the step-by-step instructions, let’s take a look at the tools and materials you’ll need for this project.
Key Takeaways:
- Create stunning displays by securely attaching picture frames together using the right tools, precise measurements, and optional wood glue for added reinforcement.
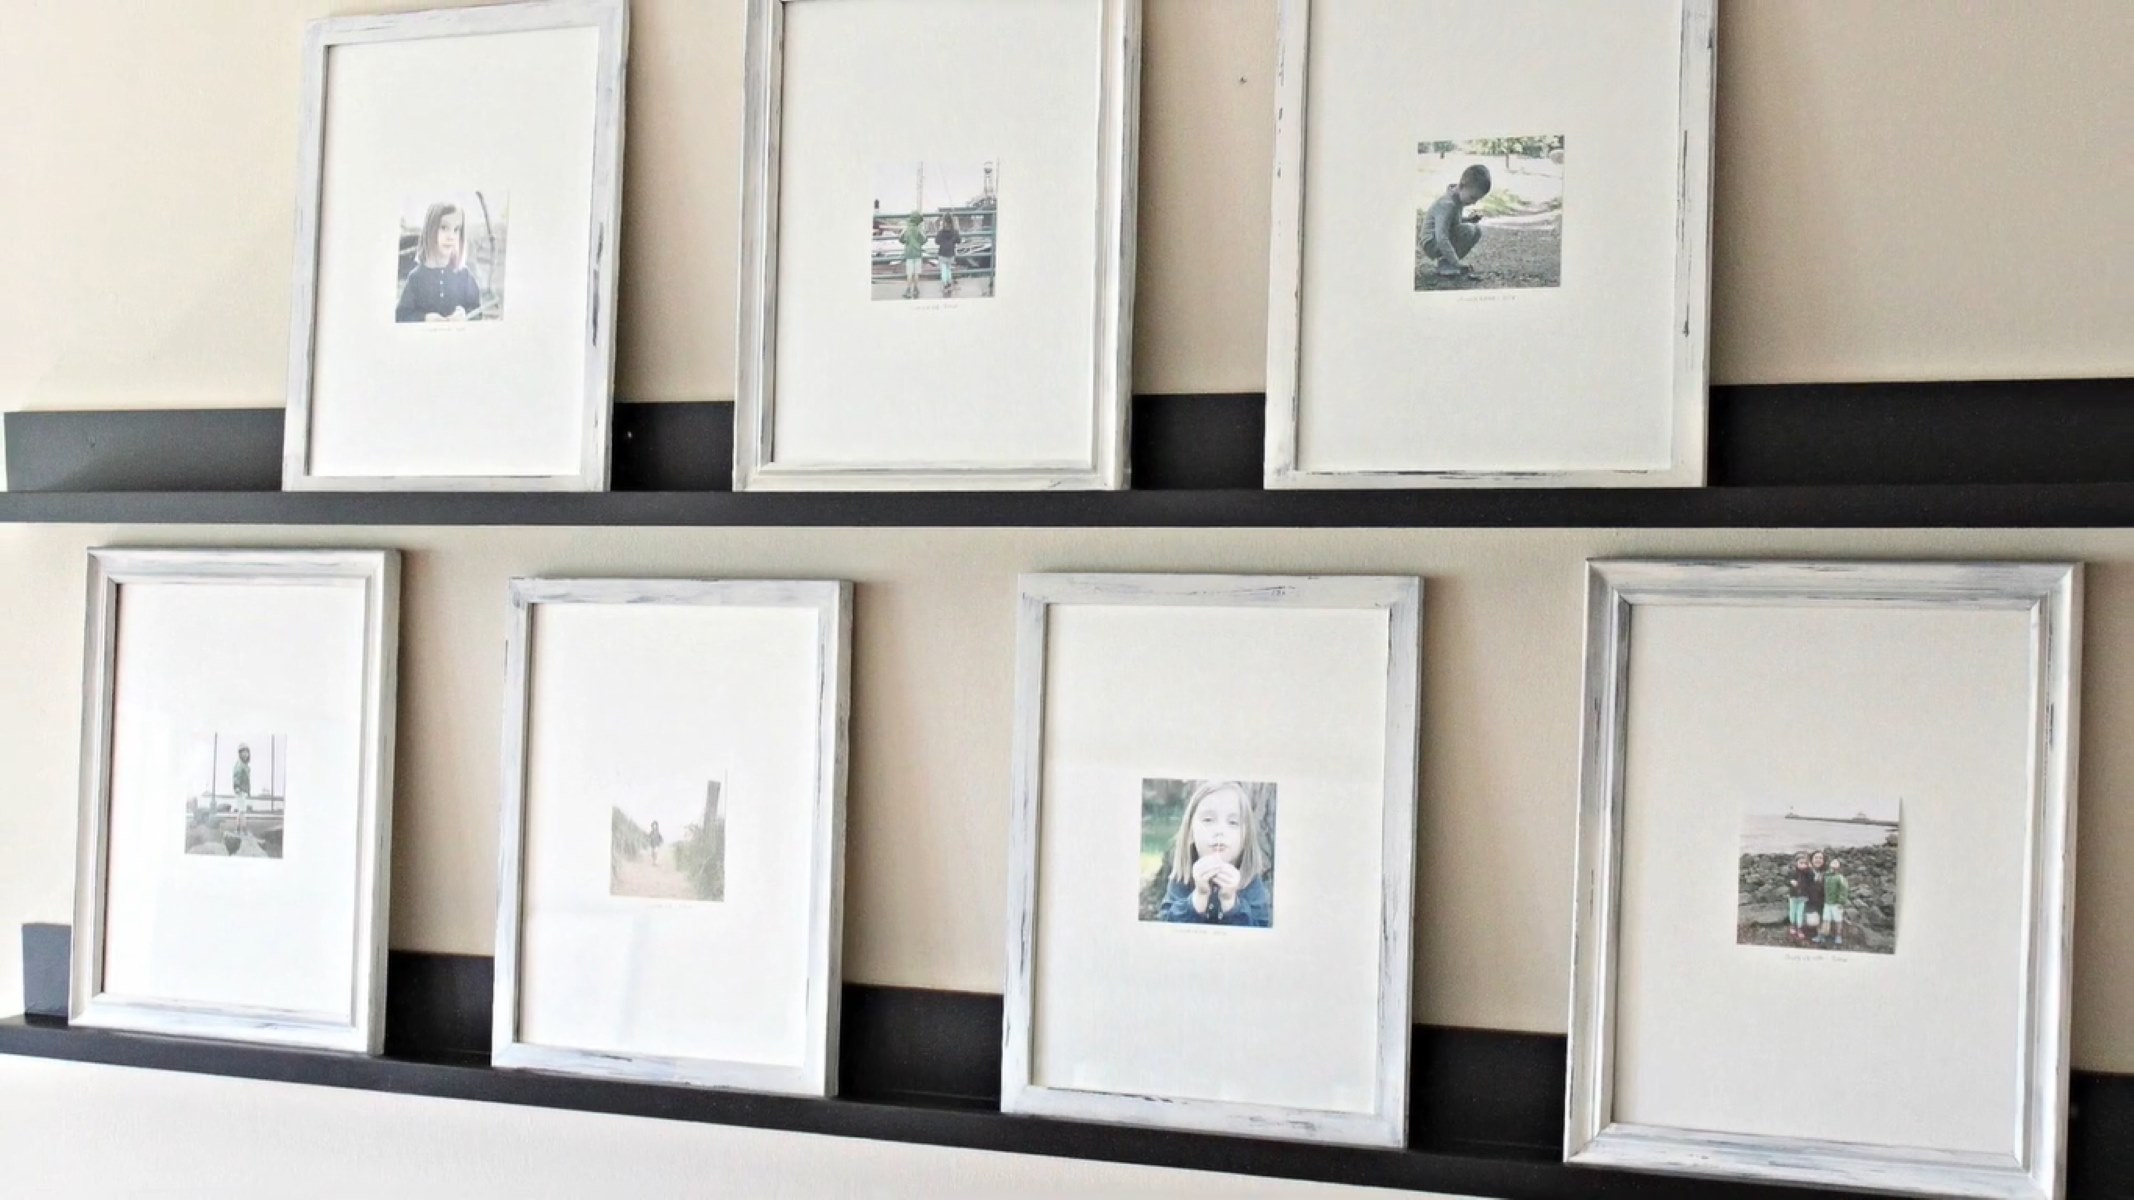
- Elevate your artwork and cherished memories with visually appealing frame arrangements, seamless transitions, and a polished finish for a professional display.
Read more: How To Attach Gutters Together
Step 1: Gather the Necessary Tools and Materials
Before you begin attaching picture frames together, it’s important to gather all the necessary tools and materials to ensure a smooth and efficient process. Here’s a list of items you’ll need:
- Picture frames: Choose the frames that you want to join together. Make sure they are in good condition and of appropriate size for your project.
- Joining material: This can be a wooden strip, metal bracket, or any other suitable material that will serve as the connection point between the frames. The size and thickness of the joining material will depend on the size and weight of your frames.
- Screws: Select screws that are long enough to penetrate through the joining material and into the frame without protruding out of the other side. Make sure the screws are appropriate for the type of material you are working with (wood, metal, etc.).
- Power drill: A power drill will be needed to pre-drill holes for the screws. Ensure that you have the appropriate drill bits for the size of the screws you are using.
- Measuring tape: Accurate measurements are crucial when joining picture frames together. Use a measuring tape to measure the frame edges and mark the positions for attaching the joining material.
- Pencil: A pencil will be used to mark the frame edges and the position of the joining material.
- Sandpaper: Sandpaper can be used to smooth out any rough edges on the frames or the joining material.
- Wood glue (optional): If you want to add extra reinforcement to the frame joint, you can use wood glue. Ensure that the wood glue you choose is suitable for the type of frames you are working with.
- Screwdriver: A screwdriver will be needed to tighten the screws and secure the frames together.
Once you have gathered all the necessary tools and materials, you are ready to move on to the next step: measuring and marking the frame edges.
Step 2: Measure and Mark the Frame Edges
Once you have gathered all your tools and materials, it’s time to measure and mark the frame edges where the joining material will be attached. Follow these steps:
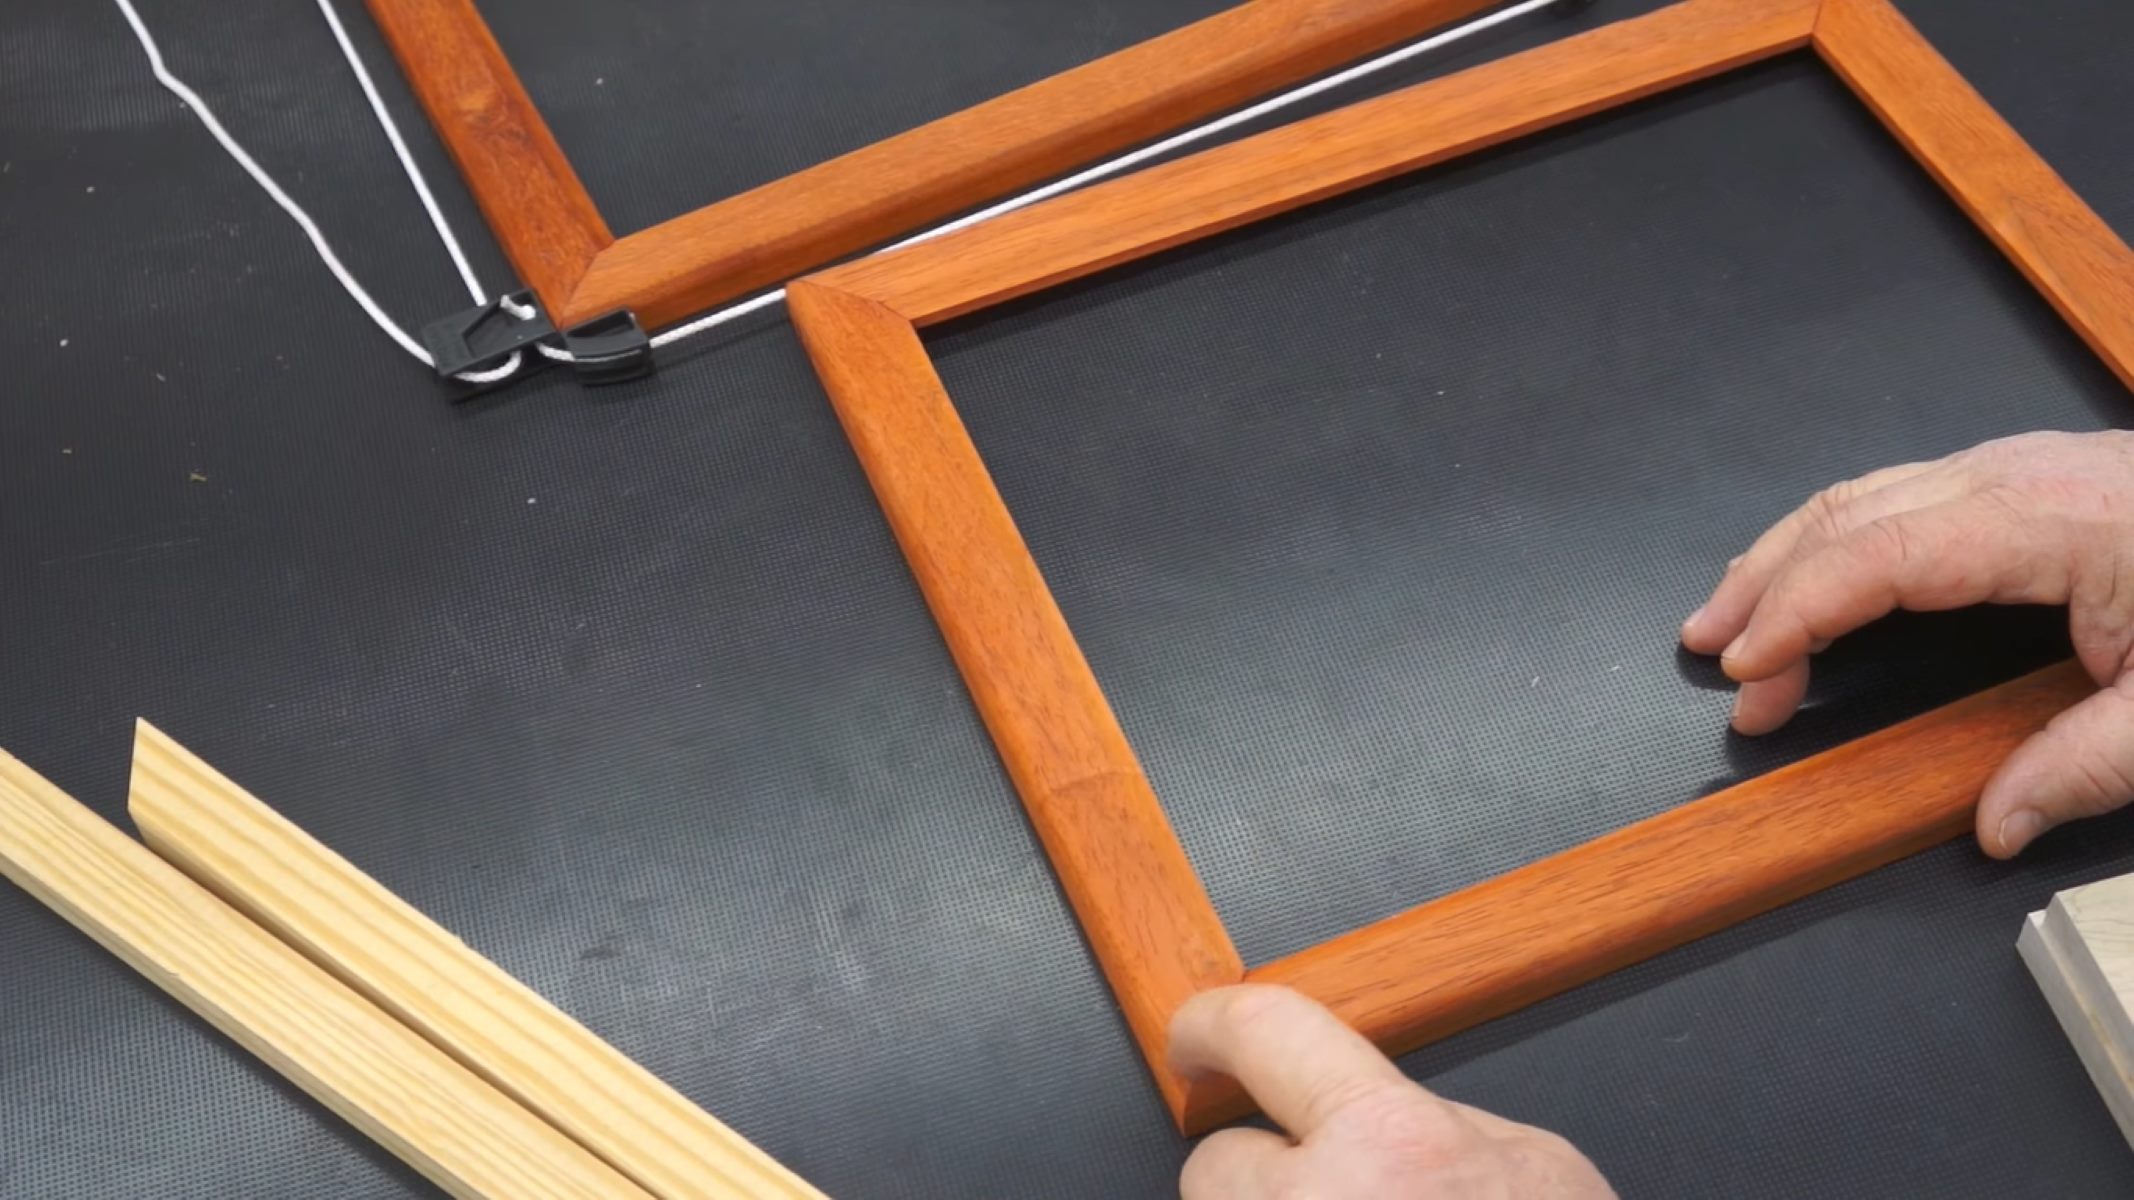
- Place the picture frames side by side in the arrangement you desire. Ensure they are aligned properly.
- Using a measuring tape, measure the width and height of each frame.
- Decide on the position where you want to attach the joining material. This can be at the top, bottom, or sides of the frames.
- Take the measurements of the frames and determine the length of the joining material needed. It should match the combined width or height of the frames, depending on your arrangement.
- Mark the positions on each frame where the joining material will be attached. Use a pencil to make clear and visible marks.
It’s important to measure accurately and mark the positions correctly. This will ensure that the frames align properly and the finished piece looks seamless.
Once you have marked the frame edges, you can move on to the next step: cutting the joining material.
Step 3: Cut the Joining Material
With the frame edges marked, it’s time to cut the joining material to the appropriate length. Follow these steps:
- Measure the length of the joining material based on the marked positions on the frames.
- Using a saw or another appropriate cutting tool, carefully cut the joining material to the desired length.
- Ensure that the edges of the joining material are smooth and free from any roughness. Use sandpaper to smooth out any imperfections if needed.
It’s crucial to cut the joining material accurately to ensure a tight and secure fit between the frames. Take your time and double-check your measurements before making any cuts.
Once you have cut the joining material, you can proceed to the next step: pre-drilling holes for screws.
Step 4: Pre-drill Holes for Screws
In order to securely attach the frames together, it’s important to pre-drill holes for the screws. Follow these steps:
- Position the joining material on the marked positions of the frames.
- Using a power drill and an appropriately sized drill bit, create pilot holes through the joining material and into the frame. The size of the drill bit should match the diameter of the screws you will be using.
- Make sure to position the drill straight and perpendicular to the frames to ensure the holes are properly aligned.
- Drill the pilot holes to a depth that allows the screws to penetrate through the joining material and securely into the frame without protruding out the other side.
- If you’re attaching larger or heavier frames, consider drilling additional pilot holes for added stability and strength.
Pre-drilling holes helps prevent the frames from splitting or cracking when you insert the screws. It also ensures that the frames align properly when you attach the joining material.
Once you have pre-drilled the holes, you are ready to move on to the next step: attaching the frames together.
When attaching picture frames together, use a strong adhesive or wood glue for a secure hold. Make sure the frames are aligned properly before attaching.
Read more: How To Distress Picture Frames
Step 5: Attach the Frames Together
Now that you have pre-drilled the holes, it’s time to attach the frames together using the joining material. Follow these steps:
- Position the joining material on the marked positions of the frames, aligning it with the pilot holes.
- Insert screws through the pilot holes, starting from one side of the joining material and into the frame.
- Using a screwdriver, tighten the screws until they are secure. Be careful not to overtighten and strip the screws or damage the frames.
- Repeat the process for attaching the joining material and screws at the other marked positions on the frames.
Ensure that the frames are aligned properly and the joining material is securely fastened. The frames should be tightly joined together without any gaps.
If you’re attaching multiple frames, it’s recommended to have a helping hand to hold the frames in place while you insert and tighten the screws. This will help to keep everything in position and aligned.
Once the frames are securely attached together, you can proceed to the next step (optional): applying wood glue for added reinforcement.
Step 6: Apply Wood Glue (Optional)
Applying wood glue between the joined frames can provide additional reinforcement and stability. While this step is optional, it can be beneficial, especially for larger or heavier frames. Here’s how to apply wood glue:
- Separate the frames slightly to create a small gap between the joining material.
- Squeeze a small amount of wood glue into the gap between the frames.
- Using a brush or your finger, spread the glue evenly along the gap.
- Press the frames back together firmly, ensuring that the wood glue spreads evenly and forms a strong bond.
- Wipe off any excess wood glue with a damp cloth.
Allow the wood glue to dry according to the manufacturer’s instructions before moving or hanging the joined frames. The drying time may vary depending on the type of wood glue used.
Applying wood glue can help reinforce the frame joint, making it more durable and resistant to movement. This can be especially useful for frames that will be subjected to regular handling or potentially exposed to vibrations.
After applying the wood glue (or skipping this step), you can proceed to the next step: securing the frames with screws.
Step 7: Secure Frames with Screws
Now that the frames are joined together and any optional wood glue has been applied, it’s time to secure the frames further with screws. Follow these steps:
- Inspect the joined frames to ensure they are aligned properly and there are no gaps between the frames and the joining material.
- Insert additional screws through the pre-drilled holes, starting from one side of the joining material and into the frame.
- Tighten the screws using a screwdriver, ensuring they are secure but not over-tightened to avoid damaging the frames.
- Repeat the process for all the pre-drilled holes and the remaining sides of the joining material.
By adding more screws, you are creating a stronger and more stable connection between the frames. This step is especially important for larger or heavier frames, as it provides extra support and prevents any potential movement or sagging over time.
Make sure to check the alignment of the frames as you secure them with screws, adjusting if necessary to maintain a straight and aligned composition.
Once all the screws are tightened and the frames are securely fastened together, you are ready to move on to the next step: sanding and finishing the joined frames.
Step 8: Sand and Finish the Joined Frames
After attaching the frames together, it’s important to sand and finish the joined frames to achieve a seamless and professional look. Follow these steps to complete the process:
- Inspect the joined frames for any rough edges or imperfections.
- Using sandpaper or a sanding block, gently sand the edges and surfaces of the frames, including the joining material. Sand in a smooth, circular motion until any roughness or protrusions are eliminated.
- Wipe away any dust or debris with a clean cloth or soft brush.
- If desired, apply a finish to the frames to enhance their appearance and protect the wood. This can be done with a clear varnish, paint, or stain, depending on your aesthetic preference.
- Allow the finish to dry completely according to the manufacturer’s instructions before handling or displaying the frames.
Sanding the joined frames helps to create a seamless transition between the frames and the joining material. It also ensures a smooth and polished surface that is visually appealing.
Applying a finish to the frames can provide protection against moisture, UV rays, and wear and tear. Choose a finish that complements your frames and the overall style of your display. Follow the application instructions carefully to achieve the desired result.
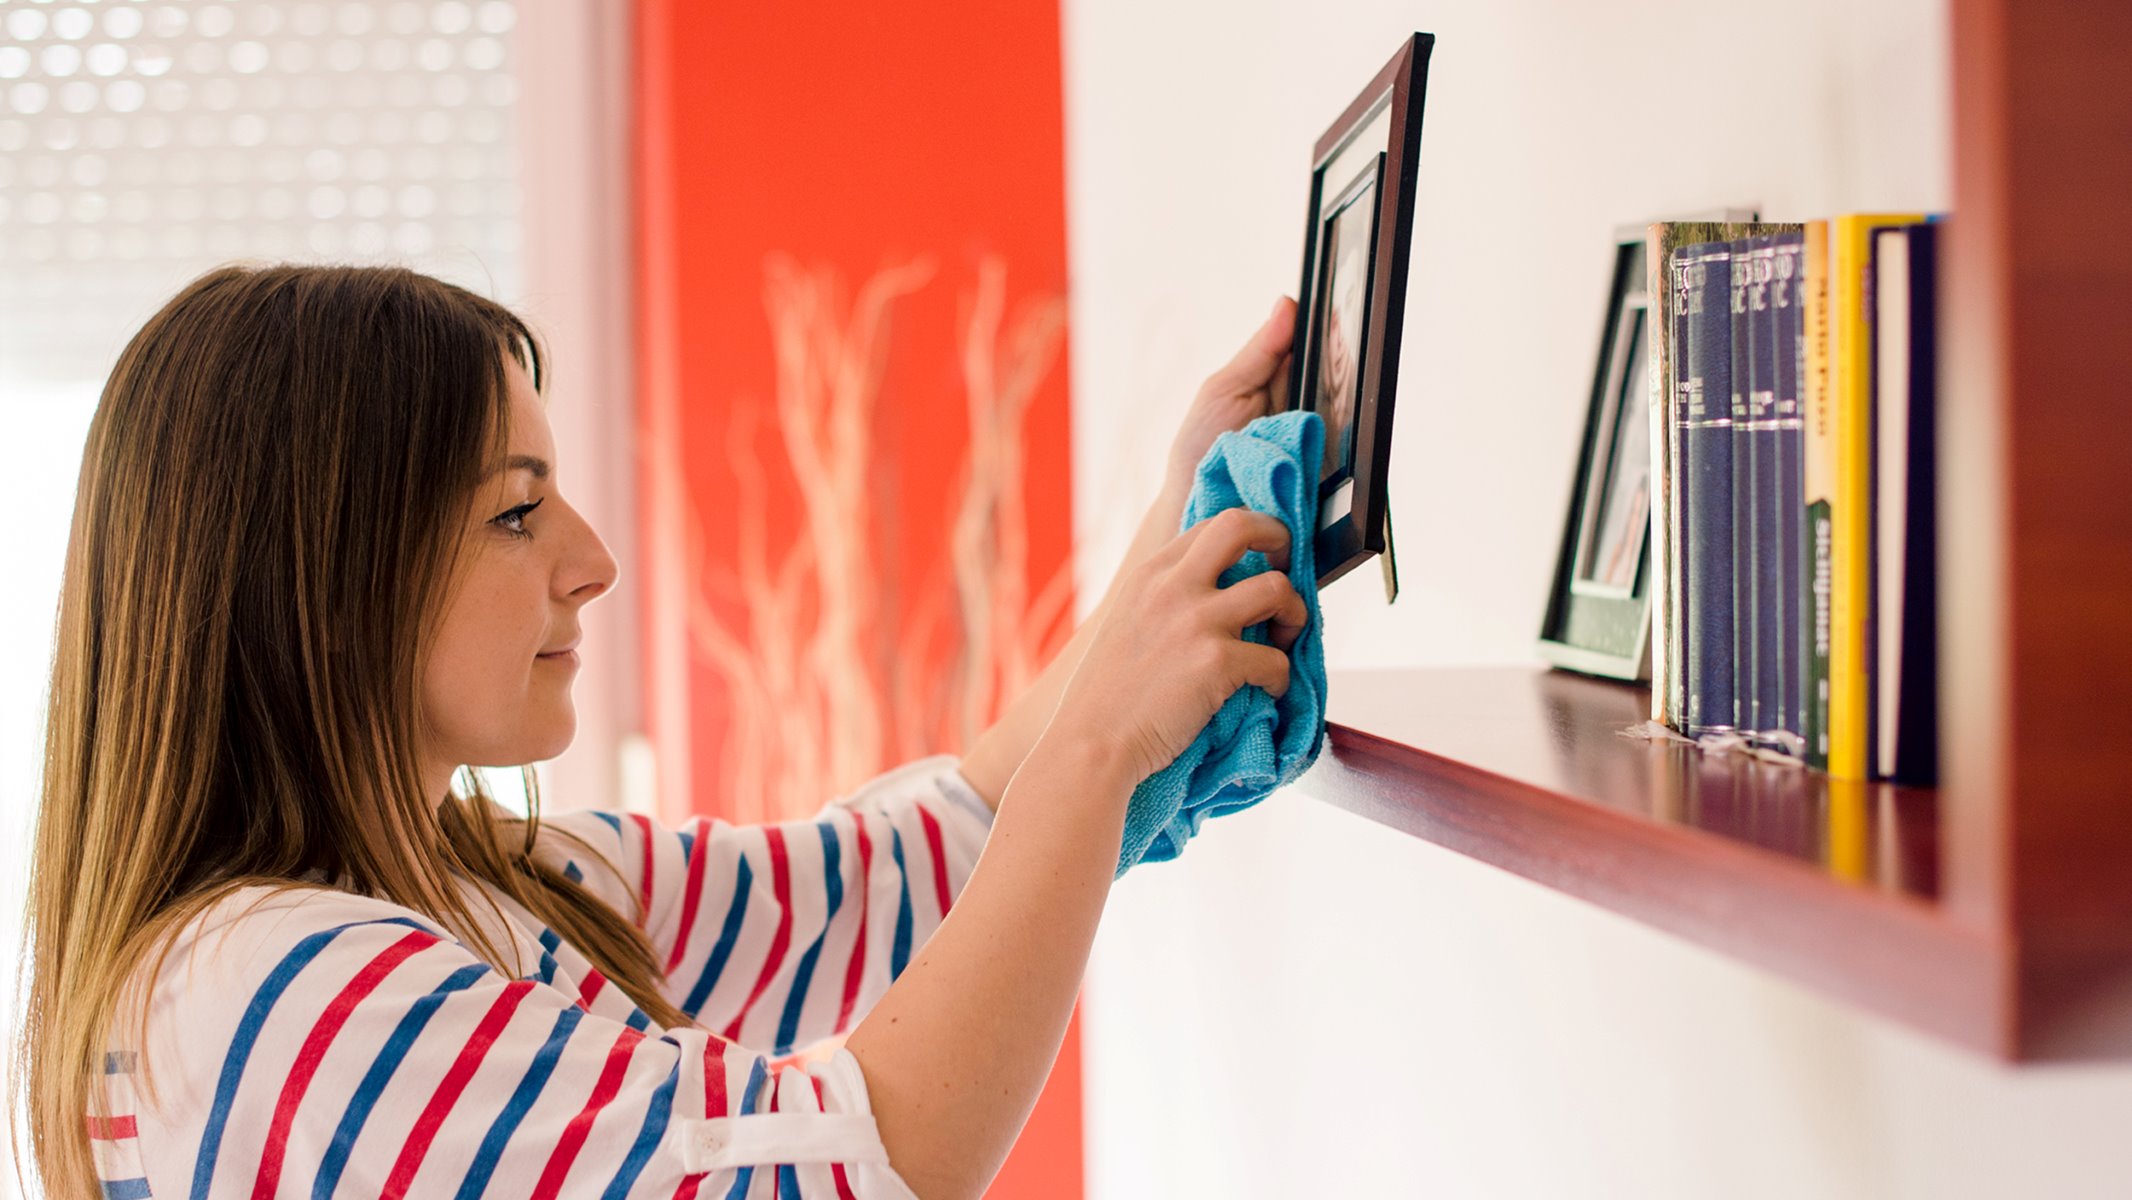
Once the frames are sanded and finished, you can clean them and proceed to hang or display them according to your preference.
Congratulations! You’ve successfully attached picture frames together, creating a beautiful display for your artwork, photographs, or cherished memories. Step back and admire your handiwork!
Remember, practice makes perfect, so don’t be discouraged if you encounter any challenges along the way. With each project, you’ll gain experience and confidence, enabling you to create stunning displays with ease.
Thank you for following our comprehensive guide on how to attach picture frames together. We hope this article has been helpful and that you enjoy your newly joined frames!
Read more: How To Store Picture Frames
Conclusion
Congratulations on completing the process of attaching picture frames together! You have learned the necessary steps and techniques to create a stunning display for your artwork, photographs, or cherished memories. By following this comprehensive guide, you have gained the knowledge and skills to create seamless and visually appealing frame arrangements.
Remember, the key to successfully joining frames is to gather the necessary tools and materials, measure and mark the frame edges accurately, cut the joining material to the right length, pre-drill holes for screws, attach the frames securely, and optionally apply wood glue for added reinforcement. Finally, sand and finish the joined frames to achieve a polished and professional appearance.
Throughout the process, it’s important to maintain precision and attention to detail. Taking the time to measure accurately, align the frames properly, and secure them with screws will ensure a sturdy and visually pleasing final result.
Adding wood glue between the frames can provide additional reinforcement and stability, especially for larger or heavier frames. This step is optional but can be beneficial for long-term durability.
Don’t forget to sand the frames and apply a finish to achieve a seamless and polished look. This final touch will enhance the overall aesthetic and protect the frames from wear and tear.
Now that you have the knowledge and skills, let your creativity soar as you explore different frame arrangements and create unique displays. Whether you’re showcasing your own artwork or preserving precious memories, attached picture frames will elevate the presentation and make a statement on any wall.
Thank you for following our comprehensive guide on how to attach picture frames together. We hope this article has given you the confidence and inspiration to embark on your frame-joining journey. Enjoy your beautifully displayed artwork and cherished moments!
Frequently Asked Questions about How To Attach Picture Frames Together
Was this page helpful?
At Storables.com, we guarantee accurate and reliable information. Our content, validated by Expert Board Contributors, is crafted following stringent Editorial Policies. We're committed to providing you with well-researched, expert-backed insights for all your informational needs.


0 thoughts on “How To Attach Picture Frames Together”