Home>Furniture>Bedroom Furniture>How To Attach A Headboard To A Bed Frame

Bedroom Furniture
How To Attach A Headboard To A Bed Frame
Modified: February 25, 2024
Learn how to easily add a headboard to your bed frame with our step-by-step guide. Enhance your bedroom furniture with this simple DIY project.
(Many of the links in this article redirect to a specific reviewed product. Your purchase of these products through affiliate links helps to generate commission for Storables.com, at no extra cost. Learn more)
Introduction
Welcome to our comprehensive guide on how to add a headboard to a bed frame. Adding a headboard can transform the look of a bedroom and provide both style and functionality to your sleeping space. Whether you want to create a cozy and inviting atmosphere or add a touch of elegance, a well-chosen headboard can make a significant difference.
In this article, we will take you through the step-by-step process of adding a headboard to your bed frame. We will provide you with the necessary tools and materials, as well as helpful tips and techniques to make the installation process smooth and hassle-free.
Before we get started, it’s important to note that the process of adding a headboard may vary depending on the type of bed frame you have. Make sure to consider the specific instructions and limitations of your bed frame before beginning the installation.
Now, let’s dive in and explore how you can easily and effectively add a headboard to your bed frame, giving your bedroom a stylish and functional upgrade.
Key Takeaways:
- Elevate your bedroom’s look and feel by adding a headboard to your bed frame. Choose a style that complements your decor and follow the step-by-step installation process for a stylish and cozy sanctuary.
- Transform your sleeping space into a visually pleasing and functional sanctuary with a well-chosen and properly installed headboard. Follow the comprehensive guide for a successful and impactful bedroom upgrade.
Tools and Materials Needed
Before you begin adding a headboard to your bed frame, gather the following tools and materials:
- Measuring tape
- Drill
- Screws
- Wrench or screwdriver
- Level
- Pencil or marker
- Headboard brackets or mounting hardware
- Headboard of your choice
- Optional: Stud finder
The measuring tape will ensure that you accurately measure the width and height of your bed frame, allowing you to select an appropriately sized headboard. The drill and screws will be necessary for attaching the headboard to the bed frame securely.
Depending on your bed frame, you may need a wrench or screwdriver to loosen or remove any existing hardware that could interfere with the headboard installation process.
A level will come in handy to ensure that your headboard is perfectly straight and properly aligned. Use a pencil or marker to mark the placement of your headboard brackets or mounting hardware on the bed frame.
Headboard brackets or mounting hardware are essential for securely attaching the headboard to the bed frame. Make sure to choose the appropriate brackets or hardware based on the design and construction of your headboard and bed frame.
Lastly, you will need a headboard of your choice. Consider the style, material, and overall aesthetic of your bedroom when selecting a headboard that suits your personal preferences.
Depending on your bed frame and the location of studs in your wall, it may be helpful to have a stud finder on hand to ensure that your headboard is mounted securely to a stable surface.
Now that you have gathered all the necessary tools and materials, you are ready to move on to the next step of the process.
Step 1: Measure and Prepare
The first step in adding a headboard to your bed frame is to measure and prepare the area where the headboard will be installed. This will ensure proper alignment and a secure attachment.
Start by measuring the width and height of your bed frame. Use a measuring tape to determine the exact dimensions. Make sure to take accurate measurements, as this will help you select a headboard that fits perfectly.
Once you have the measurements, consider the style and design of your bed frame. Take note of any existing hardware or attachments that may need to be removed or adjusted before installing the headboard.
If your bed frame has a built-in headboard bracket or mounting hardware, inspect it to ensure it is in good condition and properly aligned. If there are any issues, make the necessary adjustments or replacements.
If your bed frame does not have an existing mounting system, you will need to determine the best method for attaching the headboard securely. This may involve using headboard brackets or mounting hardware that can be purchased separately.
Before proceeding with the installation, it’s important to ensure that the wall behind the bed frame is sturdy enough to support the weight of the headboard. If you have a stud finder, use it to locate and mark the studs on the wall. This will give you a solid anchor point.
If the wall does not have studs in the desired location, you may need to use wall anchors or toggle bolts to ensure a secure attachment. Consult the instructions provided with your headboard brackets or mounting hardware for the best method to use.
Take some time to clean and prepare the area where the headboard will be installed. Remove any dust, debris, or obstructions that may interfere with the installation process.
Once you have measured, inspected, and prepared the area, you are ready to move on to the next step: choosing the style of your headboard.
Step 2: Choose the Style of Headboard
Now that you have prepared the area and measured your bed frame, it’s time to choose the style of headboard that best suits your design preferences and bedroom décor.
When selecting a headboard, consider the overall theme and style of your bedroom. Are you aiming for a modern, minimalist look or a more traditional and ornate design? The headboard you choose should complement the existing furniture and enhance the overall aesthetic of the room.
Take into account the material of the headboard. Popular options include wood, upholstered fabric, metal, and even leather. Each material brings a unique texture and visual appeal to the bedroom, so choose one that resonates with your personal style.
Consider the size and shape of the headboard as well. Some people prefer a tall, statement headboard that adds drama and presence to the room, while others prefer a lower-profile headboard for a more subtle and understated look.
Additionally, think about the functionality of the headboard. Do you want a headboard with built-in storage shelves or compartments? Or perhaps you would like a headboard with integrated lighting for added convenience and ambiance.
Browsing through catalogs, online retailers, and visiting furniture stores can provide inspiration and help you visualize how different headboard styles will look in your bedroom. Pay attention to details such as color, trim, and any decorative elements that may add character to the headboard.
Take your time to weigh the pros and cons of each style and consider how it will blend with your existing bedroom décor. By selecting a headboard that reflects your personal style and enhances the overall design of the room, you’ll create a visually pleasing and cohesive space.
Once you have chosen the perfect headboard for your bed frame, it’s time to move on to the next step: preparing the headboard for installation.
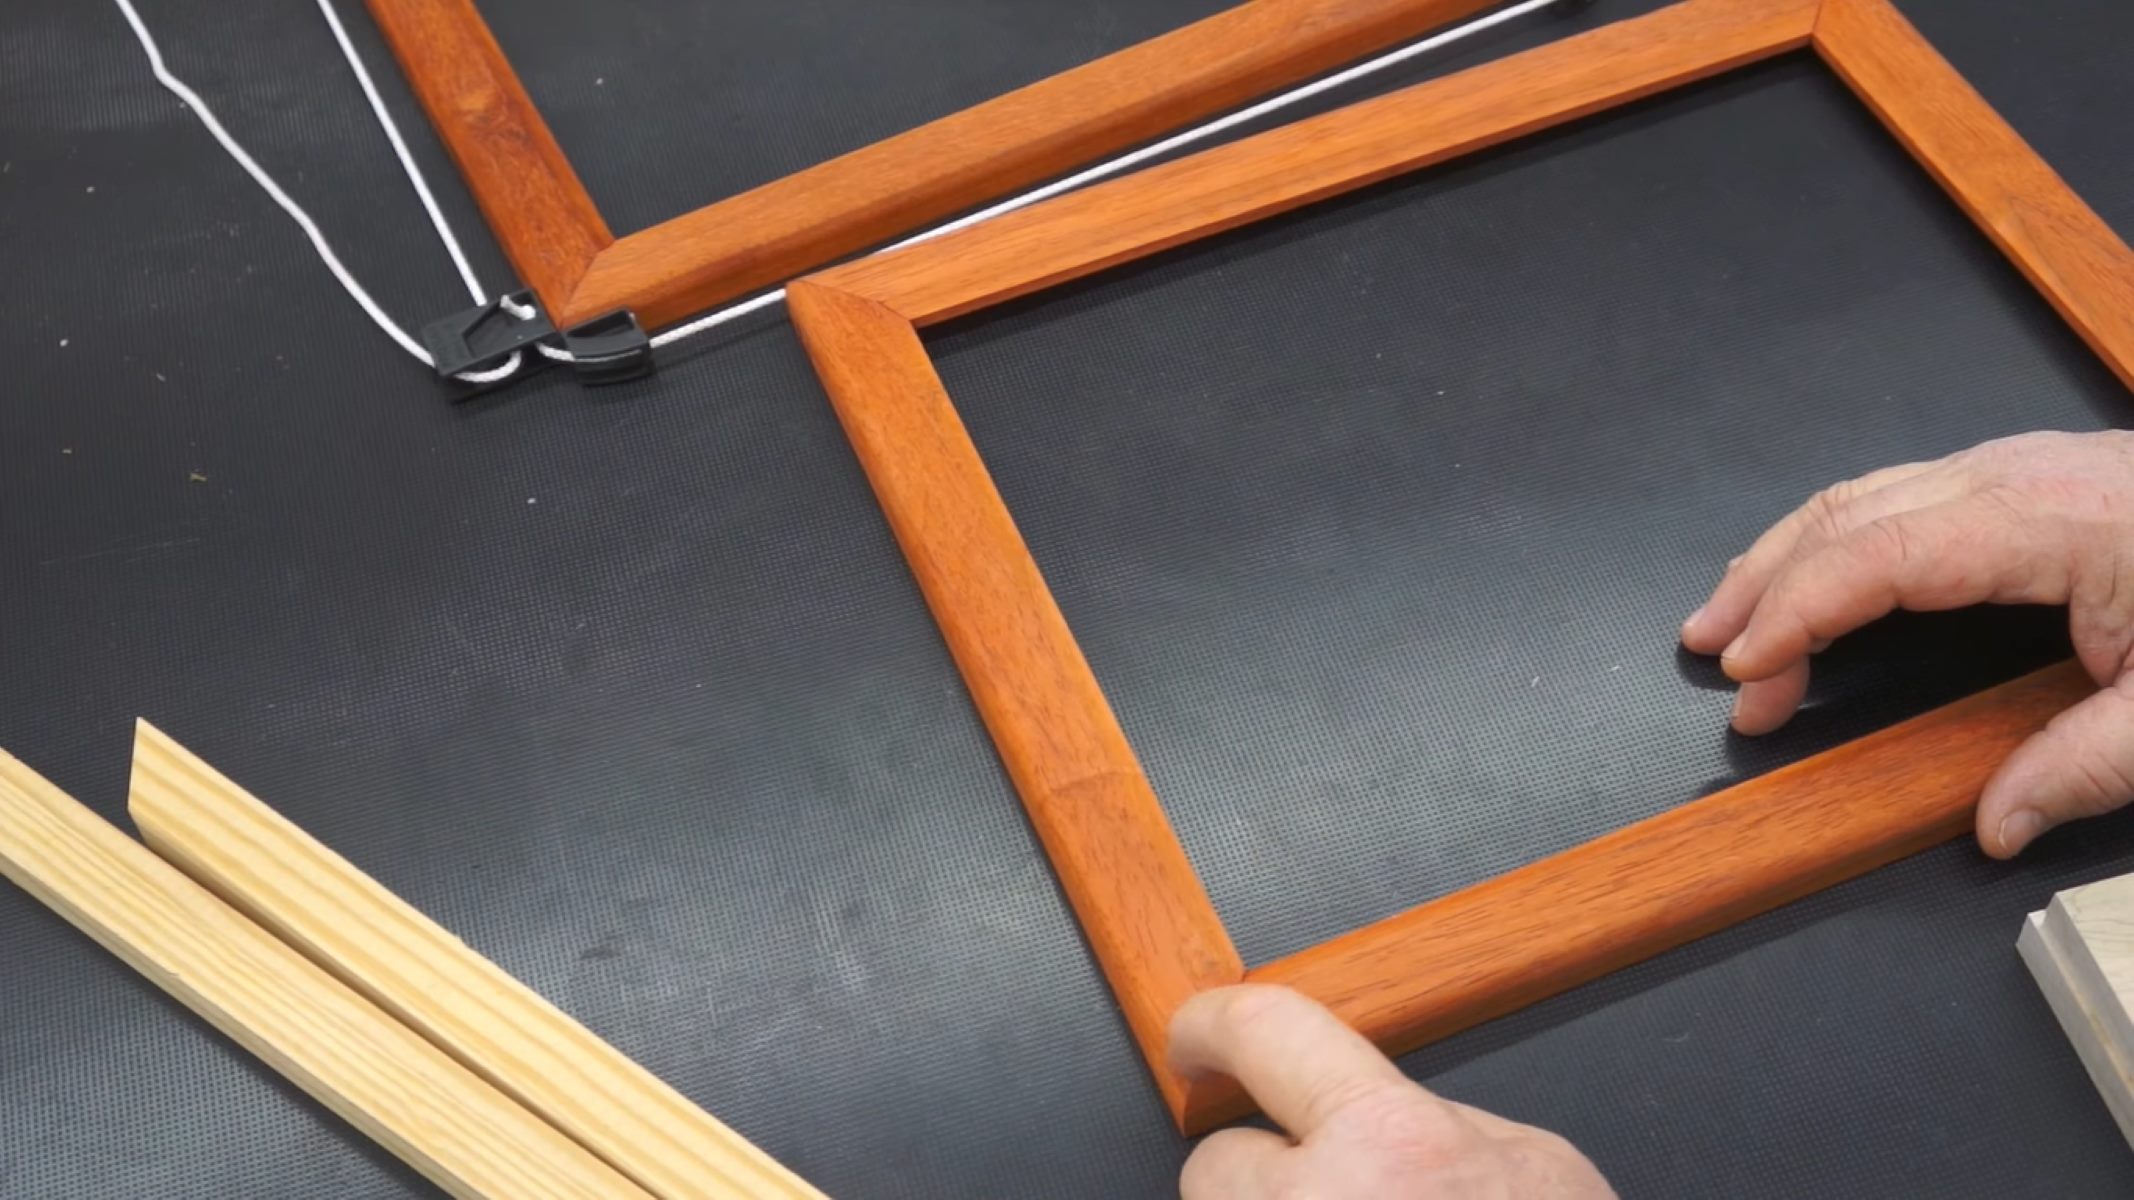
When adding a headboard to a bed frame, make sure to measure the distance between the pre-drilled holes on the headboard and the corresponding holes on the bed frame to ensure a proper fit. Use the appropriate hardware to secure the headboard to the frame.
Step 3: Prepare the Headboard
Now that you have chosen the style of headboard that suits your bedroom, it’s time to prepare it for installation. Proper preparation ensures that the headboard is ready to be attached securely to your bed frame.
If your headboard is brand new, it may require minimal preparation. However, if you have a pre-owned or custom-made headboard, there are a few steps you can take to ensure it is ready for installation.
Begin by inspecting the headboard for any loose or damaged parts. Tighten any screws or bolts that may have come loose during transportation or storage. If you notice any significant damage or structural issues, it may be necessary to repair or reinforce the headboard before proceeding.
If your headboard is made of wood, you may choose to sand it down for a smooth finish. This will remove any splinters or rough edges, ensuring a more comfortable and safe installation process. Additionally, you can apply a layer of varnish or paint to protect the wood and enhance its appearance.
For upholstered headboards, vacuuming or spot cleaning is typically sufficient to remove dust or stains. Use a gentle cleaning solution suitable for the type of fabric used in your headboard. Allow it to dry completely before moving on to the next step.
If your headboard has any additional features such as lighting, shelves, or storage compartments, test them to ensure they are functioning properly. Replace any faulty bulbs or repair any malfunctioning components before proceeding with the installation.
Lastly, lay the headboard on a flat surface and double-check the alignment of any pre-drilled holes or mounting brackets. This step ensures that the headboard will line up correctly with the bed frame when it’s time to attach them.
By properly preparing the headboard, you can minimize any issues or complications during the installation process. Now, it’s time to move on to the next step: attaching the headboard to the bed frame.
Read more: How To Assemble A Bed Frame With Headboard
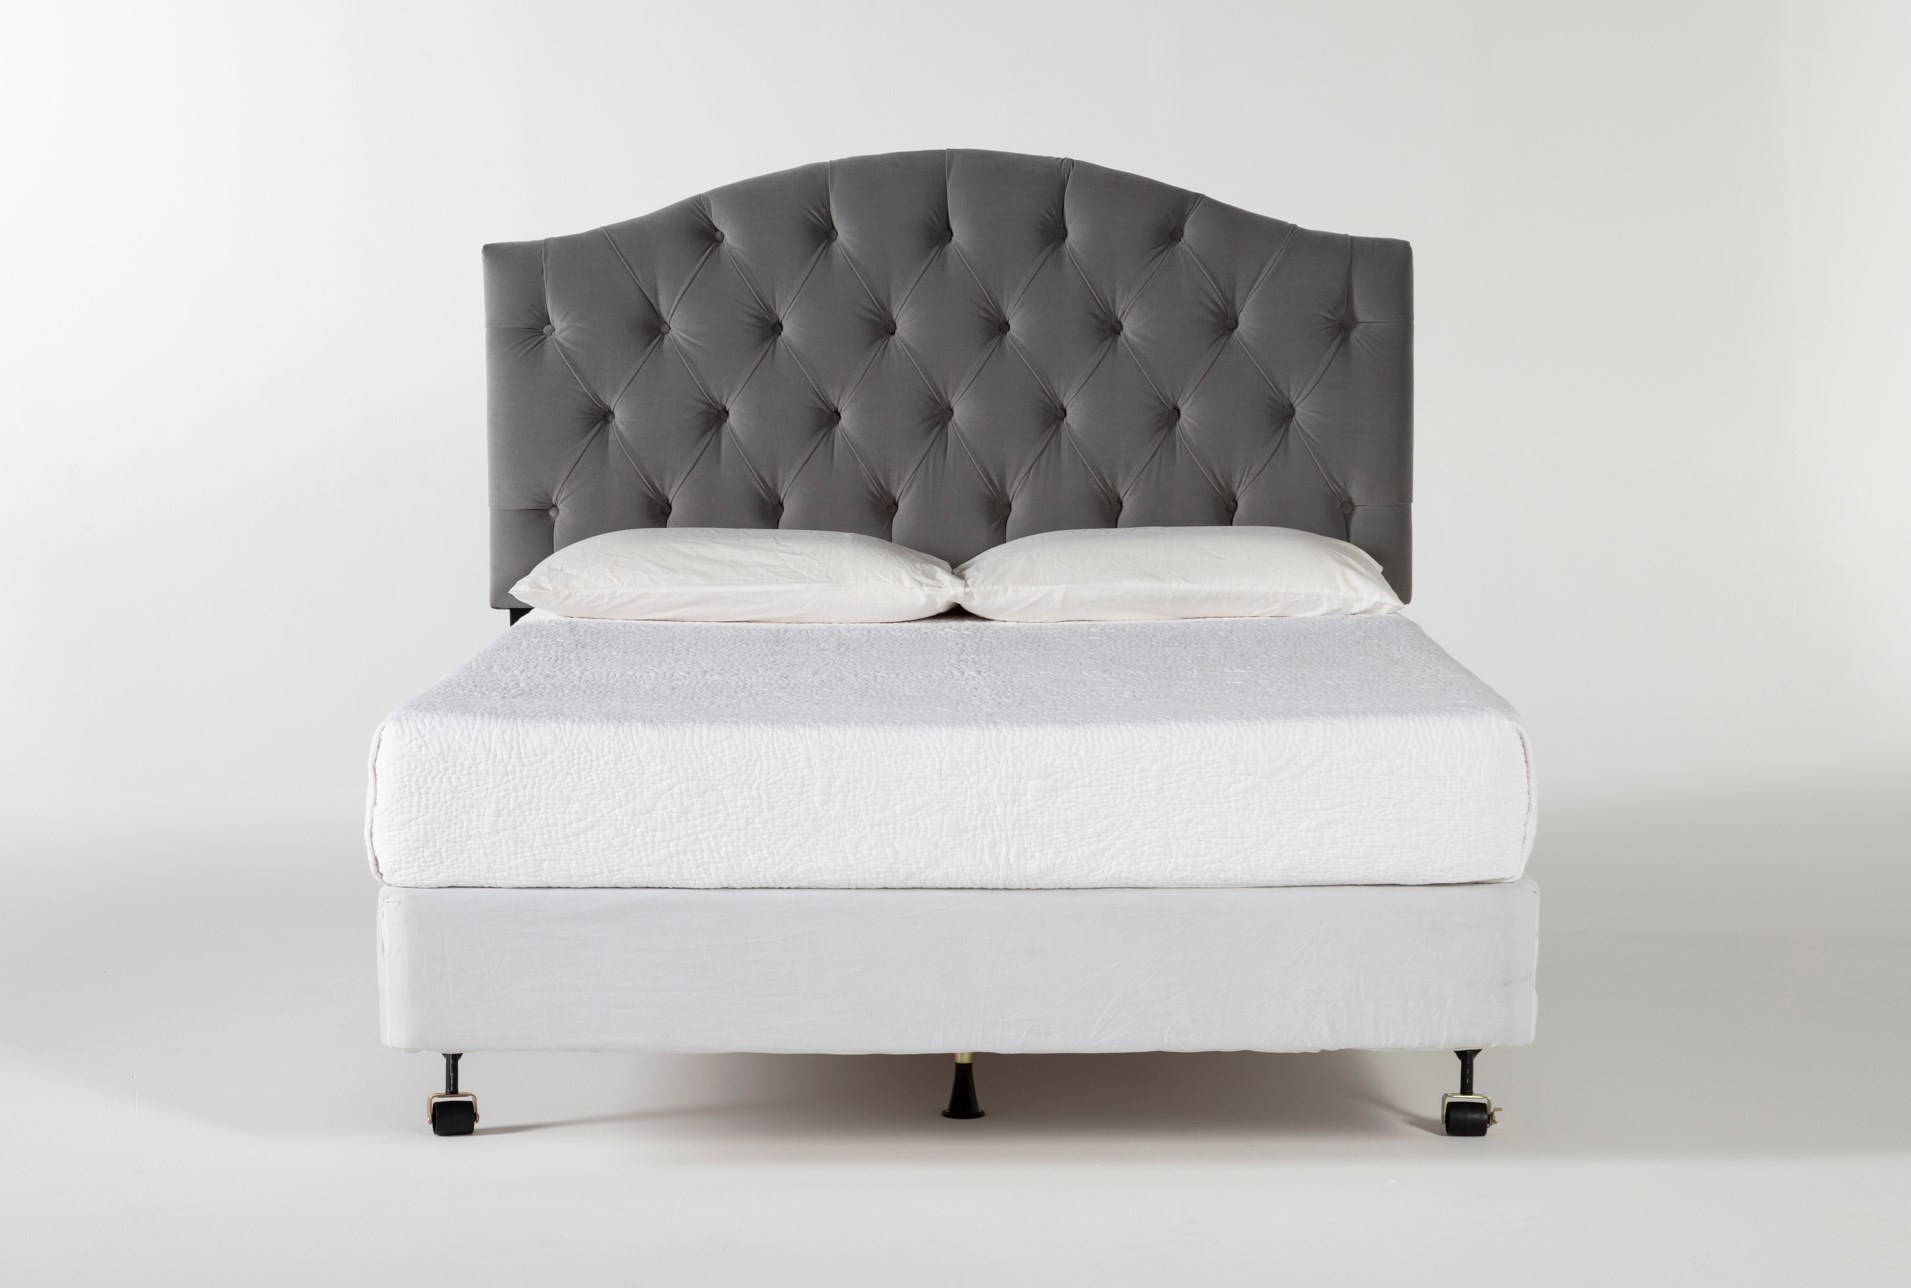
Step 4: Attach the Headboard to the Bed Frame
With your prepared headboard in hand, it’s time to attach it to your bed frame. This step will secure the headboard in place and ensure it is stable and aligned with the rest of the bed.
First, position the headboard against the wall at the desired height and alignment with the bed frame. Use a level to ensure that the headboard is perfectly straight. Make any necessary adjustments until it is perfectly positioned.
Next, mark the placement of the headboard brackets or mounting hardware on the bed frame. Use a pencil or marker to make small markings on the frame where the brackets or hardware will be attached. Double-check that the lines are level and aligned with the headboard.
Depending on the type of mounting system you have, you may need to insert screws or bolts into the appropriate holes on the bed frame. Use a drill or screwdriver to secure the brackets or hardware to the frame, ensuring a tight fit. Make sure to follow the instructions provided with your specific mounting system for the best results.
Once the brackets or hardware are securely attached to the bed frame, gently lift the headboard and carefully align it with the markings you made earlier. Slide the headboard into the brackets or onto the hardware, allowing it to rest against the wall. Double-check that the headboard is level and aligned with the bed frame.
If your headboard has additional support legs, make sure they are securely attached to the bed frame as well. These legs help provide extra stability and support for the headboard.
Finally, tighten any screws or bolts on the headboard brackets, ensuring a firm and secure attachment. Use a wrench or screwdriver to tighten them, making sure not to overtighten and risk damaging the headboard or bed frame.
Step back and admire your newly attached headboard. Give it a gentle shake to ensure it is stable and properly aligned. If everything looks and feels secure, you have successfully attached the headboard to your bed frame!
Now that your headboard is securely in place, it’s time to move on to the final step: adding the finishing touches.
Step 5: Finishing Touches
Congratulations! You have successfully attached the headboard to your bed frame. Now, it’s time to add the finishing touches that will complete the look and enhance the overall aesthetic of your bedroom.
Start by making sure that the headboard is clean and free from any dust or debris that may have accumulated during the installation process. Use a soft cloth or vacuum cleaner to gently remove any particles from the surface of the headboard and its upholstery, if applicable.
If your headboard has any decorative elements or trim, take a moment to ensure they are properly aligned and in good condition. Straighten any crooked moldings or embellishments and tighten any loose screws or nails if needed.
Consider adding extra comfort and style by dressing up your headboard with pillows and cushions. Experiment with different sizes, colors, and patterns to create a cozy and inviting atmosphere. This will not only add visual interest but also provide additional support and comfort while sitting up in bed.
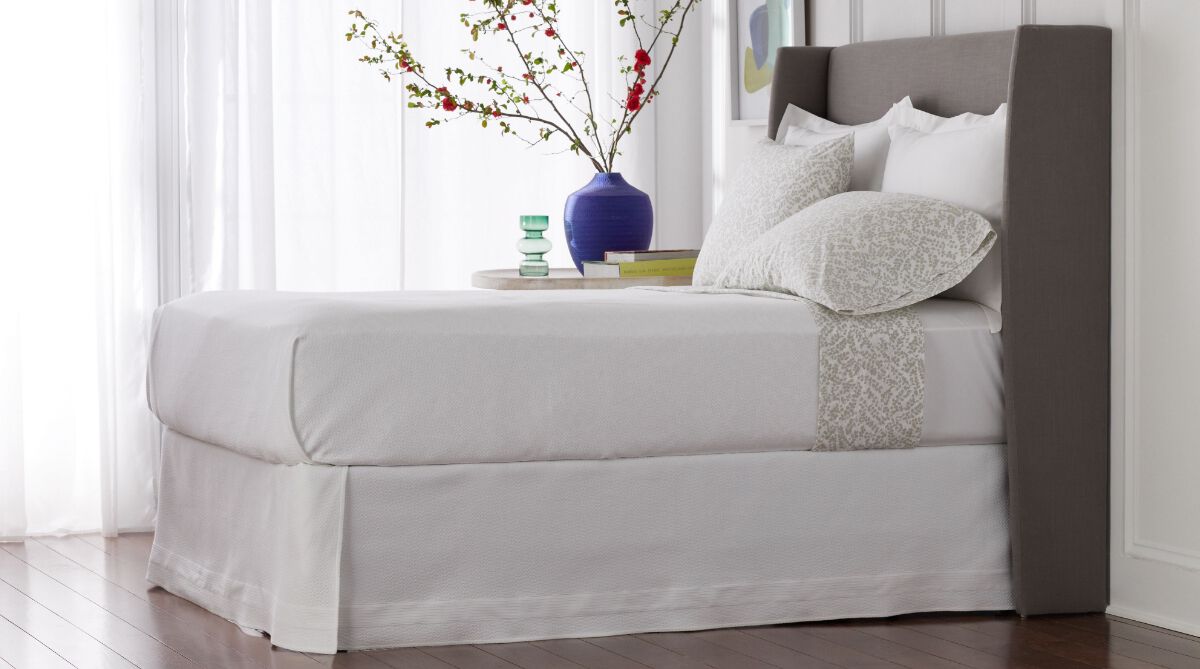
If desired, you can further enhance the look of your headboard by adding a bedskirt or valance around the base of the bed. This will create a seamless and polished appearance, hiding any exposed bed frame or storage compartments beneath.
To complete the overall aesthetic of your bedroom, complement the headboard with appropriate bedding, curtains, and accessories. Select a color palette and theme that harmonizes with the style of your headboard and the rest of the room. This will create a cohesive and visually appealing space.
Lastly, step back and admire the transformation of your bedroom. Appreciate the new focal point that the headboard brings to the space and enjoy the heightened sense of style and comfort it provides.
Remember to periodically inspect the headboard and bed frame to ensure they remain securely attached. Tighten any screws or bolts if necessary and address any maintenance issues promptly to keep your headboard looking and functioning at its best.
With the finishing touches complete, you can now fully enjoy your revamped bedroom with a stylish and functional headboard.
Congratulations once again on successfully adding a headboard to your bed frame!
It’s time to relax and enjoy your beautiful and inviting sleeping space.
Conclusion
Adding a headboard to your bed frame is a simple yet impactful way to elevate the look and feel of your bedroom. This comprehensive guide has provided you with step-by-step instructions, helpful tips, and considerations to ensure a successful installation process.
By measuring and preparing the area, choosing a style that complements your bedroom, preparing the headboard, attaching it securely to the bed frame, and adding the finishing touches, you have transformed your sleeping space into a stylish and cozy sanctuary.
Remember to select a headboard that aligns with your personal style and enhances the overall aesthetic of your bedroom. Consider materials, size, shape, and functionality to create a cohesive and visually pleasing design.
Throughout the installation process, pay attention to alignment, stability, and the condition of all components. Take the time to properly prepare the headboard and follow the instructions provided with your chosen mounting system.
Once the headboard is securely attached, add the finishing touches that will complete the overall look of your bedroom. Dress it up with pillows, cushions, and bedding that coordinate with the style of the headboard and your bedroom decor.
As you enjoy your newly transformed bedroom, remember to periodically check and maintain the headboard and bed frame to ensure their longevity and stability.
Now, sit back, relax, and admire the stunning impact that a well-chosen and properly installed headboard has made to your sleeping space. Your bedroom is now a reflection of your unique style and provides a comfortable and aesthetically pleasing environment that you can truly enjoy.
Frequently Asked Questions about How To Attach A Headboard To A Bed Frame
Was this page helpful?
At Storables.com, we guarantee accurate and reliable information. Our content, validated by Expert Board Contributors, is crafted following stringent Editorial Policies. We're committed to providing you with well-researched, expert-backed insights for all your informational needs.


0 thoughts on “How To Attach A Headboard To A Bed Frame”