Articles
How To Attach Insulation To Metal Studs
Modified: October 28, 2024
Learn how to attach insulation to metal studs with our informative articles. Find step-by-step instructions and expert tips for optimal insulation installation.
(Many of the links in this article redirect to a specific reviewed product. Your purchase of these products through affiliate links helps to generate commission for Storables.com, at no extra cost. Learn more)
Introduction
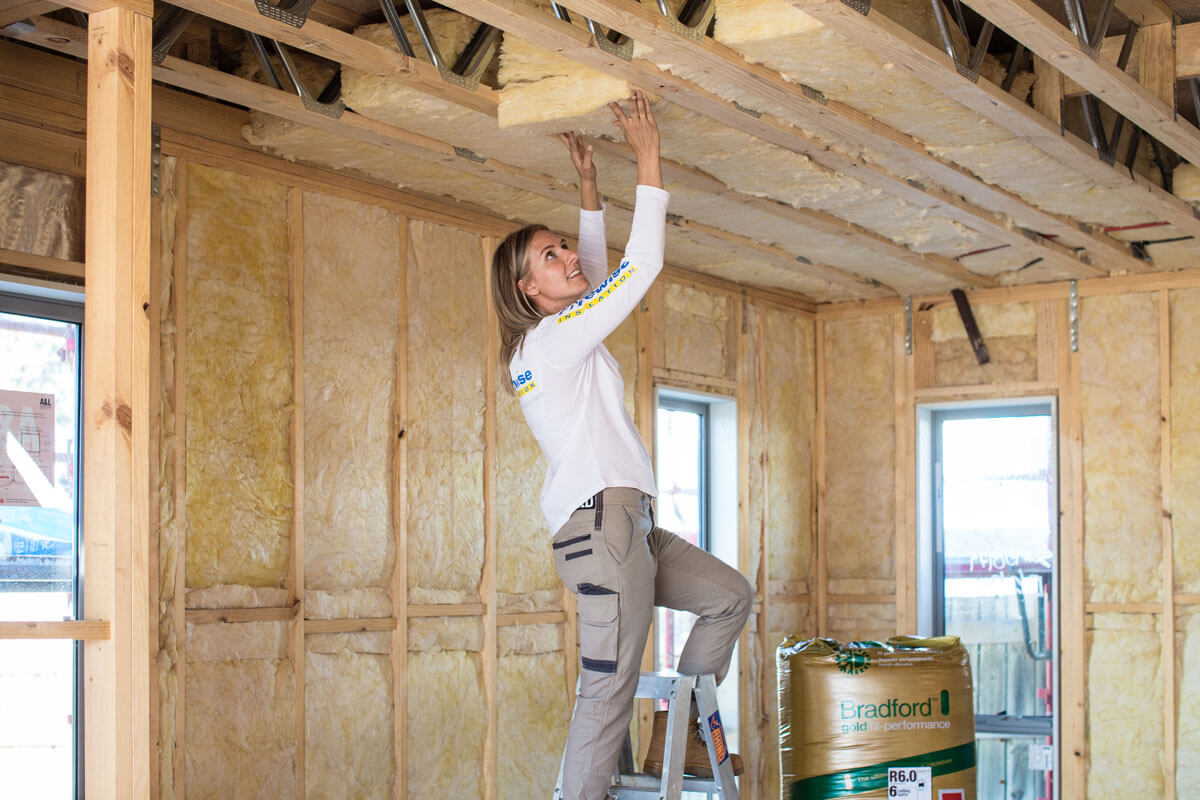
When it comes to insulating a building, it’s important to consider all the different types of materials and methods available. One popular option is attaching insulation to metal studs, commonly found in commercial buildings or modern residential construction. This method provides a sturdy and durable foundation for the insulation, ensuring proper energy efficiency and soundproofing.
In this article, we will explore the various ways to attach insulation to metal studs, including the tools and materials needed for each method. Whether you’re a DIY enthusiast or a professional contractor, this comprehensive guide will help you make informed decisions and achieve optimal results.
Before we dive into the various techniques for attaching insulation to metal studs, let’s first familiarize ourselves with the different types of insulation available.
Key Takeaways:
- Properly preparing metal studs and choosing the right insulation type are crucial for a successful installation. Follow manufacturer’s instructions, consider fire and safety regulations, and address thermal bridges for optimal results.
- Whether using adhesive, clips and fasteners, or battens, each method of attaching insulation to metal studs offers its own advantages. Consider soundproofing needs, regularly inspect for moisture damage, and prioritize safety throughout the installation process.
Read more: How To Attach Metal Electrical Box To Stud
Types of Insulation
Insulation comes in a variety of forms, each with its own unique characteristics and benefits. The choice of insulation depends on factors such as the desired level of insulation, moisture resistance, fire resistance, and budget. Here are some of the most commonly used types of insulation:
- Fiberglass Insulation: This type of insulation is made of glass fibers that are woven together to create a dense material. It is available in batts, rolls, and loose fill. Fiberglass insulation is known for its excellent thermal performance and affordability.
- Spray Foam Insulation: This insulation is created by mixing two liquid components, which then undergo a chemical reaction to expand and harden. Spray foam insulation provides superior insulation and air sealing properties, making it highly energy-efficient.
- Cellulose Insulation: Made from recycled paper treated with fire retardant chemicals, cellulose insulation is an eco-friendly option. It is available in loose fill or blown-in form and provides excellent thermal and sound insulation.
- Rigid Foam Insulation: Rigid foam insulation is made from foam boards that are available in various thicknesses. It offers high insulating properties and can also provide structural support.
- Mineral Wool Insulation: Also known as rock wool, mineral wool insulation is made from natural or synthetic minerals. It offers excellent fire resistance and soundproofing capabilities.
- Reflective Insulation: Reflective insulation is typically made of a thin layer of aluminum foil laminated to a material like cardboard or plastic. It works by reflecting heat back towards its source, making it ideal for hot climates.
Now that we have a better understanding of the different types of insulation available, let’s move on to the tools and materials you’ll need to attach insulation to metal studs.
Tools and Materials Needed
Before you begin attaching insulation to metal studs, it’s important to gather all the necessary tools and materials. Here’s a list of what you’ll need:
- Insulation: Choose the type of insulation that best suits your needs and the requirements of the building. Make sure you have enough insulation to cover the desired area.
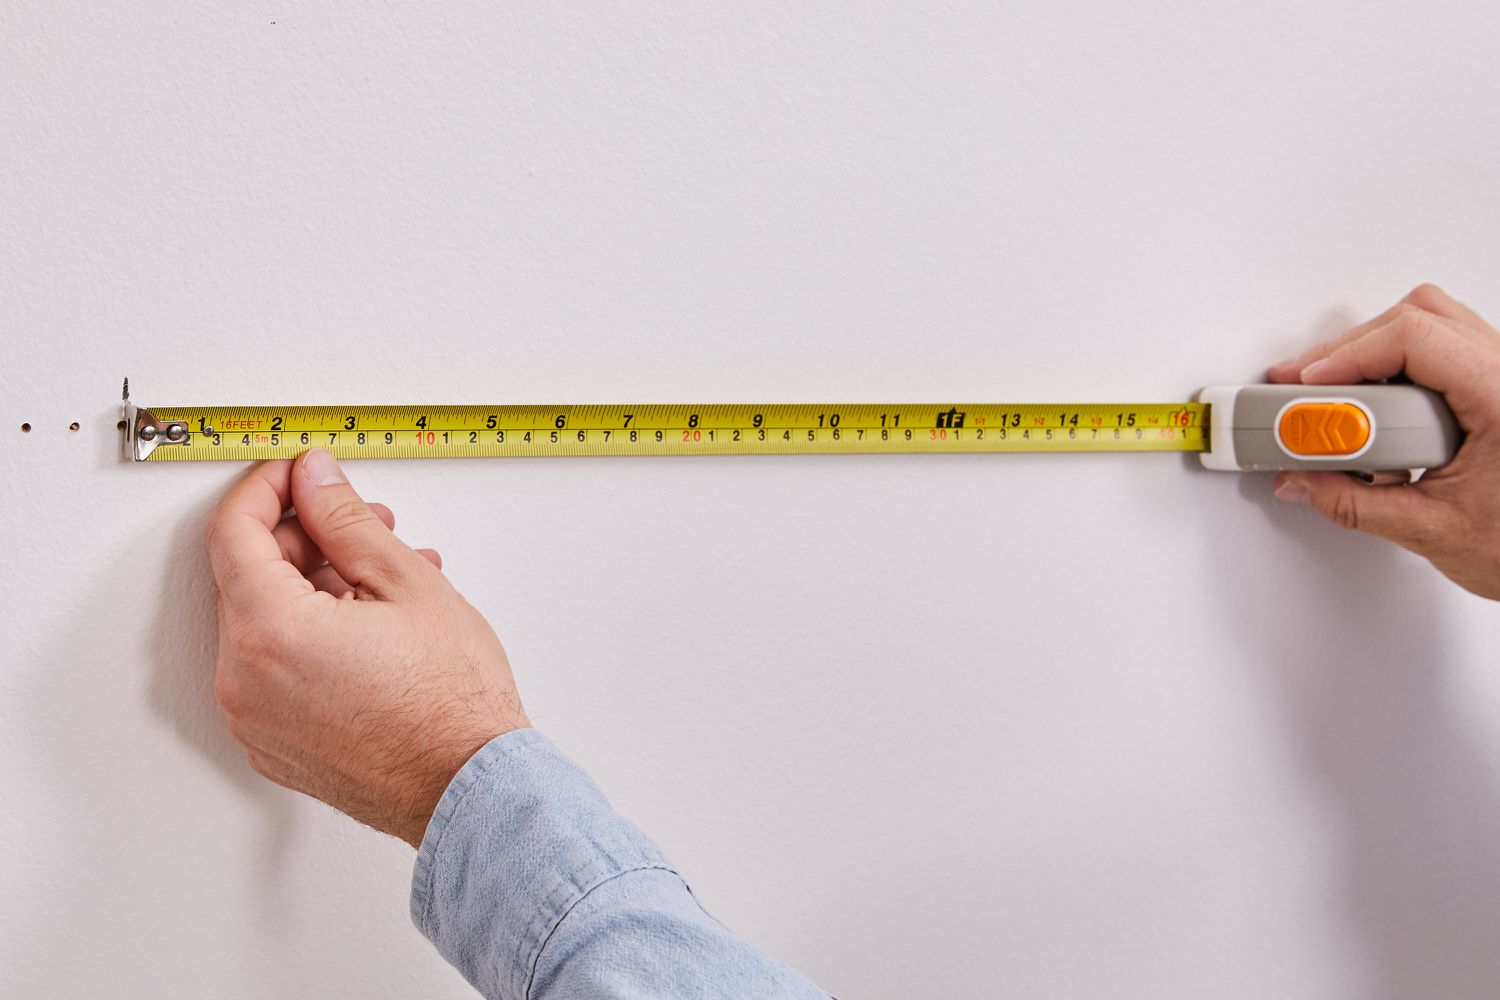
- Measuring Tape: A measuring tape is essential to accurately measure the dimensions of the metal studs and cut the insulation to the right size.
- Utility Knife: Use a sharp utility knife to cut the insulation neatly and precisely.
- Adhesive: Depending on the method you choose, you may need adhesive to secure the insulation to the metal studs.
- Clips and Fasteners: If you opt for clips and fasteners, make sure you have enough of them to securely attach the insulation to the metal studs.
- Battens: Battens are strips of wood or metal used to create a secure framework for the insulation. If you plan to use this method, have enough battens on hand.
- Screwdriver or Power Drill: You may need a screwdriver or power drill, depending on the method you choose, to secure the insulation in place.
- Gloves and Safety Glasses: Protect your hands and eyes by wearing gloves and safety glasses throughout the insulation installation process.
- Dust Mask: When working with certain types of insulation, such as fiberglass, it’s important to wear a dust mask to prevent inhaling fine particles.
- Ladder or Step Stool: Depending on the height of the wall or ceiling, you may need a ladder or step stool to reach the metal studs.
Make sure all the tools and materials are easily accessible before you start the insulation installation process. Now that you’re prepared, let’s move on to the next steps: preparing the metal studs.
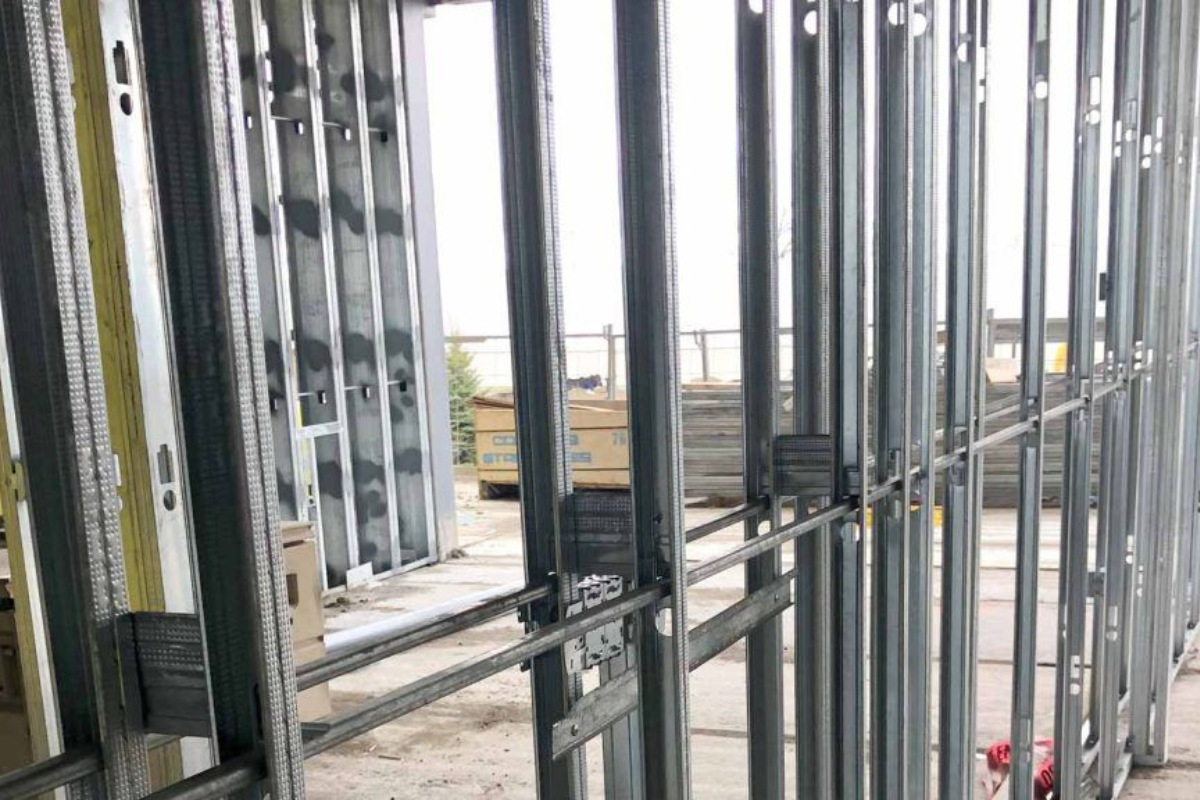
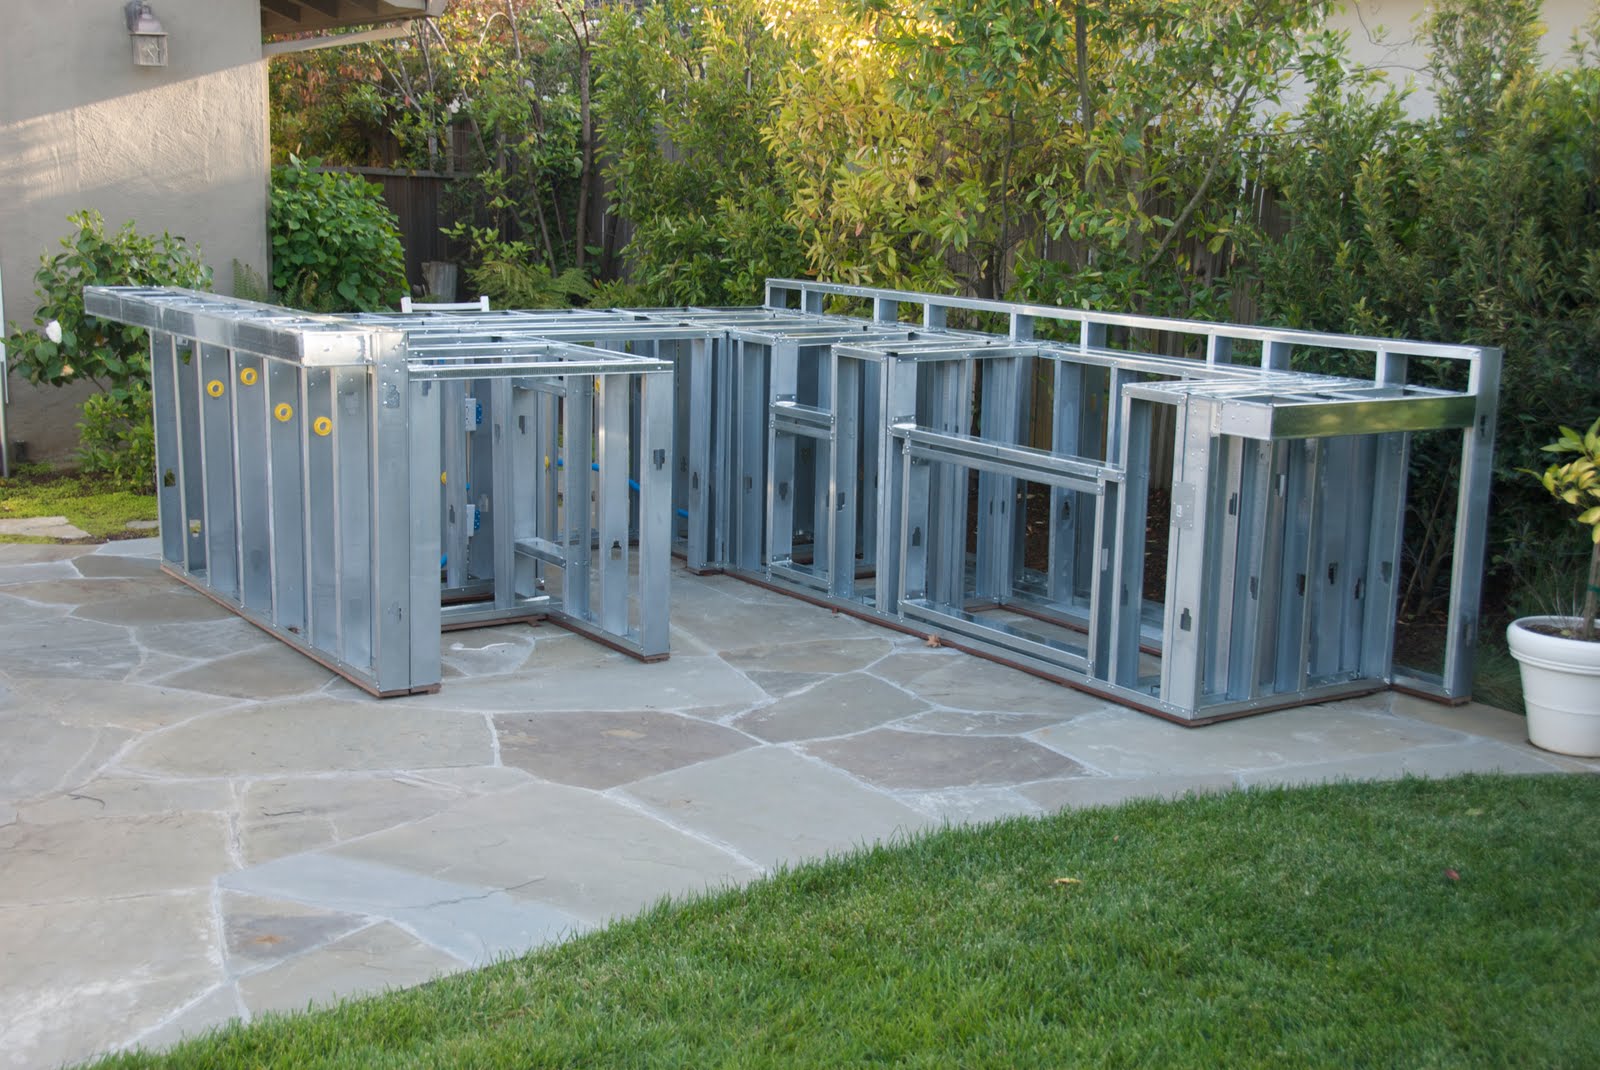
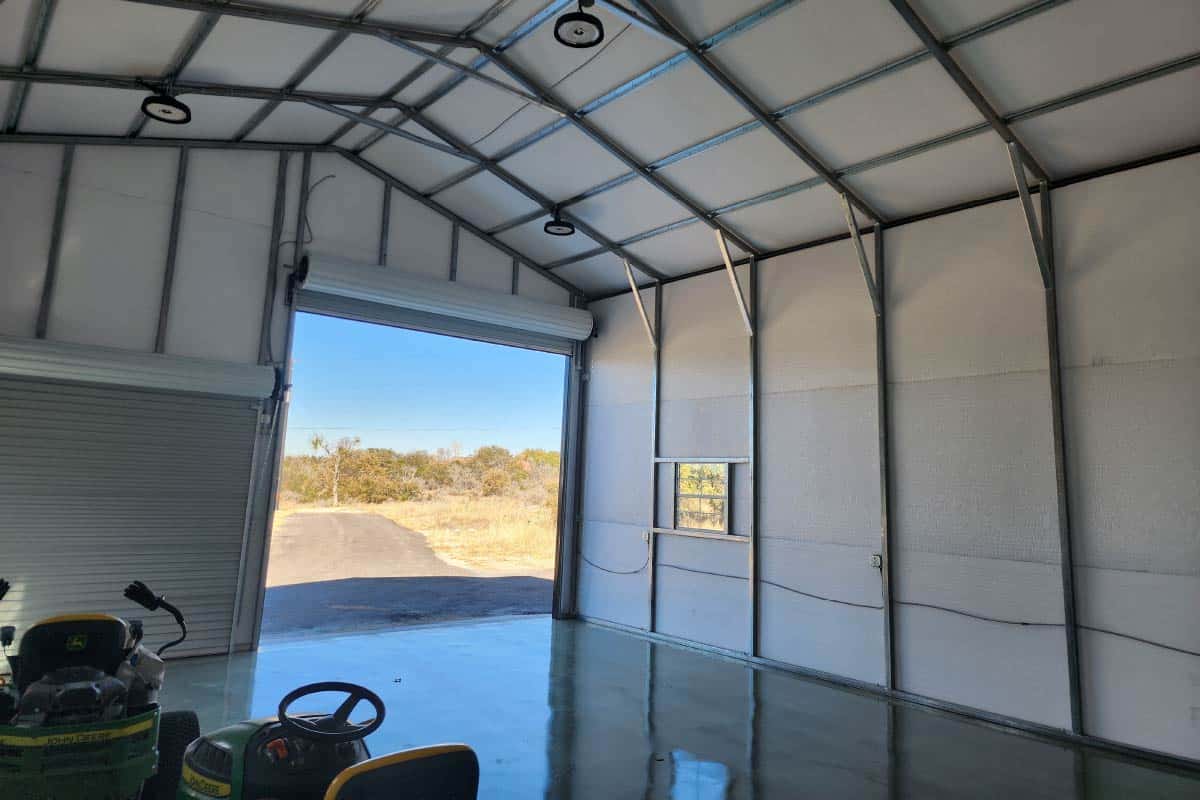
Preparing the Metal Studs
Before attaching insulation to metal studs, it’s essential to properly prepare the metal studs to ensure a secure and effective installation. Follow these steps to prepare the metal studs:
- Clean the Metal Studs: Use a clean cloth or brush to remove any dust, debris, or other particles from the surface of the metal studs. This will ensure better adhesion between the insulation and the metal studs.
- Check for Imperfections: Inspect the metal studs for any sharp edges, burrs, or other imperfections that may cause damage to the insulation. Use a file or sandpaper to smooth any rough spots.
- Remove Obstructions: Make sure the metal studs are free of any obstructions, such as nails, screws, or old insulation material. These can interfere with the installation process and compromise the effectiveness of the insulation.
- Install Vapor Barrier: If required, install a vapor barrier on the metal studs before attaching the insulation. The vapor barrier helps prevent moisture from penetrating the insulation and causing damage or mold growth.
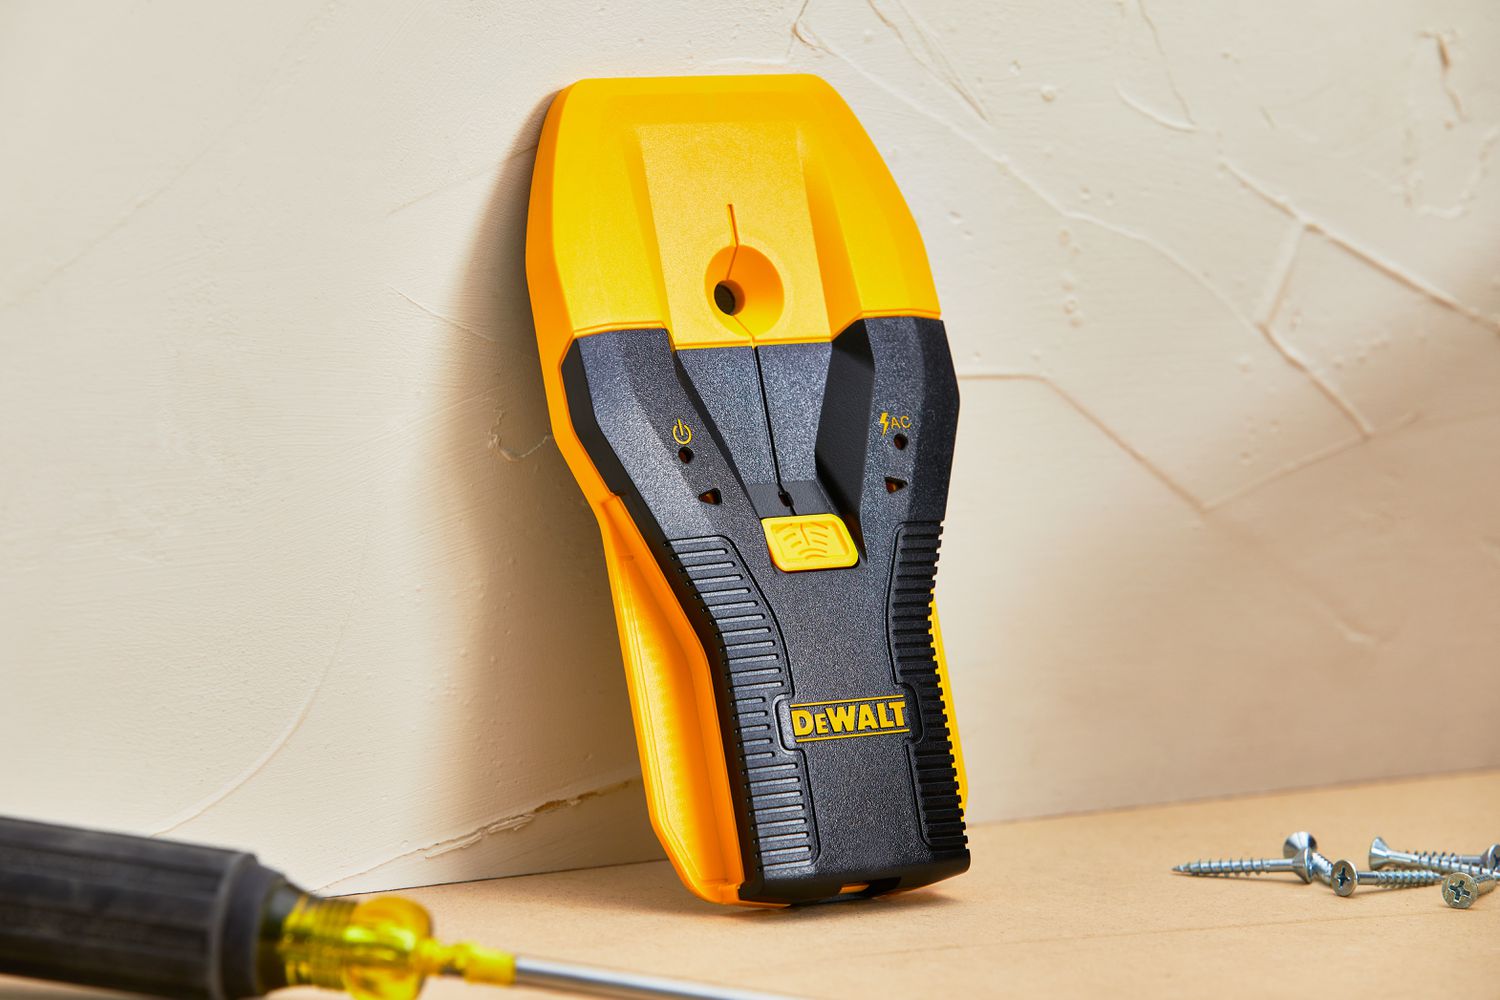
- Double-Check Stud Spacing: Ensure that the metal studs are properly spaced according to the building codes and insulation specifications. This will ensure a smooth and even installation of the insulation.
- Mark the Studs: Mark the stud locations on the floor or ceiling, indicating where the insulation will be attached. This will help guide your installation process and ensure that the insulation is applied correctly.
By taking the time to properly prepare the metal studs, you’ll create a solid foundation for attaching the insulation. This will ensure a seamless and effective installation, maximizing the energy efficiency and soundproofing capabilities of the building. Now, let’s explore the different methods for attaching insulation to metal studs, starting with adhesive.
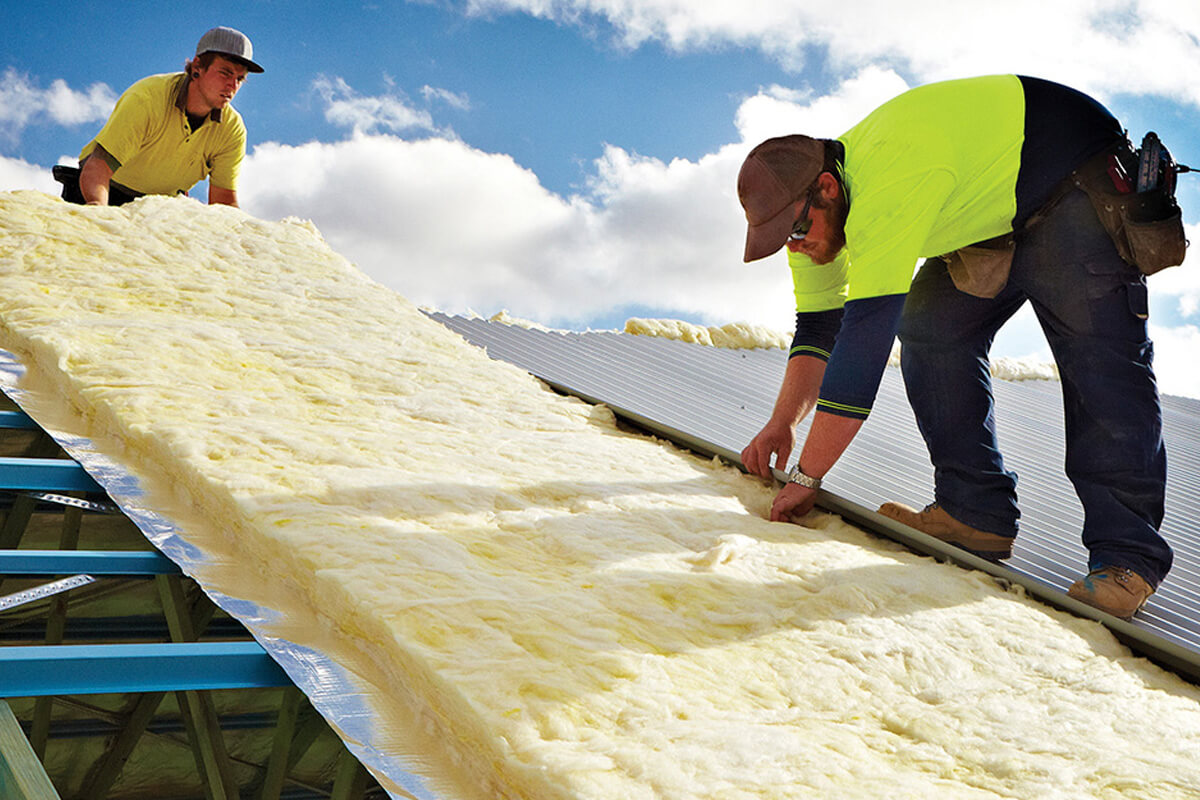
Attaching Insulation using Adhesive
Attaching insulation to metal studs using adhesive is a common and straightforward method. This method is best suited for insulation materials such as fiberglass batts or rigid foam boards. Here’s a step-by-step guide on how to attach insulation using adhesive:
- Measure and Cut the Insulation: Measure the dimensions of the metal studs and cut the insulation material to the appropriate size using a utility knife.
- Apply the Adhesive: Follow the manufacturer’s instructions to apply the adhesive to the backside of the insulation. Be sure to apply the adhesive evenly across the entire surface.
- Press the Insulation onto the Metal Studs: Firmly press the adhesive side of the insulation against the metal studs, starting from one end and working your way across. Make sure the insulation is aligned with the marked stud locations.
- Secure the Insulation: Use a roller or a clean cloth to press down on the insulation, ensuring a strong bond with the metal studs. This will help the adhesive adhere more effectively.
- Repeat the Process: Repeat the steps for each section of insulation until the entire area is covered. Make sure there are no gaps or overlapping insulation pieces.
- Trim Excess Insulation: Use a utility knife to carefully trim any excess insulation that extends beyond the edges of the metal studs. This will create a neat and uniform appearance.
Attaching insulation to metal studs using adhesive is a quick and efficient method that provides a secure bond between the insulation and the metal studs. However, it’s important to follow the manufacturer’s instructions for the specific adhesive to ensure proper adhesion. Now, let’s explore another method: attaching insulation using clips and fasteners.
When attaching insulation to metal studs, use self-tapping screws or metal insulation support pins to secure the insulation in place. This will ensure a secure and effective installation.
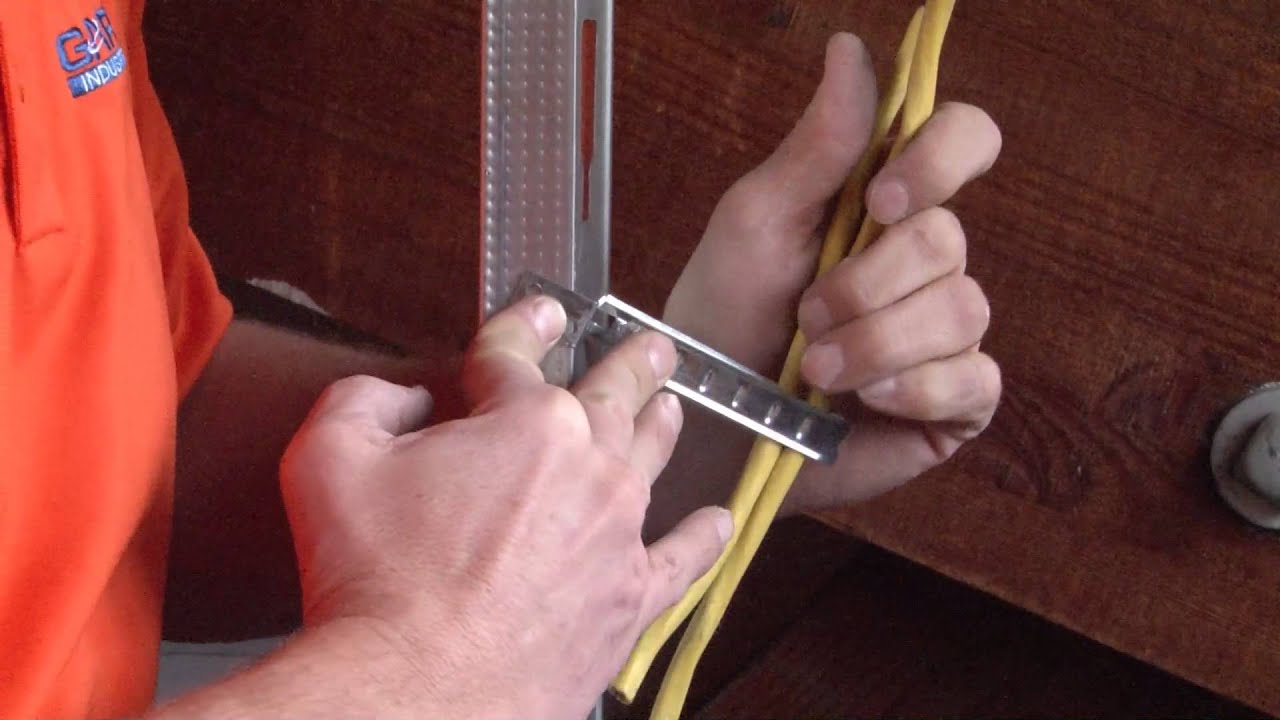
Attaching Insulation using Clips and Fasteners
Another method for attaching insulation to metal studs is by using clips and fasteners. This method is commonly used when working with insulation such as fiberglass batts or rigid foam boards. Here’s how you can attach insulation using clips and fasteners:
- Measure and Cut the Insulation: Measure the dimensions of the metal studs and cut the insulation material to the appropriate size using a utility knife.
- Position the Insulation: Position the insulation against the metal studs, ensuring it aligns with the marked stud locations. Hold the insulation in place while you attach the clips and fasteners.
- Attach the Clips: Place the clips on the metal studs, positioning them evenly along the length of the insulation. The clips should securely hold the insulation in place without compressing it.
- Fasten the Clips: Use screws or other appropriate fasteners to secure the clips to the metal studs. Make sure the fasteners are tightened enough to hold the insulation firmly in place but not so tight that they damage the insulation.
- Secure the Insulation: Once the clips are fastened, press the insulation against the metal studs to ensure a secure fit. This will help minimize any gaps or air pockets between the insulation and the studs.
- Repeat the Process: Repeat the steps for each section of insulation until the entire area is covered. Make sure to use the appropriate number of clips and fasteners to provide sufficient support for the insulation.
- Trim Excess Insulation: Use a utility knife to carefully trim any excess insulation that extends beyond the edges of the metal studs. This will create a clean and professional finish.
Attaching insulation to metal studs using clips and fasteners offers a secure and reliable method, ensuring that the insulation stays in place over time. It allows for easy removal and replacement if needed. Now, let’s explore another method: attaching insulation using battens.
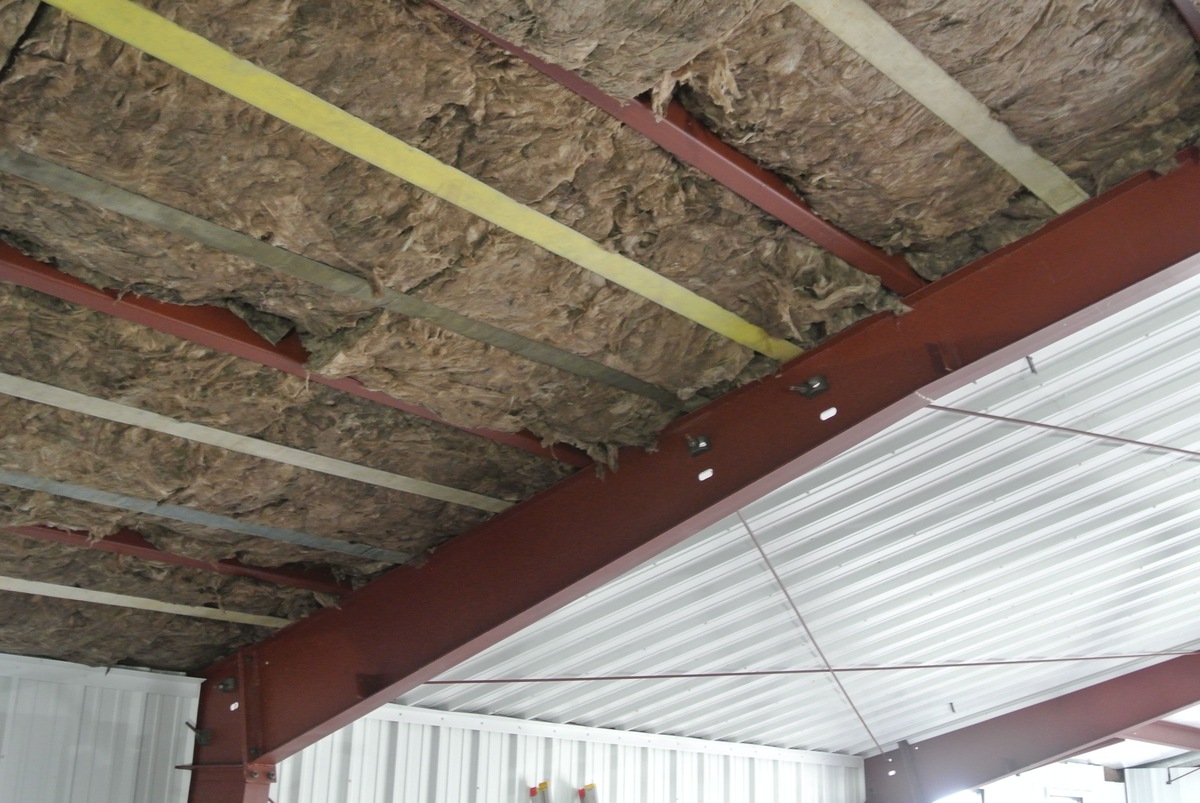
Attaching Insulation using Battens
Attaching insulation to metal studs using battens is a method that provides extra stability and support for the insulation. This technique is commonly used with insulation materials such as fiberglass batts or rigid foam boards. Here’s a step-by-step guide on how to attach insulation using battens:
- Measure and Cut the Insulation: Measure the dimensions of the metal studs and cut the insulation material to the appropriate size using a utility knife.
- Position the Insulation: Position the insulation against the metal studs, making sure it aligns with the marked stud locations. Hold the insulation in place while you attach the battens.
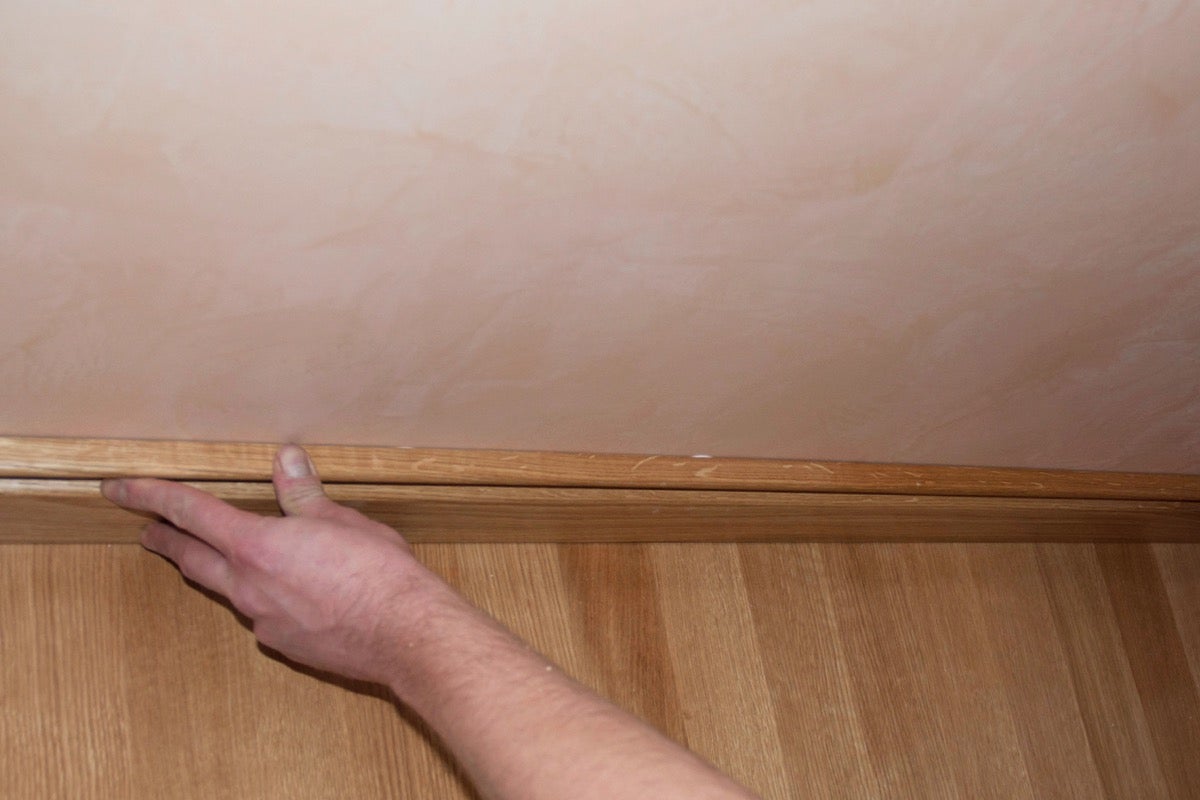
- Install the Battens: Place the battens vertically or horizontally over the insulation, spanning across the width or height of the metal studs. Use screws or nails to secure the battens to the metal studs.
- Secure the Insulation to the Battens: Use adhesive or fasteners to attach the insulation to the battens. Apply adhesive to the backside of the insulation or use fasteners, such as clips, to hold the insulation in place on the battens.
- Repeat the Process: Repeat the steps for each section of insulation until the entire area is covered. Make sure to properly align and space the battens to provide adequate support for the insulation.
- Trim Excess Insulation: Use a utility knife to carefully trim any excess insulation that extends beyond the edges of the metal studs. This will create a clean and professional appearance.
Attaching insulation to metal studs using battens provides additional structural integrity to the installation. It creates a framework that helps hold the insulation securely in place, preventing it from sagging or shifting over time. Now that you’re familiar with the various methods of attaching insulation to metal studs, let’s move on to some additional tips and considerations.
Additional Tips and Considerations
When attaching insulation to metal studs, it’s important to keep these additional tips and considerations in mind to ensure a successful installation:
- Follow Manufacturer’s Instructions: Always refer to the manufacturer’s instructions for the specific type of insulation and adhesive or fasteners you are using. This will ensure proper installation and help you achieve the best results.
- Consider Fire and Safety Regulations: Depending on the building codes and regulations in your area, certain fire and safety requirements may need to be met. Ensure that the insulation you choose complies with these regulations.
- Address Thermal Bridges: Pay attention to areas where thermal bridges may occur, such as around windows, doors, and other openings. Use insulation and appropriate sealing techniques to minimize thermal bridging and maintain energy efficiency.
- Insulate Electrical Outlets and Switches: Take the time to insulate electrical outlets and switches located on exterior walls. Use specially designed foam gaskets or insulation pads to prevent air leaks and increase energy efficiency.
- Use Proper Personal Protective Equipment (PPE): When working with insulation materials, it’s essential to wear protective gear such as gloves, safety glasses, and dust masks. This will help protect you from potential irritants and airborne particles.
- Consider Soundproofing Needs: If soundproofing is a requirement for your project, choose an insulation material with good soundproofing qualities and consider using additional soundproofing methods, such as adding layers of drywall or acoustic panels.
- Regularly Inspect for Moisture Damage: Periodically inspect the insulation and the surrounding areas for signs of moisture damage, such as mold, water stains, or deteriorating insulation. Address any issues immediately to prevent further damage and maintain insulation effectiveness.
With these tips and considerations in mind, you can confidently attach insulation to metal studs, ensuring maximum energy efficiency, soundproofing, and comfort in your building. Remember to adhere to safety guidelines and take proper precautions throughout the installation process. Now that you have a comprehensive understanding of the methods and considerations, you’re ready to tackle your insulation project with confidence!
Conclusion
Attaching insulation to metal studs is a crucial step in creating an energy-efficient and comfortable environment. By choosing the right type of insulation and using the appropriate techniques, you can achieve optimal results. In this article, we explored various methods for attaching insulation to metal studs, including adhesive, clips and fasteners, and battens. Each method offers its own advantages and considerations depending on the insulation material and specific needs of the project.
When working with insulation and metal studs, it’s important to follow the manufacturer’s instructions to ensure proper installation and adherence to fire and safety regulations. Taking the time to properly prepare the metal studs and clean the surface will promote better adhesion and insulation performance. Additionally, addressing thermal bridges, soundproofing needs, and regularly inspecting for moisture damage are key considerations to ensure the longevity and effectiveness of the insulation installation.
Whether you’re a DIY enthusiast or a professional contractor, this guide has provided you with the knowledge and understanding to confidently attach insulation to metal studs. The right insulation, properly installed, will not only provide excellent thermal and sound insulation but contribute to energy savings and a comfortable living or working environment.
Remember to prioritize safety throughout the installation process by wearing appropriate personal protective equipment (PPE) and following industry best practices.
With these considerations in mind, you’re now equipped to tackle your insulation project with confidence. Enjoy the benefits of a well-insulated space and the energy efficiency it brings.
Ready to tackle more home projects? If mastering insulation installation on metal studs sparked your interest, you'll definitely want to check out our guide on how to properly insulate exterior walls. Not stopping there, why not dive into broader home improvement tasks? We have a comprehensive DIY guide that simplifies projects, ensuring you can handle them with confidence.
Frequently Asked Questions about How To Attach Insulation To Metal Studs
Was this page helpful?
At Storables.com, we guarantee accurate and reliable information. Our content, validated by Expert Board Contributors, is crafted following stringent Editorial Policies. We're committed to providing you with well-researched, expert-backed insights for all your informational needs.


0 thoughts on “How To Attach Insulation To Metal Studs”