
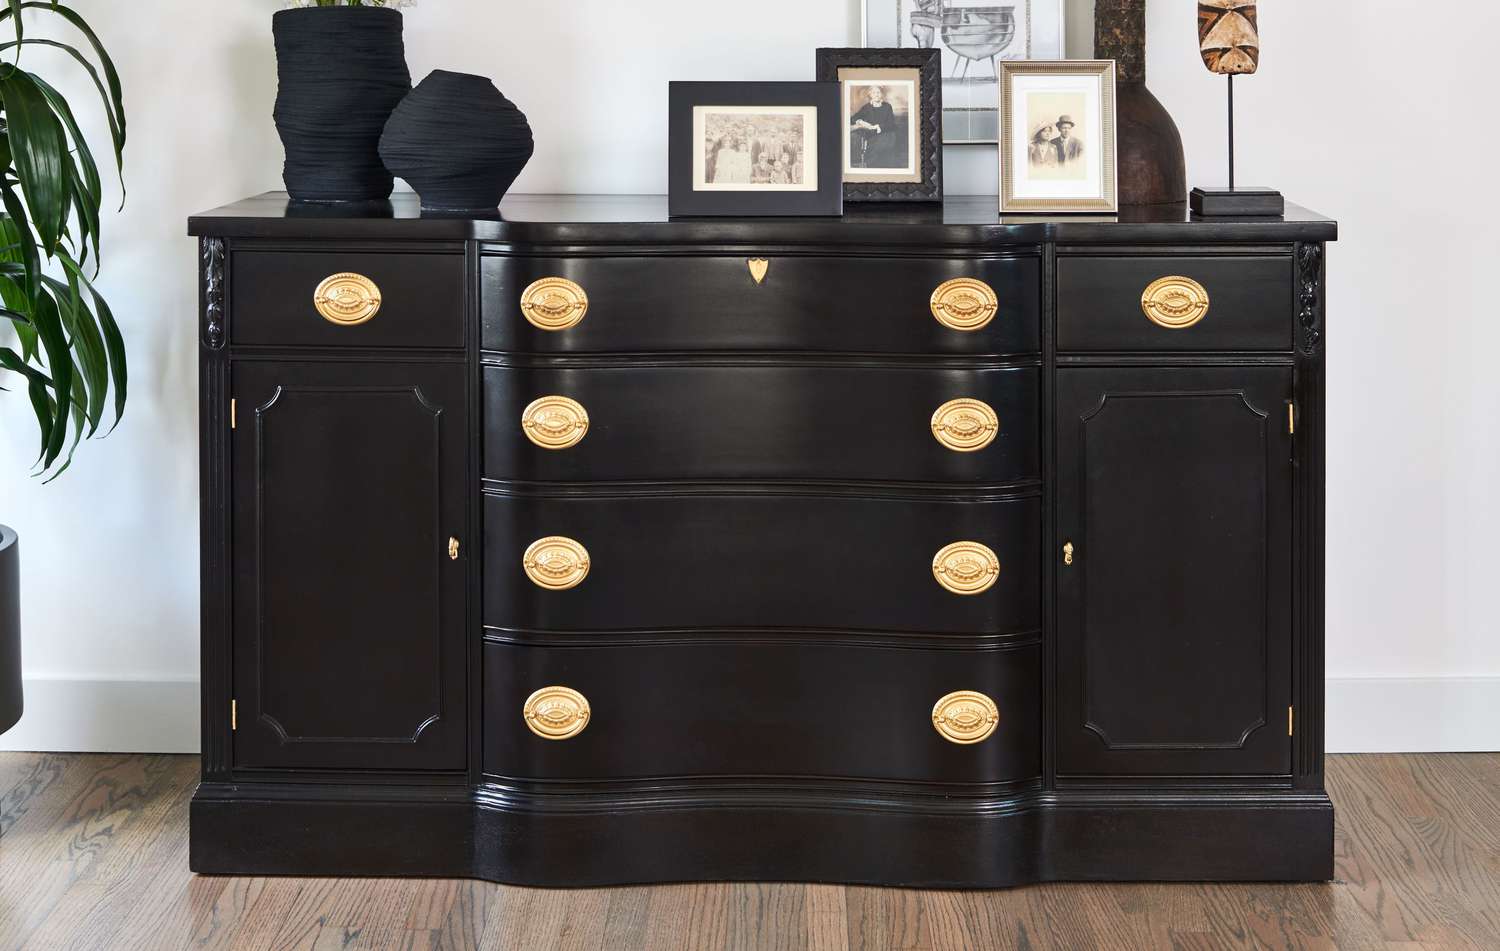
Furniture
How To Measure A Dresser
Modified: August 24, 2024
Learn the easy steps to measure a dresser accurately. Find out how to measure furniture like a pro with this helpful guide.
(Many of the links in this article redirect to a specific reviewed product. Your purchase of these products through affiliate links helps to generate commission for Storables.com, at no extra cost. Learn more)
Introduction
Welcome to our comprehensive guide on how to measure a dresser. Whether you are looking to purchase a new dresser, sell your existing one, or simply want to rearrange your furniture, accurate measurements are essential. Knowing the dimensions of a dresser not only helps you determine if it will fit in your space, but it also ensures that it will meet your storage needs.
Measuring a dresser may seem like a straightforward task, but there are a few important steps and techniques to consider to obtain precise measurements. In this article, we will walk you through the process of measuring the height, width, and depth of a dresser, as well as any additional features such as drawers or shelves. By the end, you will be equipped with the knowledge to provide accurate measurements for any dresser.
Before we dive into the steps, let’s discuss the tools you will need. To measure a dresser, you will only require a few basic tools:
- Tape Measure: A retractable tape measure is essential for accurately measuring the dimensions of a dresser.
- Pen and Paper: Have a notepad or a smartphone handy to record your measurements.
- Level: While not necessary, a level can help ensure that the dresser is standing straight and level while measuring.
Once you have these tools ready, you are all set to begin measuring your dresser. Let’s dive into the step-by-step process to measure a dresser accurately.
Key Takeaways:
- Accurate measurements of a dresser are crucial for informed furniture decisions, space planning, and storage optimization. Utilize the measurements for comparison, layout planning, and seamless furniture integration.
- Recording and analyzing dresser measurements systematically empowers informed decision-making, efficient storage planning, and hassle-free furniture arrangement. Keep the measurements handy for future reference and confident furniture endeavors.
Read more: How To Assemble A Dresser
Step 1: Gather the necessary tools
Before you start measuring your dresser, it is essential to gather the necessary tools to ensure accuracy and efficiency. Here are the tools you will need:
- Tape Measure: A retractable tape measure is the most important tool when it comes to measuring a dresser. Look for a tape measure that is at least 25 feet long, as this will allow you to measure the dresser’s dimensions easily.
- Pen and Paper: Have a notepad or a smartphone handy to jot down your measurements as you go. This will help you keep track of the numbers and prevent any mistakes or confusion later on.
- Level: While not absolutely necessary, a level can come in handy to ensure that the dresser is standing straight and level while taking measurements. This will help you obtain accurate measurements and avoid any errors caused by an uneven surface.
Once you have gathered these tools, you are ready to begin the measuring process. Having them on hand will save you time and help ensure that your measurements are precise.
It’s also a good idea to clear any clutter or obstacles around the dresser before you start measuring. This will give you ample space to move around and allow you to accurately measure every dimension without any obstructions.
Now that you have all the necessary tools and a clear space, let’s move on to step two: measuring the height of the dresser.
Step 2: Measure the height of the dresser
Measuring the height of the dresser is the first step in determining its overall dimensions. Follow these steps to accurately measure the height:
- Place your tape measure at the base of the dresser, ensuring that it is flush against the floor.
- Extend the tape measure vertically until it reaches the top of the dresser. Make sure that the tape is taut and not sagging or slanting.
- Read the measurement where the top of the dresser aligns with the tape measure. Take note of this number in either inches or centimeters.
When measuring the height, it’s important to take note of any additional features that may contribute to the overall height. For example, if the dresser has decorative molding or feet, include these in your measurement. Measure from the floor to the highest point of the dresser to obtain the most accurate height measurement.
If the dresser is tall and you are unable to reach the top, consider using a step ladder or ask for assistance to ensure that you are measuring it accurately. Safety should always be a top priority when measuring furniture.
Once you have obtained the measurement for the height of the dresser, write it down. This will allow you to reference it later when comparing it to other furniture or determining if it will fit in your desired space.
Now that you have measured the height of the dresser, let’s move on to the next step: measuring the width.
Step 3: Measure the width of the dresser
Measuring the width of the dresser is crucial to determine how much space it will occupy in your room or any specific area. Follow these steps to accurately measure the width:
- Start by placing your tape measure at the left side of the dresser, positioning it flush against the edge.
- Extend the tape measure horizontally across the dresser until you reach the right side. Ensure that the tape is straight and not twisted.
- Read the measurement where the right side of the dresser aligns with the tape measure. Take note of this number in either inches or centimeters.
When measuring the width of the dresser, it’s important to account for any protruding features such as handles or knobs. Include these in your measurement to ensure accuracy. Measure from the widest point of the dresser, considering any decorative elements or attachments that may extend beyond the main body of the furniture.
If the dresser has drawers, measure the width between the outer edges of the drawers, as this will give you a better idea of the functional space available.
Once you have obtained the measurement for the width of the dresser, write it down. This measurement will come in handy when determining if the dresser will fit through doorways, hallways, or any narrow spaces in your home.
Now that you have measured the width of the dresser, let’s move on to the next step: measuring the depth.
Step 4: Measure the depth of the dresser
Measuring the depth of the dresser will provide you with essential information about how much space it will occupy from front to back. Follow these steps to accurately measure the depth:
- Position your tape measure at the back of the dresser, flush against the wall or the back panel.
- Extend the tape measure forward, running it parallel to the back of the dresser until you reach the front edge. Make sure the tape is straight and not sagging.
- Read the measurement where the front edge of the dresser aligns with the tape measure. Take note of this number in either inches or centimeters.
When measuring the depth of the dresser, take into consideration any additional features that may affect the overall depth. For example, if the dresser has doors or drawers that protrude, include the depth of these features in your measurement.
If the dresser has drawers, measure the depth from the inside of the drawer front to the back panel or wall. This will give you an accurate idea of the storage capacity of each drawer.
Once you have obtained the measurement for the depth of the dresser, write it down. This measurement will be useful for determining how far the dresser will extend into your space and whether it will fit against a wall or in a specific area.
Now that you have measured the depth of the dresser, let’s move on to the next step: measuring the overall dimensions.
Read more: How To Organize A Dresser
Step 5: Measure the overall dimensions
Measuring the overall dimensions of the dresser will give you a clear picture of its size and shape. This step involves combining the measurements you have taken for the height, width, and depth to determine the overall dimensions. Here’s how you can do it:
- Refer to the measurements you recorded for the height, width, and depth of the dresser.
- Start by stating the height measurement, followed by the width measurement, and finally the depth measurement.
- For example, if the height is 36 inches, the width is 48 inches, and the depth is 18 inches, you would state the overall dimensions as 36″H x 48″W x 18″D.
When communicating the overall dimensions, using the “H” for height, “W” for width, and “D” for depth helps provide clarity and consistency. This format is commonly used in furniture specifications and can help ensure accurate understanding and representation of the dresser’s size.
Knowing the overall dimensions of the dresser is essential for various reasons. It allows you to compare it with other furniture pieces or measure it against the available space in your room. This information is particularly useful if you are trying to fit the dresser into a specific area or alongside existing furniture.
Once you have combined the height, width, and depth measurements to determine the overall dimensions, make sure to write them down for future reference. These measurements will serve as a valuable point of reference when making decisions about the dresser’s placement and compatibility in your space.
Now that you have measured the overall dimensions of the dresser, let’s move on to the next step: measuring the drawer dimensions.
When measuring a dresser, start by measuring the width, then the height, and finally the depth. Use a tape measure for accuracy and measure from the widest and tallest points.
Step 6: Measure the drawer dimensions
Measuring the dimensions of the drawers is crucial if you are looking for specific storage requirements or planning to organize your belongings efficiently. Follow these steps to accurately measure the drawer dimensions:
- Start by pulling out one of the drawers fully.
- Measure the width of the drawer by placing your tape measure across the front opening, from one side to the other. Make sure the tape measure is straight and not twisted.
- Record the width measurement in either inches or centimeters.
- Next, measure the depth of the drawer by placing the tape measure from the front of the opening to the back, ensuring it runs parallel to the bottom of the drawer.
- Record the depth measurement in the same unit of measurement as the width.
- Finally, measure the height of the drawer by placing the tape measure from the bottom of the drawer to the top. This will give you the height of the storage space within the drawer.
- Record the height measurement.
When measuring the drawer dimensions, it’s important to consider any additional elements within the drawer that may reduce the available storage space. This includes dividers, compartments, or any hardware that may eat into the usable space. These measurements will provide you with a clear understanding of the functional storage capacity of each drawer.
Repeat these steps for each drawer in the dresser, as they may have varying dimensions. It’s worth noting that some dressers may have drawers of different sizes, catering to specific storage needs or aesthetics.
Writing down the measurements of each drawer will allow you to plan your storage effectively. You can determine the best use for each drawer based on its dimensions and ensure a seamless storage experience.
Now that you have measured the dimensions of the drawers, let’s move on to the next step: measuring any additional features.
Step 7: Measure any additional features
When measuring a dresser, it’s important to take into account any additional features or elements that may affect its overall size and functionality. These could include shelves, doors, decorative molding, or any other components that extend beyond the main body of the dresser. Here are some steps to follow when measuring these additional features:
- Identify the specific additional features of your dresser. This could be shelves, doors, or any decorative elements that protrude from the main structure.
- Measure the dimensions of these features using the same techniques and tools mentioned in the previous steps.
- For example, if your dresser has a decorative molding on the top that extends beyond the main body by an inch, measure the width, height, and depth of the molding accordingly.
- Record these measurements separately, as they will provide a more accurate representation of the overall size and shape of the dresser.
By measuring these additional features, you can ensure that you have a complete understanding of the dresser’s dimensions and how it will fit into your space. It also helps you determine if any of these features may affect the functionality or placement of the dresser in your room.
Make sure to include these measurements when recording the overall dimensions of the dresser, as they provide a more comprehensive representation of its size.
Now that you have measured any additional features, let’s move on to the next step: recording and analyzing the measurements.
Step 8: Record and analyze the measurements
Once you have completed measuring all the dimensions of your dresser, it’s important to record and analyze the measurements systematically. This will ensure that you have accurate information at hand and can make informed decisions. Follow these steps:
- Review all the measurements you have taken for the height, width, depth, overall dimensions, drawer dimensions, and any additional features.
- Record the measurements in a neat and organized format. You can use a notepad, spreadsheet, or even a smartphone app to keep track of the numbers.
- Take note of the units of measurement used for each dimension, whether it is inches, centimeters, or any other standard unit. Consistency is key in maintaining accuracy.
- Analyze the measurements to identify any patterns or discrepancies. For example, if you notice that the drawers have varying sizes or the additional features significantly impact the overall dimensions, this will be important information when planning for storage or determining the dresser’s suitability for your space.
- Compare the recorded measurements to any specific requirements or constraints you may have. This could include the available space, furniture arrangements, or any specific uses you have in mind for the dresser. This analysis will help you make informed decisions based on the actual dimensions of the dresser.
By recording and analyzing the measurements, you have a clear record of the size and functionality of your dresser. This information will be invaluable when making purchasing decisions, arranging furniture, or planning for storage.
It’s always a good idea to keep the measurements on hand for future reference. This way, you can easily compare the dimensions to other furniture pieces or refer back to them when needed.
Now that you have recorded and analyzed the measurements, let’s move on to the final step: using the measurements for future reference.
Read more: How To Update A Dresser
Step 9: Use the measurements for future reference
Now that you have diligently measured and recorded the dimensions of your dresser, it’s time to put those measurements to good use for future reference. Here are some ways you can utilize the measurements:
- Compare with other furniture: Having the measurements of your dresser handy allows you to easily compare it with other furniture pieces. Whether you’re looking to coordinate styles or ensure a cohesive look in your space, the measurements will help you determine if different pieces will work well together.
- Space planning: Knowing the dimensions of your dresser is crucial for planning the layout and organization of your room. You can use the measurements to ensure that the dresser fits in the designated space without overcrowding or blocking pathways. This will help you create a functional and visually appealing layout.
- Furniture placement: If you plan to rearrange your furniture or add new pieces to your space, the measurements of the dresser will come in handy. You can use the dimensions to visualize how the dresser will fit in different areas and ensure that it complements the rest of your furniture.
- Storage planning: The measurements of the drawers and overall dimensions of the dresser will give you an idea of its storage capacity. You can utilize this information for planning the placement of items within the drawers and optimizing the storage space for your belongings.
- Selling or purchasing decisions: If you decide to sell your dresser or purchase a new one, having the accurate measurements readily available will be advantageous. You can provide potential buyers with the precise dimensions to aid their decision-making. Similarly, when shopping for a new dresser, you can compare its measurements with the available space in your room to find the perfect fit.
By utilizing the measurements for future reference, you can make informed decisions, save time, and avoid unnecessary hassle when it comes to furniture arrangement and storage planning.
Congratulations! You have successfully completed the process of measuring a dresser. Armed with the accurate measurements, you now have the knowledge to make well-informed decisions about your furniture and create a well-organized and visually appealing space.
Remember to keep your recorded measurements in a safe place for easy access in the future. Whether you want to buy new furniture, rearrange your space, or simply keep track of the dimensions, having this information readily available will be immensely helpful.
Thank you for following our comprehensive guide on how to measure a dresser. We hope this has provided you with the knowledge and confidence to tackle future furniture-related endeavors.
Conclusion
Measuring a dresser accurately is essential when it comes to making informed furniture decisions, optimizing storage space, and ensuring a well-organized living area. By following the step-by-step guide provided in this article, you have learned the necessary techniques to measure the height, width, depth, overall dimensions, drawer dimensions, and any additional features of a dresser.
Remember to gather the necessary tools, including a tape measure, pen and paper, and a level, to ensure accurate measurements. Take note of any additional features such as molding or feet that may affect the overall dimensions. Record and analyze the measurements for future reference, comparing them to specific requirements or constraints you may have.
Utilize the measurements for various purposes, such as comparing with other furniture, planning space layouts, optimizing storage, and making purchasing or selling decisions. Having the precise dimensions of your dresser will save you time and effort in the long run, ensuring that you choose furniture that fits your space and meets your needs.
We hope this comprehensive guide has empowered you with the knowledge to confidently measure a dresser. Whether you are redecorating, moving, or simply evaluating your furniture options, accurate measurements will be your greatest tool. So grab your tape measure, start measuring, and enjoy a well-fitted and organized living space!
Frequently Asked Questions about How To Measure A Dresser
Was this page helpful?
At Storables.com, we guarantee accurate and reliable information. Our content, validated by Expert Board Contributors, is crafted following stringent Editorial Policies. We're committed to providing you with well-researched, expert-backed insights for all your informational needs.


0 thoughts on “How To Measure A Dresser”