Home>Furniture>Bedroom Furniture>How To Build A Loft Bed

Bedroom Furniture
How To Build A Loft Bed
Modified: January 9, 2024
Learn how to build a stylish loft bed for your bedroom with our step-by-step guide. Create more space and add a statement piece to your bedroom furniture collection.
(Many of the links in this article redirect to a specific reviewed product. Your purchase of these products through affiliate links helps to generate commission for Storables.com, at no extra cost. Learn more)
Introduction
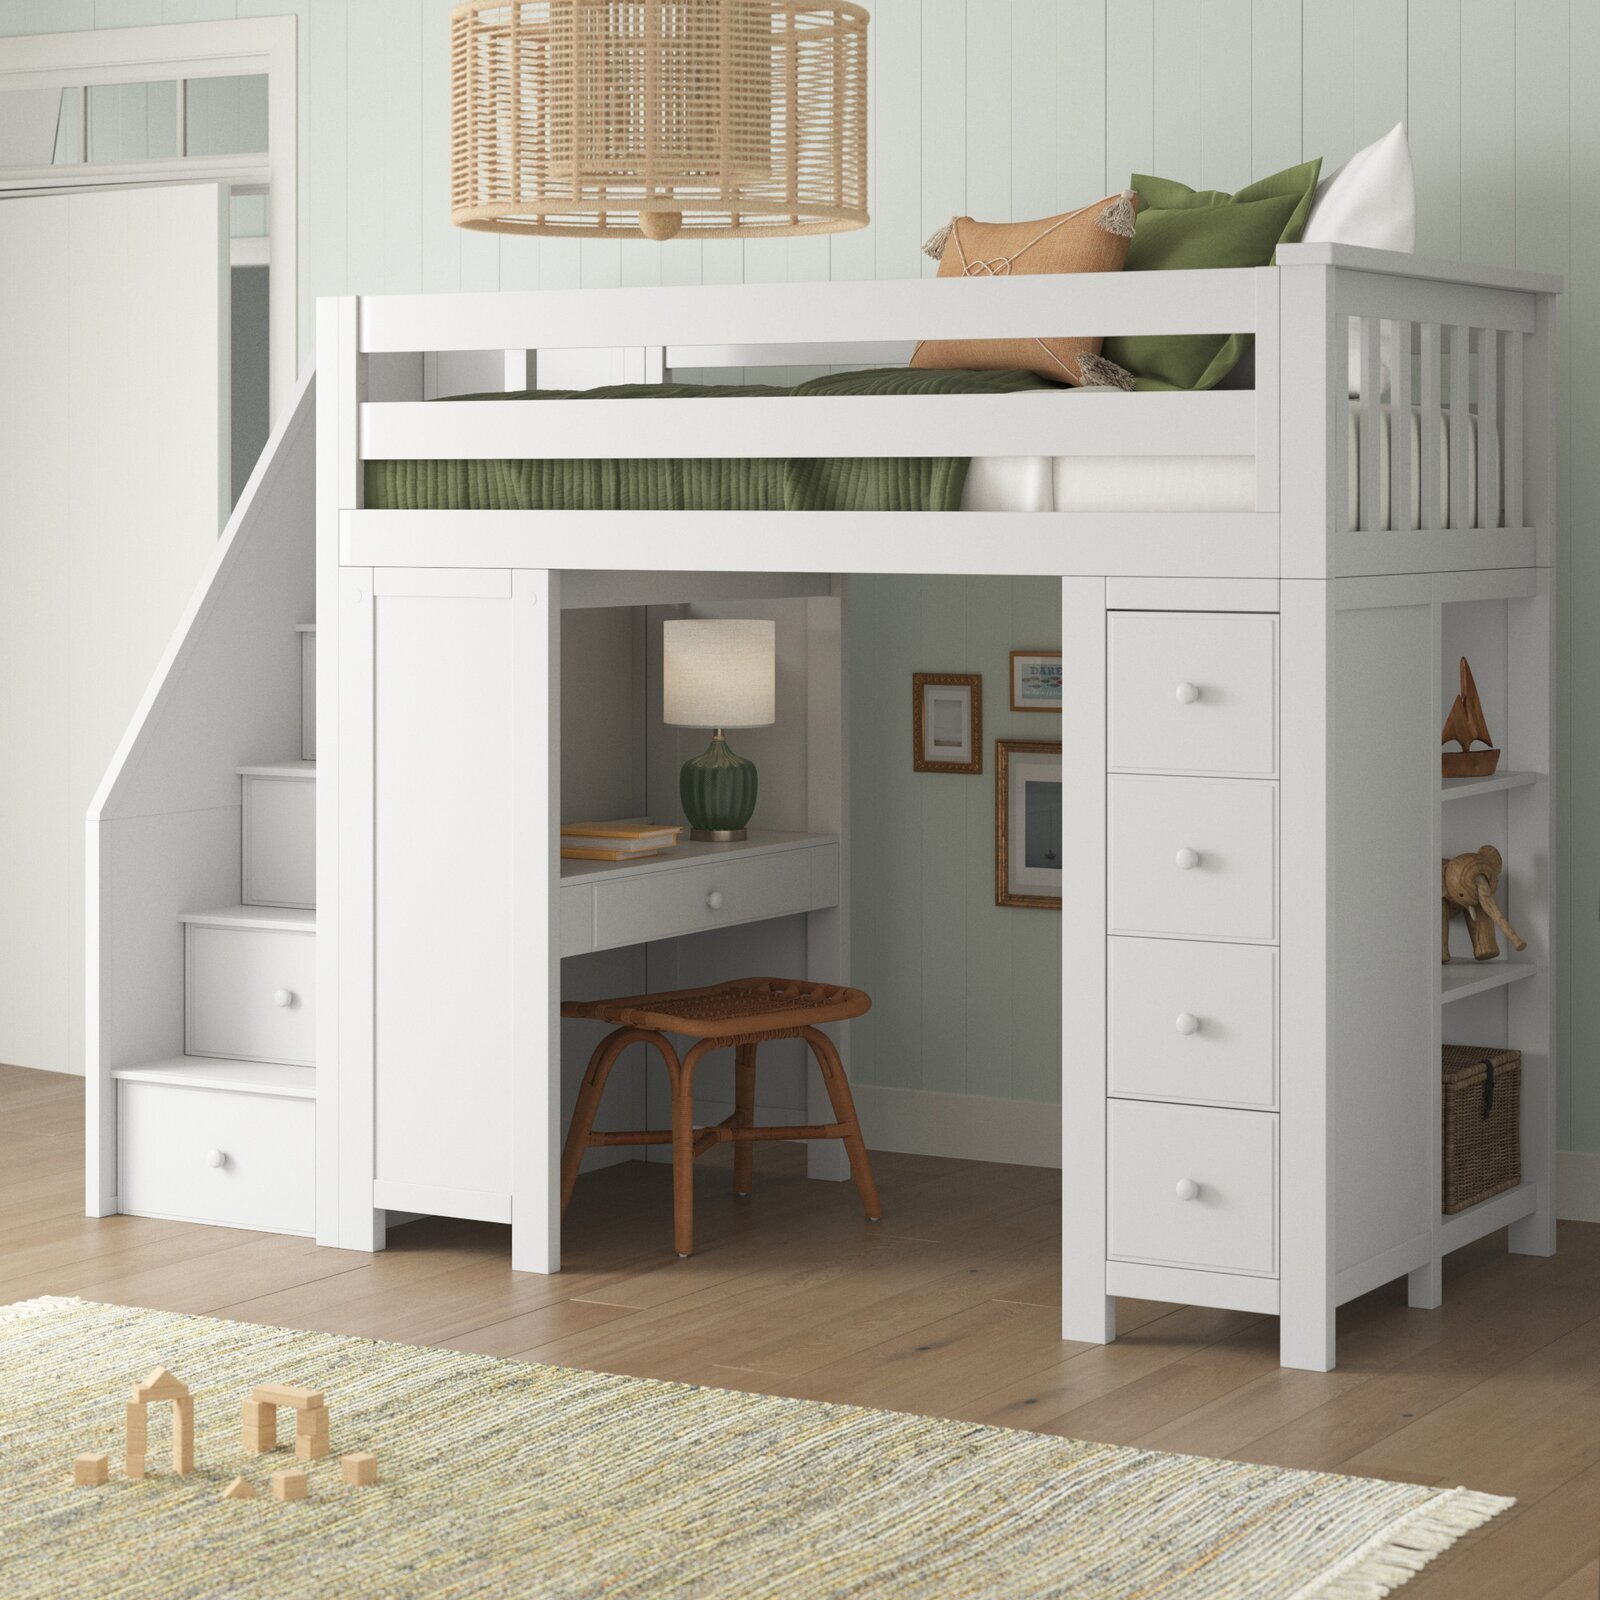
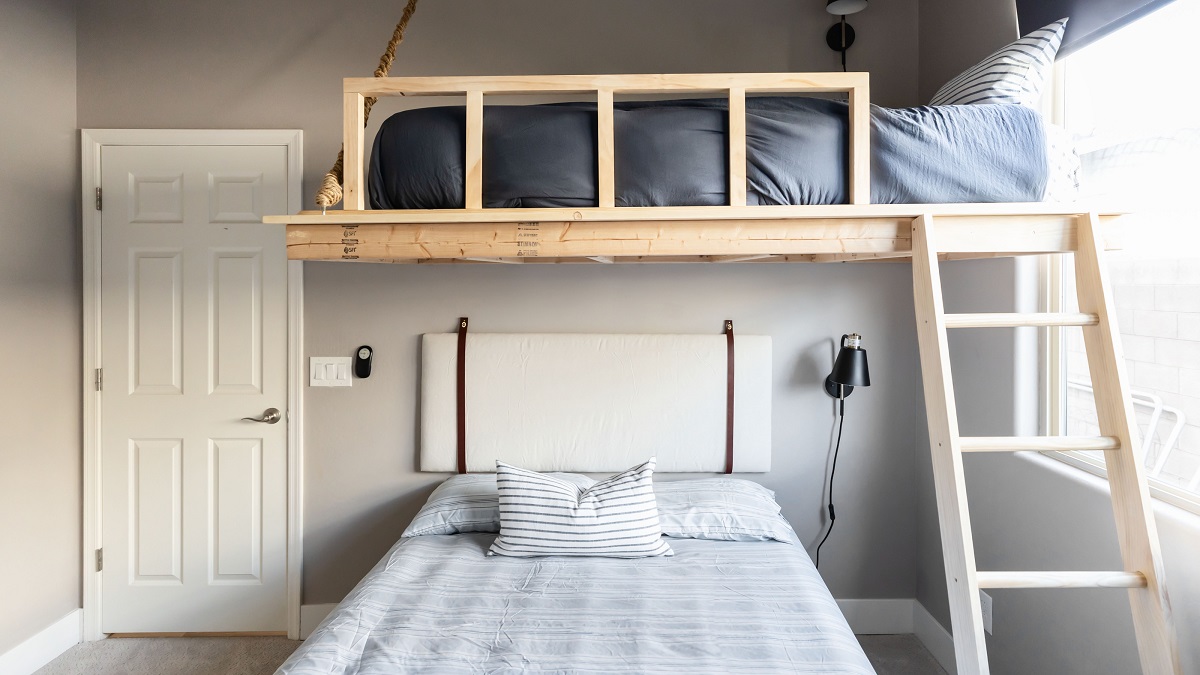
Welcome to our guide on how to build a loft bed – the perfect addition to any bedroom! A loft bed is not only a space-saving solution for smaller rooms but also a stylish and functional furniture piece that can add a touch of uniqueness to your space. Whether you want to create a cozy reading nook underneath or maximize the floor space in a shared room, building a loft bed is a rewarding DIY project that will showcase your creativity and woodworking skills.
In this article, we will walk you through the step-by-step process of building a loft bed. From measuring and planning to assembling the frame and adding safety features, we’ve got you covered. So, grab your tools and let’s get started!
But first, let’s talk about the materials you’ll need for this project.
Key Takeaways:
- Elevate your bedroom with a DIY loft bed, maximizing space and adding a touch of uniqueness. Follow the step-by-step guide for a cozy, functional, and stylish addition to your decor.
- Prioritize safety and precision when building a loft bed, ensuring stability, secure connections, and adherence to local building codes. Enjoy the rewarding process and the versatile space it creates.
Read more: How To Build A Loft Bed With Stairs
Materials Needed
Before you begin building your loft bed, make sure you have the following materials:
- 2×4 wooden lumber for the frame
- 1×4 or 2×4 wooden lumber for the support beams and safety railings
- 3/4-inch plywood for the deck
- Screws
- Nails
- Wood glue
- Sandpaper
- Paint or stain (optional)
- Safety goggles
- Tape measure
- Circular saw or miter saw
- Drill
- Hammer
- Screwdriver
These materials should be available at your local hardware store or home improvement center. Make sure to choose sturdy and high-quality materials to ensure the stability and longevity of your loft bed.
Now that you have gathered all the necessary materials, let’s move on to the first step in the construction process: measuring and planning.
Step 1: Measure and Plan
Before diving into the construction of your loft bed, it’s crucial to measure your room’s dimensions and plan out the design. Here’s how:
- Measure the height of your ceiling: Start by measuring the height of your ceiling to determine how high your loft bed can be. Take into consideration factors such as the height of the mattress and any additional space you want underneath the bed for activities or storage.
- Measure the available floor space: Measure the area where you want to place the loft bed. Consider the length, width, and any obstructions such as windows, doors, or electrical outlets. This will help you design a bed that fits perfectly in your room.
- Create a rough sketch or use a design software: Sketch out a rough plan of your loft bed, considering the dimensions and placement of the frame, ladder, and safety railings. If you’re comfortable using design software, you can also use it to create a more detailed and accurate plan.
- Consider safety: Ensure that your design incorporates adequate safety measures, such as sturdy railings and a stable ladder. Safety should be a top priority when building any elevated structure like a loft bed.
By taking the time to measure and plan carefully, you’ll be able to build a loft bed that fits perfectly in your space and meets your specific requirements. Once you have your measurements and design plan ready, it’s time to gather your tools and start building!
Step 2: Gather Tools
Before you dive into building your loft bed, make sure you have all the necessary tools on hand. Here’s a list of tools you’ll need for this project:
- Tape measure: This will help you accurately measure the dimensions of your bed and ensure a precise fit in your room.
- Circular saw or miter saw: You’ll need a saw to cut the lumber to the desired lengths. A circular saw or miter saw will make quick work of these cuts.
- Drill: A drill will be used to create pilot holes for the screws and attach various components of the bed frame.
- Hammer: A hammer is essential for driving nails into the wood and securing certain parts of the bed.
- Screwdriver: You’ll need a screwdriver to tighten screws and ensure a secure fit.
- Wood glue: Wood glue will help strengthen joints and ensure the stability of your loft bed.
- Sandpaper: Sandpaper is necessary for smoothing rough edges and creating a finished look.
- Safety goggles: Safety first! Wear safety goggles to protect your eyes from any flying debris while working with tools.
- Paint or stain (optional): If you want to add a pop of color or enhance the natural beauty of the wood, you may choose to paint or stain your loft bed.
These tools are readily available at most hardware stores and home improvement centers. Make sure to have them all organized and easily accessible before you begin constructing your loft bed.
With your tools at the ready, it’s time to move on to the next step: cutting the lumber and materials needed to build the frame.
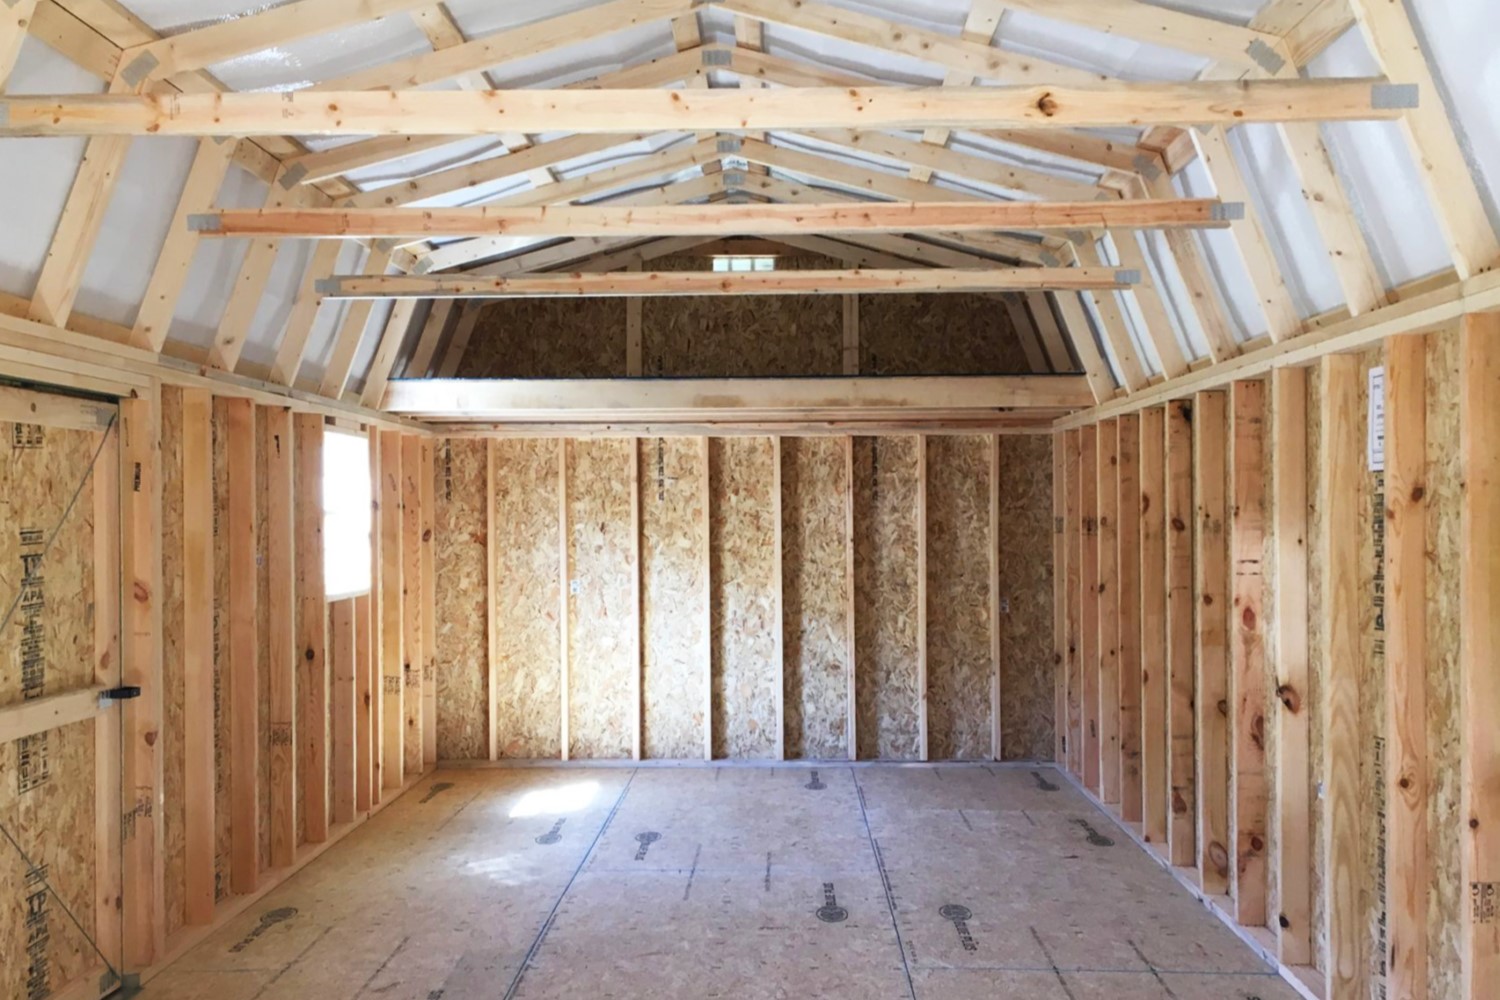
Step 3: Cut Lumber
With your design plan in hand and all your tools ready, it’s time to start cutting the lumber for your loft bed frame. Follow these steps:
- Measure twice, cut once: Use a tape measure to carefully measure and mark the dimensions of each piece of lumber according to your design plan. Double-check your measurements to ensure accuracy.
- Set up your saw: If you’re using a circular saw or miter saw, set it up on a stable work surface and ensure that the blade is properly aligned.
- Cut the lumber: Following your measurements, use the saw to cut the wooden lumber to the desired lengths. Take your time and make clean, straight cuts.
- Label and organize: As you cut each piece of lumber, label them appropriately to avoid confusion during assembly. Organize the cut pieces in a designated area to keep your workspace tidy and efficient.
- Sand the edges: After cutting, use sandpaper to smooth any rough edges or splinters on the lumber. This will create a finished look and prevent any potential injuries.
Remember to wear safety goggles while cutting and sanding the lumber to protect your eyes from any flying debris. Also, be sure to follow proper safety precautions and use the saw in a well-ventilated area.
Once you have all the lumber cut and sanded, you’re ready to move on to the next step: building the frame of your loft bed. Get ready to bring your design to life!
Read more: How To Build Loft Bed Stairs
Step 4: Build the Frame
Now that you have all your lumber cut to the proper lengths, it’s time to assemble the frame of your loft bed. Follow these steps to build the frame:
- Start with the end pieces: Take two of the longer pieces of lumber that will form the sides of the bed and two of the shorter pieces for the head and foot section. Align them to create a rectangular shape and use wood glue and screws to secure them together. Reinforce the corners with additional screws for added stability.
- Add the cross beams: Measure and mark the locations for the cross beams that will support the plywood deck. Attach them across the length of the frame using wood glue and screws. Ensure they are evenly spaced and level.
- Connect the side rails: Take the remaining shorter pieces of lumber and attach them to the inside of the longer side pieces, parallel to the cross beams. These side rails will provide additional support and stability to the frame.
- Check for squareness: Before moving forward, double-check that the frame is square by measuring the diagonals. Both diagonals should be equal in length. If they’re not, adjust the frame until it is square.
- Reinforce the joints: To ensure the utmost stability, reinforce all the joints of the frame with additional screws and wood glue. This will prevent any wobbling or loosening over time.
Remember to work carefully and patiently throughout the assembly. Take your time to ensure accurate measurements and secure connections. It’s also helpful to have a friend or family member assist with holding the pieces in place while you attach them.
With the frame built and reinforced, your loft bed is starting to take shape. Next, let’s move on to Step 5: attaching the support beams.
When building a loft bed, make sure to use sturdy and durable materials to ensure the safety and stability of the structure. Additionally, double-check all measurements and follow the assembly instructions carefully to avoid any mistakes.
Step 5: Attach Support Beams
With the frame of your loft bed assembled, it’s time to move on to the next step: attaching the support beams. These beams will provide additional stability and support for the mattress and the weight of the person sleeping on the bed. Follow these steps to attach the support beams:
- Determine the placement: Measure and mark the locations for the support beams on the inside of the side rails. The number of support beams will depend on the size and design of your loft bed, but typically there will be at least three evenly spaced support beams.
- Attach the support beams: Using wood glue and screws, attach the support beams to the inside of the side rails. Make sure they are snug and securely fastened.
- Test for stability: Once the support beams are in place, test the stability of the structure by applying some pressure to different areas of the frame. If there is any wobble or movement, reinforce the connections with additional screws and wood glue.
- Double-check the levelness: Use a level to ensure that the support beams are level. Adjust them if necessary to create a flat and even surface for the mattress.
Attaching the support beams is a critical step in ensuring the structural integrity of your loft bed. The beams will distribute the weight evenly and provide a sturdy foundation for the mattress.
With the support beams securely attached, your loft bed is almost complete. In the next step, we will move on to installing the plywood deck. Hang in there – the finish line is in sight!
Step 6: Install the Plywood Deck
With the frame and support beams of your loft bed securely in place, it’s time to move on to the next step: installing the plywood deck. The plywood deck will provide a solid and comfortable surface for your mattress. Follow these steps to install the plywood deck:
- Measure and cut the plywood: Measure the dimensions of the frame to determine the size of the plywood deck. Use a circular saw or a table saw to cut the plywood to fit the length and width of the frame.
- Place the plywood on the frame: Carefully place the plywood pieces on top of the frame, ensuring that they fit snugly within the boundaries of the frame.
- Attach the plywood to the frame: Starting at one end of the plywood, use screws to secure the plywood to the frame. Space the screws evenly along the edges and across the support beams. Make sure the screws penetrate the plywood and sink into the frame to create a secure connection.
- Check for stability: Once the plywood is attached, check for any movement or flexing. If you notice any areas that feel unstable, reinforce them with additional screws.
- Sand the plywood: Use sandpaper to smooth the edges of the plywood and create a clean, finished look. Pay extra attention to any sharp corners or rough spots that could cause injury.
By installing the plywood deck, you will create a solid and durable surface for your mattress. Make sure the plywood is securely attached and free from any sharp or rough edges.
With the plywood deck in place, your loft bed is becoming complete. In the next step, we will add safety railings to ensure a safe and comfortable sleeping experience. Stay tuned!
Step 7: Add Safety Railings
Safety is of utmost importance when it comes to loft beds, especially if they are intended for children or individuals who may be prone to rolling out of bed. In this step, we will add safety railings to ensure a secure and protected sleeping environment. Follow these steps to add safety railings to your loft bed:
- Measure for the height of the safety railings: Determine the desired height of your safety railings, taking into consideration the thickness of your mattress. The standard height for safety railings is typically around 12 to 15 inches.
- Mark the placement of the railings: Measure and mark the locations where the safety railings will be attached. The spacing should be evenly distributed along the length of the bed.
- Attach the railings: Use screws to securely attach the railings to the inside of the side rails and the head and foot sections of the bed frame. Make sure the railings are level and tightly fastened for optimal stability.
- Check for spacing between railings: Ensure there is no excessive spacing between the railings, as this can pose a safety hazard. The gap between each railing should be no more than 4 inches to prevent a child’s head from getting stuck.
- Inspect for stability: Once the railings are installed, carefully test their stability by applying pressure and gently shaking them. If there is any movement or wobbling, reinforce the connections with additional screws.
Adding safety railings to your loft bed provides peace of mind, especially if you or your loved ones will be using the bed. They serve as a protective barrier and minimize the risk of accidental falls during sleep.
With the safety railings securely attached, your loft bed is almost complete. In the next step, we will install the ladder for easy access to the lofted sleeping area. Keep up the great work!
Read more: How To Build A Loft Bed Frame
Step 8: Install Ladder
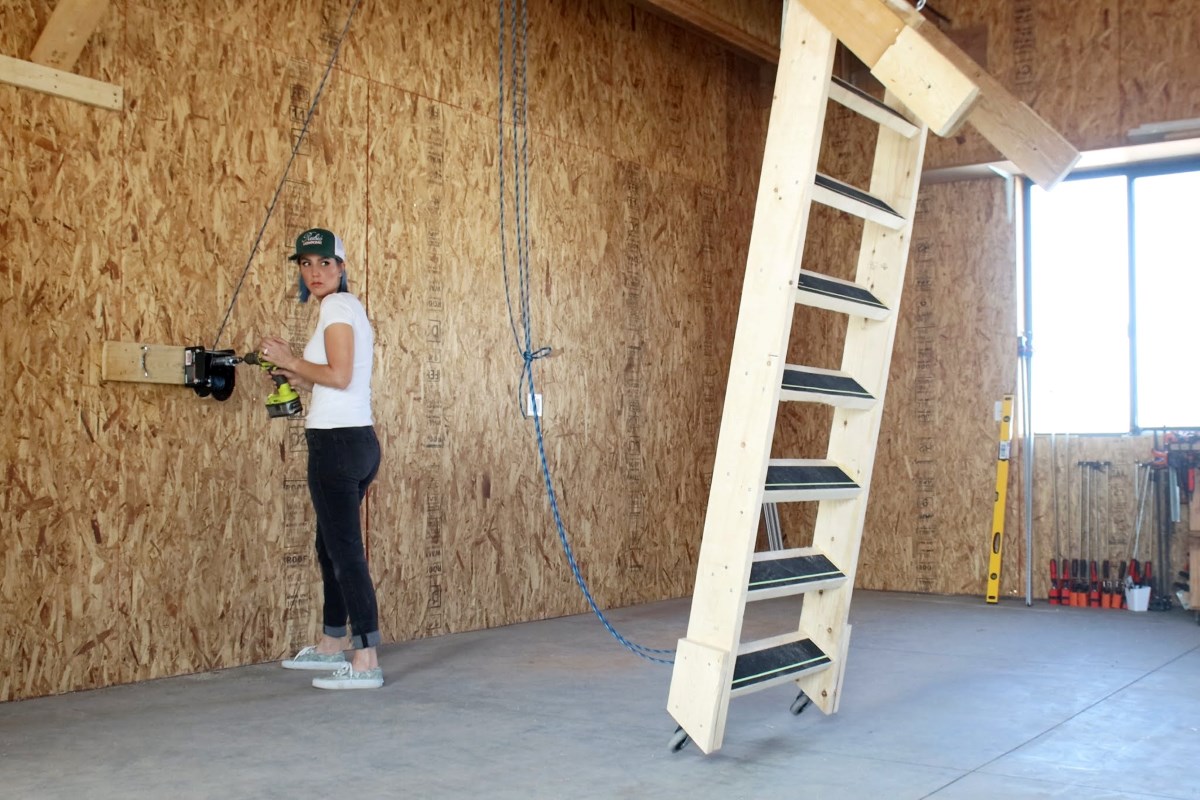
Now that your loft bed is taking shape, it’s time to install the ladder for convenient access to the elevated sleeping area. The ladder will provide stability and ensure safety as you climb up and down from the loft bed. Follow these steps to install the ladder:
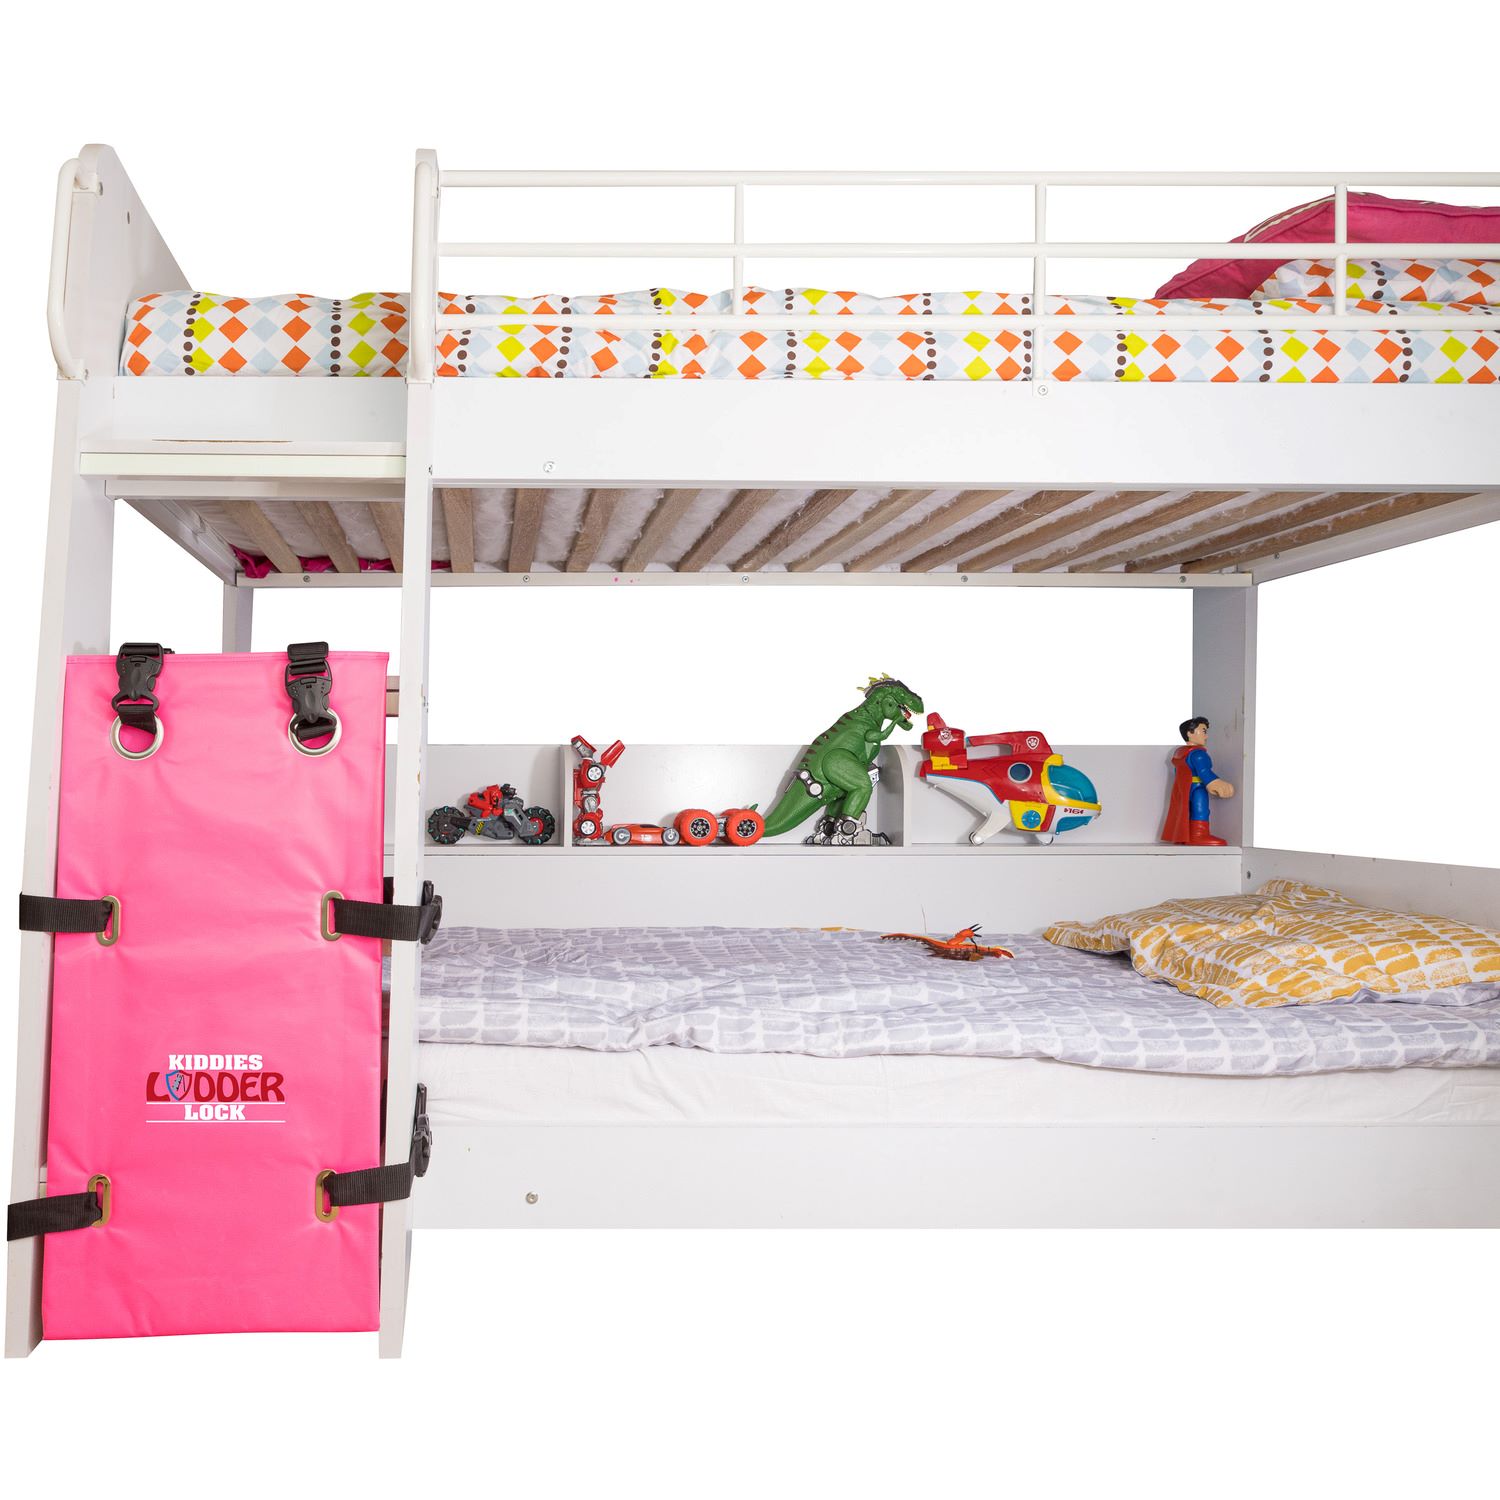
- Choose a suitable location: Decide where you want to install the ladder on your loft bed. It’s usually placed on one side near the foot section of the bed, providing easy access without obstructing other furniture or pathways in the room.
- Measure and mark the placement: Measure the distance from the top of the mattress to the desired starting point of the ladder. Mark the spots on the side rail and leg of the loft bed where the ladder will be attached.
- Attach ladder brackets: Use ladder brackets or metal corner braces to secure the ladder to the bed frame. Align the brackets with the marked spots and securely attach them using screws or bolts, depending on the type of ladder you’re using.
- Install ladder rungs: If your ladder comes with separate rungs, attach them to the ladder brackets using screws. Ensure they are evenly spaced and securely fastened for stability.
- Test for stability: Once the ladder is installed, carefully test its stability by applying weight and gently shaking it. Ensure that it feels secure and is firmly attached to the bed frame. If there is any wobbling or movement, reinforce the connections or consider using additional support like braces.
Installing the ladder completes the functionality of your loft bed, giving you a safe and convenient way to access the elevated sleeping area. Make sure the ladder is sturdy and securely attached to the bed frame for added reassurance.
With the ladder in place, your loft bed is almost finished. In the next step, we will focus on sanding and finishing to create a polished and refined look. Keep up the great work!
Step 9: Sand and Finish
With the construction of your loft bed complete, it’s time to add the finishing touches. Sanding and finishing not only enhance the appearance of your bed but also ensure a smooth and comfortable surface. Follow these steps to sand and finish your loft bed:
- Sand the surfaces: Begin by using sandpaper or a power sander to gently sand all the visible surfaces of the bed, including the frame, support beams, safety railings, and ladder. This will smooth out any rough spots, imperfections, or sharp edges.
- Focus on the edges and corners: Pay extra attention to the edges and corners of the bed to create a rounded and polished appearance. Sand them carefully and consistently to create a uniform look.
- Clean the surfaces: Once you’re done sanding, wipe down the surfaces of the bed with a clean, damp cloth to remove any dust or debris.
- Choose your finish: Decide whether you want to paint, stain, or apply a clear protective coat to the wood. Each option has its own benefits and can transform the look of your loft bed.
- Apply the finish: If you choose to paint or stain, follow the manufacturer’s instructions and apply the finish evenly using a brush or roller. Ensure that the finish is applied in a well-ventilated area and allow ample drying time between coats.
- Apply a topcoat (optional): If desired, consider adding a topcoat or clear protective sealant to enhance the durability and longevity of your loft bed. This will provide an extra layer of protection against scratches and wear.
Remember to follow safety precautions when working with paints, stains, and finishes. Use them in a well-ventilated area and wear protective gloves and a mask, if necessary.
By sanding and finishing your loft bed, you’re adding the final touches that will give it a polished and refined appearance. Take your time with this step to ensure a professional-looking result.
Congratulations! You have successfully completed all the steps to build and finish your loft bed. Now you can enjoy the cozy and functional space you’ve created. Sweet dreams!
Disclaimer: Safety is a top priority when building any furniture, especially elevated structures like loft beds. Ensure that your bed is structurally sound, stable, and follows all local building codes and safety regulations. This guide is intended to provide general information and should be adapted based on your specific circumstances and woodworking skills.
Conclusion
Congratulations on successfully building your own loft bed! You’ve created a functional and stylish addition to your bedroom that maximizes space and adds a unique touch to your decor. Through careful planning, precise measurements, and diligent construction, you’ve crafted a piece of furniture that can provide comfort, convenience, and safety for you or your loved ones.
By following the step-by-step process outlined in this guide, you’ve learned how to measure and plan, gather the necessary tools, cut lumber, build the frame, attach support beams, install the plywood deck, add safety railings, install a ladder, and finally, sand and finish your loft bed. Each step has been meticulously crafted to ensure not only a sturdy and secure structure but also an aesthetically pleasing and comfortable sleeping arrangement.
Remember, safety should always be a priority when building furniture, especially when it involves elevated structures like loft beds. Ensure that your bed is stable, double-check all connections, and follow local building codes and safety regulations. This will help create a safe environment while enjoying your loft bed.
Now that your loft bed is complete, it’s time to relax and enjoy the benefits it brings. Whether it provides you with extra workspace, a cozy reading nook, or simply maximizes the floor space in your bedroom, your loft bed is a statement piece that reflects your creativity and woodworking skills.
Feel free to customize your loft bed with accessories such as curtains, fairy lights, or storage solutions that suit your personal style and needs. Make it your own, and let it enhance the overall aesthetic and functionality of your bedroom.
Thank you for joining us on this DIY loft bed-building journey. We hope you found this guide helpful and informative, guiding you through each step of the process with clarity and confidence. Enjoy your new loft bed and the endless possibilities it brings!
Frequently Asked Questions about How To Build A Loft Bed
Was this page helpful?
At Storables.com, we guarantee accurate and reliable information. Our content, validated by Expert Board Contributors, is crafted following stringent Editorial Policies. We're committed to providing you with well-researched, expert-backed insights for all your informational needs.
