Home>Furniture>Bedroom Furniture>How To Build Floating Bed
Bedroom Furniture
How To Build Floating Bed
Modified: December 14, 2023
Learn how to build a stylish floating bed for your bedroom with our step-by-step guide. Discover the best bedroom furniture ideas and create a dreamy space.
(Many of the links in this article redirect to a specific reviewed product. Your purchase of these products through affiliate links helps to generate commission for Storables.com, at no extra cost. Learn more)
Introduction
Welcome to the world of floating beds! If you’re looking to upgrade your bedroom furniture or create a truly unique sleeping space, a floating bed might be the perfect choice for you. Sleek, modern, and visually striking, these beds are designed to give the illusion of floating in mid-air, adding an element of sophistication and elegance to any bedroom.
In this article, we’ll guide you through the process of building your own floating bed. Whether you’re a DIY enthusiast or simply looking to take on a new project, we’ll provide you with the knowledge and steps needed to create a stunning centerpiece for your bedroom.
Before we dive into the details, let’s first take a look at the materials you’ll need to get started.
Key Takeaways:
- Elevate your bedroom with a DIY floating bed, adding elegance and sophistication to your space. Follow the steps for a rewarding project and a stunning centerpiece.
- Create a personalized sanctuary with a floating bed, combining style and comfort. Careful planning, precise installation, and finishing touches will bring your dream bed to life.
Read more: How To Make A Floating Bed Frame
Materials Needed
Before you begin building your floating bed, gather the following materials:
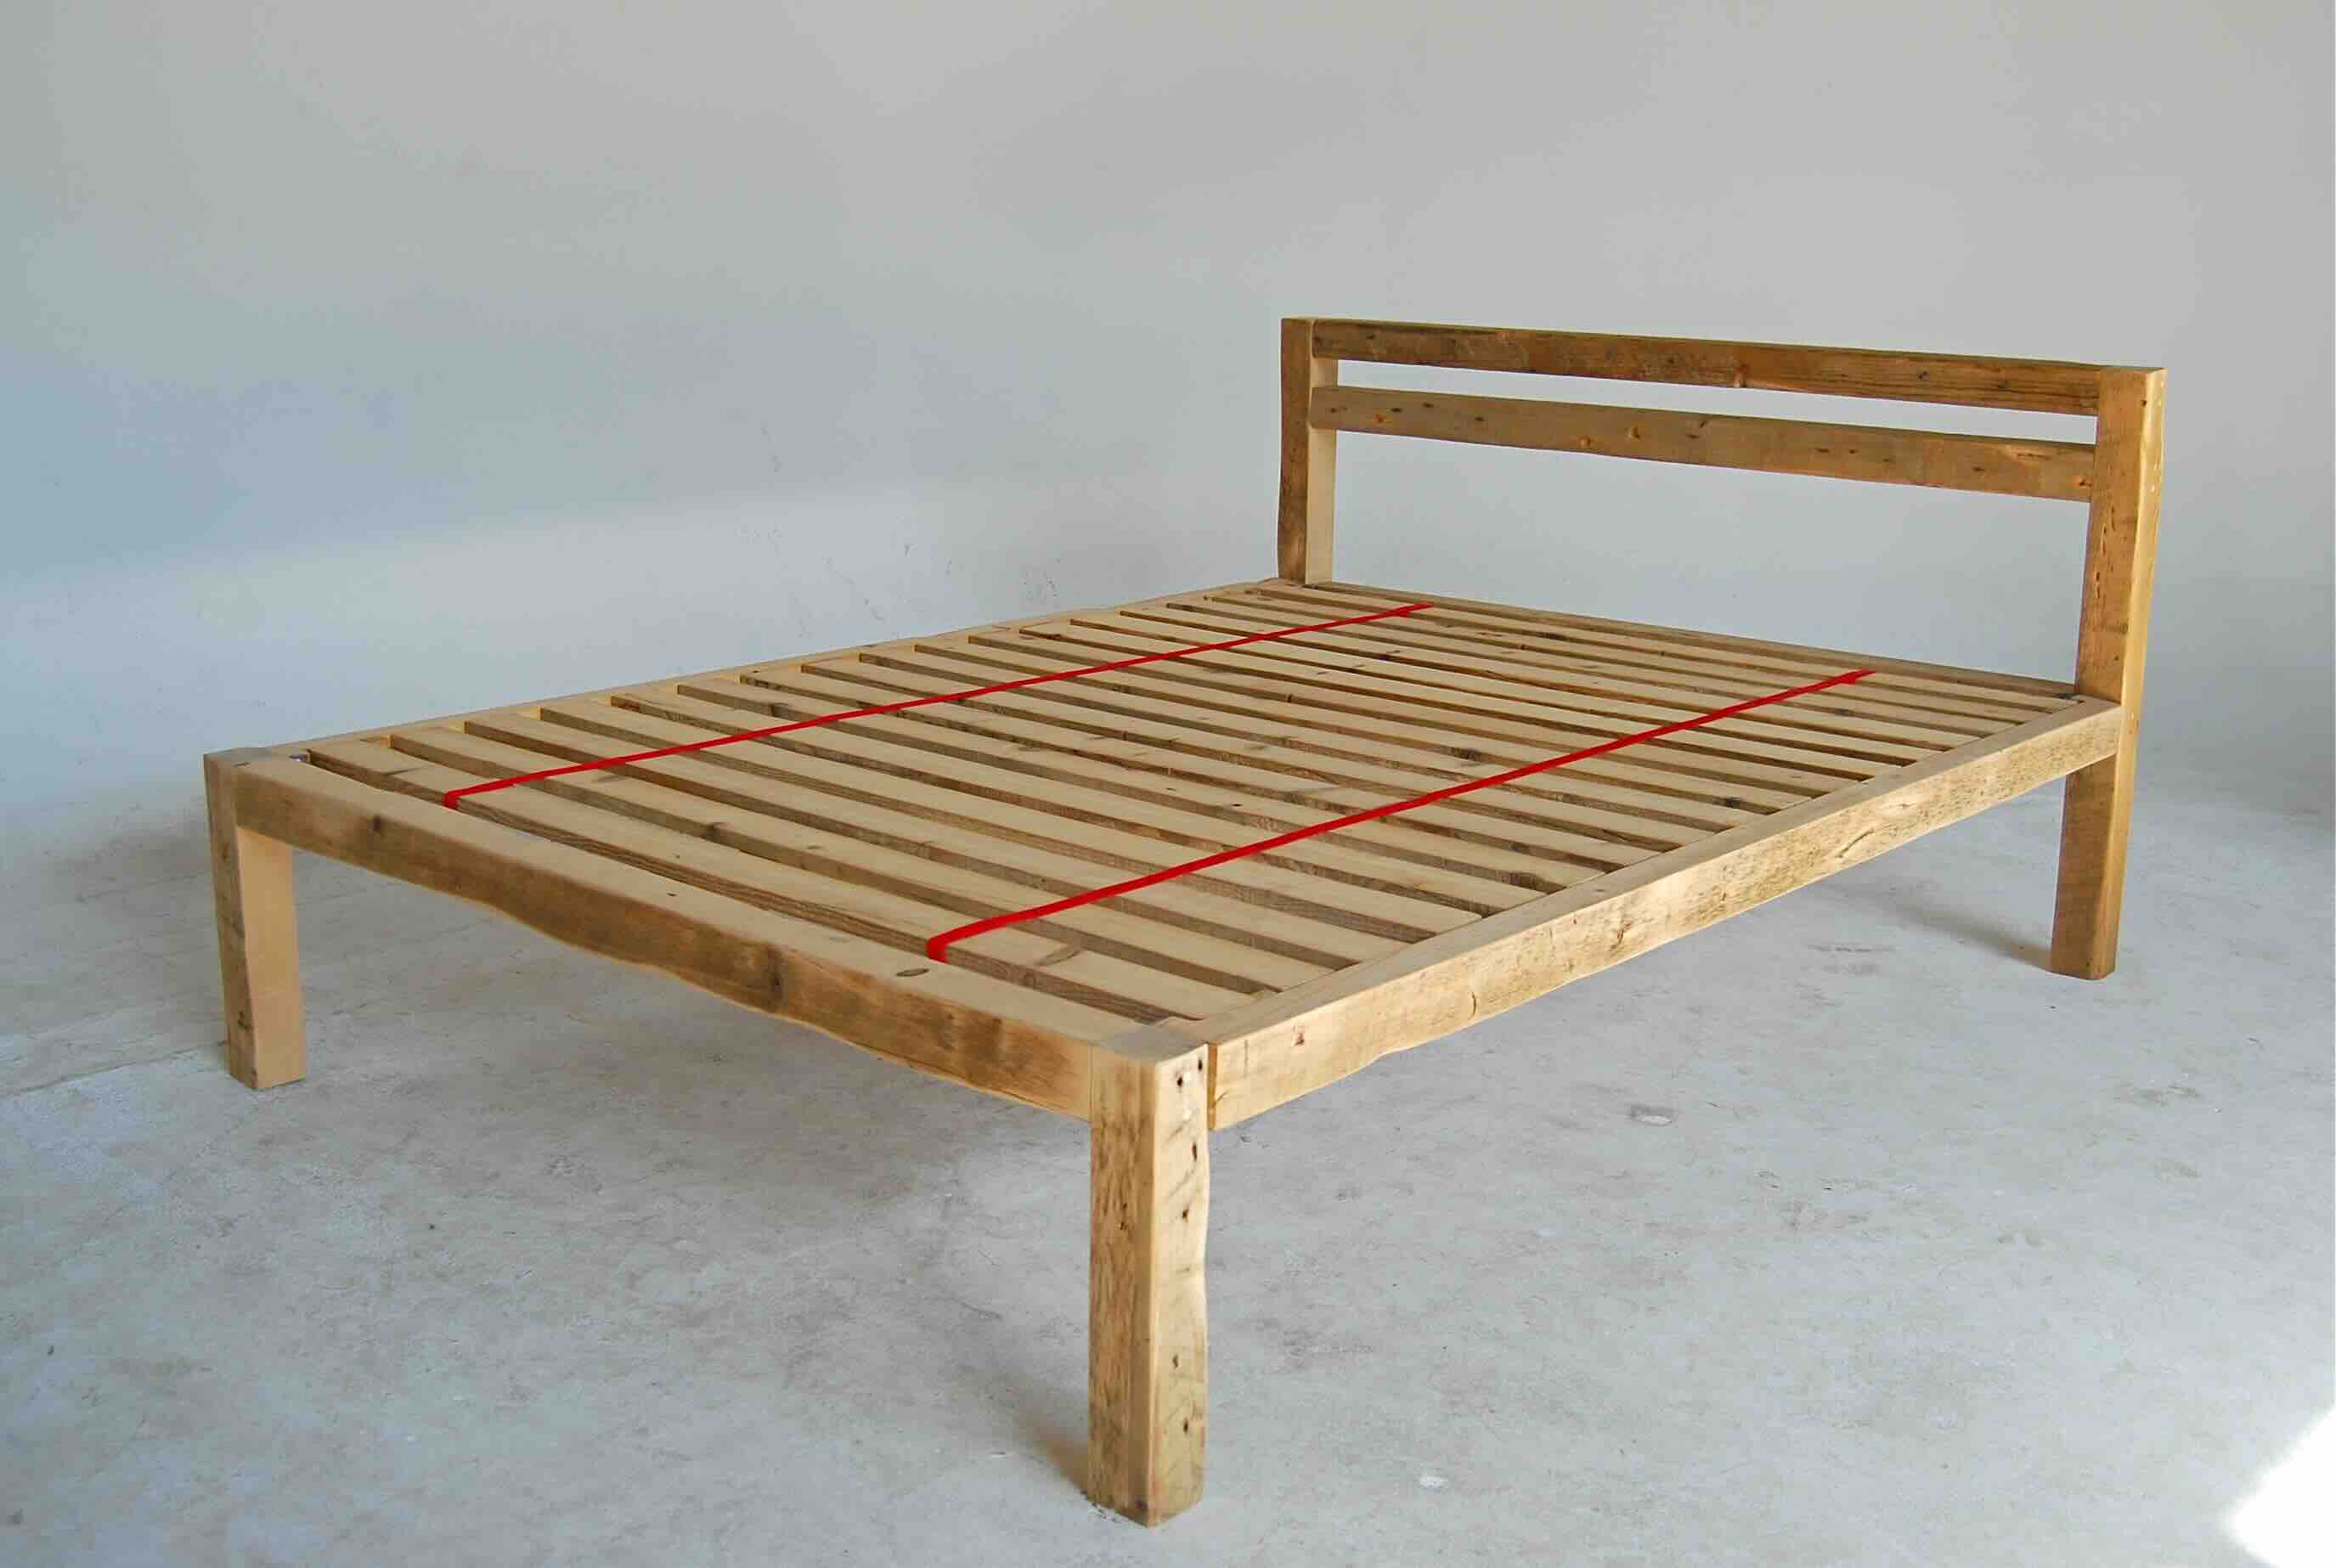
- Wooden bed frame: Choose a sturdy and durable wood, such as oak or walnut, for the bed frame.
- Wall mounts: These will be used to secure the bed frame to the wall. Make sure they are strong and able to support the weight of the bed.
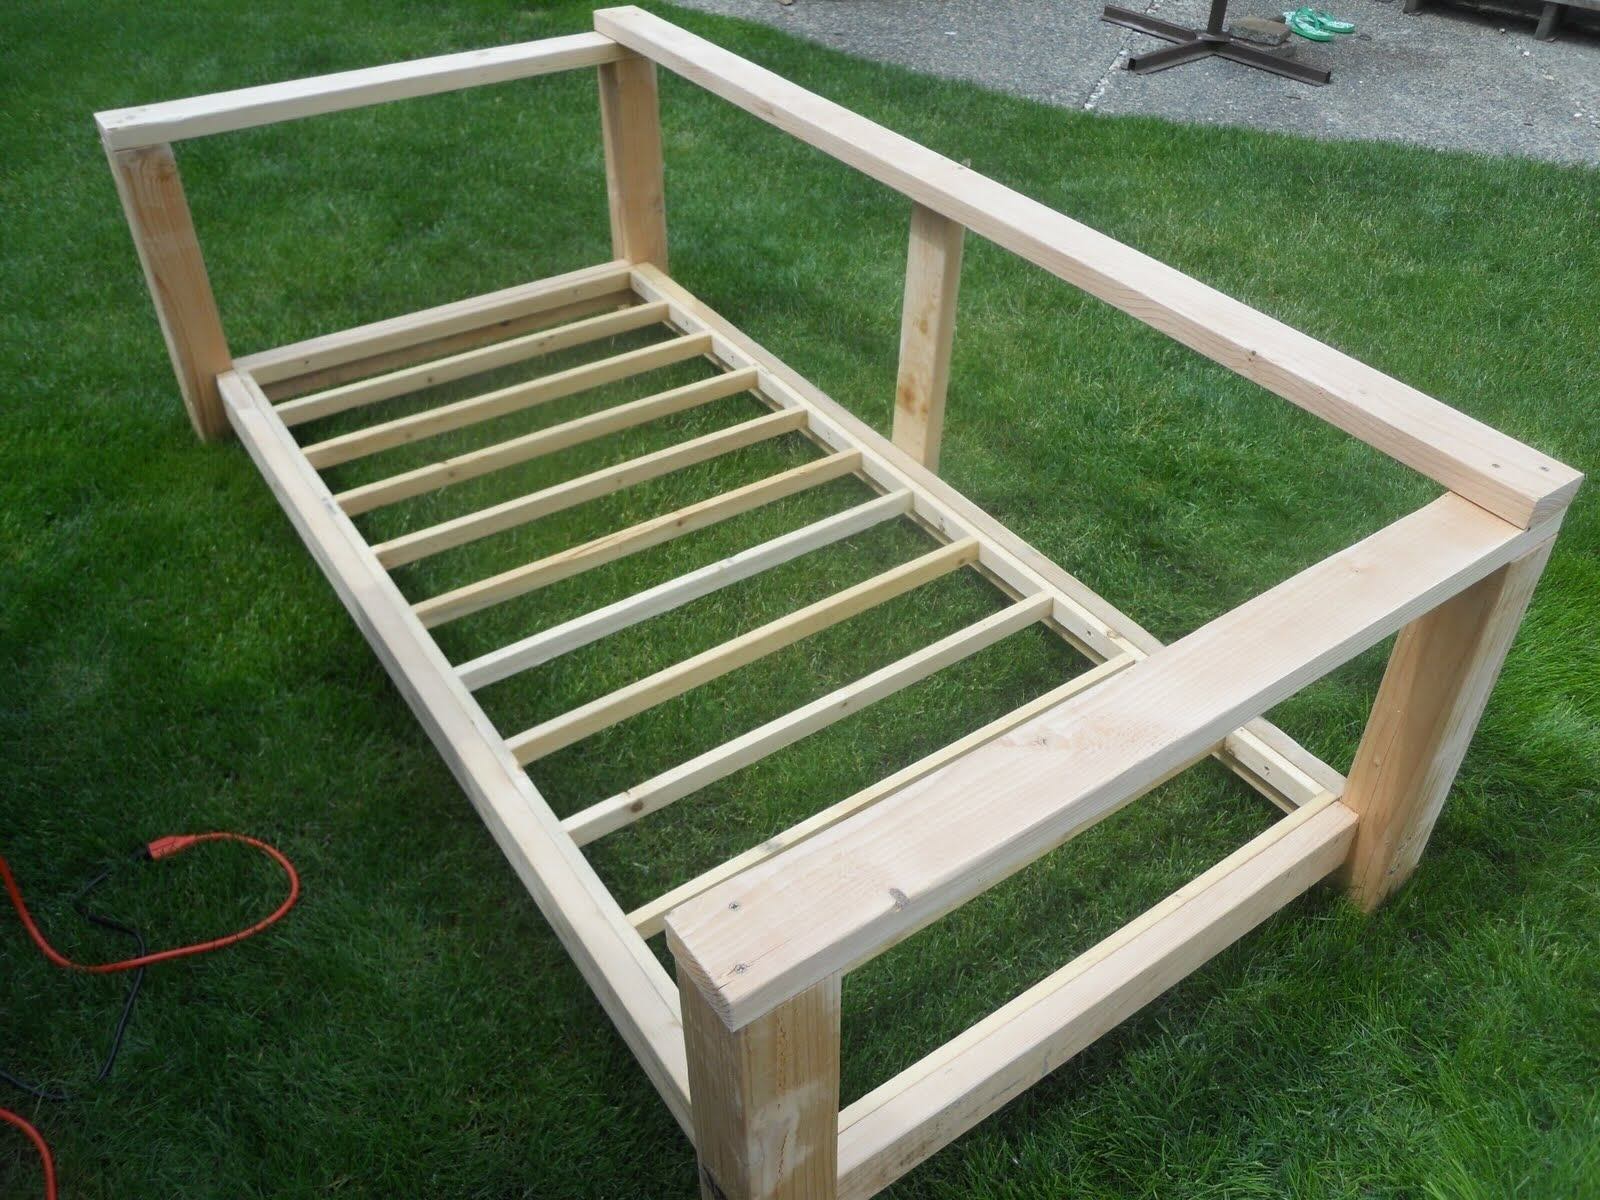
- Lumber: Depending on the design of your floating bed, you may need additional lumber for supports and braces.
- Screws and bolts: Select high-quality screws and bolts that are appropriate for the materials you are working with.
- Drill and drill bits
- Measuring tape
- Level
- Sanding materials
- Finishing materials: This can include paint, stain, or other finishes to protect and enhance the appearance of the wood.
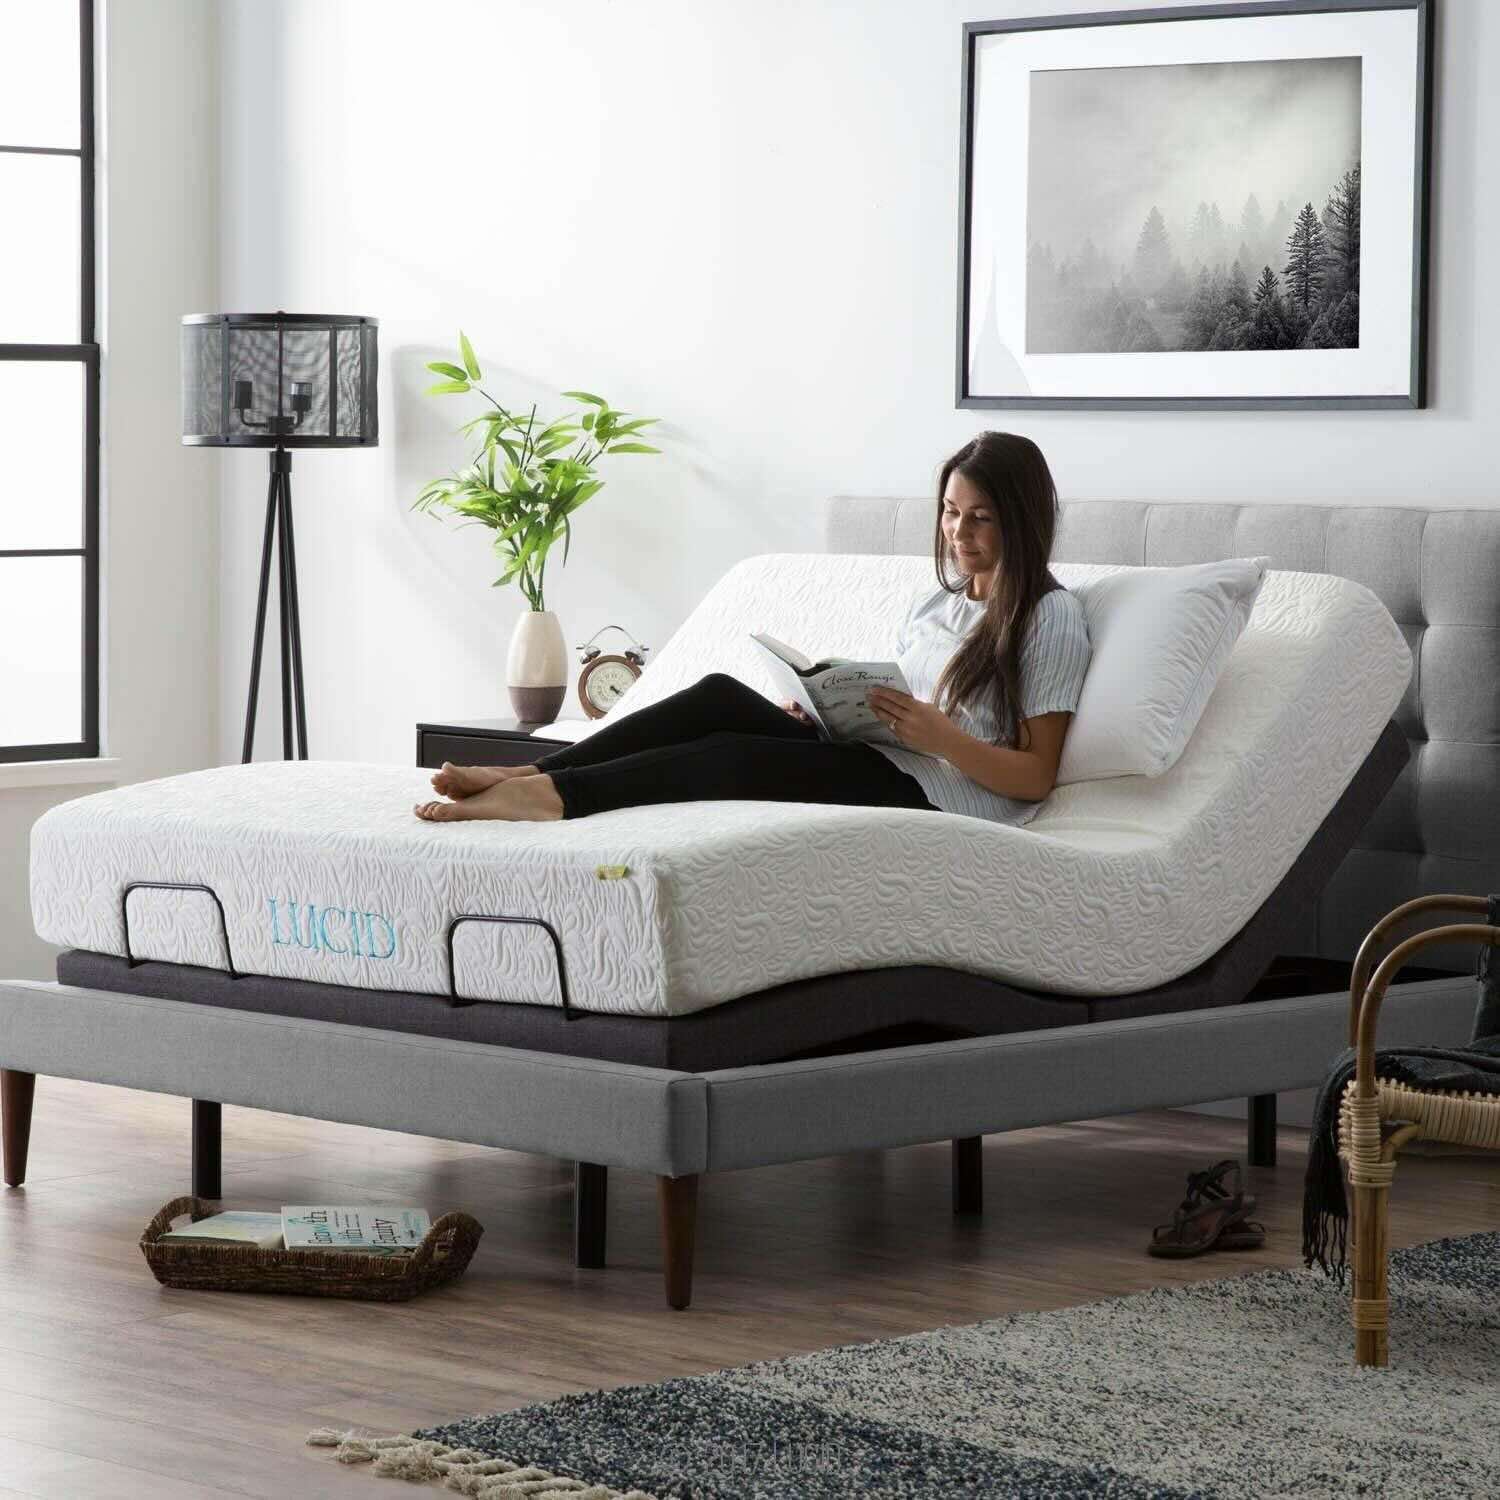
- Mattress and bedding: Choose a comfortable mattress that fits the dimensions of your bed frame, as well as bedding that complements your bedroom décor.
Ensure you have all the necessary materials before you begin, as it will save you time and frustration during the construction process.
Step 1: Planning and Design
Before diving into the construction process, it’s crucial to spend time planning and designing your floating bed. This step will help you visualize the final product and ensure that it aligns with your desired style and dimensions.
Consider the following factors during the planning and design phase:
- Bed Frame Size: Determine the size of the bed frame based on your personal preferences and the available space in your bedroom. Measure the dimensions of your mattress and add an additional inch or two on each side to allow for movement and bedding.
- Wall Placement: Identify the wall where you plan to install the floating bed. Ensure that it is structurally sound and has enough space to accommodate the bed frame.
- Design Style: Decide on the design style you want for your floating bed. It can be sleek and minimalist, rustic and natural, or even industrial. Choose a style that complements the overall aesthetic of your bedroom.
- Support and Stability: Take into account the weight capacity of the wall mounts and the support system for your floating bed. Consider adding additional supports such as brackets or braces to ensure the bed is stable and secure.
Once you have a clear vision of your floating bed, create a detailed sketch or use a design software to map out the dimensions and structure. This will serve as your blueprint throughout the construction process.
Remember to consider any additional features you may want for your floating bed, such as built-in storage compartments, LED lighting, or decorative elements. These can be incorporated into your design for added functionality and aesthetic appeal.
With a well-thought-out plan in hand, you’re ready to move on to the next step: choosing the type of floating bed to build.
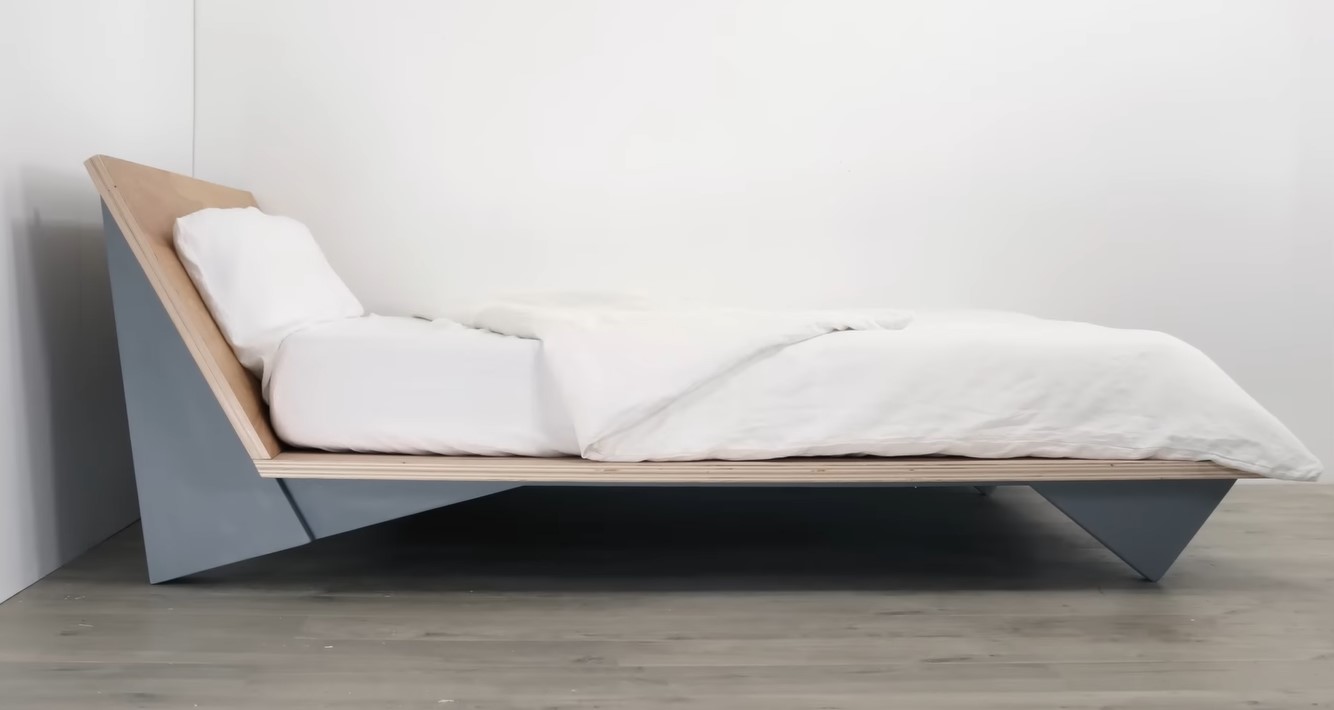
Step 2: Choose the Type of Floating Bed
Now that you have your design plan in place, it’s time to choose the type of floating bed that best suits your style and preferences. There are several options to consider, each with its own unique characteristics:
- Platform Bed: This type of floating bed features a low-profile platform with a solid base that supports the mattress. Platform beds are known for their simplicity and clean lines, offering a modern and minimalistic look.
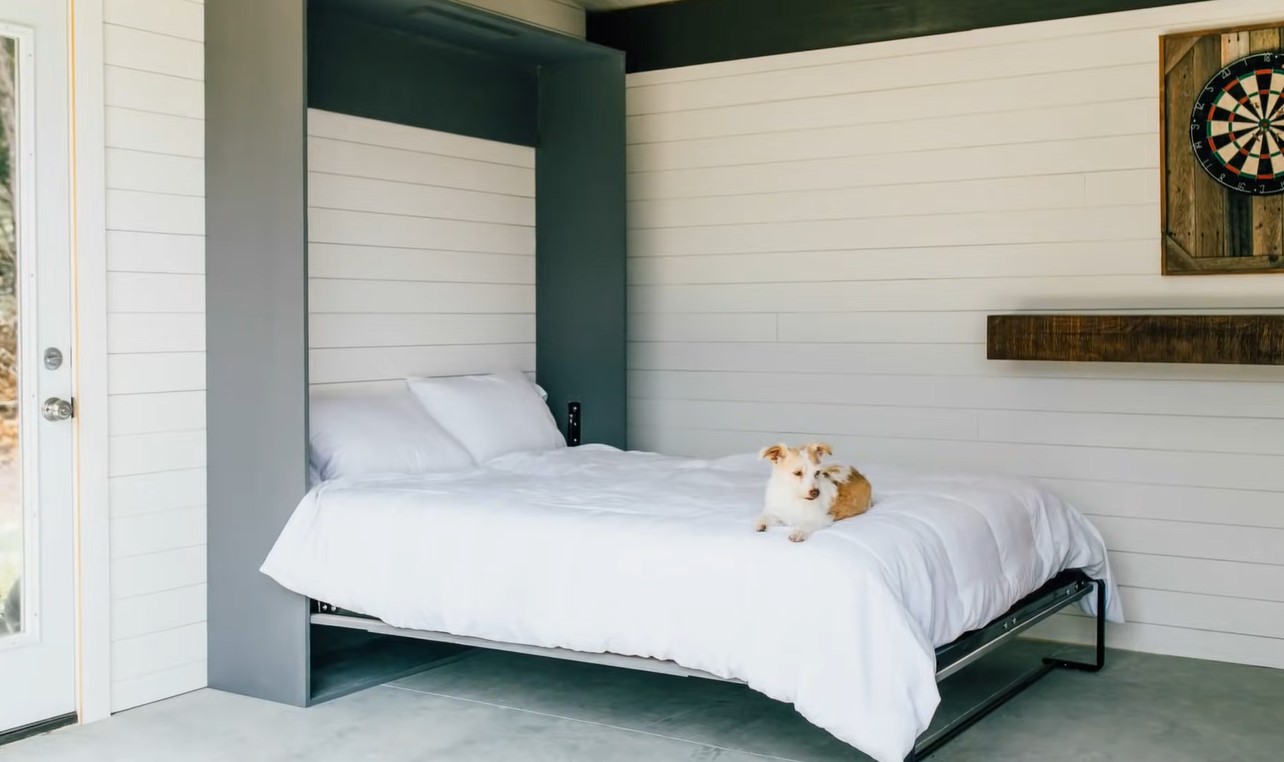
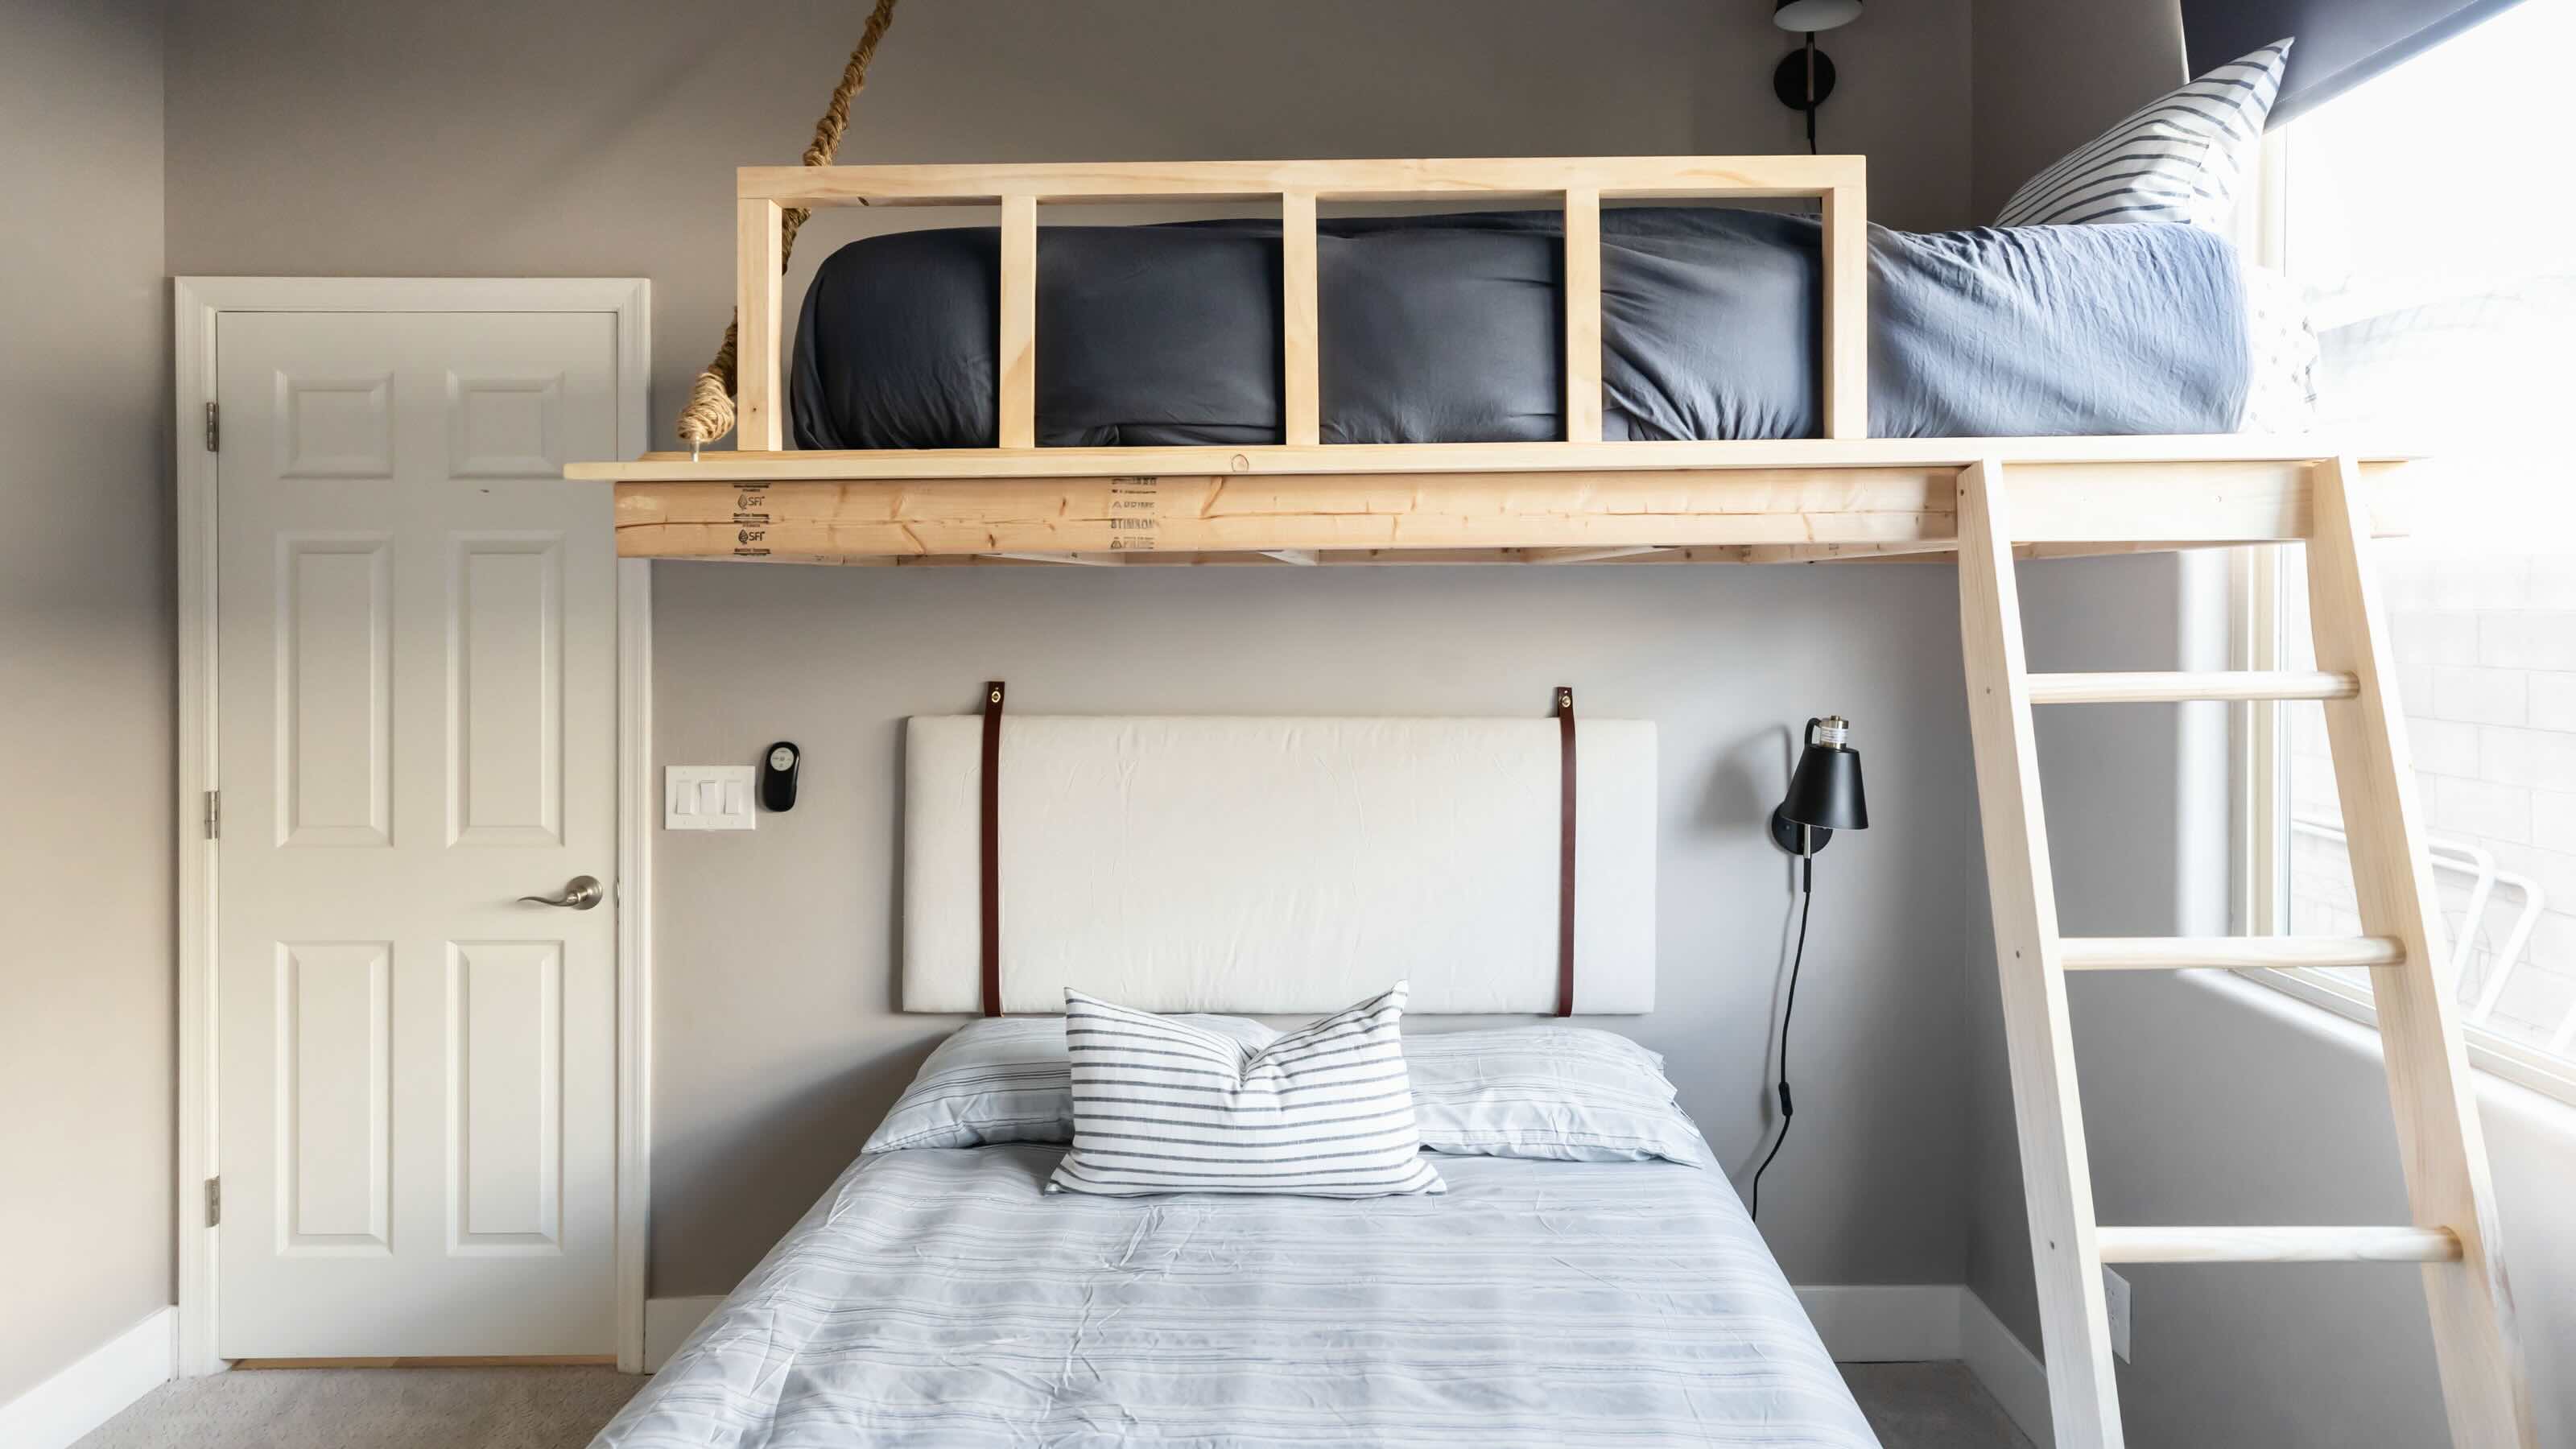
- Suspended Bed: Also known as a hanging bed, this type of floating bed is suspended from the ceiling using strong ropes or cables. Suspended beds can provide a sense of whimsy and create an illusion of floating in mid-air.
- Cantilevered Bed: A cantilevered floating bed is supported by an extended beam or bracket that is anchored to the wall. The protruding design gives the appearance of a floating bed and adds a touch of architectural elegance to your bedroom.
- Optical Illusion Bed: For a true floating bed effect, an optical illusion bed is designed to hide the supporting structure and create the illusion of a bed floating in thin air. This type of bed often utilizes transparent materials like acrylic or glass to enhance the illusion.
Consider the overall aesthetic of your bedroom, the level of complexity you want in the construction process, and your personal taste when choosing the type of floating bed. Each option has its own unique charm and can elevate the style and functionality of your sleeping space.
Once you’ve selected the type of floating bed, you can proceed to the next step: measuring and marking the wall for installation.
Step 3: Measure and Mark the Wall
With your chosen type of floating bed in mind, it’s time to measure and mark the wall where you will be installing the bed frame. This step is crucial to ensure the proper alignment and stability of your floating bed.
Follow these steps to accurately measure and mark the wall:
- Clear the Area: Remove any furniture or decorations that might obstruct your work area. This will give you a clear space to work with and allow for accurate measurements.
- Locate Studs: Use a stud finder tool to locate the studs on the wall. Floating beds require secure attachment to the wall studs for optimal stability.
- Measure the Bed Frame: Measure the length and width of the bed frame and mark these measurements on the wall using a pencil or painter’s tape. Ensure that the marks are level and evenly spaced.
- Verify Support Placement: Double-check the placement of the marks to ensure they align with the studs on the wall. Make adjustments if necessary to ensure proper support.
- Mark Support Locations: Based on your bed frame design, mark the locations where the wall mounts or support brackets will be installed. These marks should align with the studs for maximum stability.
Take your time during this step to ensure accurate measurements and proper alignment. Precise markings will make the installation process smoother and help you achieve a sturdy and well-balanced floating bed.
With the wall measured and marked, you’re ready to move on to the next step: installing the wall mounts or support brackets.
Read more: How To Build Floating Picture Frames
Step 4: Install the Wall Mounts
Now that the wall is measured and marked, it’s time to install the wall mounts or support brackets. These will serve as the anchor points for your floating bed, ensuring its stability and security.
Follow these steps to install the wall mounts:
- Preparation: Gather your wall mounts, screws, and a drill. Ensure that you have the appropriate size and type of screws for your specific wall and bed frame.
- Align Mounting Holes: Position the wall mounts or brackets against the wall at the marked locations. Ensure that they are level and aligned with the stud markings.
- Mark Screw Locations: Use a pencil or marker to mark the screw locations on the wall through the mounting holes of the wall mounts.
- Pre-Drill Holes: Using a drill bit that matches the size of the screws, pre-drill holes at the marked screw locations. This will make it easier to secure the wall mounts later on.
- Secure Wall Mounts: Place the wall mounts back onto the wall and align them with the pre-drilled holes. Insert the screws into the holes and use a screwdriver or drill to securely attach the wall mounts to the wall.
- Double-Check Stability: After installing the wall mounts, give them a gentle tug to ensure they are firmly secured to the wall. Make any necessary adjustments or tighten the screws if needed.
It’s important to follow the manufacturer’s instructions for your specific wall mounts and use proper techniques for installation. If you’re unsure or uncomfortable with this step, it’s advisable to seek assistance from a professional.
With the wall mounts securely in place, you’re ready to move on to the next step: attaching the bed frame to the wall mounts.
When building a floating bed, make sure to use strong and sturdy materials such as solid wood or metal for the frame to ensure stability and safety.
Step 5: Attach the Bed Frame to the Wall Mounts
Now that the wall mounts are securely installed, it’s time to attach the bed frame to them. This step will bring your floating bed to life and provide the foundation for a comfortable and visually stunning sleeping space. Follow these steps to attach the bed frame:
- Enlist Help: Depending on the size and weight of your bed frame, it’s advisable to have someone assist you during this step. They can help you hold the bed frame in place while you secure it to the wall mounts.
- Align the Bed Frame: Position the bed frame against the wall, aligning it with the wall mounts or support brackets. Ensure that the bed frame is level and centered within the marked measurements on the wall.
- Attach the Bed Frame: Using the appropriate screws and a drill, secure the bed frame to the wall mounts or support brackets. Start by attaching one corner of the frame and gradually work your way around, adding screws at regular intervals.
- Tighten and Adjust: Once the bed frame is attached, double-check its stability and adjust as needed. Ensure that the frame is securely fastened to the wall mounts, providing a sturdy and safe foundation for your floating bed.
Take your time during this step to ensure proper alignment and attachment. The goal is to have a bed frame that is securely mounted to the wall, creating the illusion of a floating bed while maintaining stability and support.
With the bed frame securely attached to the wall mounts, you’re ready to move on to the next step: installing supports and braces for additional stability.
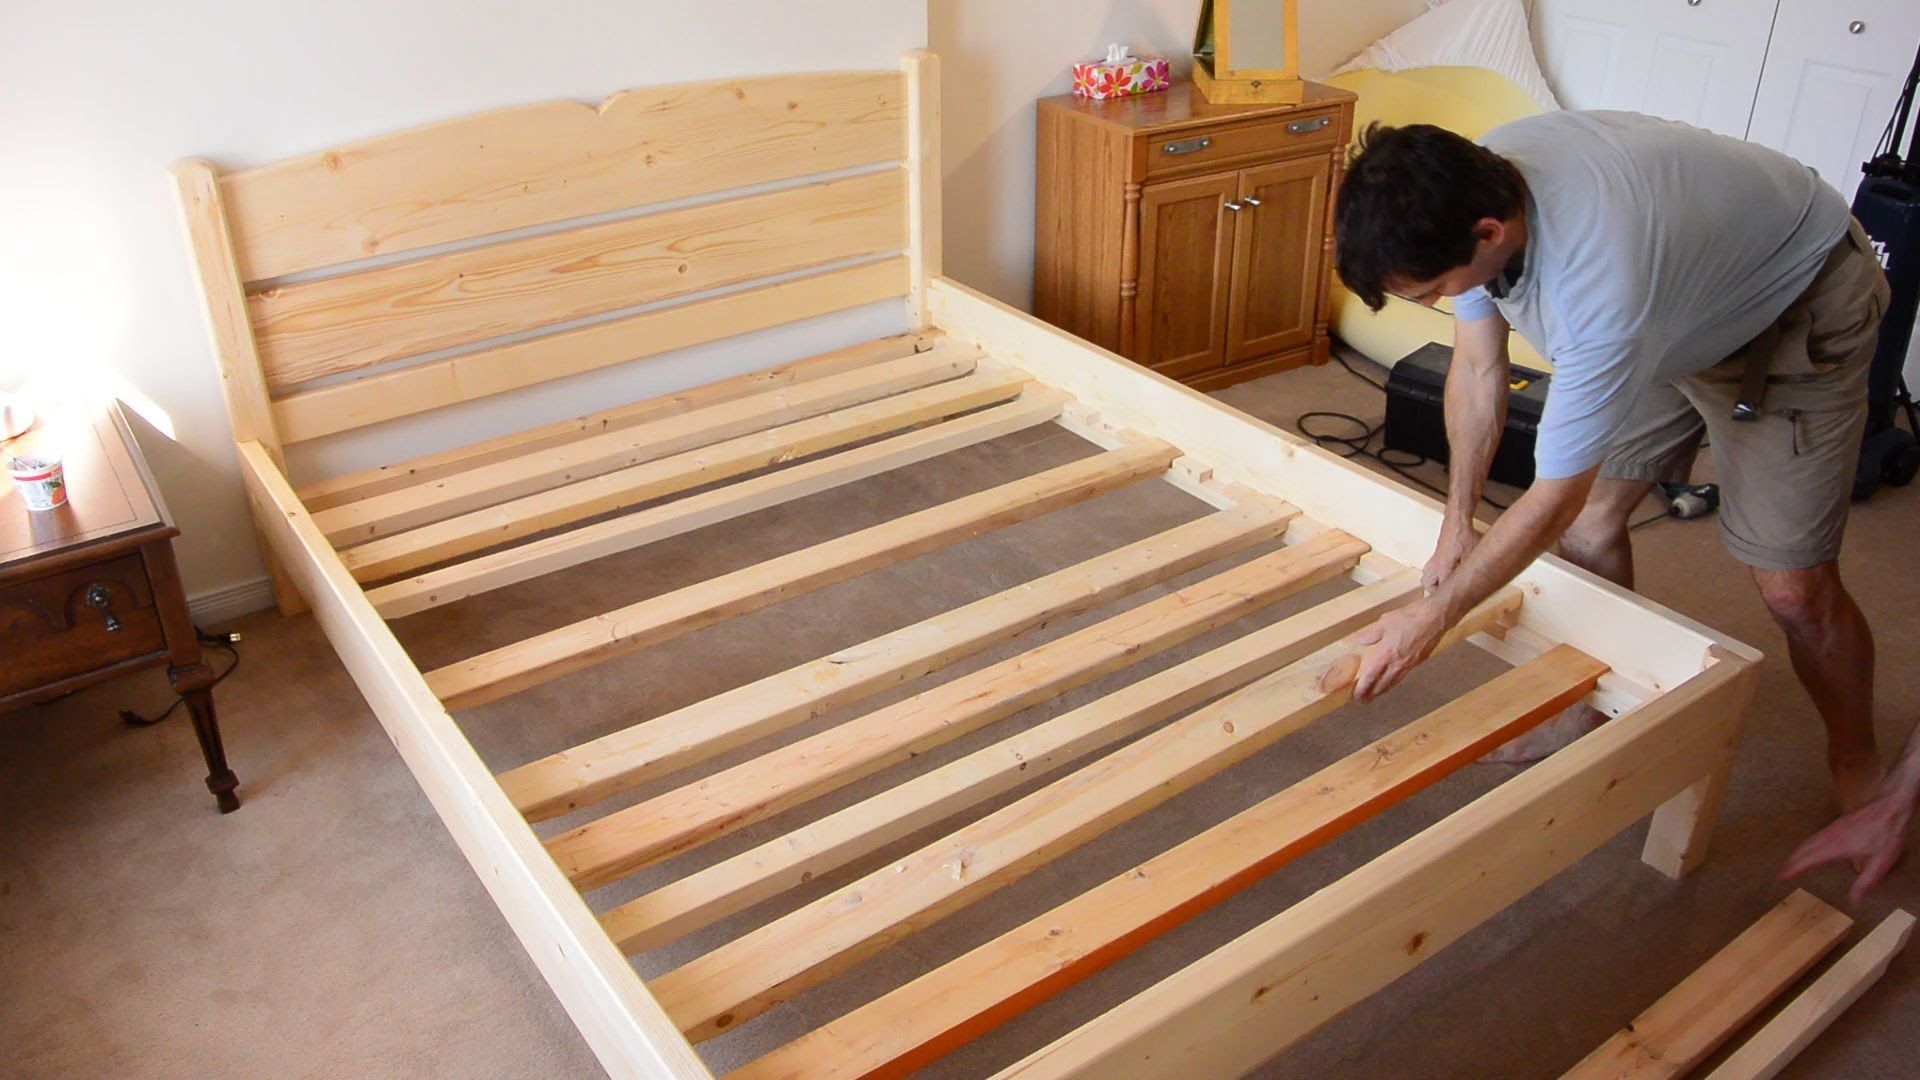
Step 6: Install Supports and Braces
Installing supports and braces is an essential step in ensuring the stability and longevity of your floating bed. These additional reinforcements will provide extra support and prevent any potential movement or sagging over time.
- Determine Support Placement: Assess the design and structure of your bed frame to identify areas that may benefit from additional support. This could include the underside of the bed frame or any areas that seem susceptible to flexing or stress.
- Select Support Materials: Choose sturdy and durable materials for the supports, such as wooden beams or metal brackets.
- Measure and Cut: Measure the required length for the supports and cut them accordingly using a saw or appropriate cutting tool.
- Attach Supports: Position the supports in the designated areas and use screws or bolts to secure them to the bed frame. Ensure they are properly aligned and provide adequate reinforcement.
- Install Braces: If needed, install braces at key points of the bed frame to further enhance stability. Braces can be placed diagonally between the bed frame and the wall or between different sections of the frame to prevent wobbling or swaying.
Be sure to follow proper installation techniques and use the appropriate hardware for attaching the supports and braces. It’s crucial to distribute the reinforcements evenly and ensure they are securely fastened to the bed frame and wall.
By installing supports and braces, you’ll create a solid and robust foundation for your floating bed, extending its durability and providing you with many nights of comfortable sleep.
With the supports and braces properly installed, you’re ready to move on to the next step: testing stability and making any necessary adjustments.
Step 7: Test Stability and Make Adjustments
After completing the installation of supports and braces, it’s important to test the stability of your floating bed before adding the final touches. This step ensures that your bed is secure and ready for use.
- Visually Inspect: Carefully examine the entire bed frame, supports, and braces. Look for any signs of instability, looseness, or misalignment.
- Apply Pressure: Apply gentle pressure to different areas of the bed frame to see if there is any noticeable movement or flex. Pay close attention to areas where supports and braces are installed.
- Test Weight Capacity: If possible, apply weight to the bed by lying on it or placing heavy objects on it. Monitor for any excessive rocking or sagging.
- Make Adjustments: If you notice any instability or movement, identify the specific area causing the issue. Tighten screws, reinforce supports, or adjust braces as needed to enhance stability.
During this step, it’s crucial to address any issues promptly. Loose screws or misaligned supports can compromise the overall stability of your floating bed, so it’s essential to make the necessary adjustments before proceeding.
Repeat the testing process until you are confident of the bed’s stability and rigidity. The goal is to have a floating bed that is strong, secure, and capable of supporting you comfortably while you sleep.
With the stability tested and adjustments made, you’re now ready for the final step: adding the finishing touches and decoration to complete your floating bed.
Read more: How To Build A Bed Frame
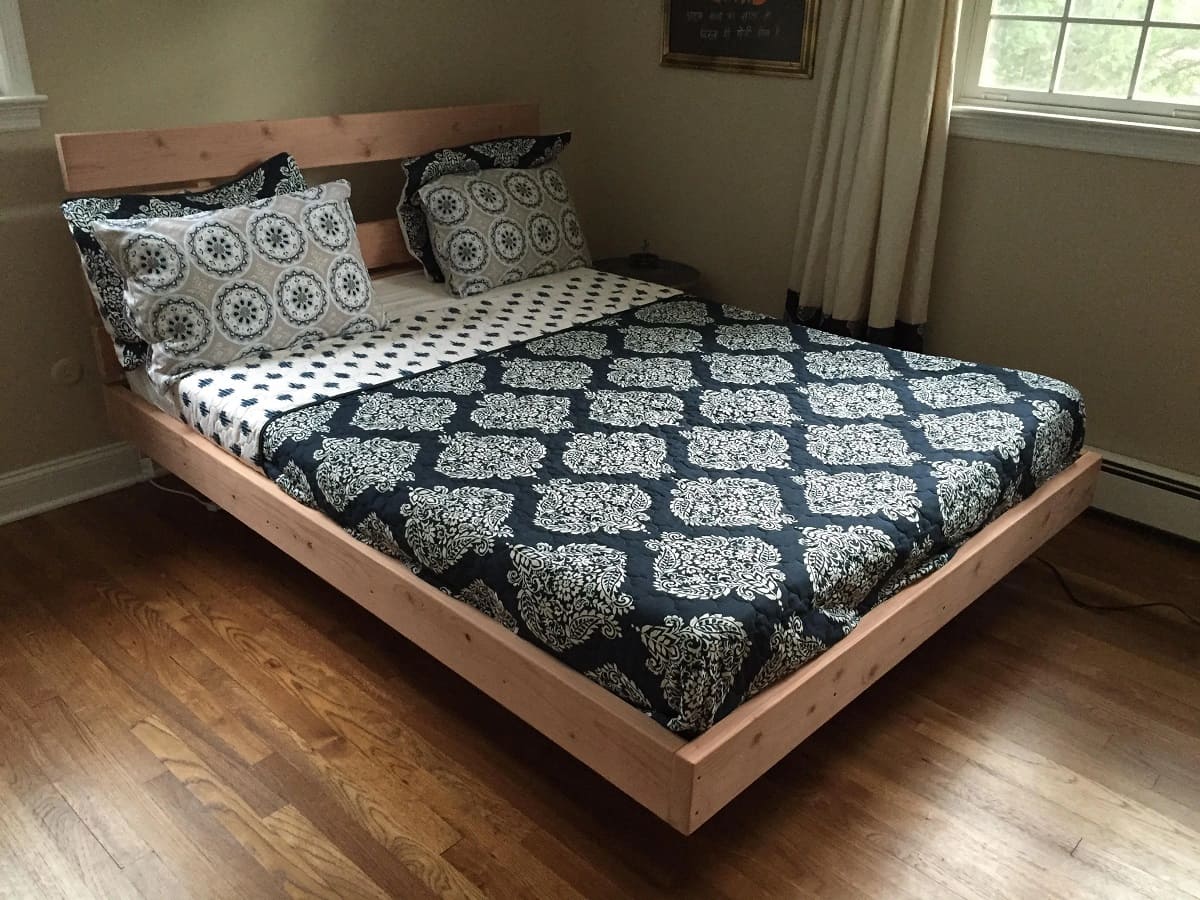
Step 8: Finishing Touches and Decoration
Now that your floating bed is stable and secure, it’s time to add the finishing touches and decorative elements that will truly make it a centerpiece in your bedroom.
- Sanding: If there are any rough edges or imperfections on the bed frame, use sandpaper to smooth them down. This will give your bed a polished and refined look.
- Finishing: Apply your chosen finish, whether it’s paint, stain, or varnish, to protect the wood and enhance its beauty. Follow the manufacturer’s instructions for the application and drying time.
- Bedding and Linens: Dress your floating bed with comfortable and stylish bedding that complements your bedroom decor. Choose colors and textures that create a soothing and inviting atmosphere.
- Accent Lighting: Consider adding accent lighting around the bed frame to create a warm and cozy ambiance. This can be achieved using LED strip lights, wall sconces, or even table lamps.
- Headboard or Canopy: To enhance the aesthetic appeal of your floating bed, consider adding a headboard or canopy. This can be a DIY project or a pre-made piece that complements the style of your bed.
- Personal Touches: Incorporate personal touches such as decorative pillows, artwork, or plants to add character and reflect your unique style.
Take the time to carefully select and arrange these finishing touches to create a cohesive and visually striking bedroom centerpiece. This is your opportunity to showcase your creativity and taste, transforming your floating bed into a personalized sanctuary.
Remember to periodically clean and maintain your floating bed to ensure its longevity and continued beauty. This can involve dusting, polishing, and checking for any signs of wear or damage.
Congratulations on successfully building your own floating bed! Enjoy the comfort, style, and unique experience it brings to your bedroom.
If you’re unsure about any of the steps or feel more comfortable with professional assistance, don’t hesitate to consult a skilled carpenter or handyman who can help you realize your dream floating bed.
With the finishing touches complete, your floating bed is ready to be admired and enjoyed. Get ready for many nights of restful sleep in your stylish and enchanting sleeping oasis.
Note: Please ensure that you follow proper safety precautions and consult professional advice if needed, especially when it comes to securing the bed to the wall and ensuring structural integrity.
Disclaimer: The information provided in this article is for educational purposes only. The author and the website assume no responsibility for any harm or injury that may occur during the construction or use of a floating bed.
Conclusion
Building your own floating bed is not only a rewarding DIY project but also a way to add a touch of elegance and sophistication to your bedroom. With careful planning, precise measurements, and proper installation techniques, you can create a stunning centerpiece that will impress and delight.
Throughout the construction process, we discussed important steps, such as planning and design, choosing the type of floating bed, measuring and marking the wall, installing wall mounts, attaching the bed frame, installing supports and braces, testing stability, and adding finishing touches and decoration.
It’s crucial to prioritize safety, ensuring stability and proper structural integrity. When in doubt, consult a professional to assist you with the construction process.
Once your floating bed is complete, remember to maintain and care for it regularly to ensure its durability and longevity. Keep it clean, periodically check for any signs of wear or damage, and make any necessary adjustments promptly.
Now, it’s time to enjoy the fruits of your labor. Lay back, relax, and experience the magic of sleeping in a floating bed. Let the unique beauty and comfort of your creation provide you with a restful and peaceful night’s sleep.
Congratulations on your successful venture into the world of floating beds. May your creation bring joy, style, and endless hours of blissful sleep in the comfort of your own personal oasis – your bedroom.
Frequently Asked Questions about How To Build Floating Bed
Was this page helpful?
At Storables.com, we guarantee accurate and reliable information. Our content, validated by Expert Board Contributors, is crafted following stringent Editorial Policies. We're committed to providing you with well-researched, expert-backed insights for all your informational needs.