Home>Furniture>Bedroom Furniture>How To Clean A Tuft And Needle Mattress

Bedroom Furniture
How To Clean A Tuft And Needle Mattress
Modified: October 18, 2024
Learn the best method to clean a Tuft and Needle mattress and keep your bedroom furniture looking fresh. Discover effective techniques and products to maintain your mattress's longevity.
(Many of the links in this article redirect to a specific reviewed product. Your purchase of these products through affiliate links helps to generate commission for Storables.com, at no extra cost. Learn more)
Introduction
Having a clean and well-maintained mattress is essential for a good night’s sleep. And when it comes to the popular Tuft and Needle mattress, proper cleaning is crucial to ensure its longevity and cleanliness. Whether you’re dealing with spills, stains, or simply want to freshen up your mattress, this guide will provide you with step-by-step instructions on how to clean a Tuft and Needle mattress effectively.
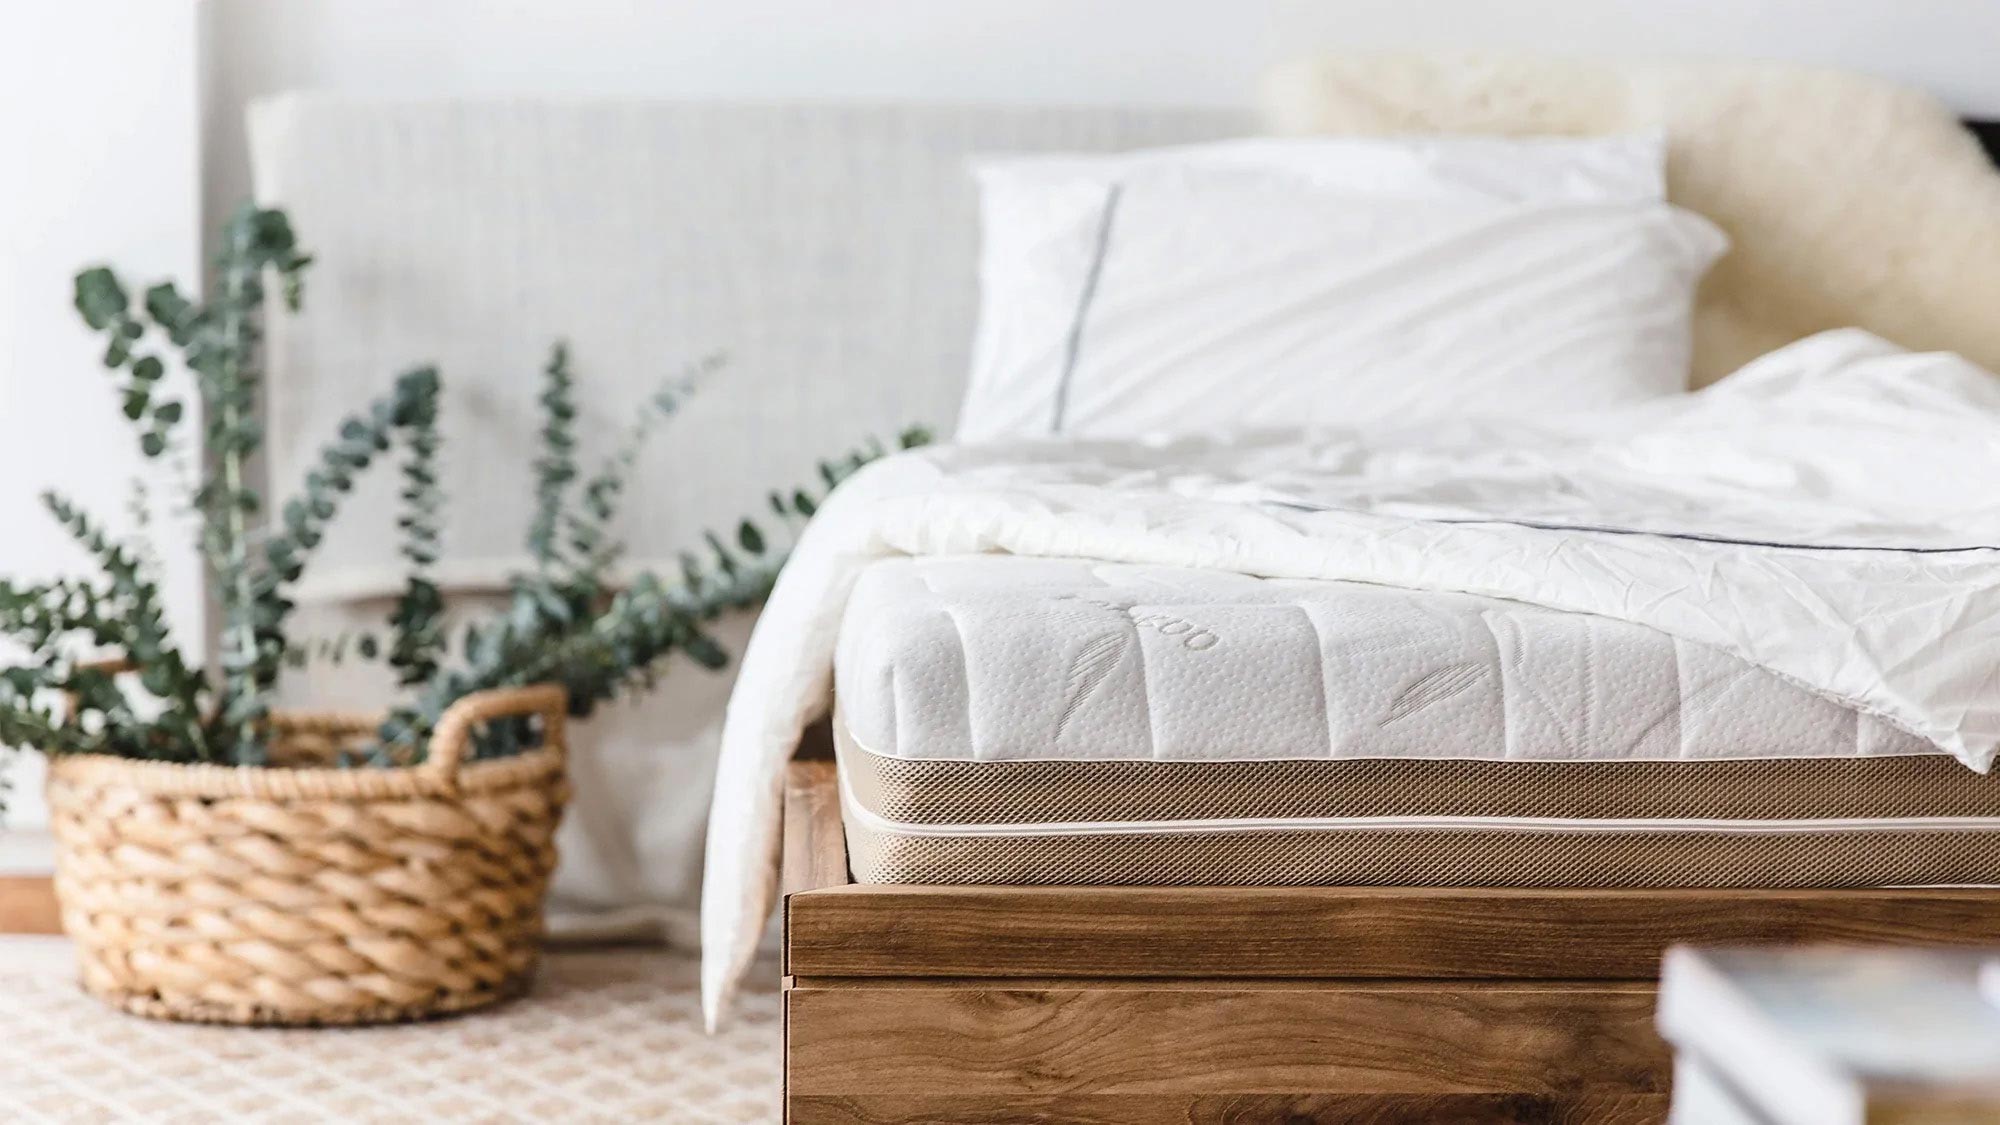
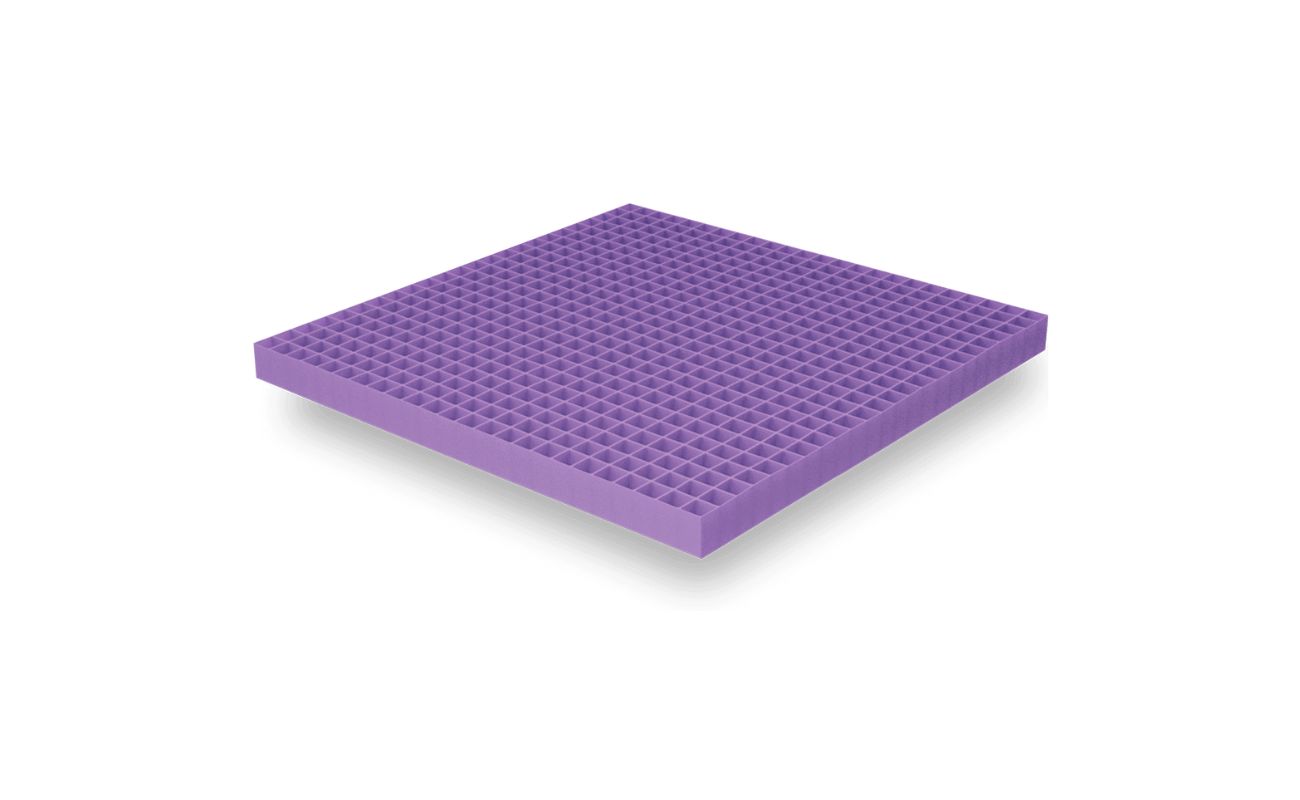
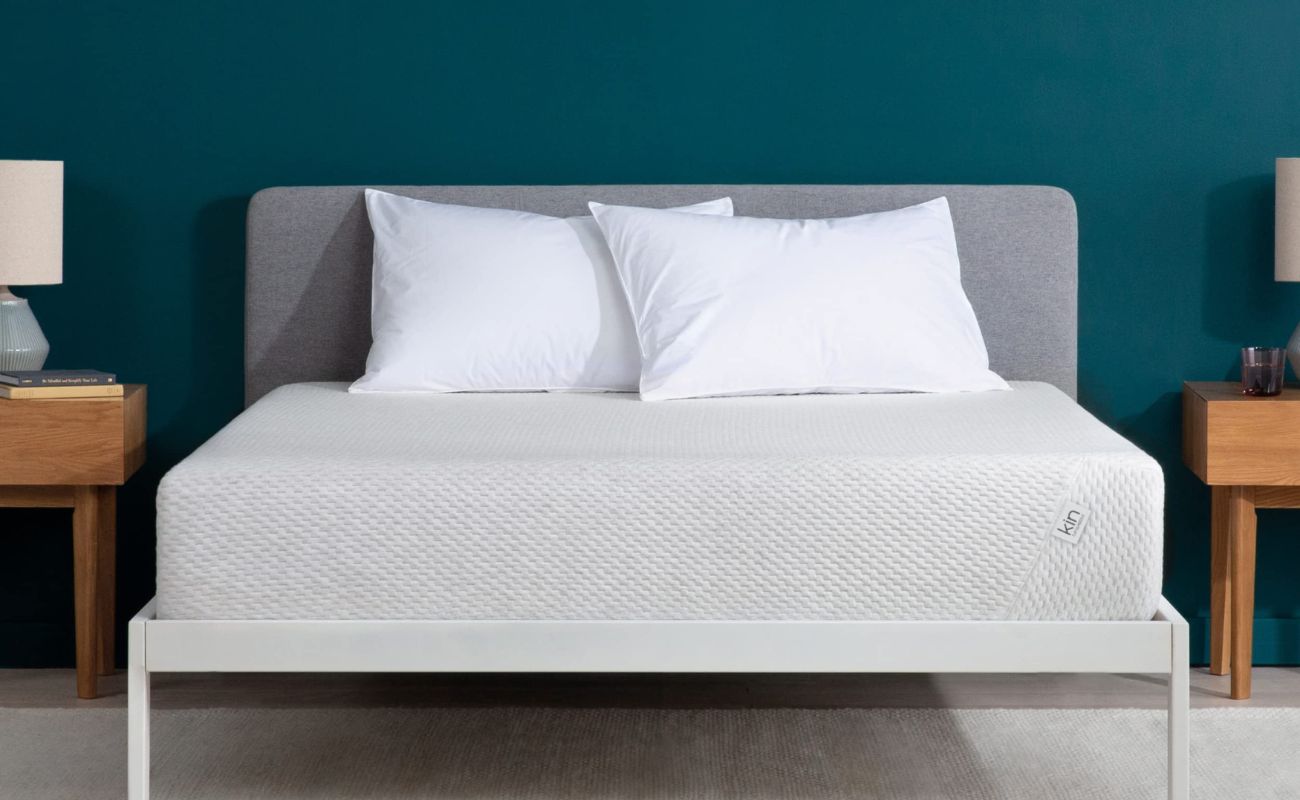
Tuft and Needle is a well-known brand in the mattress industry, recognized for its high-quality and comfortable mattresses. Their mattresses are made of adaptive foam, which is both supportive and breathable. However, like any mattress, it is susceptible to stains, odors, and dust accumulation over time. Regular cleaning and maintenance are necessary to ensure a healthy and hygienic sleep environment.
Before we dive into the cleaning process, make sure to check the manufacturer’s recommendations and warranty guidelines for your Tuft and Needle mattress. It’s essential to follow their specific instructions to avoid any potential damage.
Now, let’s gather the materials and tools needed to clean your Tuft and Needle mattress.
Key Takeaways:
- Keep your Tuft and Needle mattress clean and fresh by following a simple six-step cleaning process, including vacuuming, spot cleaning stains, and using baking soda to eliminate odors.
- Regularly flipping or rotating your Tuft and Needle mattress and using a protective mattress cover will help maintain its cleanliness and extend its lifespan, ensuring a comfortable and hygienic sleep environment.
Materials and Tools Needed
Before you start cleaning your Tuft and Needle mattress, make sure you have the following materials and tools ready:
- A vacuum cleaner with upholstery attachment: This will help remove surface dirt, dust, and allergens from the mattress.
- A mild detergent or upholstery cleaner: Look for a gentle and non-toxic cleaner specifically designed for mattresses or upholstery.
- Clean cloth or sponge: You’ll need this to apply the cleaning solution and blot stains.
- Baking soda: This natural deodorizer will help eliminate any unwanted odors from your mattress.
- A soft-bristled brush: Use this to gently scrub the mattress and loosen any dirt or stains.
- A spray bottle: You can use this to mix and apply the cleaning solution.
- White vinegar: This household ingredient can be used as a natural stain remover and deodorizer.
- A mattress cover or protector: It’s a good idea to protect your freshly cleaned mattress with a cover to prevent future stains and spills.
Once you have gathered all of these materials and tools, you’re ready to begin the cleaning process. Let’s move on to the first step: removing bedding and vacuuming.
Step 1: Remove Bedding and Vacuum
The first step in cleaning your Tuft and Needle mattress is to remove all bedding, including sheets, pillowcases, and mattress protectors. This will allow you to have a clear and unobstructed surface to work on.
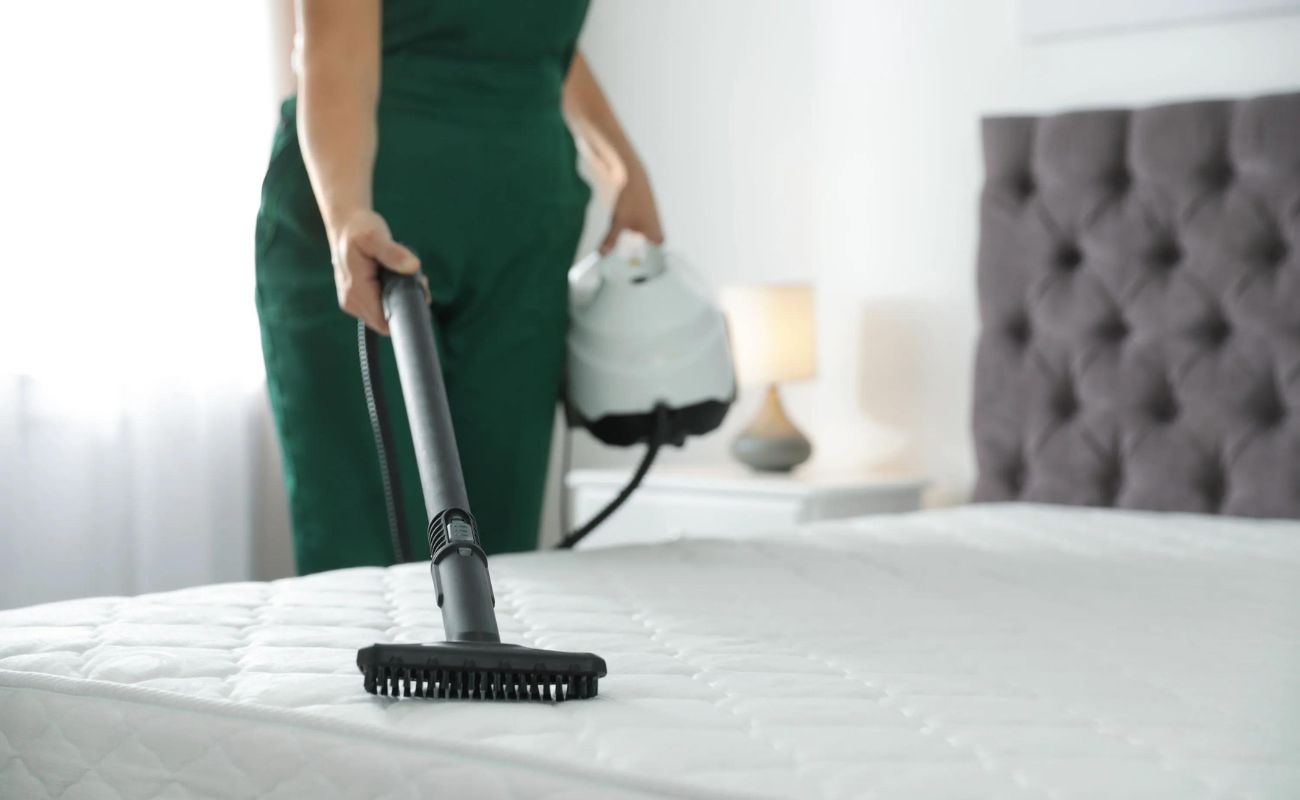
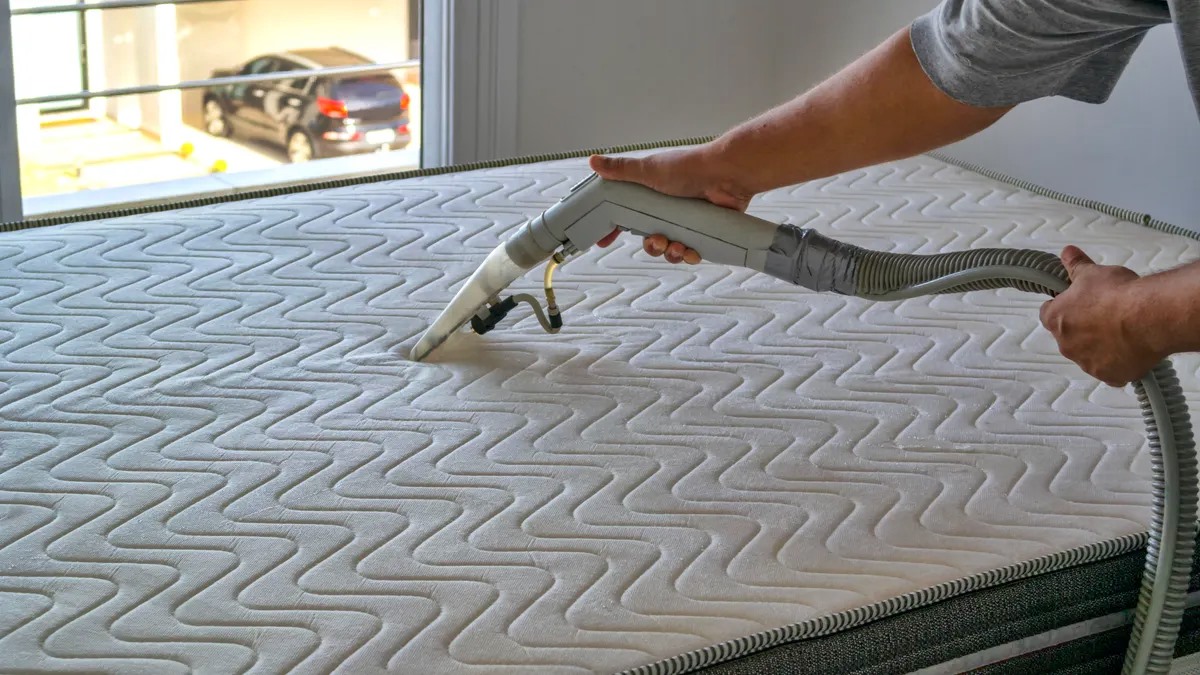
After removing the bedding, it’s time to give your mattress a thorough vacuuming. Use the upholstery attachment on your vacuum cleaner and run it over the entire surface of the mattress, paying extra attention to the seams and corners. This will help remove any loose dirt, dust mites, and allergens that may have accumulated over time.
Remember to vacuum both sides of the mattress, as Tuft and Needle mattresses are designed to be reversible. By vacuuming regularly, you’ll prevent the buildup of dust and debris that can affect the cleanliness and longevity of your mattress.
Once you’ve completed the vacuuming process, move on to the next step: spot cleaning stains.
Step 2: Spot Clean Stains
Over time, your Tuft and Needle mattress may develop stains from spills, accidents, or body oils. Spot cleaning these stains promptly will help prevent them from setting in and becoming more difficult to remove.
First, identify the specific areas of your mattress that have stains. It could be anything from food or beverage spills to sweat or urine stains. Once you’ve identified the stains, you can proceed with spot cleaning.
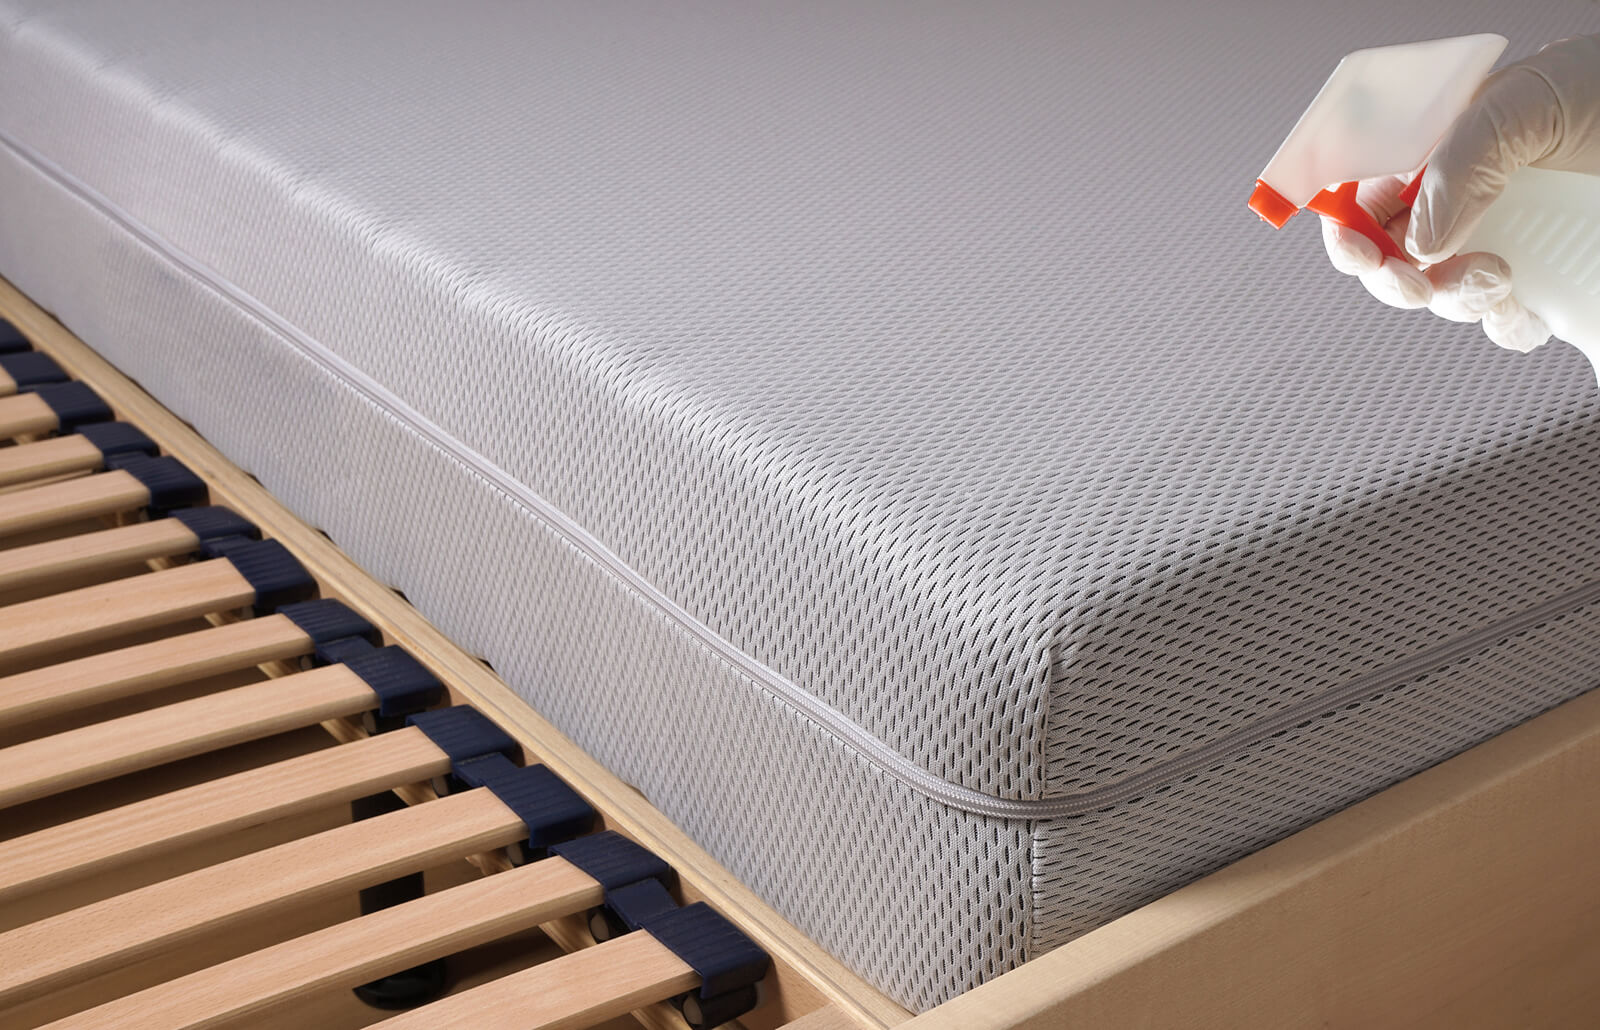
Start by mixing a small amount of mild detergent or upholstery cleaner with warm water in a spray bottle. Shake the bottle well to ensure the solution is mixed properly. Test the solution on a small, inconspicuous area of the mattress first to ensure that it doesn’t cause any discoloration or damage.
Next, spray the cleaning solution directly onto the stained areas of the mattress. Avoid saturating the mattress, as excessive moisture can lead to mold or mildew growth. Use a clean cloth or sponge to gently blot the stained area and work the solution into the fabric.
If the stain persists, you can try using a mixture of white vinegar and water (equal parts) as a natural stain remover. Apply the vinegar solution to the stain and blot gently. Vinegar is a great option for removing odors as well. After treating the stains, allow the mattress to air dry completely before moving on to the next step.
Now that you’ve spot cleaned the stains, it’s time to freshen up the mattress by using baking soda. This will help eliminate any lingering odors. Let’s move on to step 3.
Step 3: Freshen Up with Baking Soda
After spot cleaning the stains on your Tuft and Needle mattress, it’s time to freshen it up using a natural and effective ingredient: baking soda.
Baking soda is a well-known household product that has excellent odor-absorbing properties. It can help eliminate any unwanted smells that may have accumulated on your mattress over time. Additionally, baking soda is safe to use on mattresses and is gentle on the fabric.
To freshen up your mattress with baking soda, start by sprinkling a generous amount of baking soda over the entire surface of the mattress. Use a soft-bristled brush to gently spread the baking soda and work it into the fabric. Be sure to pay extra attention to any areas that may be particularly odorous or stained.
Leave the baking soda on the mattress for at least 30 minutes, but if possible, it’s recommended to leave it on for a few hours or even overnight. This will allow the baking soda to absorb any unpleasant odors effectively.
Once the desired amount of time has passed, use the upholstery attachment on your vacuum cleaner to thoroughly remove the baking soda from the mattress. Make sure to vacuum with slow and deliberate movements to ensure that all traces of baking soda are removed.
Now that your mattress is freshened up and odor-free, it’s time to move on to the next step: vacuuming again to ensure a clean surface.
To clean a Tuft and Needle mattress, start by vacuuming the surface to remove any dust and debris. Then, spot clean any stains with a mild detergent and water, and allow the mattress to air dry completely before putting on clean bedding.
Read more: How To Make Tufted Rugs
Step 4: Vacuum Again
After applying and removing the baking soda, it’s important to vacuum the Tuft and Needle mattress once again. This step will ensure that any remaining residue, loose particles, or baking soda traces are completely removed from the surface.
Using the upholstery attachment on your vacuum cleaner, go over the entire mattress surface with slow and deliberate movements. Pay close attention to the seams, corners, and edges of the mattress, as these areas can accumulate more dust and debris.
By vacuuming the mattress again, you’ll not only remove any leftover baking soda but also ensure a clean and fresh sleeping surface. This step is crucial for maintaining a hygienic sleep environment and prolonging the lifespan of your Tuft and Needle mattress.
Once you’ve completed the second round of vacuuming, it’s time to move on to step 5: flipping or rotating the mattress.
Step 5: Flip or Rotate the Mattress
To ensure even wear and extend the lifespan of your Tuft and Needle mattress, it’s recommended to regularly flip or rotate it. This step is particularly important for mattresses that are not one-sided, as they are designed to provide optimal comfort and support on both sides.
If your Tuft and Needle mattress is flippable, meaning it can be used on both sides, flip it over so that the opposite side is now facing up. This will distribute the weight and pressure evenly, preventing sagging or indentations in one specific area.
If your mattress is not flippable, you can still rotate it from head to toe. This means that the head end of the mattress will now become the foot end, and vice versa. This rotation will also help ensure even wear and maintain the integrity of the mattress.
By regularly flipping or rotating your Tuft and Needle mattress, you’ll prolong its lifespan and prevent uneven wear and tear. It’s recommended to do this every three to six months, or as advised by the mattress manufacturer.
Once you’ve flipped or rotated the mattress, it’s time to protect it with a mattress cover. Let’s move on to step 6.
Step 6: Protect with a Mattress Cover
After cleaning, freshening, and maintaining your Tuft and Needle mattress, it’s important to protect it from future spills, stains, and dust accumulation. One of the best ways to do this is by using a mattress cover or protector.
A mattress cover is a fabric encasement that fits snugly around your mattress, creating a barrier between the mattress and external elements. It acts as a protective shield, preventing liquids, allergens, dust mites, and other particles from penetrating the mattress surface.
To protect your Tuft and Needle mattress effectively, choose a mattress cover that is specifically designed for your mattress size and model. Look for a cover that is waterproof or water-resistant, hypoallergenic, and breathable. This will ensure that your mattress remains clean, dry, and free from allergens.
When applying the mattress cover, make sure it fits securely and is zipped or fastened tightly. This will prevent it from shifting or slipping during use. Additionally, regularly machine wash or deep clean the mattress cover according to the manufacturer’s instructions to maintain its functionality and cleanliness.
By using a mattress cover, you’ll not only protect your Tuft and Needle mattress from spills and stains but also prolong its lifespan and maintain its overall hygiene.
With the final step complete, you have successfully cleaned and protected your Tuft and Needle mattress. Enjoy a fresh, clean, and comfortable sleep environment!
To sum up, here are the steps to clean a Tuft and Needle mattress:
- Remove bedding and vacuum the mattress.
- Spot clean stains with a mild detergent or upholstery cleaner.
- Freshen up the mattress by sprinkling baking soda and vacuuming it.
- Vacuum the mattress again to ensure a clean surface.
- Flip or rotate the mattress to ensure even wear.
- Protect the mattress with a mattress cover or protector.
By following these steps regularly, you’ll maintain the cleanliness and longevity of your Tuft and Needle mattress, ensuring restful and peaceful nights of sleep for years to come.
Conclusion
Properly cleaning and maintaining your Tuft and Needle mattress is essential for a comfortable and hygienic sleep environment. By following the step-by-step guide outlined in this article, you can effectively clean and protect your mattress, ensuring its longevity and cleanliness for years to come.
From removing bedding and vacuuming to spot cleaning stains, freshening up with baking soda, vacuuming again, flipping or rotating the mattress, and protecting it with a mattress cover, each step serves a crucial role in maintaining the integrity of your Tuft and Needle mattress.
Regular cleaning not only helps remove dust, allergens, and odors but also prevents stains and extends the lifespan of your mattress. By incorporating these cleaning practices into your regular maintenance routine, you can enjoy a clean and comfortable sleep environment.
Remember to follow the manufacturer’s recommendations and warranty guidelines for your specific Tuft and Needle mattress. This will ensure that you are cleaning your mattress in a way that won’t void the warranty or cause any damage.
Lastly, don’t forget to prioritize regular maintenance and cleaning to keep your mattress in the best possible condition. Regularly vacuuming your mattress and using a mattress cover will help prevent the buildup of dirt, stains, and odors, keeping your Tuft and Needle mattress fresh and comfortable for many years to come.
By taking these simple steps, you can ensure that your Tuft and Needle mattress remains a sanctuary of restful sleep and relaxation, providing you with the comfort and support you deserve.
So go ahead, give your Tuft and Needle mattress the care it deserves, and enjoy a clean, fresh, and comfortable sleep experience every night.
Frequently Asked Questions about How To Clean A Tuft And Needle Mattress
Was this page helpful?
At Storables.com, we guarantee accurate and reliable information. Our content, validated by Expert Board Contributors, is crafted following stringent Editorial Policies. We're committed to providing you with well-researched, expert-backed insights for all your informational needs.
