Home>Home Appliances>Laundry Appliances>How To Clean A Washing Machine After Bed Bugs

Laundry Appliances
How To Clean A Washing Machine After Bed Bugs
Modified: September 1, 2024
Learn how to effectively clean your laundry appliances after a bed bug infestation. Follow our expert tips to ensure a thorough and safe cleaning process. Keep your washing machine bed bug-free!
(Many of the links in this article redirect to a specific reviewed product. Your purchase of these products through affiliate links helps to generate commission for Storables.com, at no extra cost. Learn more)
Introduction
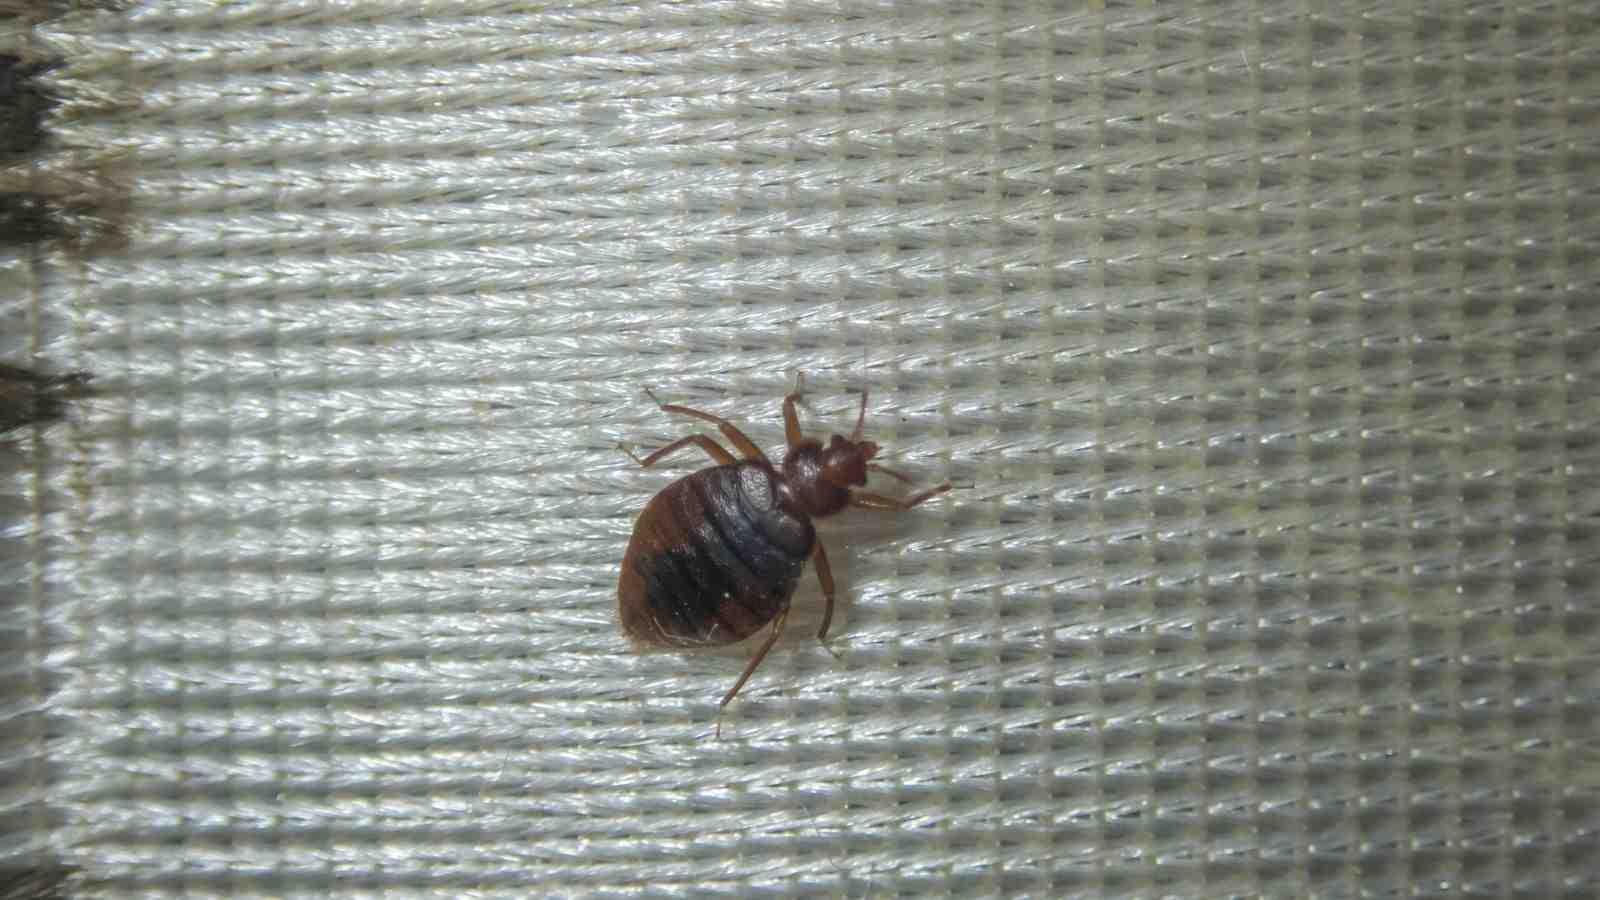
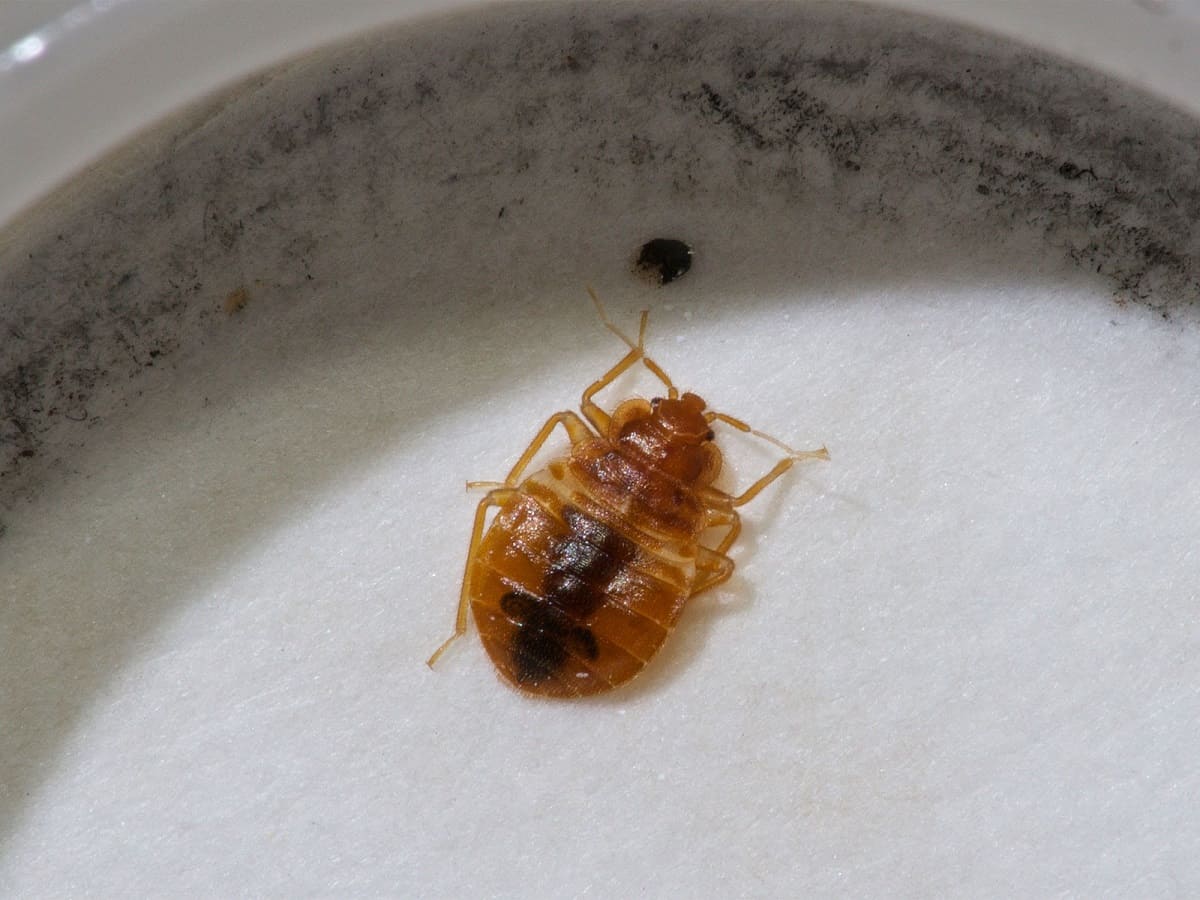
Dealing with a bed bug infestation can be a distressing experience, and it's crucial to take thorough measures to prevent their spread. One often overlooked aspect of bed bug management is the cleaning of household appliances, including the washing machine. While it may seem counterintuitive, bed bugs can find their way into the nooks and crannies of this essential appliance, potentially leading to re-infestation if not properly addressed.
In this comprehensive guide, we will walk you through the step-by-step process of cleaning your washing machine after a bed bug infestation. By following these instructions, you can effectively eliminate any lingering bed bugs and their eggs, ensuring that your laundry appliance remains a bed bug-free zone.
It's important to note that a clean washing machine is not only essential for preventing the spread of bed bugs but also for maintaining the overall hygiene of your laundry. Over time, dirt, grime, and detergent residue can accumulate inside the machine, leading to unpleasant odors and reduced cleaning efficiency. By incorporating regular washing machine maintenance into your routine, you can extend the lifespan of your appliance and enjoy fresh, clean laundry with every wash.
Now, let's dive into the practical steps you can take to clean your washing machine thoroughly and eliminate any traces of bed bugs, ensuring a hygienic and pest-free laundry environment for you and your family.
Key Takeaways:
- Don’t overlook cleaning your washing machine after a bed bug infestation. It’s crucial for eliminating bed bugs and maintaining a hygienic laundry environment for fresh, clean clothes.
- Regularly clean and dry your washing machine to prevent bed bug re-infestation and ensure a pest-free home. Thorough maintenance extends the appliance’s lifespan and keeps your laundry area welcoming.
Read more: How To Wash Bedding In A Washing Machine
Step 1: Gather Your Supplies
Before embarking on the task of cleaning your washing machine after a bed bug infestation, it's essential to gather the necessary supplies. Having the right tools and cleaning agents at hand will streamline the process and ensure thorough sanitation. Here's a comprehensive list of supplies you'll need:
-
Rubber Gloves: Protect your hands from direct contact with cleaning agents and potential bed bug remnants by wearing durable rubber gloves.
-
Face Mask: A face mask or respirator will shield you from inhaling any airborne particles or fumes during the cleaning process.
-
White Vinegar: This natural cleaning agent is highly effective in eliminating odors, dissolving mineral deposits, and disinfecting the interior of the washing machine.
-
Baking Soda: Known for its deodorizing properties, baking soda will help neutralize any lingering odors within the washing machine.
-
Microfiber Cloth: Use a soft microfiber cloth to wipe down the exterior of the washing machine, removing any surface grime and spills.
-
Old Toothbrush: An old toothbrush is ideal for reaching tight spaces and crevices within the washing machine, ensuring a thorough clean.
-
Hot Water: Ensure a sufficient supply of hot water for running cleaning cycles and soaking removable components.
-
Liquid Dish Soap: Mild liquid dish soap can be used to clean the exterior surfaces of the washing machine, effectively removing dirt and stains.
-
Bucket: A bucket will come in handy for mixing cleaning solutions, collecting water from the washing machine's drain, and transporting water for cleaning purposes.
-
Lint-Free Cloth: Use a lint-free cloth to dry the interior and exterior of the washing machine after cleaning, leaving a streak-free finish.
By assembling these supplies before you begin the cleaning process, you'll be well-prepared to tackle the task efficiently and effectively. With the right tools at your disposal, you can proceed to the next steps with confidence, knowing that you have everything you need to restore your washing machine to a pristine, bed bug-free condition.
Step 2: Clean the Interior of the Washing Machine
Cleaning the interior of your washing machine is a crucial step in eliminating any traces of bed bugs and ensuring a hygienic laundry environment. Follow these detailed steps to thoroughly clean the interior of your washing machine:
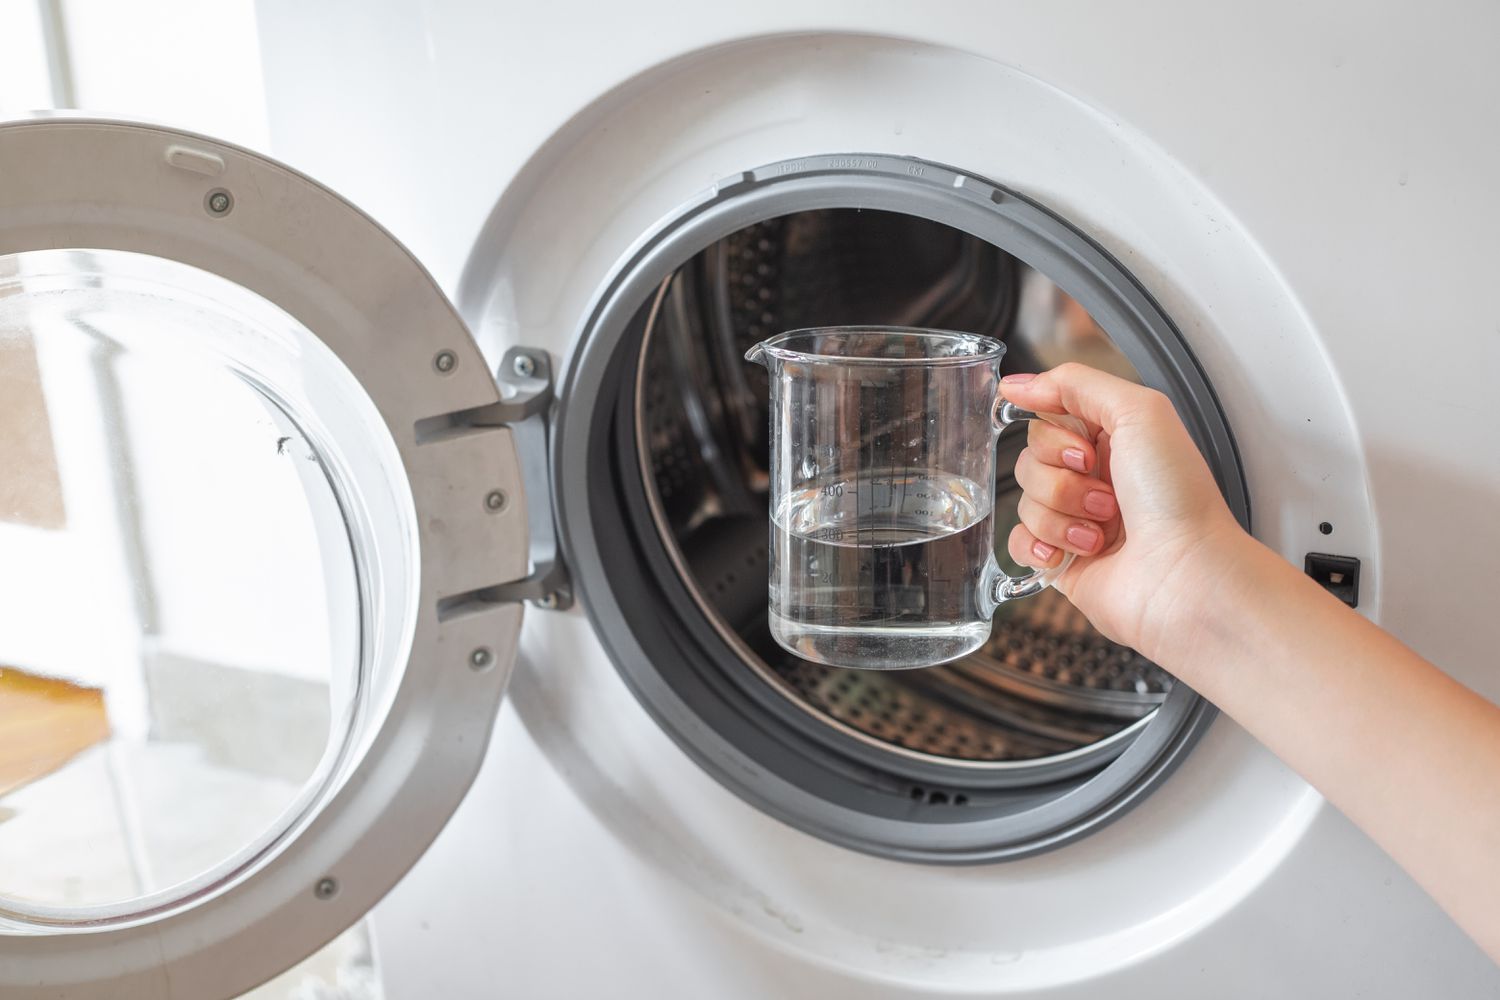
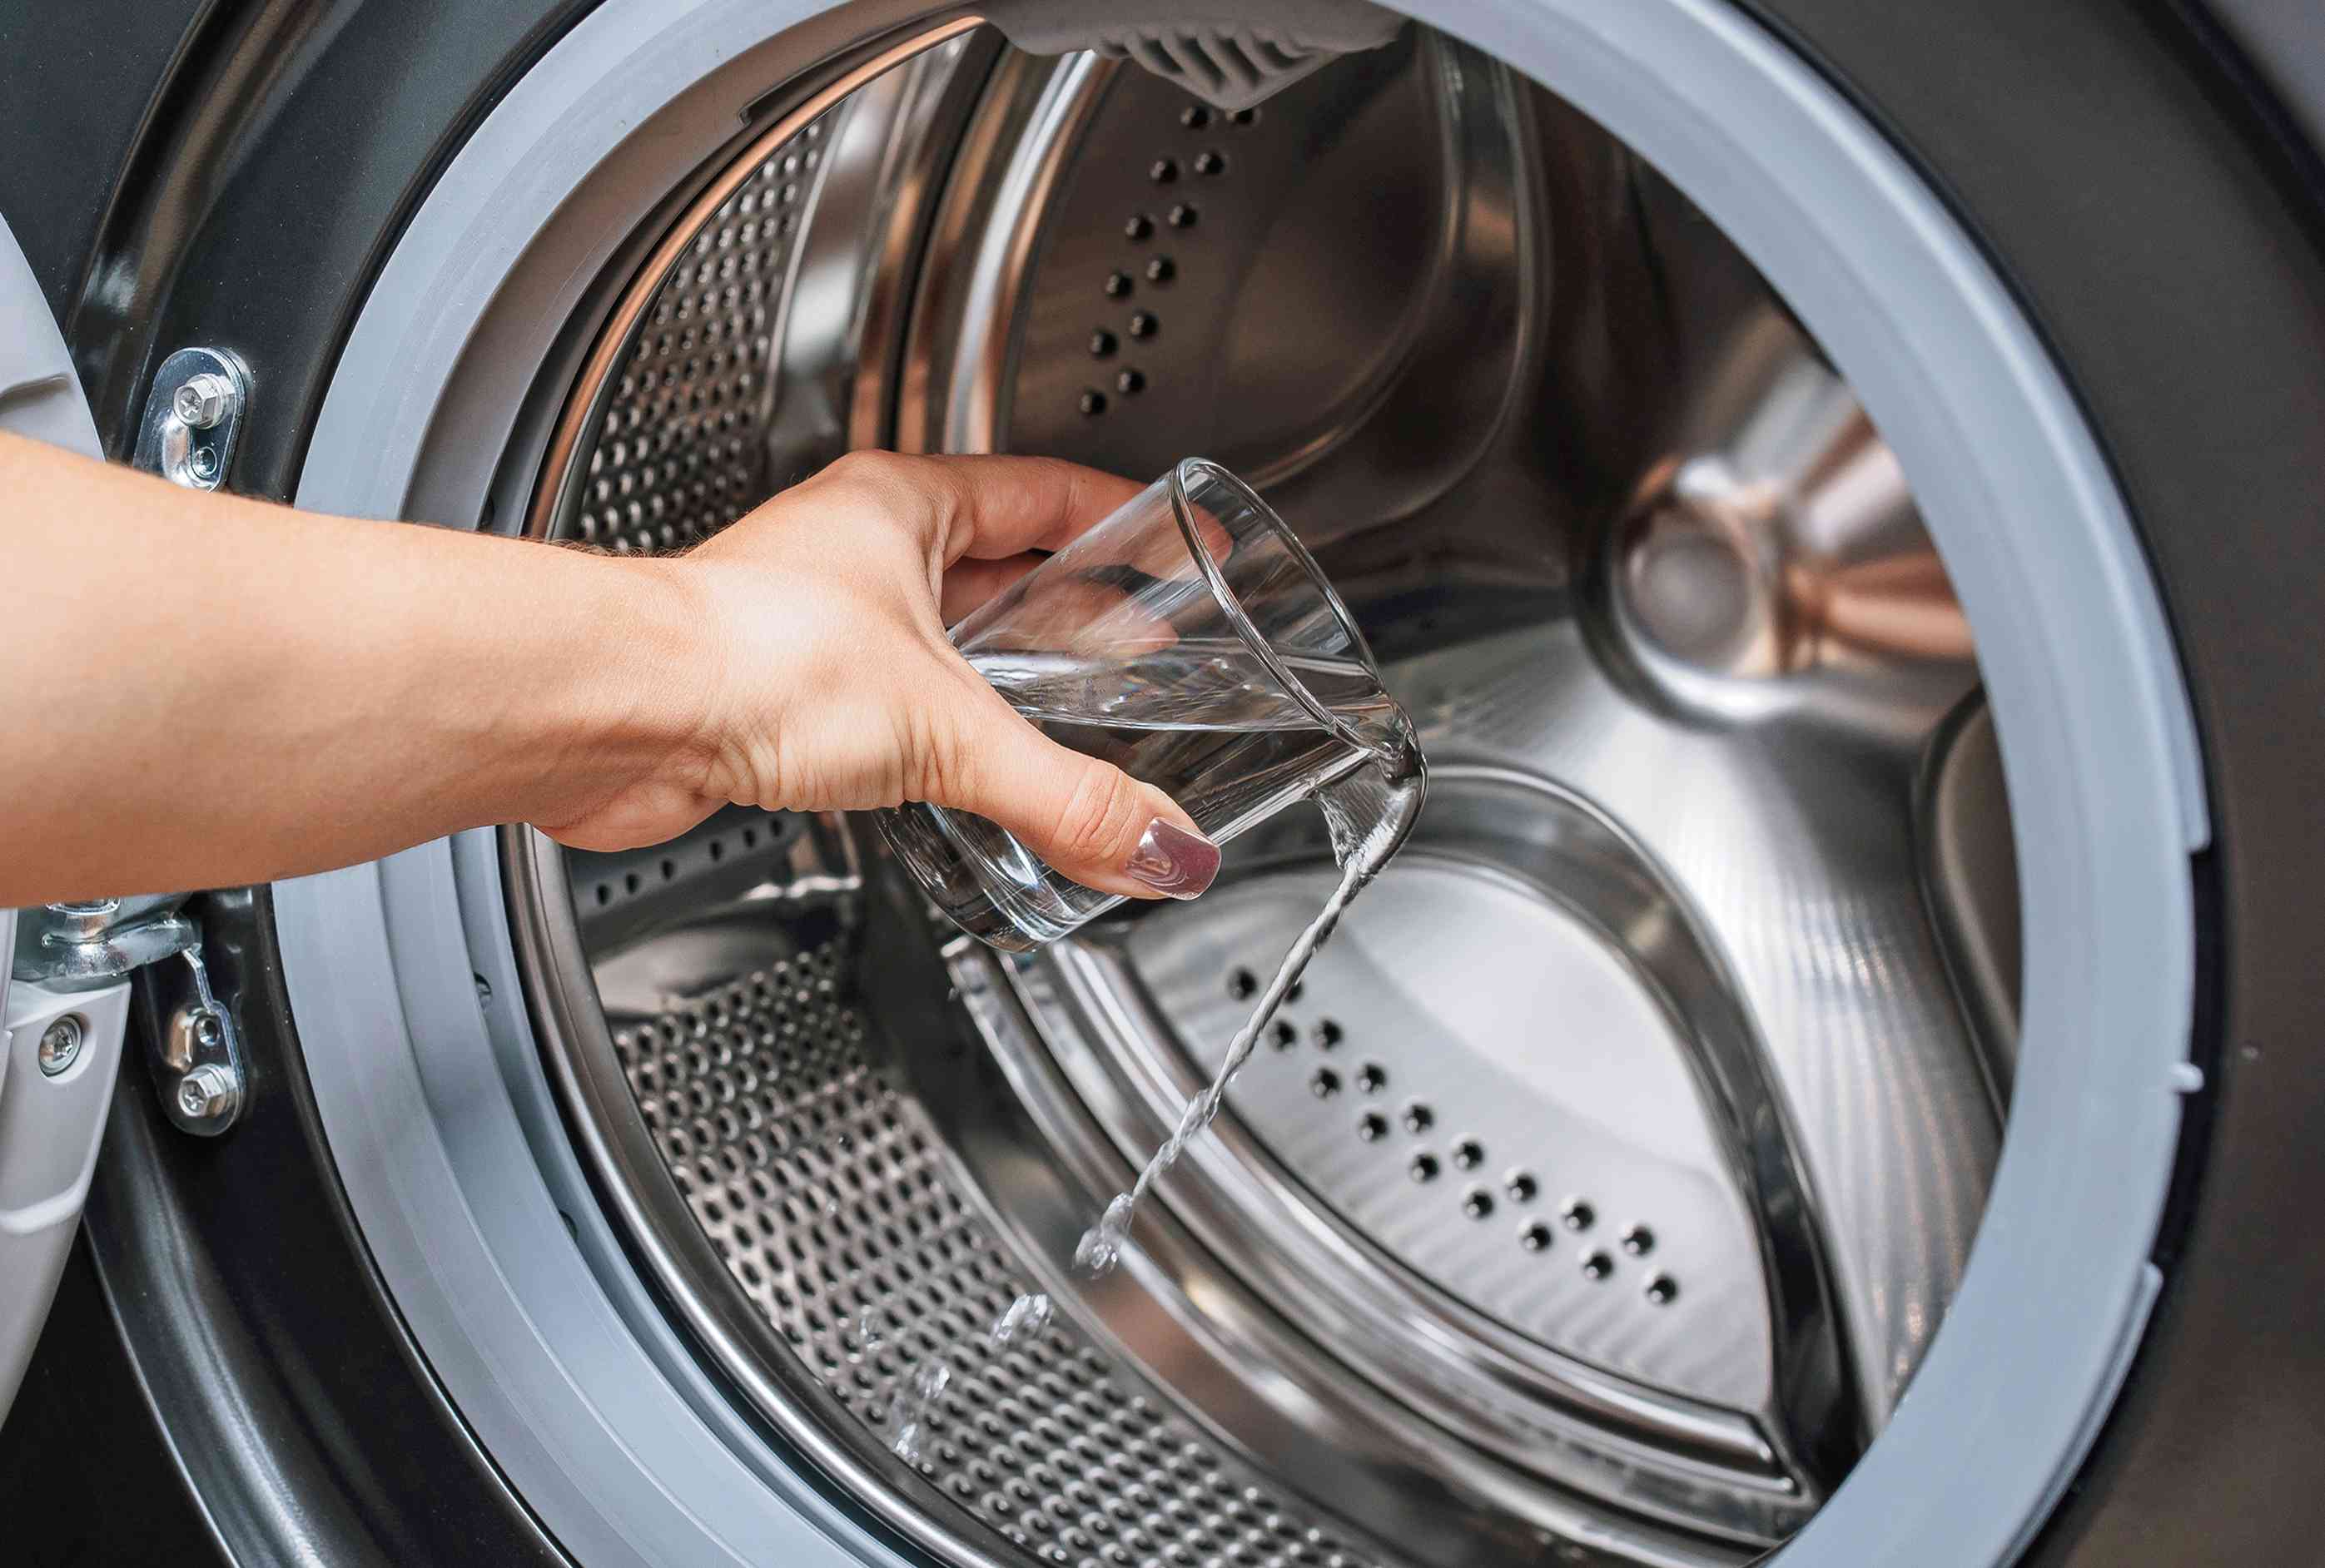
1. Prepare the Cleaning Solution
Begin by creating a natural cleaning solution using white vinegar and hot water. Mix equal parts of white vinegar and hot water in a bucket. The acidic properties of white vinegar make it an effective agent for dissolving mineral deposits, eliminating odors, and disinfecting the interior of the washing machine.
2. Wipe Down the Drum and Agitator
Dip a microfiber cloth into the cleaning solution and use it to wipe down the interior surfaces of the washing machine, including the drum and agitator. Pay close attention to any visible stains, residue, or signs of bed bug activity. For stubborn stains or crevices, use an old toothbrush dipped in the cleaning solution to scrub and dislodge any debris.
Read more: How To Clean Mattress After Bed Wetting
3. Soak Removable Components
If your washing machine has removable components such as detergent dispensers or fabric softener compartments, soak them in the cleaning solution for thorough disinfection. Allow these components to soak for at least 30 minutes to ensure that any lingering bed bugs or eggs are effectively eradicated.
4. Run a Cleaning Cycle
Once the interior surfaces have been wiped down and the removable components have been thoroughly soaked, run a hot water cycle with the cleaning solution. Set the washing machine to the highest water temperature and allow it to complete a full wash cycle. The combination of hot water and white vinegar will sanitize the interior, effectively eliminating any remaining bed bug remnants.
5. Wipe Dry
After the cleaning cycle is complete, use a lint-free cloth to thoroughly dry the interior of the washing machine. Pay attention to any moisture-prone areas and ensure that the drum, agitator, and other surfaces are completely dry to prevent the growth of mold or mildew.
By following these steps, you can effectively clean the interior of your washing machine, eliminating any traces of bed bugs and ensuring a fresh and hygienic environment for your laundry. This thorough cleaning process will not only address the aftermath of a bed bug infestation but also contribute to the overall maintenance and longevity of your washing machine.
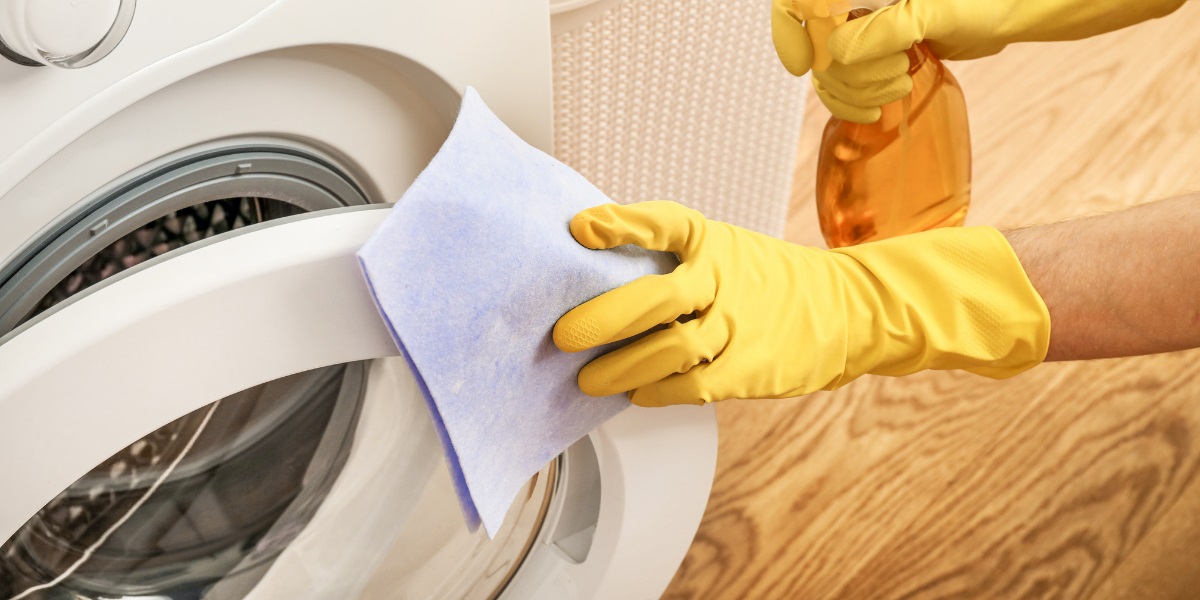
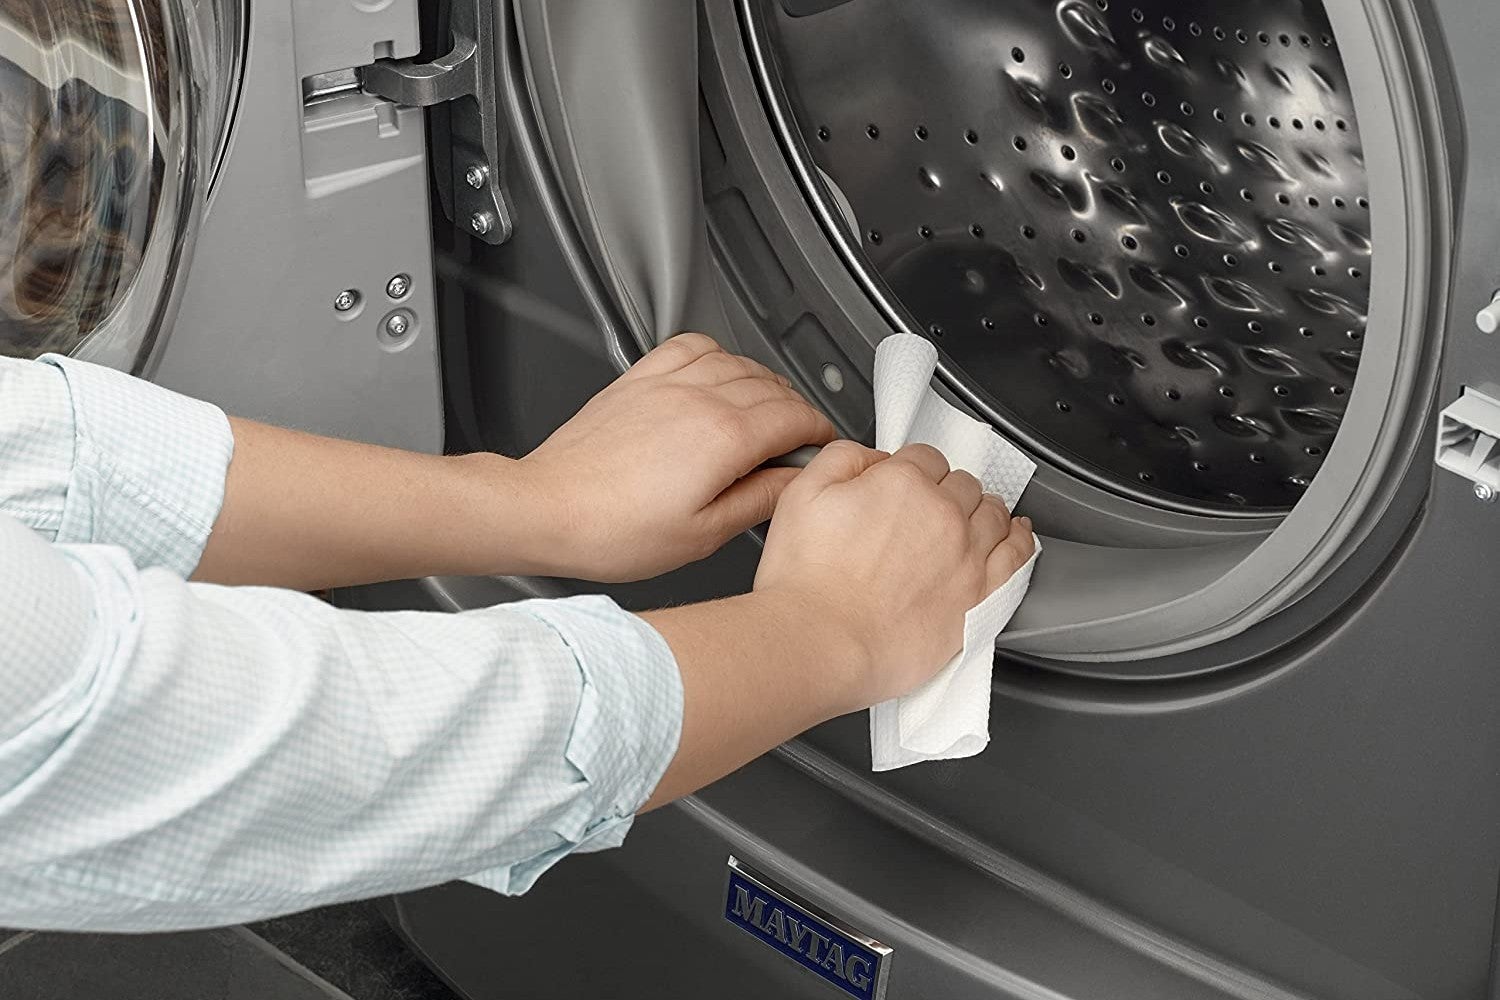
Step 3: Clean the Exterior of the Washing Machine
Cleaning the exterior of your washing machine is essential for maintaining its overall appearance and hygiene. Over time, the exterior surfaces can accumulate dust, dirt, and detergent spills, detracting from the appliance's aesthetic appeal and potentially harboring bed bugs. Follow these detailed steps to effectively clean the exterior of your washing machine:
-
Prepare a Cleaning Solution: Begin by creating a mild cleaning solution using warm water and a small amount of liquid dish soap. Mix the solution in a bucket, ensuring that the soap is thoroughly dissolved.
-
Wipe Down the Exterior Surfaces: Dip a soft microfiber cloth into the cleaning solution and use it to wipe down the exterior surfaces of the washing machine. Pay close attention to areas prone to spills and splatters, such as the control panel, door, and top of the machine. Gently scrub any stubborn stains or grime, ensuring thorough coverage of all exterior surfaces.
-
Focus on Control Panel and Knobs: Use a damp cloth to clean the control panel and knobs, taking care to avoid excess moisture around electronic components. If necessary, use a cotton swab dipped in the cleaning solution to reach into crevices and corners, ensuring a meticulous clean.
-
Clean the Door Seal: The rubber door seal can harbor dirt, lint, and moisture, providing a potential hiding place for bed bugs. Use a damp cloth to clean the door seal, paying attention to the folds and grooves where debris can accumulate. Ensure that the seal is thoroughly dried after cleaning to prevent mold growth.
-
Address Stains and Spills: For stubborn stains or spills on the exterior surfaces, use a paste of baking soda and water to gently scrub the affected areas. Baking soda's mild abrasive properties can help lift stains and neutralize odors, restoring the pristine appearance of the washing machine.
-
Dry the Exterior: After cleaning, use a lint-free cloth to thoroughly dry the exterior of the washing machine. Pay attention to any residual moisture and ensure that all surfaces are completely dry to prevent water spots and streaks.
By following these steps, you can effectively clean the exterior of your washing machine, removing dirt, spills, and potential bed bug hiding spots. This comprehensive cleaning process will not only enhance the visual appeal of your appliance but also contribute to a hygienic and pest-free laundry environment. Regular maintenance of the exterior surfaces will prolong the lifespan of your washing machine and ensure that it remains a clean and welcoming addition to your home.
Read more: How To Clean Washer And Dryer
Step 4: Run a Hot Water Cycle
After thoroughly cleaning the interior and exterior of your washing machine, the next crucial step is to run a hot water cycle to ensure complete sanitation. This process will effectively eliminate any remaining traces of bed bugs, their eggs, and any lingering odors, leaving your appliance fresh and hygienic.
To initiate the hot water cycle, set your washing machine to the highest water temperature setting available. Hot water is a powerful ally in the fight against bed bugs, as it can effectively eradicate these pests and their eggs. The elevated temperature will also help dissolve any remaining detergent residue and mineral deposits, contributing to the overall cleanliness of the appliance.
Once the water temperature is set to the highest level, ensure that the water level is appropriate for a full load. This will allow the hot water to thoroughly penetrate all areas of the washing machine, including the drum, agitator, and other internal components. The extended exposure to hot water will serve as a final sweep, ensuring that any remaining bed bug remnants are effectively eradicated.
During the hot water cycle, it's advisable to keep the washing machine lid or door closed to maintain the internal temperature and prevent heat loss. Allow the machine to complete the full cycle, including the agitation and soaking phases, to maximize the effectiveness of the hot water treatment.
As the hot water cycle progresses, the combination of elevated temperature and thorough water circulation will work in tandem to sanitize the interior of the washing machine. This process not only addresses the aftermath of a bed bug infestation but also contributes to the overall maintenance and longevity of your appliance.
Once the hot water cycle is complete, open the lid or door of the washing machine and allow any residual steam to dissipate. This will help prevent the buildup of excess moisture within the appliance, ensuring that it remains dry and ready for future use.
By running a hot water cycle as part of the cleaning process, you can effectively eliminate any remaining traces of bed bugs and their eggs, leaving your washing machine in a pristine and hygienic state. This final step serves as a comprehensive measure to safeguard your laundry environment and maintain the overall cleanliness of your essential household appliance.
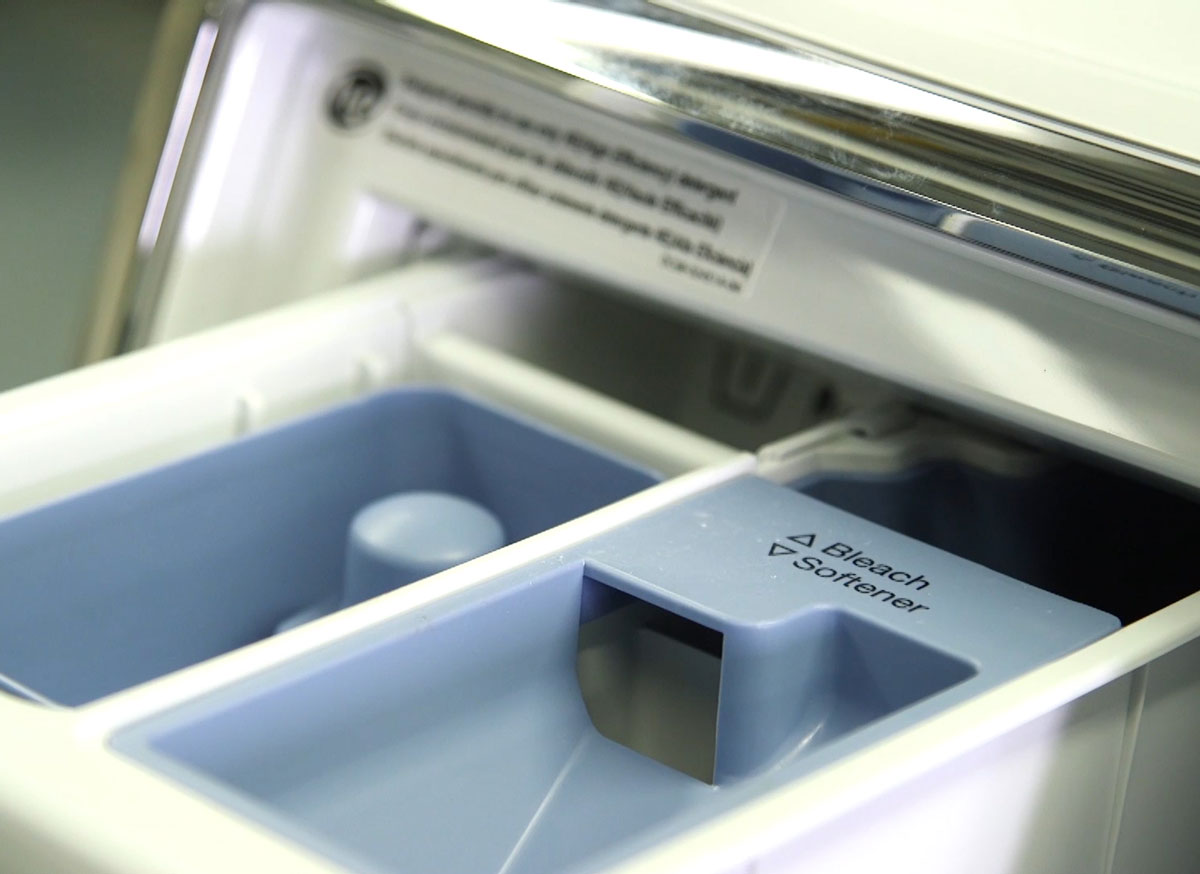
Step 5: Clean the Detergent Dispenser and Filter
Cleaning the detergent dispenser and filter of your washing machine is a critical yet often overlooked aspect of maintenance. Over time, these components can accumulate detergent residue, fabric softener buildup, and lint, creating an environment conducive to bacterial growth and potential bed bug infestation. By following these detailed steps, you can effectively clean the detergent dispenser and filter, ensuring optimal performance and hygiene for your washing machine.
1. Remove the Detergent Dispenser and Filter
Begin by locating the detergent dispenser and filter in your washing machine. These components are typically removable for easy cleaning. Carefully detach the detergent dispenser and filter from their respective compartments, taking note of their position for reassembly.
2. Soak in a Cleaning Solution
Prepare a cleaning solution using warm water and a small amount of mild liquid dish soap. Submerge the detergent dispenser and filter in the cleaning solution, ensuring that they are fully immersed. The soapy water will help dissolve any accumulated residue and loosen debris from the surfaces of these components.
Read more: How To Clean Amana Washer
3. Scrub and Rinse
Using a soft-bristled brush or old toothbrush, gently scrub the detergent dispenser and filter to dislodge any stubborn deposits or buildup. Pay close attention to crevices and small openings where residue may be trapped. After thorough scrubbing, rinse the components under running water to remove the loosened debris and soap residue.
4. Inspect for Residue and Blockages
Once the detergent dispenser and filter have been cleaned and rinsed, inspect them for any remaining residue or blockages. Ensure that the detergent dispenser compartments are free from clogs, and the filter is clear of any trapped debris. This meticulous inspection will contribute to the optimal functioning of these components.
5. Air Dry and Reassemble
After cleaning and inspecting the detergent dispenser and filter, allow them to air dry completely. Ensure that all moisture has evaporated before reassembling the components into their respective positions within the washing machine. Once dry, carefully reinstall the detergent dispenser and filter, ensuring a secure fit.
By following these steps to clean the detergent dispenser and filter, you can effectively eliminate accumulated residue and potential bed bug hiding spots within these essential components of your washing machine. This thorough cleaning process will contribute to the overall hygiene and performance of your appliance, ensuring that it remains a bed bug-free zone and continues to provide clean and fresh laundry with every wash.
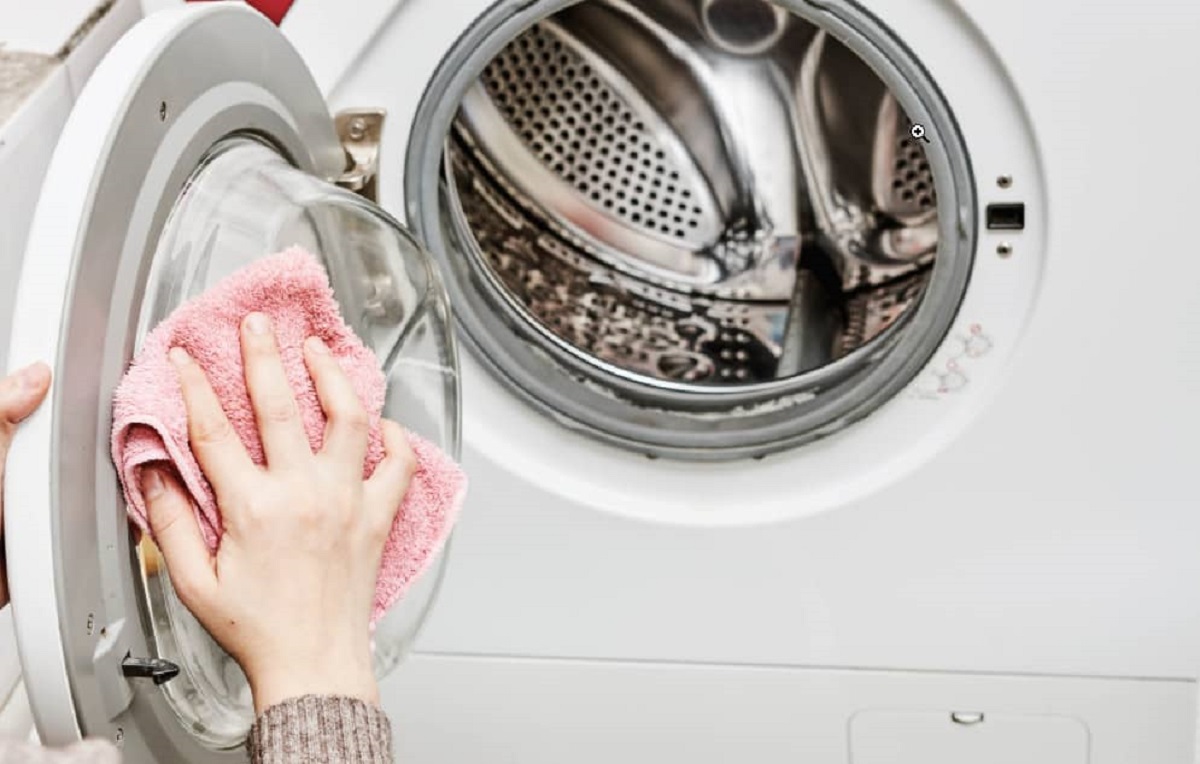
Step 6: Dry the Washing Machine
Drying the washing machine is a crucial final step in the comprehensive cleaning process, ensuring that all interior and exterior surfaces are free from moisture and ready for future use. Proper drying not only prevents the growth of mold and mildew but also contributes to the overall maintenance and longevity of the appliance.
After completing the cleaning and hot water cycle, it's essential to thoroughly dry the interior of the washing machine. Begin by using a lint-free cloth to wipe down the drum, agitator, and other internal components, ensuring that any residual moisture is absorbed. Pay close attention to moisture-prone areas, such as the rubber door seal and detergent dispenser compartments, to prevent the accumulation of water.
Next, leave the washing machine lid or door open to allow for adequate air circulation. This will facilitate the evaporation of any remaining moisture and prevent the development of musty odors. Allowing the interior of the washing machine to air dry completely is essential for maintaining a hygienic and pest-free environment for your laundry.
Simultaneously, it's important to dry the exterior surfaces of the washing machine to prevent water spots and streaks. Use a clean, dry microfiber cloth to wipe down the control panel, door, and top of the machine, ensuring that all surfaces are free from moisture. Pay attention to any residual cleaning solution or water droplets, gently buffing the exterior to achieve a streak-free finish.
Once the interior and exterior surfaces are thoroughly dried, take a moment to inspect the washing machine for any signs of remaining moisture. Ensure that all components, including the detergent dispenser, filter, and rubber door seal, are completely dry to prevent potential issues in the future.
By taking the time to ensure that your washing machine is thoroughly dried, you can maintain a clean, hygienic, and pest-free laundry environment. This final step in the cleaning process contributes to the overall care and maintenance of your appliance, ensuring that it remains a reliable and efficient tool for keeping your laundry fresh and clean.
Read more: How To Wash A Dog Bed In The Washing Machine
Conclusion
In conclusion, the process of cleaning a washing machine after a bed bug infestation is a vital undertaking that goes beyond mere hygiene; it is a proactive measure to safeguard your home from potential re-infestation. By following the comprehensive steps outlined in this guide, you can effectively eliminate any traces of bed bugs and their eggs, ensuring that your washing machine remains a bed bug-free zone and a reliable tool for maintaining clean and fresh laundry.
The thorough cleaning of the interior and exterior surfaces, coupled with the implementation of a hot water cycle, serves as a multi-faceted approach to sanitation. This process not only addresses the aftermath of a bed bug infestation but also contributes to the overall maintenance and longevity of your washing machine. By incorporating regular washing machine maintenance into your routine, you can extend the lifespan of your appliance and enjoy fresh, clean laundry with every wash.
Furthermore, the meticulous cleaning of the detergent dispenser and filter ensures optimal performance and hygiene for your washing machine. These often overlooked components can harbor residue and potential bed bug hiding spots, making their thorough cleaning an essential part of the overall maintenance process.
The final step of thoroughly drying the washing machine is crucial for preventing the growth of mold and mildew, ensuring that all interior and exterior surfaces are free from moisture and ready for future use. This attention to detail contributes to the overall care and maintenance of your appliance, ensuring that it remains a reliable and efficient tool for keeping your laundry fresh and clean.
By taking proactive measures to clean your washing machine after a bed bug infestation, you not only eliminate potential hiding spots for pests but also contribute to a hygienic and pest-free environment in your home. Regular maintenance and thorough cleaning of your washing machine will not only prevent the spread of bed bugs but also ensure that your laundry appliance remains a clean and welcoming addition to your household.
In essence, the process of cleaning a washing machine after a bed bug infestation is a proactive and essential step in maintaining a healthy and pest-free home environment. By following the steps outlined in this guide and incorporating regular maintenance into your routine, you can ensure that your washing machine remains a reliable and hygienic tool for all your laundry needs.
Frequently Asked Questions about How To Clean A Washing Machine After Bed Bugs
Was this page helpful?
At Storables.com, we guarantee accurate and reliable information. Our content, validated by Expert Board Contributors, is crafted following stringent Editorial Policies. We're committed to providing you with well-researched, expert-backed insights for all your informational needs.

0 thoughts on “How To Clean A Washing Machine After Bed Bugs”