Home>Furniture>Bedroom Furniture>How To Clean A Mattress After Bed Wetting
Bedroom Furniture
How To Clean A Mattress After Bed Wetting
Modified: December 13, 2023
Learn how to effectively clean a mattress after bed wetting with our expert tips and tricks. Keep your bedroom furniture fresh and odor-free.
(Many of the links in this article redirect to a specific reviewed product. Your purchase of these products through affiliate links helps to generate commission for Storables.com, at no extra cost. Learn more)
Introduction
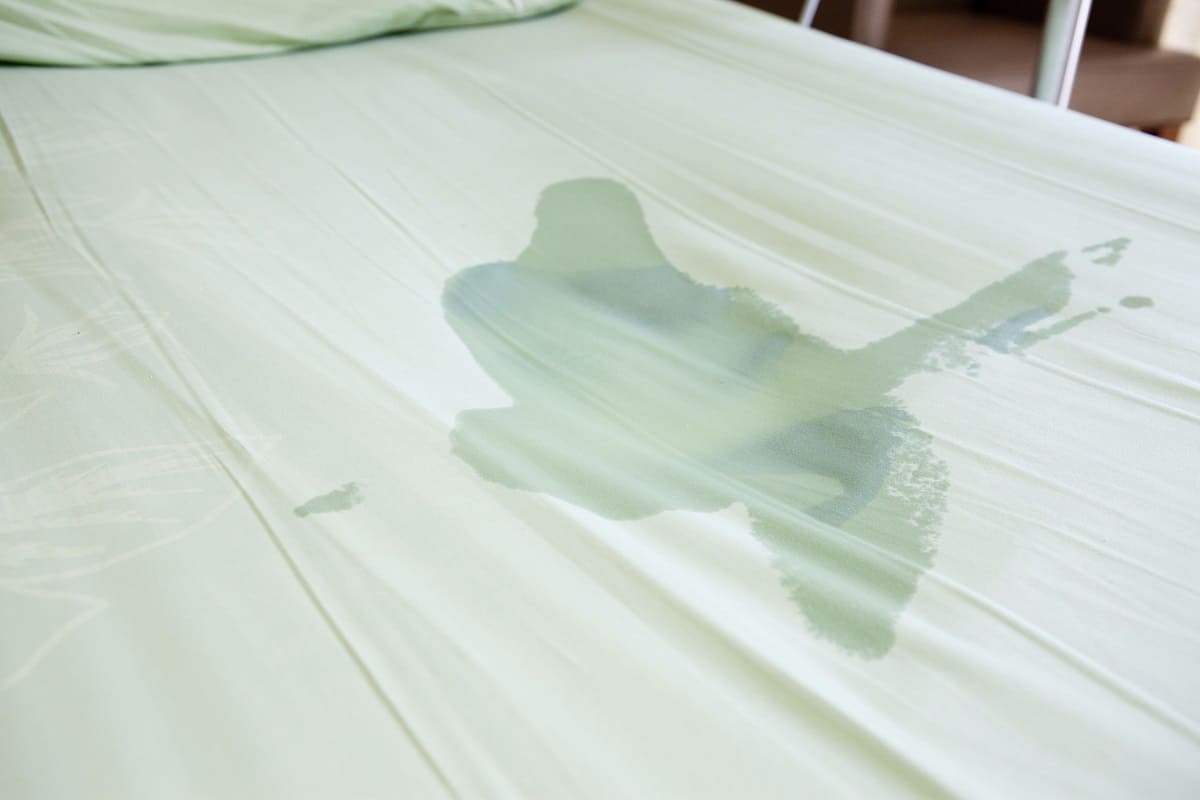
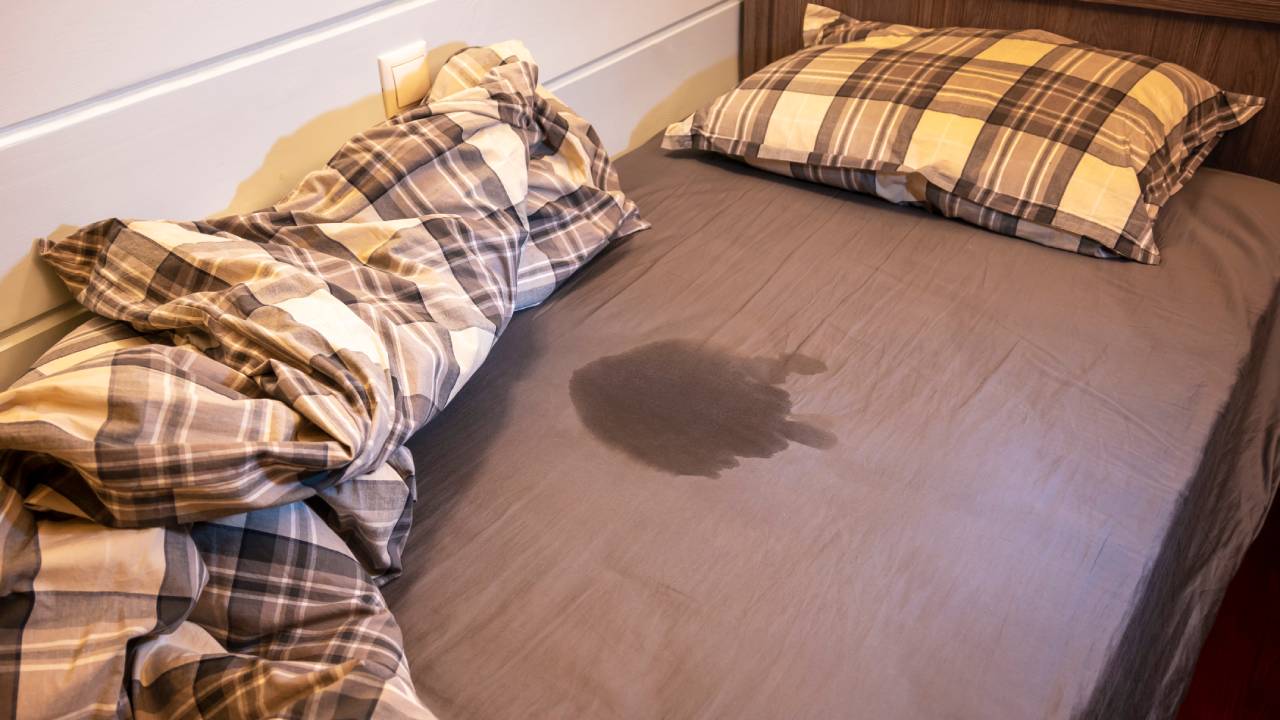
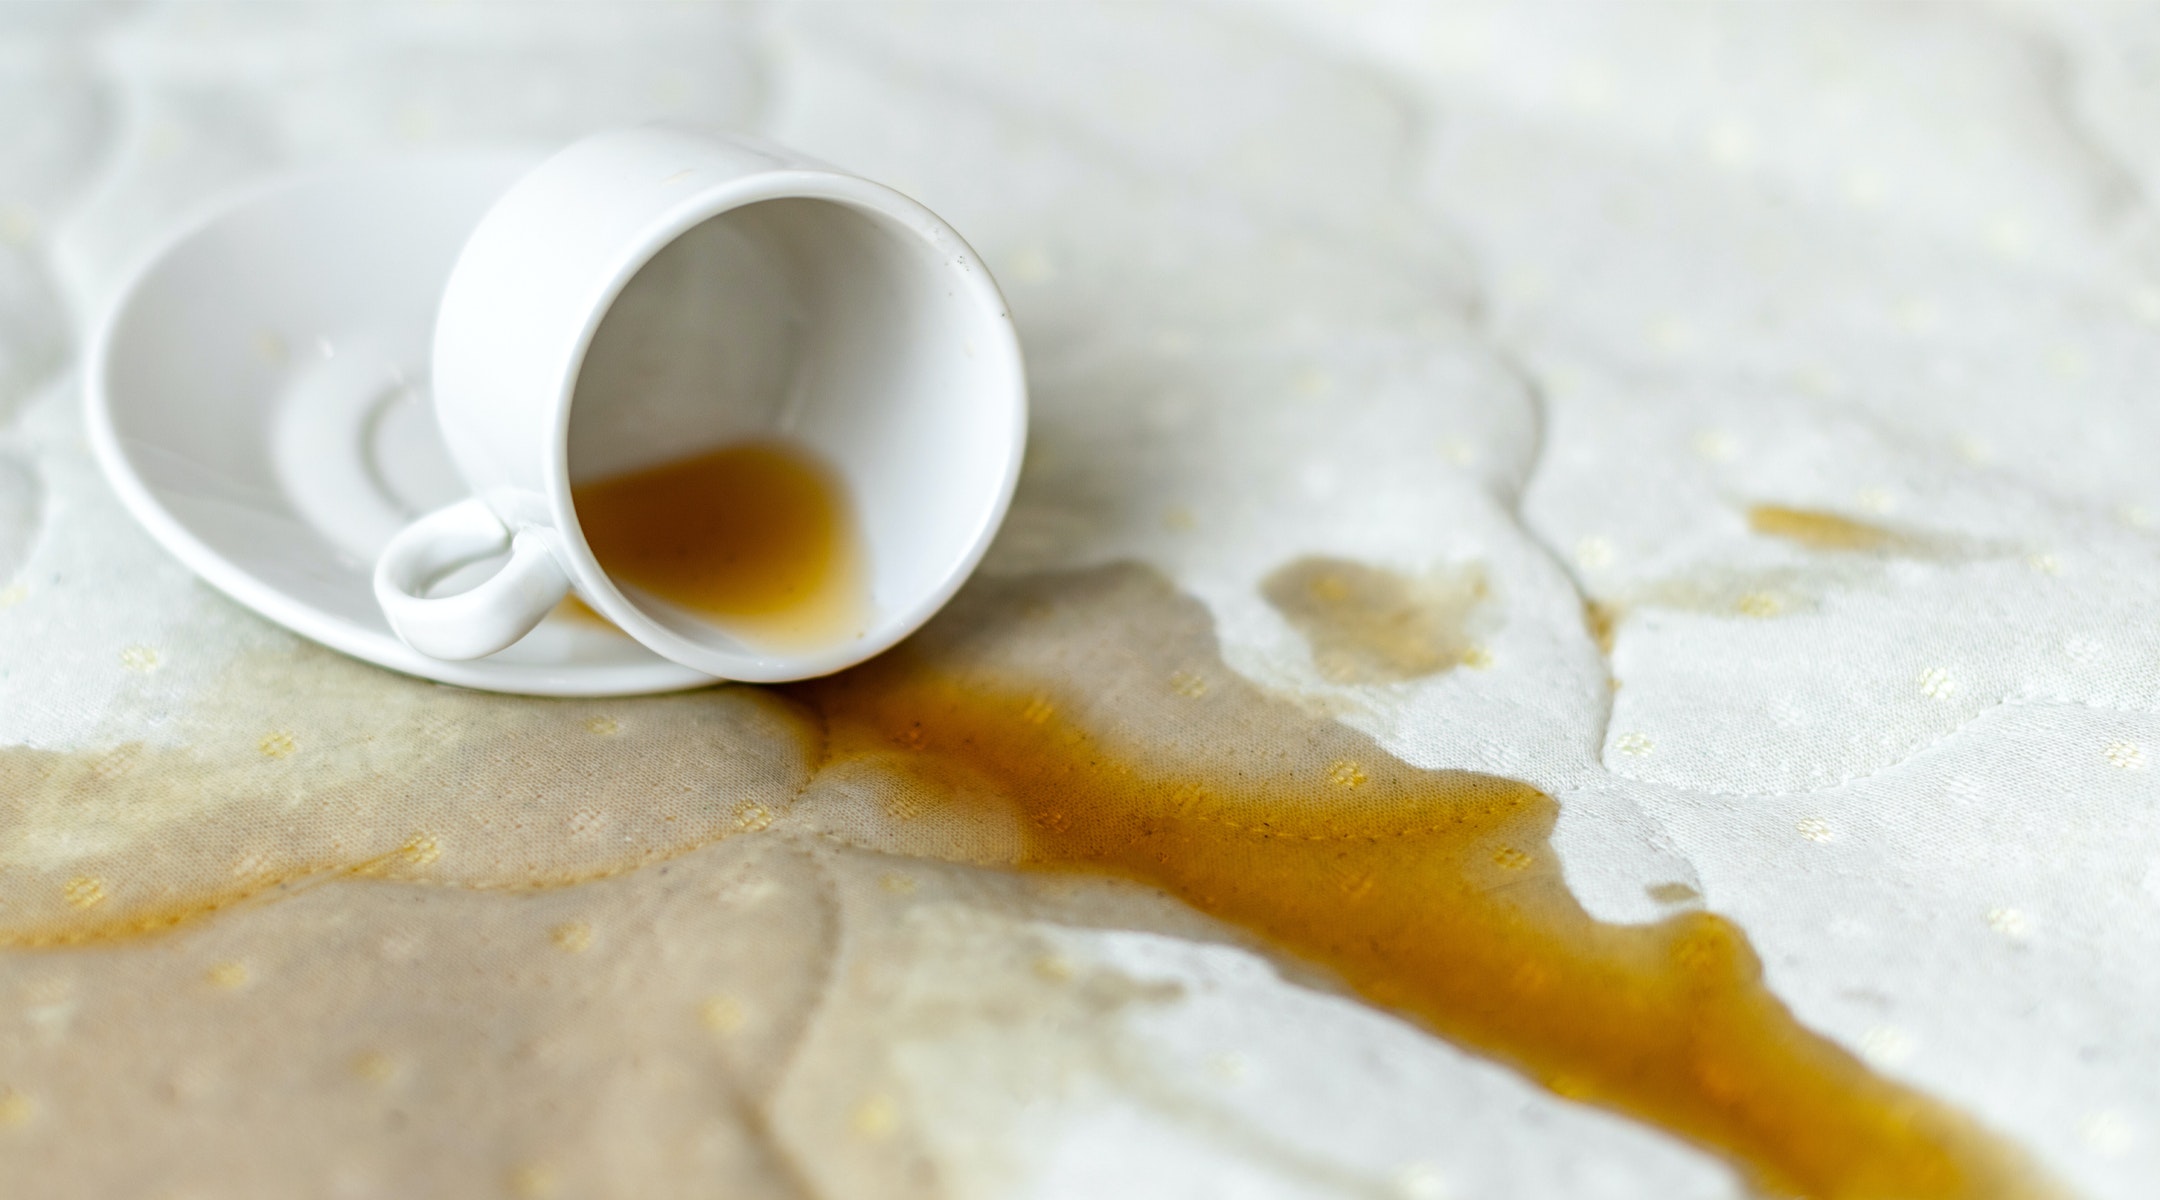
Bed wetting is a common occurrence, especially among children, but it can also happen to adults. When bed wetting happens, it’s essential to clean the mattress properly to ensure its longevity and maintain a hygienic sleeping environment. Cleaning a mattress after bed wetting not only removes stains and odors but also prevents the growth of mold and bacteria. In this article, we will guide you through a step-by-step process on how to effectively clean a mattress after bed wetting.
Before we begin, it’s important to note that you should act quickly when dealing with mattress stains caused by bed wetting. The longer the stain sits, the more challenging it becomes to remove. So, without further ado, let’s dive into the first step of the cleaning process.
Key Takeaways:
- Act quickly when dealing with bed wetting stains to prevent them from becoming more challenging to remove. Follow the step-by-step process to effectively clean the mattress, ensuring a fresh and hygienic sleeping environment.
- Applying a waterproof and breathable mattress protector after cleaning helps prevent future accidents and maintains the mattress’s pristine condition. Regular cleaning and replacement of the protective cover are essential for optimum hygiene.
Read more: How To Clean Mattress After Bed Wetting
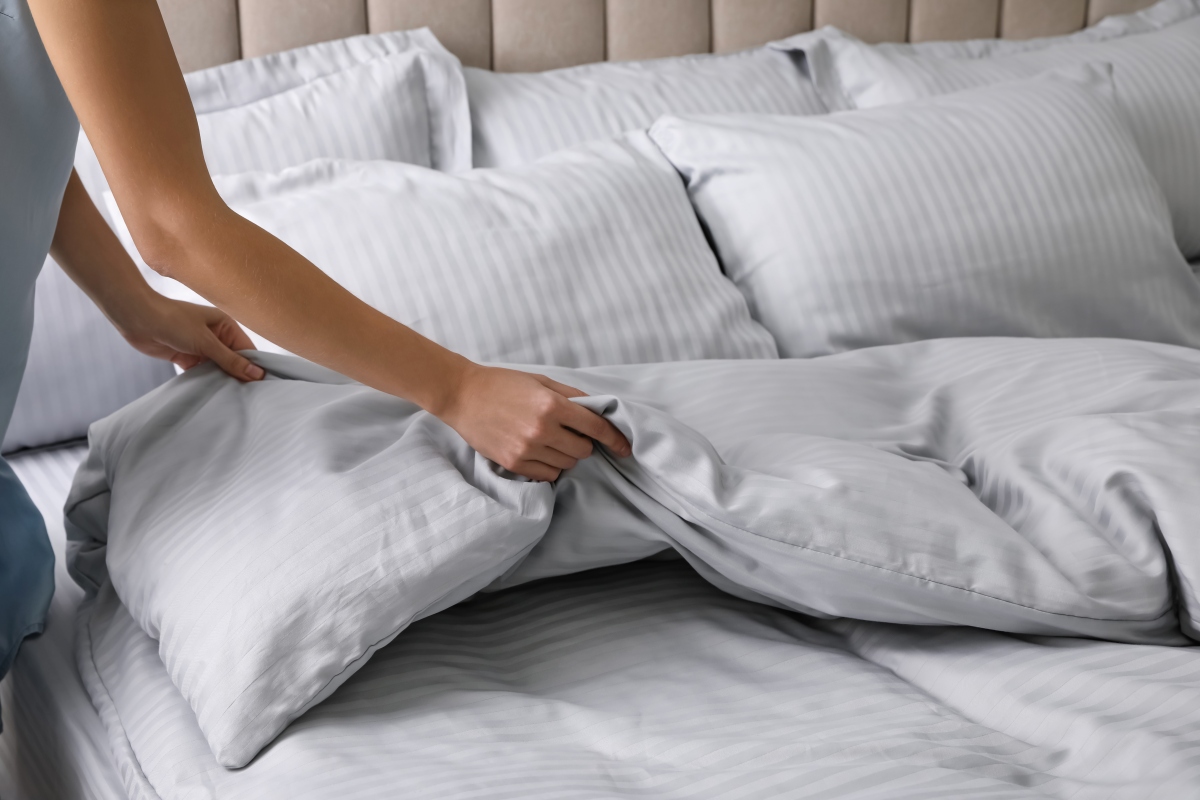
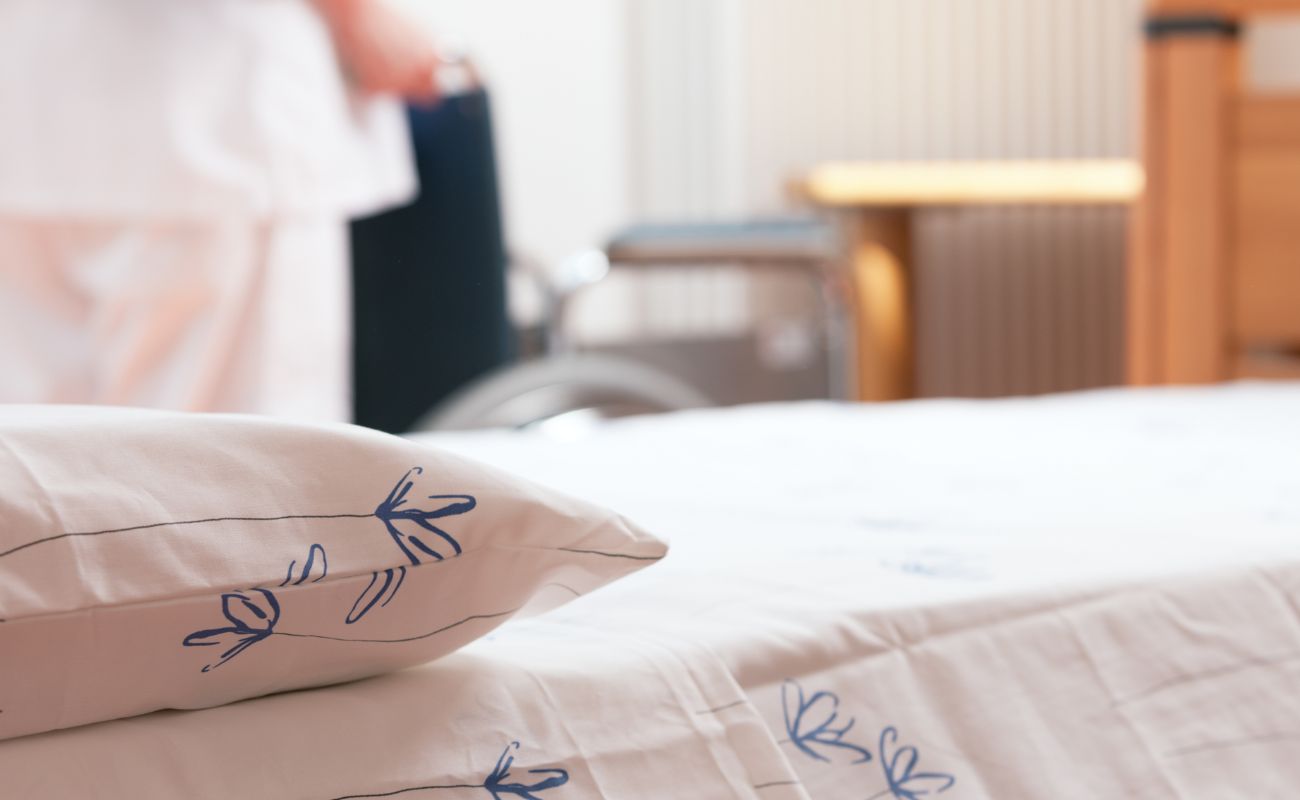
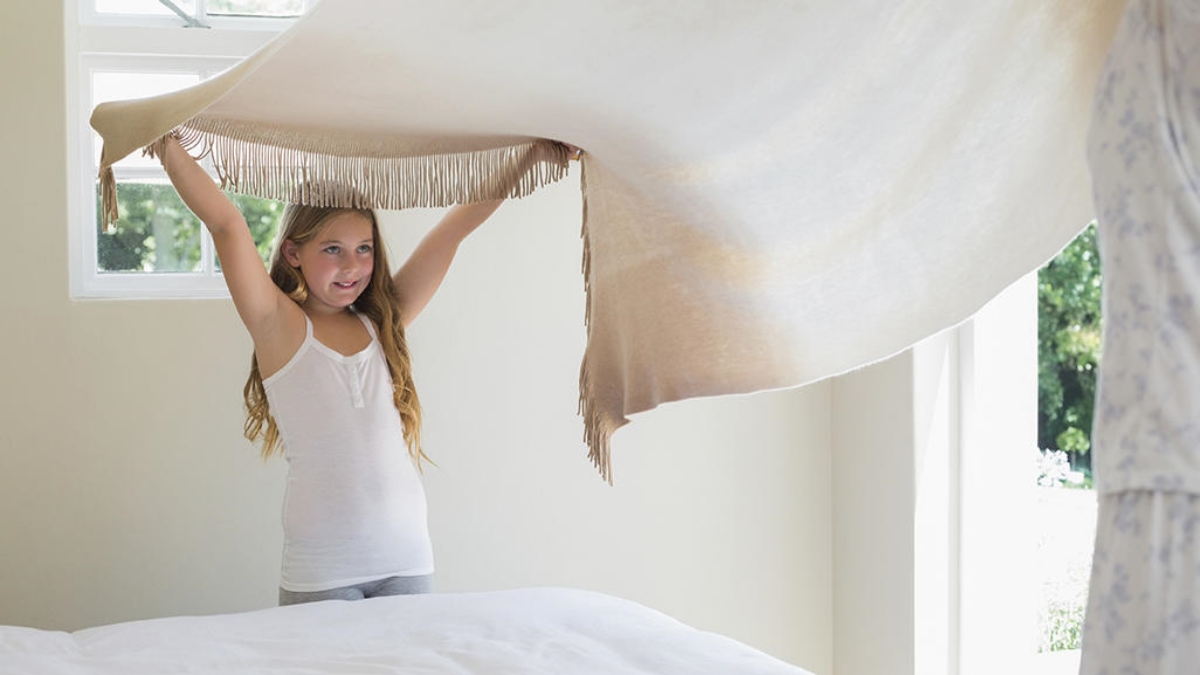
Step 1: Removing Soaked Bedding
The first step in cleaning a mattress after bed wetting is to remove any soaked bedding. Start by carefully stripping off the wet sheets, blankets, and mattress protector, if you have one. Be cautious not to let the wet bedding come into contact with any other surfaces to prevent spreading the moisture and potential stains.
Place the wet bedding in a plastic bag or hamper that is easy to clean and can contain any remaining moisture. If the bedding is heavily saturated, it’s a good idea to squeeze out as much liquid as possible before putting it in the bag. Avoid wringing the bedding, as it can damage the fabric.
Once the soaked bedding is removed, it’s time to move on to the next step: absorbing excess moisture.
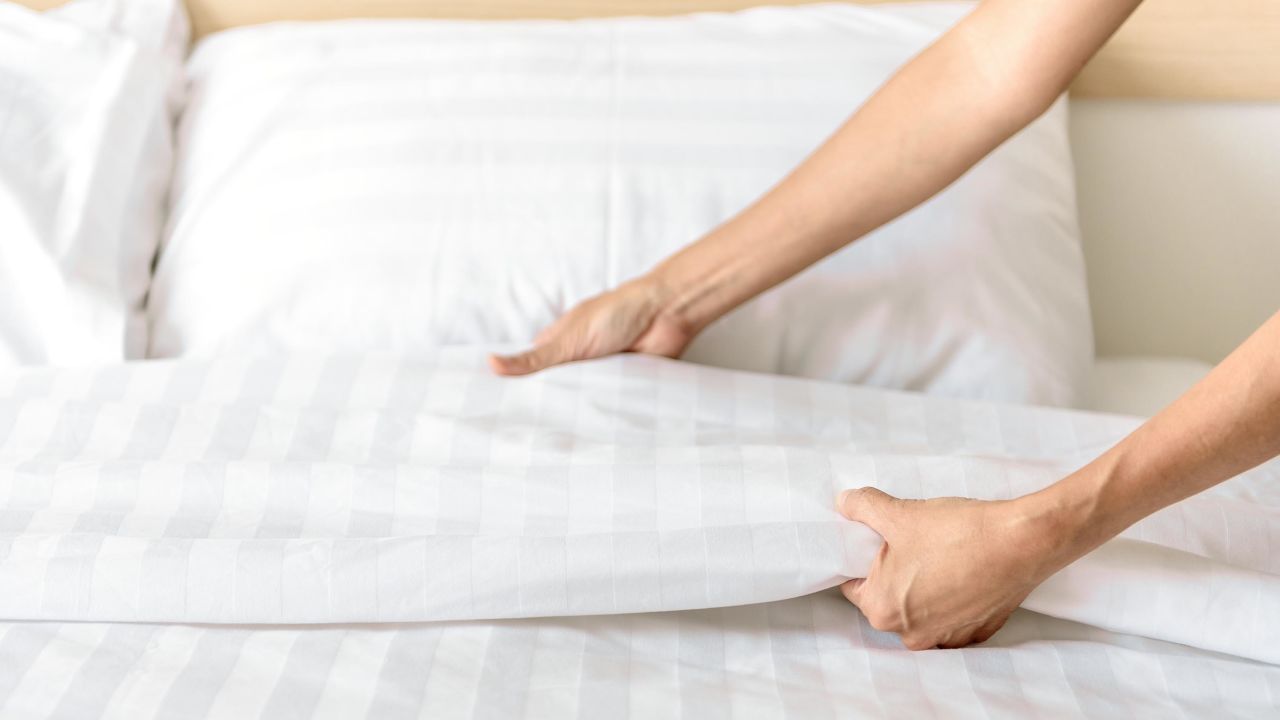
Step 2: Absorbing Excess Moisture
After removing the soaked bedding, it’s essential to absorb as much excess moisture as possible from the mattress. This step will help prevent the growth of mold and mildew while also speeding up the drying process.
Start by using clean towels or absorbent paper towels to gently blot the wet areas of the mattress. Press down firmly to soak up the moisture without rubbing it into the fabric. Continue blotting until the towels come away relatively dry, indicating that you have absorbed most of the liquid.
If the mattress is still damp, you can sprinkle a generous amount of baking soda on the affected areas. Baking soda is not only excellent at absorbing moisture, but it also helps neutralize odors. Leave the baking soda on the mattress for a few hours or overnight to allow it to work its magic.
Once the excess moisture has been absorbed, it’s time to move on to the next step: treating stains and odors.
Step 3: Treating Stains and Odors
Bed wetting often leaves behind stubborn stains and unpleasant odors on the mattress. To effectively treat these issues, you’ll need to use a combination of gentle cleaning solutions.
Start by creating a mixture of mild dish soap and warm water. Dip a clean cloth or sponge into the solution and gently dab it onto the stained areas of the mattress. Avoid saturating the mattress with excessive liquid, as this can lead to further damage. Instead, focus on targeting the specific stains.
If the stain is particularly stubborn, you can try using a specialized mattress cleaner or enzyme-based cleaner that is specifically designed to break down organic stains and odors. Follow the instructions on the cleaner and use it as directed.
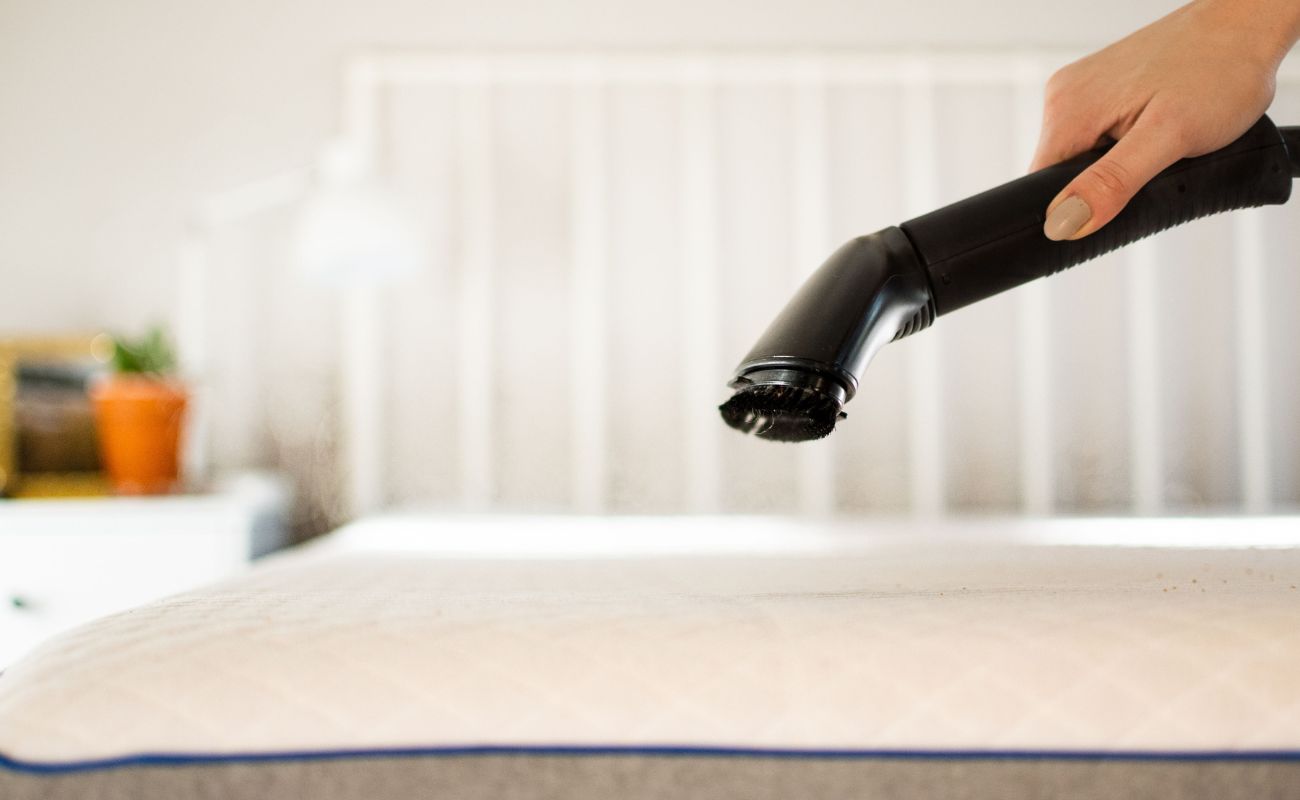
After treating the stains, it’s essential to neutralize any lingering odors. You can accomplish this by sprinkling baking soda generously over the entire mattress surface. Leave it on for several hours to absorb any unwanted smells. Once the baking soda has done its job, vacuum the mattress using a brush attachment to remove the baking soda residue.
With the stains and odors treated, it’s time to move on to the next step: air drying the mattress.
After bed wetting, blot the mattress with a towel to absorb as much liquid as possible. Then, sprinkle baking soda on the wet area, let it sit for a few hours, and then vacuum it up to remove any odor and moisture.
Step 4: Air Drying the Mattress
Properly drying the mattress is crucial to prevent the growth of mold, mildew, and bacteria. While it may be tempting to speed up the drying process using heat sources like hairdryers or heaters, it’s best to avoid these methods as they can cause damage to the mattress.
Instead, find a well-ventilated area with good air circulation in your home to place the mattress. Ideally, this should be a room with plenty of natural light and airflow. If the weather permits, you can also consider placing the mattress outside in a shaded area, making sure it’s protected from direct sunlight and any potential outdoor elements.
Prop the mattress against a wall or use a fan to enhance airflow around it. This will help expedite the drying process. Remember to rotate the mattress periodically to ensure that both sides receive adequate air circulation.
Depending on the humidity levels and the extent of moisture in the mattress, it may take anywhere from a few hours to a couple of days for the mattress to dry completely. Avoid putting any bedding or protective covers back onto the mattress until it is fully dry.
Once the mattress is completely dry, it’s time to move on to the final step: applying a protective cover.
Read more: How To Clean A Wet Bed
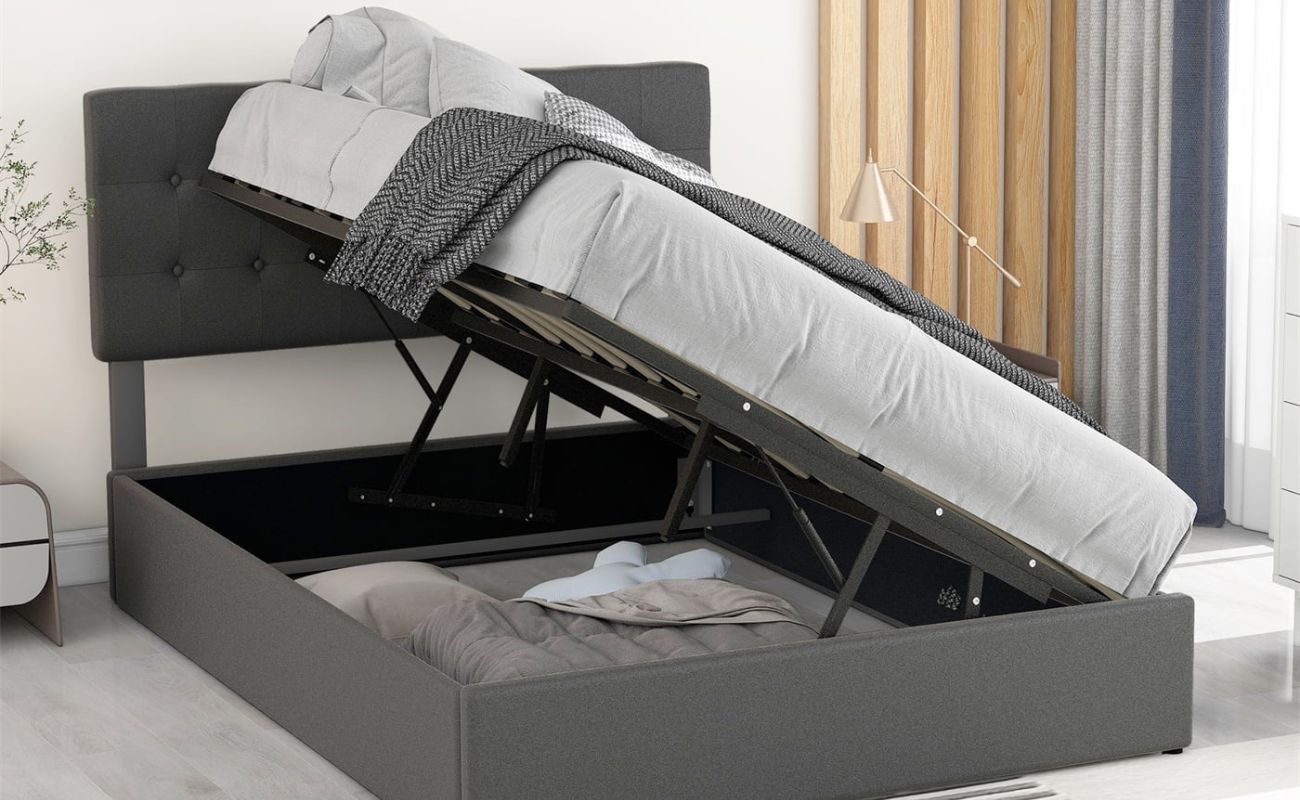
Step 5: Applying a Protective Cover
After thoroughly cleaning and drying the mattress, it is highly recommended to apply a protective cover to help prevent future accidents and keep your mattress in pristine condition.
A waterproof mattress protector is an excellent choice as it creates a barrier between the mattress and any potential spills or stains. Look for a protector that is breathable and hypoallergenic to ensure maximum comfort while also protecting against allergens and dust mites.
When applying the mattress protector, make sure it fits snugly and securely. This will prevent it from shifting during sleep and compromising its effectiveness. It’s a good idea to regularly wash and replace the mattress protector to maintain optimum hygiene.
By adding a protective cover, you not only safeguard your mattress but also extend its lifespan. It serves as an additional layer of defense against stains, odors, and everyday wear and tear.
With the protective cover in place, your mattress is now ready to be used again. Remember to maintain a regular cleaning routine to keep your mattress fresh, clean, and free from any unwanted contaminants.
Throughout this article, we’ve outlined a step-by-step process on how to clean a mattress after bed wetting. By following these steps, you can ensure the hygiene and longevity of your mattress while creating a comfortable and healthy sleeping environment. Remember to act quickly, use gentle cleaning solutions, and allow proper drying time to achieve the best results.
Now that you’re equipped with the knowledge to clean your mattress effectively, bid farewell to worries over bed wetting and enjoy a restful night’s sleep on a fresh and clean mattress.
Conclusion
Cleaning a mattress after bed wetting is a necessary task to ensure a hygienic and comfortable sleeping environment. By following the step-by-step process outlined in this article, you can effectively remove stains, eliminate odors, and prevent the growth of mold and bacteria.
Remember to act quickly when dealing with bed wetting stains, as they can become more difficult to remove the longer they sit. Begin by removing soaked bedding and then proceed to absorb excess moisture from the mattress using towels or baking soda.
Treat stubborn stains and neutralize odors by using mild dish soap, specialized mattress cleaners, and baking soda. Once the stains and odors are addressed, allow the mattress to air dry in a well-ventilated area, ensuring proper airflow to prevent the growth of mold or mildew.
Finally, apply a waterproof and breathable mattress protector to prevent future accidents and keep your mattress in pristine condition. Regularly clean and replace the protective cover to maintain optimum hygiene.
Cleaning a mattress after bed wetting may require some time and effort, but the result is a fresh, clean, and comfortable place to sleep. Not only will your mattress be free from stains and odors, but you’ll also create a healthier sleeping environment for yourself or your loved ones.
With the guidance provided in this article, you can confidently tackle the task of cleaning a mattress after bed wetting and rest easy knowing that your sleeping surface is clean and hygienic.
So, bid farewell to worries over bed wetting and enjoy a comfortable and revitalizing sleep on a freshly cleaned mattress!
Frequently Asked Questions about How To Clean A Mattress After Bed Wetting
Was this page helpful?
At Storables.com, we guarantee accurate and reliable information. Our content, validated by Expert Board Contributors, is crafted following stringent Editorial Policies. We're committed to providing you with well-researched, expert-backed insights for all your informational needs.