Home>diy>Home Improvement>How To Clean After Renovation

Home Improvement
How To Clean After Renovation
Modified: October 27, 2024
Discover how to clean your home after a renovation with our expert tips for home improvement projects. Remove dust and debris effectively for a fresh and clean living space.
(Many of the links in this article redirect to a specific reviewed product. Your purchase of these products through affiliate links helps to generate commission for Storables.com, at no extra cost. Learn more)
Introduction:
Congratulations on completing your home renovation! It’s an exciting time when your vision becomes a reality, and your home reflects your personal style. However, the post-renovation clean-up can often be a daunting task. Dust, debris, and leftover materials can accumulate, making it challenging to restore your home to its pre-renovation cleanliness.
Don’t worry! In this article, we will guide you through a step-by-step process on how to effectively clean your home after renovation. With a little planning and the right tools, you’ll be able to restore your space to its former glory, ready to be enjoyed once again.
Before diving into the cleaning process, it’s important to assess the extent of the renovation and take note of any new surfaces or fixtures that may require special care. This will help you determine the cleaning products and techniques needed for each specific area.
Now, let’s get started on transforming your post-renovation chaos into a clean and inviting home!
Key Takeaways:
- Transform your post-renovation chaos into a clean and inviting home with our step-by-step guide. From removing debris to adding final touches, enjoy a sparkling clean space ready to be enjoyed.
- Celebrate your hard work and attention to detail by achieving a clean and beautiful home after renovation. Follow our guide for a manageable and rewarding post-renovation cleaning process.
Read more: How To Clean A Mattress After Covid
Step 1: Removing Debris and Dust
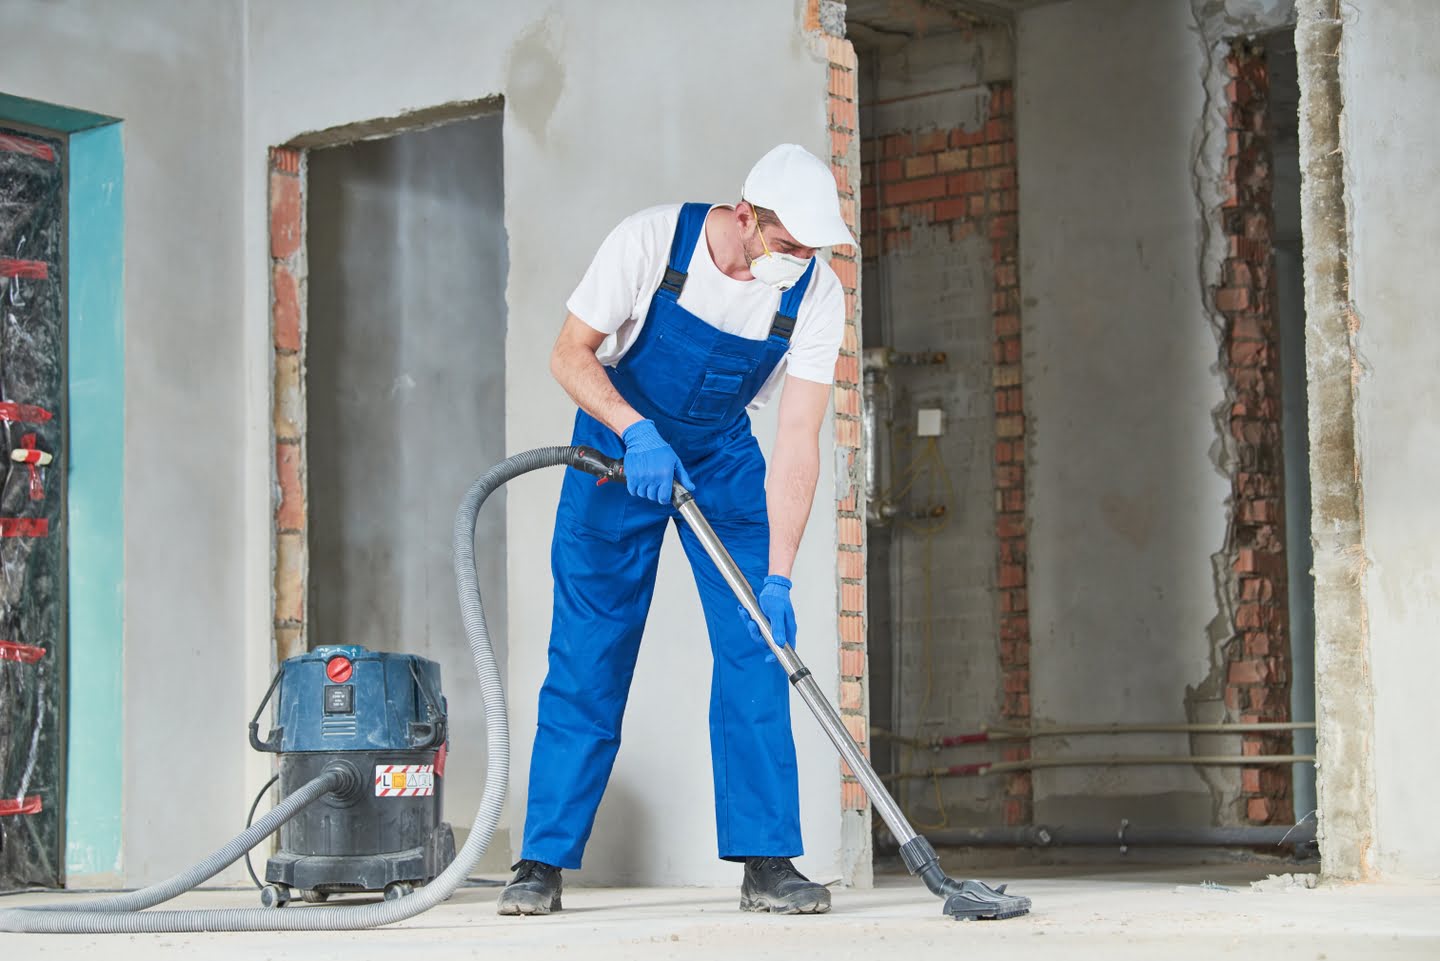
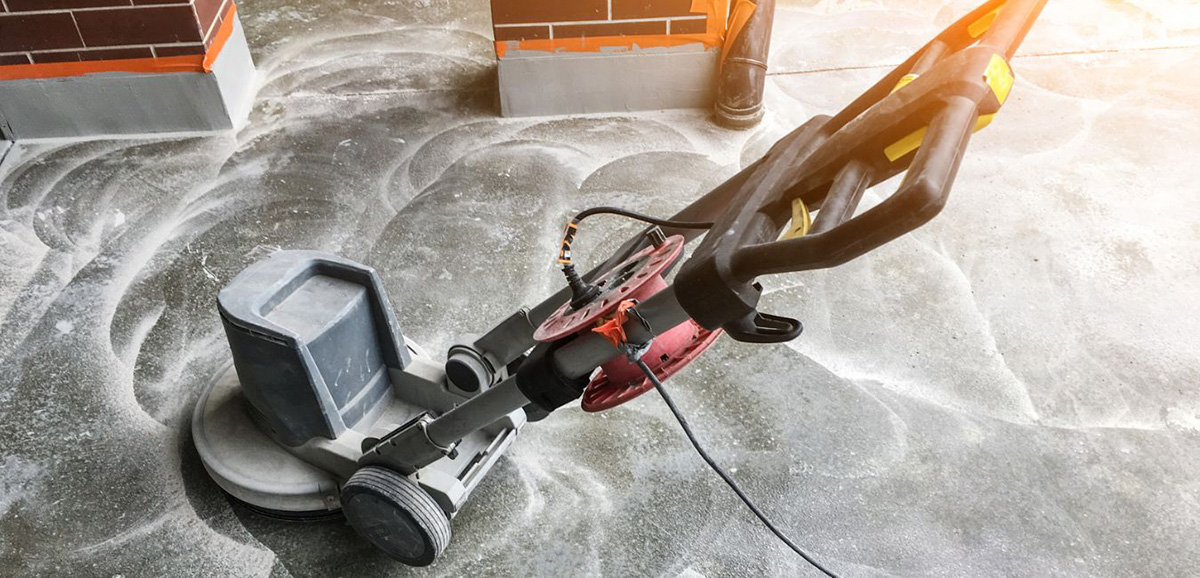
The first step in the post-renovation cleaning process is to tackle the debris and dust left behind. Renovations often generate a significant amount of construction waste, including nails, screws, wood scraps, and drywall remnants. Here’s how to effectively remove debris and dust:
- Clear the area: Start by removing any large debris, such as boards or broken tiles. Use a dustpan and broom or a shop vacuum to gather and dispose of these items properly.
- Dust surfaces: Use a soft microfiber cloth or a static duster to remove dust from surfaces like countertops, shelves, and furniture. Make sure to pay special attention to corners and hard-to-reach areas where dust tends to accumulate.
- Vacuum: Use a vacuum cleaner with a HEPA filter to thoroughly vacuum the floors, upholstery, and drapes. This will help capture even the smallest dust particles and prevent them from spreading throughout your home.
- Air purifier: Consider using an air purifier to further improve indoor air quality. An air purifier with a HEPA filter can help remove airborne particles, such as dust, pollen, and pet dander.
Remember to wear protective gear, such as gloves and a dust mask, throughout the cleaning process to avoid any potential health risks associated with dust and debris. Disposing of the debris and dust in accordance with local regulations is also crucial for proper waste management.
By effectively removing debris and dust, you’re laying the foundation for a cleaner and healthier post-renovation environment. Now that the bulk of the mess is cleared, it’s time to move on to the next step: cleaning surfaces.
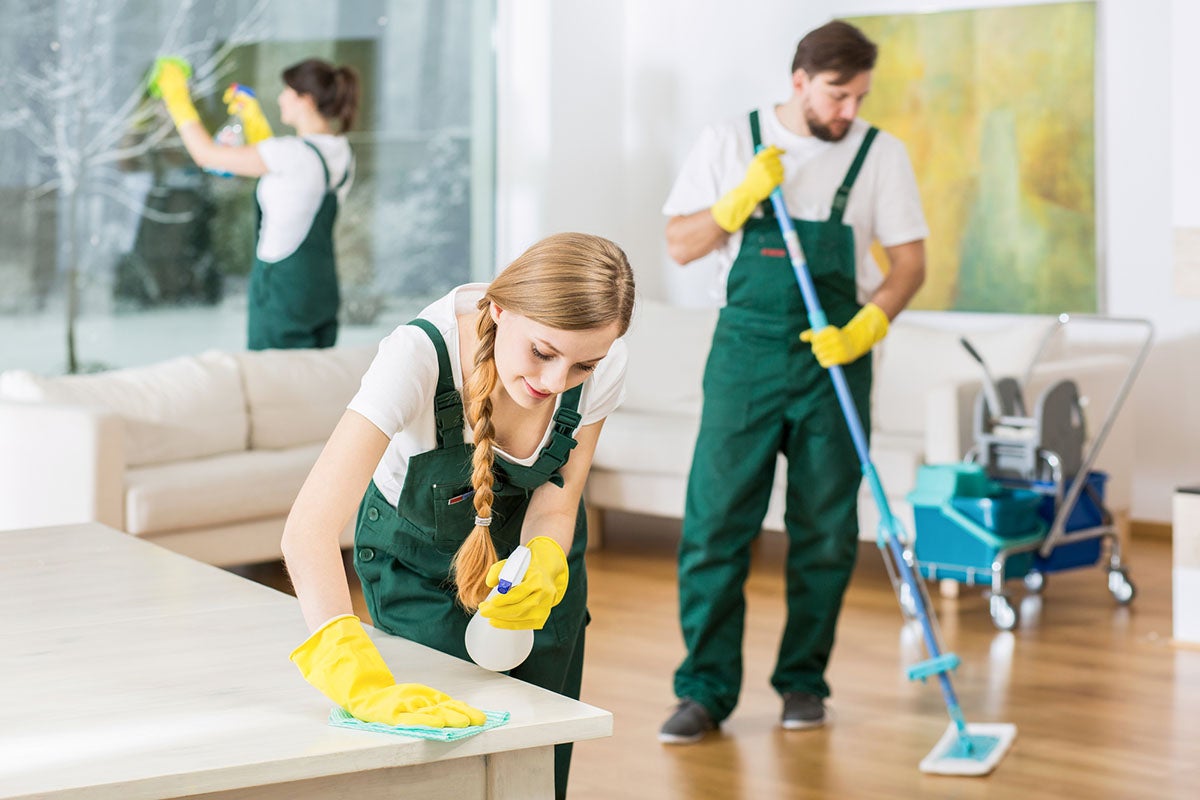
Step 2: Cleaning Surfaces
Now that the debris and dust have been removed, it’s time to focus on cleaning the surfaces of your home. During the renovation process, surfaces like countertops, walls, and cabinets may have accumulated grime, paint splatters, and adhesive residue. Follow these steps to effectively clean the surfaces:
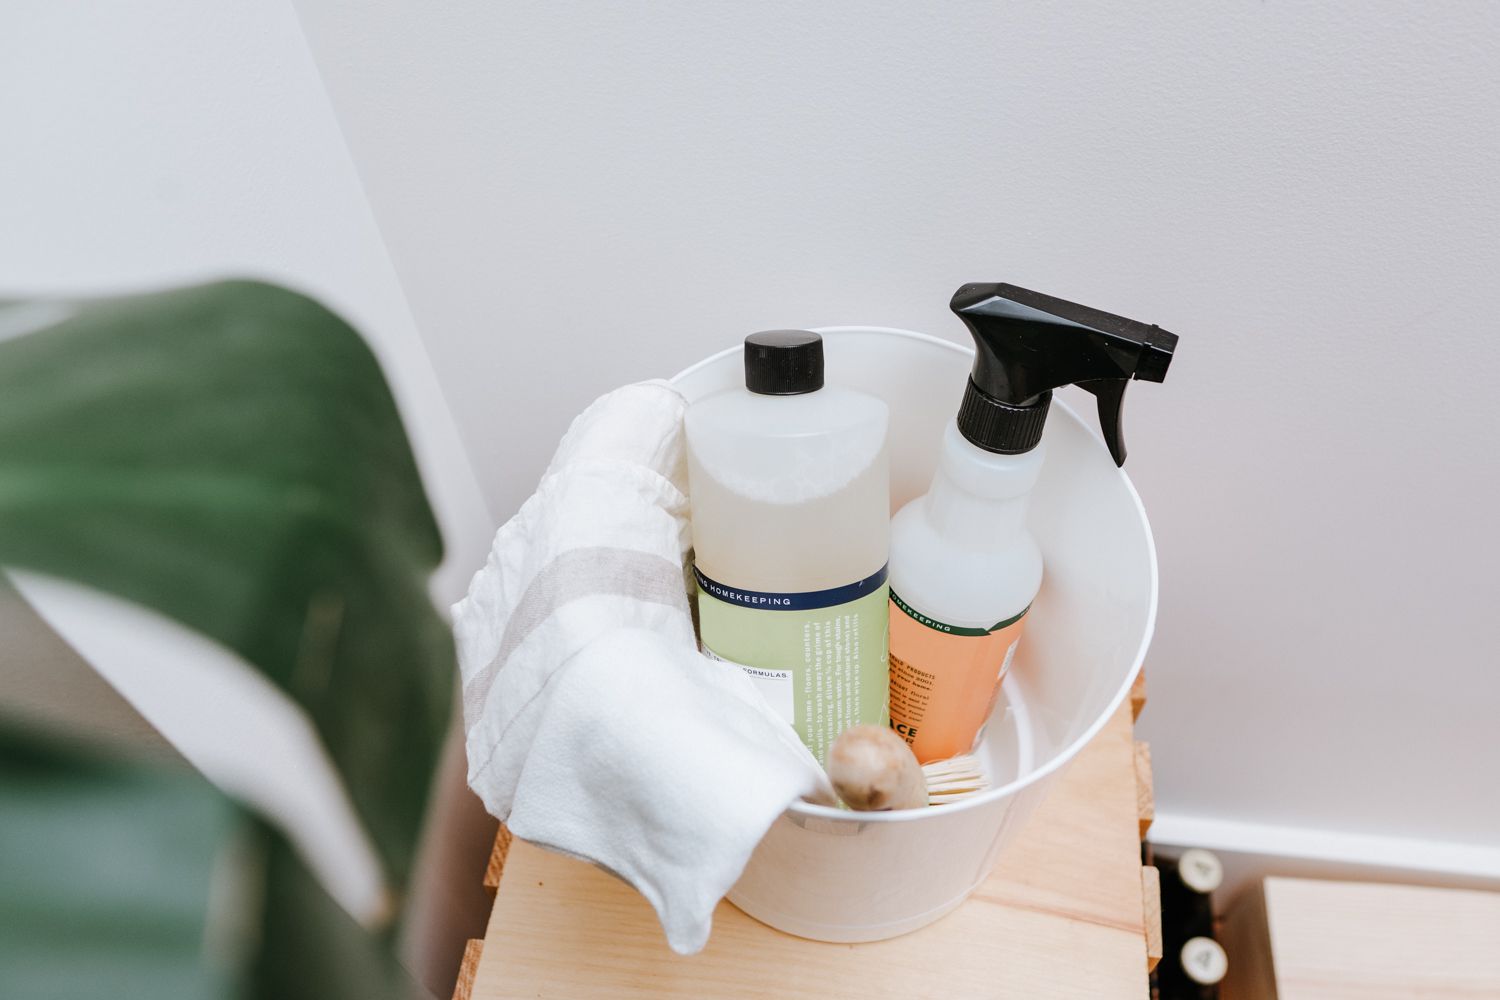
- Preparation: Start by gathering the necessary cleaning supplies, including a mild all-purpose cleaner, microfiber cloths, a sponge or soft scrub brush, and warm water.
- Countertops and Cabinets: For countertops and cabinets, use a mild all-purpose cleaner or a mixture of warm water and dish soap. Wipe down the surfaces with a microfiber cloth or sponge, paying extra attention to any stubborn stains. Rinse with clean water and dry thoroughly for a streak-free finish.
- Walls: Begin by dusting the walls to remove any loose dirt or debris. Next, test a small inconspicuous area with a mild cleaning solution to ensure it doesn’t damage the paint. If safe to proceed, clean the walls with a sponge or soft scrub brush dipped in the cleaning solution, working in gentle circular motions. Rinse with a clean, damp cloth and allow the walls to dry completely.
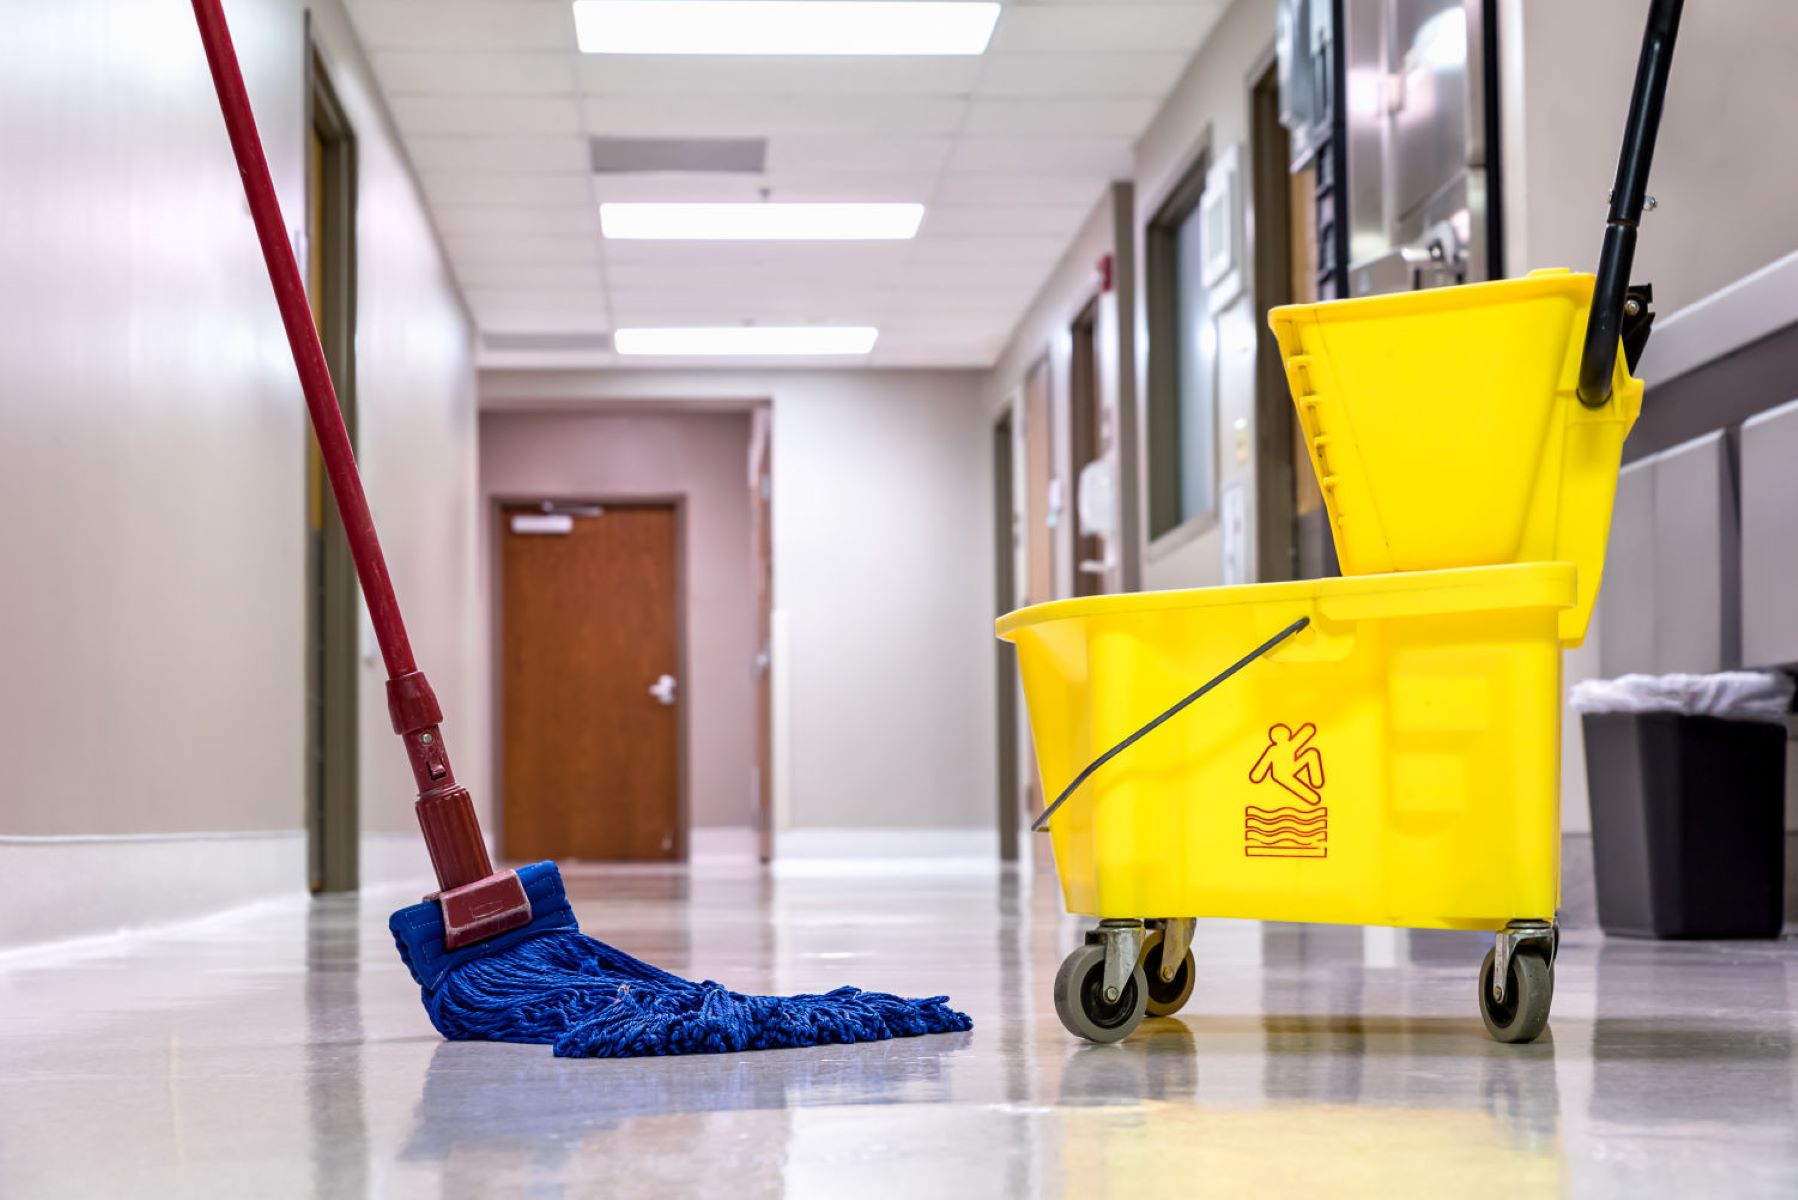
- Floors: Vacuum or sweep the floors to remove any loose dirt or debris. Depending on the type of flooring, use a suitable cleaner and mop to thoroughly clean the floors. For hardwood or laminate floors, use a cleaner specifically designed for those surfaces. For tiles, opt for a mild all-purpose cleaner or a mixture of warm water and vinegar. Follow the manufacturer’s instructions and dry the floors completely.
- Windows and Mirrors: Spray a non-ammonia-based glass cleaner onto a microfiber cloth or directly onto the windows and mirrors. Wipe in a circular motion until the surface is clean and streak-free.
Take your time while cleaning surfaces, ensuring that every nook and cranny is thoroughly cleaned. Don’t forget to include light switches, door handles, and other frequently-touched surfaces in your cleaning routine. By cleaning the surfaces, you’re not only removing dirt and grime but also restoring the shine and freshness to your home.
Next, let’s move on to Step 3: cleaning floors.
Step 3: Cleaning Floors
After tackling the surfaces, it’s time to focus on cleaning the floors of your home. Depending on the type of flooring you have, different cleaning methods may be required. Here’s a step-by-step guide to help you clean various types of floors:
Hardwood Floors:
- Sweep or vacuum the floor to remove any loose dirt and debris.
- Use a slightly damp mop or a microfiber mop to clean the floor. Avoid using excessive water, as it can damage the wood.
- If necessary, use a hardwood floor cleaner specifically designed for your type of flooring, following the instructions on the packaging.
- Allow the floor to air dry completely before walking on it or placing furniture back in the room.
Read more: How To Clean A Mattress After Pinworms
Laminate Floors:
- Sweep or vacuum the floor to remove any dust and debris.
- Use a mop dampened with a mixture of warm water and a mild laminate floor cleaner.
- Avoid using excessive water on laminate floors, as it can cause swelling or damage to the material.
- Dry the floor with a soft cloth or mop to remove any excess moisture.
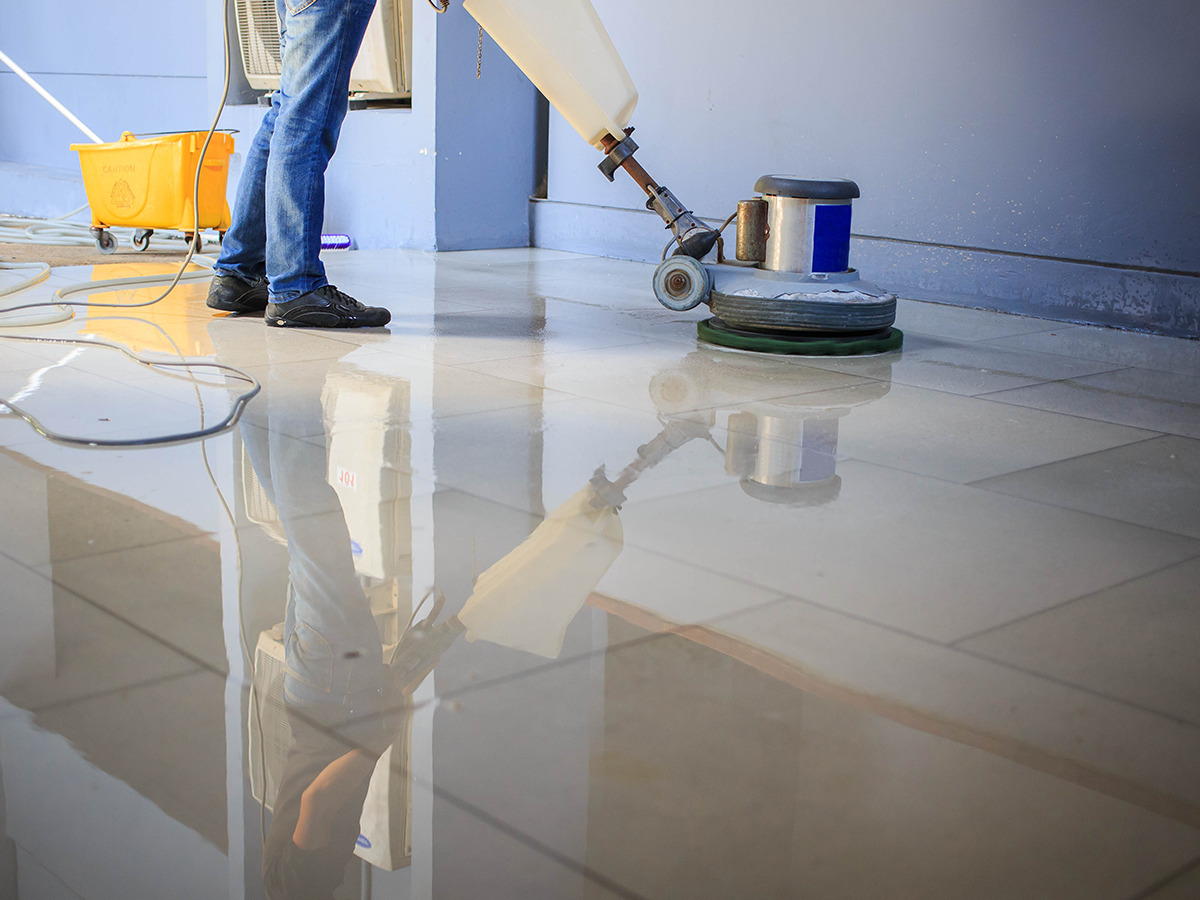
Tile Floors:
- Sweep or vacuum the floor to remove any loose dirt, dust, or debris.
- Mix a solution of warm water and a mild all-purpose cleaner or a specific tile cleaner.
- Use a mop or a soft scrub brush to clean the tile floor, paying attention to grout lines and any stubborn stains.
- Rinse the floor with clean water to remove any cleaning residue.
- Dry the floor thoroughly to prevent slipping or water damage.
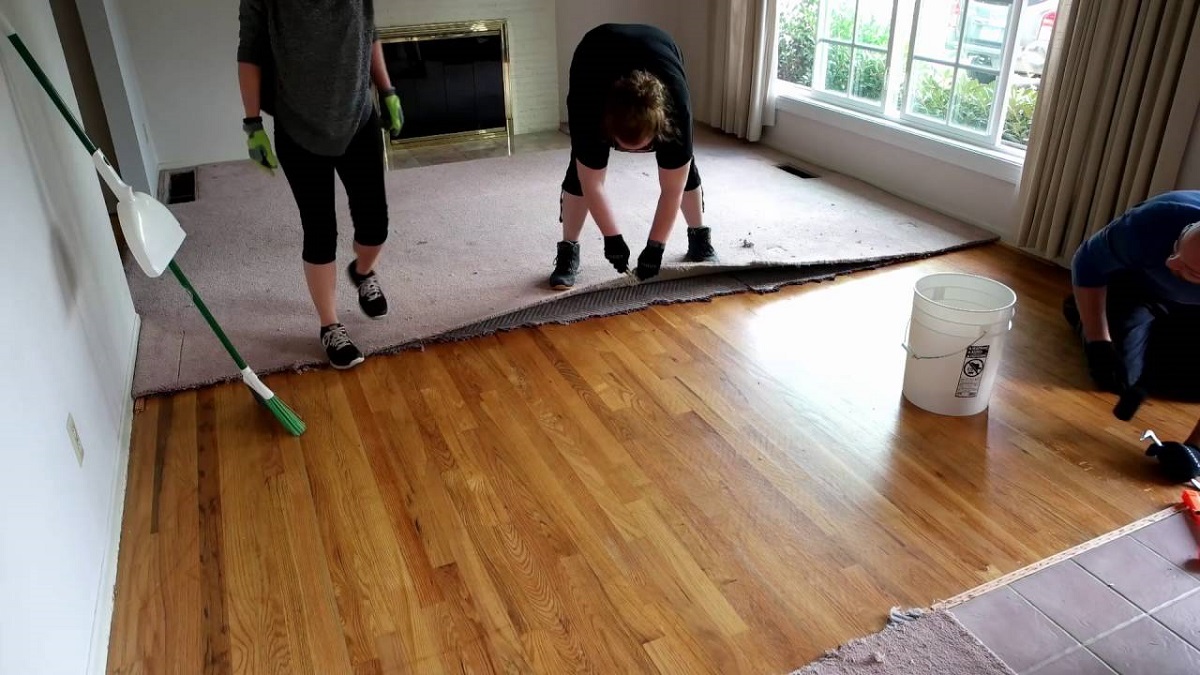
Carpeted Floors:
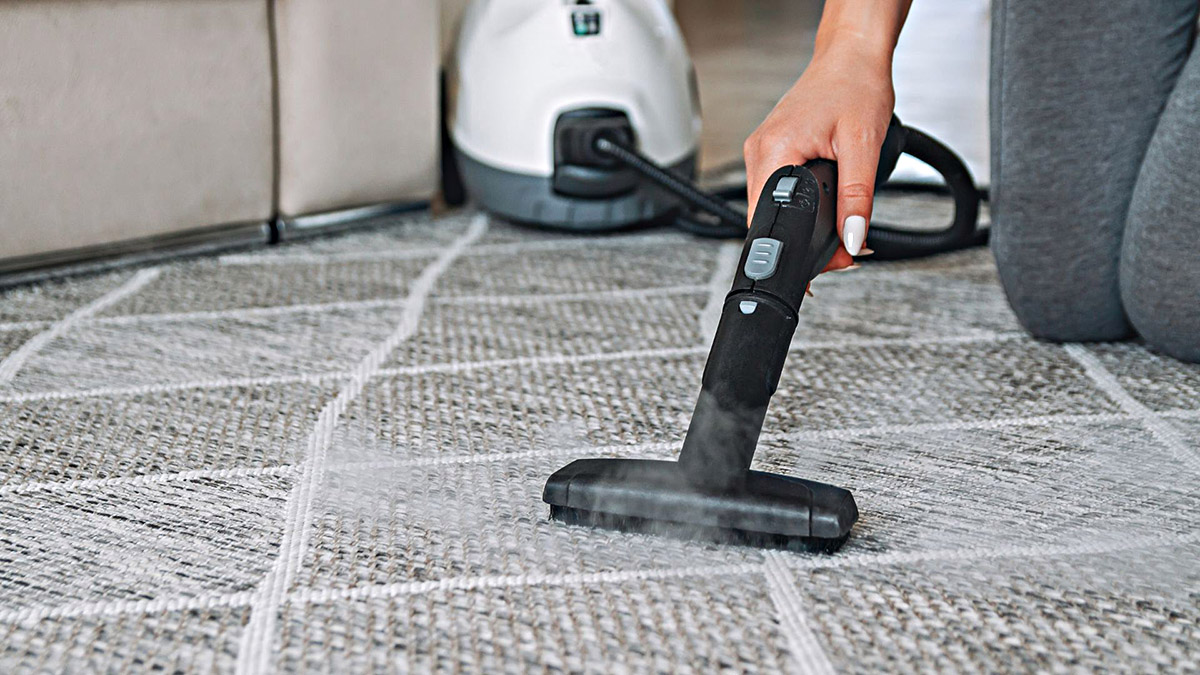
- Vacuum the carpeted floor thoroughly, making multiple passes to ensure all dirt and debris are removed.
- If there are any stains, treat them with an appropriate carpet stain remover according to the product instructions.
- If your carpet requires a deeper clean, consider using a carpet cleaner or hiring a professional carpet cleaning service.
Remember to follow the manufacturer’s instructions for any cleaning products or equipment used on your floors. Taking the time to clean your floors properly will not only enhance the appearance of your home but also prolong the lifespan of your flooring materials.
Now that the floors are sparkling clean, let’s move on to Step 4: cleaning windows and mirrors.
Step 4: Cleaning Windows and Mirrors
After cleaning the surfaces and floors, it’s time to give your windows and mirrors some attention. Over the course of your renovation, they may have accumulated dirt, dust, and smudges. Follow these steps to achieve sparkling clean windows and mirrors:
- Gather the necessary supplies: You’ll need a non-ammonia-based glass cleaner, a lint-free microfiber cloth, or a newspaper, and a squeegee for larger windows.
- Start with dry cleaning: Use a microfiber cloth to gently remove any loose dust or dirt from the surface of the window or mirror.
- Apply the glass cleaner: Spray the glass cleaner onto the surface, making sure to cover the entire area. If you prefer homemade solutions, you can mix equal parts of vinegar and water as an effective cleaner.
- Wipe the glass: Use the microfiber cloth or newspaper to wipe the glass, working in a circular or zigzag motion. This will help to remove dirt, smudges, and streaks.
- For larger windows: If you have larger windows, you can use a squeegee instead of a cloth. Start at the top and gently pull the squeegee across the glass in a straight, downward motion, wiping the blade after each pass.
- Focus on details: Don’t forget to clean the window tracks, frames, and sills. Use a small brush or a damp cloth to remove any accumulated dirt or debris.
- Double-check for streaks: After cleaning, inspect the windows and mirrors from different angles to ensure there are no streaks or smudges. If you notice any, simply re-clean those areas using the cloth or newspaper.
By taking the time to clean your windows and mirrors, you’ll improve the overall brightness and clarity in your home. Enjoy the clear view!
Now that the windows and mirrors are spotless, let’s move on to Step 5: cleaning fixtures and appliances.
Read more: How To Clean Tiles After A Renovation
Step 5: Cleaning Fixtures and Appliances
As you continue your post-renovation cleaning journey, it’s important to pay attention to the fixtures and appliances in your home. These areas tend to accumulate dust, grime, and residues during the renovation process. Let’s dive into the steps to effectively clean fixtures and appliances:
- Light Fixtures: Start by turning off the power to the light fixtures. Remove any covers, shades, or bulbs, and gently wash them with warm, soapy water. Use a microfiber cloth to wipe down the fixtures, removing dust, dirt, and fingerprints. Once dry, reassemble the fixtures and turn the power back on.
- Sink and Faucets: Clean the sink with a mild all-purpose cleaner or a mixture of warm water and dish soap. Scrub the sink with a non-abrasive sponge or cloth, paying attention to any stains or buildup. Rinse thoroughly and wipe dry. For the faucets, use a soft cloth dampened with white vinegar or a faucet cleaner to remove any mineral deposits or fingerprints.
- Appliances: Start with the refrigerator, removing any food or shelves that may have been left during the renovation. Use a mixture of warm water and mild detergent to clean the interior and exterior of the fridge. For the oven, remove any racks and clean them separately in warm, soapy water. Wipe the interior using an oven cleaner or a mixture of baking soda and water. Wipe down other appliances, such as the dishwasher, microwave, or coffee maker, with a damp cloth and mild cleaner.
- Cabinet Hardware: Remove the cabinet knobs, handles, or pulls, and soak them in warm, soapy water. Gently scrub away any dirt or debris with a soft brush or sponge. Dry them thoroughly before reattaching them to the cabinets.
- Showerheads: Fill a plastic bag with white vinegar and secure it over the showerhead using an elastic band. Let it soak for a few hours or overnight to dissolve any mineral deposits. Remove the bag, scrub the showerhead gently with a toothbrush, and turn on the water to flush out any remaining vinegar.
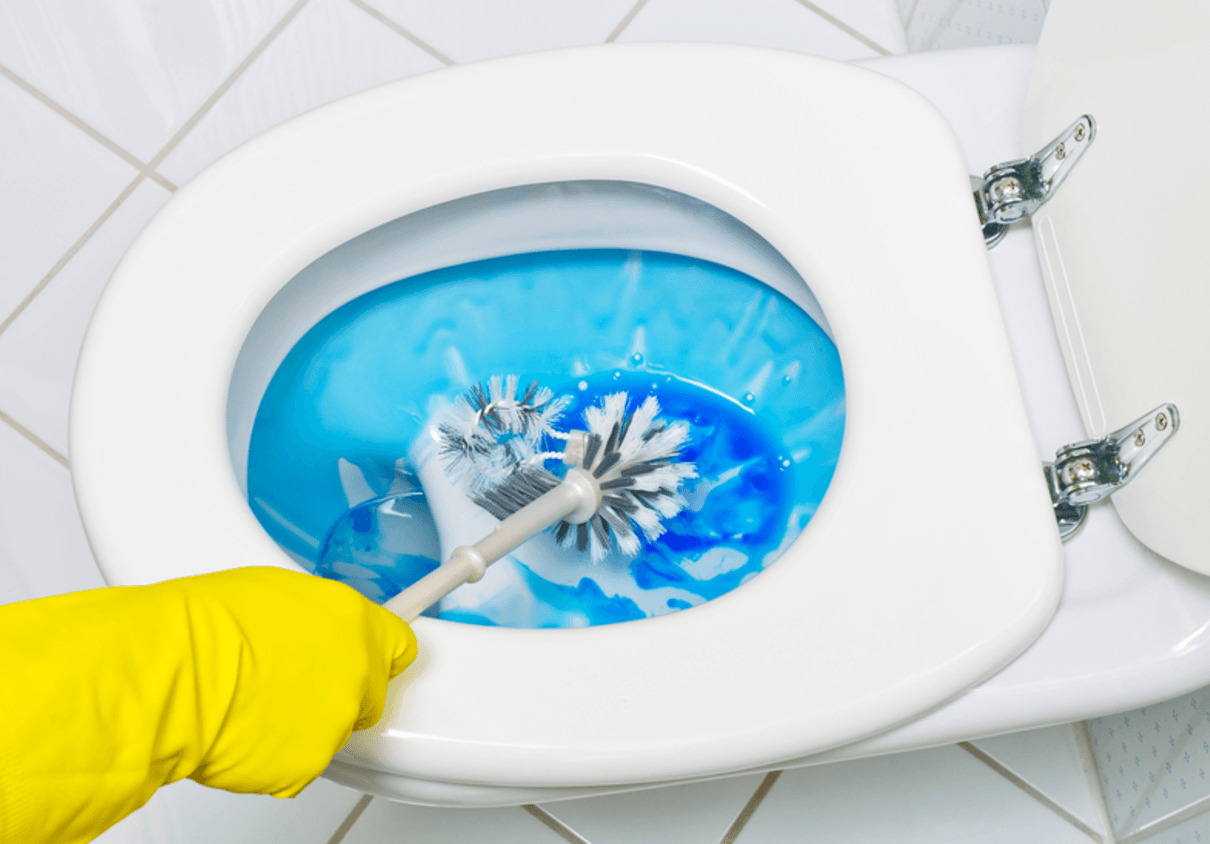
- Toilet: Clean the toilet bowl with a toilet cleaner, using a toilet brush to scrub away any stains or residue. Wipe down the exterior surfaces of the toilet, including the tank and seat, using a disinfectant cleaner. Don’t forget to clean the handle and the area behind the toilet.
By giving attention to fixtures and appliances, you’ll not only ensure they look clean and polished but also maintain their functionality and longevity.
Now that the fixtures and appliances are gleaming, let’s move on to Step 6: cleaning air vents and filters.
Step 6: Cleaning Air Vents and Filters
As you near the end of your post-renovation cleaning process, it’s crucial not to overlook the importance of cleaning your air vents and filters. Over time, dust and debris can accumulate in these areas, impacting the efficiency of your HVAC system and the overall air quality in your home. Follow these steps to effectively clean your air vents and filters:
- Air Vents: Start by removing the vent covers or grilles from your air vents. Use a vacuum cleaner with a brush attachment or a soft brush to gently remove any dust and debris from the vent covers. For tougher buildup, you can wash the vent covers with warm, soapy water. Dry them thoroughly before reattaching them to the vents.
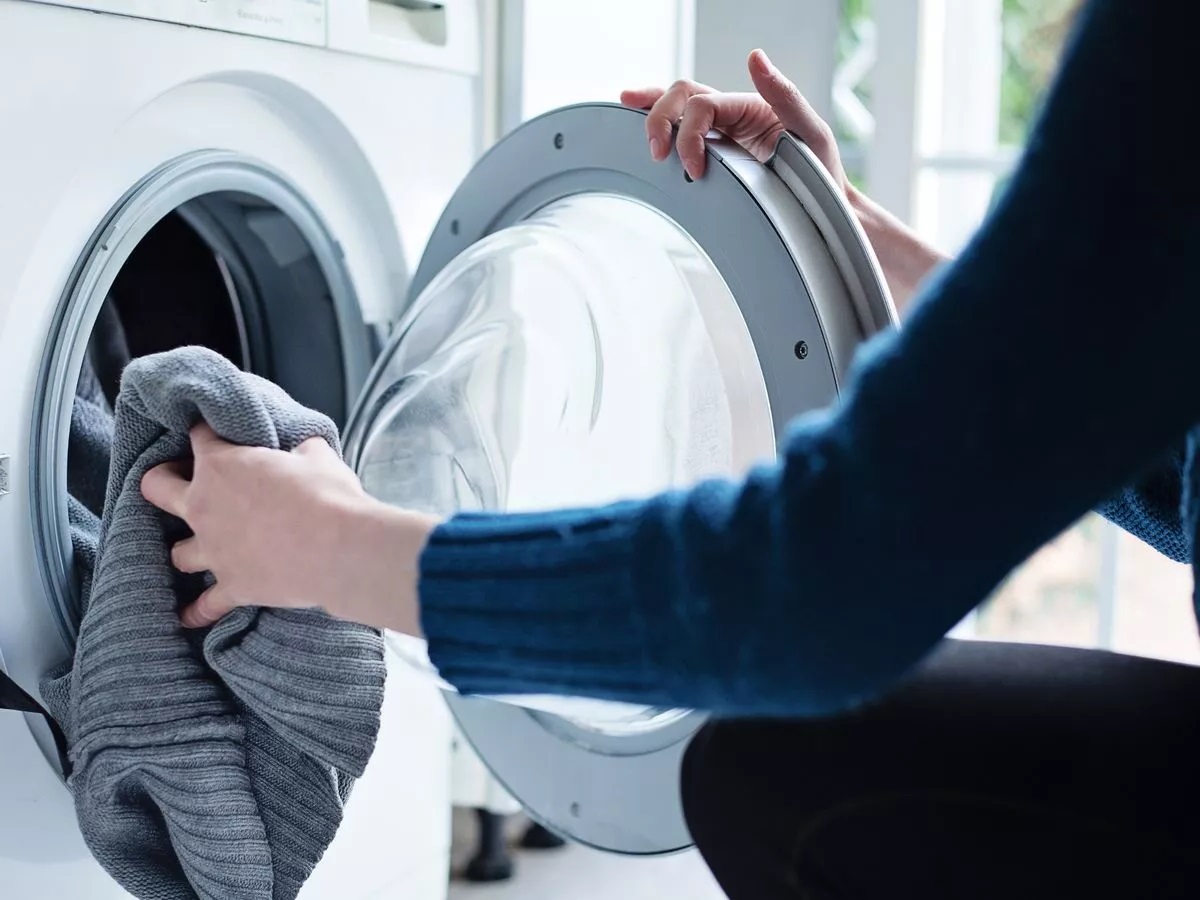
- Air Filters: Locate the air filters in your HVAC system. Depending on the type of filter you have, you’ll need to either clean it or replace it.
- Reusable Filters: If you have reusable filters, carefully remove them and rinse them with warm water. Use a mild detergent if necessary. Allow the filters to air dry completely before placing them back into the HVAC system.
- Disposable Filters: If you have disposable filters, remove the old filter and discard it. Install a new filter according to the manufacturer’s instructions. It’s generally recommended to replace disposable filters every three months or as needed.
- Additional Steps: While cleaning the air vents and filters, it’s also a good opportunity to check for any obstructions or leaks in your HVAC system. Ensure that all vent openings are clear and not blocked by furniture or other objects. If you notice any leaks or unusual sounds, it’s advisable to contact a professional HVAC technician for further inspection and repairs.
Cleaning your air vents and filters regularly not only promotes better air quality but also improves the efficiency of your HVAC system. It’s a small step that can have a significant impact on your overall comfort and well-being.
Now that your air vents and filters are squeaky clean, let’s move on to Step 7: final touches and finishing touches.
Use a vacuum with a HEPA filter to remove dust and debris from surfaces. Wipe down walls, trim, and baseboards with a damp cloth. Clean floors with a mop and gentle cleaner.
Step 7: Final Touches and Finishing Touches
Congratulations! You’re almost done with your post-renovation cleaning journey. Step 7 involves adding the final touches and completing any remaining tasks to bring your home back to its pre-renovation state. Here’s what you can do to add those finishing touches:
- Dust and Polish: Take a final pass through your home to ensure all surfaces are free of dust. Use a microfiber cloth to wipe down furniture, shelves, and decorative items. Polish any wood or metal surfaces using appropriate products to restore their shine.
- Organize and Declutter: Now is the perfect time to declutter and reorganize your belongings. Return furniture, decorations, and personal items to their designated places, ensuring they are arranged neatly and clutter-free.
- Inspect for Repairs: Carefully inspect your home for any damages or repairs that may have occurred during the renovation process. Make note of any necessary repairs and schedule them as soon as possible to maintain the integrity of your home.
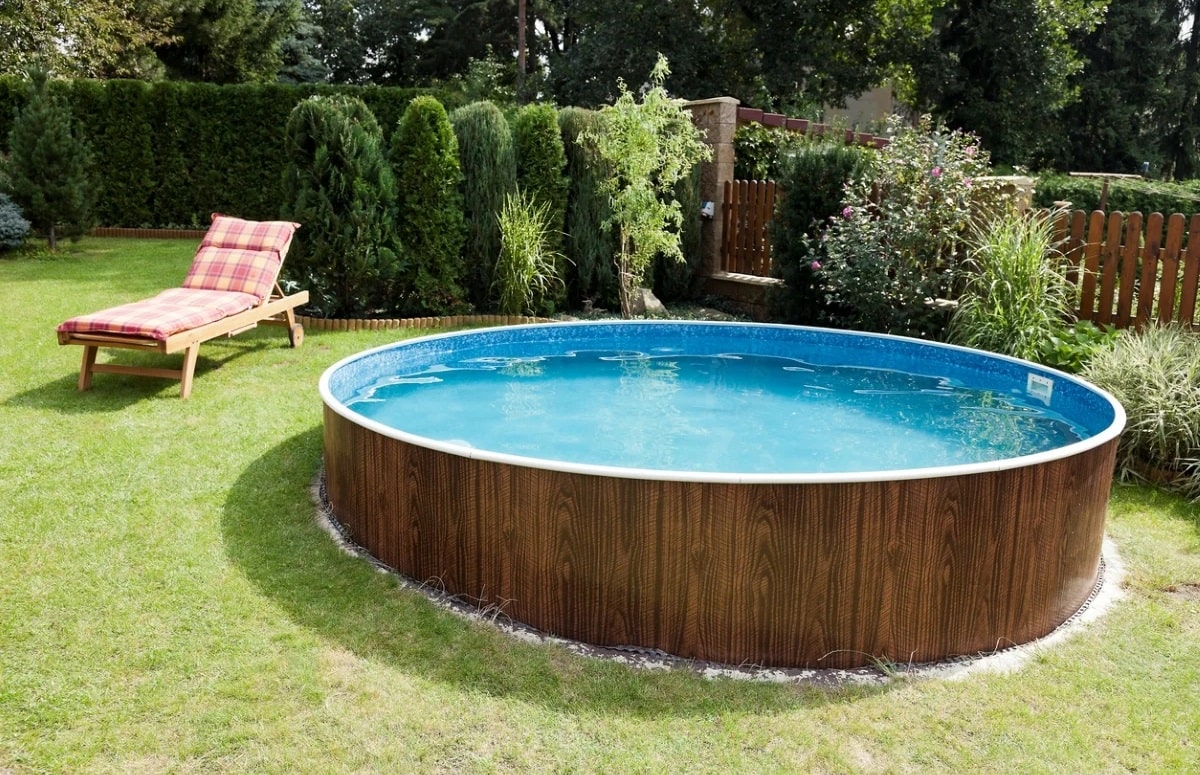
- Clean Outdoor Spaces: If your renovation extended to outdoor areas, don’t forget to clean and tidy these spaces as well. Sweep patios, decks, and walkways, and remove any debris or construction materials. Wipe down outdoor furniture and clean any outdoor fixtures.
- Freshen Up: To give your home a pleasant scent, consider using natural air fresheners, such as scented candles, essential oil diffusers, or fresh flowers. Open windows to let in fresh air and allow any lingering odors from the renovation to dissipate.
- Final Touches: Once everything is clean and organized, take a step back and appreciate your hard work. Add personal touches, like artwork, decorations, or fresh linens, to make your home feel warm and inviting.
Celebrate the completion of your post-renovation cleaning journey. Your home is now clean, organized, and ready to be enjoyed to its fullest!
Remember, regular maintenance and cleaning routines will help preserve the cleanliness and freshness of your home. Stay on top of routine cleaning tasks to ensure your space remains in tip-top shape for years to come.
Thank you for following along with our step-by-step guide. We hope it has been helpful in achieving a clean and beautiful home after your renovation.
Enjoy your newly transformed space!
Conclusion
Congratulations on successfully completing the post-renovation cleaning process! Your hard work and attention to detail have paid off, and now you can fully enjoy the results of your home renovation. By following the step-by-step guide outlined in this article, you have effectively removed debris, cleaned surfaces, floors, windows, fixtures, appliances, air vents, and filters, and added the final touches to bring your home back to its pre-renovation state.
Cleaning after a renovation can be a challenging task, but with proper planning, tools, and techniques, it becomes a manageable and rewarding process. Not only does a thorough post-renovation clean-up restore cleanliness and order to your home, but it also enhances indoor air quality, maintains the integrity of your surfaces, and ensures a fresh and inviting living space.
As you enjoy your newly transformed home, don’t forget to establish a regular cleaning routine to maintain its cleanliness and beauty. By dedicating time for routine cleaning tasks, you can prevent the accumulation of dust and dirt, making future cleanings more efficient and less time-consuming.
Whether you’ve renovated a single room or your entire home, the post-renovation cleaning process is a critical final step in the renovation journey. It allows you to fully appreciate the results of your hard work and create a space that reflects your vision and personal style.
We hope this comprehensive guide has been helpful in guiding you through the post-renovation cleaning process. Celebrate your accomplishment, relax, and enjoy your newly renovated and sparkling clean home!
Thank you for choosing our guide, and we wish you many happy years in your beautifully renovated and clean home.
Frequently Asked Questions about How To Clean After Renovation
Was this page helpful?
At Storables.com, we guarantee accurate and reliable information. Our content, validated by Expert Board Contributors, is crafted following stringent Editorial Policies. We're committed to providing you with well-researched, expert-backed insights for all your informational needs.

0 thoughts on “How To Clean After Renovation”