Home>Furniture>Bedroom Furniture>How To Cut A Metal Bed Frame

Bedroom Furniture
How To Cut A Metal Bed Frame
Modified: August 27, 2024
Learn the best techniques for cutting a metal bed frame in your bedroom. Get step-by-step instructions and tips for a successful DIY project.
(Many of the links in this article redirect to a specific reviewed product. Your purchase of these products through affiliate links helps to generate commission for Storables.com, at no extra cost. Learn more)
Introduction
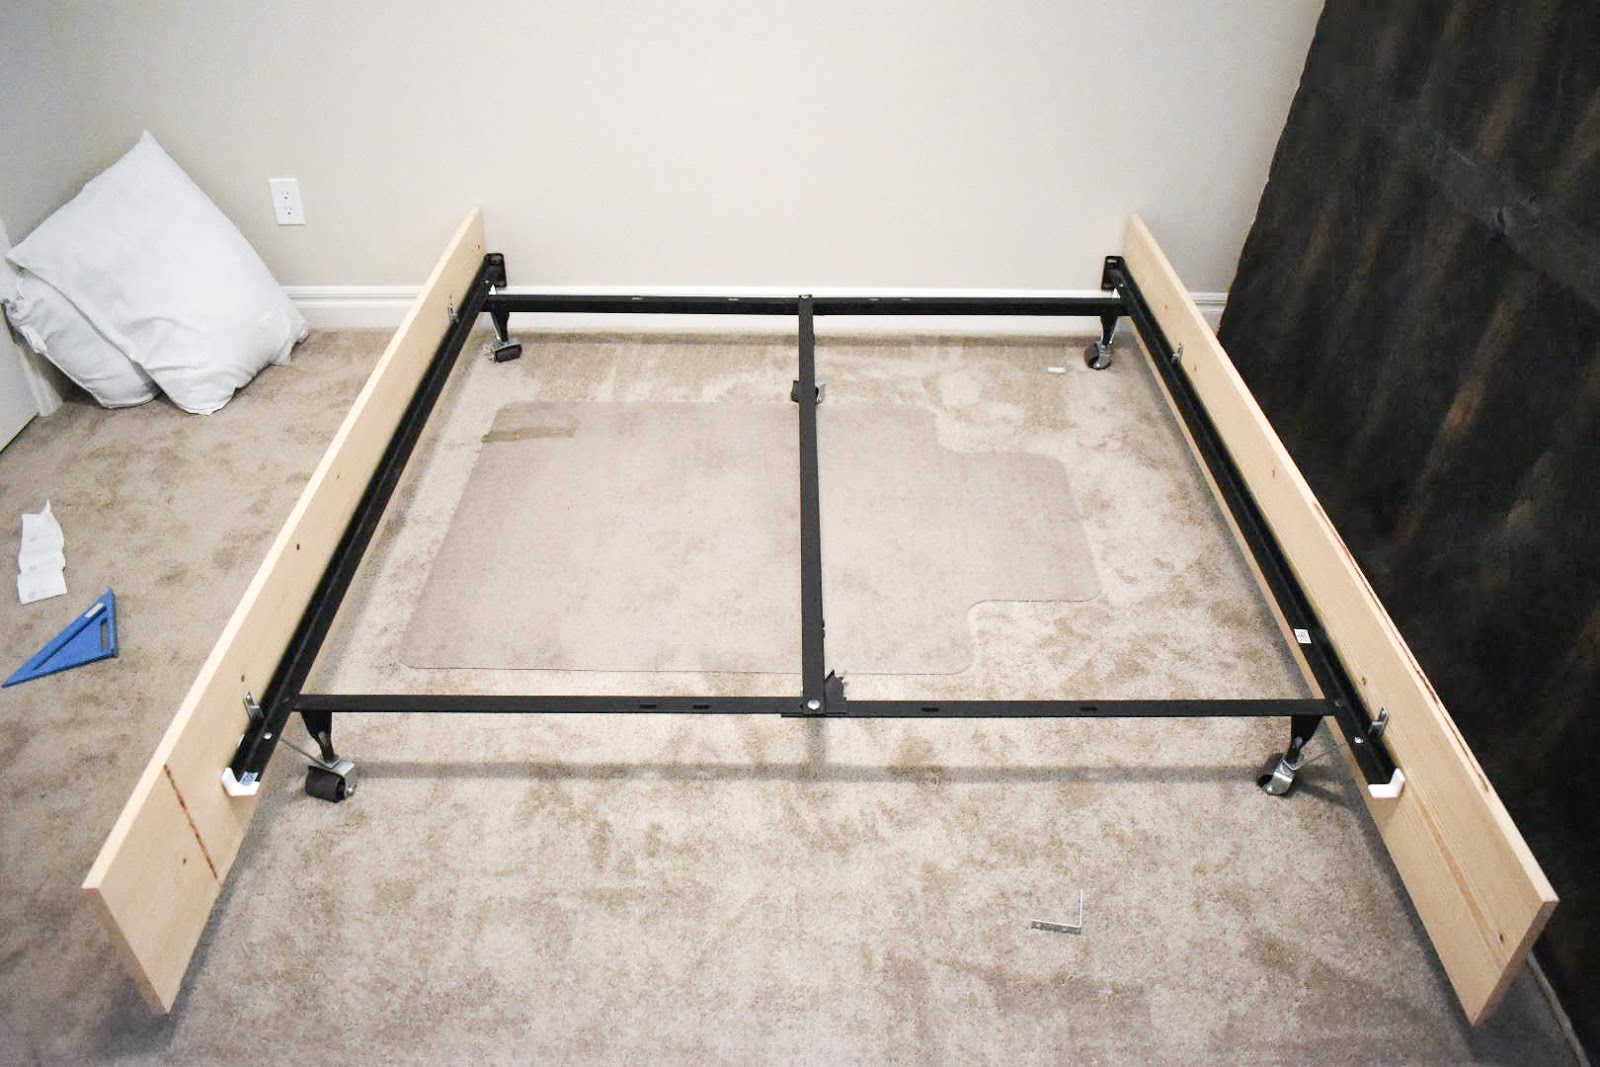
When it comes to bedroom furniture, a bed frame plays a crucial role in providing stability and support for your mattress. However, there may be instances where you find yourself needing to cut a metal bed frame. Whether you’re adjusting the size to fit a smaller room or trying to repurpose an old bed frame, knowing how to cut a metal bed frame can be a handy skill to have.
Before you begin, it’s important to note that cutting a metal bed frame requires careful planning and the right tools. This article will guide you through the step-by-step process of cutting a metal bed frame, ensuring that you have all the necessary information and tools at your disposal.
By following these instructions, you’ll be able to modify or repurpose your metal bed frame with confidence, creating a customized piece that suits your needs and preferences.
So, without further ado, let’s gather our tools, roll up our sleeves, and get started on learning how to cut a metal bed frame!
Key Takeaways:
- Master the art of cutting a metal bed frame with precision and confidence using the right tools and safety precautions. Customize your bedroom furniture to fit your space and style with ease.
- Prioritize safety, precision, and creativity when cutting and reassembling a metal bed frame. Enjoy the satisfaction of handcrafting a customized piece of bedroom furniture that meets your specific needs.
Read more: How To Disassemble A Metal Bed Frame
Tools and Materials Needed
Before you begin cutting your metal bed frame, it is important to gather all the necessary tools and materials. Here’s a list of what you’ll need:
- Measuring tape or ruler
- Masking tape or marker
- Safety goggles
- Gloves
- Angle grinder with a cutting disc or a reciprocating saw with a metal cutting blade
- Clamps
- File or sandpaper
- Protective tarp or drop cloth
These tools and materials will ensure that you are well-equipped to handle the task of cutting a metal bed frame safely and efficiently. Always prioritize safety when working with power tools and wear the necessary protective gear to avoid any accidents or injuries.
Step 1: Preparation
Before you begin cutting your metal bed frame, it’s important to prepare the work area and take necessary safety precautions. Here’s what you need to do:
- Clear the area: Start by removing any objects, bedding, or other furniture near the bed frame. Clearing the area will provide you with a safe and unobstructed work environment.
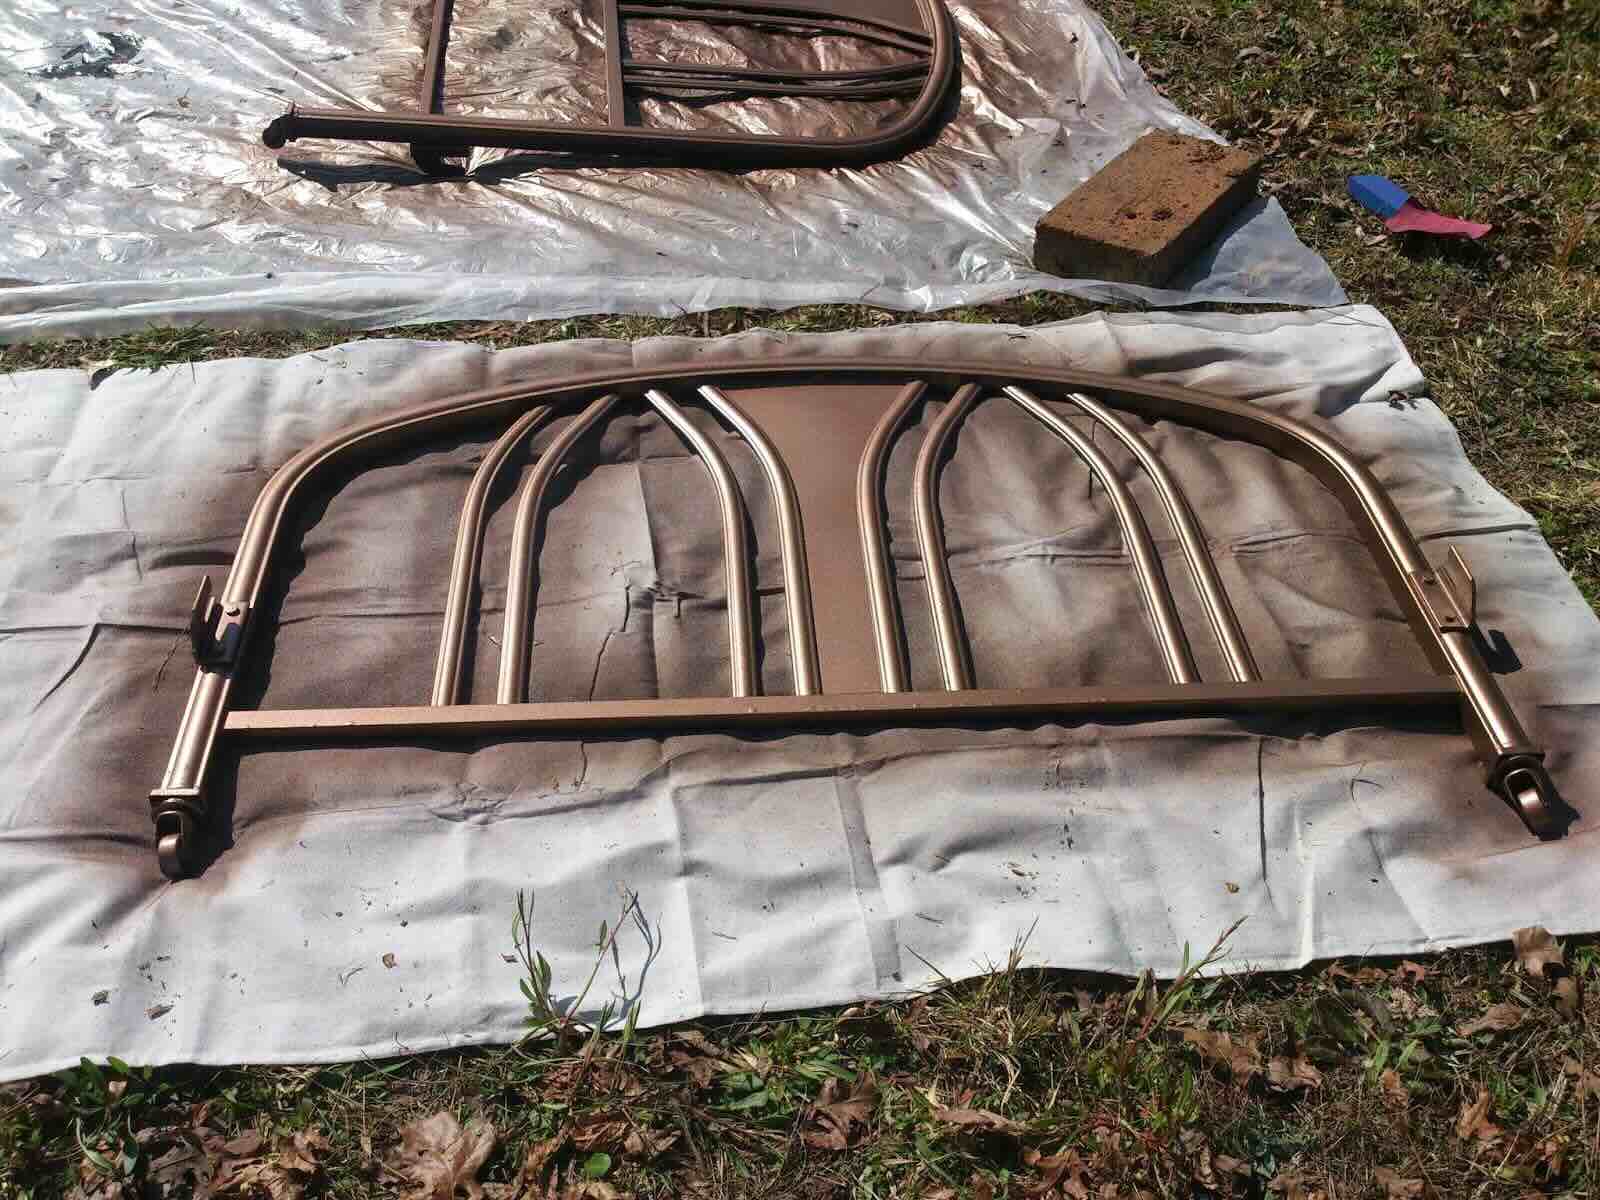
- Protect the floor: Lay down a protective tarp or drop cloth to prevent any sparks or metal shavings from damaging the floor. This will also make it easier to clean up later.
- Gather safety gear: Put on safety goggles to protect your eyes from any flying debris. It’s also a good idea to wear gloves to protect your hands during the cutting process.
Once you have taken these initial steps, you’re ready to move on to measuring and marking the metal bed frame in preparation for cutting.
Step 2: Measuring and Marking
Measuring and marking the metal bed frame is a crucial step to ensure that you achieve accurate and precise cuts. Follow these steps:
- Measure and decide on the desired length: Use a measuring tape or ruler to determine the specific length you want for your metal bed frame. Take into account any space constraints or design considerations.
- Mark the cutting points: Once you have determined the desired length, use masking tape or a marker to clearly mark the cutting points on the metal bed frame. Double-check your measurements to ensure accuracy.
- Consider the frame structure: Take note of the bed frame’s overall structure and design. If there are any horizontal support bars or vertical posts that need to remain intact, make sure to mark your cutting points without affecting the structural integrity of the frame.
By taking the time to accurately measure and mark the cutting points, you’ll be able to ensure that your metal bed frame is trimmed to the desired length while maintaining its stability and strength.
Now that you’ve marked the cutting points, it’s time to move on to the next step: actually cutting the metal bed frame.
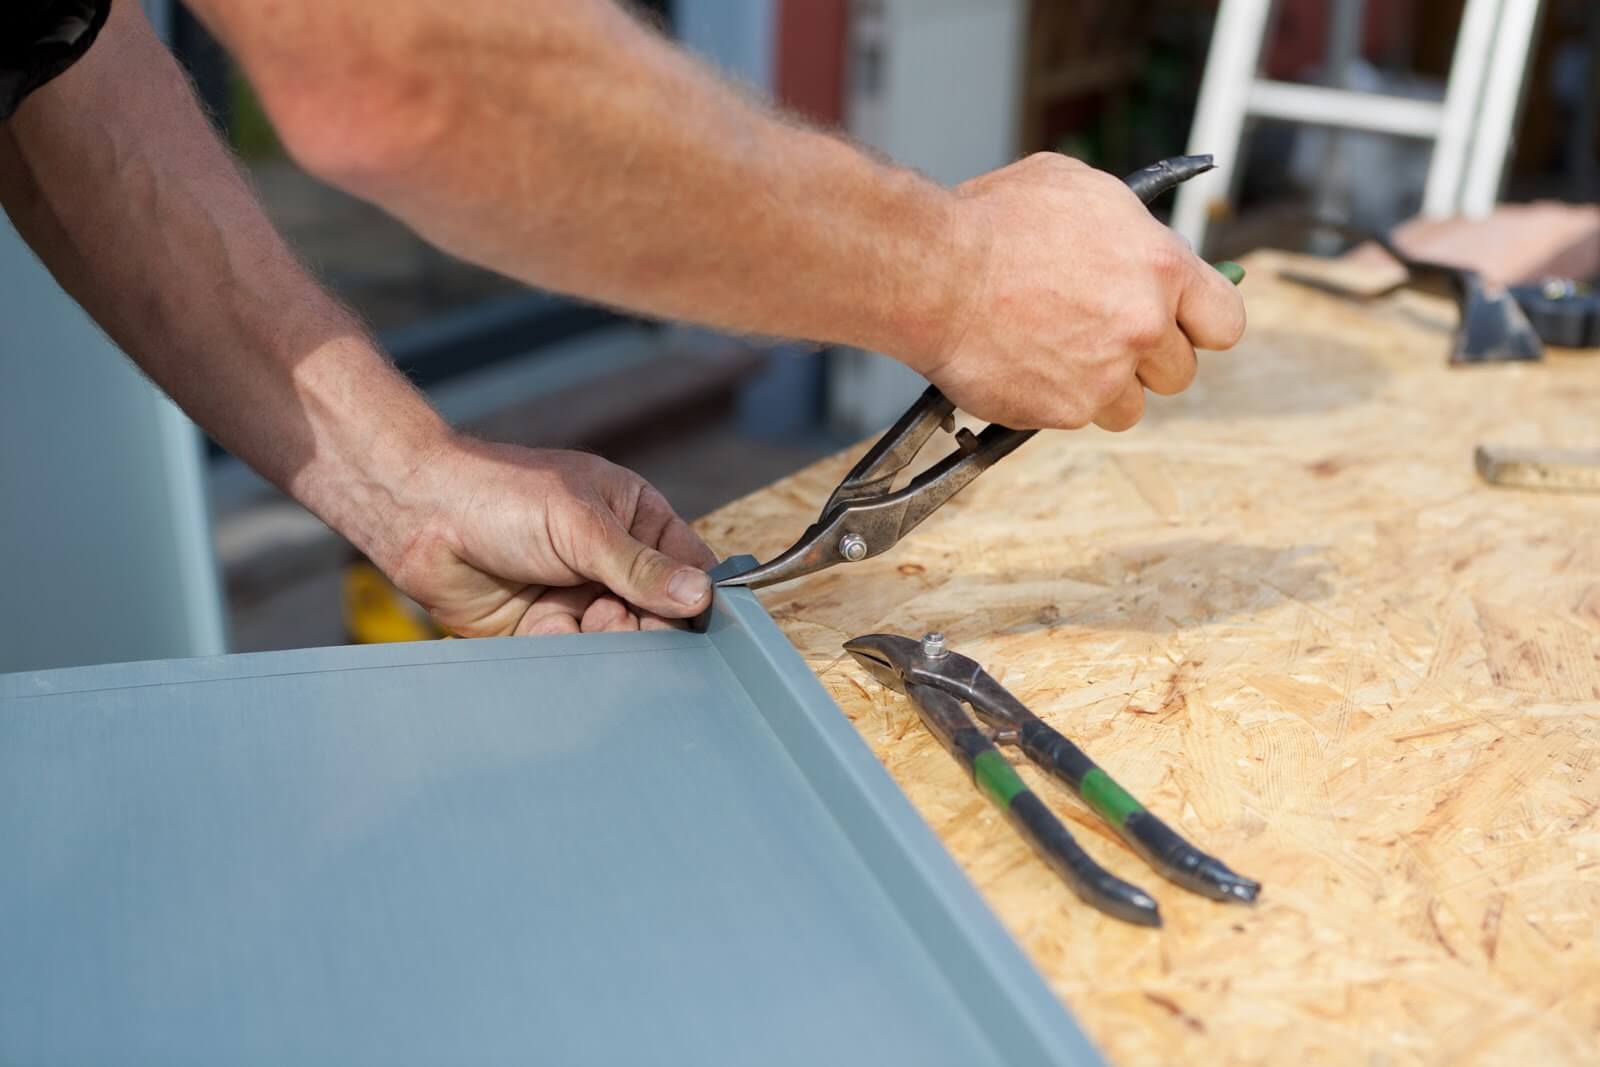
When cutting a metal bed frame, use a metal cutting blade on a reciprocating saw for clean and precise cuts. Make sure to wear safety goggles and gloves to protect yourself from sparks and sharp edges.
Step 3: Cutting the Metal Bed Frame
Now comes the exciting part – cutting the metal bed frame! Follow these steps to make precise cuts:
- Secure the bed frame: Use clamps to secure the metal bed frame in place. This will prevent it from moving or vibrating during the cutting process, ensuring clean and accurate cuts.
- Choose your cutting tool: Depending on the thickness of the metal bed frame and your preference, you can use an angle grinder with a cutting disc or a reciprocating saw with a metal cutting blade. Both tools are capable of providing smooth and precise cuts through metal.
- Put on safety gear: Before you start cutting, ensure that you are wearing your safety goggles and gloves to protect yourself from any potential hazards.
- Slow and steady cutting: Position the cutting tool at the marked cutting point and engage the tool. Apply firm and steady pressure as you guide the tool along the marked line. Take your time and maintain control over the tool to avoid any mishaps.
- Repeat the process: If you are cutting through multiple sections of the bed frame, repeat the cutting process for each marked cutting point. Ensure that each cut is accurate and aligns with the desired length.
Remember, safety is paramount when working with power tools. Exercise caution, maintain control, and take breaks as needed to prevent fatigue.
Once you have completed the cutting process, move on to the next step: smoothing out the edges.
Read more: How To Decorate A Metal Bed Frame
Step 4: Smooth Out the Edges
After cutting the metal bed frame, it’s important to smooth out the edges to ensure a clean and safe finish. Follow these steps to smooth out the edges:
- Inspect the cut edges: Carefully examine the cut edges of the metal bed frame. Look for any sharp or jagged edges that need to be smoothed out.
- Use a file or sandpaper: Depending on the severity of the sharp edges, you can use a file or sandpaper to smooth them down. File or sand in a back-and-forth motion until the edges are smooth to the touch.
- Pay attention to corners: Pay extra attention to the corners of the cut metal bed frame. Use the file or sandpaper to round them off, eliminating any sharp points.
- Check for burrs: While smoothing out the edges, keep an eye out for any burrs – small metal fragments or rough spots. Use the file or sandpaper to remove these, ensuring a clean and polished finish.
- Inspect the edges again: Once you have gone over all the edges, carefully inspect them to ensure they are smooth and free from any sharp or protruding sections.
By taking the time to smooth out the edges, you’ll not only enhance the visual appeal of your cut metal bed frame, but also make it safer to handle and reduce the risk of injury.
Now that you have smoothed out the edges, it’s time to move on to the final step: reassembling the bed frame.
Step 5: Reassembling the Bed Frame
Now that you have successfully cut and smoothed out the edges of your metal bed frame, it’s time to reassemble it. Follow these steps to ensure a secure and sturdy bed frame:
- Gather the necessary parts: Check that you have all the parts and hardware required for reassembling the bed frame. This includes frame connectors, screws, bolts, and any other components that were originally part of the bed frame.
- Align the cut sections: If you have cut multiple sections of the bed frame, line them up properly to ensure proper alignment.
- Reattach the connectors: Use the appropriate connectors and hardware to secure the cut sections together. Follow the manufacturer’s instructions or the original assembly guidelines to ensure proper attachment.
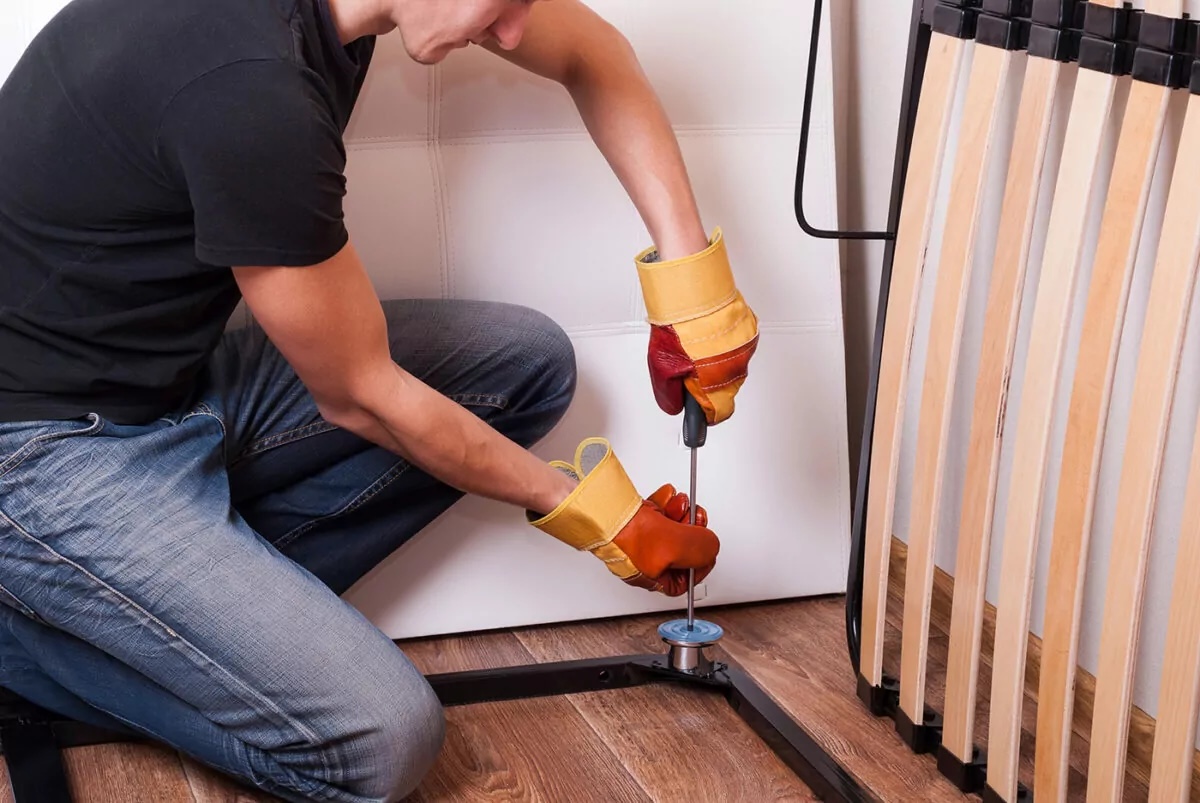
- Tighten all connections: Once the cut sections are properly aligned and attached, tighten all the connections securely. Use a wrench or screwdriver as required to ensure that the bed frame is stable and won’t wobble.
- Double-check the stability: Give the reassembled bed frame a firm shake to check for any loose or unstable connections. Tighten any screws or bolts as necessary to ensure a sturdy and secure structure.
By following these steps, you can ensure that your cut metal bed frame is reassembled correctly and provides the stability and support needed for a restful night’s sleep.
Congratulations! You have successfully cut and reassembled your metal bed frame to the desired length. Take a moment to admire your handiwork and enjoy the satisfaction of a job well done.
Remember, safety should always be a priority during the cutting and reassembling process. Follow proper procedures and use caution when handling tools and sharp edges.
Lastly, don’t forget to clean up your work area, remove the protective tarp or drop cloth, and put away your tools. Now you can enjoy your modified metal bed frame and the comfort it provides in your bedroom.
Happy sleeping!
Conclusion
Cutting a metal bed frame can be a useful skill for various situations, whether you’re adjusting the size of the frame or repurposing an old bed. By following the step-by-step process outlined in this article, you can confidently cut your metal bed frame and customize it to meet your specific needs.
Throughout the cutting process, it’s crucial to prioritize safety. Remember to wear safety goggles and gloves, secure the bed frame properly, and take breaks as needed to prevent fatigue. Additionally, always exercise caution when using power tools and follow the manufacturer’s instructions for proper usage.
Once the metal bed frame is cut, remember to smooth out the edges to eliminate any sharp or jagged points. This step not only ensures a visually appealing finish but also improves safety by reducing the risk of injury during handling.
After completing the cutting and smoothing process, reassembling the bed frame is the final step. Take your time to align the cut sections properly, reattach the connectors, and tighten all connections securely. Double-check the stability of the bed frame to ensure it is secure and wobble-free.
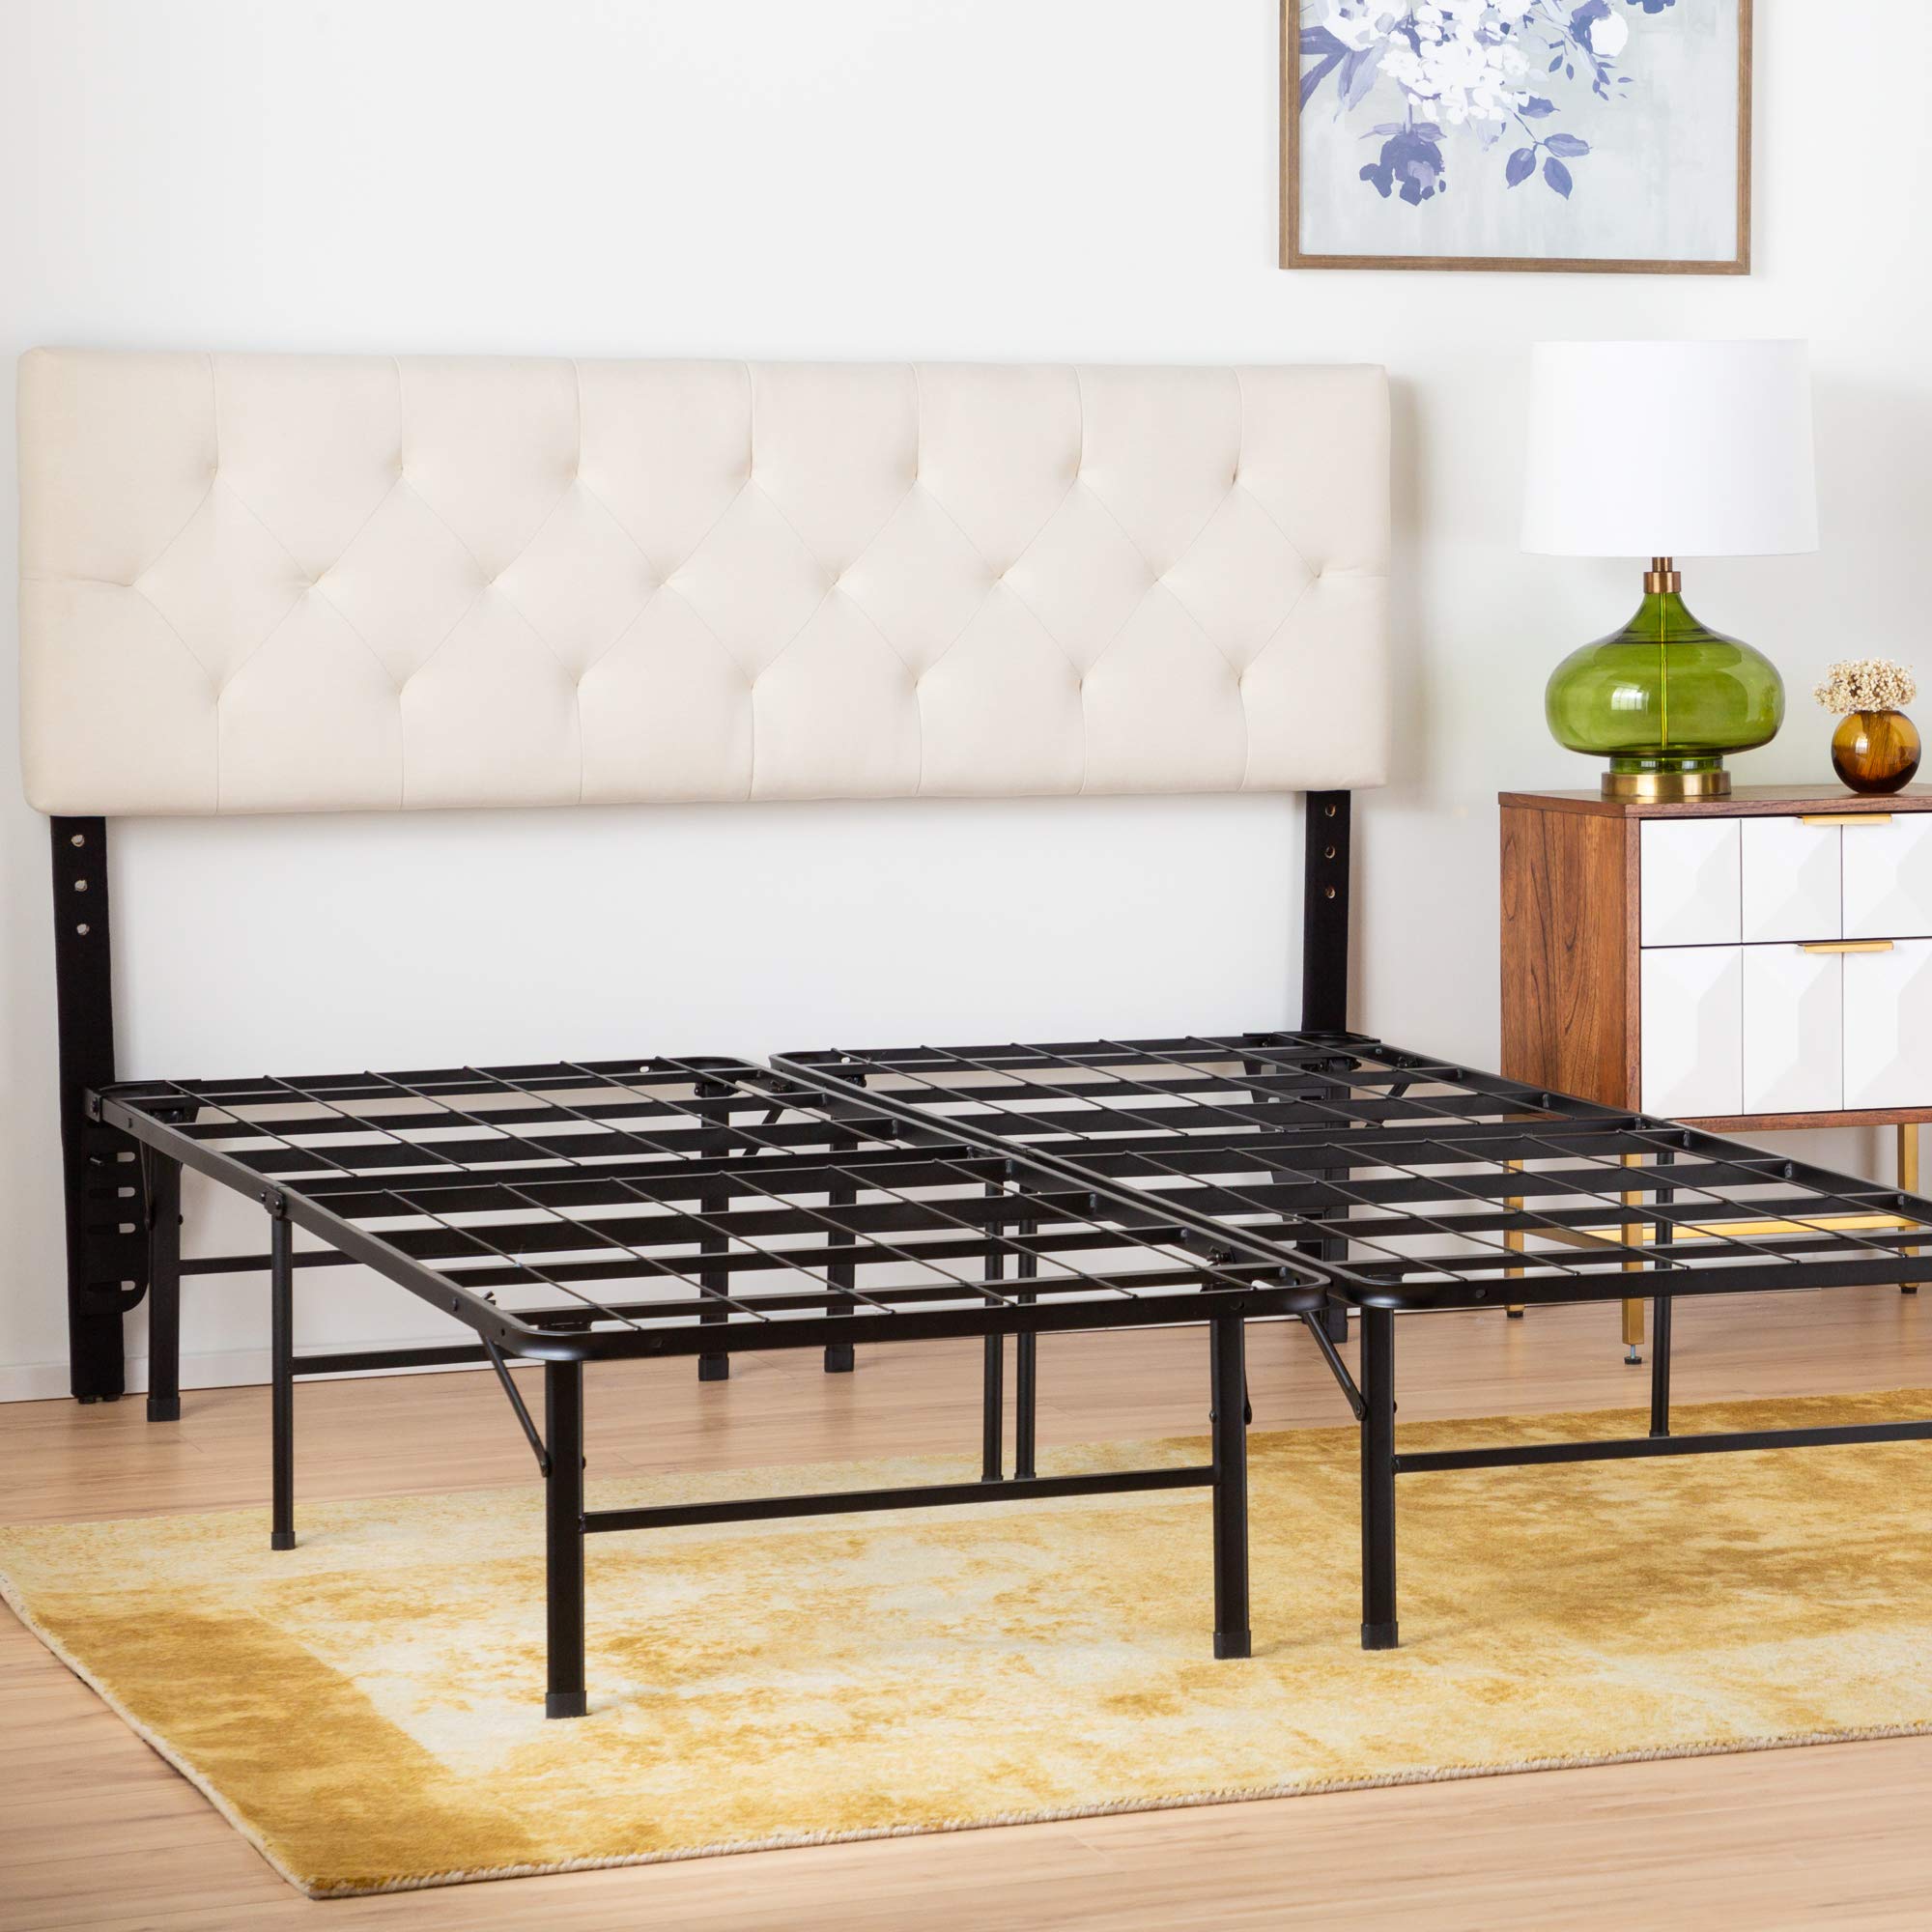
With a well-cut and reassembled metal bed frame, you can enjoy a customized piece of bedroom furniture that perfectly fits your space and needs. Sleep soundly knowing that you have handcrafted a bed frame that meets your specifications.
Remember, practice makes perfect, so don’t get discouraged if your first attempt is not flawless. With time and experience, you’ll become more comfortable and proficient in cutting and modifying metal bed frames.
Now that you have learned how to cut a metal bed frame, feel free to explore more creative possibilities. Whether it’s a sleek and minimalistic design or a bold and unique look, the ability to modify your bed frame opens up a world of customization options.
So go ahead, unleash your creativity, and transform your metal bed frame into a stylish and functional piece of bedroom furniture. Sweet dreams await!
Frequently Asked Questions about How To Cut A Metal Bed Frame
Was this page helpful?
At Storables.com, we guarantee accurate and reliable information. Our content, validated by Expert Board Contributors, is crafted following stringent Editorial Policies. We're committed to providing you with well-researched, expert-backed insights for all your informational needs.






0 thoughts on “How To Cut A Metal Bed Frame”