Home>Articles>How To Frame An Interior Wall With Metal Studs
Articles
How To Frame An Interior Wall With Metal Studs
Modified: August 27, 2024
Learn the step-by-step process of framing an interior wall with metal studs in this informative article. Get expert tips and tricks for a sturdy and efficient construction.
(Many of the links in this article redirect to a specific reviewed product. Your purchase of these products through affiliate links helps to generate commission for Storables.com, at no extra cost. Learn more)
Introduction
When it comes to interior construction, framing walls is a key step in creating a structurally sound and functional space. While traditional wood framing has been the go-to method for many years, metal studs are gaining popularity due to their durability, affordability, and ease of installation. Whether you’re a homeowner looking to renovate or a professional contractor, learning how to frame an interior wall with metal studs can save you time and money while achieving professional results.
In this article, we will guide you through the step-by-step process of framing an interior wall with metal studs. We’ll cover everything from gathering the necessary materials to finishing touches like installing drywall and painting. So, grab your tools and let’s get started!
Key Takeaways:
- Framing an interior wall with metal studs is a cost-effective and efficient way to create a sturdy and functional space, providing structural stability and accommodating design needs.
- By following the step-by-step process outlined in this guide, you can successfully transform bare metal studs into a polished and professional-looking interior wall, opening up a world of possibilities for customizing indoor living spaces.
Materials Needed
Before you begin framing your interior wall with metal studs, make sure you have the following materials on hand:
- Metal studs
- Bottom track
- Top track
- Screws or nails
- Hammer or screwdriver
- Tape measure
- Pencil
- Level
- Stud finder
- Utility knife
- Chalk line
- Drywall
- Drywall screws
- Mud and taping knife
- Sanding block
- Paint and paintbrush
Having these materials readily available will ensure a smooth and efficient installation process. Additionally, having the necessary tools at hand will make the job easier and help you achieve professional-quality results.
Step 1: Gather Tools
Before you begin framing an interior wall with metal studs, it’s essential to gather all the necessary tools. Here are the tools you’ll need:
- Tape measure: This tool will help you accurately measure the length and height of the wall.
- Pencil: Use a pencil to mark the measurements on the studs and other materials.
- Level: Ensure that your wall is straight and plumb by using a level.
- Stud finder: You’ll need a stud finder to locate the existing studs in the wall and mark them for reference.
- Utility knife: Use a utility knife to cut the drywall and trim the metal studs.
- Chalk line: A chalk line will help you create straight and level lines for accurate installation.
- Hammer or screwdriver: Depending on the type of fasteners you’re using, have a hammer or screwdriver ready.
- Screws or nails: Choose the appropriate screws or nails to secure the metal studs to the tracks and other components.
- Power drill: If you prefer using screws, a power drill with a screwdriver bit will make the job quicker and easier.
- Safety equipment: Don’t forget to wear safety gloves and goggles to protect yourself during the installation process.
Having these tools ready before you begin will help streamline the process and ensure that you have everything you need to complete the job efficiently. Take a moment to gather all the necessary tools and have them within reach as you move through the framing process.
Step 2: Prepare the Workspace
Before you start framing an interior wall with metal studs, it’s essential to prepare your workspace. Follow these steps to ensure an organized and efficient work area:
- Clear the area: Remove any furniture, decorations, or obstacles that may hinder your movement or obstruct the wall framing process.
- Protect the floor: Place drop cloths or protective sheets on the floor to prevent any damage or debris from falling onto the surface.
- Measure and mark: Use a tape measure, pencil, and chalk line to measure and mark the exact location of the wall on the floor and ceiling. This will serve as your reference point for the installation.
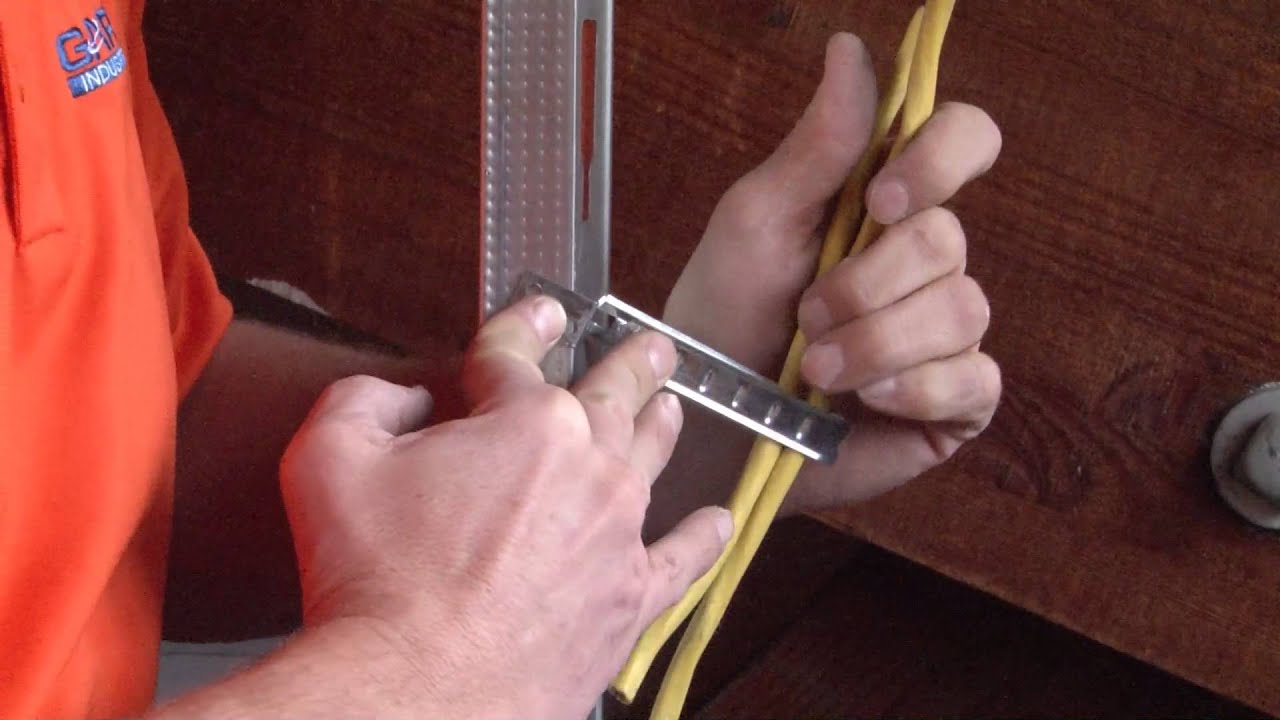
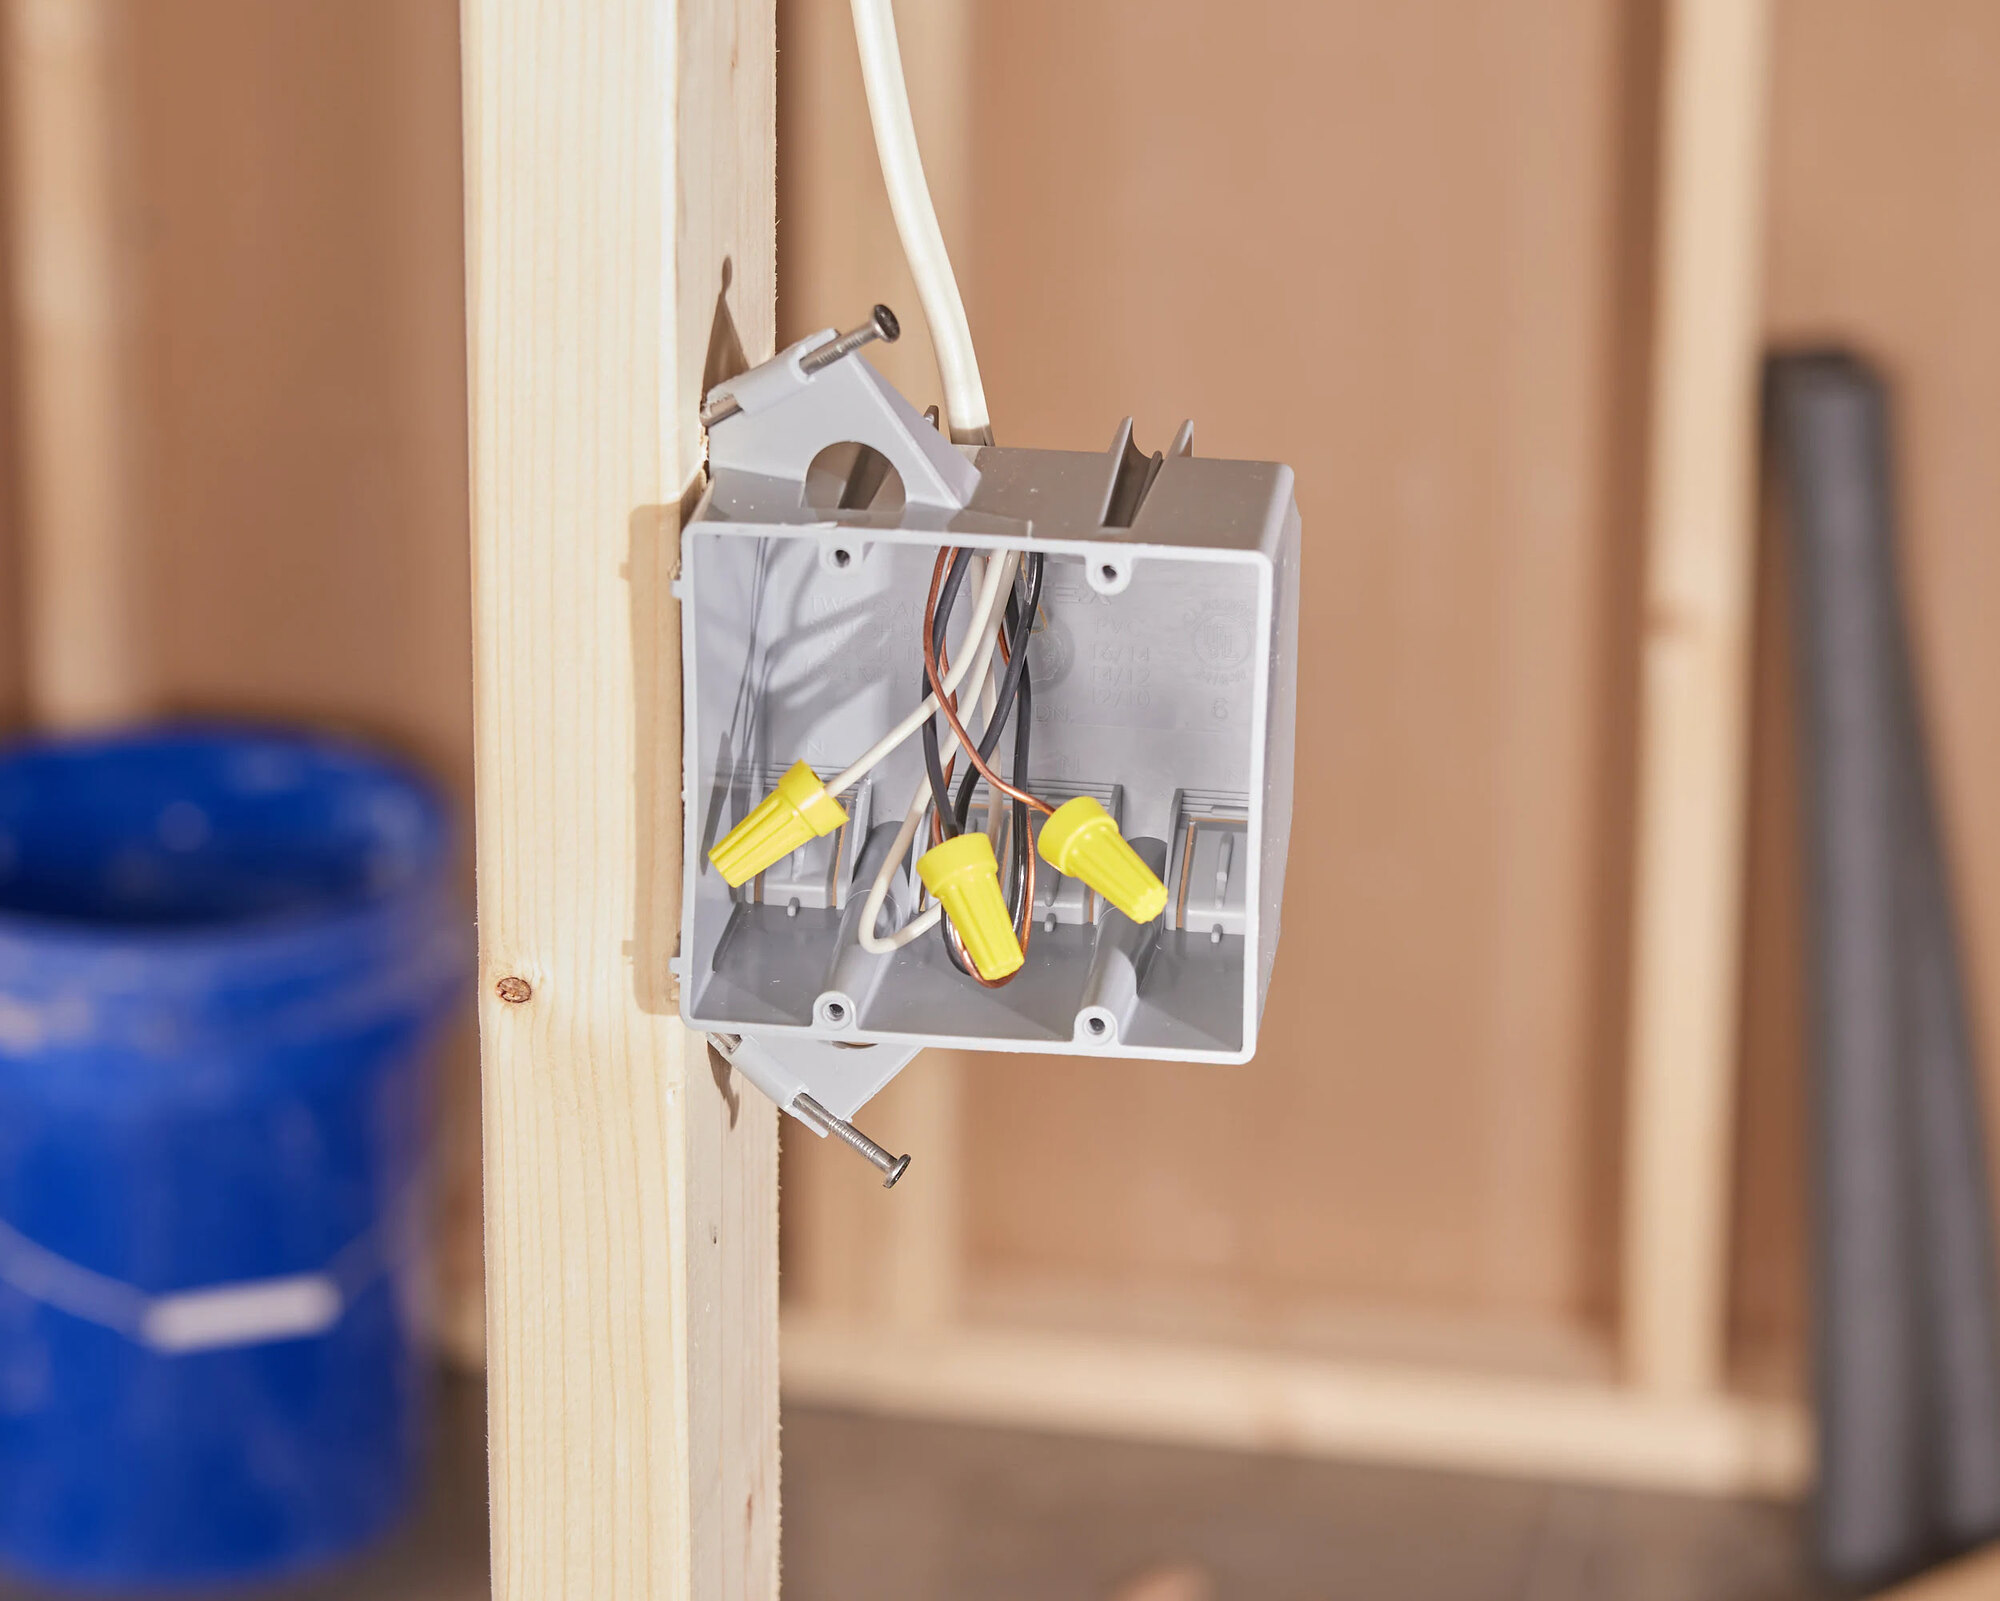
- Locate utilities: Before you begin framing, identify the location of electrical wires, plumbing, and HVAC systems in the wall. This will help you avoid damaging any existing infrastructure during the installation.
- Turn off utilities: If necessary, turn off the electricity and water supply to the area where you’ll be working. This will ensure your safety and prevent accidents while framing the wall.
- Set up a workbench: Arrange a sturdy workbench or table near the installation area. This will serve as a convenient surface for cutting metal studs and preparing materials.
Taking the time to prepare your workspace properly will save you time and prevent any unnecessary interruptions during the framing process. It’s crucial to have a clean, organized, and safe area to work in, ensuring a successful installation of your metal stud interior wall.
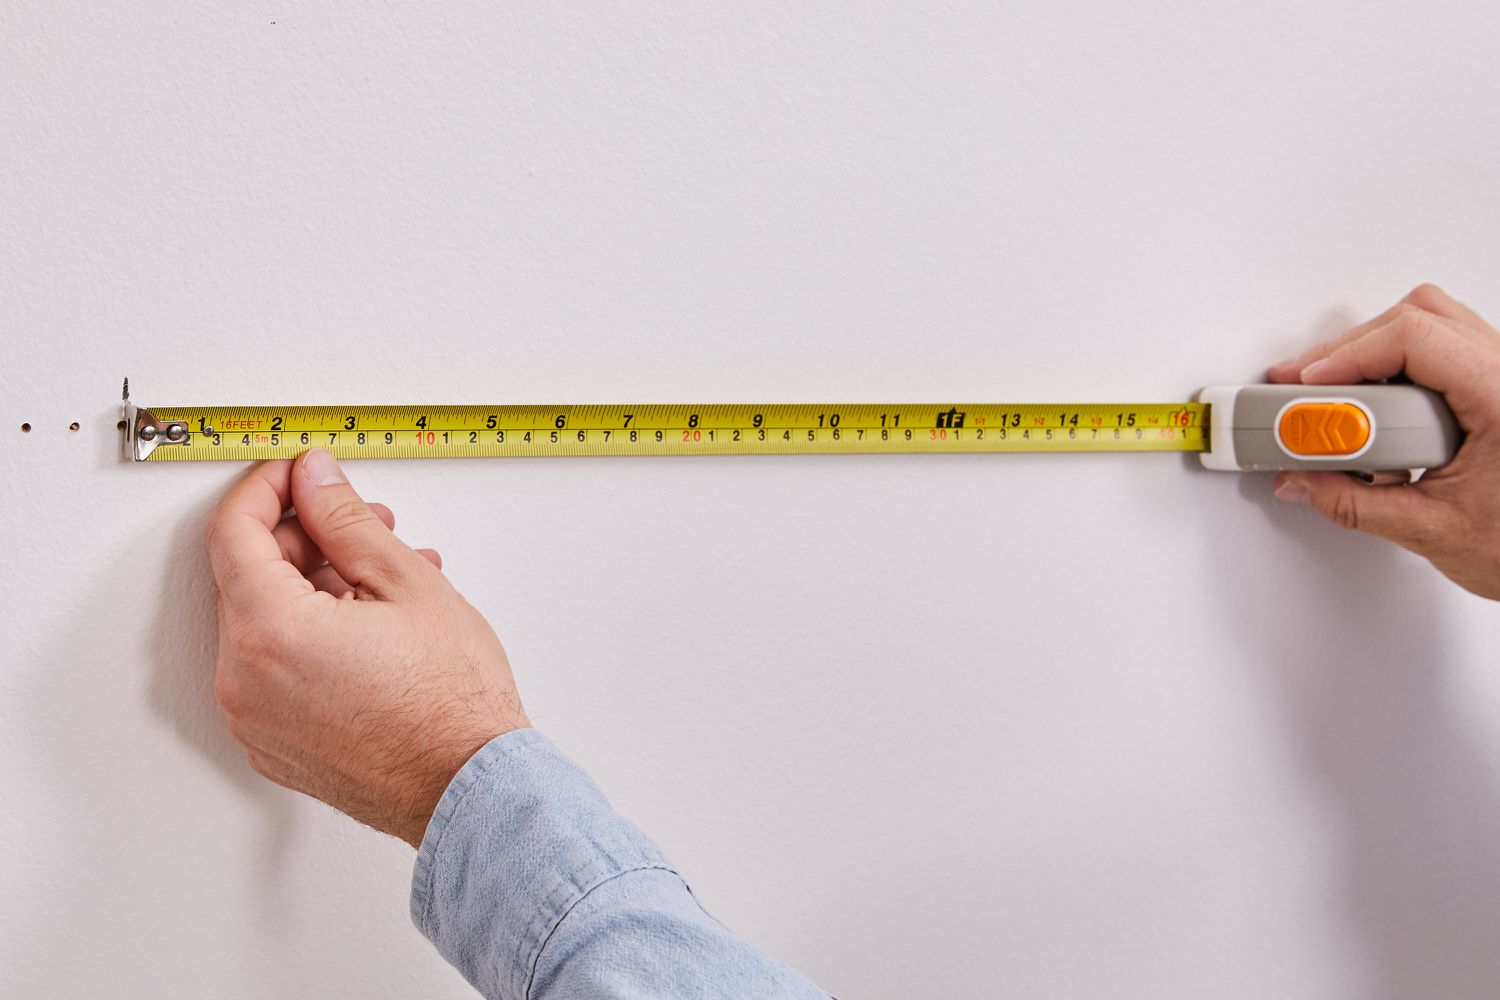
Step 3: Measure and Mark
Once you’ve gathered your tools and prepared the workspace, it’s time to measure and mark the dimensions of your interior wall. Follow these steps to ensure accurate measurements:
- Measure the length and height: Use a tape measure to determine the desired length and height of your wall. Measure from floor to ceiling and mark these measurements on both the floor and ceiling.
- Create a layout: Decide on the layout of your wall, including any door or window openings. Use a pencil and chalk line to mark the positions of these openings on the floor and ceiling as well. This will serve as a guide during the installation process.
- Find the studs: Use a stud finder to locate the existing studs in the adjacent walls. Mark these stud locations on the floor and ceiling using a pencil.
- Transfer measurements: Transfer the measurements and layout from the floor and ceiling to the walls using a level and pencil. Draw straight lines connecting the marks to create your wall’s frame.
Double-check your measurements and ensure that all the lines are straight and level. Accurate marking is crucial for a precise and sturdy installation. Taking the time to measure and mark correctly will help ensure that your metal stud interior wall fits perfectly into your space.
Step 4: Cut Metal Studs
With your measurements and marks in place, it’s time to cut the metal studs to the appropriate lengths. Follow these steps to cut the metal studs accurately:
- Measure and mark: Measure the distance between the floor and ceiling marks for each stud. Use a pencil to mark these measurements on the metal stud.
- Secure the stud: Place the metal stud on a sturdy workbench or table, making sure it’s positioned securely.
- Cut the stud: Using a utility knife or metal snips, score the metal stud along the marked line. Apply pressure to snap the stud at the scored line.
- Trim excess: If there are any sharp or uneven edges, use a file or sanding block to smooth them out.
- Repeat for each stud: Repeat this process for each metal stud needed for your interior wall.
When cutting the metal studs, ensure that your measurements are accurate, and the cuts are made straight. A clean and precise cut will result in a stronger and more stable frame for your wall. Double-check your measurements before cutting each stud to avoid any errors. Safety goggles and gloves are recommended during this step to protect yourself from any metal fragments or sharp edges.
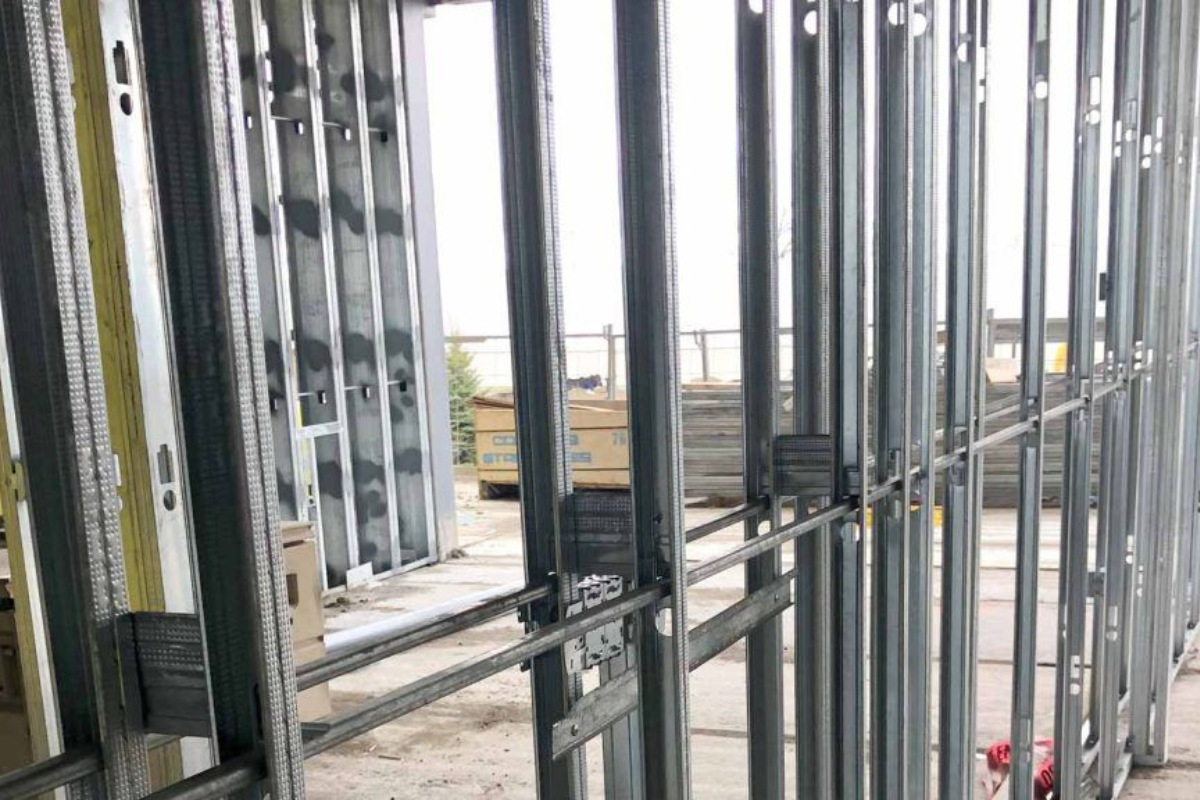
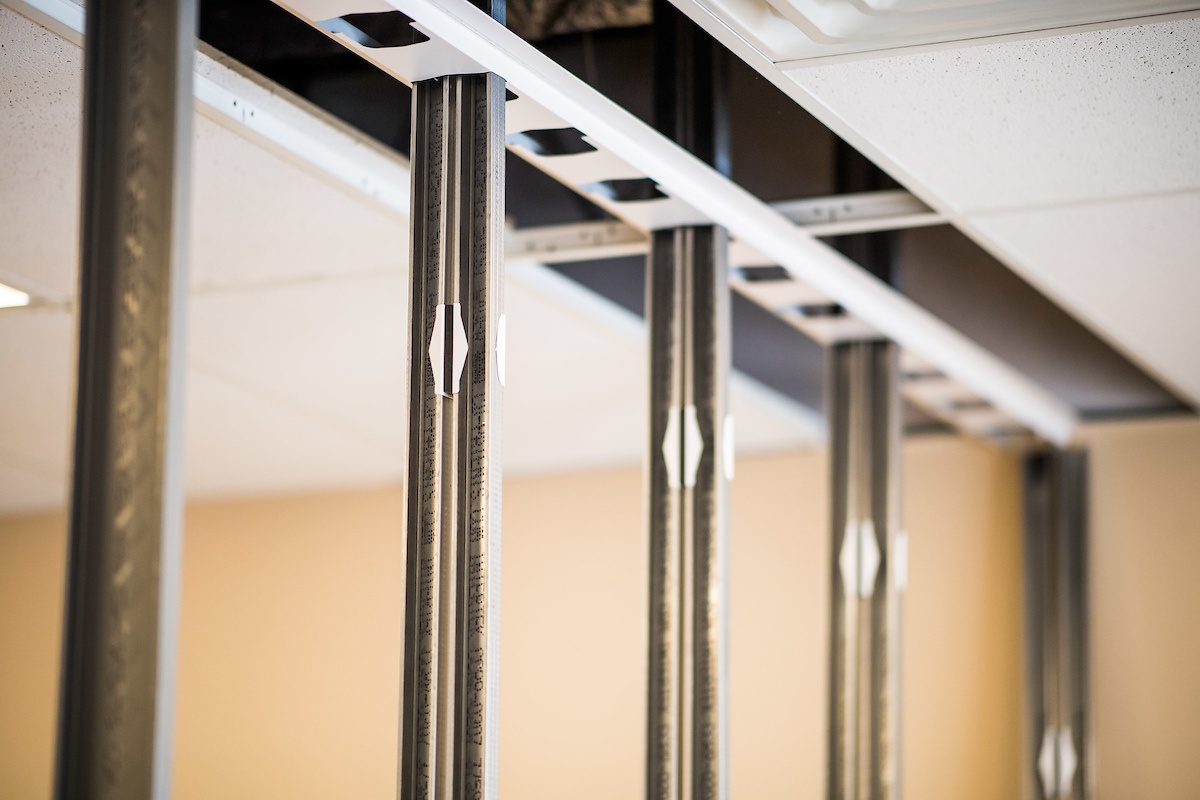
Step 5: Install Bottom and Top Track
With the metal studs prepared, it’s time to install the bottom and top track. The bottom track provides a stable base for the wall, while the top track ensures a secure connection to the ceiling. Follow these steps to install the tracks:
- Measure and mark: Measure the length of the bottom and top tracks based on your wall’s dimensions. Mark these measurements on the tracks using a pencil.
- Position the bottom track: Place the bottom track along the floor, aligning it with the marked layout line. Use a level to ensure it’s straight and adjust as necessary.
- Screw or nail the bottom track: Attach the bottom track to the floor using screws or nails. Space your fasteners approximately every 16 inches along the track.
- Install the top track: Position the top track against the ceiling, aligning it with the corresponding layout line. Use a level to make sure it’s straight and adjust as needed.
- Secure the top track: Secure the top track to the ceiling by screwing or nailing it into place. Again, space your fasteners every 16 inches.
Ensure that both the bottom and top tracks are securely fastened to provide a stable and solid foundation for your metal stud wall. Use a level to check for straightness and make any necessary adjustments during the installation process. Taking the time to properly install the tracks will ensure the stability and longevity of your interior wall.
When framing an interior wall with metal studs, use self-tapping screws to secure the studs to the floor and ceiling tracks. This will provide a strong and secure frame for your wall.
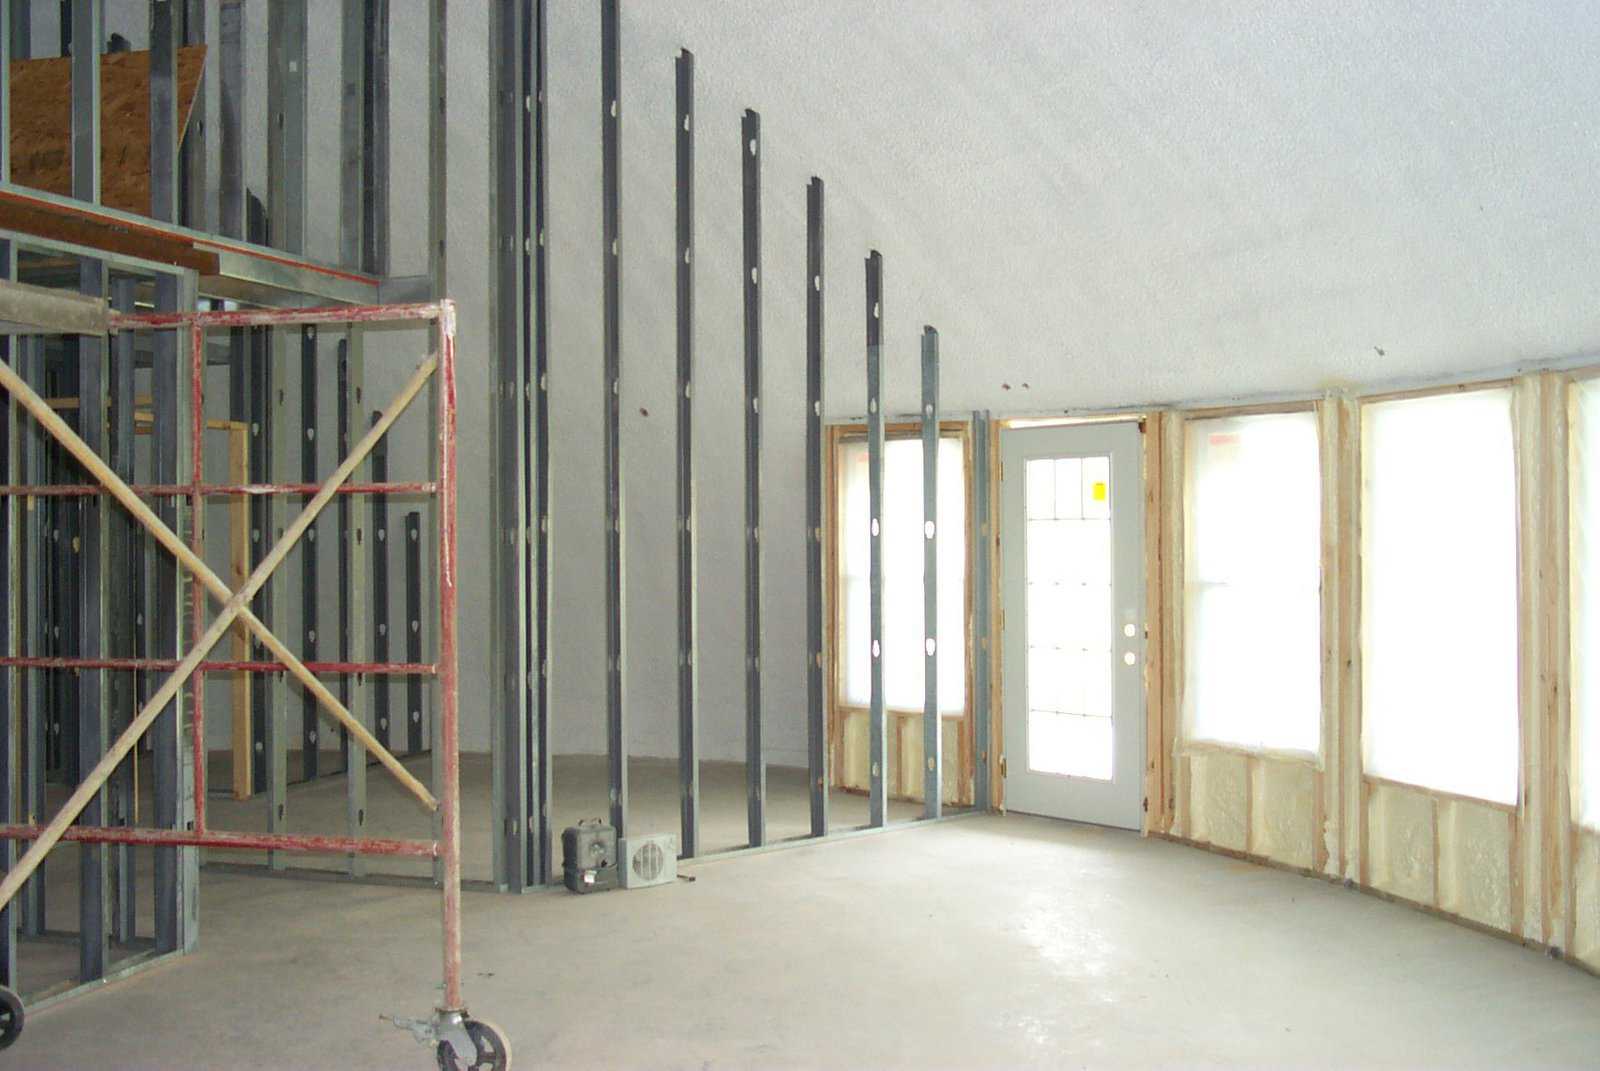
Step 6: Insert Metal Studs
With the bottom and top tracks in place, it’s time to insert the metal studs into the wall frame. Follow these steps to properly insert the metal studs:
- Measure the stud length: Measure the distance between the bottom track and the top track for each stud placement. Subtract 1 ½ inches to account for the height of the tracks.
- Position the stud: Align the metal stud with the marked layout lines on the floor and ceiling.
- Insert the stud: Slide the metal stud into the space between the bottom and top tracks. Make sure it is flush against both tracks.
- Check for plumb and level: Use a level to ensure the metal stud is plumb (vertical) and level (horizontal). Make adjustments as necessary.
- Repeat for each stud: Repeat the process for each metal stud placement along the wall.
It’s crucial to ensure that the metal studs are inserted properly and securely positioned between the bottom and top tracks. Plumb and level each stud to maintain the structural integrity of the wall. Take your time and make any necessary adjustments to ensure a solid and level installation.
Step 7: Secure the Studs
Once the metal studs are inserted into the wall frame, it’s essential to secure them properly to ensure stability and strength. Follow these steps to secure the metal studs:
- Measure and mark: Determine the placement of screws or nails along each metal stud. Space your fasteners approximately every 16 inches.
- Secure the studs to the bottom track: Drive screws or nails through the metal studs into the bottom track at the marked locations.
- Secure the studs to the top track: Drive screws or nails through the metal studs into the top track, ensuring a secure connection.
- Check for stability: Shake the studs gently to ensure they are securely fastened to both tracks. Make any necessary adjustments or add additional fasteners if needed.
Properly securing the metal studs to the tracks is crucial for the stability and strength of your interior wall. Ensure that the fasteners penetrate both the studs and the tracks securely. Double-check your measurements and spacing to ensure a solid and secure installation. Taking the time to secure the studs properly will provide a sturdy framework for your wall.
Read more: What Size Studs For Interior Walls
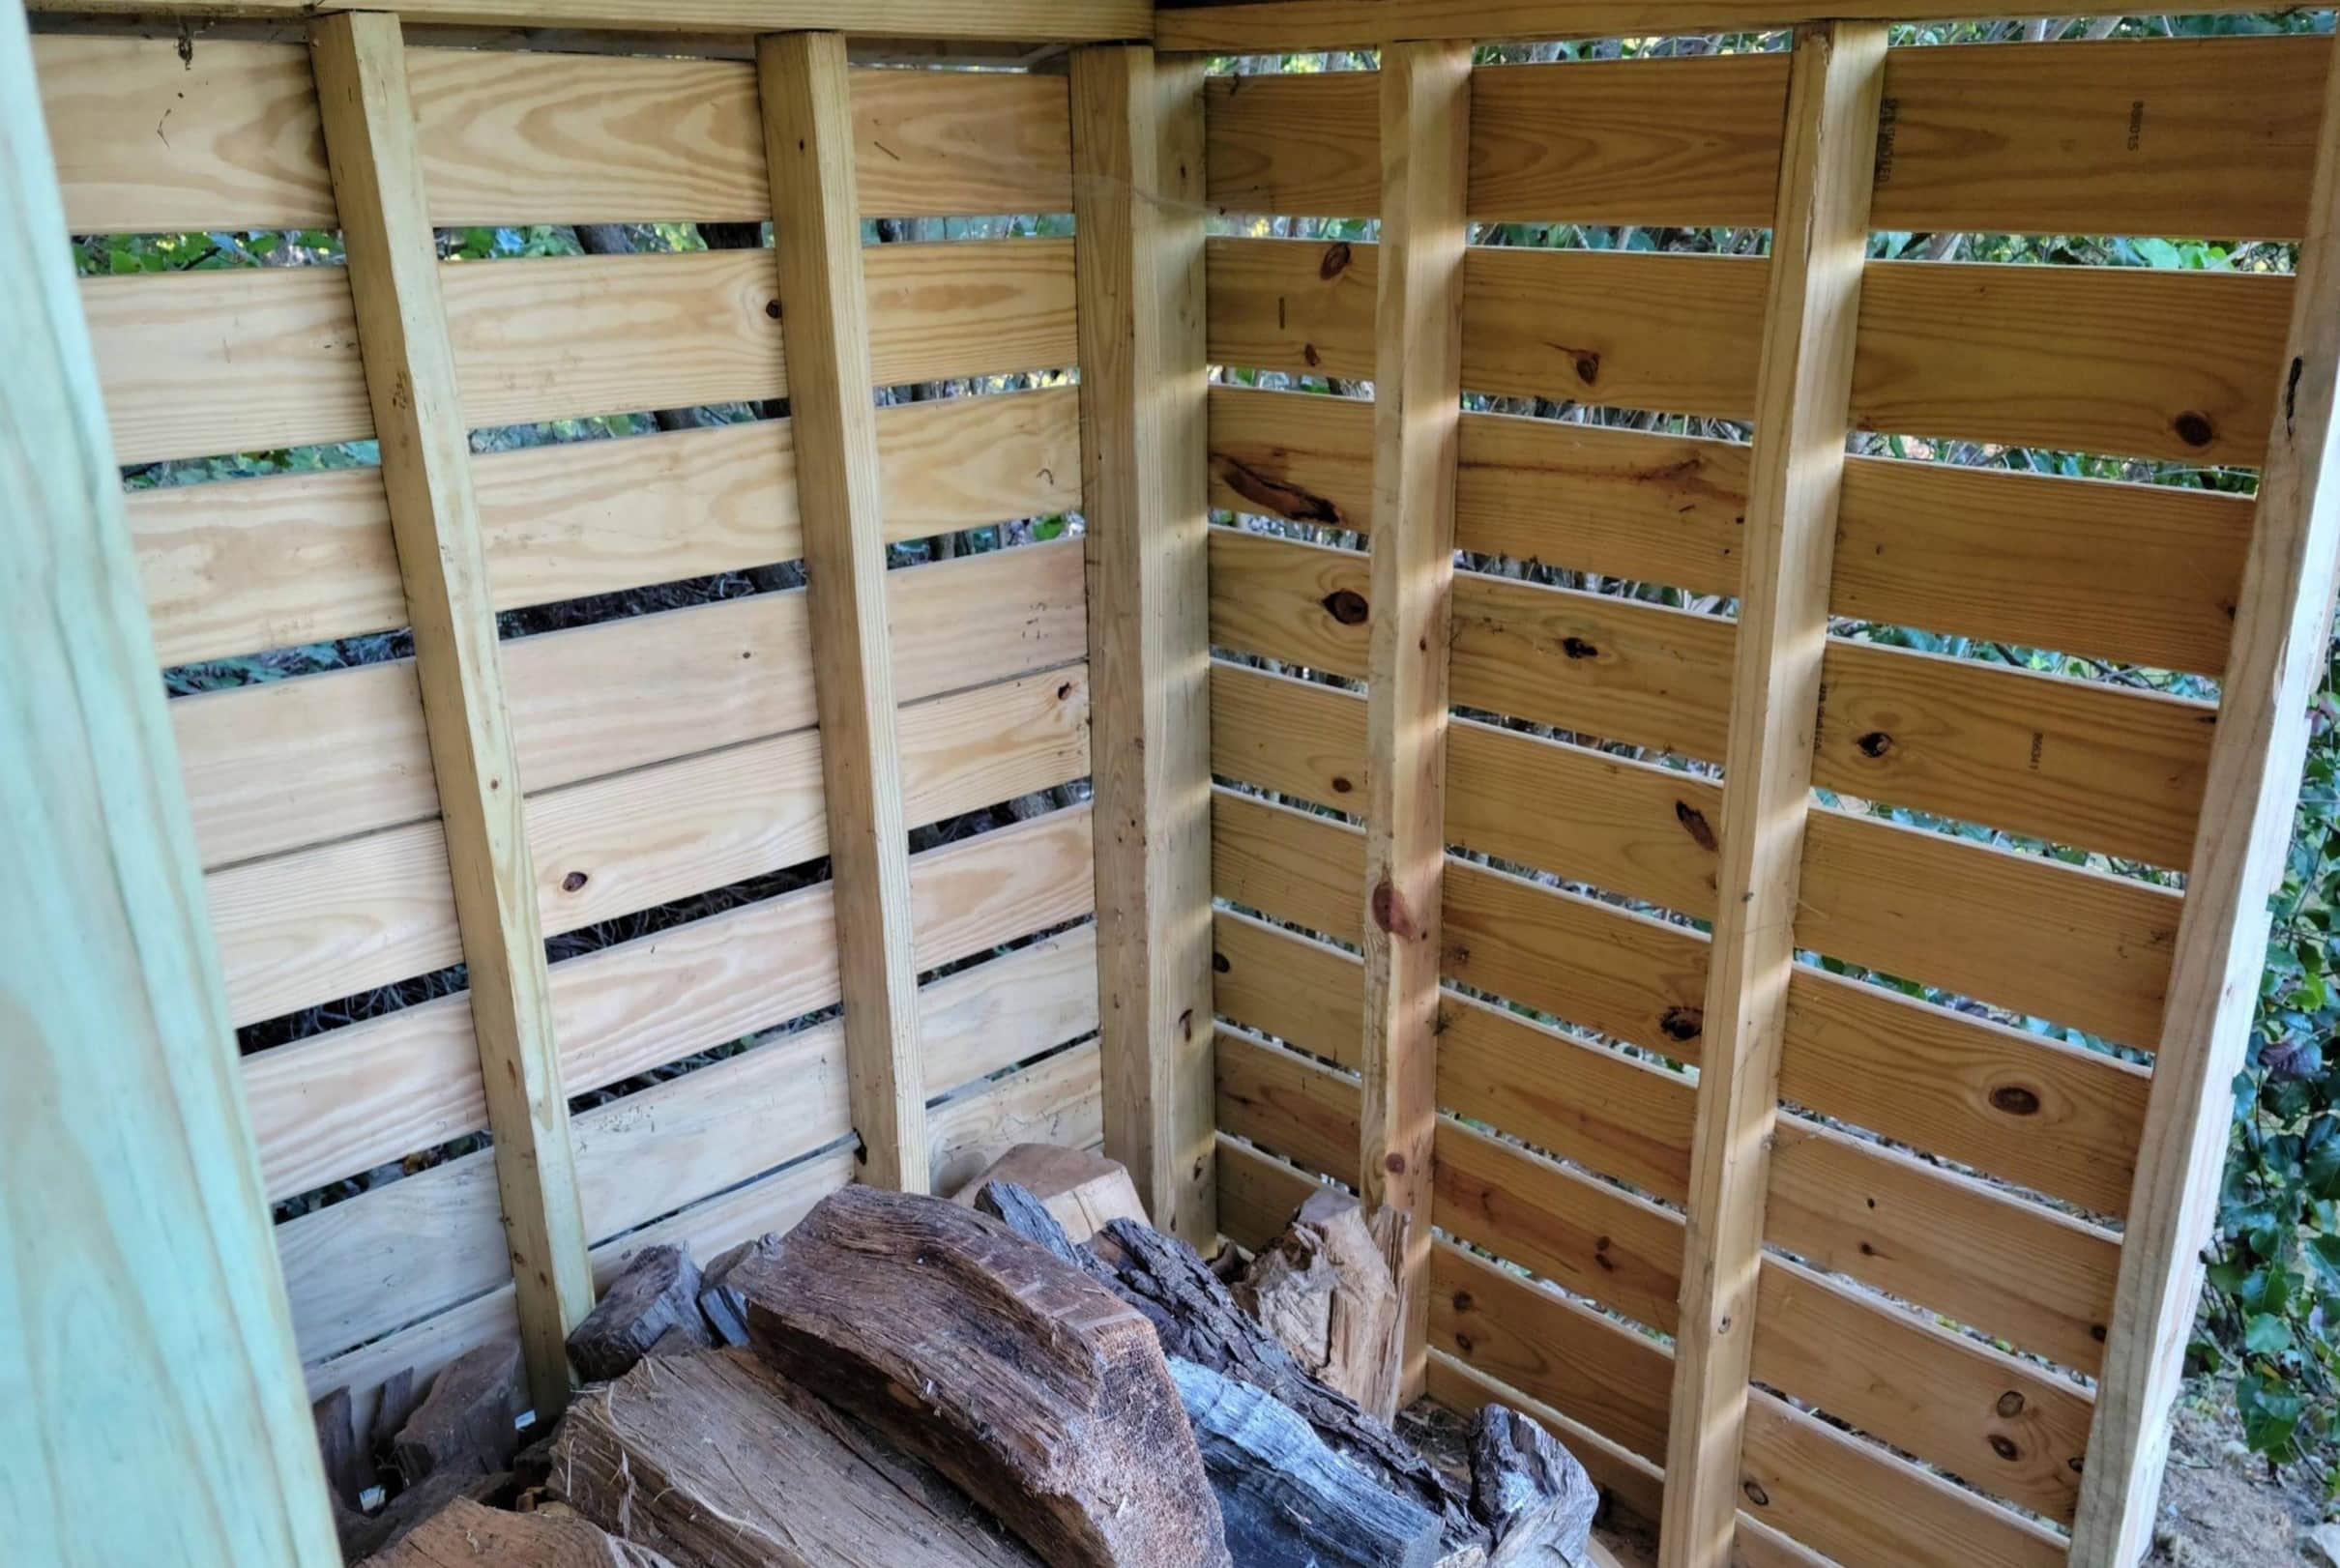
Step 8: Install Blocking
Installing blocking is an essential step in framing an interior wall with metal studs. Blocking refers to additional horizontal pieces of lumber or metal that are installed between the studs to provide additional support and stability. Follow these steps to install blocking:
- Measure and cut blocking: Measure the distance between the metal studs where the blocking will be installed. Cut the blocking material to match the measured length.
- Position the blocking: Place the blocking vertically between the metal studs at the desired height. Make sure it is aligned with the layout lines and flush against the metal studs.
- Secure the blocking: Drive screws or nails through the metal studs into the blocking to secure it in place. Space your fasteners approximately every 16 inches.
- Repeat for additional blocking: Install blocking at any other specified locations along the wall as needed.
Installing blocking enhances the stability and strength of your interior wall by providing additional support. It also creates solid backing for fixtures such as cabinets, towel bars, or shelving that may be installed later. Properly securing the blocking in place ensures a sturdy framework and allows for a reliable installation of additional elements in the future.
Step 9: Install Drywall
With the framing complete, it’s time to install the drywall to cover the metal studs and create a finished surface. Follow these steps to install drywall:
- Measure and cut the drywall: Measure the dimensions of the wall space and transfer those measurements to the drywall sheets. Use a utility knife to score the drywall along the marked lines, and then snap it along the cut line to create separate pieces.
- Position the drywall: Place the first drywall sheet against the wall, starting at one corner. Make sure it’s flush against the studs and centered on the wall.
- Screw or nail the drywall: Use drywall screws or nails to attach the drywall to the metal studs. Space the fasteners approximately every 12 inches along the studs, ensuring that they penetrate the drywall without sinking too deep.
- Continue with additional sheets: Continue installing drywall sheets, making sure to butt the edges together tightly. Stagger the seams between the sheets to create a stronger and more secure installation. Use drywall tape to cover the seams and joint compound to fill in any gaps or indentations.
Installing drywall provides a smooth and even surface for finishing the walls. Make sure the drywall is securely attached to the metal studs to avoid any movement or sagging. Take the time to properly position and fasten each piece, ensuring a high-quality installation.
Step 10: Finish and Paint
Now that the drywall is installed, it’s time to finish the interior wall and give it a polished look. Follow these steps to complete the finishing touches:
- Tape and mud the seams: Apply drywall tape over the joints between the drywall sheets. Then, using a taping knife, apply joint compound (mud) over the tape and smooth it out. Repeat this process for each seam until the joints are smooth and blended.
- Sand the seams: Once the joint compound is dry, use sandpaper or a sanding block to smooth out any rough areas or imperfections. Be careful not to sand too aggressively, as it can damage the drywall surface.
- Apply primer: Before painting, apply a coat of primer to the drywall. This will help the paint adhere better and provide a more even finish.
- Paint the wall: Once the primer is dry, you can paint the interior wall with your desired color. Use a roller or a paintbrush to apply the paint evenly, working from top to bottom. Allow the paint to dry completely between coats.
- Touch up and clean up: After the paint has dried, inspect the wall for any areas that may need touch-ups. Use a small brush to fix any imperfections. Finally, clean up your workspace by removing any remaining debris or protective coverings.
Finishing and painting the interior wall completes the transformation and adds the final aesthetic touch to your space. Take your time with each step, ensuring a smooth and professional-looking finish. Choose paint colors that complement your overall design theme, and enjoy the beauty of your newly framed interior wall.
Conclusion
Framing an interior wall with metal studs is a cost-effective and efficient way to create a sturdy and functional space. By following the step-by-step process outlined in this guide, you can successfully frame an interior wall that provides structural stability and accommodates your design needs.
Starting with gathering the necessary materials and tools, preparing the workspace, and measuring and marking accurately, you can ensure a smooth installation process. Cutting the metal studs to precise lengths and installing the bottom and top tracks establishes a solid foundation for your wall. Inserting the metal studs, securing them properly, and adding blocking further enhance the stability and strength of the structure.
Once the framing is complete, installing drywall and finishing the wall with tape, mud, and paint adds the final touches, transforming the bare metal studs into a polished and professional-looking interior wall.
Remember to prioritize safety throughout the process by using appropriate tools, wearing protective gear, and turning off utilities as needed. Taking your time, double-checking measurements, and making adjustments along the way will result in a successful and satisfying outcome.
Whether you’re a homeowner undertaking a DIY project or a contractor working on a larger construction job, mastering the art of framing an interior wall with metal studs opens up a world of possibilities for transforming and customizing your indoor living spaces.
So, gather your tools, follow the steps outlined in this guide, and enjoy the satisfaction of creating a well-constructed and attractive interior wall using metal studs as your framing material of choice.
Frequently Asked Questions about How To Frame An Interior Wall With Metal Studs
Was this page helpful?
At Storables.com, we guarantee accurate and reliable information. Our content, validated by Expert Board Contributors, is crafted following stringent Editorial Policies. We're committed to providing you with well-researched, expert-backed insights for all your informational needs.

0 thoughts on “How To Frame An Interior Wall With Metal Studs”