
Articles
How To Cut Metal Siding
Modified: December 7, 2023
Learn valuable tips and techniques for cutting metal siding in this comprehensive article. Discover the best tools and methods to achieve a professional finish.
(Many of the links in this article redirect to a specific reviewed product. Your purchase of these products through affiliate links helps to generate commission for Storables.com, at no extra cost. Learn more)
Introduction
When it comes to home improvement projects, cutting metal siding may seem intimidating at first. However, with the right tools, materials, and techniques, it can be a straightforward task that you can easily accomplish. Whether you need to resize metal siding panels for a specific area or make precise cuts for windows or doors, this article will guide you through the process.
In this article, we will discuss the step-by-step instructions for cutting metal siding. We’ll also cover the necessary tools and materials you’ll need for this project, as well as some important safety precautions to keep in mind. By the end of this article, you’ll have the knowledge and confidence to tackle your metal siding cutting project.
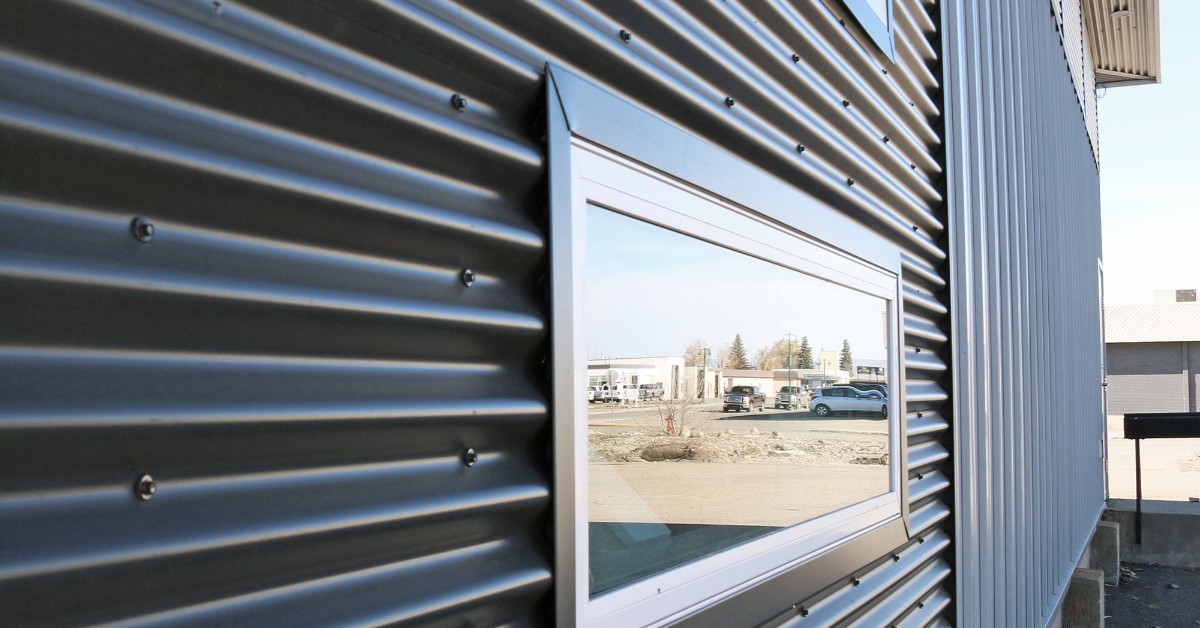
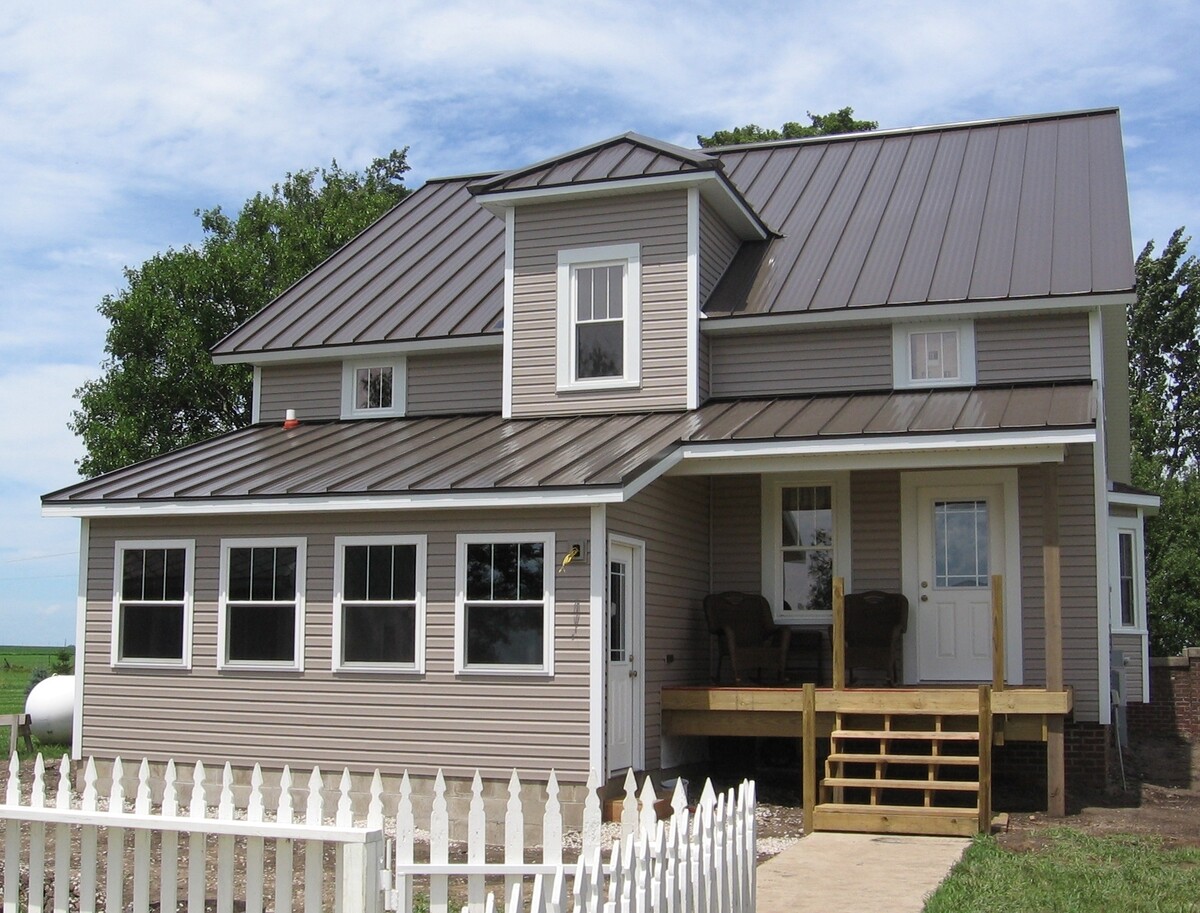
Before we dive into the details, it’s important to note that metal siding refers to panels made from materials like aluminum or steel that are used to cover and protect the exterior walls of a building. Metal siding is durable and resistant to various weather conditions, making it a popular choice for residential and commercial applications.
Now, let’s take a look at the tools and materials you’ll need for cutting metal siding.
Key Takeaways:
- Cutting metal siding is a manageable DIY project with the right tools and safety precautions. From measuring and marking to finishing edges, following step-by-step instructions ensures professional-looking results.
- Prioritizing safety, patience, and maintenance are crucial for successful metal siding cutting. With practice and attention to detail, DIY enthusiasts can confidently tackle future projects with ease.
Read more: What Is Metal Siding
Tools and Materials Needed
Before you begin cutting metal siding, gather the following tools and materials to ensure a smooth and efficient process:
- Measuring tape: Used to accurately measure the dimensions for the cuts.
- Chalk or marker: Used to mark the measurements on the metal siding.
- Circular saw or electric metal shear: These power tools are suitable for cutting through metal siding. The circular saw can be used with a metal-cutting blade, while the electric metal shear is specifically designed for cutting metal.
- Safety goggles: Essential for protecting your eyes from flying debris.
- Ear protection: Metal cutting can be loud, so wearing ear protection is recommended.
- Gloves: Choose gloves that provide a good grip and protect your hands from sharp edges.
- Dust mask or respirator: To protect yourself from inhaling metal dust particles.
- C-clamps or vice grips: These clamps are useful for securing the metal siding while cutting.
- File or grinder: Used to smooth out any rough edges after cutting.
- Safety ladder or scaffolding: If you’re working on elevated areas, ensure you have a stable platform to reach the siding.
- Portable workbench or sawhorses: These provide a stable surface for cutting the metal siding.
By having these tools and materials ready, you’ll be well-prepared to tackle your metal siding cutting project. However, it’s important to prioritize safety during the cutting process. Let’s discuss some necessary safety precautions you should follow.
Safety Precautions
When working with metal siding and power tools, it is crucial to prioritize safety to prevent accidents and injuries. Here are some essential safety precautions to keep in mind:
- Wear protective gear: Always wear safety goggles, ear protection, gloves, and a dust mask or respirator to protect yourself from flying debris, loud noise, sharp edges, and metal dust particles.
- Choose a well-ventilated area: Work in a well-ventilated space to minimize the inhalation of metal dust and fumes. If possible, conduct the cutting process outdoors or in a properly ventilated workspace.
- Secure the metal siding: Use C-clamps or vice grips to securely fasten the metal siding in place. This will prevent it from moving or vibrating during the cutting process.
- Stabilize your working area: Ensure that your ladder or scaffolding is stable and secure before climbing on it.
- Be mindful of electrical cords: Keep electrical cords away from your cutting path to avoid accidental tripping or damage to the cords.
- Follow manufacturer’s guidelines: Read and understand the operating instructions and safety guidelines provided by the manufacturer for your specific tool.
- Take breaks: Metal cutting can be physically demanding, so take regular breaks to prevent fatigue or strain.
- Keep a clean workspace: Remove any clutter, debris, or flammable materials from your work area to minimize the risk of accidents or fires.
- Be cautious of hot surfaces: Metal siding and cutting tools can become hot during use, so exercise caution when handling them.
- Dispose of waste materials properly: After cutting, collect and dispose of metal shavings and scraps in a designated metal waste container.
By following these safety precautions, you can ensure a safe working environment and minimize the risks associated with cutting metal siding. Now that you’re aware of the necessary safety measures, let’s move on to the step-by-step process of cutting metal siding.
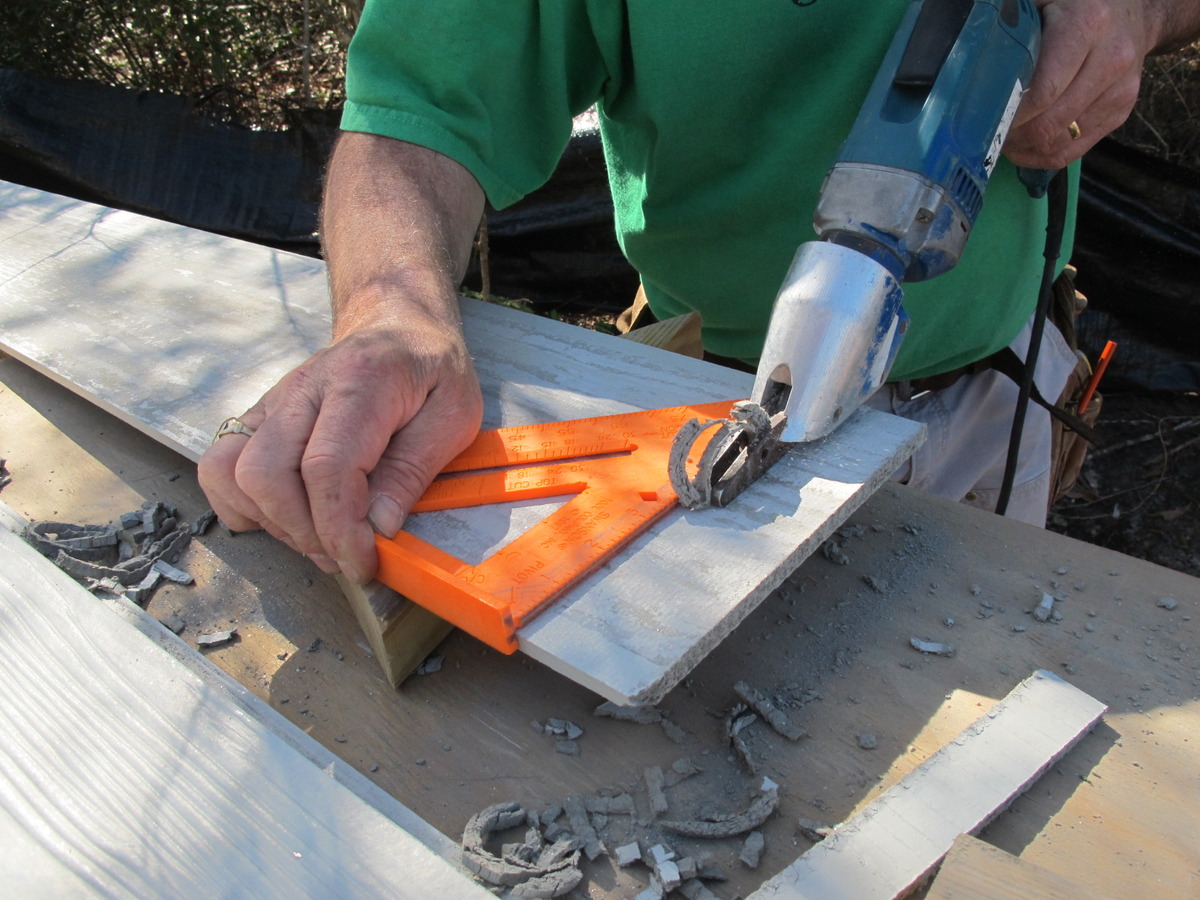
Step 1: Measure and Mark
Before you begin cutting metal siding, it’s essential to measure and mark the area where you want to make the cuts. This will help ensure accurate and precise cuts. Follow these steps:
- Measure the dimensions: Use a measuring tape to measure the length and width of the section of metal siding that needs to be cut.
- Mark the measurements: Use a chalk or marker to mark the measurements directly on the metal siding. Make sure to double-check your measurements to avoid any errors.
- Consider the overlap: If you’re cutting a panel to fit into a specific area, account for any desired overlap. This will help ensure a proper fit and allow for expansion and contraction of the metal siding.
- Mark the cutting path: In addition to marking the overall dimensions, make additional marks to indicate the exact path of the cut. This will help guide you during the cutting process and ensure accuracy.
Take your time with this step to ensure precise measurements and markings. Remember, it’s always better to measure twice and cut once to avoid any costly mistakes. Once you have properly measured and marked the metal siding, you can move on to the next step of preparing the saw.
Step 2: Prepare the Saw
After measuring and marking the metal siding, the next step is to prepare the saw for cutting. Depending on the tools you have available, such as a circular saw or electric metal shear, the preparation process may differ slightly. Follow these guidelines:
- Circular saw: If you’re using a circular saw, ensure that you have a suitable metal-cutting blade. Choose a blade with fine teeth and carbide tips specifically designed for cutting through metal. Follow the manufacturer’s instructions to securely attach the blade to the saw.
- Electric metal shear: If you’re using an electric metal shear, refer to the manufacturer’s instructions for proper setup and operation. Check the condition of the blades and make sure they are clean and sharp.
In addition to blade preparation, consider the depth of cut required. Adjust the blade depth on the circular saw or adjust the blade guard on the electric metal shear accordingly to allow for a clean and efficient cut through the metal siding.
Before you begin cutting, it’s also a good idea to have a spare blade or extra set of blades handy. This ensures that you can quickly replace a worn or damaged blade during the cutting process if needed.
With your saw properly set up and ready, you can now move on to making the initial cut in the metal siding.
When cutting metal siding, use a circular saw with a carbide-tipped blade to ensure clean and precise cuts. Be sure to wear safety goggles and gloves to protect yourself from any metal shavings.
Read more: How To Patch Metal Siding
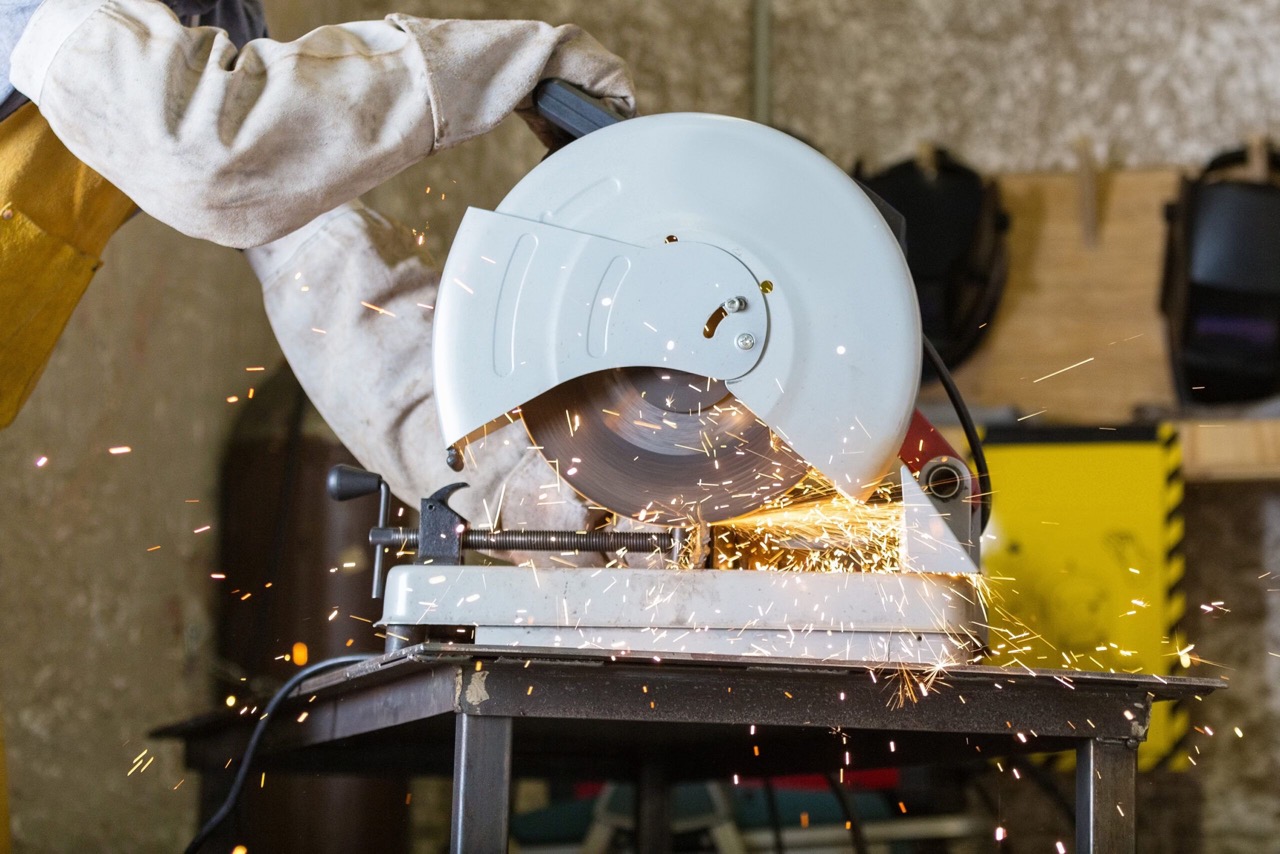
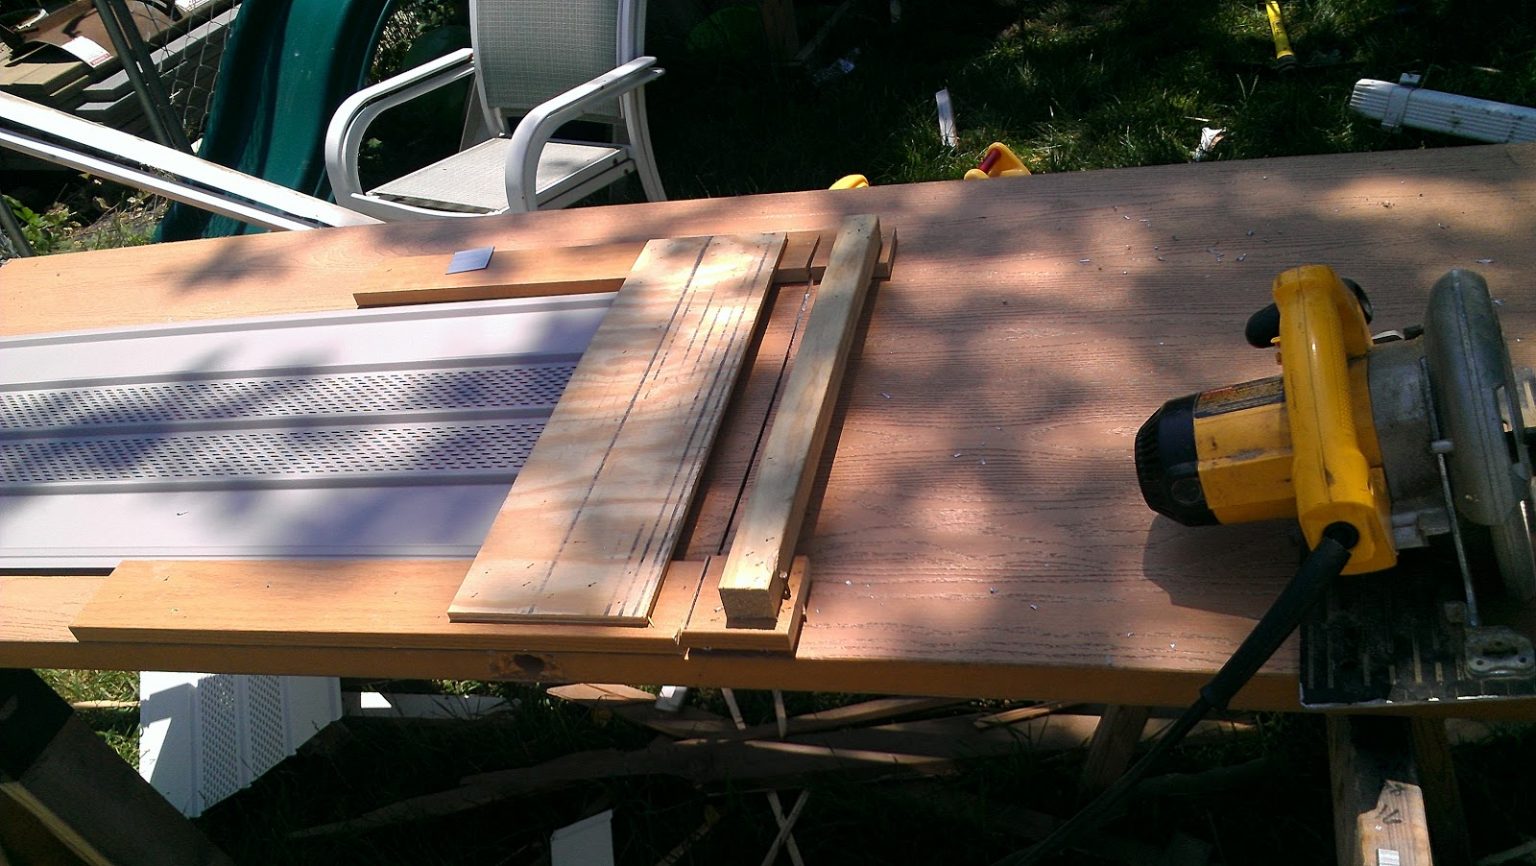
Step 3: Make the Initial Cut
Now that you’ve prepared the saw, it’s time to make the initial cut in the metal siding. This step will be the starting point for your precise cutting process. Follow these steps:
- Secure the metal siding: Use C-clamps or vice grips to secure the metal siding in place. Make sure it is firmly held to prevent any movement during the cutting process.
- Position the saw: Hold the circular saw or electric metal shear with a firm grip. Place the blade or shear jaws at the starting point of the marked cutting path.
- Start the saw: If you’re using a circular saw, gently press the trigger to start the blade. If you’re using an electric metal shear, follow the manufacturer’s instructions to activate the shear blades.
- Maintain a steady cutting pace: Slowly guide the saw along the marked cutting path, applying steady and even pressure. Let the saw do the work and avoid forcing it through the metal siding. Take your time and maintain control of the saw throughout the cut.
- Continue the initial cut: Cut along the marked cutting path until you reach the end point. Ensure that the saw blade or shear jaws remain on the marked line.
During this process, sparks and metal debris may be generated, so it’s crucial to wear safety goggles and a dust mask or respirator to protect your eyes and lungs.
Once you’ve completed the initial cut, it’s time to move on to the next step of continuing the cutting process along the desired path.
Step 4: Continue Cutting
After making the initial cut in the metal siding, it’s time to continue cutting along the desired path. This step will involve carefully guiding the saw to ensure clean and precise cuts. Follow these steps:
- Reposition the saw: Once you have completed the initial cut, reposition the saw at the starting point of the next section you want to cut.
- Align the blade: Ensure that the saw blade or shear jaws are aligned with the cutting path. It’s important to maintain accuracy and avoid deviating from the marked line.
- Continue cutting: Slowly guide the saw along the marked cutting path, following the same technique as you did for the initial cut. Apply steady pressure and maintain control as the saw cuts through the metal siding.
- Repeat as necessary: Repeat the process of repositioning the saw and continuing the cutting until you have completed the desired cuts.
It’s important to take your time and be patient while cutting the metal siding. Rushing may result in inaccurate cuts or damage to the material. Remember to wear your safety gear, including goggles and a dust mask or respirator, to protect yourself from debris and metal dust particles.
Once you have finished making all the necessary cuts, it’s time to move on to the next step of trimming and finishing the edges.
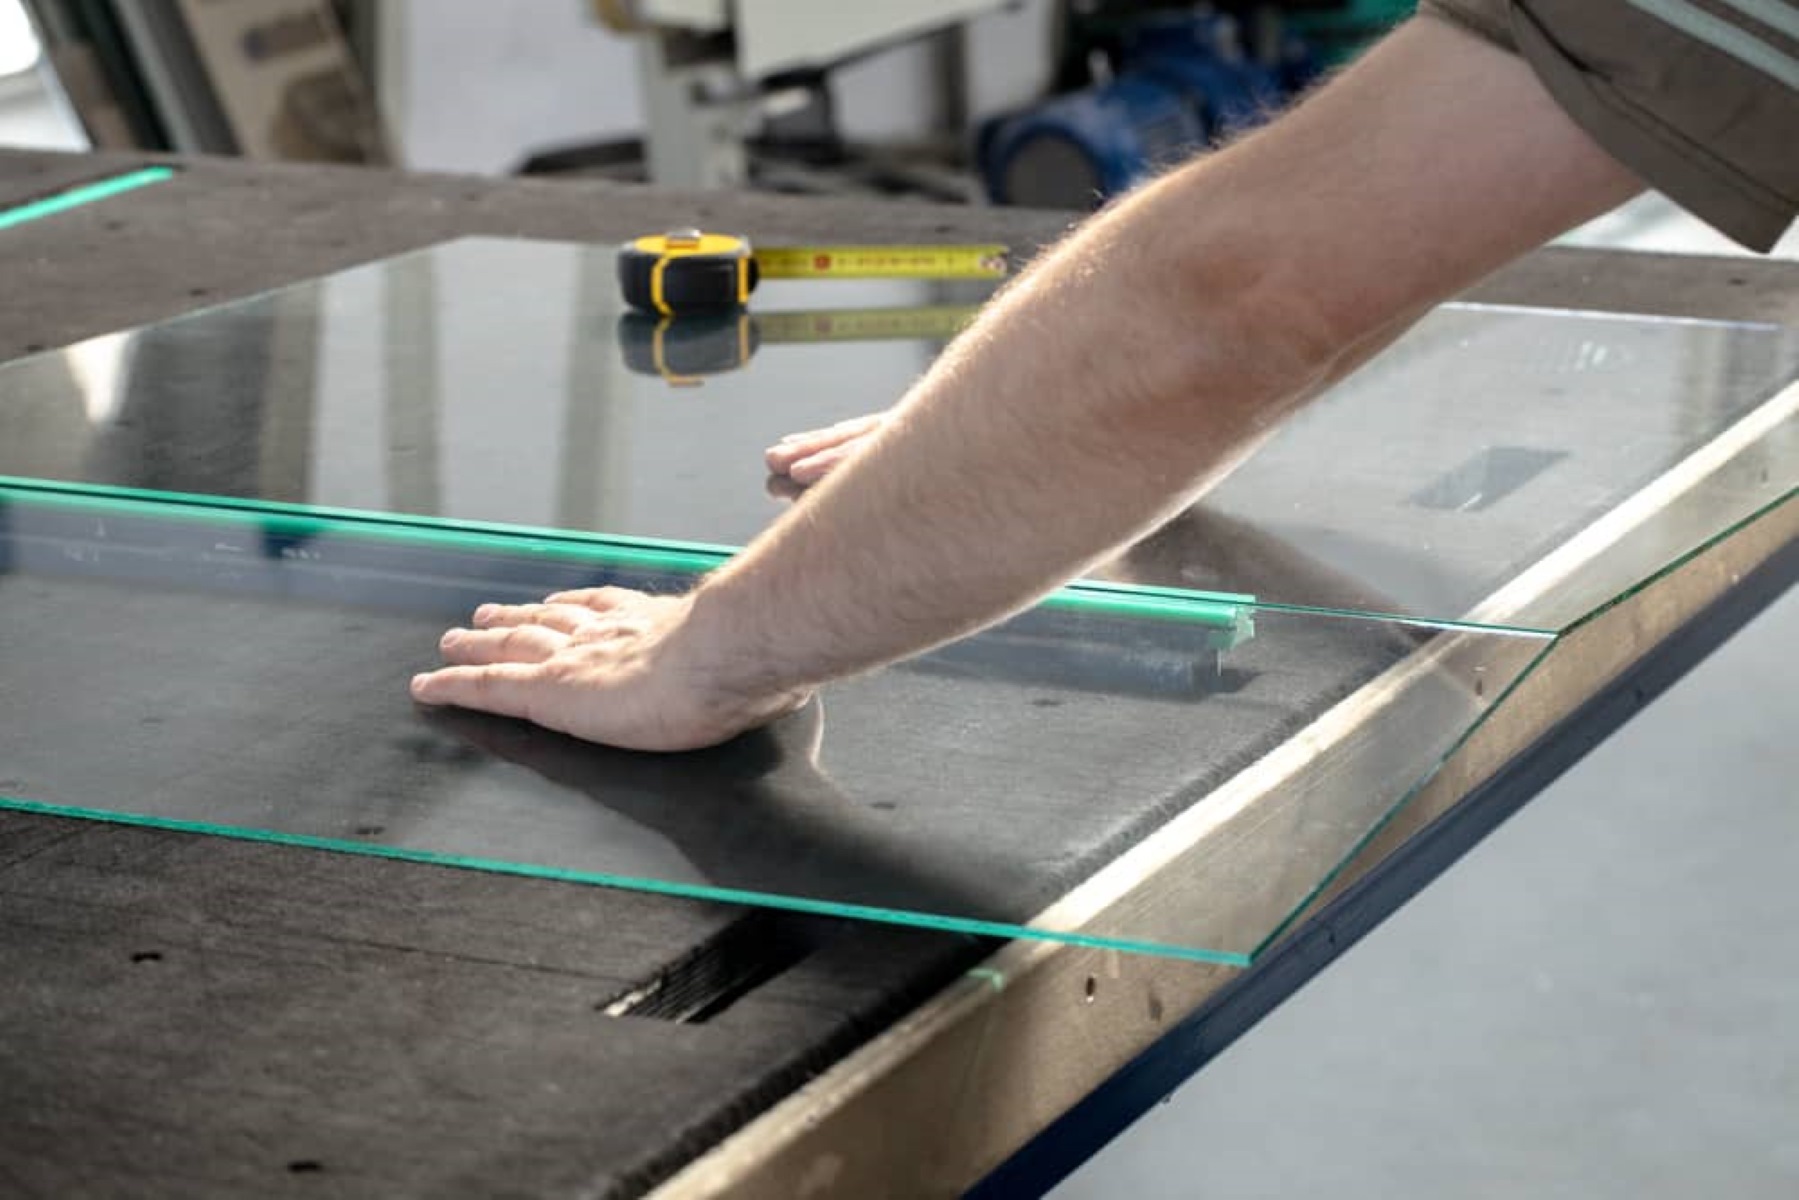
Step 5: Trim and Finish the Edges
After completing the cuts in the metal siding, it’s important to trim and finish the edges to ensure a clean and professional-looking result. This step will give your project a polished appearance. Follow these steps:
- Inspect the edges: Carefully examine the cut edges of the metal siding. Look for any rough or jagged areas that need to be trimmed or smoothed out.
- Trim the edges: Use a file or grinder to trim any uneven or protruding edges of the metal siding. Work in small, controlled motions to gradually remove the excess material and create a smooth edge. Be mindful of your safety by wearing gloves and eye protection during this step.
- Smooth the edges: Once you have trimmed the edges, use the file or grinder to smooth out any rough areas. This will help prevent any potential injuries and give the edges a professional finish.
- Remove metal shavings: After trimming and smoothing the edges, clean off any metal shavings or debris from the cut areas. Use a brush or damp cloth to wipe away the particles.
By trimming and finishing the edges, you ensure that the metal siding fits seamlessly and enhances the overall look of your project. Take your time during this step to achieve the desired results.
Now that you’ve completed the trimming and finishing process, it’s time to move on to the final step of cleaning up and performing maintenance tasks.
Step 6: Clean up and Maintenance
After successfully cutting and finishing the metal siding, it’s important to clean up the work area and perform maintenance tasks to ensure the longevity of your project. Follow these steps:
- Clean up metal shavings: Carefully collect and dispose of any metal shavings or debris left behind from the cutting process. Use a magnet or a broom to gather the shavings for proper disposal. This helps prevent accidents and keeps your work area clean.
- Inspect the cuts: Take a close look at the finished cuts and ensure they meet your expectations. Check for any imperfections or rough edges that may need further trimming or filing.
- Apply touch-up paint: If necessary, use touch-up paint that matches the color of the metal siding to cover any exposed surfaces or scratches caused during the cutting process. This ensures a seamless appearance and protects against corrosion.
- Maintain the cut edges: Regularly inspect the cut edges of the metal siding for signs of rust or corrosion. If any are detected, carefully remove the affected area and apply a rust-resistant coating to prevent further deterioration.
- Perform routine maintenance: Incorporate the metal siding into your regular home maintenance routine. Clean the siding with mild soap and water, and inspect it for any signs of damage or wear. Promptly address any issues to maintain the integrity of your metal siding.
By cleaning up the work area and performing regular maintenance, you can prolong the lifespan of your metal siding and ensure its continued beauty and functionality.
With the completion of these steps, you have successfully learned how to cut and maintain metal siding. Congratulations on your accomplishment!
Remember, practice and patience are key to mastering any DIY project. Always prioritize safety and consult professional assistance if needed. Now you can confidently tackle future metal siding cutting projects with ease.
Read more: How To Cut A Metal Bed Frame
Conclusion
Cutting metal siding may seem like a daunting task, but with the right tools, materials, and techniques, it can be a manageable project for any DIY enthusiast. By following the step-by-step instructions outlined in this article, you have gained the knowledge and confidence to successfully cut metal siding and achieve professional-looking results.
Throughout the process, we highlighted the importance of safety precautions to protect yourself from potential hazards. Wearing protective gear, securing the metal siding, and working in well-ventilated areas are crucial steps to ensure your safety.
We also discussed the necessary tools and materials needed for the project, including measuring tape, marking tools, a circular saw or electric metal shear, safety goggles, and gloves, among others. Having these items readily available will help streamline the cutting process.
From measuring and marking the metal siding to making the initial cut and continuing along the desired path, each step plays a vital role in achieving accurate and precise cuts. Taking the time to trim and finish the edges, as well as properly cleaning up and maintaining the metal siding, further contributes to a polished and long-lasting project.
By following these guidelines, you can confidently tackle future metal siding cutting projects, whether it’s resizing panels or accommodating windows and doors. Remember to prioritize safety, take your time, and be meticulous in your measurements and cuts.
Now it’s time to put your newfound knowledge into practice and enjoy the satisfaction of a successfully cut and installed metal siding. Happy cutting!
Frequently Asked Questions about How To Cut Metal Siding
Was this page helpful?
At Storables.com, we guarantee accurate and reliable information. Our content, validated by Expert Board Contributors, is crafted following stringent Editorial Policies. We're committed to providing you with well-researched, expert-backed insights for all your informational needs.


0 thoughts on “How To Cut Metal Siding”