Home>Home Security and Surveillance>How To Hide A Trail Camera For Home Security
Home Security and Surveillance
How To Hide A Trail Camera For Home Security
Modified: October 20, 2024
Learn how to effectively hide your trail camera for home security and surveillance. Protect your property and stay one step ahead of intruders with these expert tips.
(Many of the links in this article redirect to a specific reviewed product. Your purchase of these products through affiliate links helps to generate commission for Storables.com, at no extra cost. Learn more)
Introduction
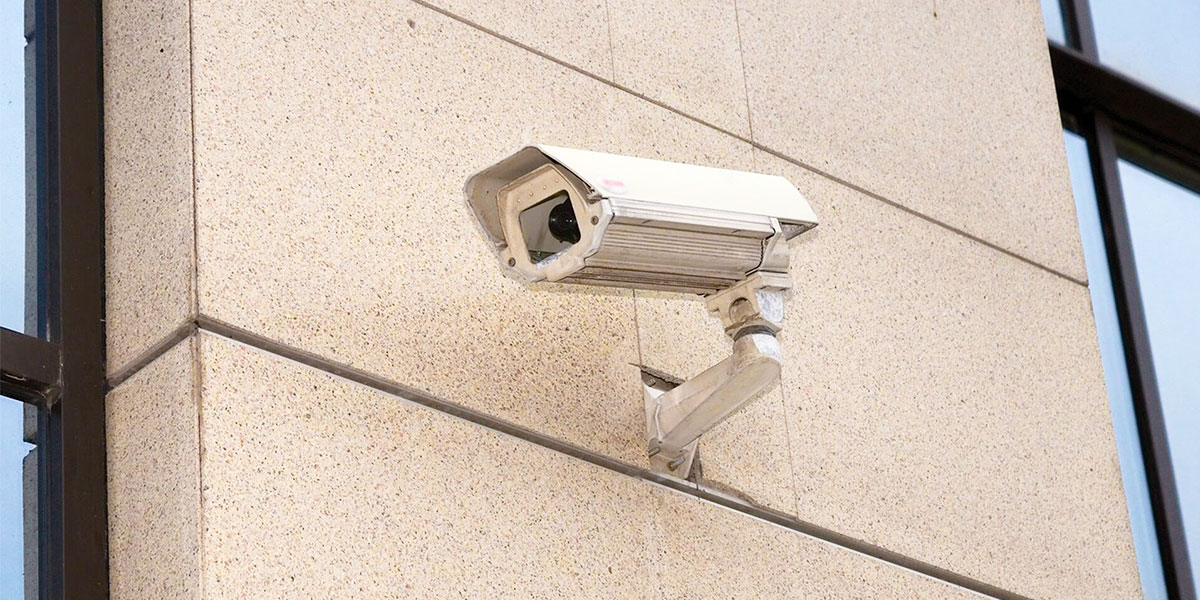
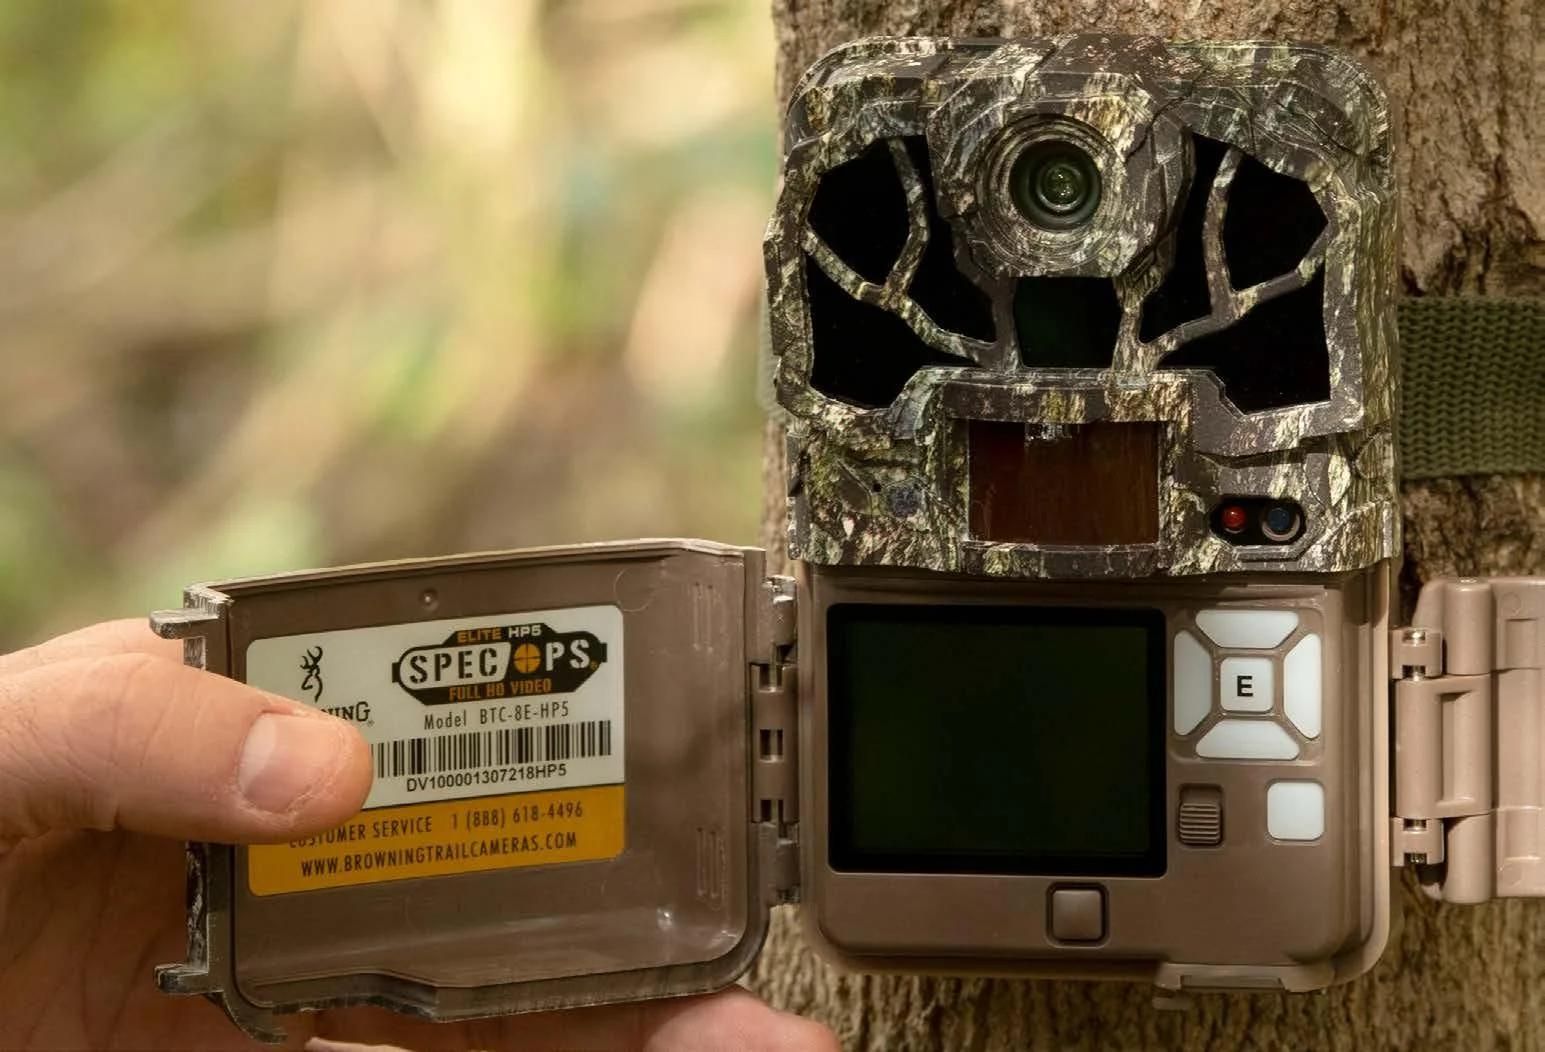
Welcome to the world of home security and surveillance! In today’s fast-paced and interconnected world, ensuring the safety of our homes and loved ones has become paramount. One tool that has gained significant popularity in recent years is the trail camera. Originally designed for wildlife observation, trail cameras have found their way into the realm of home security. With their motion detection capabilities and high-resolution imaging, these cameras offer a reliable and effective means of monitoring your property.
However, one challenge that many homeowners face is how to effectively hide the trail camera to maintain its effectiveness as a surveillance tool. In this article, we will explore some factors to consider when hiding a trail camera for home security, as well as provide you with some practical techniques and commercial products to help you conceal your camera effectively.
Before delving into the actual processes of hiding a trail camera, it’s important to consider a few key factors. First and foremost, you need to assess the layout of your property and identify the areas that require surveillance. This will help you determine the number of cameras needed and the best locations for hiding them.
Next, think about the purpose of your surveillance. Are you primarily interested in monitoring the perimeter of your property, or do you need to cover specific areas such as the entrance, backyard, or driveway? Understanding your surveillance goals will guide you in selecting the most strategic locations for positioning your trail camera.
Another important factor to consider is the weather conditions in your area. Trail cameras are designed to withstand various weather elements, but excessive exposure to rain, snow, or extreme temperatures can affect their performance and longevity. Ensuring the camera is adequately protected from the elements is crucial for its effectiveness and durability.
The final factor to consider before hiding your trail camera is the power source. Depending on the camera model you choose, it may require batteries or a direct power supply. Understanding the power requirements of your camera will help you determine the best locations and techniques for hiding it.
Now that we’ve addressed some important considerations, let’s dive into the exciting part – hiding your trail camera for optimal home security. In the next sections, we will explore both do-it-yourself techniques and commercial products that can help you effectively conceal your trail camera.
Key Takeaways:
- Choose strategic locations and conceal your trail camera effectively to maximize home security. Consider factors like coverage area, lighting, and environmental conditions for optimal placement.
- Maintain your hidden trail camera by regularly checking, protecting from weather, adjusting settings, and securing the camera. Respect privacy and laws while enhancing home security.
Read more: How To Hide From Security Cameras
Factors to Consider Before Hiding a Trail Camera
When it comes to hiding a trail camera for home security, there are several important factors to consider. By taking these factors into account, you can ensure that your camera remains undetectable while capturing high-quality footage of any suspicious activity. Let’s explore these factors in more detail.
1. Coverage Area: Before hiding your trail camera, determine the specific areas you want to monitor. This could include entrances, driveways, backyards, or any vulnerable spots around your property. Understanding your coverage area will help you determine the number of cameras you need and their optimal placement.
2. Camera Placement: The placement of your trail camera is crucial for maximizing its surveillance capabilities. Consider the camera’s field of view and angle of coverage. Choose locations that provide a wide and unobstructed view of the targeted areas, while also blending the camera with its surroundings for better concealment.
3. Lighting Conditions: Assess the lighting conditions in the areas where you plan to hide the camera. Ideally, you want to position the camera in areas with moderate lighting, as extreme brightness or darkness can impact the quality of the footage. Avoid pointing the camera directly at strong light sources to prevent washed-out or unclear images.
4. Environmental Factors: Take into account the environmental factors that can affect the performance of your trail camera. Consider the temperature range, humidity levels, and exposure to rain or snow in your area. Ensure that the camera is protected from these elements to prevent damage and ensure its functionality over time.
5. Power Supply: Depending on the type of camera you have, you will need to consider the power supply. Some trail cameras operate on batteries, while others can be connected to a direct power source. Decide which option works best for you and make the necessary arrangements to ensure the camera remains powered for extended periods of time.
6. Privacy Concerns: Before placing your trail camera, be mindful of the privacy of your neighbors or any legal restrictions that may apply. Ensure that the camera’s field of view does not invade their privacy. It’s always a good idea to familiarize yourself with local laws and regulations regarding surveillance cameras to avoid any legal complications.
7. Security and Tampering: Consider the potential risk of theft or tampering. Select hiding spots that are not easily accessible or noticeable to potential intruders. If possible, use additional security measures such as locking mechanisms or camouflage to further protect your camera from unauthorized access.
By taking these factors into consideration, you can strategically position and conceal your trail camera to achieve maximum surveillance coverage and maintain its effectiveness as a home security tool. In the next sections, we’ll explore various techniques and products to help you effectively hide your trail camera.
Choosing the Best Locations for Hiding a Trail Camera
Choosing the best locations for hiding a trail camera is essential for maximizing its effectiveness in capturing valuable surveillance footage. By strategically selecting the right spots, you can ensure that your camera remains undetectable while monitoring critical areas around your property. Here are some tips to help you choose the ideal hiding spots for your trail camera:
1. Points of Entry: Start by identifying the main points of entry to your property. These could include entrances, gates, windows, or any other areas where intruders are likely to access your property. Placing your trail camera near these points can help you capture any suspicious activity right from the start.
2. High Traffic Areas: Consider placing your trail camera in areas with high foot traffic or vehicle movement. This could include driveways, main pathways, or common areas where people usually gather. By positioning the camera in these locations, you increase the chances of capturing important footage if any unauthorized individuals enter your property.
3. Blind Spots: Identify any blind spots or hidden corners around your property that are not clearly visible from the main vantage points. These areas provide potential hiding spots for criminals or trespassers, making them ideal locations for placing your trail camera. Ensure that the camera has a clear line of sight to capture any activity in these hidden spots.
4. Vulnerable Areas: Assess your property for any vulnerable areas that are prone to break-ins or theft. This could include backyards, storage sheds, garages, or any other valuable assets that need surveillance. Position your trail camera strategically to cover these vulnerable areas and deter potential intruders.
5. Natural Coverings: Utilize the natural elements in your surroundings to conceal your trail camera. Trees, bushes, rocks, or any other natural features can provide effective cover for hiding your camera. Ensure that the camera is securely fastened and blends in seamlessly with its environment to avoid arousing suspicion.
6. Height and Angles: Consider the height and angles at which you position your trail camera. Higher placements can provide a broader field of view and reduce the risk of tampering. Angling the camera downwards can capture the faces of potential intruders more effectively. However, be cautious not to compromise image quality or detection range by angling the camera too low.
7. Multiple Angles: For comprehensive surveillance coverage, consider using multiple trail cameras from different angles. This will provide a more complete picture of any suspicious activity and increase the chances of capturing crucial details. Coordinate the angles and positions of the cameras to eliminate blind spots and ensure overlapping coverage.
By carefully selecting the best locations for hiding your trail camera, you can enhance your home security and surveillance efforts. In the next sections, we will explore various do-it-yourself techniques and commercial products that can help you effectively conceal your trail camera.
DIY Techniques for Concealing a Trail Camera
Concealing your trail camera effectively is key to maintaining its covert surveillance capabilities. While there are commercial products available for this purpose, you can also use simple and cost-effective DIY techniques to hide your camera. These methods allow you to blend your trail camera seamlessly into the environment while maintaining its effectiveness. Here are some DIY techniques for concealing a trail camera:
1. Camouflage Wraps: Use camouflage wraps or skins specifically designed for trail cameras. These wraps come in various patterns and colors to mimic the surrounding environment, such as leaves, bark, or grass. Simply wrap the camera in the camouflage material to make it blend in seamlessly with its surroundings.
2. Natural Covers: Utilize natural elements from your surroundings to conceal the trail camera. Attach natural materials, such as leaves, branches, or moss, to the camera using wire or adhesive. Make sure the materials match the environment to create a natural camouflage effect.
3. PVC Pipe Housing: Create a DIY housing using PVC pipe to disguise your trail camera. Cut a PVC pipe to the desired length and diameter to fit your camera. Paint the pipe in colors that match the surrounding area. Leave an opening for the camera lens and mount it securely inside the pipe. This will help the camera to blend in with the environment and protect it from weather elements.
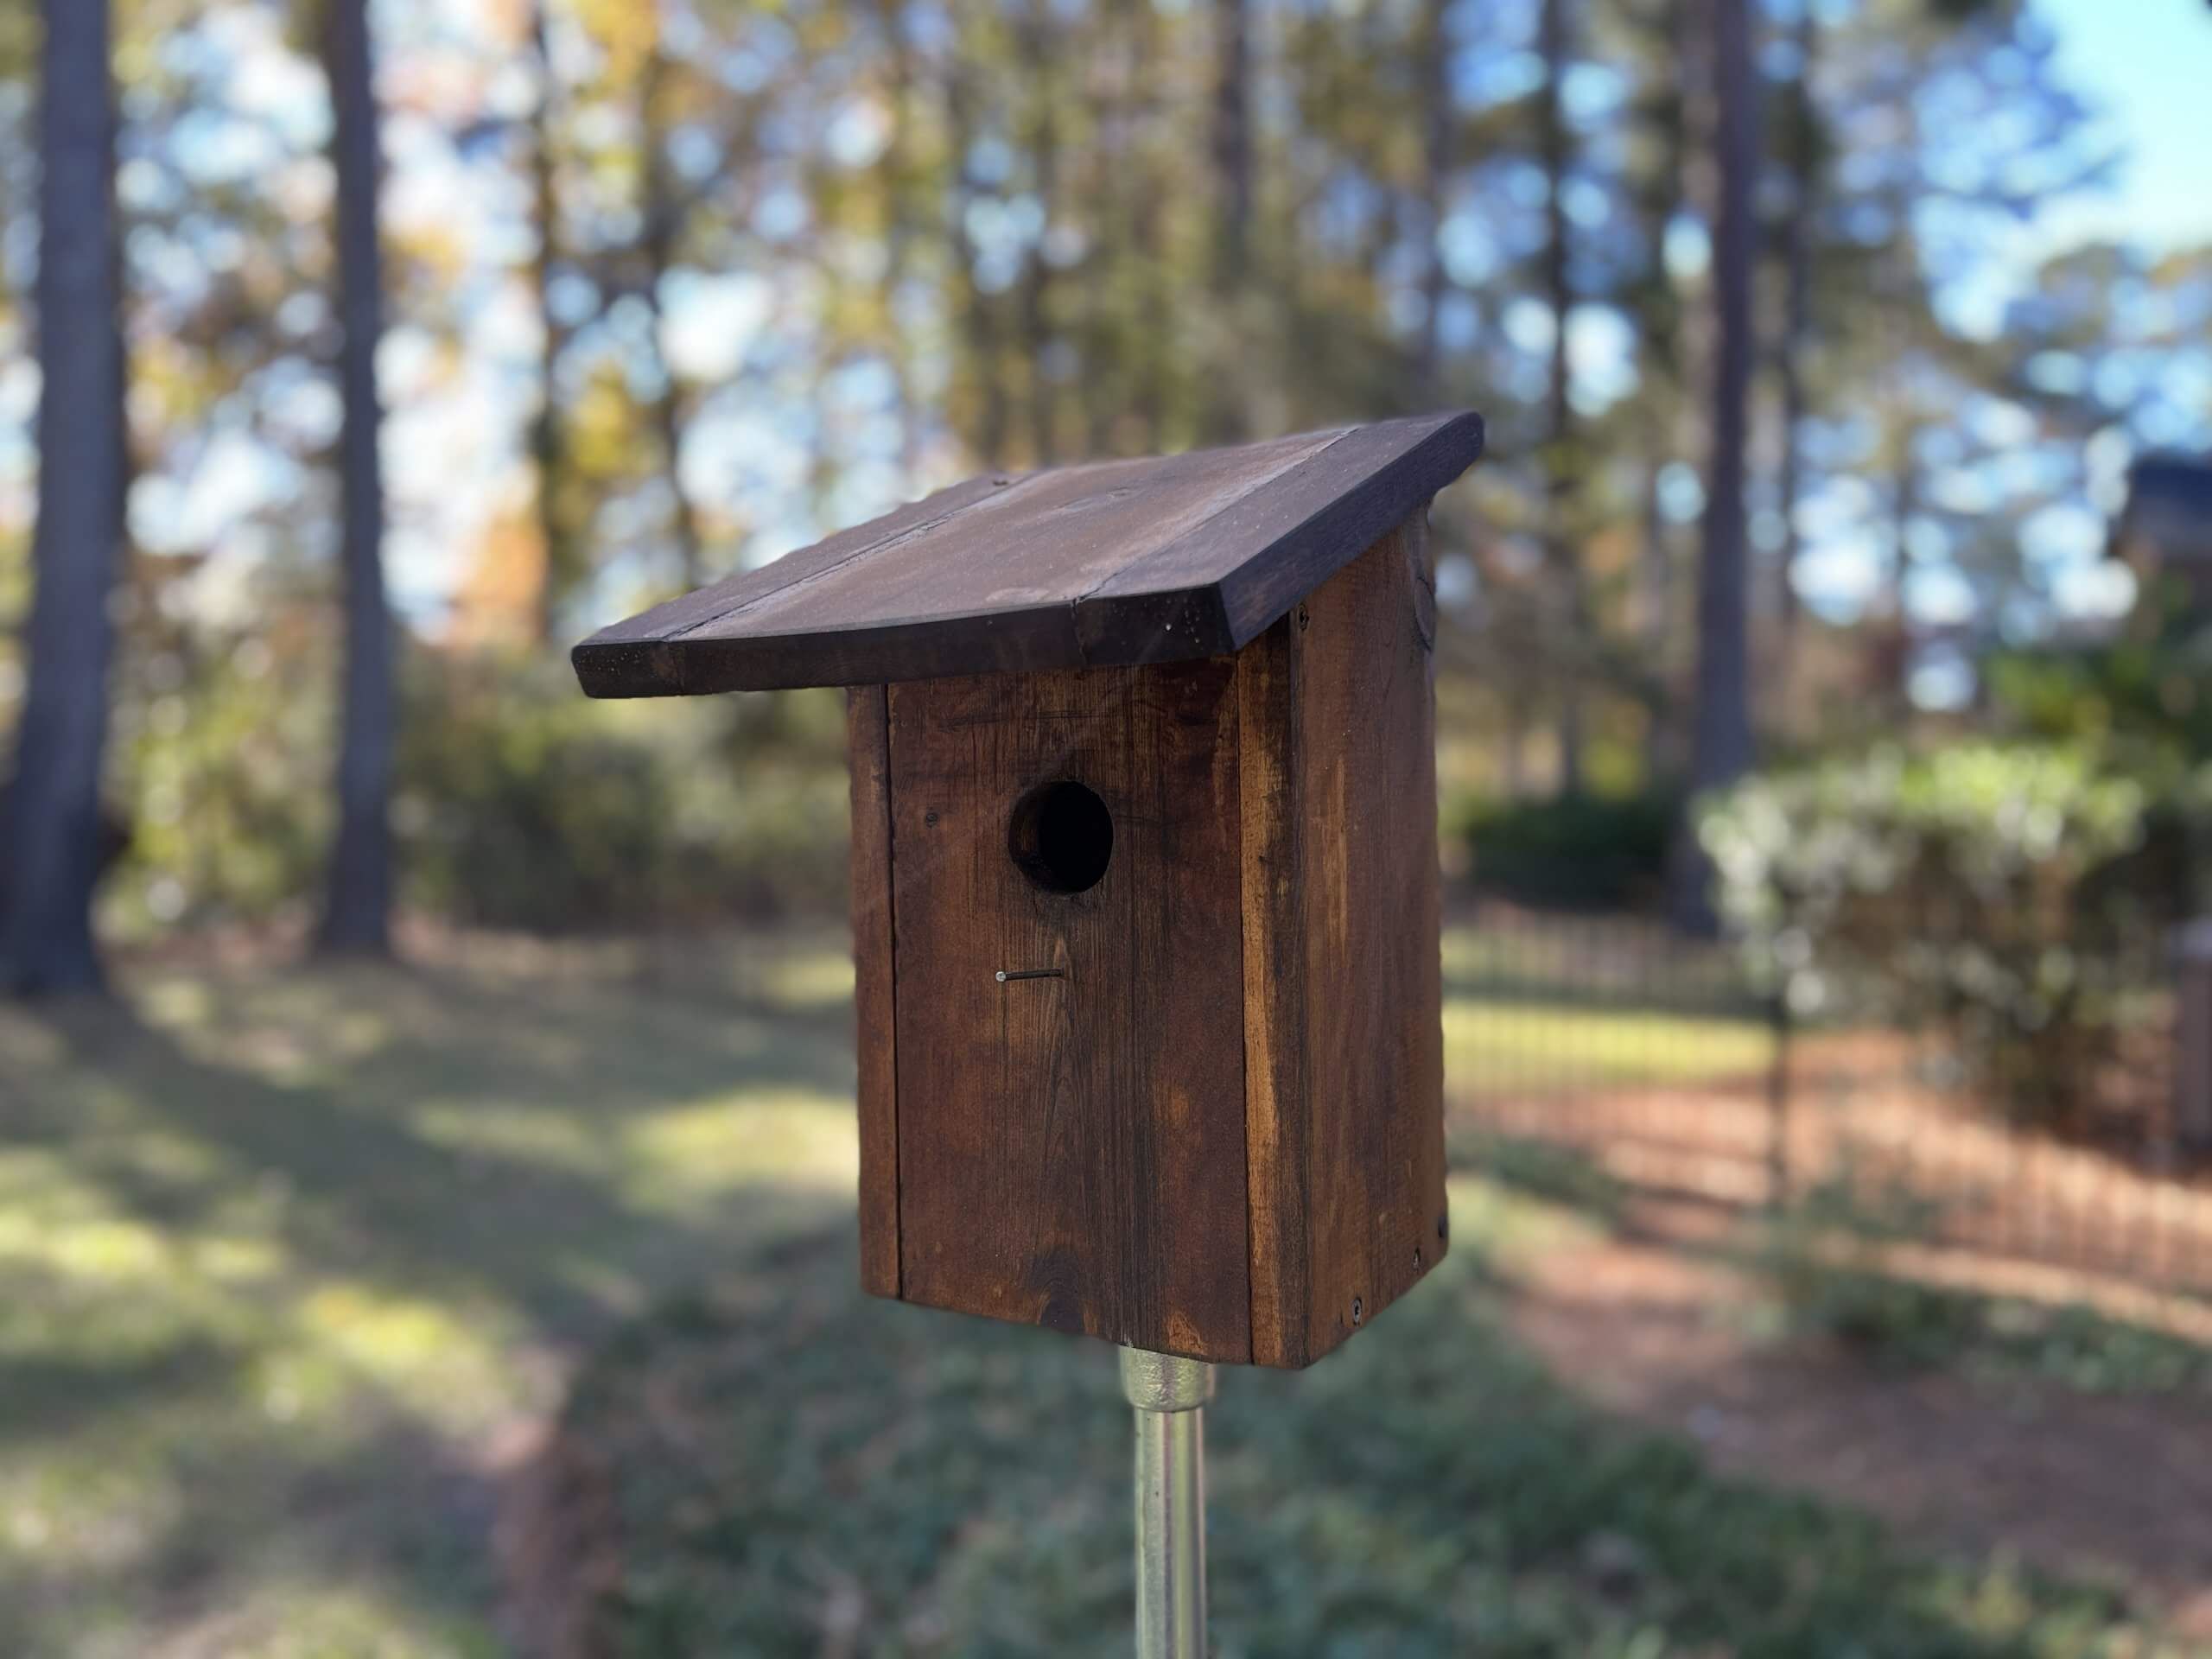
4. Custom Enclosures: Build custom enclosures made of wood or other materials to house your trail camera. Design the enclosure to match the surroundings, such as a birdhouse, mailbox, or garden decoration. Ensure that the enclosure allows for a clear line of sight for the camera lens while concealing the rest of the device.
5. Hide in Plain Sight: Position the trail camera in plain sight but make it inconspicuous by integrating it into existing objects in your surroundings. For example, place it inside a bird feeder, a fake rock, or a garden gnome. This technique allows the camera to remain hidden while capturing valuable footage without raising any suspicion.
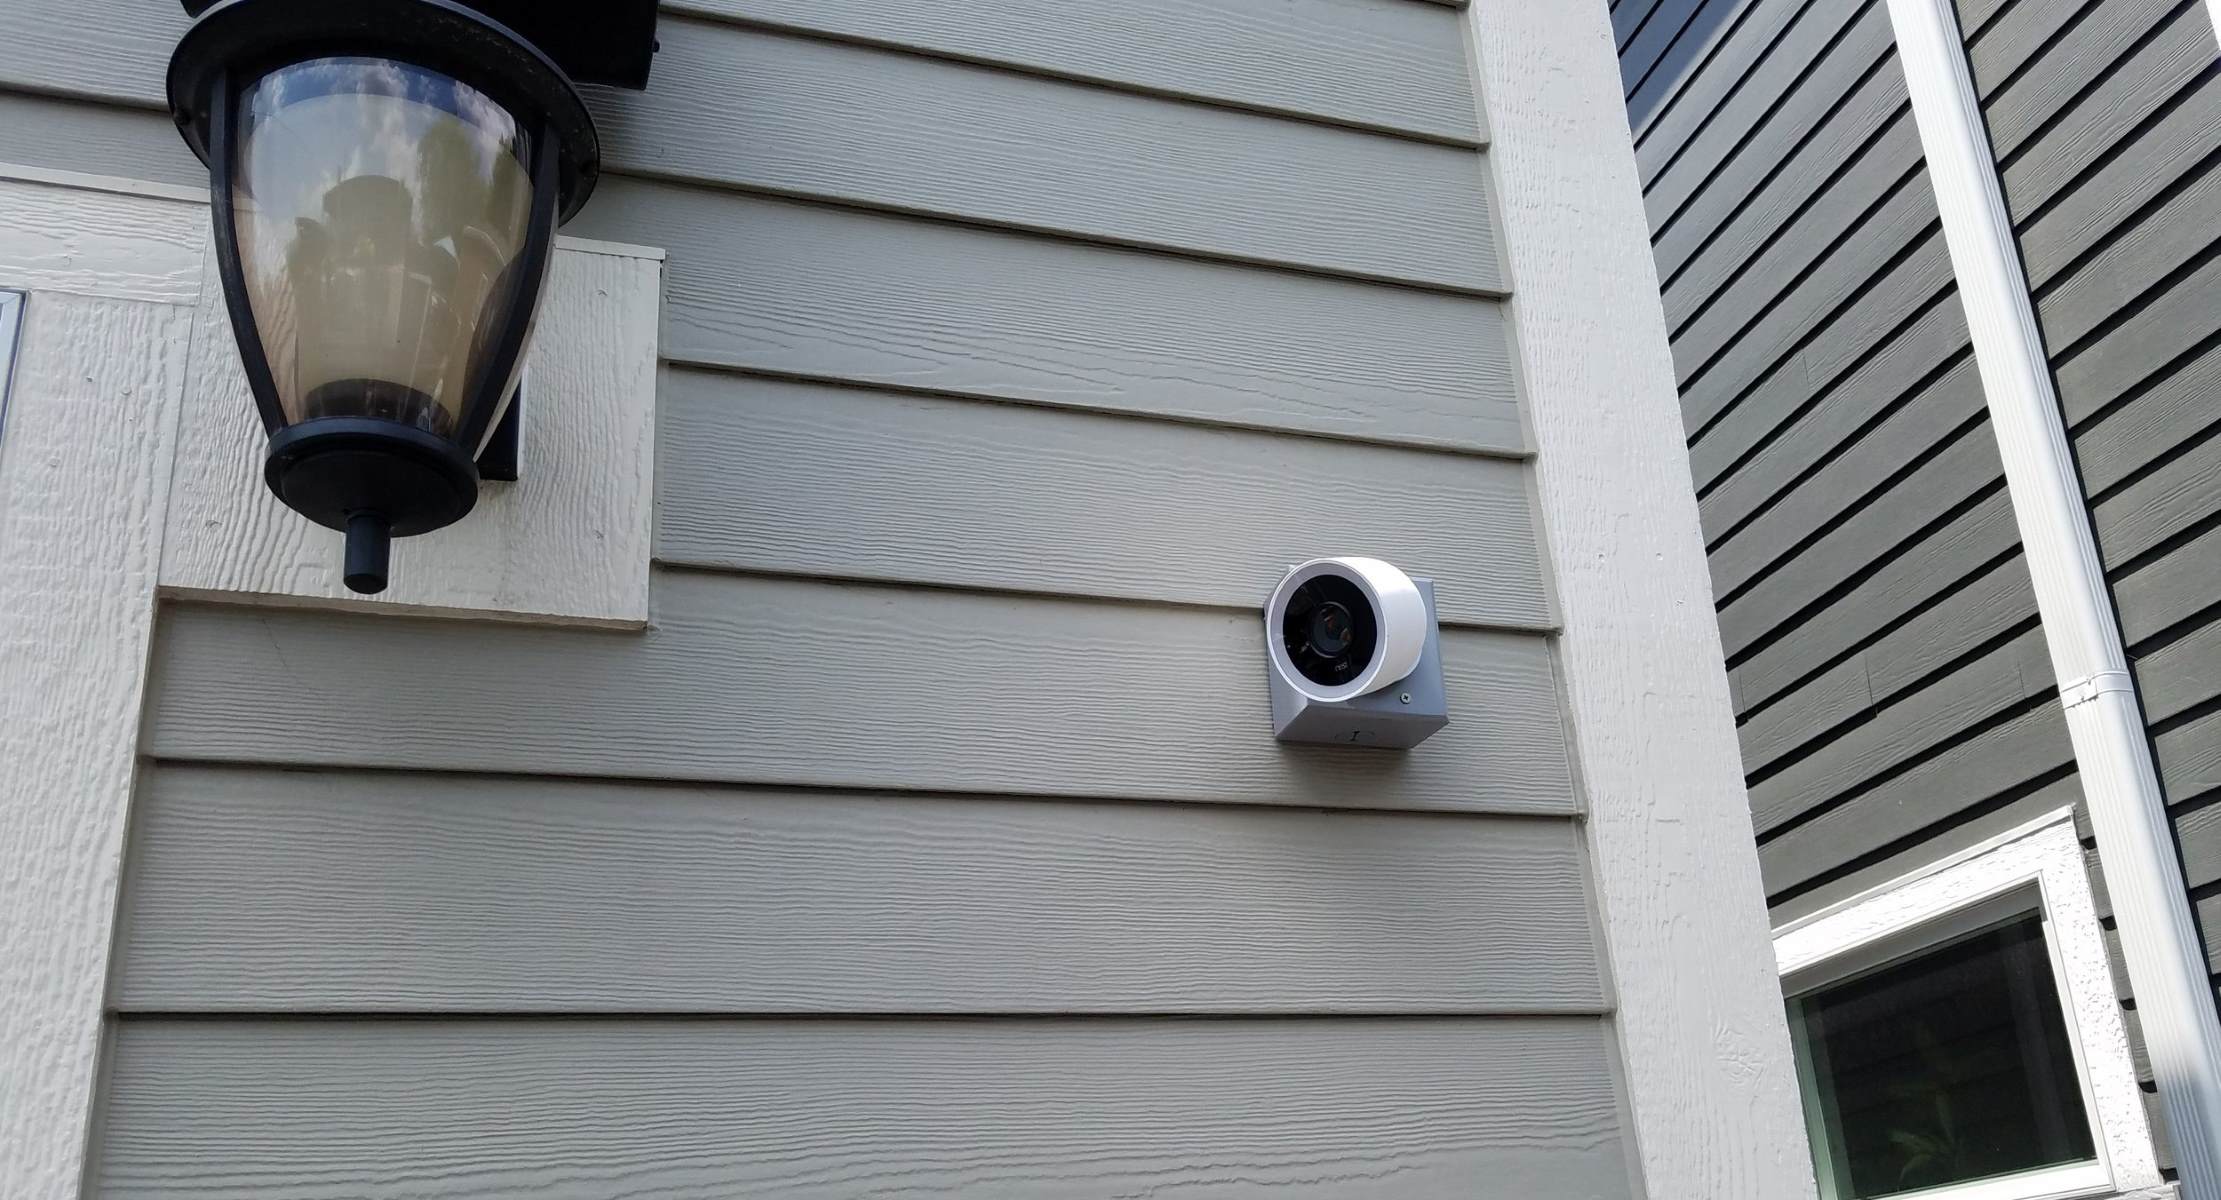
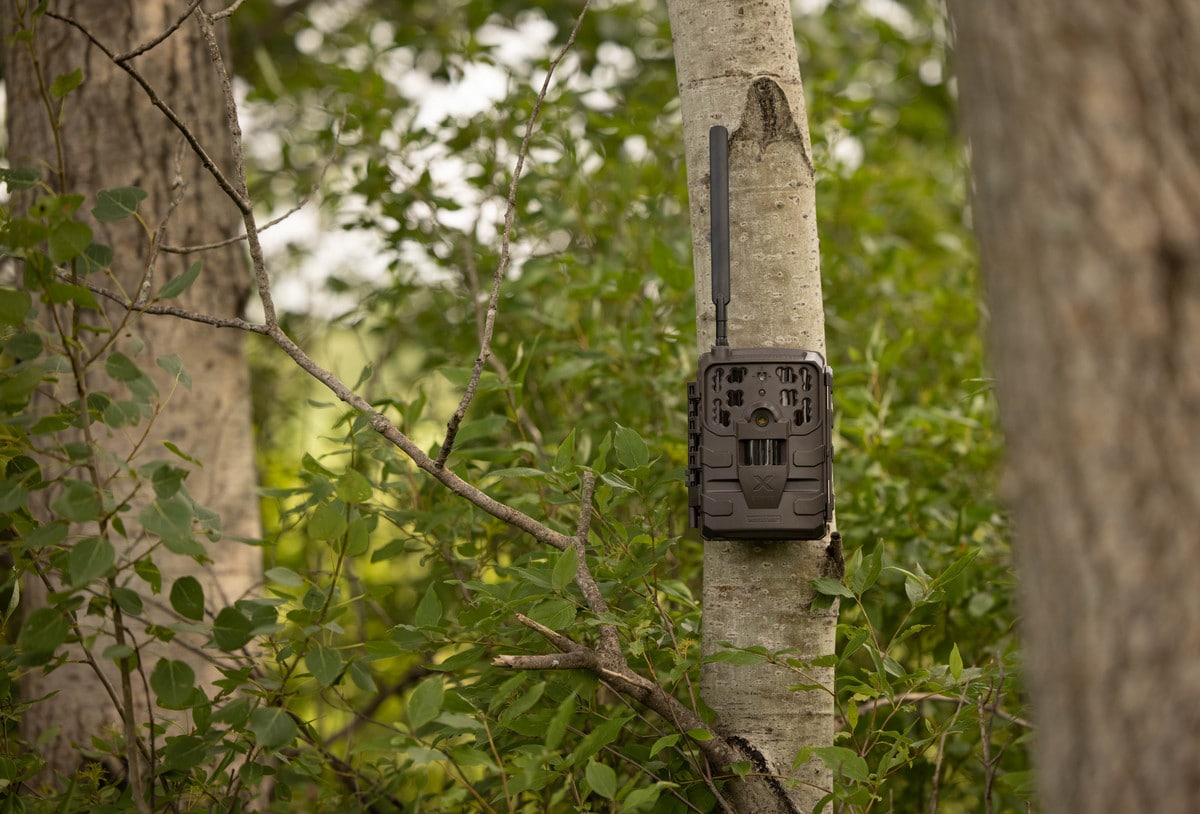
6. Use Existing Structures: Take advantage of existing structures or fixtures in your property to hide your trail camera. Mount the camera onto trees, poles, or fences with camouflage straps or mounts. Make sure the camera is securely attached while providing a clear view of the target area.
7. Adjustable Mounting Brackets: Install adjustable mounting brackets to allow for easy repositioning of the trail camera. This allows you to adapt to changes in your surroundings and adjust the camera’s angle and position based on the specific surveillance needs at any given time.
By utilizing these DIY techniques, you can effectively hide your trail camera and maintain its covert operation. However, if you prefer a more convenient and professional approach, there are also commercial products available specifically designed for concealing trail cameras, which we will explore in the next section.
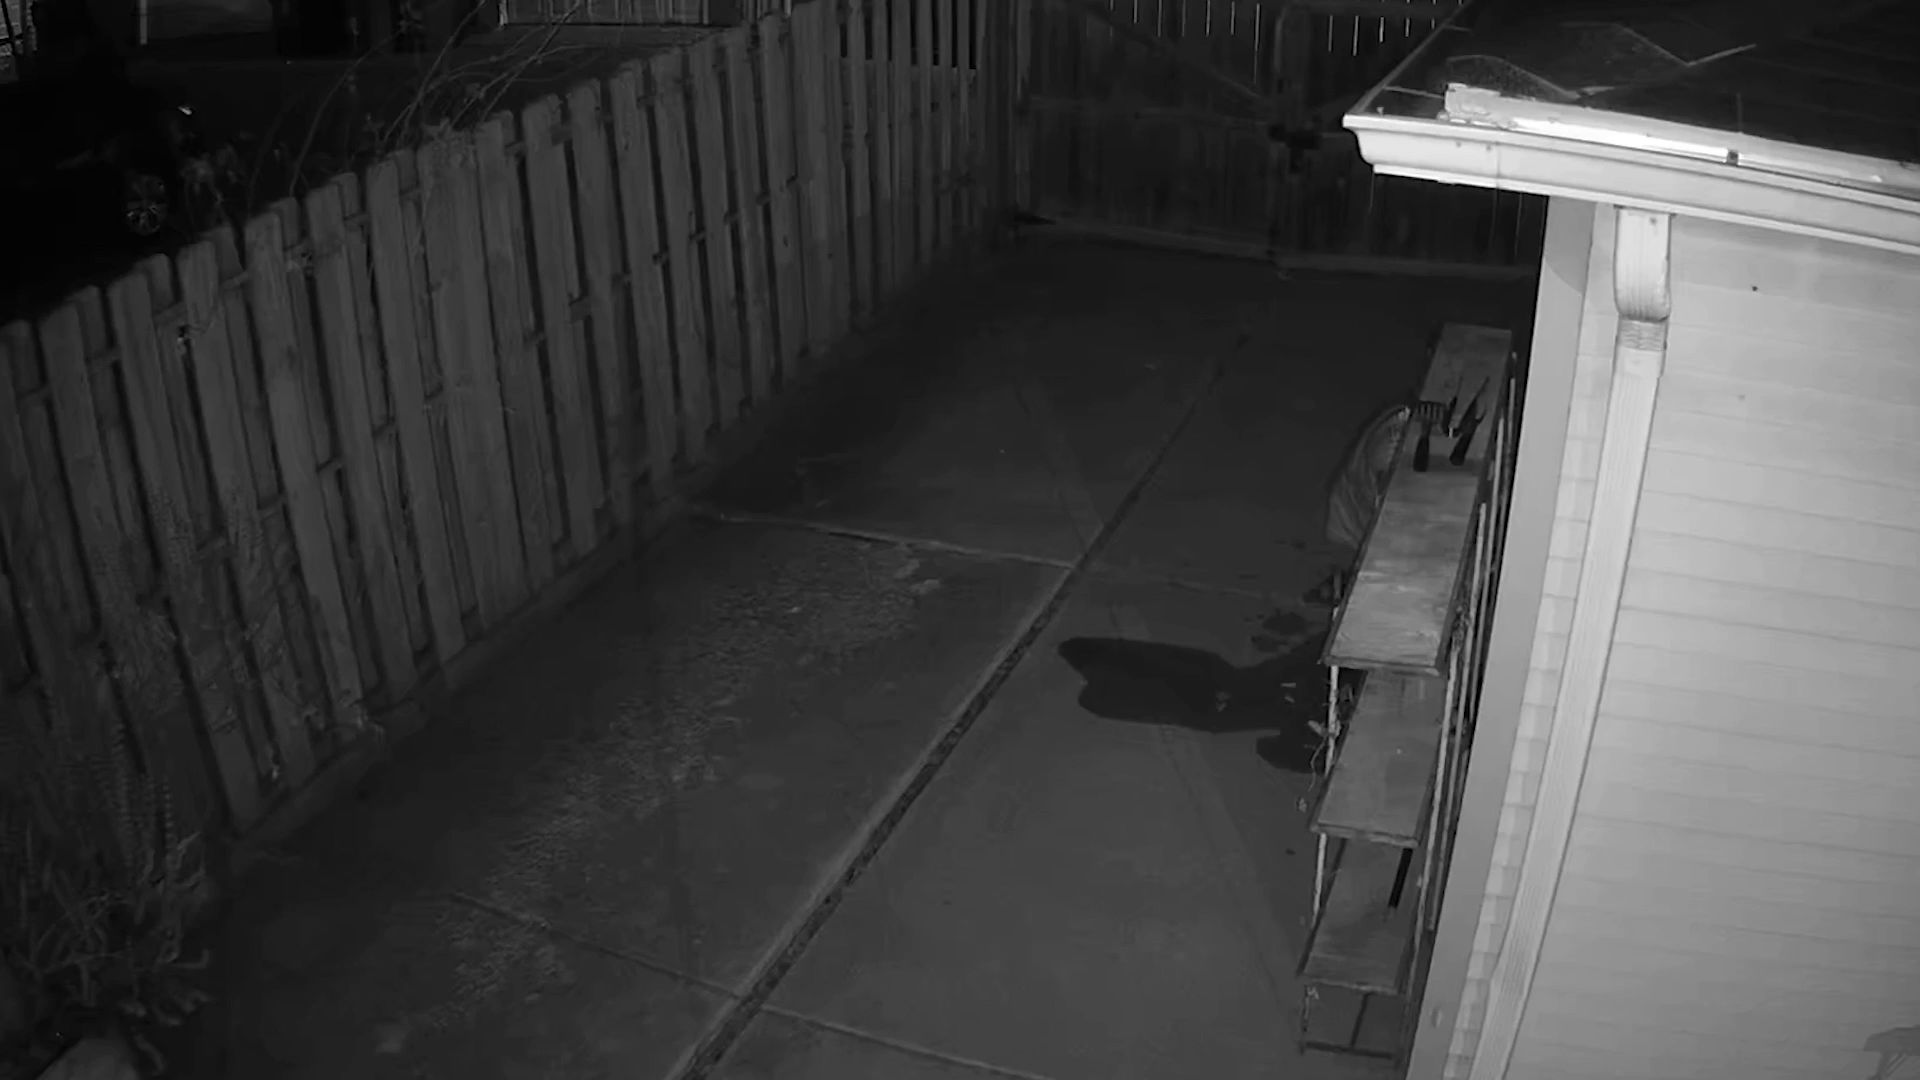
Place the trail camera in a discreet location, such as behind bushes or trees, to avoid detection by potential intruders. Make sure it has a clear view of the area you want to monitor.
Commercial Products for Concealing a Trail Camera
When it comes to concealing your trail camera for optimal home security, there are various commercial products available that are specifically designed to help you achieve effective camouflage and blend your camera seamlessly into the environment. These products offer convenience, durability, and enhanced stealth capabilities. Here are some commercial products for concealing a trail camera:
1. Camouflage Skins and Wraps: Numerous companies offer camouflage skins and wraps designed specifically for trail cameras. These wraps come in a range of patterns, including woodland, grass, and bark, to match different types of surroundings. They are easy to install and effectively disguise the camera, ensuring it remains hidden from prying eyes.
2. Lockable Security Boxes: Lockable security boxes provide an additional layer of protection and security for your trail camera. These boxes are made of durable materials such as steel and feature a secure locking mechanism to prevent theft or tampering. They typically come with holes or brackets for easy mounting and are designed to blend with the surroundings while keeping your camera safe from unauthorized access.
3. Tree Mounts and Straps: Tree mounts and straps are practical accessories designed to secure your trail camera to trees or other vertical surfaces. These mounts and straps ensure a stable and secure attachment, allowing you to position the camera at desired heights and angles. They often include camouflage patterns or colors to help blend the camera with the tree bark or foliage.
4. Stake Mounts and Ground Anchors: Stake mounts and ground anchors are useful for concealing trail cameras in open areas or when there are no suitable trees or structures for mounting. These products allow you to firmly secure the camera to the ground, ensuring stability and offering a discreet vantage point. Some stake mounts and ground anchors even come with adjustable heights for improved versatility.
5. Camouflage Netting: Camouflage netting provides a versatile and cost-effective solution for concealing trail cameras. This netting is available in different sizes and patterns, allowing you to customize the cover according to your specific needs. It can be wrapped around the camera or used as a backdrop to create a natural camouflage effect.
6. Nest Boxes and Birdhouse Mounts: If you’re looking for a clever and inconspicuous way to hide your trail camera, consider nest boxes or birdhouse mounts. These devices combine functionality with camouflage, providing a safe and discreet housing for your camera. They come in various designs and can be easily mounted on trees or structures.
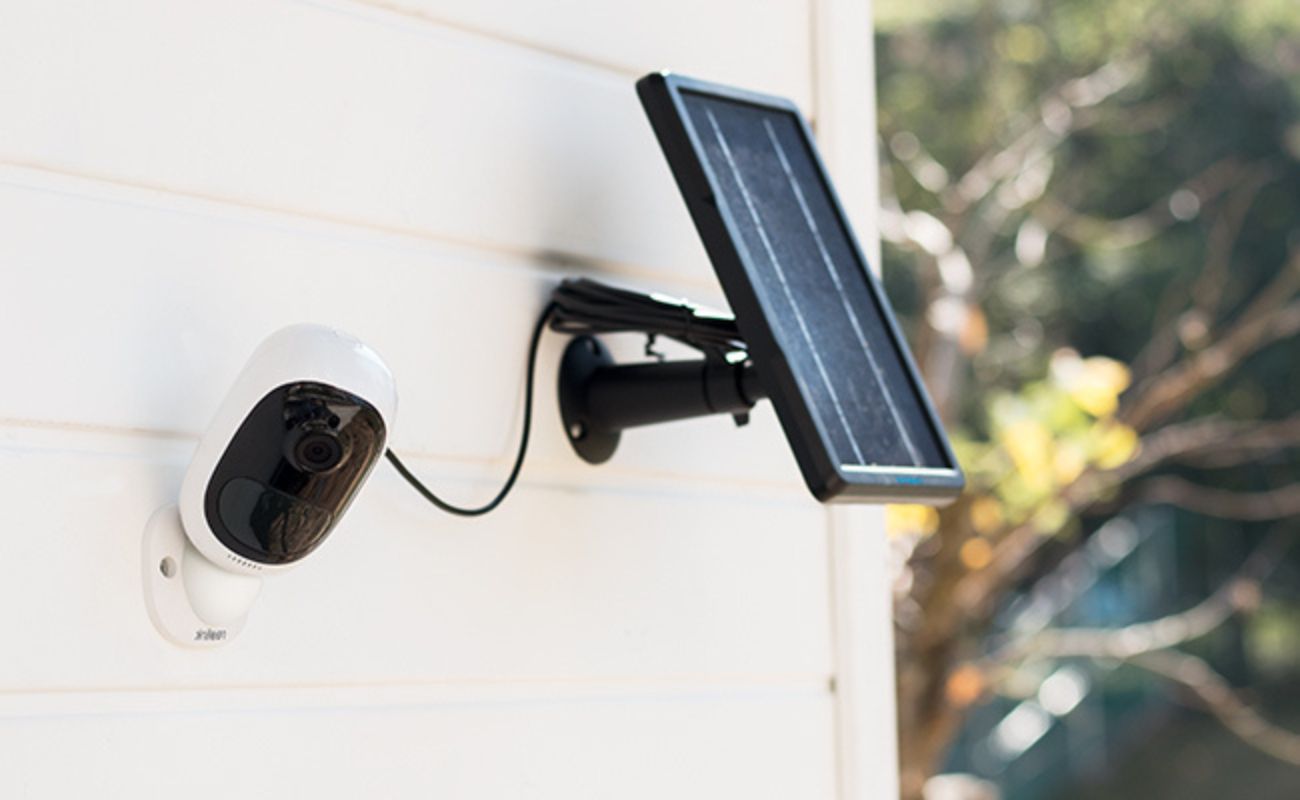
7. Solar Panel Kits: To ensure long-term power supply for your trail camera, consider investing in solar panel kits. These kits consist of a solar panel, battery pack, and cables to power your camera using solar energy. By harnessing the sun’s power, you can maintain continuous surveillance without the need for frequent battery replacements or direct power sources.
These are just a few examples of the commercial products available to help you effectively conceal your trail camera. Each product offers its own benefits and features, so choose the ones that best suit your specific needs and preferences.
Remember, the goal is to hide your camera while maintaining its functionality and capturing valuable surveillance footage without arousing suspicion. Whether you opt for DIY techniques or invest in commercial products, concealing your trail camera properly is crucial for optimal home security and peace of mind.
Tips for Maintaining the Hidden Trail Camera
Once you have successfully hidden your trail camera for home security, it’s important to follow some tips to ensure its longevity and optimal performance. Proper maintenance will not only extend the lifespan of your camera but also help you capture clear and reliable surveillance footage. Here are some essential tips for maintaining a hidden trail camera:
1. Regularly Check and Clean: Make it a habit to check and clean your trail camera on a regular basis. Inspect the camera for any dirt, dust, or debris that may affect the lens or motion sensors. Use a soft cloth or a brush to clean the camera and ensure that no obstructions are impairing its functionality.
2. Protect from Weather Elements: Weather conditions can take a toll on your hidden trail camera. Protect it from rain, snow, extreme temperatures, and direct sunlight. Ensure that the camera is securely mounted and sheltered using commercial products or DIY techniques, such as enclosures or camouflage wraps, specifically designed for weather protection.
3. Replace Batteries or Maintain Power Source: If your trail camera operates on batteries, regularly check the battery level and replace them as needed. Consider using high-quality rechargeable batteries to reduce the environmental impact and long-term costs. If your camera relies on a power source, ensure that the connection remains secure and keep an eye on the power supply to prevent any interruptions in surveillance.
4. Adjust Camera Settings Based on Surveillance Needs: Depending on the changing circumstances and surveillance requirements, adjust the camera settings accordingly. This includes modifying the motion detection sensitivity, capture mode, time-lapse intervals, or detection range. Regularly review the camera’s settings to ensure optimal performance and adjust as necessary to capture the desired footage.
5. Securely Fasten the Camera: Ensure that your hidden trail camera is properly secured to its mounting location. Check the stability of the mount or straps to prevent accidental dislodging or misplacement. This will minimize the risk of the camera shifting or falling, maintaining its desired angle and field of view for effective surveillance.
6. Backup and Organize Footage: Create a backup system for storing and organizing the captured footage from your hidden trail camera. Whether it’s on a computer, external hard drive, or cloud-based storage, regularly transfer and organize the files to easily access and review any recorded incidents. This will allow for efficient analysis and sharing of the surveillance footage, if needed.
7. Regularly Test and Update Firmware: Manufacturers often release firmware updates for trail cameras to improve performance, fix bugs, and introduce new features. Stay up to date with the latest firmware updates and regularly test the camera’s functionality after updating. This will ensure that your camera remains in optimal working condition and benefits from any improvements or enhancements.
By following these maintenance tips, you can ensure the longevity and optimal performance of your hidden trail camera. Regular checkups, protection from weather elements, proper power supply, and adjusting settings will help you capture clear and reliable surveillance footage, enhancing the security of your home.
Remember to always respect the privacy of others and comply with local laws and regulations when using trail cameras for home security purposes.
Conclusion
Securing your home and protecting your loved ones is of utmost importance, and a trail camera can be a valuable tool in your home security arsenal. Hiding a trail camera effectively is essential to maintain its covert surveillance capabilities and ensure it remains undetectable to potential intruders. By considering factors such as coverage area, camera placement, lighting conditions, environmental factors, power supply, privacy concerns, and security measures, you can strategically position and conceal your trail camera for optimal home security.
In this article, we explored various techniques for hiding a trail camera. We discussed both DIY techniques and commercial products that can help you effectively conceal your trail camera. DIY techniques such as camouflage wraps, natural covers, PVC pipe housing, custom enclosures, hiding in plain sight, using existing structures, and adjustable mounting brackets provide practical and cost-effective options for concealing your camera. Additionally, commercial products such as camouflage skins and wraps, lockable security boxes, tree mounts and straps, stake mounts and ground anchors, camouflage netting, nest boxes and birdhouse mounts, and solar panel kits offer convenience, durability, and enhanced stealth capabilities.
Maintaining your hidden trail camera is also crucial to ensure its longevity and optimal performance. Regularly checking and cleaning the camera, protecting it from weather elements, replacing batteries or maintaining the power source, adjusting camera settings, securely fastening the camera, backing up and organizing footage, and regularly testing and updating firmware all contribute to the efficient operation of your trail camera.
Remember, while utilizing trail cameras for home security is beneficial, it’s essential to respect the privacy of others and adhere to local laws and regulations concerning surveillance. Always use these devices responsibly and ethically.
In conclusion, by carefully considering the factors before hiding your trail camera, choosing the best locations, utilizing DIY techniques or commercial products for concealing the camera, and properly maintaining it, you can enhance your home security and have peace of mind knowing that your property is being monitored effectively. Take the necessary steps to protect your home, and may your hidden trail camera play a vital role in securing your peace of mind.
Frequently Asked Questions about How To Hide A Trail Camera For Home Security
Was this page helpful?
At Storables.com, we guarantee accurate and reliable information. Our content, validated by Expert Board Contributors, is crafted following stringent Editorial Policies. We're committed to providing you with well-researched, expert-backed insights for all your informational needs.