Home>Furniture>Outdoor Furniture>How To Inflate An Air Hammock
Outdoor Furniture
How To Inflate An Air Hammock
Modified: August 28, 2024
Learn how to inflate your air hammock and enjoy comfortable outdoor seating with this easy step-by-step guide. Perfect for outdoor furniture enthusiasts.
(Many of the links in this article redirect to a specific reviewed product. Your purchase of these products through affiliate links helps to generate commission for Storables.com, at no extra cost. Learn more)
Introduction
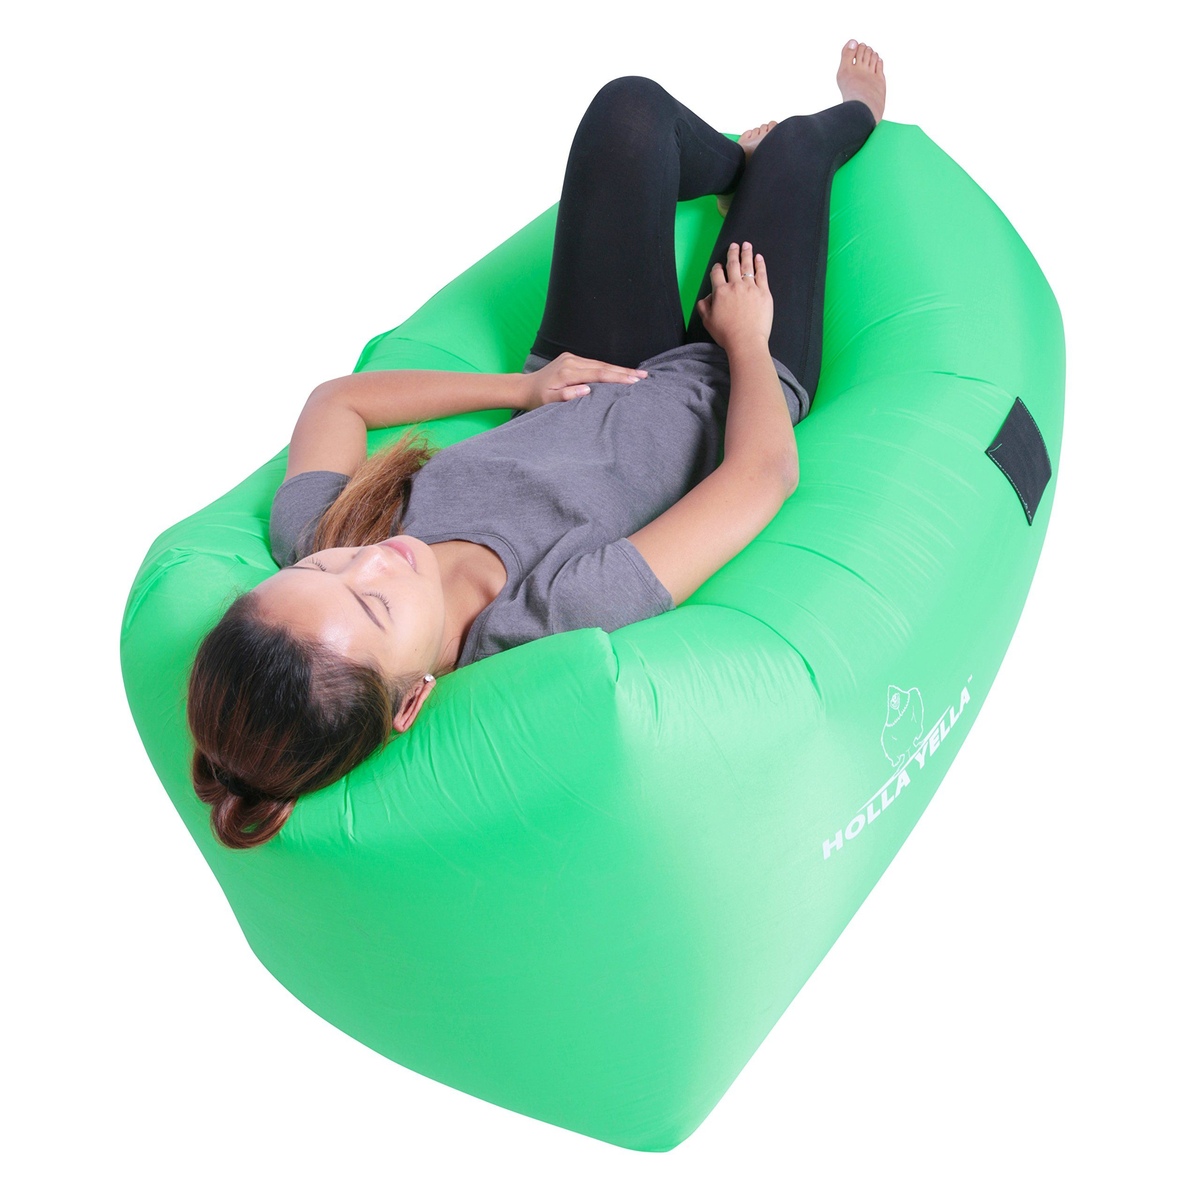
Welcome to the ultimate guide on how to inflate an air hammock! If you’re planning a camping trip, beach outing, or even a lazy day in your backyard, an air hammock can be a fantastic addition to your outdoor furniture collection. These innovative and portable loungers offer comfort, convenience, and the opportunity to relax and unwind in style.
Before you can kick back and enjoy the comfort of your air hammock, you’ll need to know how to properly inflate it. In this guide, we’ll walk you through the step-by-step process of inflating an air hammock, ensuring that you can quickly set it up and start enjoying your leisure time.
But first, let’s take a look at the materials you’ll need to gather before we dive into the inflation process. With the right tools and a little bit of know-how, you’ll be lounging in your air hammock in no time!
Key Takeaways:
- Inflating an air hammock is easy! Just unfold, catch the air using wind, pump, or breath, close the opening, adjust firmness, secure, and enjoy your outdoor relaxation oasis.
- Remember to check for leaks, adjust firmness to your liking, and secure the hammock before enjoying a blissful outdoor experience. Always follow safety guidelines and store it properly after use.
Read also: 14 Best Inflatable Hammock For 2025
Materials Needed
Before you can inflate your air hammock, make sure you have the following materials at hand:
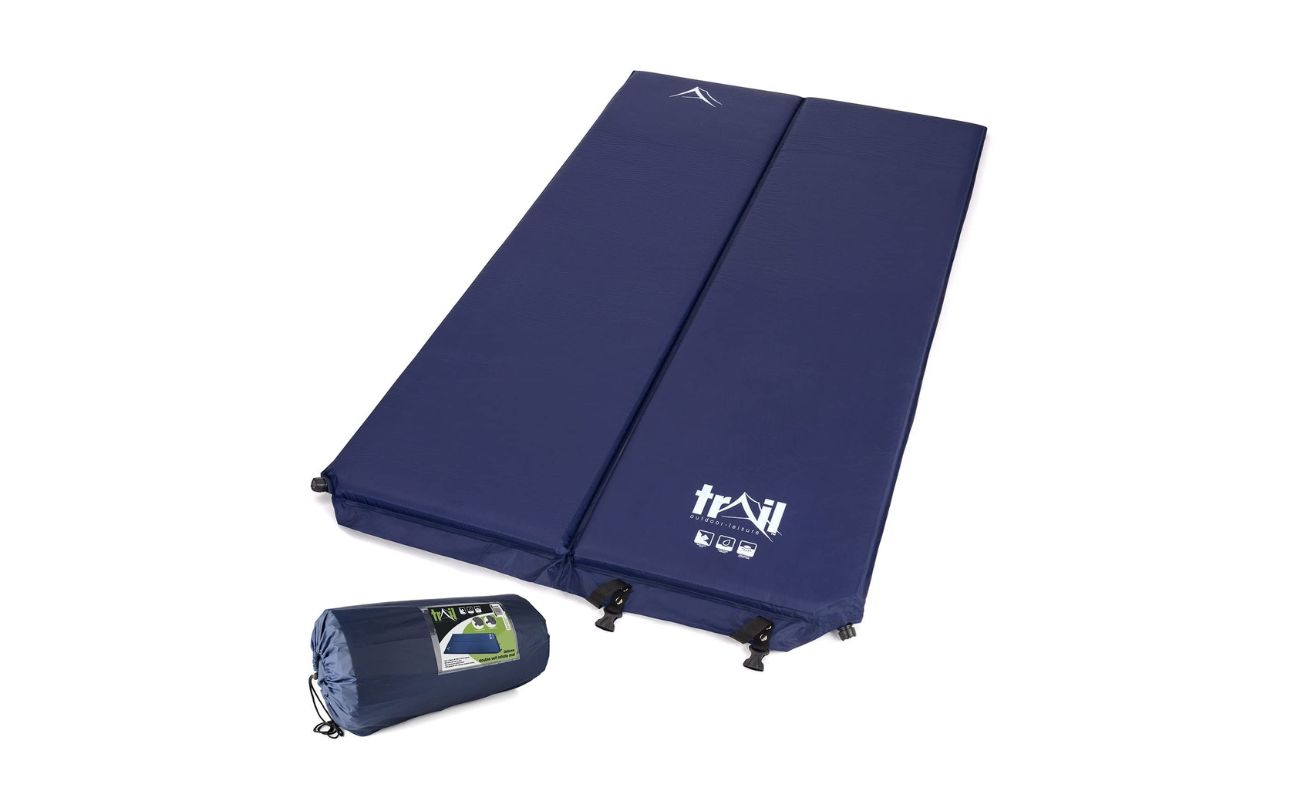
- Air Hammock: Of course, you’ll need an air hammock to inflate! Choose a high quality and durable hammock that can withstand your weight and provide maximum comfort.
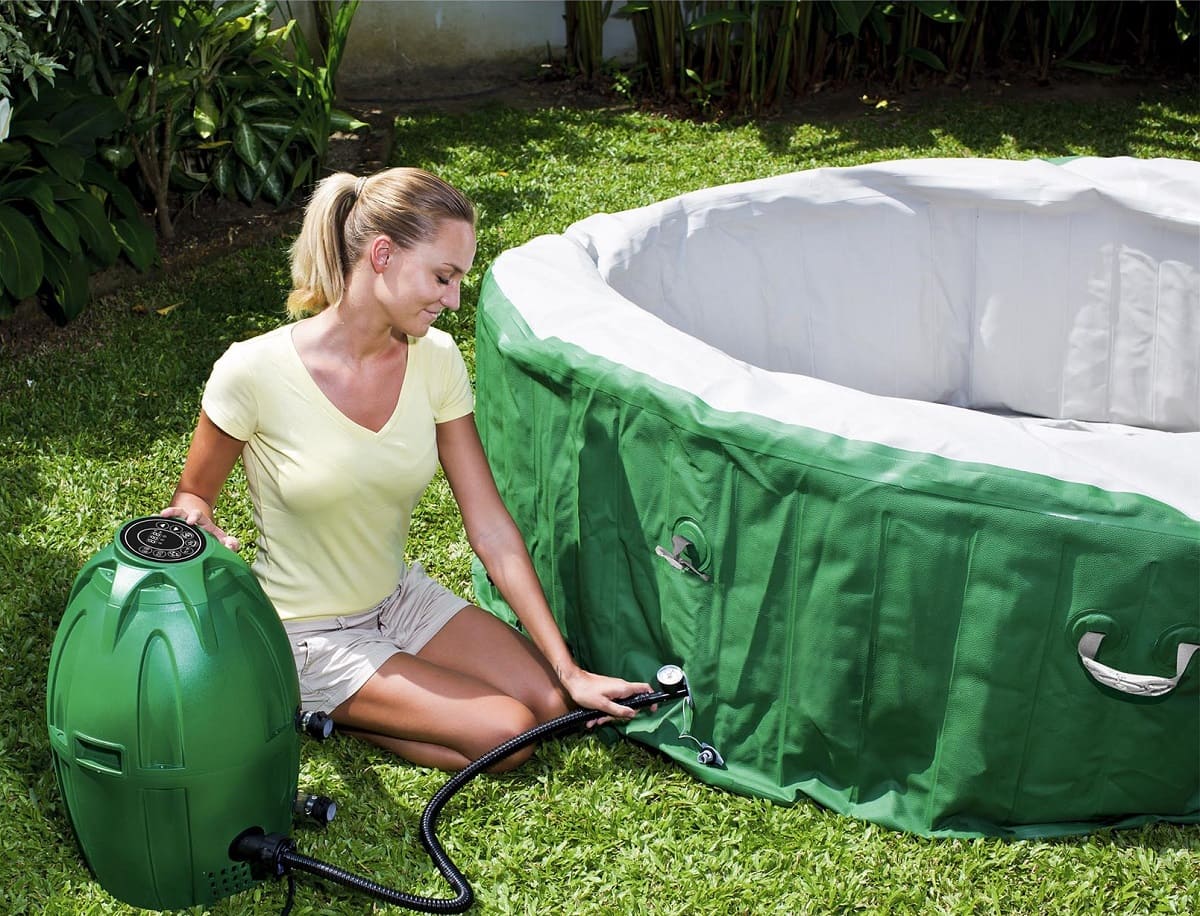
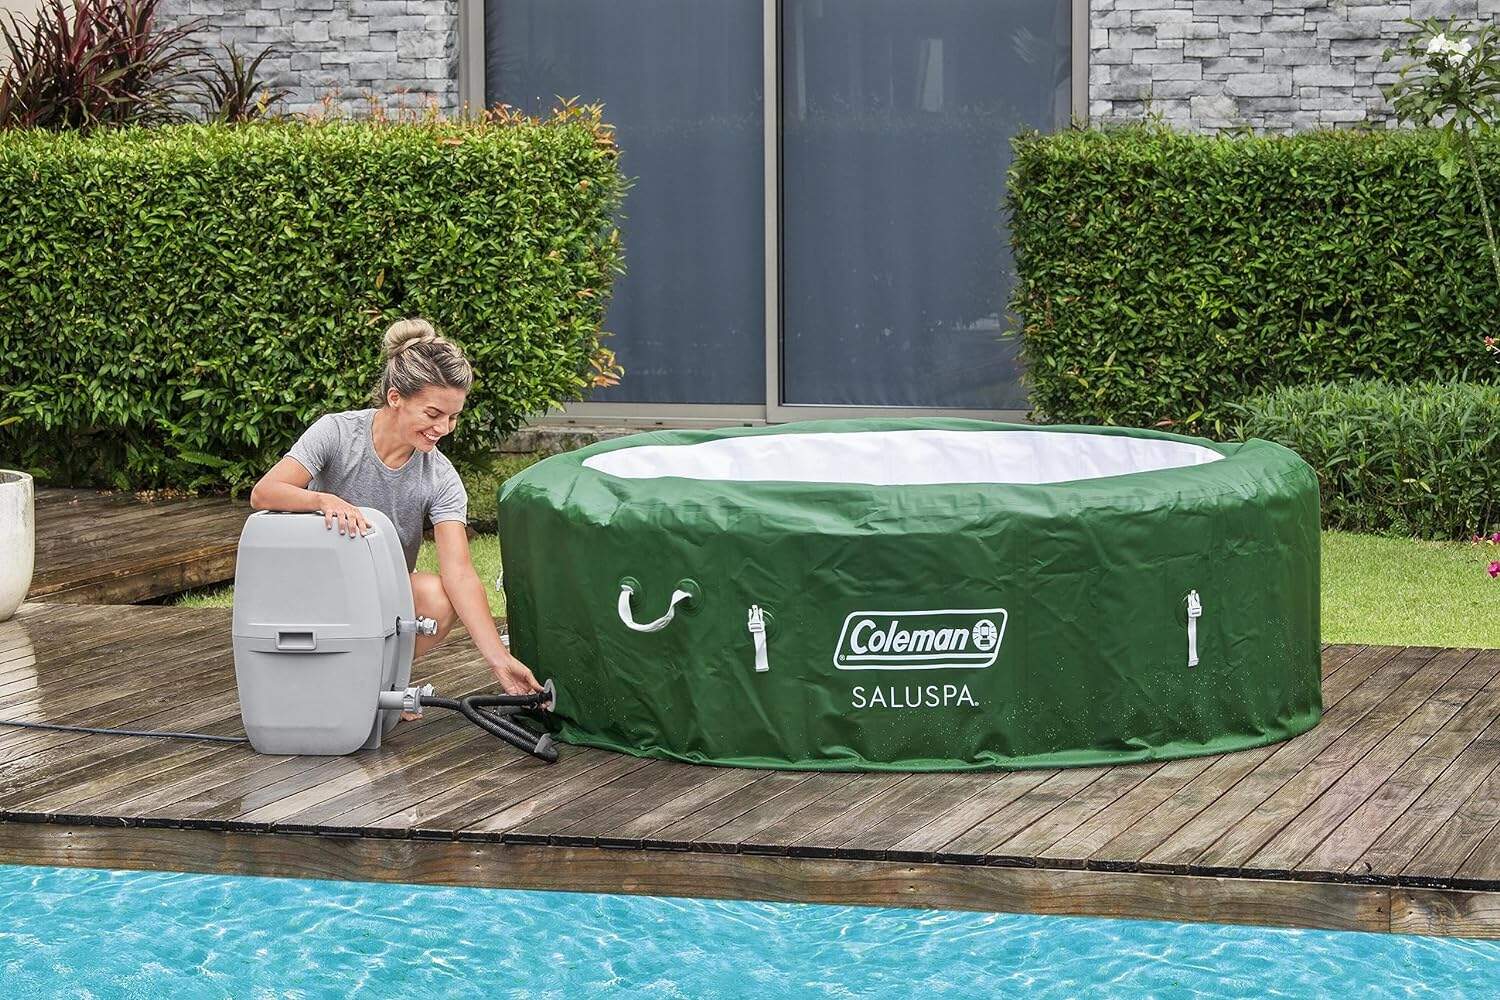
- Air Pump: Many air hammocks come with an included air pump, but if not, you’ll need to purchase one separately. Look for a pump specifically designed for inflating air hammocks, as it will make the process much easier and faster.
- Carrying Bag: Some air hammocks come with a carrying bag, which makes transportation and storage a breeze. If your hammock doesn’t have a bag, consider purchasing one to keep your hammock protected and easily transportable.
- Anchor or Strap: Depending on the environment where you’ll be using your air hammock, you may need an anchor or strap to secure it in place. This is especially important if you’ll be using it on a beach or in a windy area.
- Optional Accessories: While not necessary, there are a few optional accessories that can enhance your air hammock experience. Consider getting a headrest or a canopy for added comfort and protection from the sun.
Now that you have all the necessary materials, let’s move on to the step-by-step process of inflating your air hammock.
Step 1: Unfold the Air Hammock
The first step in inflating your air hammock is to unfold it completely. Lay it out on a flat surface, ensuring that there are no obstructions or sharp objects that could puncture the fabric.
Take a moment to inspect the hammock for any signs of damage or wear. Check the seams, straps, and buckles to ensure everything is in good condition. If you notice any tears or weak points, it’s best to repair or replace the hammock before inflating it.
Once you’ve confirmed the hammock is in good shape, locate the opening or openings where you’ll be inflating it. Most air hammocks have a single opening, while some may have two. Check the manufacturer’s instructions or the design of the hammock to find the opening(s).
Gently spread the hammock apart, making sure the fabric is taut and flat. This will make it easier to catch the air and ensure a more stable and comfortable seating area. Take your time with this step to ensure the hammock is properly unfolded and ready for inflation.
With the air hammock unfolded and the opening(s) identified, you’re now ready to move on to the next step: catching the air.
Step 2: Catch the Air
Now that your air hammock is unfolded and ready, it’s time to catch the air to begin the inflation process. There are a few different methods you can use to do this, depending on the design of your hammock and personal preference.
One common method is to hold the opening(s) of the hammock wide open and run against the wind. This creates a wind tunnel effect, allowing the air to flow directly into the hammock. As you move forward, the air will fill the hammock and start to inflate it.
If you don’t have access to a windy environment, or if you prefer a more controlled approach, you can use an air pump to fill your hammock. Attach the pump’s nozzle to the opening of the hammock and start pumping air. This method ensures a consistent and even inflation, making it easier to achieve the desired firmness.
Another option is to simply use your breath to fill the hammock. While this method can be a bit more time-consuming, it gives you complete control over the firmness and allows you to adjust it to your liking. Hold the opening(s) of the hammock tightly sealed against your mouth and blow air into it, expanding the fabric and inflating the hammock.
Whichever method you choose, make sure to keep a firm grip on the opening(s) to prevent any air from escaping. If you’re using an air pump, ensure that the nozzle is tightly connected to the opening to avoid any leaks.
Continue catching the air until the hammock starts to take shape and feel firm to the touch. It may take a few attempts to get the hang of it, but with practice, you’ll master the art of catching the air and inflating your hammock efficiently.
Once you’ve successfully caught enough air to inflate the hammock, it’s time to move on to the next step: closing the opening.
When inflating an air hammock, make sure to open it fully and scoop in as much air as possible. Then, roll the end to seal and repeat until it’s fully inflated. Avoid overfilling to prevent damage.
Step 3: Close the Opening
After catching the air and achieving the desired level of inflation, it is important to close the opening of your air hammock. This step ensures that the air remains trapped inside, keeping the hammock fully inflated and ready for use.
If your air hammock has a built-in closure mechanism, such as a buckle or a zipper, use it to seal the opening. Follow the manufacturer’s instructions to secure the closure properly and prevent any air from escaping.
If your hammock doesn’t have a built-in closure, you can use alternative methods to close the opening. One option is to tightly roll the fabric around the opening and secure it with a sturdy knot or a clip. This is an easy and effective way to keep the air trapped inside.
Another method is to fold the fabric over itself near the opening, creating a sort of pocket. Then, use a carabiner or a clip to hold the folded fabric in place. Make sure the clip is secure and won’t accidentally come undone, as this could result in the air escaping.
If you’re inflating a hammock with multiple openings, make sure to close each one individually. This will ensure that the air is evenly distributed throughout the hammock and that it remains fully inflated.
Take a moment to double-check the closure and ensure it is tight and secure. Gently press on the hammock to check for any leaks or signs of air escaping. If you notice any issues, go back to Step 2 and re-inflate the hammock, making sure to catch enough air and properly seal the opening.
With the opening of your air hammock securely closed, you’re now ready for the next step: inflating the hammock to its full potential.
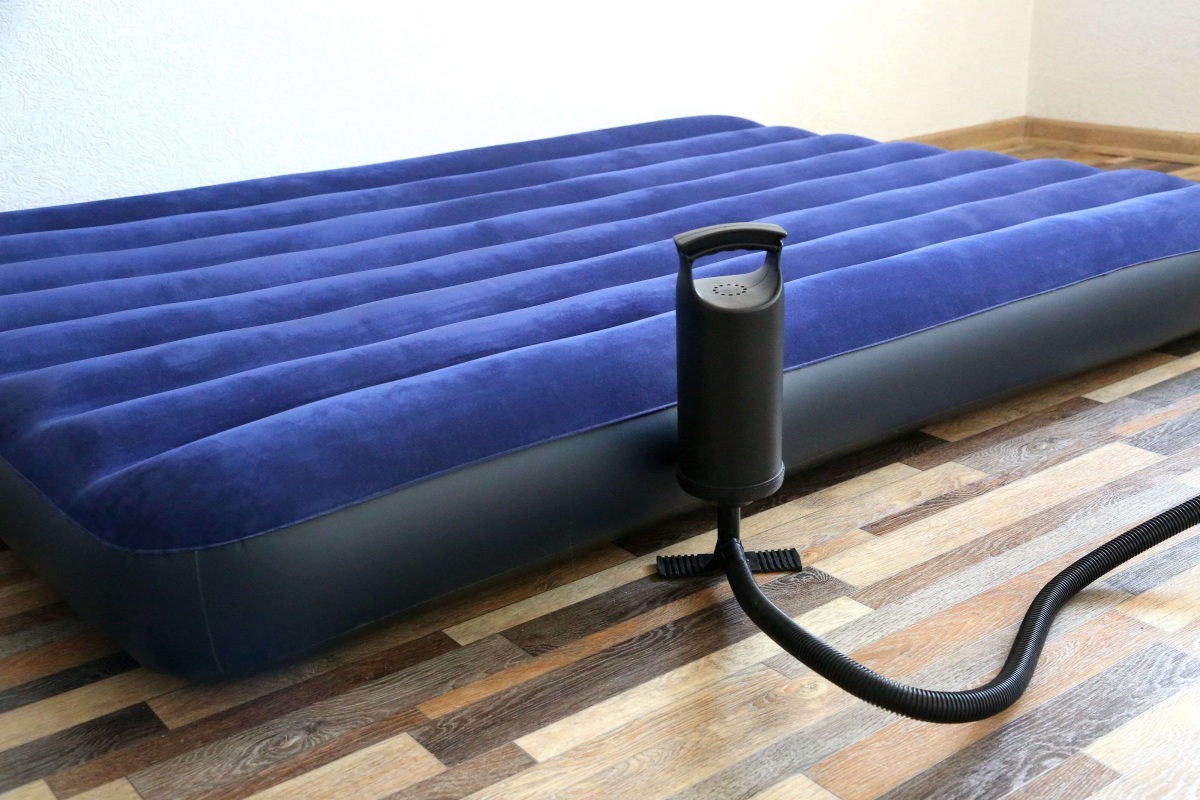
Read more: How To Inflate An Intex Air Mattress
Step 4: Inflate the Air Hammock
With the opening securely closed, it’s time to fully inflate your air hammock. This step ensures that your hammock is firm, stable, and ready for you to lounge in comfort.
If you’re using an air pump, continue pumping air into the hammock until it reaches the desired level of inflation. Be mindful not to overinflate the hammock, as this can put unnecessary strain on the fabric and decrease its lifespan. Pay attention to any pressure recommendations provided by the manufacturer.
If you’re using the wind-catching method, continue running against the wind or moving the hammock back and forth to allow more air to enter. While doing this, periodically check the firmness of the hammock by pressing down gently on the fabric. If you feel it’s not fully inflated, continue catching more air until it reaches the desired firmness.
If you’re inflating the hammock manually using your breath, take deep breaths and blow steadily into the opening. Keep an eye on the firmness of the hammock and adjust your breaths accordingly to achieve the desired level of inflation. Take short breaks in between breaths to avoid getting lightheaded.
As you inflate the hammock, pay attention to any unevenness or areas that may feel less inflated. Smooth out the fabric and redistribute the air by gently patting or massaging those areas. This will help create an even and comfortable seating surface.
Once you’re satisfied with the level of inflation, take a few moments to sit or lie in the hammock to test its stability. Adjust the inflation if needed to ensure a comfortable and supportive position.
Remember, the inflation level is a matter of personal preference. Some people prefer a firmer hammock, while others prefer a softer and more flexible one. Experiment with different levels of inflation to find what works best for you.
With your air hammock fully inflated, you’re now ready to move on to the next step: adjusting the hammock to your liking.
Step 5: Adjust the Air Hammock
Now that your air hammock is fully inflated, it’s time to make any necessary adjustments to ensure maximum comfort and relaxation. This step involves fine-tuning the position and tension of the hammock to suit your preferences.
Start by getting into the hammock and finding your ideal seating or lying position. Pay attention to the angle and tilt of the hammock as you settle in. Some people prefer a slightly reclined position, while others prefer a more upright seating angle.
If you find that the hammock feels too taut or tight, you can release some of the air to create a softer and more flexible seating surface. Gently open the closure mechanism or release the clip to allow a small amount of air to escape. Test the hammock’s firmness and make further adjustments as needed.
If, on the other hand, the hammock feels too loose or saggy, you can add more air to increase the tension and provide better support. Use the air pump or your breath to inflate the hammock further until you achieve the desired level of firmness. Repeat the process of adjusting and testing until you find the perfect balance.
Keep in mind that different air hammock models may have different adjustment mechanisms. Some hammocks have straps or buckles that allow you to tighten or loosen specific sections for optimal comfort. Refer to the manufacturer’s instructions to learn more about the specific adjustments you can make.
Once you’ve made the necessary adjustments, take a few moments to relax and enjoy the comfort of your perfectly adjusted air hammock. Wiggle around, change your position, and test out different angles to ensure that you’re fully satisfied with the seating experience.
Lastly, if you’re planning to use the air hammock for an extended period, periodically check the firmness and re-adjust as needed. Changes in temperature or prolonged use may cause a slight loss of air over time, so it’s important to maintain the desired inflation level for optimum comfort.
With the hammock adjusted to your liking, you’re now ready for the final step: securing the hammock and enjoying your outdoor relaxation oasis.
Step 6: Secure and Enjoy
Now that you’ve successfully inflated and adjusted your air hammock, it’s time to securely set it up and enjoy your well-deserved relaxation time. This final step ensures that your hammock stays in place and provides a safe and comfortable environment for lounging.
If you’re using your air hammock indoors, securing it may not be necessary. However, if you’re outdoors or in a location with potential movement or wind, it’s essential to anchor your hammock to prevent it from shifting or tipping over.
One common method of securing an air hammock is by using tree straps or ropes. Find two sturdy trees or objects that are the appropriate distance apart, and wrap the straps or ropes around them. Attach the straps or ropes to the hammock’s anchor points or loops, ensuring a secure connection.
If there are no trees or suitable anchor points available, you can utilize alternative methods to secure your hammock. Consider using stakes to anchor the hammock to the ground, or using sturdy posts or columns as anchor points. Just make sure that whatever you use provides a secure and stable connection.
Once your air hammock is securely attached, take a moment to double-check the connections and ensure that everything is tight and stable. Give the hammock a gentle shake to test its stability and make any necessary adjustments before fully settling into it.
Now that your air hammock is securely set up, it’s time to enjoy the fruits of your labor. Lay back, relax, and let the gentle swaying motion and comfortable seating transport you to a state of tranquility.
Whether you’re reading a book, enjoying nature, or taking a nap, savor the delightful experience that your air hammock offers. Take the opportunity to disconnect from the hustle and bustle of everyday life and immerse yourself in the soothing ambiance of the great outdoors.
Remember to always follow safety guidelines and use the hammock responsibly. Avoid exceeding the weight or occupancy limits specified by the manufacturer to prevent any accidents or damage.
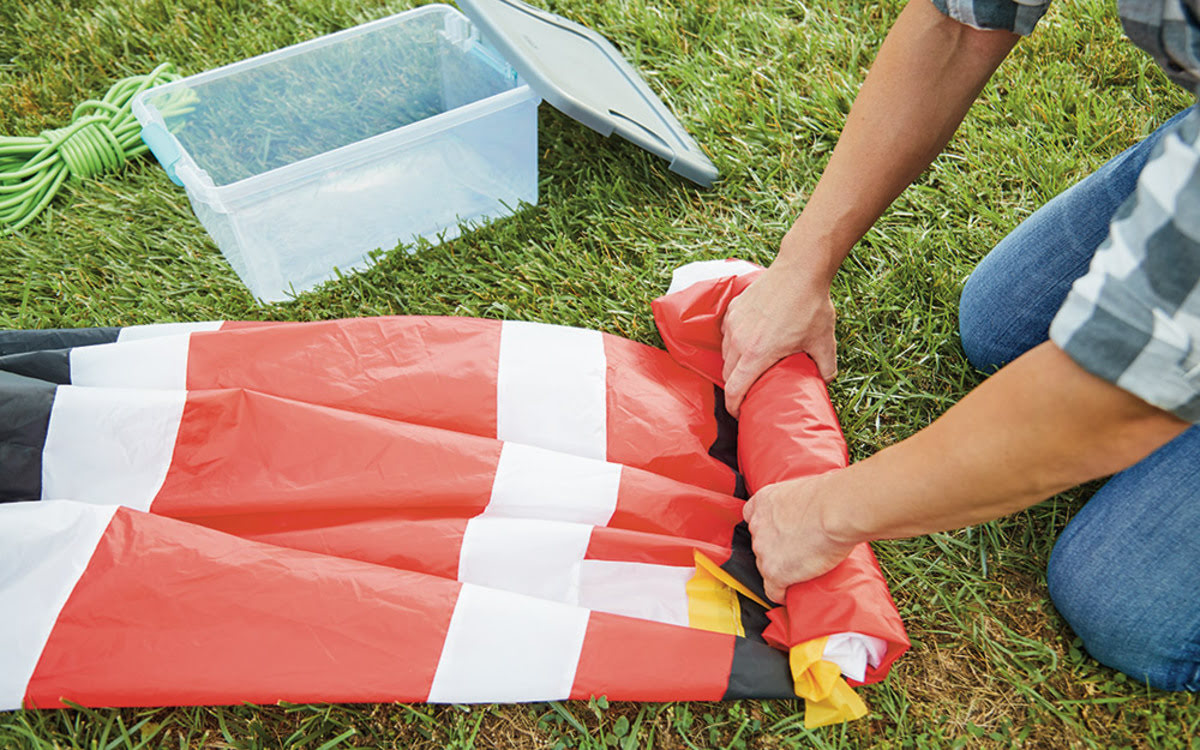
When you’re done using the hammock, make sure to deflate it, fold it compactly, and store it properly in its carrying bag or designated storage space. This will help ensure the longevity and good condition of your air hammock for future use.
Now that you’ve mastered the art of inflating an air hammock and have the necessary knowledge to secure and enjoy it, you’re all set to embark on endless hours of blissful relaxation wherever your adventures may take you.
Frequently Asked Questions about How To Inflate An Air Hammock
Was this page helpful?
At Storables.com, we guarantee accurate and reliable information. Our content, validated by Expert Board Contributors, is crafted following stringent Editorial Policies. We're committed to providing you with well-researched, expert-backed insights for all your informational needs.


0 thoughts on “How To Inflate An Air Hammock”