Home>Furniture>Bedroom Furniture>How To Remove A Sleep Number Mattress From Its Base
Bedroom Furniture
How To Remove A Sleep Number Mattress From Its Base
Modified: February 25, 2024
Learn how to easily remove a Sleep Number mattress from its base in this step-by-step guide. Transform your bedroom furniture hassle-free!
(Many of the links in this article redirect to a specific reviewed product. Your purchase of these products through affiliate links helps to generate commission for Storables.com, at no extra cost. Learn more)
Introduction
When it comes to bedroom furniture, few things are as important as a comfortable mattress. And one popular option that many people swear by is the Sleep Number mattress. Known for its customizable firmness settings and innovative air technology, a Sleep Number mattress can provide a personalized sleep experience.
However, there may come a time when you need to remove your Sleep Number mattress from its base. Whether you’re moving to a new home, rearranging your bedroom, or simply replacing the base, knowing how to properly remove the mattress is essential to avoid any damage. In this article, we’ll walk you through the steps of removing a Sleep Number mattress from its base, ensuring a hassle-free process.
Before we dive into the details, it’s worth mentioning that different models of Sleep Number mattresses and bases may have slightly different removal procedures. It’s always a good idea to consult the manufacturer’s instructions specific to your mattress and base model. With that said, let’s get started!
Key Takeaways:
- Properly removing a Sleep Number mattress involves gathering tools, deflating the mattress, and disconnecting air hoses. Careful handling and optional cleaning ensure a hassle-free removal process.
- Disassembling the base, if necessary, and reassembling after cleaning can maintain the cleanliness and functionality of the Sleep Number mattress and base. Follow manufacturer’s instructions for specific models.
Read more: How To Remove A Sleep Number Mattress
Step 1: Gather the necessary tools and materials
Before you begin the process of removing your Sleep Number mattress from its base, it’s important to gather all the tools and materials you’ll need. Here’s a list of what you’ll require:
- Phillips head screwdriver
- Flathead screwdriver
- Adjustable wrench
- Pliers
- Zip ties (optional)
- Plastic mattress bag or heavy-duty garbage bags
Having these tools and materials on hand will ensure that you have everything you need to safely and effectively remove your Sleep Number mattress without damaging any components.
Once you have gathered all the necessary tools and materials, you’ll be ready to move on to the next step of the process.
Step 2: Remove the bedding and accessories
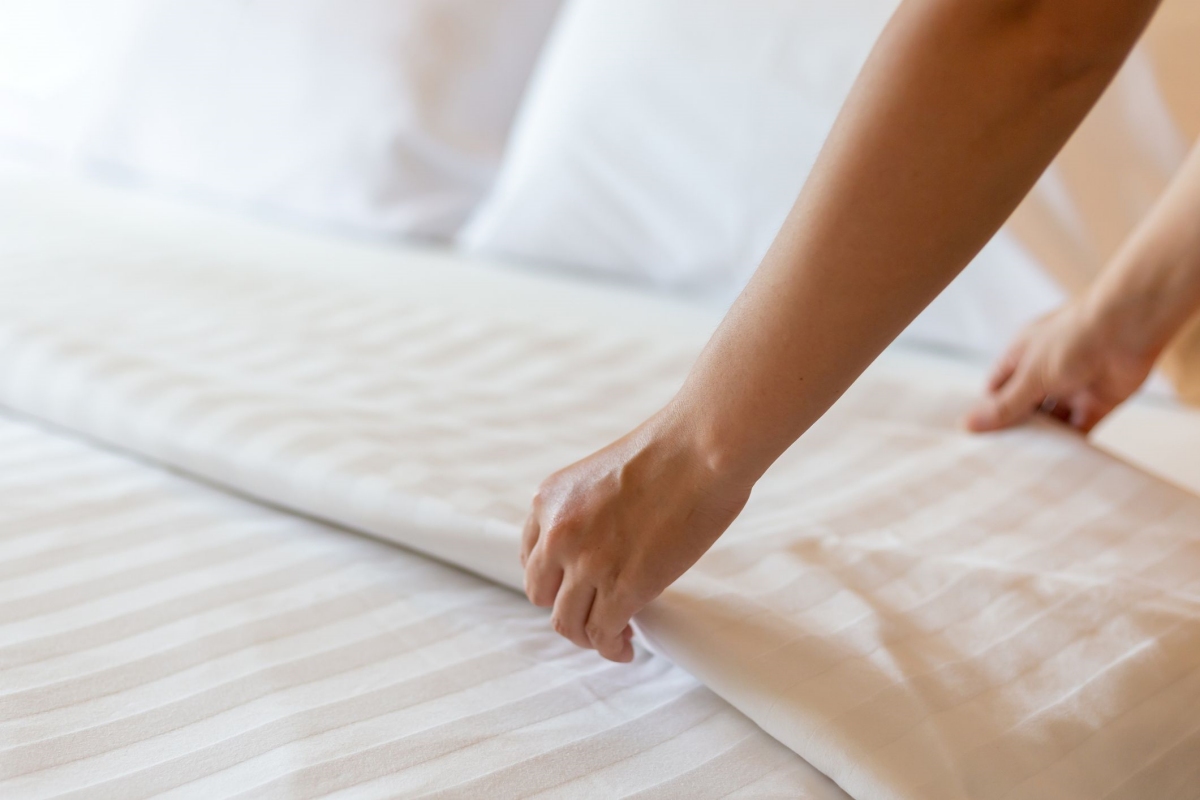
Before you can start deflating the Sleep Number mattress, you’ll need to remove all bedding and accessories from the mattress. This includes pillows, sheets, blankets, and any mattress protectors or toppers.
Start by stripping the mattress of all bedding items, folding and setting them aside. If there are any accessories like remote controls or bed skirts, remove those as well.
It’s important to remove all bedding and accessories to ensure a clear and unobstructed path for the next steps. This will make it easier to handle the mattress and prevent any items from getting tangled or damaged during the removal process.
Once you have removed all the bedding and accessories, you can proceed to the next step of deflating the mattress.
Step 3: Deflate the Sleep Number mattress
Now that you’ve cleared the mattress of any bedding and accessories, it’s time to deflate the Sleep Number mattress. This step is crucial to make the mattress easier to handle and remove from the base.
First, locate the air pump or controller for your Sleep Number mattress. It is typically located near the head of the mattress or integrated into the base. If you’re unsure, refer to your mattress’s instruction manual.
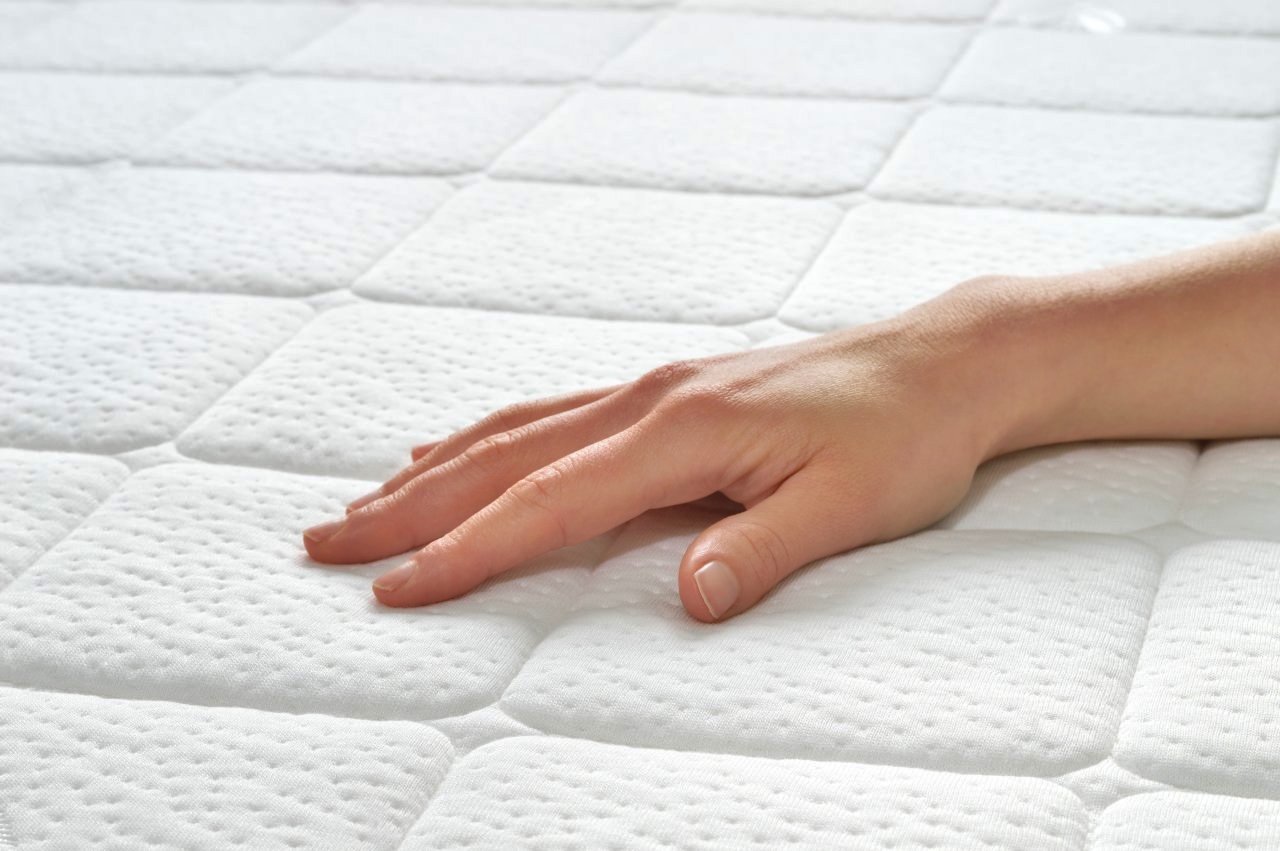
Using the controls, slowly decrease the firmness of the mattress to the lowest setting. This will release the air from the mattress, causing it to deflate gradually.
Be patient during this step, as a slow and controlled deflation process is recommended. Rapidly releasing the air may cause the mattress to bounce or fold in unintended ways, potentially causing damage.
Once the mattress is fully deflated, you can move on to the next step of disconnecting the air hoses.
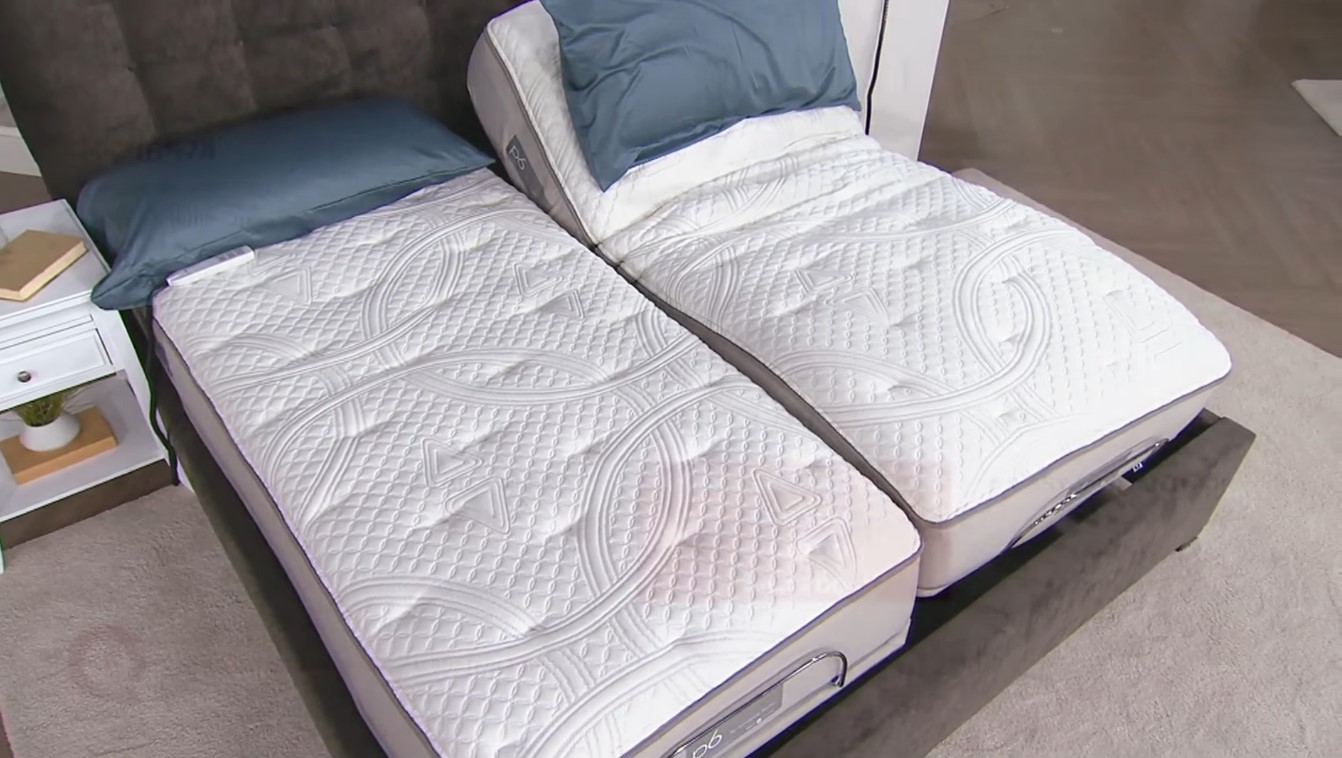
Note: If you have a Sleep Number bed with dual air chambers, make sure to deflate both sides individually.
Step 4: Disconnect the air hoses
With the Sleep Number mattress fully deflated, it’s time to disconnect the air hoses to prepare for removal. The air hoses are responsible for inflating and deflating the mattress, and disconnecting them will ensure a smooth and hassle-free removal process.
Start by locating the air hose connections on your mattress. These are typically located near the head or foot of the mattress, and they may be color-coded for easier identification.
Using your fingers or a pair of pliers, gently twist and disconnect the air hoses from the mattress. Take care not to apply excessive force, as this could damage the connectors or the hoses themselves.
If there are zip ties securing the air hoses to the mattress, you may need to cut or remove them using scissors or wire cutters. This step is necessary to ensure that the hoses are completely free from any attachments.
Once the air hoses are disconnected, carefully set them aside. Make sure they are not tangled or twisted to prevent any damage during the removal process.
With the air hoses successfully disconnected, you’re ready to move on to the next step of removing the mattress from the base.
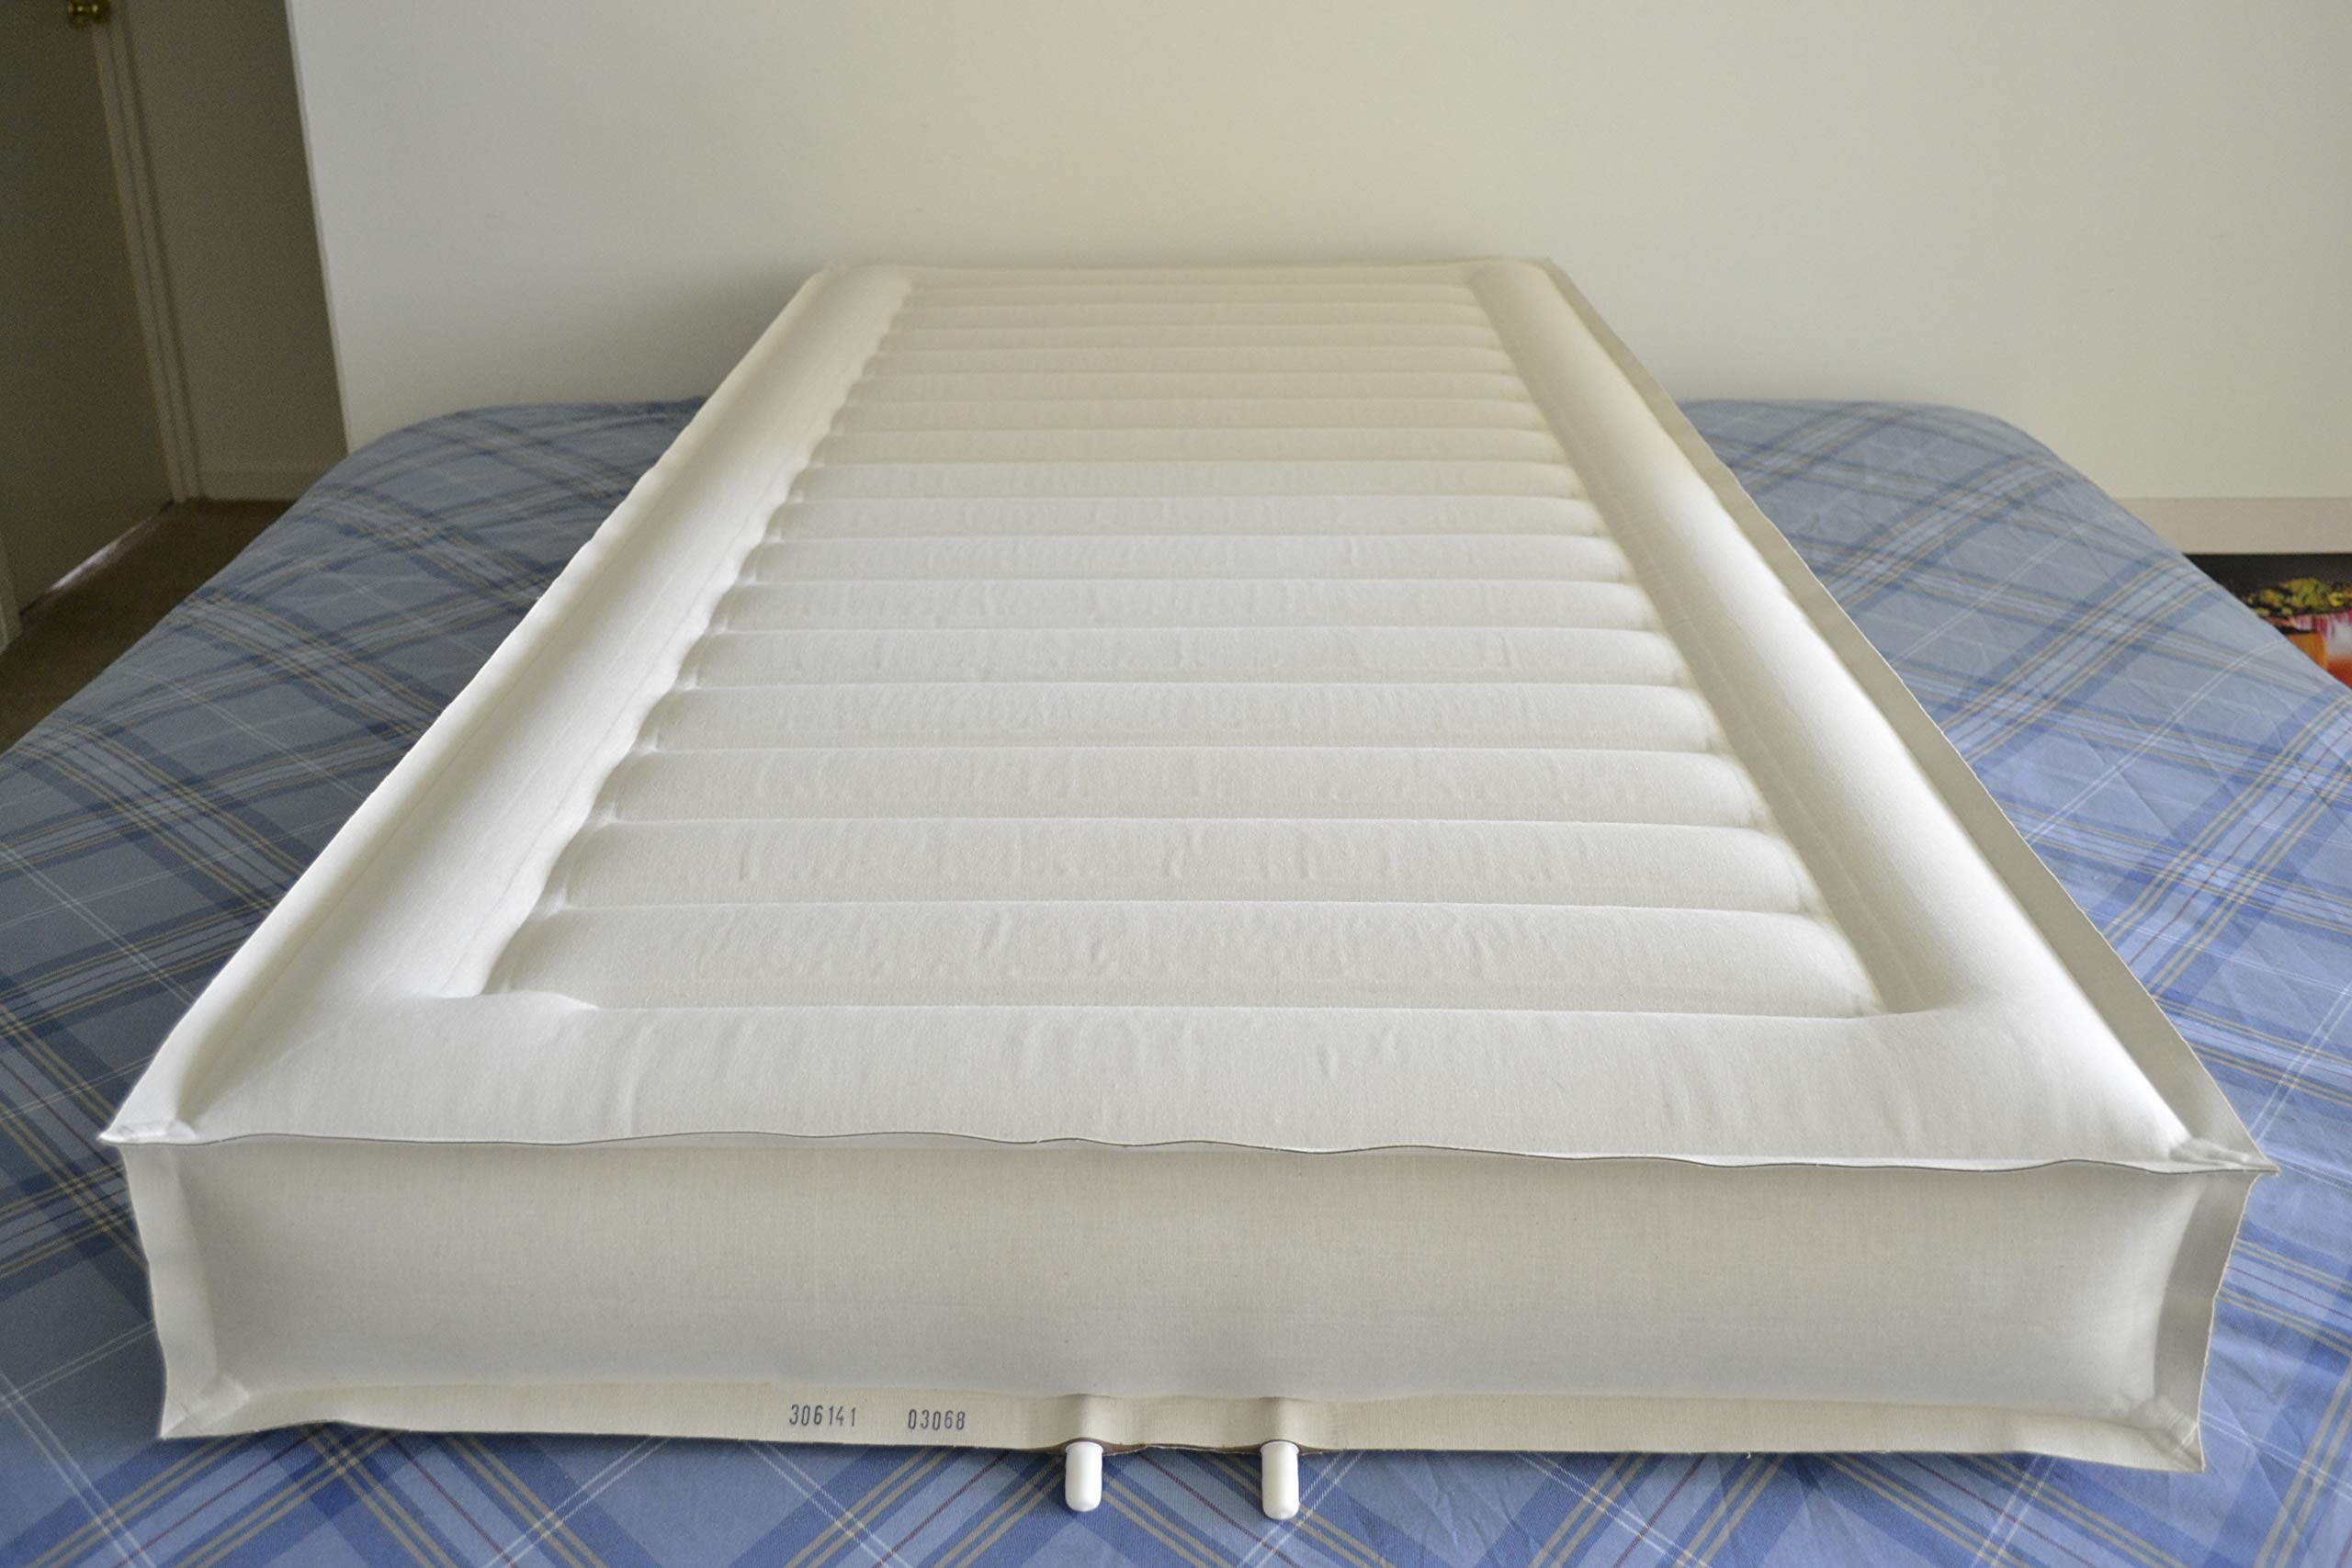
When removing a Sleep Number mattress from its base, start by unzipping the mattress cover and removing the foam comfort layer. Then, carefully lift the mattress off the base and set it aside before disassembling the base.
Read more: How To Clean A Sleep Number Mattress
Step 5: Remove the mattress from the base
Now that the Sleep Number mattress is deflated and the air hoses are disconnected, it’s time to remove the mattress from the base. This step requires careful maneuvering and possibly some assistance, depending on the size and weight of the mattress.
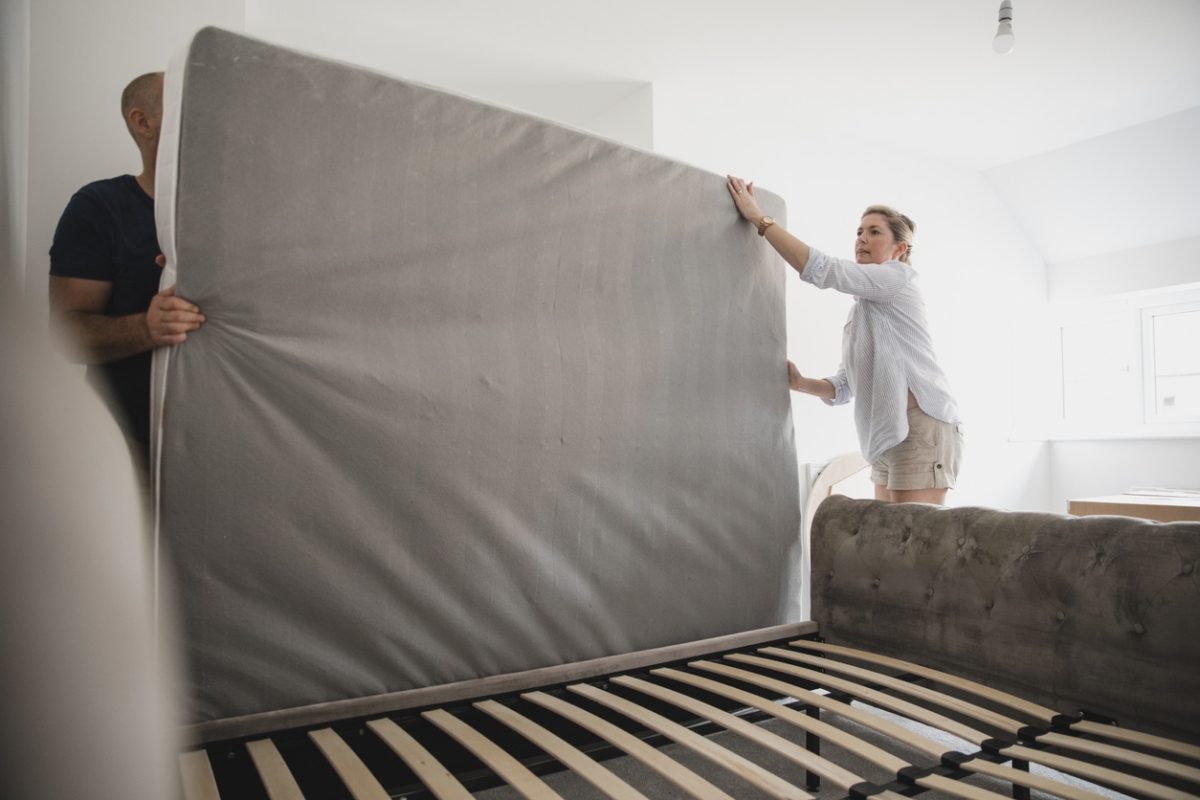
Begin by carefully lifting the mattress from one side, keeping it as flat and level as possible. It’s helpful to have someone assist you in this process, as the mattress can be heavy and cumbersome to handle alone.
If your Sleep Number mattress has corner retainers or straps that secure it to the base, release them to allow for easier removal. Corner retainers are typically located on the underside of the mattress, near the corners.
Once the mattress is free from any attachments, slowly and steadily lift it off the base, being mindful of any obstacles or tight spaces. Take your time to avoid bumping into walls or furniture that may cause damage to the mattress or surrounding items.
Place the mattress in a safe and clean area as you prepare to disassemble the base (if necessary) or move the mattress to a different location. Make sure the area is clear of any sharp objects or debris that could potentially puncture or damage the mattress.
Remember to lift with your legs and not your back to avoid any strain or injuries. If the mattress feels too heavy or awkward to handle, seeking assistance is always a wise decision.
With the Sleep Number mattress successfully removed from the base, you can now move on to the next step, which is disassembling the base (if needed).
Step 6: Disassemble the base (if necessary)
Not all Sleep Number bases require disassembly, as some may be designed as a single unit. However, if your Sleep Number base has modular or adjustable components, you may need to disassemble it before fully completing the removal process.
Begin by consulting the manufacturer’s instructions specific to your Sleep Number base model. These instructions will provide detailed guidance on how to disassemble the base safely and effectively. Follow the steps outlined in the manual to avoid any potential damage to the base or surrounding furniture.
Typically, disassembling the Sleep Number base involves removing screws, bolts, or other fasteners that hold the components together. Use the appropriate tools, such as a Phillips head screwdriver or adjustable wrench, to loosen and remove these fasteners.
Take your time during the disassembly process to ensure that you keep track of all the small parts and hardware. Consider using a container or bag to keep them organized and prevent any losses.
As you disassemble the base, it’s important to note the specific order in which the components come apart. This will make reassembling the base later on much easier and more efficient.
Once the base is disassembled, set aside the components in a safe and organized manner. If you plan to reuse the base in the future, it’s a good idea to label and store the components together, making reassembly a breeze.
If you do not need to disassemble the base, you can skip this step and move on to the next step, which involves cleaning and potentially reassembling the base.
Step 7: Clean and reassemble (optional)
After removing the Sleep Number mattress and, if necessary, disassembling the base, you might want to take the opportunity to clean and reassemble the components.
Cleaning the mattress and base not only helps maintain their longevity but also ensures a fresh and hygienic sleep environment. Start by vacuuming the mattress to remove any dust, debris, or loose particles that may have accumulated over time. Spot clean any stains with a mild detergent or upholstery cleaner, following the manufacturer’s instructions.
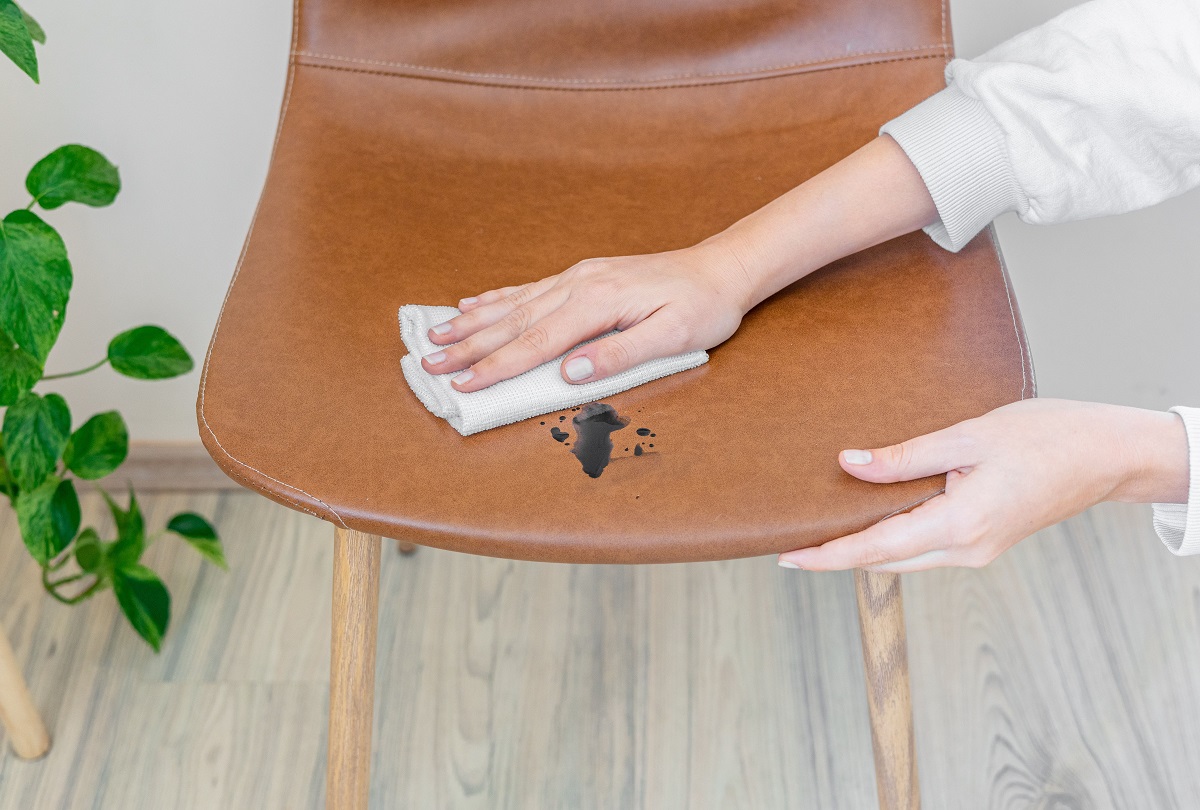
For the base, wipe down the surfaces with a damp cloth to remove any smudges or dirt. Pay attention to any moving parts or mechanisms, making sure they are free of dust or debris. If the base has fabric or upholstery, use a fabric cleaner to spot clean any stains or spills.
If you disassembled the base, now is the time to reassemble it following the manufacturer’s instructions. Take care to align the components properly and secure them using the appropriate fasteners.
Before reassembling the Sleep Number mattress on the base, ensure it is clean, dry, and properly inflated. Connect the air hoses securely to the mattress, making sure there are no leaks or loose connections.
Once the mattress is reassembled on the base, you can begin making the bed with fresh sheets, blankets, and pillows. Enjoy the satisfaction of a clean and refreshed sleep environment.
Remember, the cleaning and reassembly step is optional but highly recommended to maintain the cleanliness and functionality of your Sleep Number mattress and base.
Step 8: Conclusion
Removing a Sleep Number mattress from its base may seem like a daunting task, but by following these step-by-step instructions, you can accomplish it with ease. Properly removing the mattress ensures that it remains in good condition and is ready for relocation or storage.
By gathering the necessary tools and materials, removing the bedding and accessories, deflating the mattress, disconnecting the air hoses, and lifting the mattress from the base, you can safely and successfully complete the removal process.
If your Sleep Number base is modular or adjustable, you may need to disassemble it before fully completing the removal. However, this step is not always necessary, depending on the model of your base.
After removing the mattress and potentially disassembling the base, you have the option to clean the components and reassemble them. This step helps maintain the cleanliness and functionality of the mattress and base, ensuring a comfortable sleep environment.
Remember to consult the manufacturer’s instructions specific to your Sleep Number mattress and base to ensure you are following the proper procedures for your particular model.
With these steps completed, you can now confidently remove your Sleep Number mattress from its base, whether you’re moving, rearranging your bedroom, or simply replacing the base. Enjoy the process and take pride in maintaining your bedroom furniture for years to come!
Frequently Asked Questions about How To Remove A Sleep Number Mattress From Its Base
Was this page helpful?
At Storables.com, we guarantee accurate and reliable information. Our content, validated by Expert Board Contributors, is crafted following stringent Editorial Policies. We're committed to providing you with well-researched, expert-backed insights for all your informational needs.