Furniture
How To Clean A Lava Lamp
Modified: August 16, 2024
Learn how to properly clean your lava lamp and restore its shine. Follow our step-by-step guide for furniture-friendly cleaning methods.
(Many of the links in this article redirect to a specific reviewed product. Your purchase of these products through affiliate links helps to generate commission for Storables.com, at no extra cost. Learn more)
Introduction
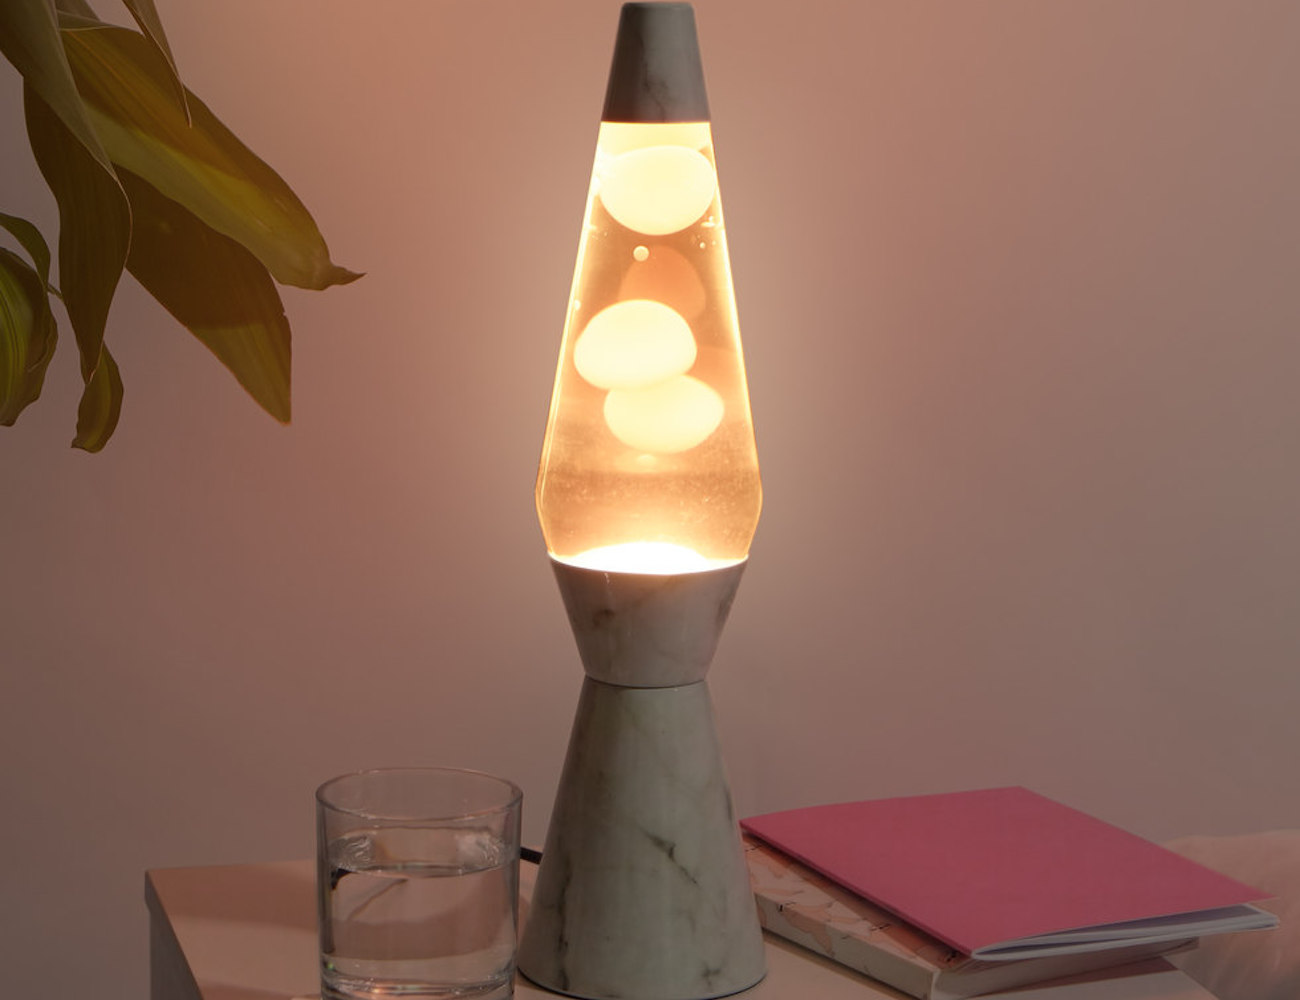
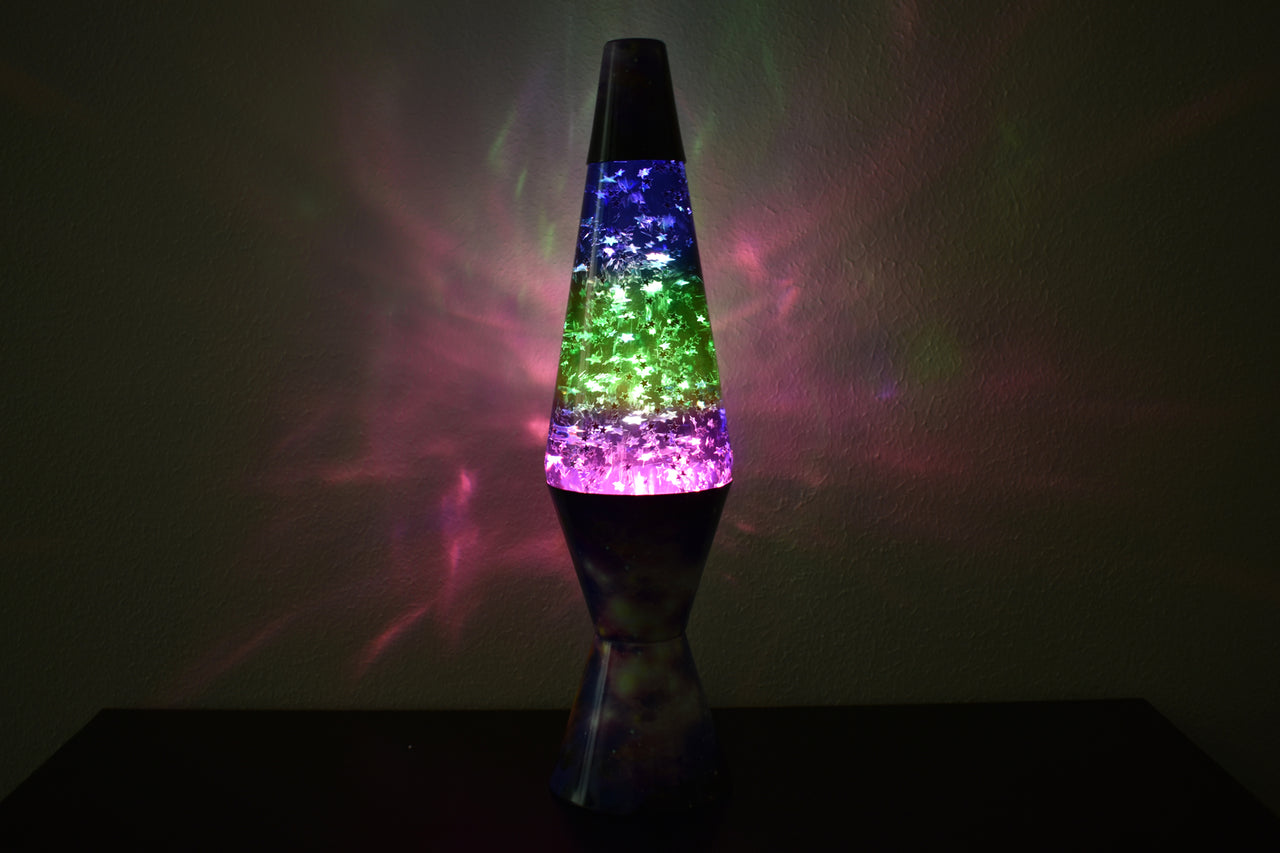
Do you have a lava lamp adorning your living space? If so, you’re likely familiar with the mesmerizing, liquid-filled motion that adds a touch of retro charm to any room. Lava lamps have been around since the 1960s and continue to be a popular decorative item today.
While lava lamps add ambiance and beauty to your space, they require regular maintenance to keep them looking their best and functioning properly. Over time, dust, dirt, and contaminants can accumulate on the glass globe and the wax inside, affecting the lamp’s visual appeal and performance.
In this article, we’ll explore the essential steps on how to clean a lava lamp effectively. Whether you’re a proud lava lamp owner or considering purchasing one, understanding the cleaning process is crucial to prolonging the lifespan and enjoyment of this unique home decor item.
By regularly cleaning your lava lamp, you can restore its vibrant colors, ensure smooth lava flow, and maintain a pristine appearance. Additionally, cleaning a lava lamp can prevent any buildup that may compromise its electrical components, improving its overall safety.
So, let’s dive into the world of lava lamps, dust off those globes, and learn how to bring back the beautiful lava flow!
Key Takeaways:
- Regularly cleaning your lava lamp is crucial to maintaining its vibrant colors, ensuring smooth lava flow, and preventing buildup that may compromise its electrical components, improving its overall safety.
- Proper maintenance, including regular dusting, avoiding extreme temperatures, and changing the liquid and wax every 1 to 2 years, will extend the lifespan of your lava lamp and keep it looking pristine.
Read more: What Is In A Lava Lamp
Safety Precautions
Before you embark on cleaning your lava lamp, it’s crucial to take some essential safety precautions to ensure your well-being and protect the integrity of the lamp. Here are some important measures to consider:
- Disconnect the power: Always disconnect the lava lamp from the power source and allow it to cool down completely before attempting to clean it. This will prevent the risk of electric shock and burns.
- Protective gear: Wear protective gloves to shield your hands from the hot lava and any potential chemicals that may come into contact with your skin during the cleaning process.
- Secure the lamp: Place the lava lamp on a stable, flat surface where it won’t tip over or fall during cleaning. This will prevent any accidents or damage to the lamp.
- Avoid submersion: Never submerge the entire lava lamp in water or any other liquid. Doing so can damage the electrical components and pose a significant safety hazard.
- Wait for cooling: Give the lava lamp enough time to cool down before attempting to disassemble or clean it. Hot lava can cause burns, so it’s crucial to exercise caution.
- Keep away from children and pets: Lava lamps contain hot substances and electrical components, making them potentially hazardous. Ensure that children and pets are kept at a safe distance during the cleaning process.
By following these safety precautions, you can protect yourself, your lava lamp, and anyone around you while cleaning. Remember, your safety is of utmost importance, so exercise caution at all times.
Gathering Supplies
Before you start cleaning your lava lamp, it’s essential to gather the necessary supplies to ensure a successful cleaning process. Here’s a list of items you’ll need:
- Mild dish soap: Look for a gentle dish soap that doesn’t contain any harsh chemicals or abrasives. This will be used to clean the glass globe and base of the lava lamp.
- Microfiber or soft cloth: Opt for a lint-free microfiber cloth or a soft cloth to clean the glass globe and wipe down the base. Avoid using paper towels or rough materials that could scratch the glass.
- Warm water: You’ll need warm water to mix with the dish soap for cleaning purposes. Make sure the water is not too hot, as it could damage the lava lamp.
- Cotton swabs: These are handy for reaching small crevices and cleaning hard-to-reach areas of the lamp, such as the base or decorative parts.
- Rubbing alcohol: Isopropyl alcohol can be used for stubborn stains or to remove any residue from the glass globe. Make sure to dilute it with water before use.
- Protective gloves: To ensure your safety during the cleaning process, consider wearing protective gloves to protect your hands from hot lava and potential chemicals.
- Screwdriver or pliers: Depending on your lava lamp model, you may need a screwdriver or pliers to safely disassemble the lamp for cleaning. Check the lamp’s instructions or manufacturer’s guidelines for the appropriate tools.
Make sure to gather all these supplies before you start cleaning your lava lamp. Having everything within reach will make the cleaning process smoother and more efficient.
Disassembling the Lava Lamp
Before you can begin cleaning the various components of your lava lamp, you’ll need to safely disassemble it. Follow these step-by-step instructions to ensure a smooth disassembly process:
- Turn off and unplug the lava lamp: Ensure that the lamp is switched off and unplugged from the power source. Let it cool down completely before proceeding.
- Remove the glass globe: Carefully lift the glass globe off the lamp’s base. Hold it with both hands to prevent dropping or damaging the delicate glass.
- Remove the cap: Check if your lava lamp has a cap or cover on top. If it does, gently unscrew or pry it off using a screwdriver or pliers, depending on the design.
- Detach the bottle: Some lava lamps have a separate bottle or container that holds the liquid and wax. If your lamp has one, carefully pull it out or unscrew it from the base.
- Take out the bulb: Remove the bulb from its socket, typically located in the base of the lamp. Be careful not to touch the bulb with bare hands, as it may be hot or greasy from previous use.
Remember to review the manufacturer’s instructions or any specific guidelines for your lava lamp model to ensure proper disassembly. Take your time and handle each component with care to avoid any damage.
Once you’ve successfully disassembled your lava lamp, you can move on to cleaning each part individually to restore its beauty and functionality.
Cleaning the Base
The base of your lava lamp is an important component that houses the electrical parts and supports the entire structure. Cleaning the base ensures not only the lamp’s visual appeal but also its proper functioning. Here are some tips and methods for effectively cleaning the base of a lava lamp:
- Disconnect the base: Before cleaning the base, make sure the lava lamp is turned off and unplugged from the power source. This step is crucial for your safety.
- Remove dust and debris: Use a soft cloth or a brush to gently remove any dust or debris that has accumulated on the base. This will help in preparing the surface for a thorough cleaning.
- Prepare a cleaning solution: Mix a small amount of mild dish soap with warm water in a container. Ensure that the solution is well-diluted to avoid any potential damage to the base.
- Clean the base: Dip a non-abrasive cloth or sponge into the cleaning solution and squeeze out any excess water. Gently wipe down the base, paying attention to any stains or built-up grime. For stubborn spots, use a soft-bristled brush or a cotton swab for more precise cleaning.
- Rinse and dry: After cleaning, rinse the base with clean water to remove any soap residue. Then, use a dry cloth to thoroughly dry the base before reassembling the lamp.
- Polish the base (optional): If you want to restore or enhance the shine of the base, you can use a metal or plastic polish. Apply a small amount of polish to a soft cloth and buff the base gently using circular motions.
Remember to handle the base with care and avoid using abrasive materials or harsh chemicals that could scratch or damage the surface. Regularly cleaning the base not only keeps your lava lamp looking its best but also ensures proper heat dissipation and electrical safety.
Once the base is clean and dry, you can move on to cleaning the other components of the lava lamp to complete the overall cleaning process.
Read more: Who Made The Lava Lamp
Cleaning the Glass Globe
The glass globe of a lava lamp is the centerpiece that showcases the mesmerizing lava flow. Over time, it can become coated with dust, fingerprints, and other residues, hindering the lamp’s visual appeal. Cleaning the glass globe is essential to restore its clarity and beauty. Here are some techniques for effectively cleaning the glass globe of a lava lamp:
- Let the globe cool down: Ensure that the glass globe is completely cooled down before cleaning. This helps prevent any potential breakage or damage due to temperature differences.
- Prepare a cleaning solution: Mix a small amount of mild dish soap with warm water in a container. Make sure the dish soap is gentle and free from any harsh chemicals that could damage the glass.
- Use a soft cloth or sponge: Dampen a soft, lint-free cloth or sponge with the cleaning solution. Gently wipe the glass globe, starting from the top and working your way down, in a circular motion. Avoid applying excessive pressure to prevent scratching.
- Reach small crevices: For hard-to-reach areas or intricate patterns on the glass globe, use a cotton swab or a soft-bristled brush. Dip the cotton swab or brush into the cleaning solution and carefully clean those areas, ensuring no residue is left behind.
- Remove stubborn stains: If the glass globe has stubborn stains or mineral deposits, you can use a mixture of equal parts water and white vinegar. Dampen a cloth with this solution and gently scrub the affected areas. Rinse thoroughly with clean water afterward.
- Rinse and dry: After cleaning, rinse the glass globe thoroughly with clean water to remove any soap or vinegar residue. Ensure all cleaning solution is removed. Use a soft, dry cloth to gently dry the globe. Avoid using paper towels or rough materials that could scratch the glass surface.
- Polish the glass (optional): If desired, you can polish the glass globe to restore its shine. Use a glass cleaner or a specialized glass polish, following the manufacturer’s instructions. Apply the polish in circular motions and buff the glass gently with a clean, soft cloth.
Remember to handle the glass globe with care to avoid any accidental drops or bumps. Regularly cleaning the glass globe will enhance the lava lamp’s aesthetic appeal, allowing the mesmerizing lava flow to be clearly seen and appreciated.
Once the glass globe is clean and dry, you can proceed to clean the wax and liquid components of the lava lamp for a complete refresh.
To clean a lava lamp, unplug it and let it cool completely. Remove the top and carefully pour out the liquid. Clean the glass with a soft cloth and mild soap. Use a bottle brush to clean the inside of the glass and rinse thoroughly before refilling.
Cleaning the Wax and Liquid
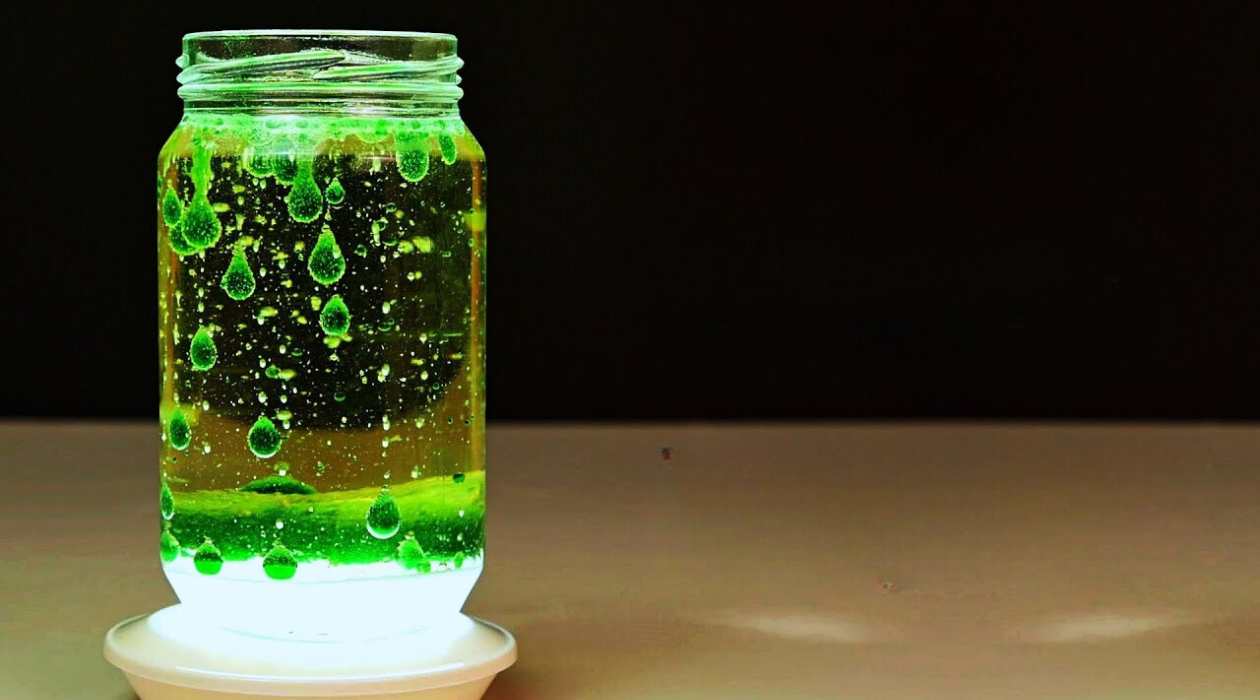
The wax and liquid inside a lava lamp are the dynamic components that create the captivating lava flow. Over time, the wax can become cloudy or develop clumps, affecting the lamp’s performance. Cleaning the wax and liquid components is crucial to maintain the lamp’s visual appeal and ensure smooth lava movement. Follow these instructions to effectively clean the wax and liquid inside a lava lamp:
- Let the lamp cool down: Turn off the lava lamp and allow it to cool down completely before attempting to clean the wax and liquid. This ensures your safety and prevents any damage to the lamp.
- Remove excess heat: To help soften the wax and facilitate the cleaning process, turn the lamp on and let it operate for several hours. This will help liquefy the wax and make it easier to work with.
- Drain the liquid: Carefully tilt the lava lamp to one side to pour out the liquid into a container. Be cautious not to spill or drop the lamp during this process. Set the liquid aside for further cleaning.
- Separate the wax: Once the liquid is removed, pour the wax carefully into a separate container. Be cautious while handling the hot wax to avoid any burns.
- Clean the liquid: The liquid inside the lava lamp can accumulate dust and debris over time. To clean it, mix a small amount of mild dish soap with warm water in a container. Gently swirl the liquid in the soapy water, taking care not to create excessive bubbles. Rinse it thoroughly with clean water to remove any soap residue. Set the cleaned liquid aside.
- Clean the wax: The wax can develop clumps or become discolored, affecting its performance. To clean the wax, place it in a separate container and fill it with warm water. Let the wax soak for a few hours or overnight. Afterward, gently agitate the wax to break up any clumps. Rinse the wax under running water until it runs clear. Allow the wax to dry completely before reintroducing it into the lava lamp.
Remember to handle the wax and liquid components with care, as they can be hot and potentially hazardous. By cleaning the wax and liquid, you can restore the lava lamp’s mesmerizing flow and ensure its optimal performance.
Once the wax and liquid are cleaned and thoroughly dried, you are ready to reassemble your lava lamp and enjoy its stunning visual display.
Reassembling the Lava Lamp
After cleaning the various components of your lava lamp, it’s time to put it back together and restore its beautiful display. Follow these guidelines to ensure a successful reassembly:
- Ensure that all components are clean and completely dry before starting the reassembly process.
- Start with the base: Place the base of the lava lamp on a stable, flat surface. Ensure that the power cord is positioned properly and not twisted or tangled.
- Insert the bulb: Carefully insert the bulb into its socket in the base. Make sure it fits securely and is properly aligned.
- Reattach the bottle (if applicable): If your lava lamp has a separate bottle or container for the liquid and wax, reattach it to the base. Screw it on securely, but avoid overtightening to prevent any damage.
- Position the glass globe: Take the clean and dry glass globe and carefully lower it onto the base, ensuring that it fits snugly. Align any notches or grooves on the globe with the corresponding parts on the base to ensure a proper fit.
- Secure the cap (if applicable): If your lava lamp has a cap or cover on top of the glass globe, attach it securely by screwing it on or snapping it into place.
- Check the alignment: Once the lava lamp is reassembled, double-check that all components are properly aligned and secure. Ensure that there are no loose or wobbly parts.
- Plug in and test: Finally, plug in the lava lamp and turn it on to test its functionality. Allow it some time to heat up and start the lava flow. Observe the flow and make sure it is smooth and captivating.
By following these guidelines, you can confidently reassemble your lava lamp and enjoy its mesmerizing display. If you encounter any issues or abnormalities during the reassembly or testing process, refer to the manufacturer’s instructions or seek professional assistance.
Now that your lava lamp is beautifully reassembled, sit back, relax, and enjoy the enchanting display of colorful lava floating and flowing within the glass globe.
Testing and Troubleshooting
After cleaning and reassembling your lava lamp, it’s important to conduct some testing to ensure that it is functioning properly. Here are some suggestions for testing and addressing any potential issues that may arise:
- Allow sufficient warm-up time: After plugging in the lava lamp, give it ample time to warm up. The wax needs time to liquefy and start flowing. It may take anywhere from 1 to 3 hours for the lava lamp to reach optimal operating temperature.
- Observe the lava flow: Watch the lava flow carefully. It should appear smooth and undisturbed. If you notice any irregularities such as bubbles, clumping, or the lava not flowing properly, there may be an issue.
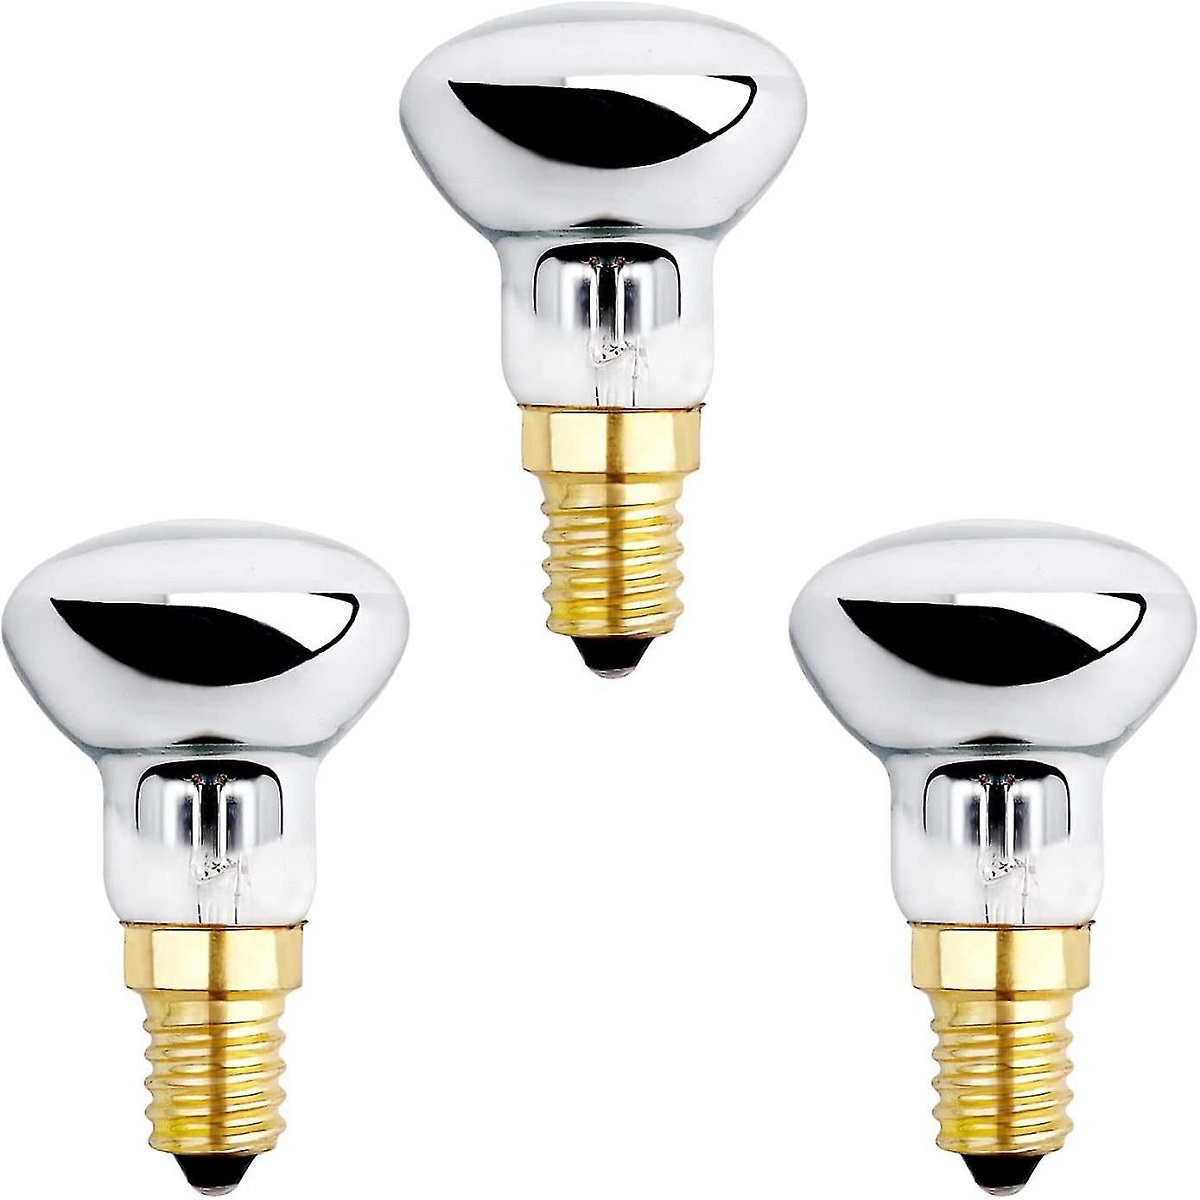
- Check the bulb: Ensure that the bulb is properly installed and functioning. If the lamp doesn’t light up, try replacing the bulb with a new one of the same wattage and type recommended by the manufacturer.
- Address excessive heat: If the lava lamp becomes excessively hot or heats up too quickly, it could indicate an issue with the electrical components. Unplug the lamp immediately and allow it to cool down. Contact the manufacturer or seek professional assistance to resolve the problem.
- Address cloudy liquid: If the liquid inside the lava lamp appears cloudy even after cleaning, it may be due to hard water deposits or other impurities. Consider using distilled water or a specialized cleaning solution specifically designed for removing mineral buildup.
- Troubleshoot lava clumping: If the wax in the lava lamp consistently clumps or sticks together, it could be due to factors such as incorrect bulb wattage, ambient temperature, or improper cleaning. Experiment with different bulb wattages or consult the manufacturer for specific troubleshooting steps.
- Refer to the manufacturer’s instructions: If you encounter any issues or are unsure how to address a specific problem, consult the lava lamp’s manual or contact the manufacturer for guidance. They will have valuable insights and expertise to help troubleshoot and resolve any issues you may be facing.
Remember that troubleshooting a lava lamp can sometimes require patience and experimentation. Be careful not to manipulate or shake the lamp excessively, as this may cause damage. Always prioritize your safety and consult professionals if necessary.
By testing and addressing any potential issues promptly, you can ensure that your lava lamp remains in optimal condition, providing you with hours of mesmerizing beauty and relaxation.
Read more: How To Fix A Shaken Lava Lamp
Maintenance Tips
To keep your lava lamp looking its best and functioning properly, regular maintenance and care are essential. Here are some valuable tips to help you maintain your lava lamp:
- Keep the lamp upright: Always ensure that your lava lamp is kept upright and on a stable surface. Avoid moving or shaking it vigorously, as this can disrupt the flow of the lava and potentially damage the lamp.
- Avoid extreme temperatures: Lava lamps are sensitive to extreme temperatures. Keep your lava lamp away from direct sunlight, drafts, and areas with fluctuating temperatures. Exposure to excessive heat or cold can affect the lava flow and the internal mechanisms of the lamp.
- Regularly dust the lamp: Dust can accumulate on the surface of the lamp and affect its visual appeal. Use a soft cloth or a duster to gently remove any dust from the base and the glass globe. Regular dusting will keep your lava lamp looking clean and vibrant.
- Change the liquid and wax: Over time, the liquid and wax inside the lava lamp can degrade or become discolored. Consider changing the liquid and wax every 1 to 2 years to maintain the lamp’s performance and appearance. Follow the manufacturer’s instructions for safely replacing the liquid and wax.
- Use distilled water: When refilling the lava lamp with fresh liquid, it’s recommended to use distilled water to minimize the risk of mineral deposits. Distilled water helps keep the liquid clear and free from unwanted substances that may affect the lava flow.
- Protect from bumps and falls: Lava lamps are delicate items. Take precautions to protect your lamp from accidental bumps or falls. Ensure that it is placed in an area where it won’t be knocked over or damaged easily.
- Inspect the electrical components: Periodically check the electrical components of the lava lamp, including the cord, plug, and socket. If you notice any signs of damage or wear, such as frayed wires or loose connections, discontinue use and seek professional assistance or replace the lamp.
- Read the manufacturer’s instructions: Familiarize yourself with the specific maintenance guidelines provided by the manufacturer. They may have specific recommendations on cleaning methods, bulb replacement, and other essential tips to ensure the longevity of your lava lamp.
By following these maintenance tips, you can extend the lifespan of your lava lamp and enjoy its captivating display for years to come. Regular cleaning, proper care, and attention to detail will keep your lava lamp looking pristine and functioning at its best.
Remember, each lava lamp may have unique guidelines and requirements, so always refer to the manufacturer’s instructions for the best maintenance practices.
Conclusion
Cleaning a lava lamp is essential to maintain its visual appeal, functionality, and safety. By following the proper cleaning techniques and implementing regular maintenance, you can ensure that your lava lamp remains a captivating centerpiece in your home for years to come.
In this article, we discussed the importance of cleaning a lava lamp and provided a comprehensive guide on how to clean each component effectively. We started by emphasizing the need for safety precautions before diving into the step-by-step process of disassembling the lamp.
We then discussed the proper techniques for cleaning the base, glass globe, wax, and liquid. Each component requires specific attention and care to ensure optimal cleaning results without causing any damage. Additionally, we provided guidelines for reassembling the lava lamp and testing it to address any potential issues.
To maintain the longevity of your lava lamp, we shared valuable maintenance tips, including proper dusting, avoiding extreme temperatures, regular liquid and wax changes, and protecting the lamp from bumps and falls. We also stressed the importance of referring to the manufacturer’s instructions for specific guidance.
Remember, cleaning and maintaining your lava lamp not only enhances its aesthetic appeal but also contributes to its smooth lava flow and overall performance.
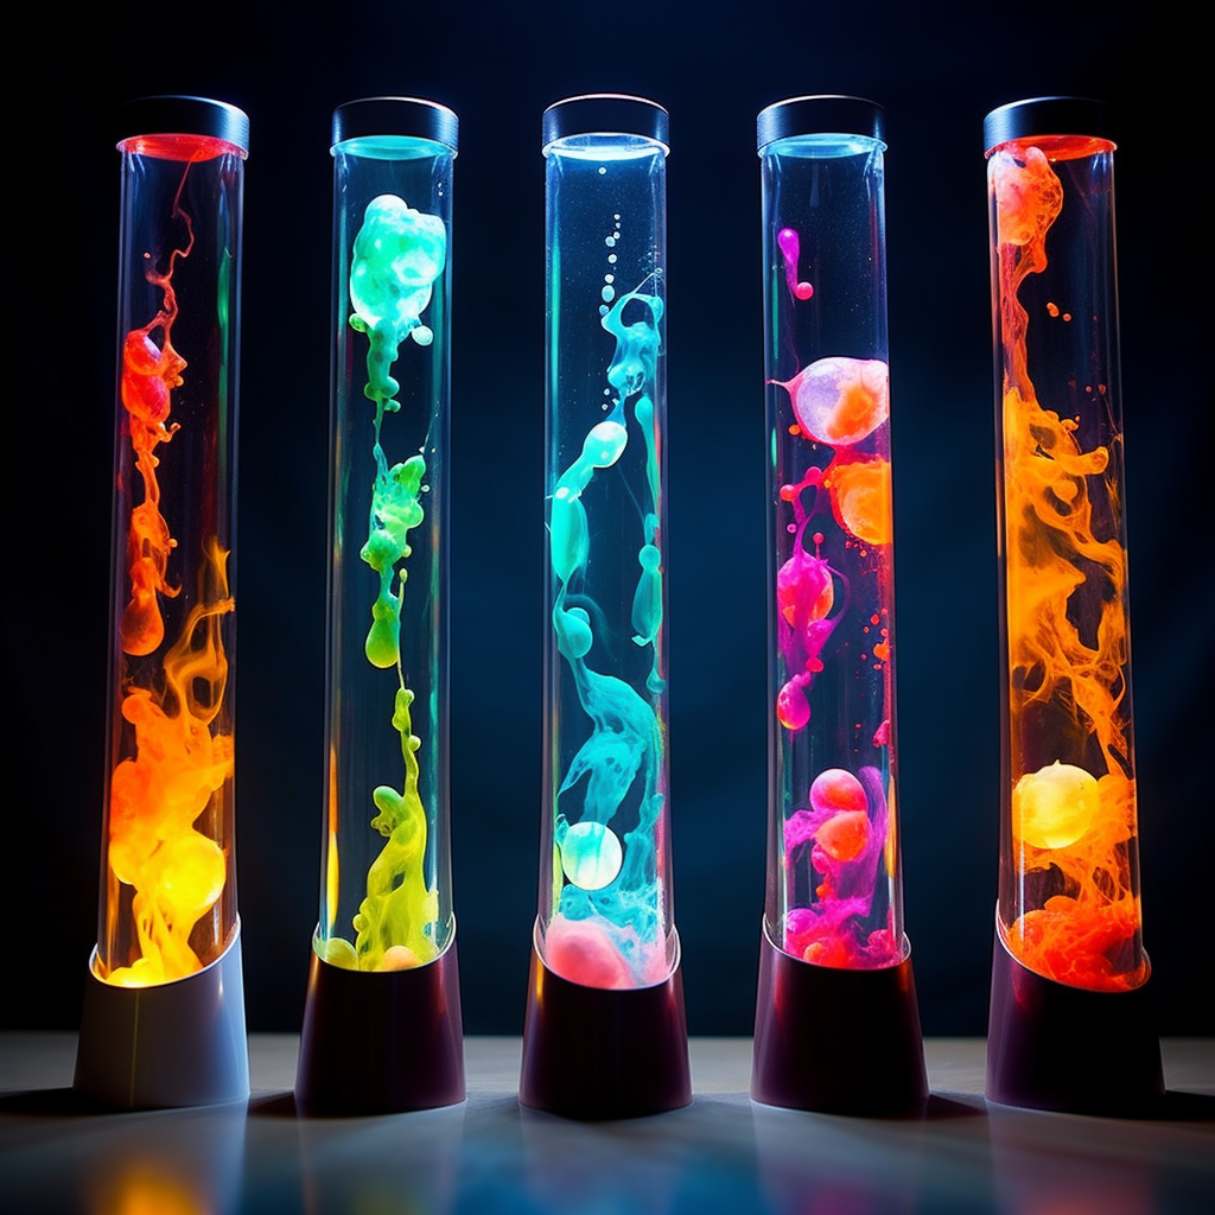
So, take the time to care for and clean your lava lamp regularly. Enjoy the soothing motion and vibrant colors as the lava swirls within the glass globe, creating a nostalgic and mesmerizing ambiance in your space.
Frequently Asked Questions about How To Clean A Lava Lamp
Was this page helpful?
At Storables.com, we guarantee accurate and reliable information. Our content, validated by Expert Board Contributors, is crafted following stringent Editorial Policies. We're committed to providing you with well-researched, expert-backed insights for all your informational needs.

0 thoughts on “How To Clean A Lava Lamp”