Furniture
How To Install A Lamp Cord Switch
Modified: February 24, 2024
Learn how to install a lamp cord switch in your furniture easily with this step-by-step guide. Upgrade your lighting fixtures with a simple switch installation.
(Many of the links in this article redirect to a specific reviewed product. Your purchase of these products through affiliate links helps to generate commission for Storables.com, at no extra cost. Learn more)
Introduction
Welcome to our comprehensive guide on how to install a lamp cord switch. Have you ever found yourself struggling to reach the switch on your bedside lamp or desk lamp? Or maybe you have a vintage lamp that needs a new switch to restore its functionality. Whatever the reason may be, installing a lamp cord switch is a relatively simple and cost-effective solution that can enhance your convenience and enhance the lifespan of your lamp.
In this article, we will walk you through each step of the installation process, ensuring that you have all the necessary information and tools at your disposal to successfully complete the task. Whether you’re a DIY enthusiast looking to expand your skillset or simply want to save money and time, follow our guide to easily install a lamp cord switch.
Before we dive into the installation process, let’s take a moment to familiarize ourselves with the materials that we will need.
Key Takeaways:
- Easily enhance your lamp’s functionality and convenience by following our simple guide to install a lamp cord switch. Prioritize safety, prepare the materials, and enjoy the benefits of effortless lighting control.
- With the right tools and steps, installing a lamp cord switch is a cost-effective way to upgrade your lamp. Prioritize safety, follow the process, and bask in the convenience of seamless lighting control.
Materials Needed
Before you begin the installation process, it’s important to gather all the necessary tools and materials to ensure a smooth and successful project. Here are the materials you’ll need:
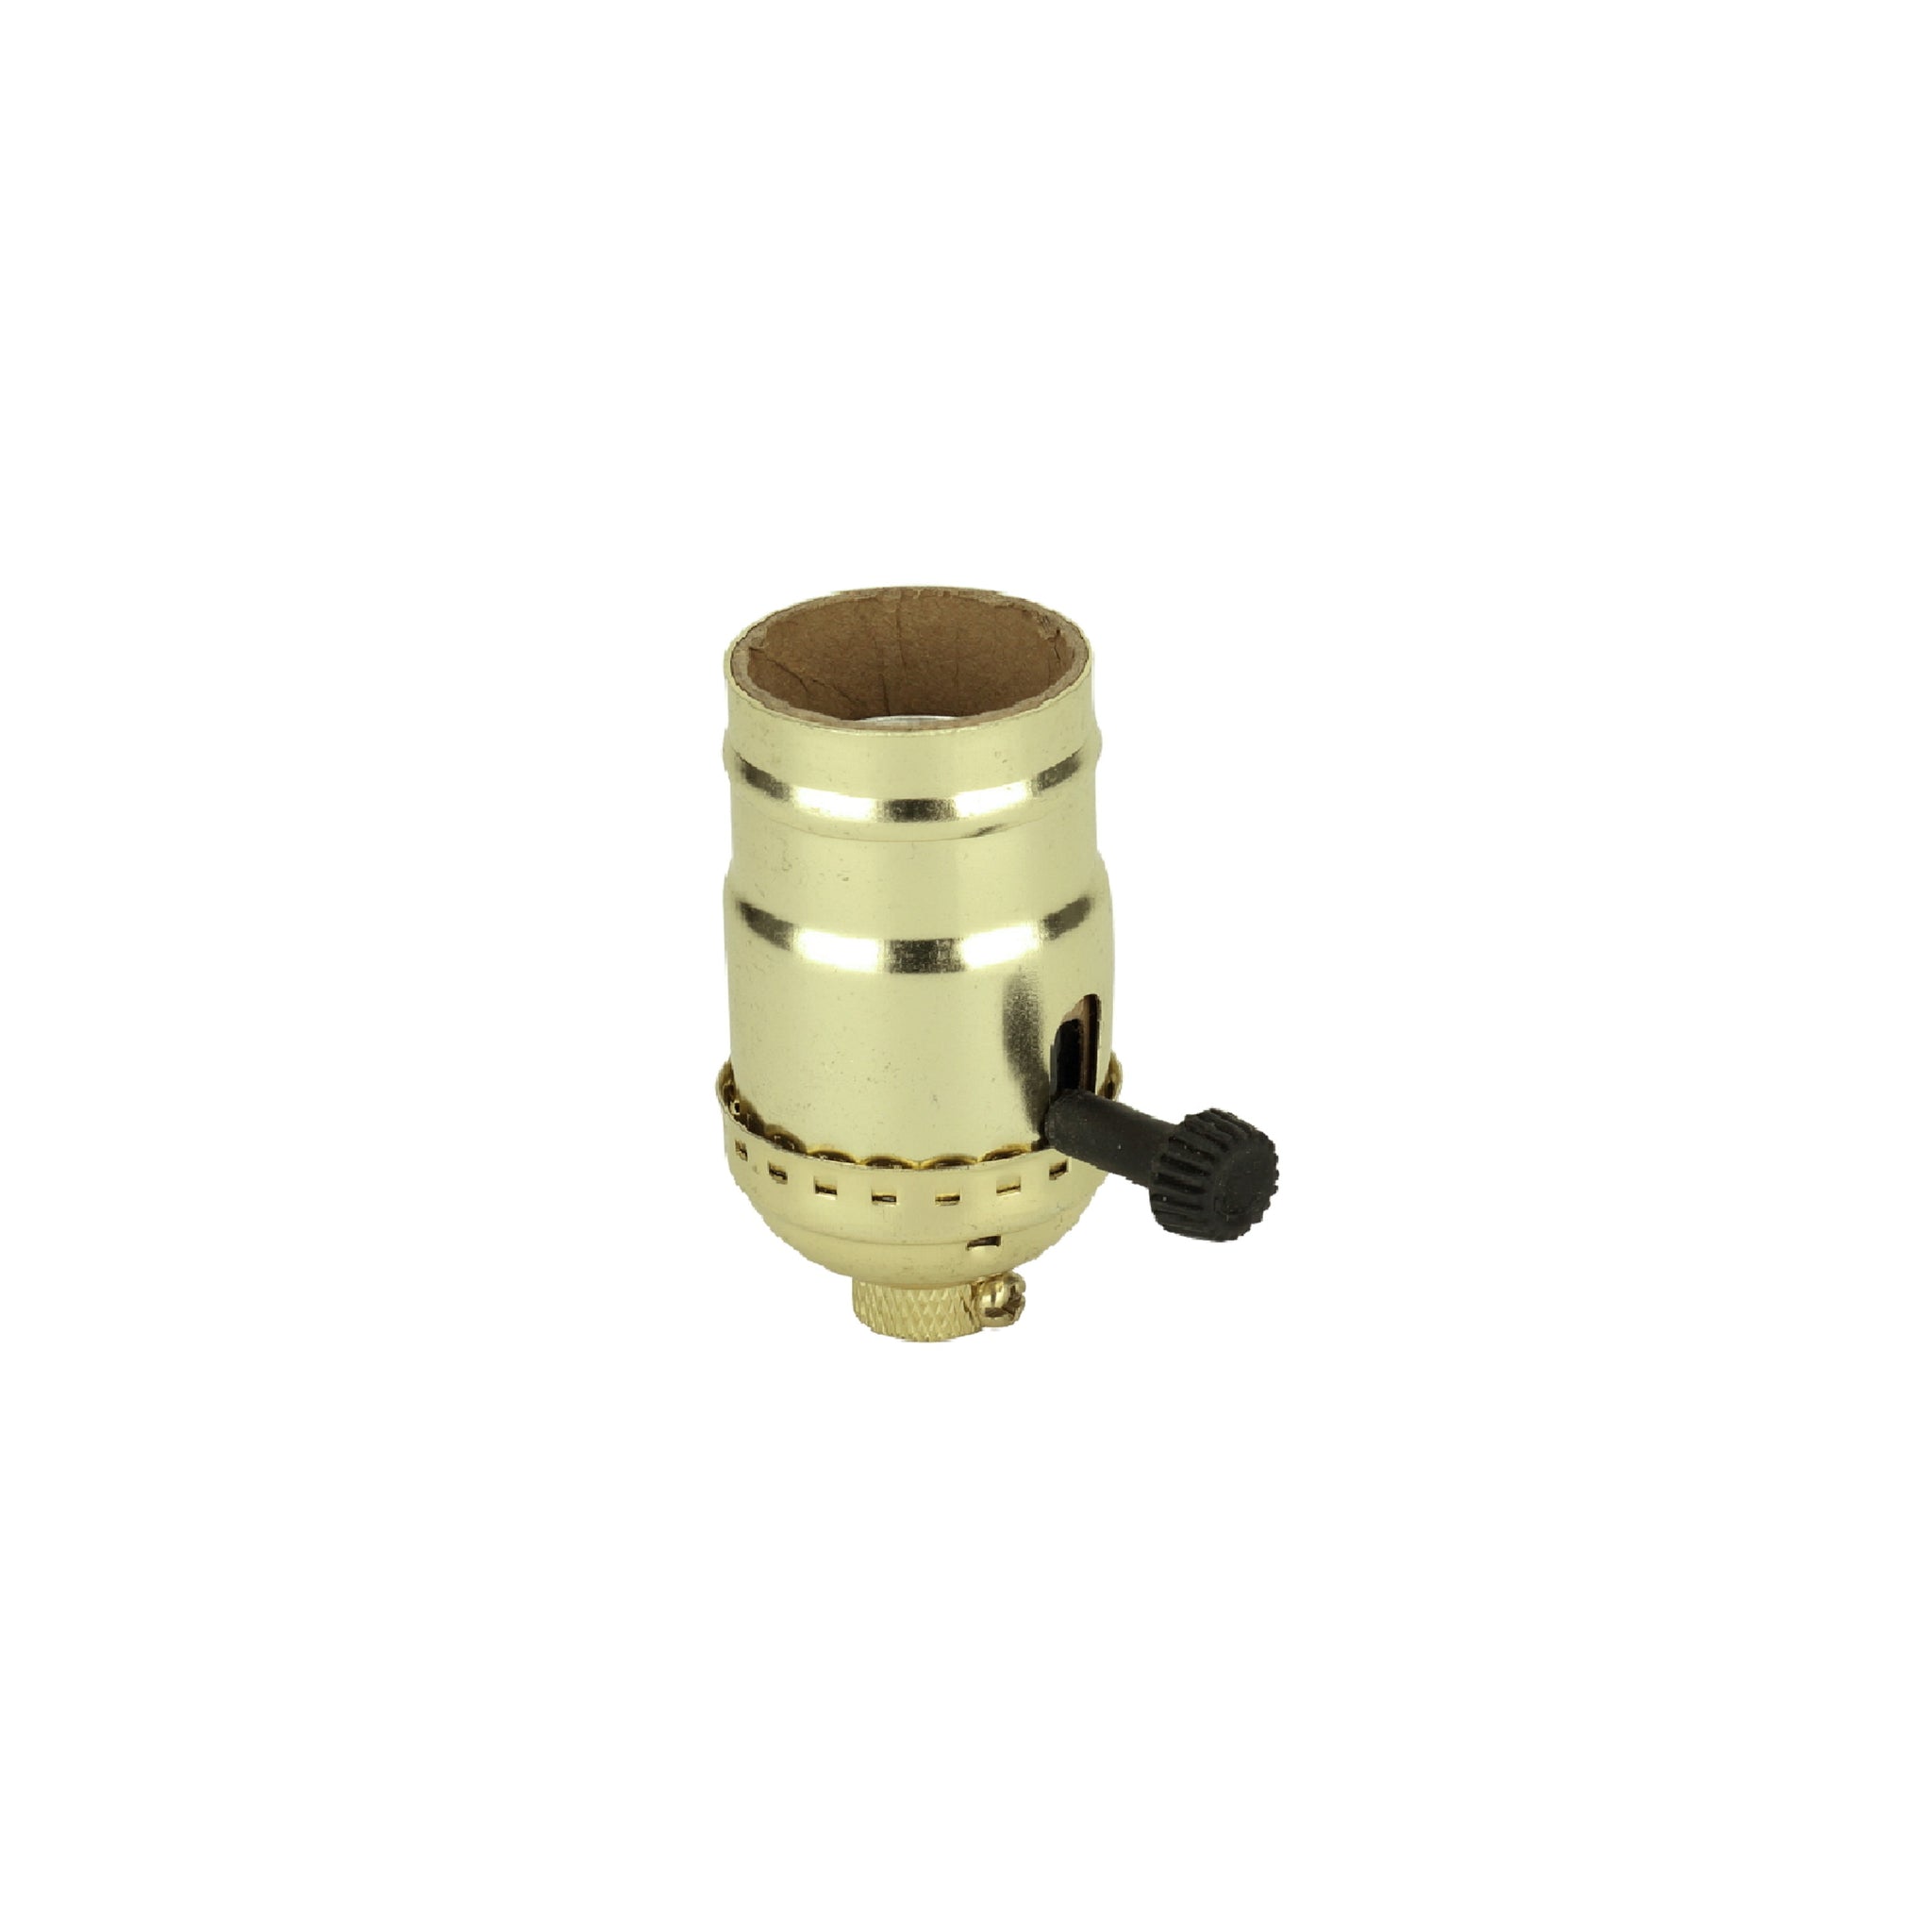
- Lamp cord switch: Make sure to choose a switch that is compatible with your lamp and meets your specific needs.
- Wire cutters/strippers: These tools will be used to cut and strip the lamp cord.
- Screwdriver: Depending on the type of switch and lamp, you may need a flathead or Phillips screwdriver.
- Tape measure: This will come in handy for measuring the length of the lamp cord.
- Electrical tape: Electrical tape is used to secure the wiring connections and provide insulation.
- Wire nuts: Wire nuts are small caps used to connect and secure wires together.
- Marker or pencil: This will be used to mark the spots for cutting and stripping the lamp cord.
- Protective gloves: To ensure your safety, it’s recommended to wear protective gloves when working with electrical components.
By having these materials readily available, you’ll be well-prepared to tackle the installation process and avoid any unnecessary delays.
Step 1: Gather all necessary tools and equipment
Before you start the installation process, it’s important to gather all the necessary tools and equipment to ensure a smooth and successful project. Here’s what you’ll need:
- Lamp cord switch: Choose a switch that is compatible with your lamp and meets your specific needs.
- Wire cutters/strippers: These tools are essential for cutting and stripping the lamp cord.
- Screwdriver: Depending on the type of switch and lamp, you may need a flathead or Phillips screwdriver.
- Tape measure: Use a tape measure to determine the length of the lamp cord.
- Electrical tape: This tape is used to secure the wiring connections and provide insulation.
- Wire nuts: Wire nuts are small caps used to connect and secure wires together.
- Marker or pencil: Use a marker or pencil to mark the spots for cutting and stripping the lamp cord.
- Protective gloves: For safety purposes, it’s recommended to wear protective gloves when working with electrical components.
By having these tools and equipment ready, you’ll be well-prepared to tackle the installation process without any delays.
Step 2: Prepare the lamp cord and switch
Now that you have gathered all the necessary tools and equipment, it’s time to prepare the lamp cord and switch for installation. Follow these steps:
- Start by unplugging the lamp from the power outlet to ensure your safety.
- If your lamp already has a switch, remove any coverings or casings to expose the lamp cord. If your lamp does not have a switch, skip to the next step.
- Next, examine the lamp cord and identify the section that needs to be cut to accommodate the switch. Measure the length of this section using a tape measure.
- Use a marker or pencil to mark the spot where you will cut the lamp cord. Make sure to leave enough room on both ends to connect the cord to the switch and the socket.
- Once you have marked the spot, use wire cutters to carefully cut the lamp cord at the designated spot. Take caution to avoid cutting any other wires or damaging the cord.
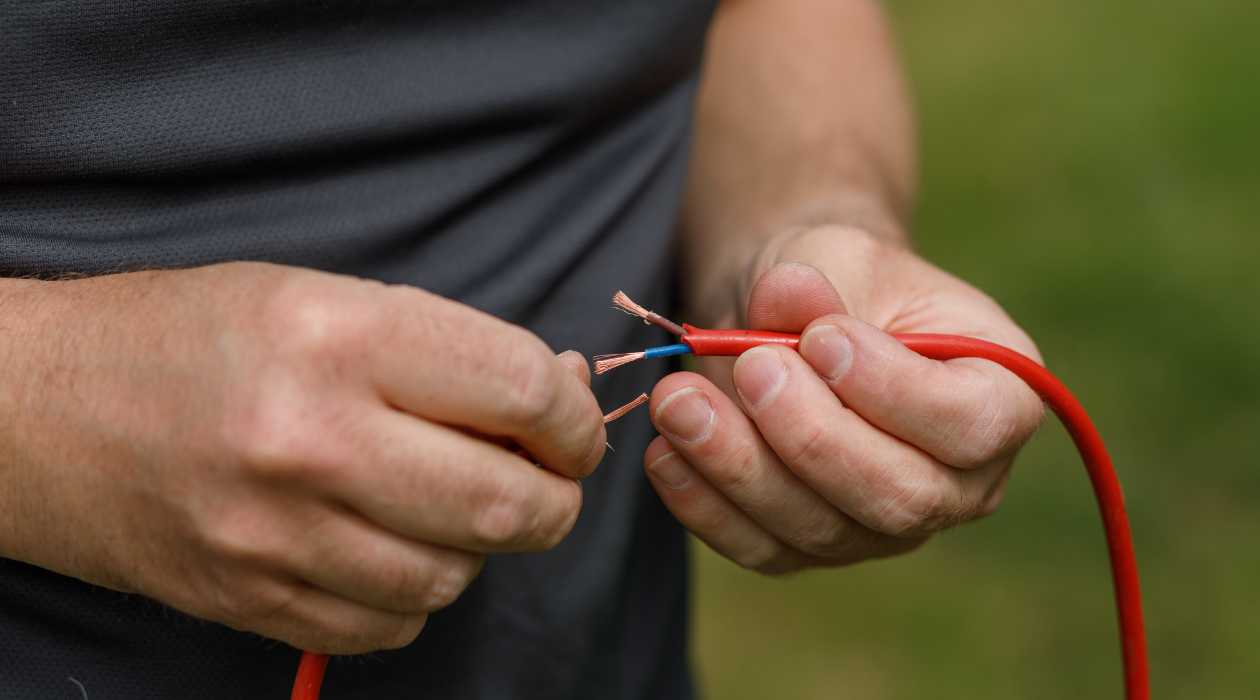
- Once the cord is cut, use wire strippers to remove the outer insulation and expose the inner wires. Be careful not to strip too much insulation, as this can cause a short circuit.
- Repeat this process for the other end of the lamp cord as well, ensuring both ends are prepared for installation.
- If your lamp does not have a switch, now is the time to prepare the switch. Follow the manufacturer’s instructions to remove any coverings or casings and expose the terminals.
- Inspect the switch terminals and identify which ones will be used for connecting the lamp cord. Typically, there will be two terminals, one for the hot wire and one for the neutral wire.
- Lastly, ensure that all the necessary components are within reach and ready for installation. This includes the lamp cord, switch, wire nuts, and any other accessories provided by the manufacturer.
With the lamp cord and switch properly prepared, you are now ready to move on to the next step: cutting the power supply.
Step 3: Cut the power supply
Before you begin working on the lamp cord, it is crucial to ensure your safety by cutting off the power supply. Follow these steps:
- Locate the power source of your lamp. This is usually a power outlet or a power strip.
- Identify the circuit breaker that controls the power supply to the lamp. If you are unsure which circuit breaker it is, you can use a lamp or a voltage tester to help you identify the correct one.
- Switch off the circuit breaker that supplies power to your lamp. This will effectively cut off all electricity to the lamp and eliminate any risk of electrocution during the installation process.
- Test the lamp to ensure that the power supply has been successfully cut off. To do this, try turning on the lamp by flipping its switch. If the lamp remains off, it means you have successfully disconnected the power supply.
It is important to exercise caution when working with electricity. By cutting off the power supply, you are taking necessary precautions to protect yourself from any potential electrical hazards.
With the power supply cut off, you are now ready to move on to the next step: removing the old switch (if applicable).
When installing a lamp cord switch, always make sure to disconnect the power source before beginning the installation process to avoid any electrical hazards.
Read more: How To Connect A Lamp To A Switch
Step 4: Remove the old switch (if applicable)
If your lamp already has a switch that needs to be replaced or upgraded, you will need to remove it before installing the new lamp cord switch. Follow these steps:
- Make sure that the power supply to the lamp is cut off as explained in step 3. Safety should always be your top priority when working with electrical components.
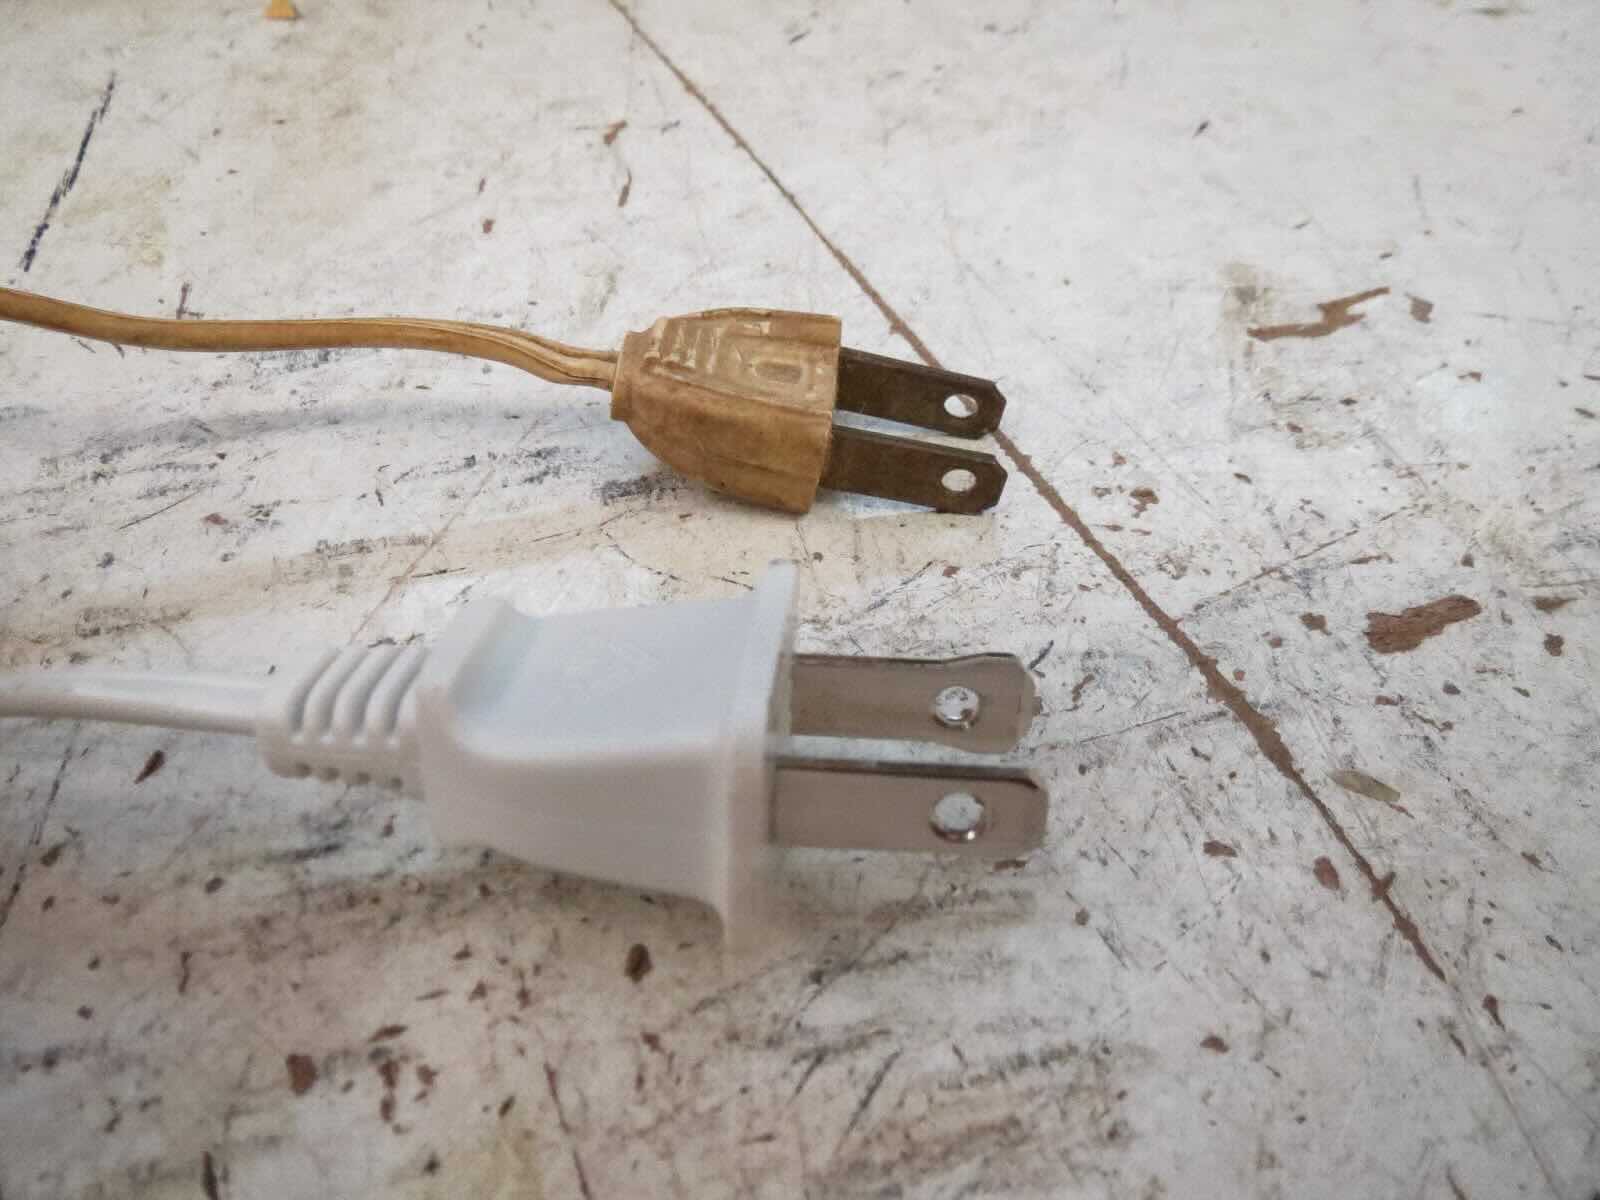
- Examine the old switch and take note of how it is connected to the lamp cord. There are typically two wires attached to the switch, the hot wire (often identified by its black color) and the neutral wire (often identified by its white or green color).
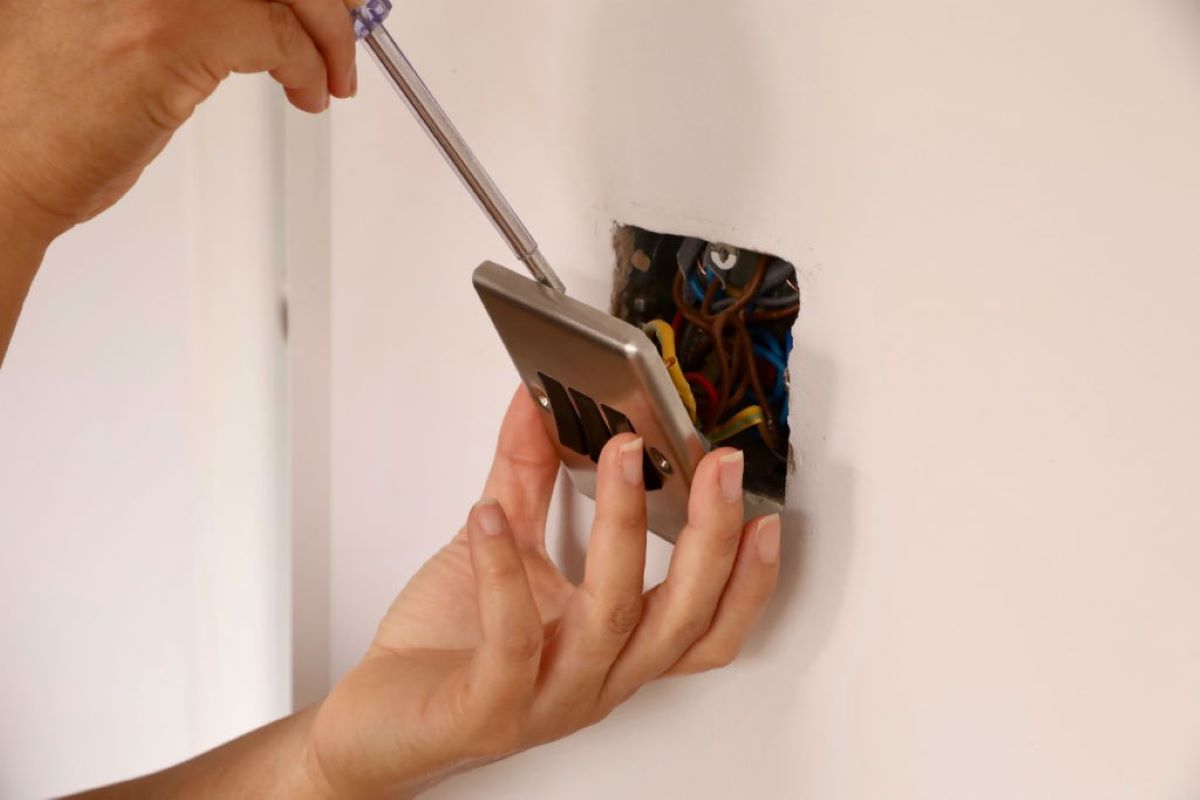
- Use a screwdriver to loosen and remove any screws or fasteners holding the switch in place. This may require removing a cover or accessing the internal components of the lamp.
- Gently disconnect the wires attached to the old switch. Take note of the wire configuration to ensure you connect the new switch correctly.
- Once the wires are disconnected, remove the old switch from the lamp cord.
- Inspect the wires for any signs of wear or damage. If the wires appear to be in good condition, you can proceed with the installation of the new switch. If you notice any significant damage, it is recommended to replace the lamp cord entirely.
Removing the old switch will allow you to prepare the lamp cord for the installation of the new switch. With the old switch safely removed, you are now ready to move on to step 5: installing the new lamp cord switch.
Step 5: Install the new lamp cord switch
With the old switch removed, it’s time to install the new lamp cord switch. Follow these steps:
- Begin by preparing the lamp cord. If necessary, trim the ends of the lamp cord to ensure they are clean and free from any damaged or frayed wires.
- Take the new lamp cord switch and identify the terminals for the hot wire and the neutral wire. This information can usually be found in the manufacturer’s instructions or indicated on the switch itself.
- Start with the hot wire. Take the end of the hot wire and insert it into the corresponding terminal on the switch. Make sure the wire is securely connected and tightened in place.
- Repeat the previous step for the neutral wire, connecting it to its corresponding terminal on the switch.
- Once both wires are securely connected to the switch, use wire nuts to fasten the connections. Twist the wire nuts clockwise onto the exposed ends of the wires until they are snug and secure.
- Check the connections to ensure they are tight and secure. Gently tug on each wire to ensure they do not come loose.
- If the lamp cord switch came with a cover or casing, follow the manufacturer’s instructions to install it onto the switch.
- Double-check all connections to make sure they are correctly installed and secure. Inspect the entire lamp cord for any signs of damage or exposed wires.
By following these steps, you have successfully installed the new lamp cord switch. Now, let’s move on to step 6: reconnecting the power supply.
Step 6: Reconnect the power supply
Now that the new lamp cord switch is installed, it’s time to reconnect the power supply. Follow these steps:
- Ensure that the lamp cord is positioned in a safe and secure manner, away from any sharp edges or potential hazards.
- Take the lamp plug and insert it into the power outlet. Make sure it is fully inserted and secure.
- Next, locate the circuit breaker that controls the power supply to the lamp. Switch it on to restore the electricity flow to the lamp.
- Once the power supply is restored, check the lamp cord and switch for any signs of abnormal behavior, such as flickering lights or overheating.
- If everything appears to be in working order, test the lamp cord switch by turning it on and off multiple times. Ensure that the switch engages and disengages smoothly without any issues.
Reconnecting the power supply allows you to test the newly installed lamp cord switch and ensure its proper functionality. If you notice any problems or irregularities during testing, immediately disconnect the power supply and reevaluate the installation steps.
With the power supply reconnected and the lamp cord switch tested, you have successfully completed step 6. Now it’s time to move on to the final step: testing the newly installed lamp cord switch.
Step 7: Test the newly installed lamp cord switch
You’re almost done! Now it’s time to test the newly installed lamp cord switch to ensure it’s working correctly. Follow these steps:
- Ensure that the power supply is still connected to the lamp.
- Turn on the lamp cord switch by flipping it to the “on” position.
- Observe the lamp to see if it turns on. If it does, congratulations! Your new lamp cord switch is functioning properly.
- If the lamp does not turn on, double-check all of your connections. Make sure the wires are securely connected and the switch is properly installed.
- If the lamp still does not turn on, try unplugging the lamp and plugging it into a different outlet to rule out any potential electricity issues.
- If none of these steps resolve the problem, it’s possible that there may be an underlying issue with the lamp or the lamp cord. In this case, it may be necessary to consult a professional electrician for further assistance.
It’s important to always prioritize safety when testing electrical components. If you encounter any issues or are unsure about anything during the testing process, err on the side of caution and seek professional help.
Congratulations! By completing step 7, you have successfully tested the newly installed lamp cord switch. You can now enjoy the convenience of easily controlling your lamp’s lighting. Let’s wrap things up.
Read more: What Is A Rotary Switch On A Lamp
Conclusion
Congratulations on completing the installation of your new lamp cord switch! By following the steps outlined in this guide, you have successfully enhanced the functionality and convenience of your lamp. Now you can easily control the lighting with a simple flip of the switch.
Throughout this process, it’s important to prioritize safety by cutting off the power supply before working on the lamp cord. Always double-check your connections and ensure that everything is properly secured before reconnecting the power supply.
By preparing the lamp cord and switch, removing the old switch (if applicable), and installing the new lamp cord switch, you’ve taken the necessary steps to ensure a successful installation. Testing the switch at the end allows you to verify its functionality and address any issues that may arise.
We hope this comprehensive guide has provided you with the knowledge and confidence to install a lamp cord switch on your own. However, if you have any doubts or encounter any complications during the installation process, it’s always best to consult a professional electrician for assistance.
Remember, safety should always be your top priority when working with electrical components. Take your time, follow the steps carefully, and enjoy the benefits of your newly installed lamp cord switch.
Thank you for choosing to learn with us, and we wish you many bright and well-lit moments with your newly upgraded lamp!
Frequently Asked Questions about How To Install A Lamp Cord Switch
Was this page helpful?
At Storables.com, we guarantee accurate and reliable information. Our content, validated by Expert Board Contributors, is crafted following stringent Editorial Policies. We're committed to providing you with well-researched, expert-backed insights for all your informational needs.