Home>Articles>How To Change A Dimmer Switch To A Regular Switch
Articles
How To Change A Dimmer Switch To A Regular Switch
Modified: August 27, 2024
Learn how to easily change a dimmer switch to a regular switch in this informative article. Upgrade your lighting setup today!
(Many of the links in this article redirect to a specific reviewed product. Your purchase of these products through affiliate links helps to generate commission for Storables.com, at no extra cost. Learn more)
Introduction
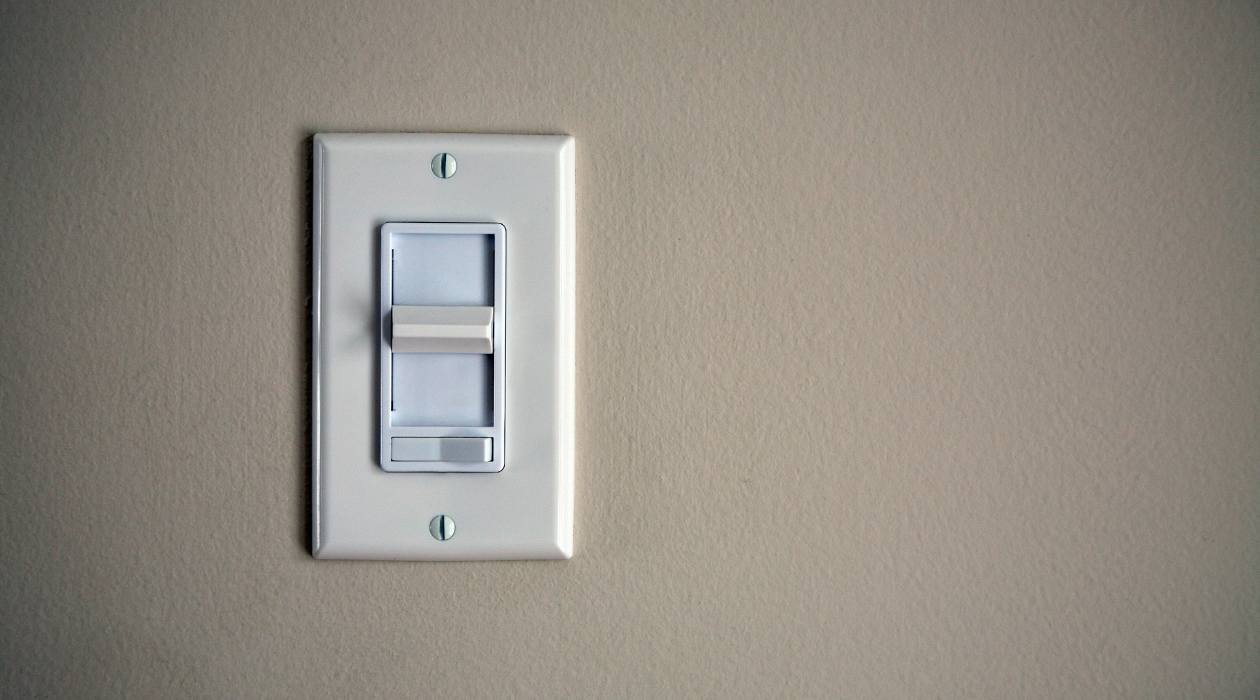
Dimmer switches are a popular feature in many homes, allowing homeowners to adjust the brightness of their lights to create the desired ambiance. However, there may be occasions when you find it necessary to change a dimmer switch to a regular switch. Whether it’s due to a malfunctioning dimmer switch, a desire for a simpler on/off functionality, or a switch that is not compatible with LED or CFL bulbs, the process of changing a dimmer switch to a regular switch is relatively straightforward and can be done without the need for professional help.
In this article, we will guide you through the steps to change a dimmer switch to a regular switch. We will discuss the tools and materials you will need, as well as provide a detailed walkthrough of each step in the process. By following these instructions, you’ll be able to replace your dimmer switch with a regular switch in no time.
Before we dive into the process, it’s important to note that electrical work can be dangerous if not done correctly. Always ensure you turn off the power to the circuit before starting any electrical work, and if you’re unsure about any step, consult a professional electrician.
Key Takeaways:
- Changing from a dimmer switch to a regular switch is a straightforward process that can enhance your home’s lighting functionality. Consider factors like compatibility, simplicity, and cost savings when making the switch.
- Prioritize safety and thorough testing when replacing a dimmer switch with a regular switch. With the right tools and steps, you can enjoy the convenience and reliability of a regular switch for your lighting needs.
Read more: What Is A Dimmer Switch
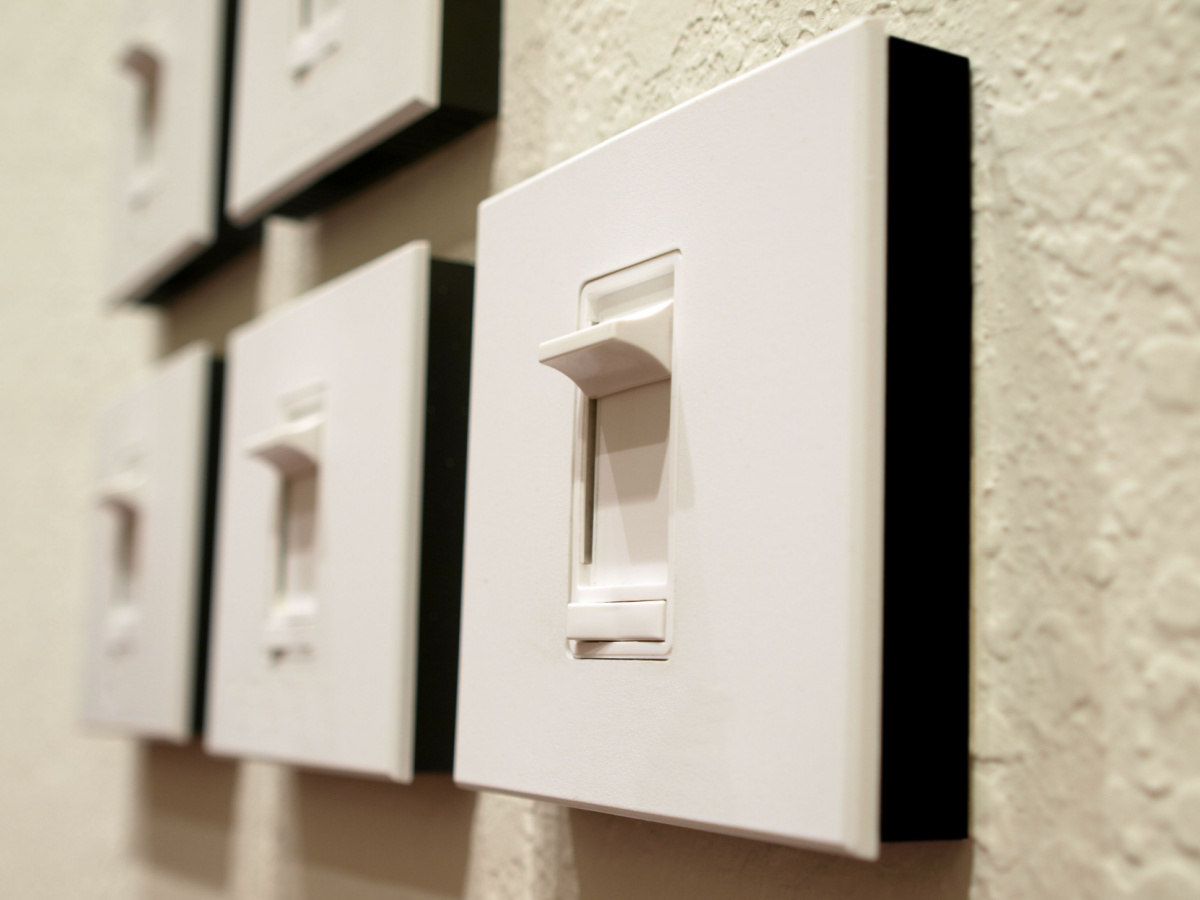
Understanding Dimmer Switches
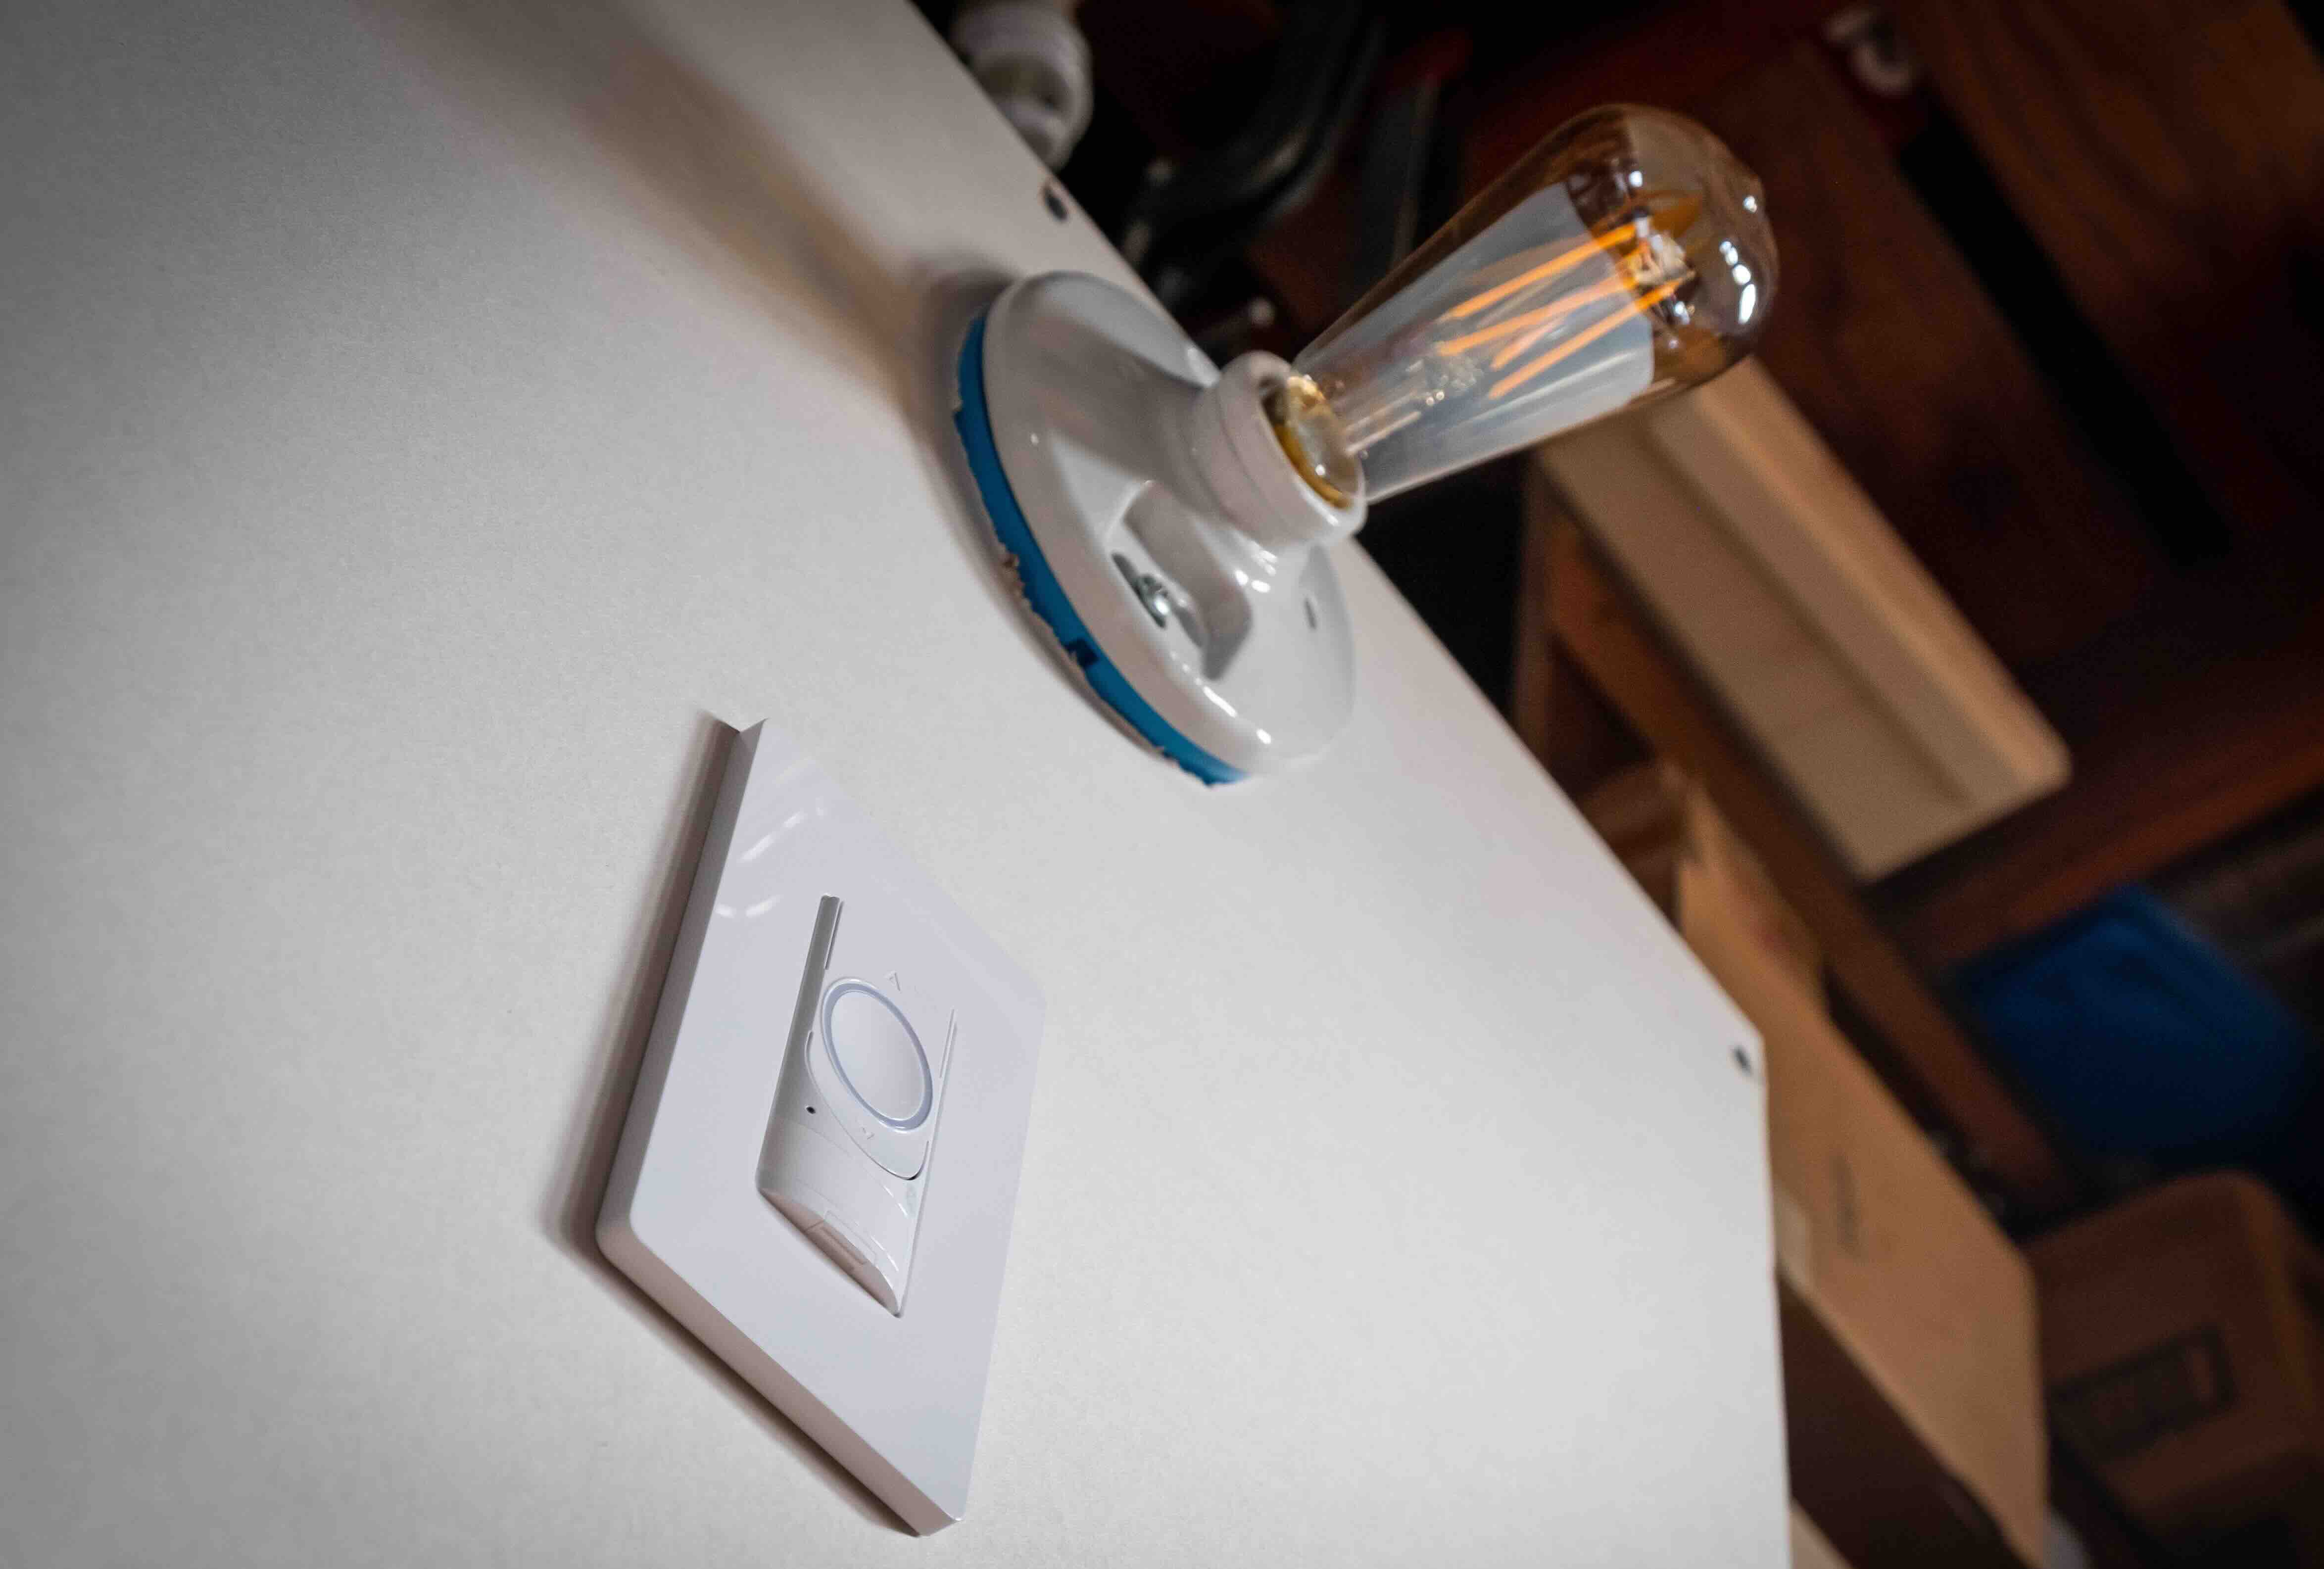
Before we proceed with changing a dimmer switch to a regular switch, it’s essential to have a basic understanding of how dimmer switches work. A dimmer switch is a device that allows you to adjust the brightness of a light fixture by controlling the amount of voltage delivered to the bulb.
Unlike regular switches that either turn the lights on or off, dimmer switches provide a range of brightness levels, giving you the flexibility to set the perfect lighting atmosphere for any occasion. This functionality is particularly useful in areas such as living rooms, dining rooms, and bedrooms, where softer, adjustable lighting can enhance the mood and ambiance.
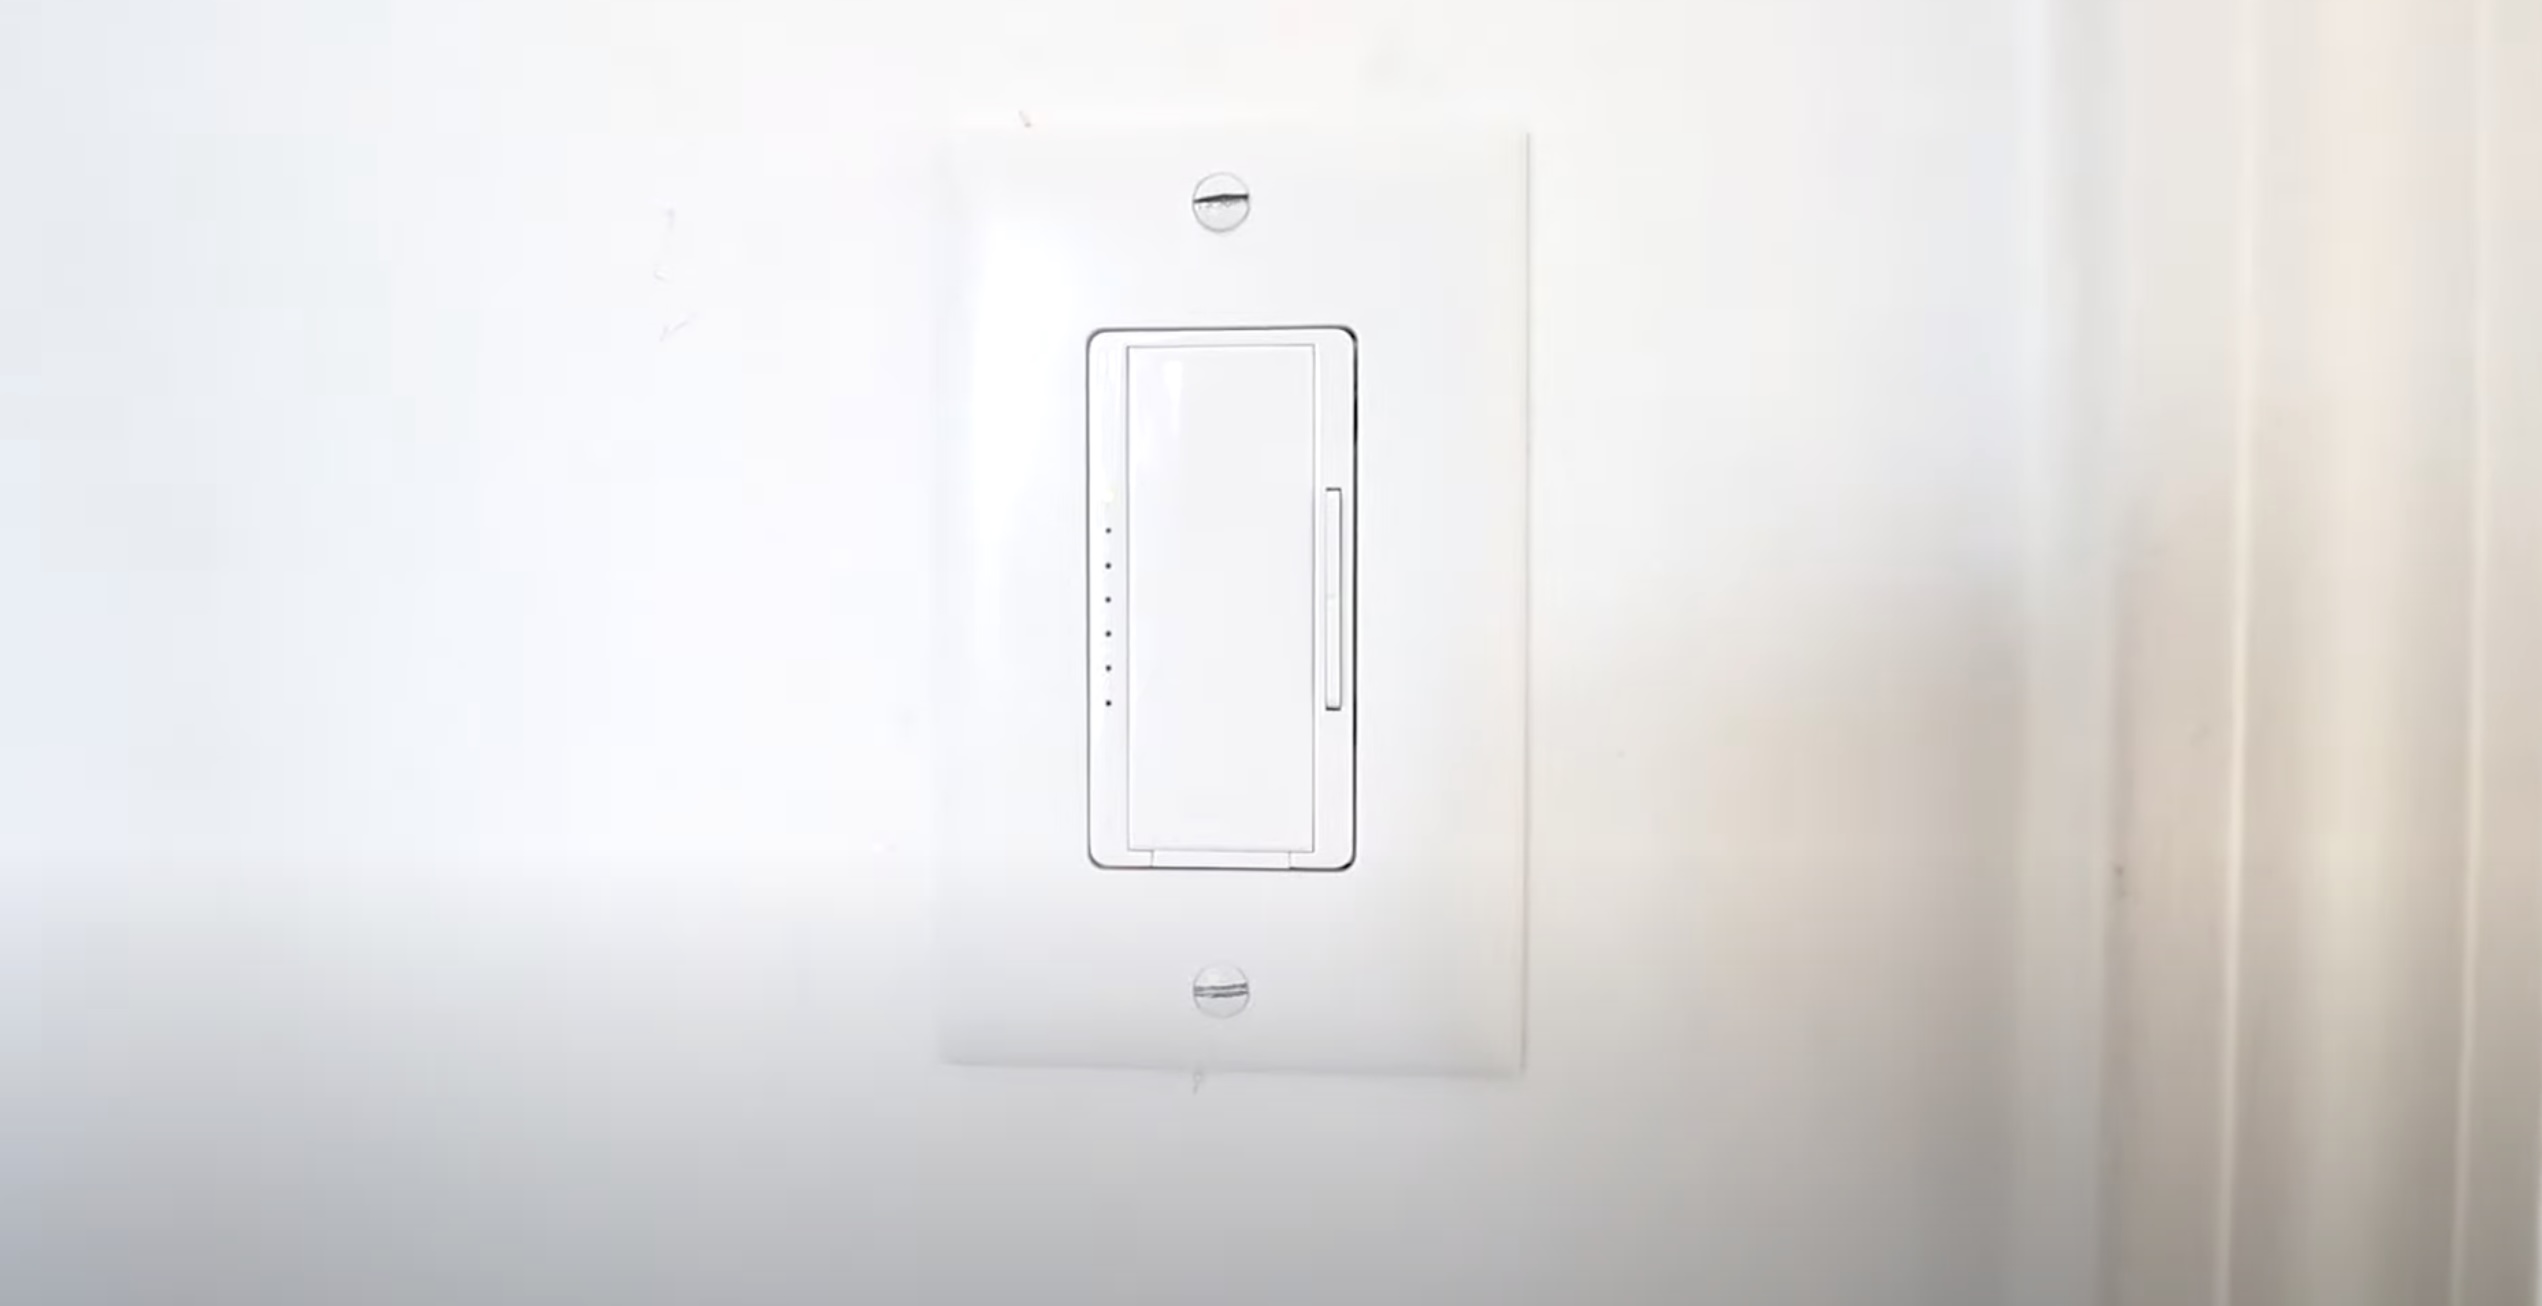
Dimmer switches are typically designed for incandescent, halogen, or dimmable LED and CFL (compact fluorescent) bulbs. They work by using a triac, a specialized electronic component, to regulate the amount of electrical current flowing to the lightbulb. By adjusting the voltage, the dimmer switch can control the brightness, allowing you to dim or brighten the lights to your preference.
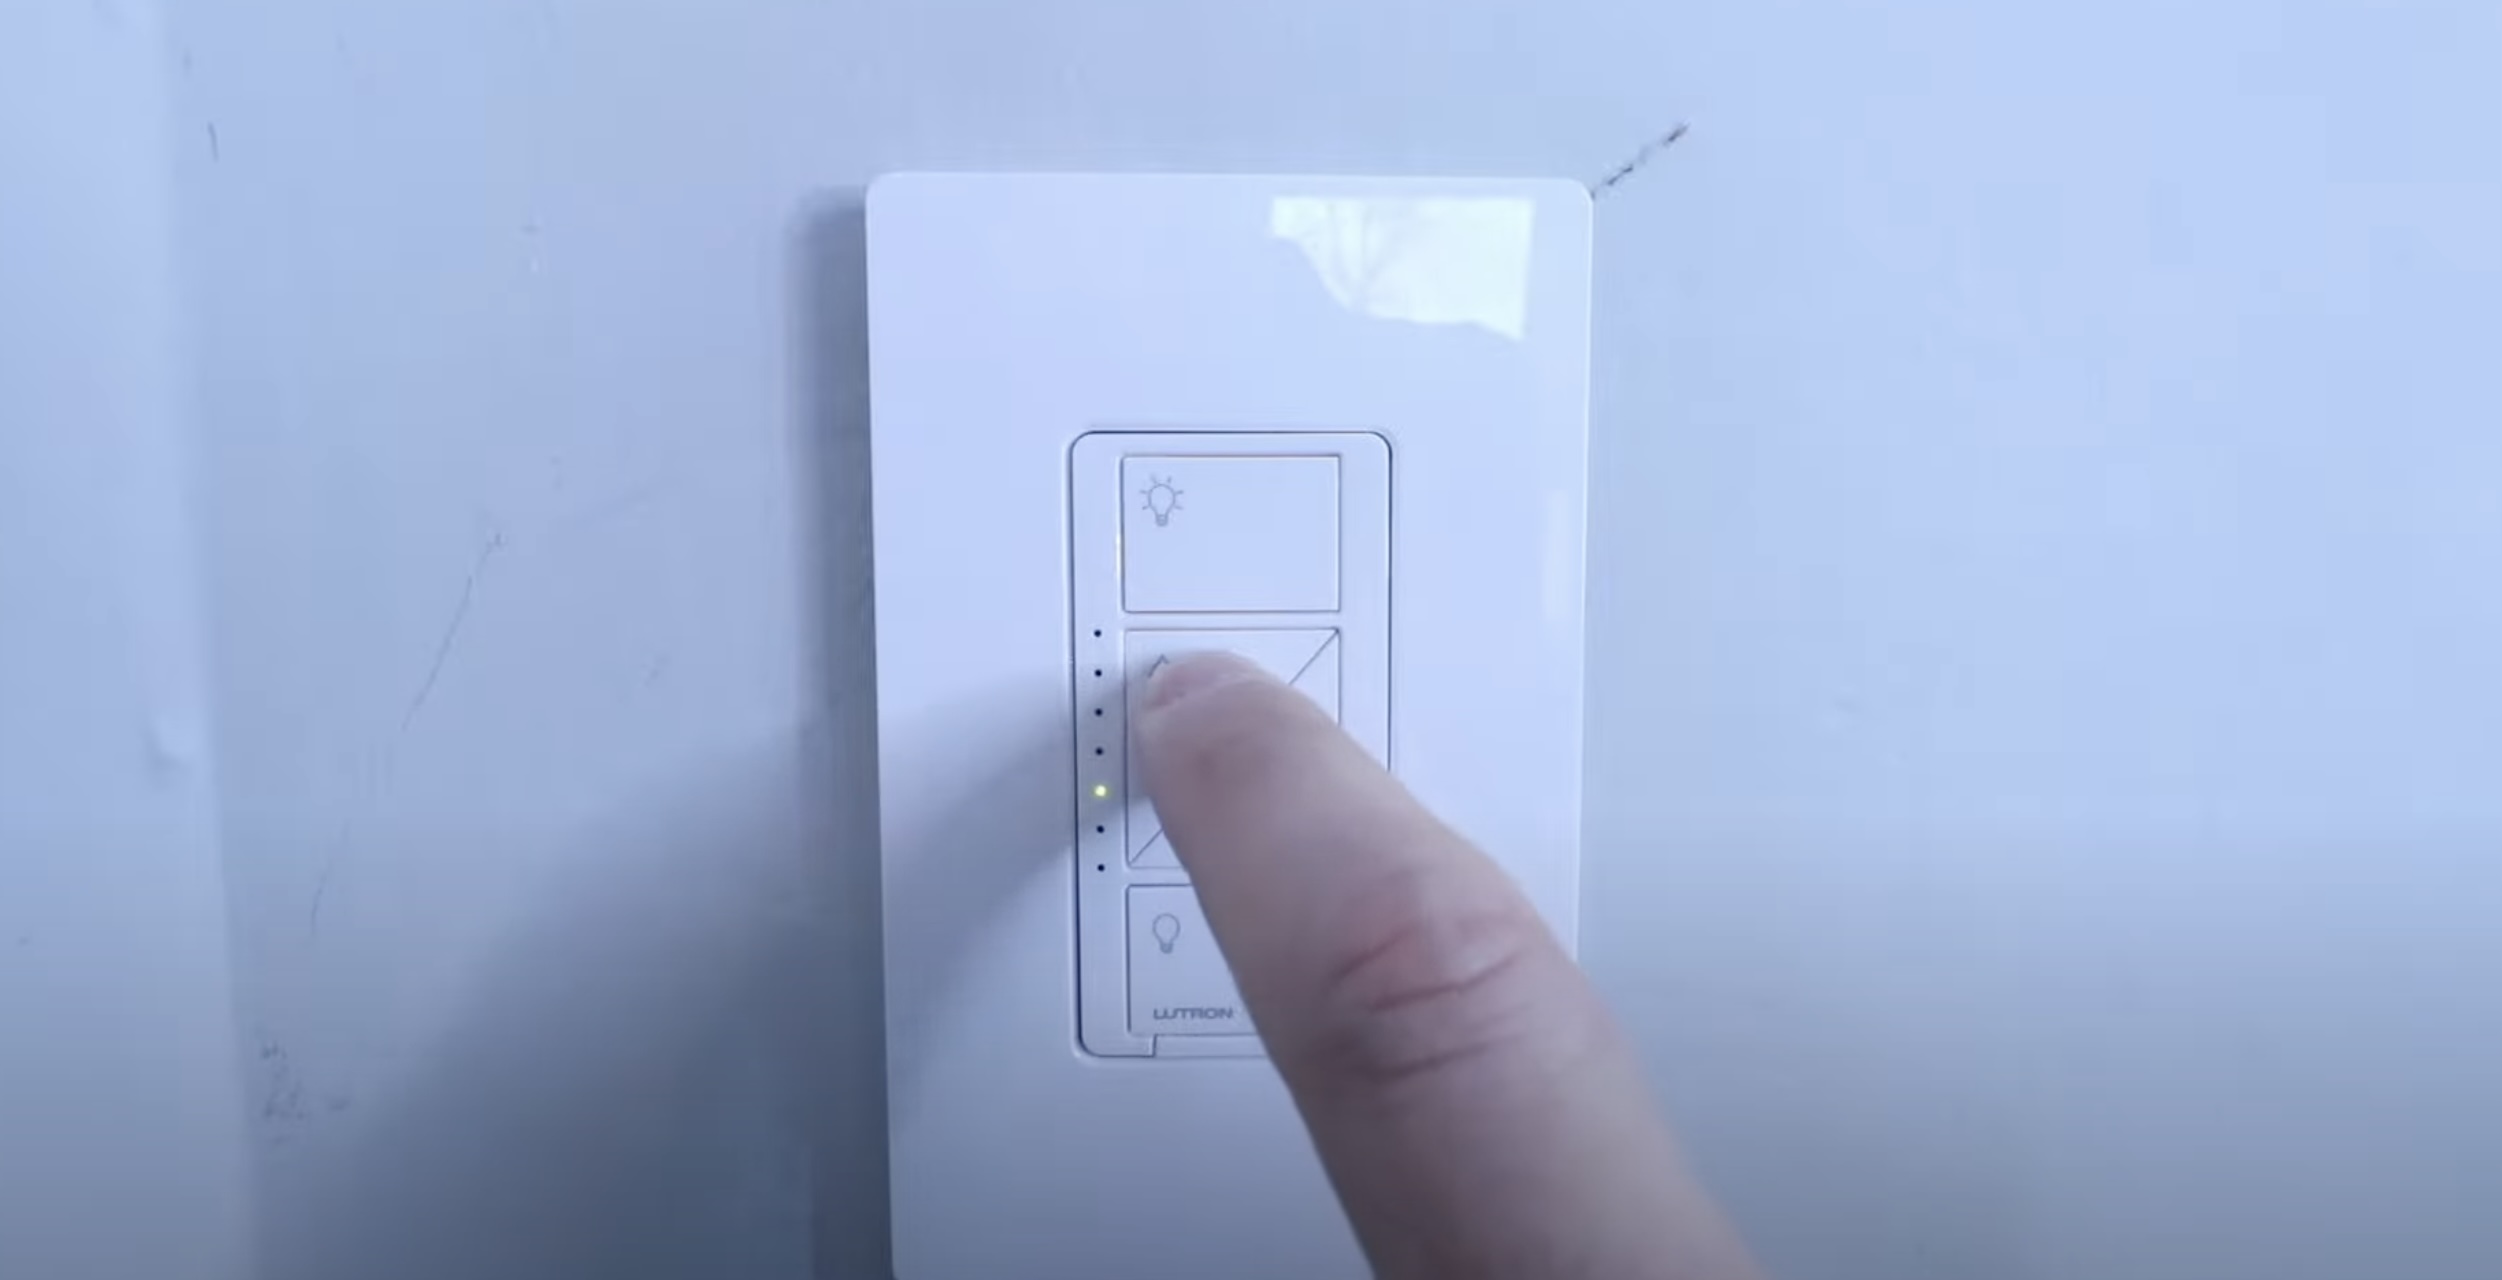
Dimmer switches are available in various types, including rotary, slide, and touch-sensitive models. Some advanced dimmer switches even come with built-in remote control or Wi-Fi capabilities, allowing you to adjust the lights from anywhere within the range or through smartphone apps.
It’s important to note that not all light fixtures are compatible with dimmer switches. Non-dimmable light fixtures may flicker, buzz, or behave erratically if connected to a dimmer switch. Additionally, certain types of bulbs, such as non-dimmable LEDs or CFLs, can be damaged if used with a dimmer switch not specifically designed for them. Always check the compatibility of your light fixtures and bulbs before installing a dimmer switch.
Now that we have a basic understanding of dimmer switches, let’s explore the reasons why you might consider changing from a dimmer switch to a regular switch.
Reasons to Change from a Dimmer Switch to a Regular Switch
While dimmer switches offer convenience and flexibility in controlling the brightness of your lights, there are several reasons why you might want to change from a dimmer switch to a regular switch:
- Simplicity: Some homeowners prefer the simplicity of a regular on/off switch compared to the adjustable functionality of a dimmer switch. If you find that you rarely or never use the dimming feature, changing to a regular switch can make the operation of your lights more straightforward.
- Compatibility: Dimmer switches are designed to work with specific types of light bulbs, such as incandescent, halogen, or dimmable LED and CFL bulbs. If you have non-dimmable bulbs installed or plan to switch to non-dimmable bulbs, installing a regular switch is necessary as using a dimmer switch with non-dimmable bulbs can cause flickering, buzzing, or even damage to the bulbs.
- Malfunctioning dimmer switch: Over time, dimmer switches can wear out or malfunction. If you’re experiencing issues such as flickering lights, buzzing sounds, or the dimmer switch becoming unresponsive, it might be a sign that it needs to be replaced. Switching to a regular switch eliminates the need for troubleshooting or repairing the dimmer switch.
- Energy efficiency: While modern dimmer switches are more energy-efficient than their older counterparts, they still consume a small amount of electricity even when the lights are dimmed. If you’re looking to reduce energy consumption in your home, switching to a regular switch can help eliminate this standby power usage.
- Cost savings: Dimmer switches are generally more expensive than regular switches. If budget constraints are a concern or if you’re looking for a more economical option, switching to a regular switch can save you money.
By understanding these reasons, you can determine whether changing from a dimmer switch to a regular switch is the right choice for your specific needs. Once you’ve made the decision, it’s time to gather the necessary tools and materials to start the switch replacement process.
Tools and Materials Needed
Before you begin the process of changing a dimmer switch to a regular switch, gather the following tools and materials:
- Screwdriver: You will need a screwdriver, preferably one with a Phillips head, to remove the screws that secure the switch cover plate and the dimmer switch.
- Wire cutters/strippers: These tools will be used to cut and strip the electrical wires, allowing for a clean and secure connection to the regular switch.
- Voltage tester: A voltage tester is an essential tool to ensure the power is turned off before you begin working on the switch. It helps to prevent potential electrical hazards and ensures your safety.
- Regular switch: Purchase a new regular switch that matches the style you prefer and is compatible with the electrical wiring in your home. Choose a switch rated for the appropriate voltage and amperage to ensure compatibility and safety.
- Wire connectors: Wire connectors, also known as wire nuts, are used to securely connect the electrical wires together. Make sure to have a variety of sizes available to accommodate different wire gauges.
- Electrical tape: Electrical tape is used to insulate and protect the wire connections, reducing the risk of electrical shorts or shocks.
- Wire strippers: If your wire cutters do not have built-in wire stripping capabilities, a dedicated pair of wire strippers will be needed to remove the insulation from the electrical wires.
It’s crucial to ensure that you have all the necessary tools and materials before starting the switch replacement process. This will help you work efficiently and safely. Additionally, it’s always a good idea to double-check the amperage and voltage rating of the regular switch to ensure it matches the electrical requirements of your existing wiring system.
Once you have gathered the required tools and materials, you are ready to proceed with the step-by-step process of changing the dimmer switch to a regular switch.
Step 1: Turn Off the Power
Before you begin any electrical work, it is absolutely crucial to turn off the power to the circuit you’ll be working on. This ensures your safety and prevents any risk of electrocution or damage to the electrical system. Follow these steps to turn off the power:
- Locate the circuit breaker panel: The circuit breaker panel is typically located in a utility room, basement, or garage. Open the panel door to expose the circuit breakers.
- Identify the correct circuit: Look for the breaker that controls the circuit for the dimmer switch you’ll be replacing. The breakers are usually labeled with the corresponding room or area they control.
- Switch off the circuit breaker: Flip the switch of the identified circuit breaker to the “Off” position. You may hear a click or see the switch move to the opposite direction.
- Double-check the power: To ensure that the power is off, you can use a voltage tester. Insert the tester into the wires or touch it to the terminals of the dimmer switch to confirm that no power is present. The voltage tester should not light up or make any noise if the power is off.
It is important to note that turning off the circuit breaker only cuts power to the specific circuit you are working on. However, it is always wise to double-check for power using a voltage tester to guarantee your safety.
Once you have confirmed that the power is off, you can proceed with the next steps in the process. Remember to exercise caution and avoid touching any wires or conductive parts while working on the switch to prevent any accidental electrical shock.
Read more: How To Disable A Dimmer Switch
Step 2: Remove the Dimmer Switch Cover Plate
With the power turned off, you can now safely proceed with removing the dimmer switch cover plate. Follow these steps:
- Locate the screws: Look for the screws that secure the dimmer switch cover plate to the electrical box. In most cases, the cover plate is held in place by two screws located at the top and bottom of the plate.
- Remove the screws: Use a Phillips head screwdriver to unscrew and remove the screws. Turn the screwdriver counterclockwise to loosen the screws until they can be lifted out of the screw holes.
- Set aside the screws: Keep the screws in a safe place, as you will need them later to secure the regular switch cover plate.
- Remove the dimmer switch cover plate: Gently pull the dimmer switch cover plate away from the electrical box. It should easily detach, revealing the inner components of the dimmer switch.
As you remove the cover plate, be careful not to disturb any of the wires or other components inside the electrical box. Take note of how the dimmer switch is wired, as this will be helpful when connecting the wires to the regular switch.
With the dimmer switch cover plate removed, you are now ready to disconnect the wires from the dimmer switch in the next step of the process.
When changing a dimmer switch to a regular switch, make sure to turn off the power at the circuit breaker before starting the installation. Use a voltage tester to double-check that the power is off before touching any wires.
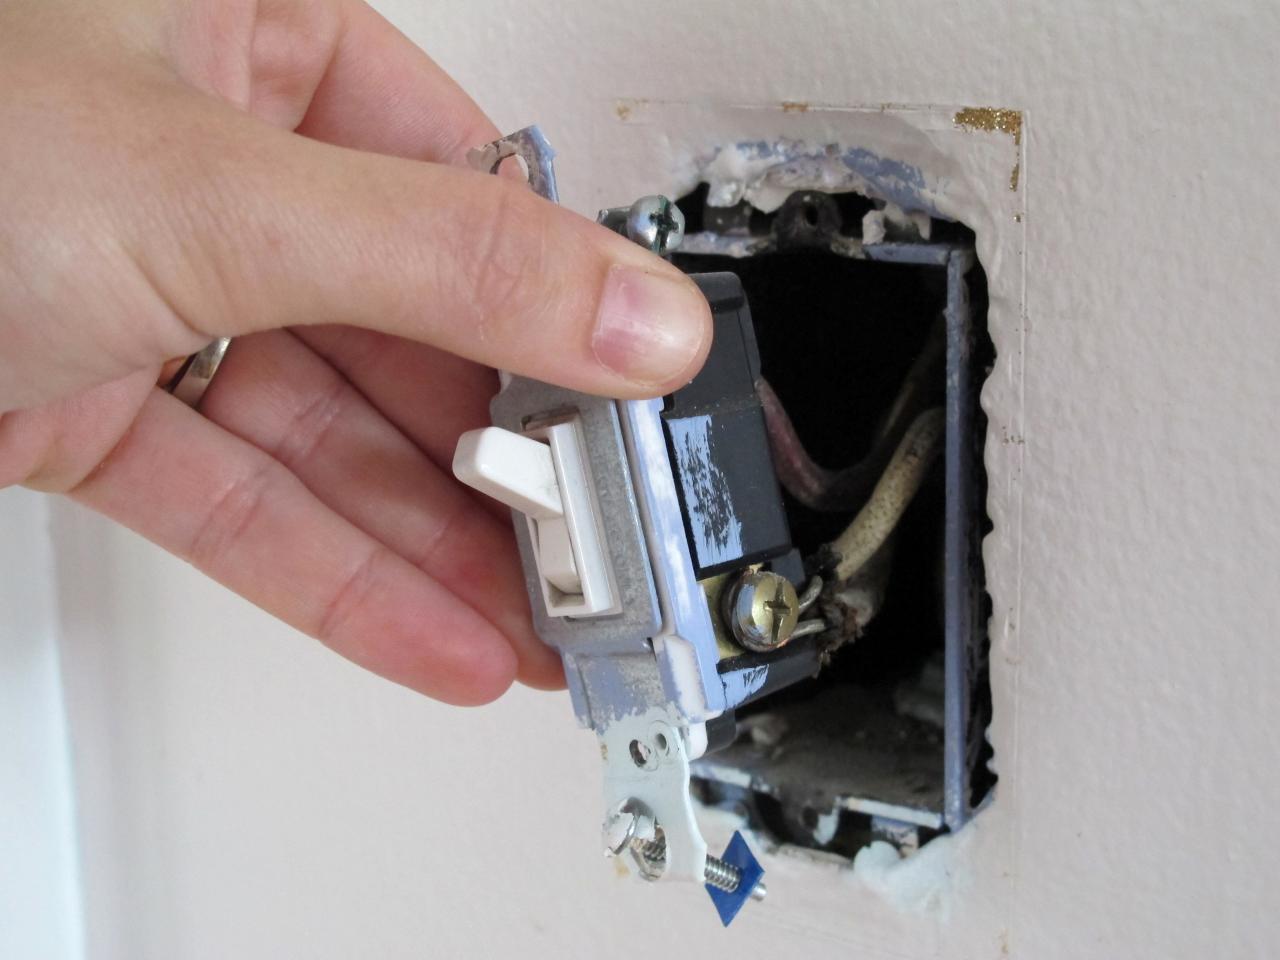
Step 3: Disconnect the Wires from the Dimmer Switch
Now that you have removed the dimmer switch cover plate, it’s time to disconnect the wires from the dimmer switch. Follow these steps:
- Identify the wires: Inside the electrical box, you will see a cluster of wires. Take note of the different colors and positions of the wires attached to the dimmer switch. Common wire colors include black, white, and green or bare copper.
- Disconnect the wires: Starting with the black or “hot” wire, use a screwdriver to loosen the screw terminal holding the wire in place. Carefully pull the wire out from under the screw and remove it from the dimmer switch terminal. Repeat this process for any additional wires attached to the dimmer switch.
- Cap the wires: To prevent any accidental contact or short-circuiting, it is important to cap the exposed wire ends. Use wire connectors (wire nuts) to twist together the wires of the same color. For example, twist together the black wires and cap them with a wire connector. Repeat this process for any other wires in the box.
- Tape the wire connectors: After capping the wires, wrap electrical tape around the wire connectors to provide further insulation and secure them in place. This will prevent the wire connections from accidentally coming apart.
By disconnecting and capping the wires, you have successfully removed the dimmer switch from the electrical circuit. Take a moment to double-check that all wires are properly capped and securely taped to prevent any potential electrical hazards.
Now that the wires are disconnected, you can move on to the next step, which involves attaching the wires to the regular switch.
Step 4: Attach Wires to the Regular Switch
After disconnecting the wires from the dimmer switch, it’s time to attach them to the regular switch. Follow these steps:
- Identify the terminals: Take a look at the regular switch and identify the screw terminals. Typically, there will be two brass-colored terminals and a green or bare copper terminal for the ground wire.
- Connect the black (hot) wire: Start by connecting the black (hot) wire to one of the brass-colored terminals on the regular switch. Loosen the screw terminal and insert the end of the black wire into the space. Tighten the screw securely to ensure a solid connection.
- Connect the remaining wires: If you have additional wires, such as white (neutral) or green/bare copper (ground), connect them to their respective terminals on the regular switch. Loosen the screw terminals, insert the wire ends, and tighten the screws firmly.
- Verify solid connections: After attaching all the wires, give them a gentle tug to ensure they are securely connected to the switch terminals. A solid connection will not easily come loose or show signs of arcing.
It’s important to note that the exact wiring configuration may vary depending on your electrical system. Refer to the manufacturer’s instructions or consult a professional electrician if you are unsure about the correct wiring connections.
With the wires properly attached to the regular switch, you are ready to proceed to the next step, which involves securing the regular switch in place.
Step 5: Secure the Regular Switch in Place
Now that the wires are attached to the regular switch, it’s time to secure the switch in place within the electrical box. Follow these steps:
- Position the regular switch: Carefully guide the wires back into the electrical box while holding the regular switch. Make sure the switch is aligned in the desired position and centered within the box.
- Attach the switch to the box: Using the screws that were previously removed or new screws provided with the regular switch, secure the switch to the electrical box. Insert the screws through the screw holes in the switch and tighten them gently until the switch feels securely fastened.
- Adjust the switch level: Once the switch is in place, check that it is level. If necessary, adjust the position of the switch or tighten the screws a bit more to ensure it is securely and evenly mounted.
When securing the regular switch, avoid overtightening the screws, as this can damage the switch or the electrical box. Use just enough force to ensure a secure fit.
With the regular switch securely in place, you are ready to move on to the next step, which involves replacing the switch cover plate.
Read more: How To Wire In A Dimmer Switch
Step 6: Replace the Switch Cover Plate
Now that the regular switch is securely installed, it’s time to replace the switch cover plate. Follow these steps:
- Position the cover plate: Take the switch cover plate and position it over the switch and the electrical box. Line up the screw holes on the plate with the corresponding holes on the box.
- Insert and tighten the screws: Using the screws that were set aside earlier or new screws provided with the cover plate, insert them through the screw holes in the plate and into the screw holes on the box. Use a screwdriver to tighten the screws until the cover plate feels securely fastened.
- Check for proper alignment: Once the cover plate is in place, ensure that it sits flush against the wall and is aligned correctly. The plate should be level and not crooked or sticking out at odd angles.
When tightening the screws, be careful not to overtighten as it may cause damage to the cover plate or the electrical box.
With the switch cover plate replaced, you have successfully completed the installation of the regular switch. All that’s left is to restore power and test the functionality of the switch.
Proceed to the final step to learn how to restore power and test the switch.
Step 7: Restore Power and Test the Switch
With the regular switch installed and the switch cover plate in place, it’s time to restore power and test the functionality of the switch. Follow these steps:
- Return to the circuit breaker panel: Locate the circuit breaker that corresponds to the circuit you were working on. Flip the switch of that breaker from the “Off” position back to the “On” position.
- Verify power restoration: Using a voltage tester or a light fixture connected to the same circuit, confirm that the power has been restored. The voltage tester should indicate the presence of power, or the light should turn on when you toggle the switch.
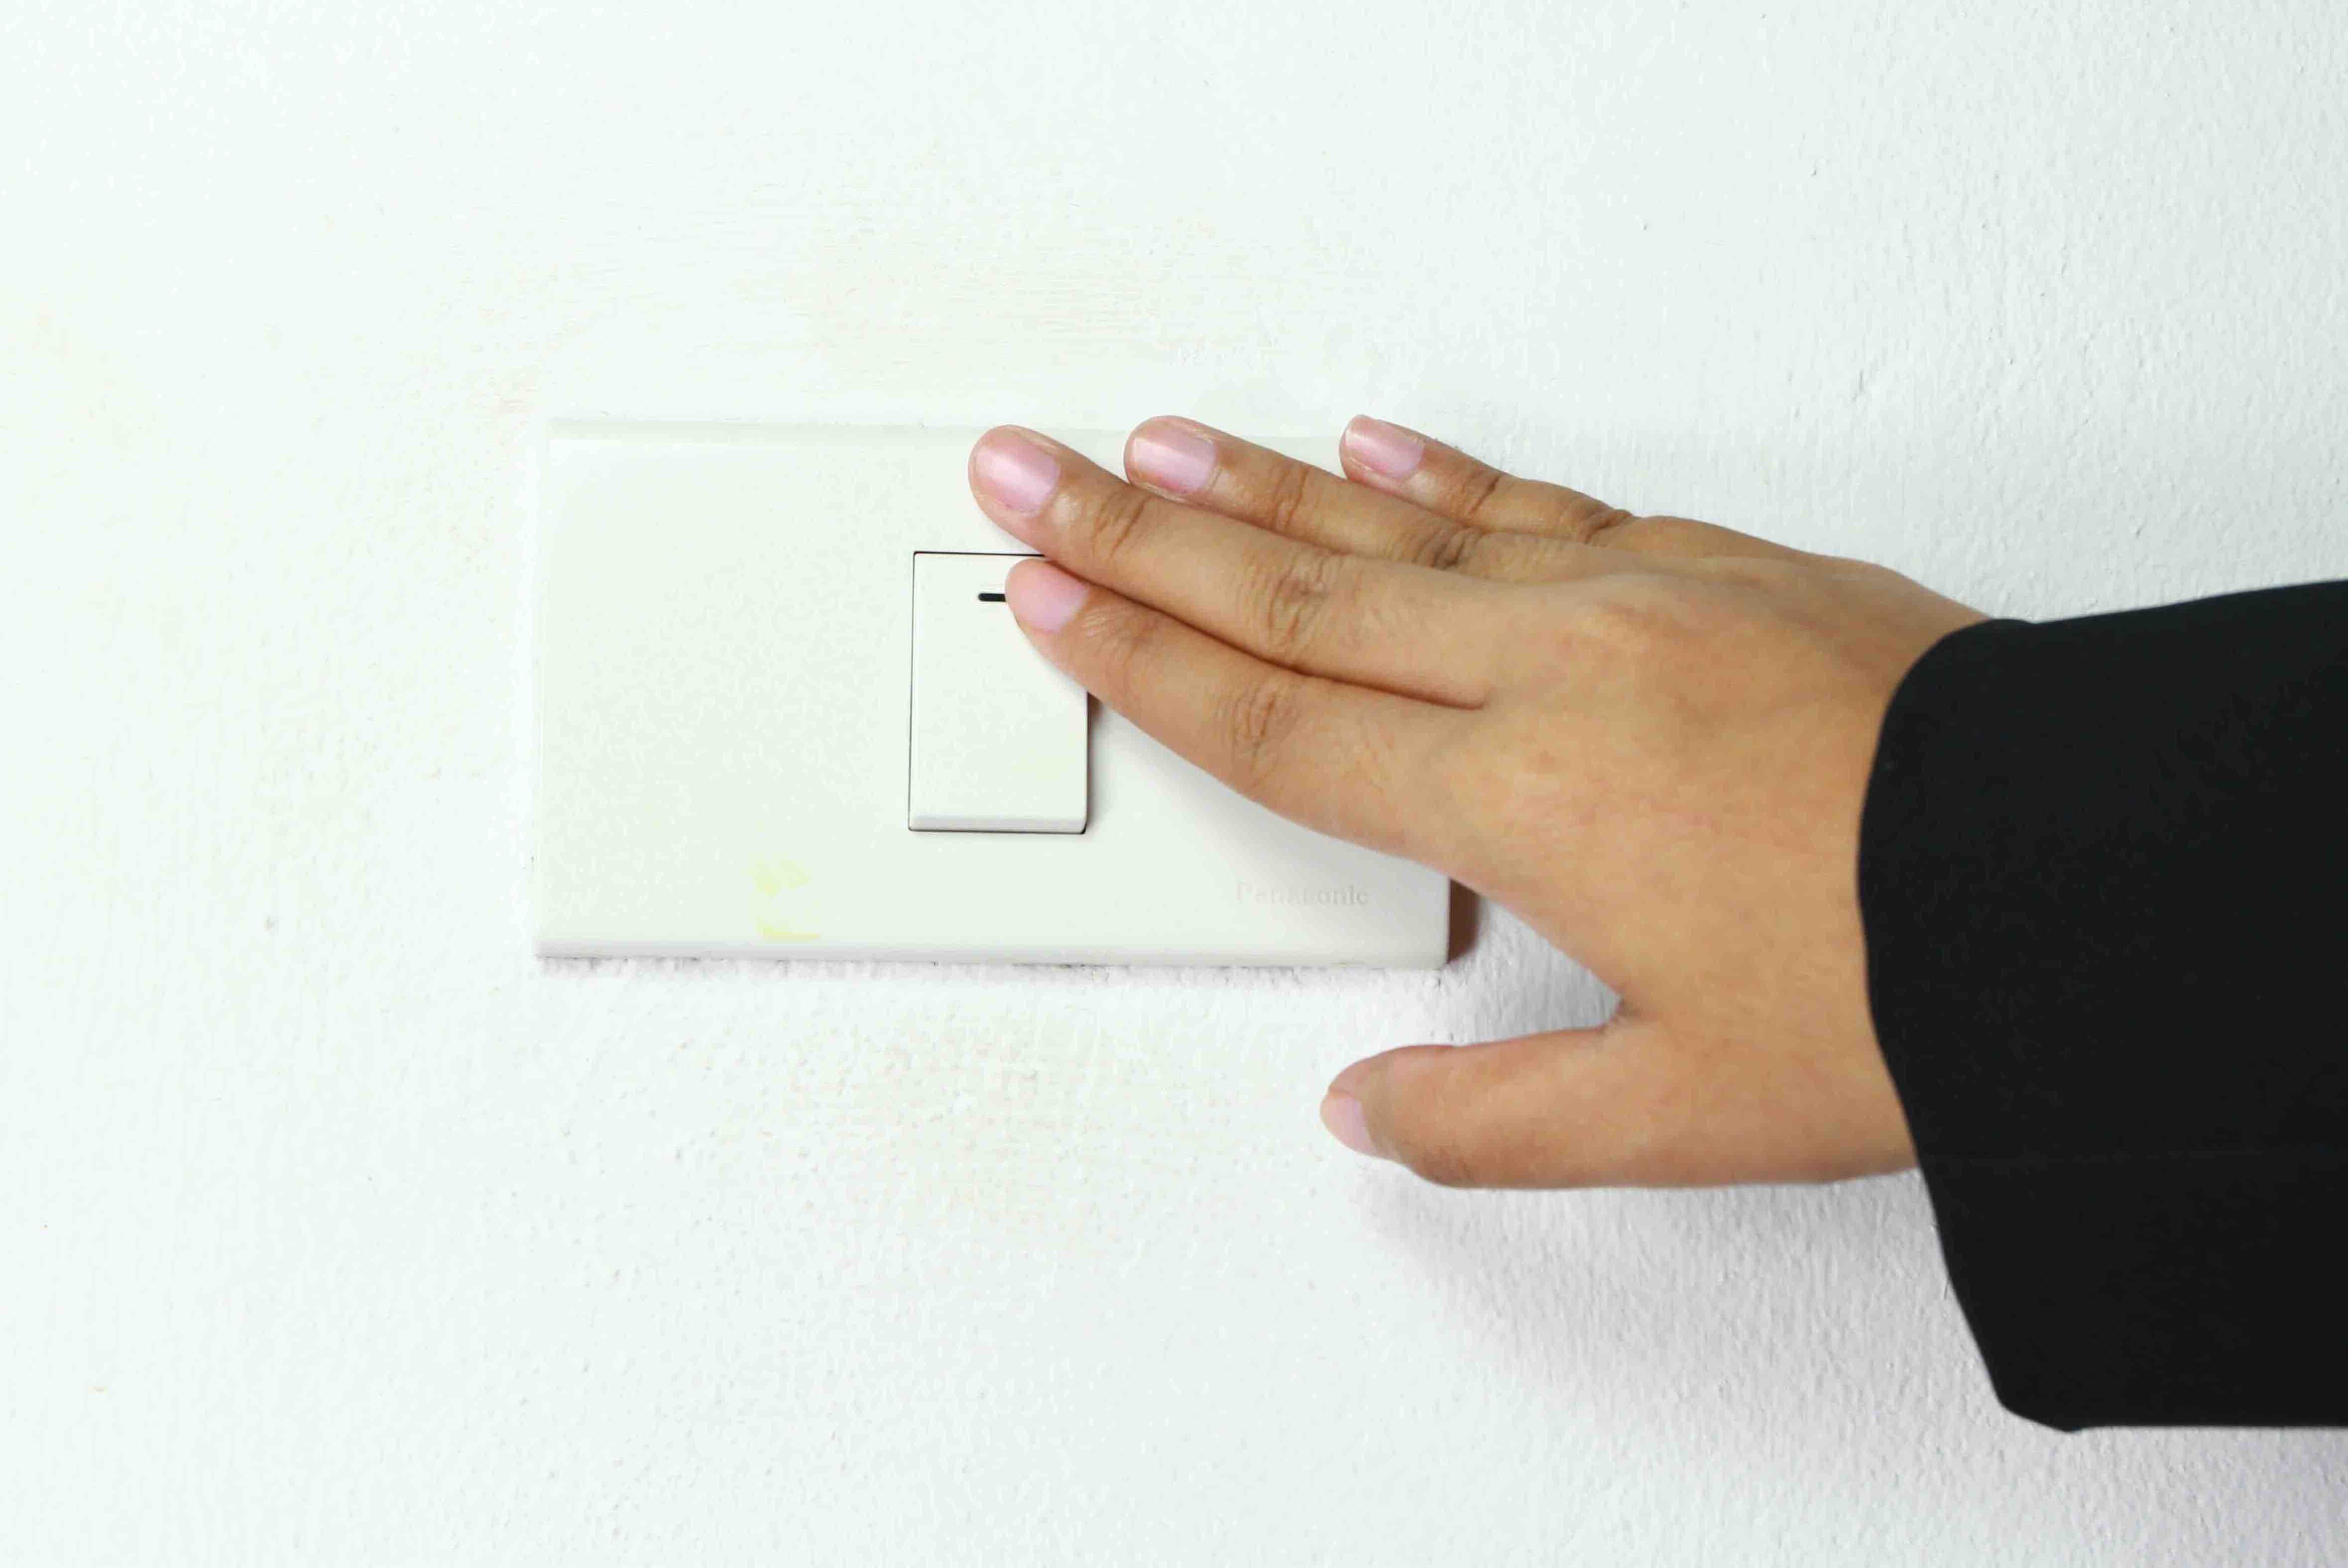
- Test the regular switch: Now that the power is restored, test the function of the regular switch. Flip the switch up and down to turn the attached light fixture or electrical device on and off. Ensure that the switch operates smoothly and that the light or device responds accordingly.
- Observe proper functioning: Pay attention to any signs of flickering lights, buzzing sounds, or other irregularities during the testing process. If any issues occur, double-check the wiring connections and consult a professional electrician if necessary.
It’s important to conduct thorough testing to ensure that the regular switch is functioning correctly before considering the installation complete.
With the power restored and the switch successfully tested, you have completed the process of changing a dimmer switch to a regular switch. Congratulations on a job well done!
Remember, if you ever need to make any further changes or modifications to your electrical system, it’s always advisable to consult a professional electrician to ensure your safety and the proper functioning of your electrical devices.
Thank you for following along with this guide. We hope it has been helpful in assisting you with changing a dimmer switch to a regular switch.
Conclusion
Changing a dimmer switch to a regular switch can be a simple and straightforward process, allowing you to modify your lighting setup to better suit your needs. By following the steps outlined in this guide, you can confidently replace a dimmer switch with a regular switch on your own.
Throughout this article, we discussed the reasons why you might want to change from a dimmer switch to a regular switch, including simplicity, compatibility, malfunctioning dimmer switches, energy efficiency, and cost savings. We also outlined the tools and materials you will need for the switch replacement process.
The step-by-step instructions provided in this guide covered important tasks such as turning off the power, removing the dimmer switch cover plate, disconnecting the wires from the dimmer switch, attaching the wires to the regular switch, securing the regular switch in place, replacing the switch cover plate, restoring power, and testing the functionality of the switch.
It’s crucial to prioritize safety throughout the process. Always remember to turn off the power before starting any electrical work, double-check for power using a voltage tester, and consult a professional electrician if you have any doubts or concerns.
By completing the switch replacement successfully, you have gained the ability to enjoy the simplicity and reliability of a regular switch for your lighting needs. Whether you have chosen to switch to a regular switch for compatibility reasons, to address a malfunctioning dimmer switch, or for other personal preferences, you have taken an important step towards enhancing your home’s electrical functionality.
We hope this guide has provided you with the necessary information and guidance to change a dimmer switch to a regular switch effectively. Should you have any further questions or require more assistance, do not hesitate to seek help from an electrician or relevant professionals in the field.
Thank you for reading, and best of luck with your switch replacement project!
If you've mastered swapping out a dimmer switch, why not tackle more projects to enhance your home’s functionality and style? Running overhead electrical wire to a garage can expand your workspace possibilities, while updating your bathroom with the stylish glow of LED mirrors can transform daily routines into luxurious experiences. For those eager to dive deeper into DIY tasks, our guide on home repairs offers essential tips and tricks to keep your living space in tip-top shape.
Frequently Asked Questions about How To Change A Dimmer Switch To A Regular Switch
Was this page helpful?
At Storables.com, we guarantee accurate and reliable information. Our content, validated by Expert Board Contributors, is crafted following stringent Editorial Policies. We're committed to providing you with well-researched, expert-backed insights for all your informational needs.


0 thoughts on “How To Change A Dimmer Switch To A Regular Switch”