Home>Furniture & Design>Bathroom Accessories>How To Connect An Exhaust Fan To A Light Switch
Bathroom Accessories
How To Connect An Exhaust Fan To A Light Switch
Modified: October 18, 2024
Learn how to connect an exhaust fan to a light switch in your bathroom. Find out the best bathroom accessories for a convenient and efficient setup.
(Many of the links in this article redirect to a specific reviewed product. Your purchase of these products through affiliate links helps to generate commission for Storables.com, at no extra cost. Learn more)
Introduction
Connecting an exhaust fan to a light switch is a practical and efficient way to control both the lighting and ventilation in your bathroom. By integrating these two essential fixtures, you can streamline the operation and management of your bathroom space. This integration not only enhances convenience but also contributes to energy efficiency and overall comfort.
In this comprehensive guide, we will walk you through the step-by-step process of connecting an exhaust fan to a light switch. Whether you are embarking on a home improvement project or seeking to optimize your bathroom's functionality, this tutorial will equip you with the knowledge and skills to successfully complete the installation.
By following these instructions, you will be able to seamlessly integrate the exhaust fan with the light switch, allowing for synchronized control of both fixtures. This synchronization ensures that the exhaust fan operates whenever the light is turned on, effectively managing moisture and odors in the bathroom. Additionally, this setup eliminates the need for separate switches, simplifying the user experience and promoting a clutter-free aesthetic in the bathroom.
As we delve into the process, it's important to emphasize the significance of safety. Working with electrical components requires caution and adherence to safety protocols. Before initiating the installation, ensure that the power source is turned off and take necessary precautions to prevent electrical hazards. By prioritizing safety throughout the installation, you can carry out the process with confidence and peace of mind.
Now, let's embark on this journey to seamlessly connect your exhaust fan to a light switch, unlocking the potential for enhanced functionality and convenience in your bathroom space. Let's get started!
Key Takeaways:
- Enhance your bathroom with synchronized control
Connect your exhaust fan to a light switch for streamlined operation. Enjoy convenience, energy efficiency, and a clutter-free aesthetic while effectively managing moisture and odors. - Prioritize safety and precision for a seamless integration
Gather tools, turn off power, install the electrical box, connect wiring, and install the switch. Thoroughly test the connection for synchronized control and efficient bathroom management.
Step 1: Gather the necessary tools and materials
Before commencing the process of connecting an exhaust fan to a light switch, it is essential to gather all the requisite tools and materials. By ensuring that you have everything at your disposal, you can streamline the installation process and minimize interruptions. Here's a comprehensive list of the tools and materials you will need:
Tools:
- Screwdriver Set: A set of screwdrivers, including both flathead and Phillips head varieties, will be indispensable for removing and installing screws during the process.
- Wire Strippers: These tools are essential for safely and accurately stripping the insulation from electrical wires, facilitating proper connections.
- Voltage Tester: Prior to handling any electrical components, it is crucial to verify that the power source is turned off. A voltage tester enables you to confirm the absence of electrical current, ensuring safety during the installation.
- Drill and Bits: Depending on the type of electrical box and mounting requirements, a drill and appropriate bits will be necessary for creating holes and securing the components.
- Pliers: Needle-nose pliers and standard pliers will aid in bending and securing wires, ensuring a secure and reliable connection.
- Utility Knife: This tool will be useful for cutting and stripping wires, as well as for various other tasks that may arise during the installation process.
Materials:
- Electrical Box: Select an appropriate electrical box for housing the wiring connections. Ensure that the box is compatible with the exhaust fan and light switch.
- Electrical Cable: High-quality electrical cable, such as non-metallic (NM) cable, will be required for connecting the exhaust fan to the light switch.
- Wire Nuts: These connectors are essential for joining and securing the electrical wires, ensuring reliable and safe connections.
- Switch and Cover Plate: Acquire a suitable light switch and a cover plate that complements the design and aesthetics of your bathroom.
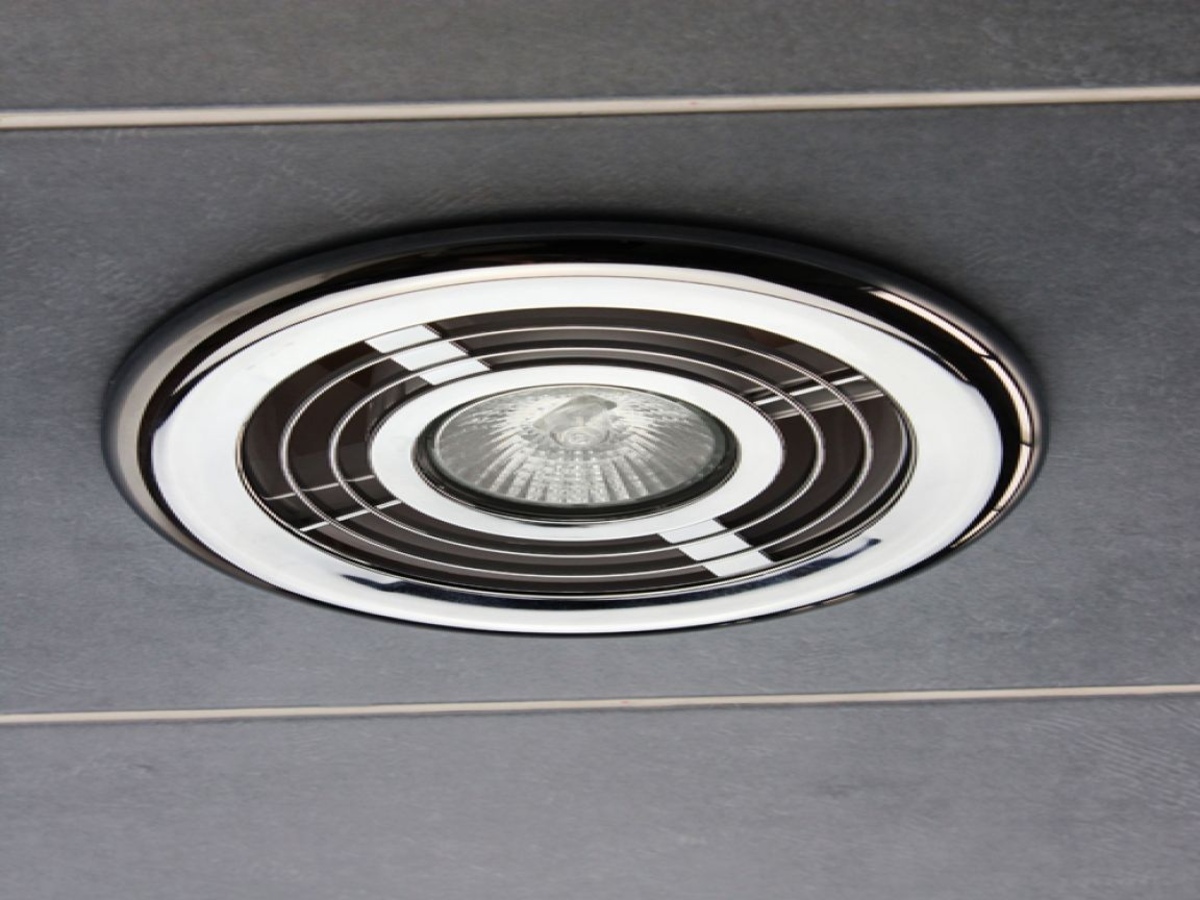
- Exhaust Fan: If not already installed, ensure that you have the exhaust fan ready for connection to the light switch.
- Safety Equipment: Prioritize safety by having protective gear such as gloves and safety glasses on hand to safeguard against potential hazards during the installation process.
By assembling these tools and materials, you will be well-prepared to embark on the subsequent steps of connecting the exhaust fan to a light switch. This proactive approach sets the stage for a smooth and efficient installation process, ensuring that you have everything you need to successfully integrate these essential bathroom fixtures.
Step 2: Turn off the power
Before initiating any work involving electrical components, it is imperative to prioritize safety by turning off the power to the relevant circuits. This crucial step mitigates the risk of electrical shock and ensures a secure environment for the installation process. Here's a detailed guide on how to safely turn off the power:
-
Locate the Electrical Panel: Identify the main electrical panel in your home where the circuit breakers are housed. This panel is typically situated in a utility room, basement, or garage. Once located, ensure that there is unobstructed access to the panel.
-
Understand the Circuit Layout: Familiarize yourself with the layout of the electrical panel and the corresponding circuit breakers. Look for the circuit breaker that controls the power supply to the bathroom where the exhaust fan and light switch are located.
-
Switch Off the Circuit Breaker: Carefully switch off the circuit breaker associated with the bathroom. To ensure the correct circuit is deactivated, it may be helpful to have a family member or friend assist by confirming when the power to the bathroom has been successfully turned off.
-
Verify the Power Shutdown: Once the circuit breaker is switched off, use a voltage tester to verify that the power has been effectively shut down. This involves testing the electrical outlets and light switches in the bathroom to confirm the absence of electrical current.
-
Secure the Circuit Breaker: After confirming that the power has been turned off, securely lock the circuit breaker in the off position to prevent accidental reactivation while the installation is in progress.
By diligently following these steps to turn off the power, you establish a safe working environment for the subsequent stages of connecting the exhaust fan to the light switch. Prioritizing safety at this juncture sets the foundation for a secure and efficient installation process, ensuring that you can proceed with confidence and peace of mind.
Remember, electrical safety is paramount, and it is essential to exercise caution and adhere to best practices when working with electrical systems. By turning off the power and confirming its deactivation, you mitigate the risk of electrical hazards and create a safe environment for the installation of the exhaust fan and light switch integration.
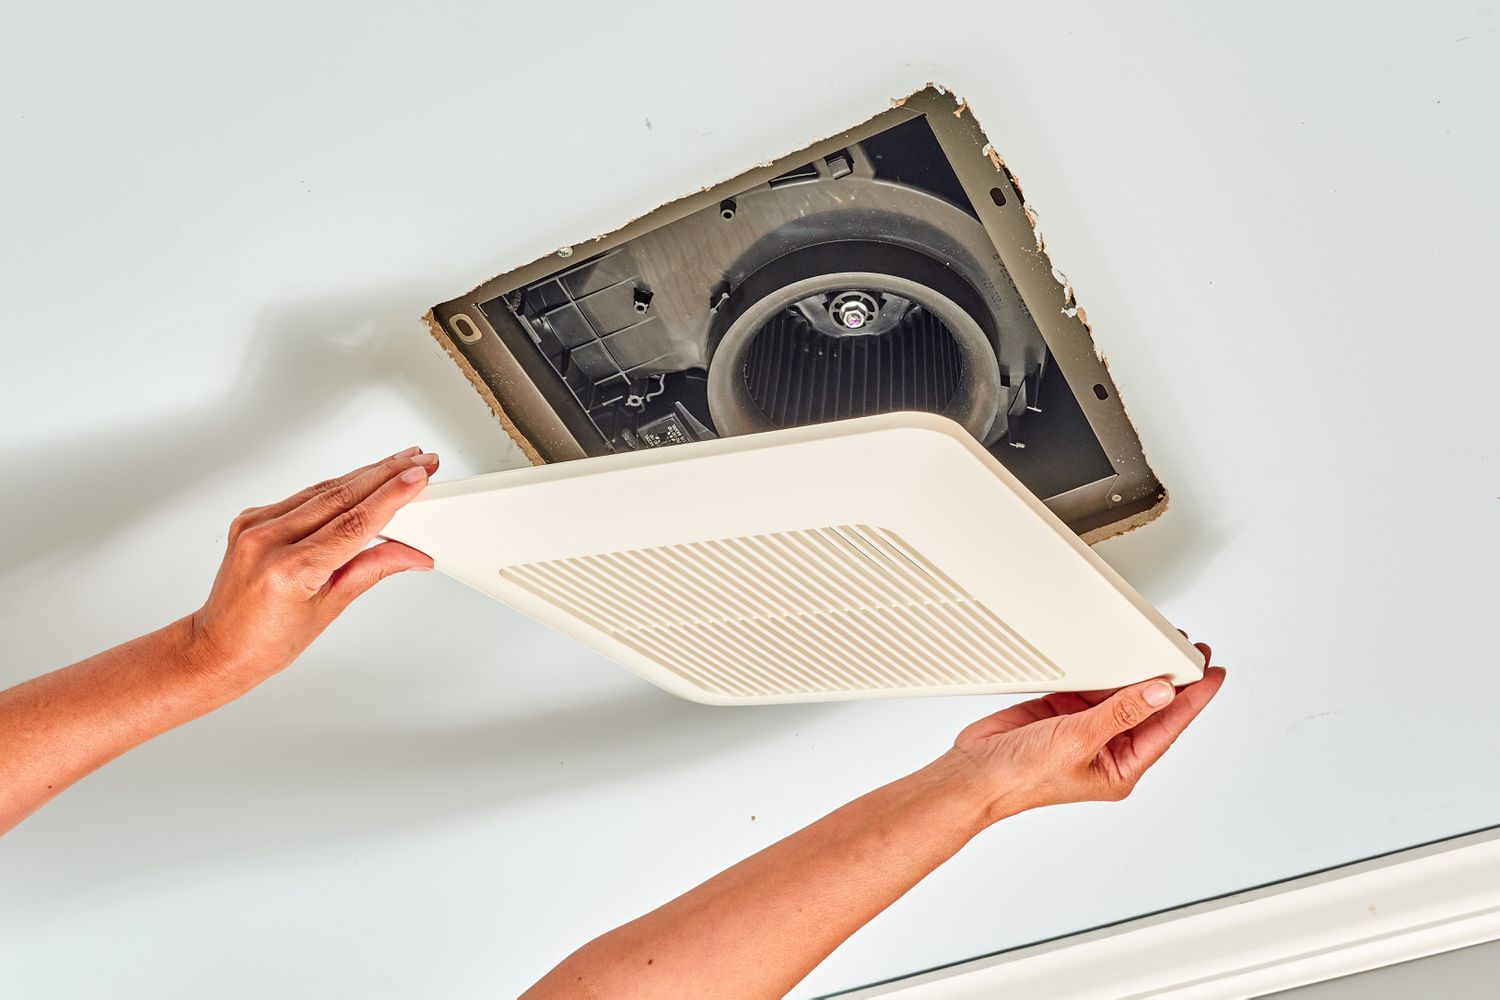
Step 3: Install the electrical box
The installation of the electrical box is a pivotal step in the process of connecting an exhaust fan to a light switch. This component serves as the housing for the wiring connections, providing a secure and organized enclosure for the electrical components. Proper installation of the electrical box is essential for ensuring the structural integrity and safety of the electrical connections. Here's a detailed guide on how to install the electrical box:
-
Select the Appropriate Location: Begin by identifying the optimal location for installing the electrical box. This location should be strategically chosen to facilitate convenient access to the wiring and accommodate the placement of the exhaust fan and light switch. Ensure that the chosen location complies with electrical code requirements and allows for seamless integration with the bathroom's layout and design.
-
Prepare the Mounting Surface: Once the location is determined, prepare the mounting surface for the electrical box. If the surface is drywall, use a stud finder to locate and mark the position of the wall studs. This step is crucial for ensuring that the electrical box is securely anchored to a structurally sound surface. If the mounting surface is a ceiling, consider the structural support and clearance requirements for the exhaust fan.
-
Cut an Opening: Using a keyhole saw or a suitable cutting tool, carefully cut an opening in the wall or ceiling to accommodate the electrical box. Exercise precision and caution during this step to ensure that the opening is accurately sized to accommodate the electrical box.
-
Secure the Electrical Box: With the opening prepared, proceed to secure the electrical box in place. Depending on the type of electrical box being used, follow the manufacturer's instructions for mounting. For a wall-mounted box, align the box with the opening and secure it to the wall studs using screws. If installing a ceiling-mounted box for the exhaust fan, ensure that it is securely anchored to the ceiling joists or support structure.
-
Position for Accessibility: As you install the electrical box, consider the accessibility of the wiring connections and the compatibility with the exhaust fan and light switch. Position the box at a suitable height and orientation to facilitate easy access for wiring and future maintenance.
-
Verify Stability and Alignment: Once the electrical box is installed, verify its stability and alignment. Ensure that it is securely fastened to the mounting surface and that it is level and flush with the surrounding area. This attention to detail contributes to the overall aesthetics and functionality of the installation.
By meticulously following these steps to install the electrical box, you establish a solid foundation for the subsequent wiring and connection of the exhaust fan to the light switch. The proper installation of the electrical box is instrumental in creating a safe and organized environment for the electrical components, setting the stage for a successful integration of the exhaust fan and light switch in the bathroom.
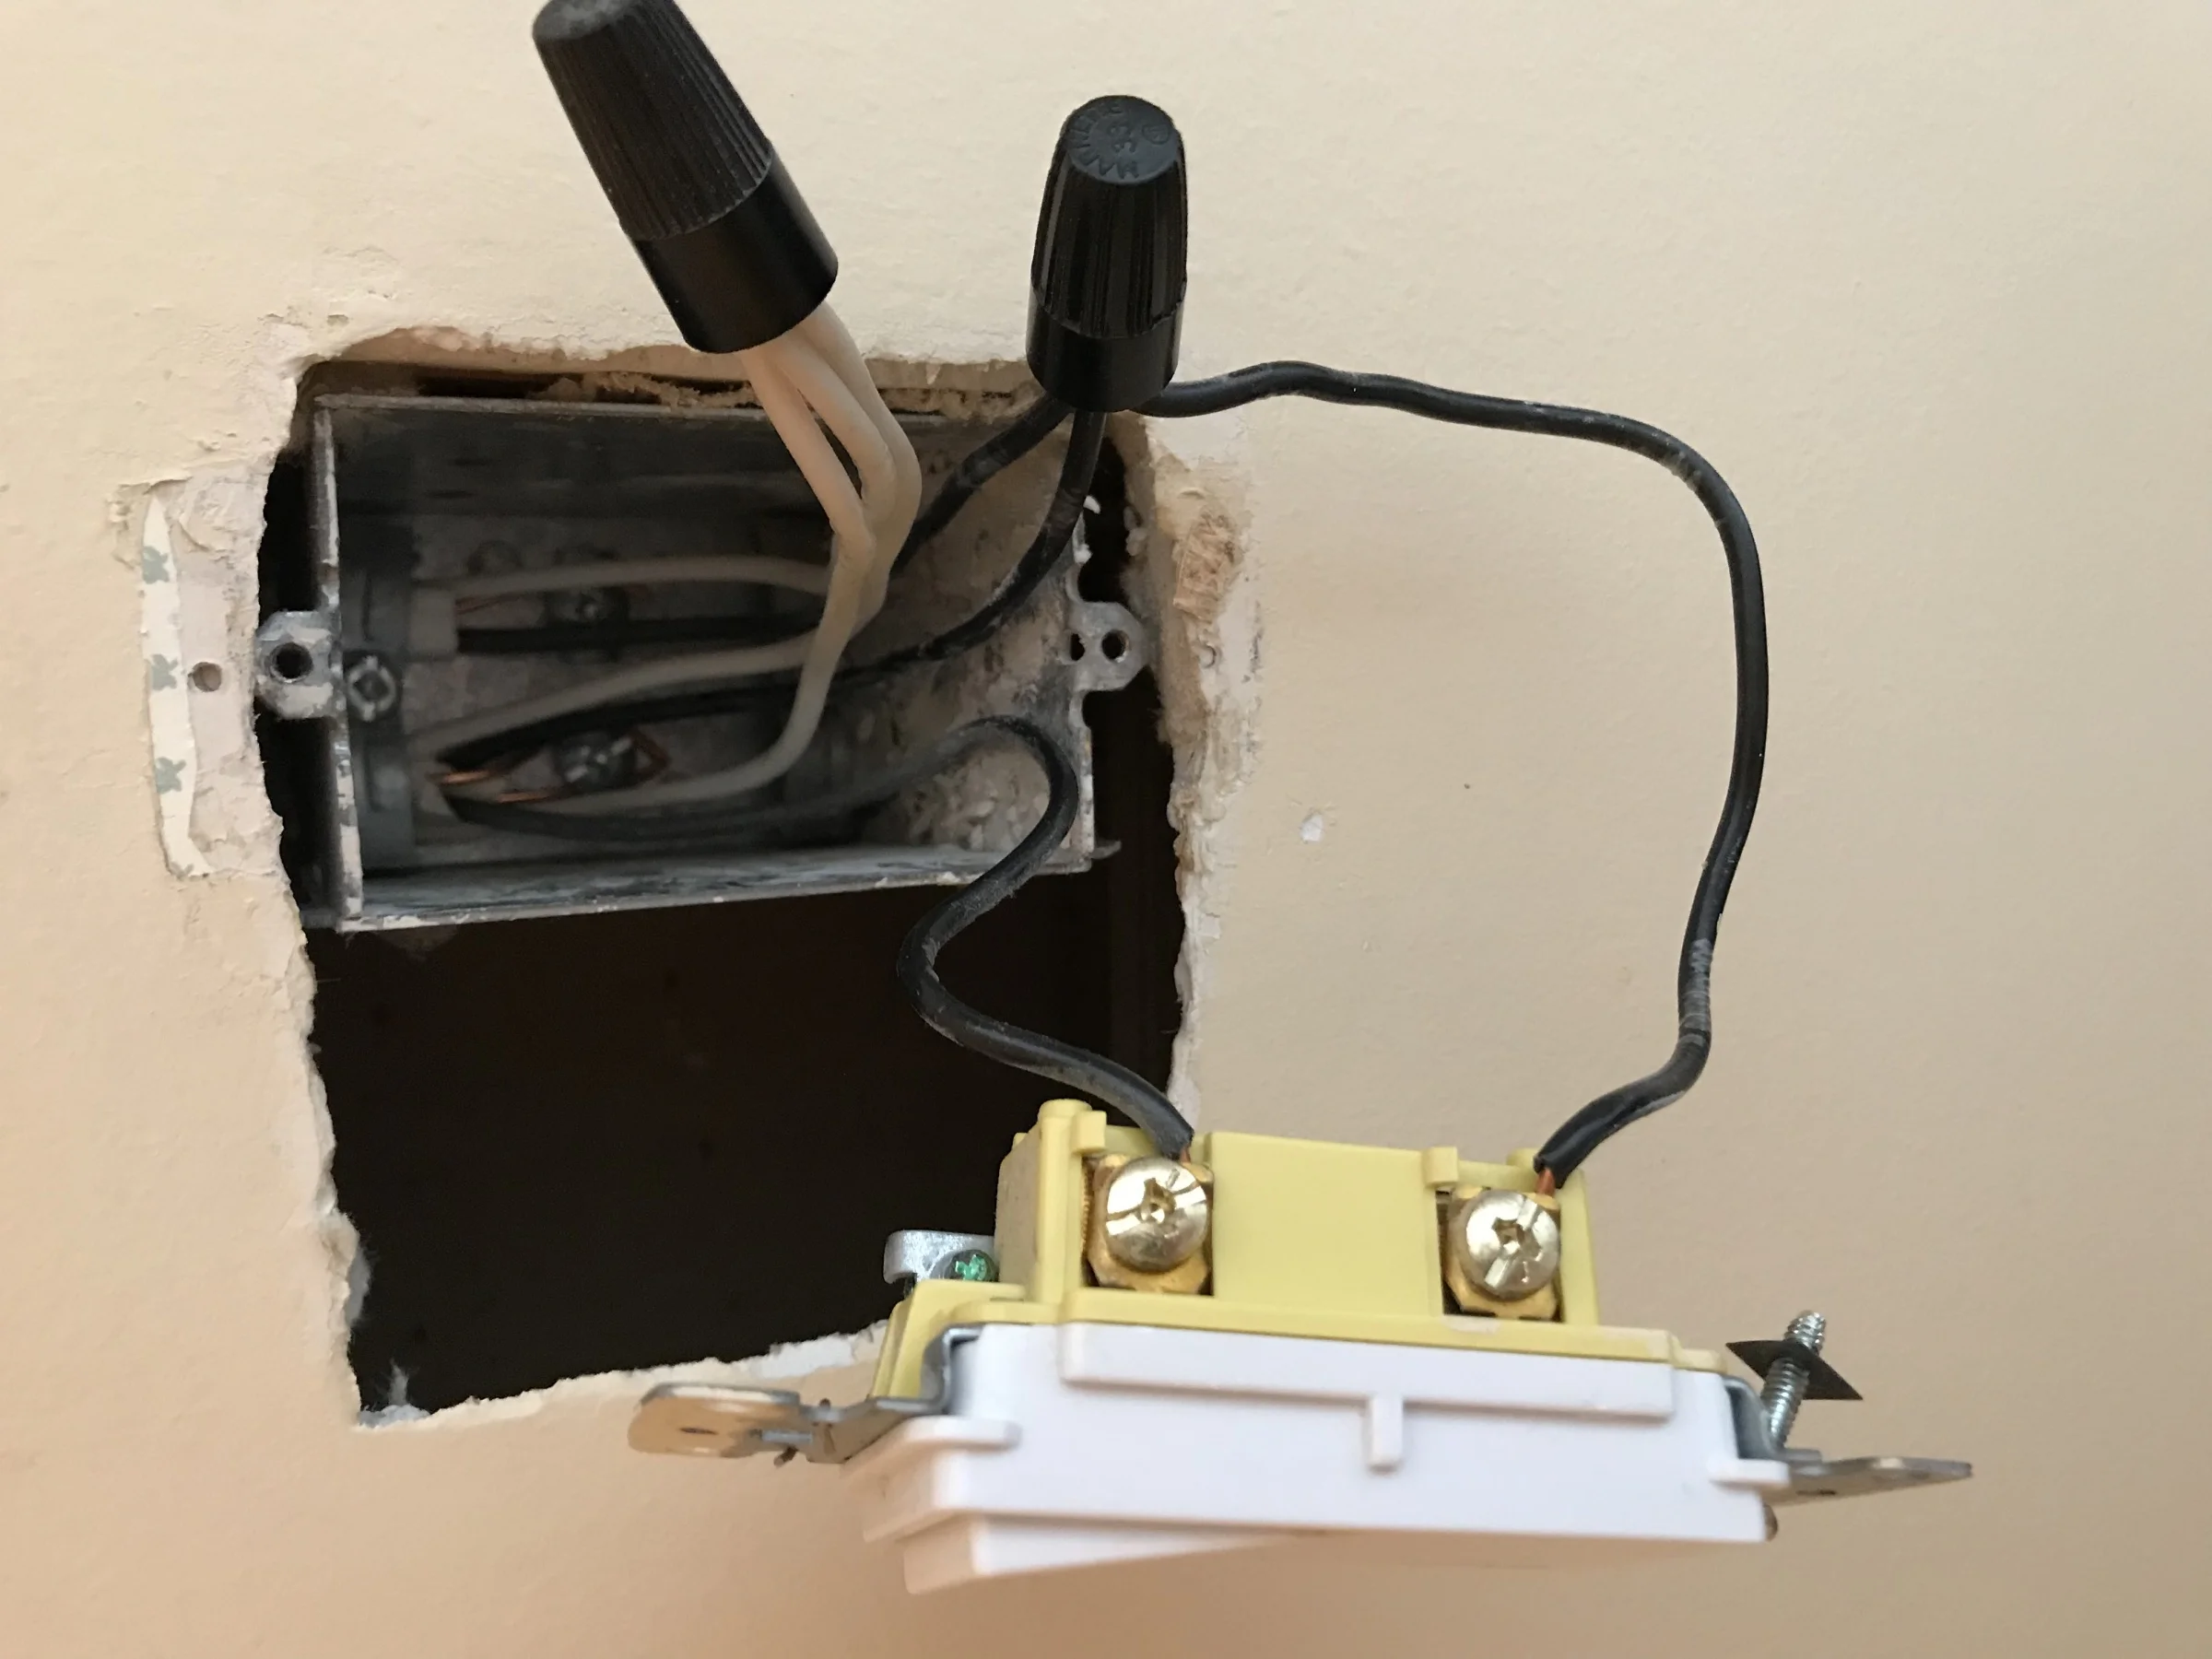
Step 4: Connect the wiring
With the electrical box securely installed, the next crucial step in connecting an exhaust fan to a light switch involves the meticulous process of wiring. This step is pivotal in establishing the electrical connections that enable synchronized control of the exhaust fan and light switch. By adhering to best practices and safety protocols, you can ensure the reliability and efficiency of the wiring connections. Here's a detailed guide on how to connect the wiring:
-
Prepare the Electrical Cable: Begin by preparing the electrical cable for connection. If necessary, carefully strip the outer insulation from the cable to expose the individual insulated wires. Exercise caution to avoid damaging the conductors while stripping the insulation. Depending on the specific requirements of the exhaust fan and light switch, ensure that the length of the cable is sufficient to reach the electrical box and accommodate the wiring connections.
-
Identify the Wiring Configuration: Familiarize yourself with the wiring configuration of the exhaust fan and light switch. Typically, the wiring will involve connecting the power supply, the exhaust fan, and the light switch. Identify the hot (black), neutral (white), and ground (green or bare copper) wires within the electrical cable, as well as the corresponding terminals or wires on the exhaust fan and light switch.
-
Establish the Ground Connection: Prioritize safety by connecting the ground wire from the electrical cable to the grounding terminal within the electrical box. This crucial step ensures that the electrical system is properly grounded, mitigating the risk of electrical hazards and providing a path for fault currents.
-
Connect the Hot and Neutral Wires: Proceed to connect the hot (black) and neutral (white) wires from the electrical cable to the corresponding terminals on the exhaust fan. Follow the manufacturer's instructions for the specific wiring connections, ensuring that the conductors are securely fastened and that proper insulation is maintained. Additionally, if the light switch includes a neutral wire, make the necessary connection to complete the circuit.
-
Wire the Light Switch: With the wiring connections established at the exhaust fan, focus on wiring the light switch. Connect the hot (black) wire from the electrical cable to the appropriate terminal on the light switch, following the designated wiring diagram or instructions provided with the switch. Ensure that the connections are secure and that the switch is compatible with the integrated operation of the exhaust fan and lighting.
-
Secure and Organize the Wiring: After making the necessary connections, carefully secure and organize the wiring within the electrical box. Use cable clamps or staples to secure the electrical cable, preventing strain on the connections and ensuring a tidy and professional installation. Avoid overcrowding the electrical box and maintain clear separation between the conductors to prevent interference.
By meticulously following these steps to connect the wiring, you establish the essential electrical connections that enable the synchronized operation of the exhaust fan and light switch. Prioritize precision and attention to detail to ensure the reliability and safety of the wiring connections, setting the stage for the successful integration of these essential bathroom fixtures.
You can connect an exhaust fan to a light switch by running a new wire from the switch to the fan. Make sure to turn off the power before doing any electrical work and consult a professional if you’re unsure.
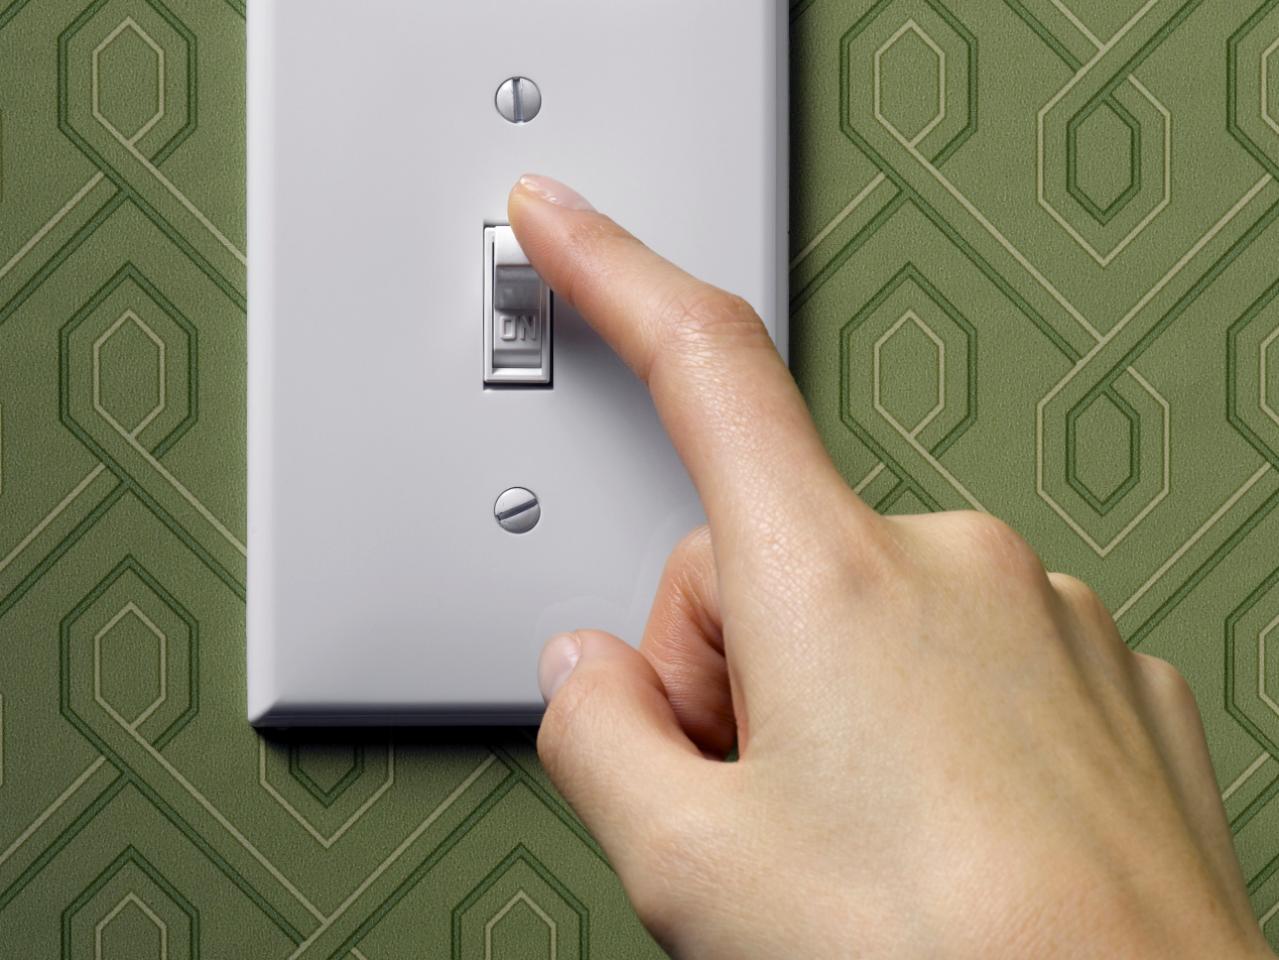
Step 5: Install the switch
The installation of the switch is a pivotal phase in the process of connecting an exhaust fan to a light switch. This component serves as the control interface for the integrated operation of the exhaust fan and lighting, enabling synchronized control and enhancing the functionality of the bathroom space. Here's a detailed guide on how to install the switch:
-
Select the Optimal Location: Begin by identifying the ideal location for installing the switch. This location should be strategically chosen to facilitate convenient access and seamless integration with the bathroom's layout. Consider factors such as accessibility, user convenience, and aesthetic harmony when determining the placement of the switch.
-
Prepare the Mounting Surface: Ensure that the mounting surface for the switch is structurally sound and compatible with the chosen location. If necessary, make any adjustments to the surface to accommodate the switch, such as leveling the area and ensuring adequate clearance for the switch and cover plate.
-
Position the Switch Box: Install the switch box in the designated location, ensuring that it is securely anchored and aligned with the surrounding area. Depending on the type of switch box being used, follow the manufacturer's instructions for mounting and positioning to ensure a stable and flush installation.
-
Connect the Wiring: With the switch box in place, proceed to connect the wiring according to the designated terminals on the switch. Carefully route the wires from the electrical box to the switch, ensuring that the connections are secure and properly insulated. Follow the wiring diagram or instructions provided with the switch to make the appropriate connections.
-
Secure the Switch and Cover Plate: Once the wiring is connected, securely install the switch into the switch box, ensuring that it is level and flush with the mounting surface. Attach the cover plate to complete the installation, ensuring a snug fit and a polished appearance. Verify that the switch operates smoothly and that the cover plate aligns seamlessly with the switch and surrounding area.
-
Test the Functionality: After installing the switch, test its functionality to ensure that it effectively controls the operation of both the exhaust fan and lighting. Verify that the integrated operation functions as intended, allowing for synchronized control and seamless management of the bathroom environment.
By meticulously following these steps to install the switch, you establish the control interface that enables synchronized operation of the exhaust fan and lighting. The proper installation of the switch contributes to the overall functionality and convenience of the integrated system, enhancing the user experience and optimizing the management of the bathroom space.
Step 6: Test the connection
After completing the installation of the electrical box, wiring, and switch, it is imperative to thoroughly test the connection to ensure that the integrated operation of the exhaust fan and light switch functions seamlessly. This critical step allows you to verify the functionality, reliability, and synchronization of the newly integrated system, providing assurance that the exhaust fan operates in conjunction with the lighting as intended.
To effectively test the connection, follow these essential steps:
-
Power Restoration: Begin by restoring the power to the bathroom circuits by switching on the corresponding circuit breaker at the electrical panel. Exercise caution and attentiveness during this step to ensure that the power is safely restored without any unexpected issues.
-
Switch Operation: Test the operation of the light switch to verify that it effectively controls the lighting in the bathroom. Ensure that the switch functions smoothly, allowing for convenient activation and deactivation of the lighting fixture.
-
Exhaust Fan Activation: Upon turning on the light switch, observe and confirm that the exhaust fan activates simultaneously with the lighting. This synchronized operation ensures that the exhaust fan functions in tandem with the lighting, effectively managing moisture and odors in the bathroom environment.
-
Functional Assessment: Evaluate the integrated system's functionality by assessing the responsiveness and synchronization of the exhaust fan and lighting. Pay close attention to any delays or inconsistencies in the operation, addressing any potential issues promptly.
-
Observation and Adjustment: Observe the performance of the integrated system over a brief period, noting any irregularities or areas for improvement. If necessary, make adjustments to the wiring, connections, or switch operation to optimize the functionality and synchronization of the exhaust fan and lighting.
-
Safety Confirmation: Prioritize safety by ensuring that the electrical connections are secure, the switch operates reliably, and the integrated system functions without compromising safety. Verify that all components, including the electrical box, wiring, and switch, are free from any signs of malfunction or hazards.
By meticulously testing the connection, you can validate the successful integration of the exhaust fan with the light switch, ensuring that both fixtures operate harmoniously to enhance the functionality and convenience of the bathroom space. This thorough testing process provides the assurance of a well-executed installation, allowing you to enjoy the benefits of synchronized control and efficient management of the bathroom environment.
Read also: 8 Best Exhaust Fan With Light for 2025
Conclusion
In conclusion, the process of connecting an exhaust fan to a light switch represents a significant enhancement to the functionality and convenience of a bathroom space. By seamlessly integrating these essential fixtures, homeowners can effectively manage ventilation and lighting while streamlining the user experience. Throughout this comprehensive guide, we have explored the step-by-step process of connecting an exhaust fan to a light switch, emphasizing the importance of safety, precision, and attention to detail.
The journey begins with gathering the necessary tools and materials, ensuring that every essential component is readily available for a smooth and efficient installation. Prioritizing safety, the subsequent step involves turning off the power to create a secure working environment. The installation of the electrical box serves as a foundational element, providing a secure housing for the wiring connections and contributing to the structural integrity of the installation.
The meticulous process of connecting the wiring establishes the essential electrical connections that enable the synchronized operation of the exhaust fan and light switch. This phase requires precision and adherence to best practices to ensure the reliability and safety of the wiring connections. The installation of the switch serves as the control interface, enabling synchronized control and enhancing the functionality of the integrated system.
Finally, thorough testing of the connection ensures the seamless operation and synchronization of the exhaust fan and lighting. This critical step provides assurance that the integrated system functions as intended, allowing homeowners to enjoy the benefits of synchronized control and efficient management of the bathroom environment.
By successfully completing the process of connecting an exhaust fan to a light switch, homeowners can experience the convenience of managing ventilation and lighting through a single control interface. This integration not only enhances the functionality of the bathroom but also contributes to energy efficiency and overall comfort. The synchronized operation of the exhaust fan and lighting ensures effective moisture and odor management, creating a more pleasant and comfortable bathroom environment.
As homeowners embark on this journey to connect an exhaust fan to a light switch, prioritizing safety, precision, and attention to detail is paramount. By following the comprehensive steps outlined in this guide, individuals can successfully integrate these essential fixtures, unlocking the potential for enhanced functionality and convenience in their bathroom space.
Frequently Asked Questions about How To Connect An Exhaust Fan To A Light Switch
Was this page helpful?
At Storables.com, we guarantee accurate and reliable information. Our content, validated by Expert Board Contributors, is crafted following stringent Editorial Policies. We're committed to providing you with well-researched, expert-backed insights for all your informational needs.


0 thoughts on “How To Connect An Exhaust Fan To A Light Switch”