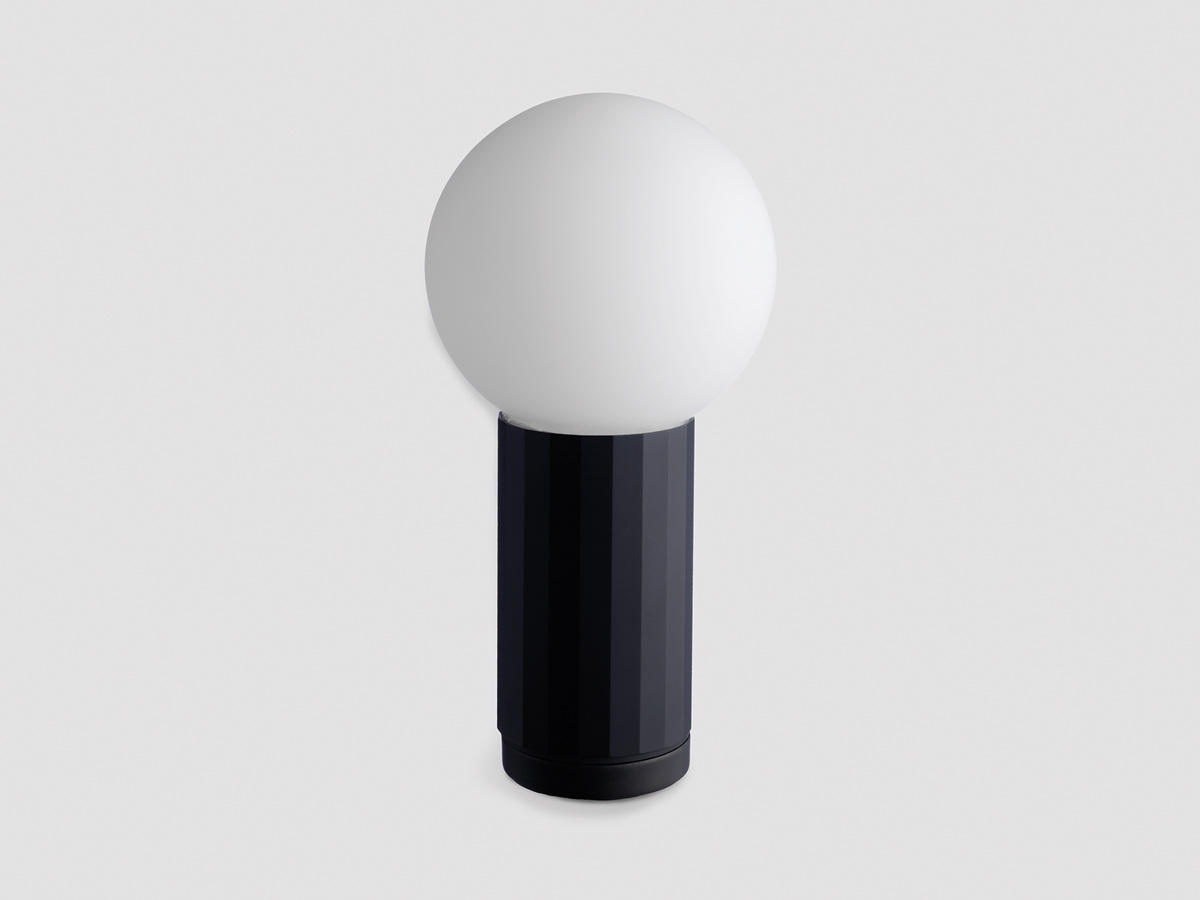
Furniture
How To Fix A Lamp Switch
Modified: January 3, 2024
Learn how to fix a lamp switch and restore functionality to your furniture. Follow our step-by-step guide for an easy and quick solution.
(Many of the links in this article redirect to a specific reviewed product. Your purchase of these products through affiliate links helps to generate commission for Storables.com, at no extra cost. Learn more)
Introduction
When it comes to home decor, lamps play a vital role in providing both functionality and ambiance. A well-designed lamp can completely transform a room and create the perfect lighting atmosphere. However, like any electrical appliance, lamps can experience problems over time. One common issue that many people encounter is a faulty lamp switch.
A lamp switch allows you to turn the lamp on and off, controlling the flow of electricity to the light bulb. However, with frequent use, the switch can become worn out or malfunction, leaving you with a lamp that won’t turn on or off. The good news is that fixing a lamp switch is a relatively simple process that you can do at home with just a few tools and materials.
In this guide, we will walk you through the step-by-step process of fixing a lamp switch. Whether you’re a seasoned DIY enthusiast or a beginner, you’ll find this guide helpful in getting your lamp back in working order. So, gather your tools, put on your handyman (or handywoman) hat, and let’s get started!
Key Takeaways:
- Fixing a faulty lamp switch is a simple DIY process that can save money and extend the lifespan of your lamp. Prioritize safety, gather tools, test the switch, and enjoy a well-lit space!
- Unplugging the lamp, testing the new switch, and reassembling the lamp are crucial steps in successfully repairing a lamp switch. With basic tools and caution, you can restore your lamp’s functionality.
Read more: How To Fix A 3-Way Lamp Switch
Step 1: Gather necessary tools and materials
Before you embark on the journey of fixing your lamp switch, it’s essential to gather all the necessary tools and materials. Having everything within reach will make the process much smoother and more efficient. Here is a list of items you’ll need:
- Flathead screwdriver
- Wire cutter/stripper
- New lamp switch (make sure it’s compatible with your lamp model)
- Electrical tape
- Optional: pliers (in case your current lamp switch is difficult to remove)
Make sure to gather these items before starting the repair process. You don’t want to be in the middle of fixing your lamp switch only to realize you’re missing a crucial tool!
Once you have everything ready, find a clear and well-lit workspace with plenty of room to spread out your tools and materials. This will make it easier to work and ensure that you have all the necessary components at hand.
Remember, safety should always be a priority when working with electrical appliances. Before starting any repairs, be sure to unplug the lamp from the power source. This will prevent any accidental electric shocks or short circuits while you work on the switch.
With your tools and materials gathered and safety precautions taken, you’re now ready to move on to the next step: unplugging the lamp.
Step 2: Unplug the lamp
Now that you have gathered your tools and materials, it’s time to begin the repair process. The first step is to unplug the lamp from the power source. This is crucial for your safety and to avoid any potential electrical hazards.
Locate the power cord of the lamp and follow it until you reach the plug. Firmly grip the plug and gently pull it out from the wall socket. Ensure that the lamp is completely disconnected from any power source before proceeding.
By unplugging the lamp, you eliminate the risk of electrical shock or accidentally turning the lamp on while working on the switch. It’s always better to be safe than sorry, so take a few moments to double-check that the lamp is unplugged before moving on to the next step.
If your lamp has a detachable power cord, you can detach it from the base of the lamp. This will make it easier to work on the switch without any interference.
Unplugging the lamp is a simple yet essential step that sets the foundation for a safe and successful repair process. With the lamp safely disconnected from the power source, you can now proceed to the next step: removing the lampshade and bulb.
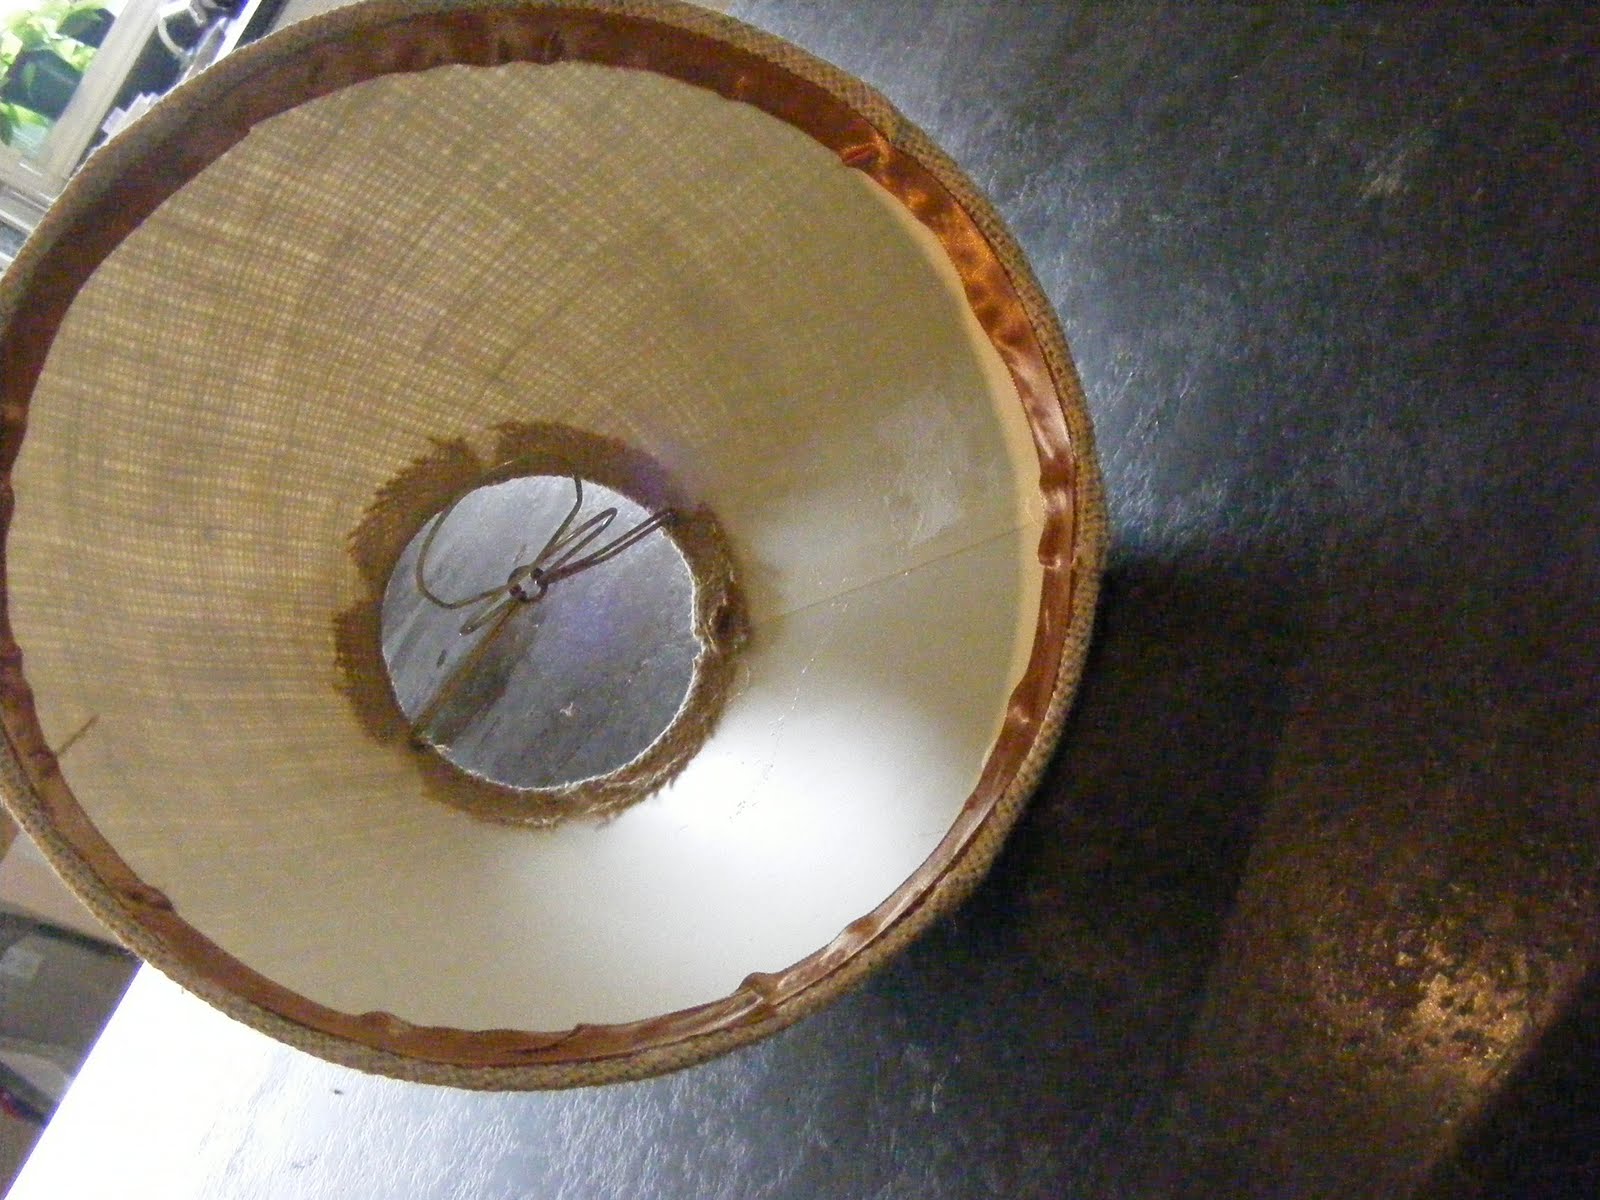
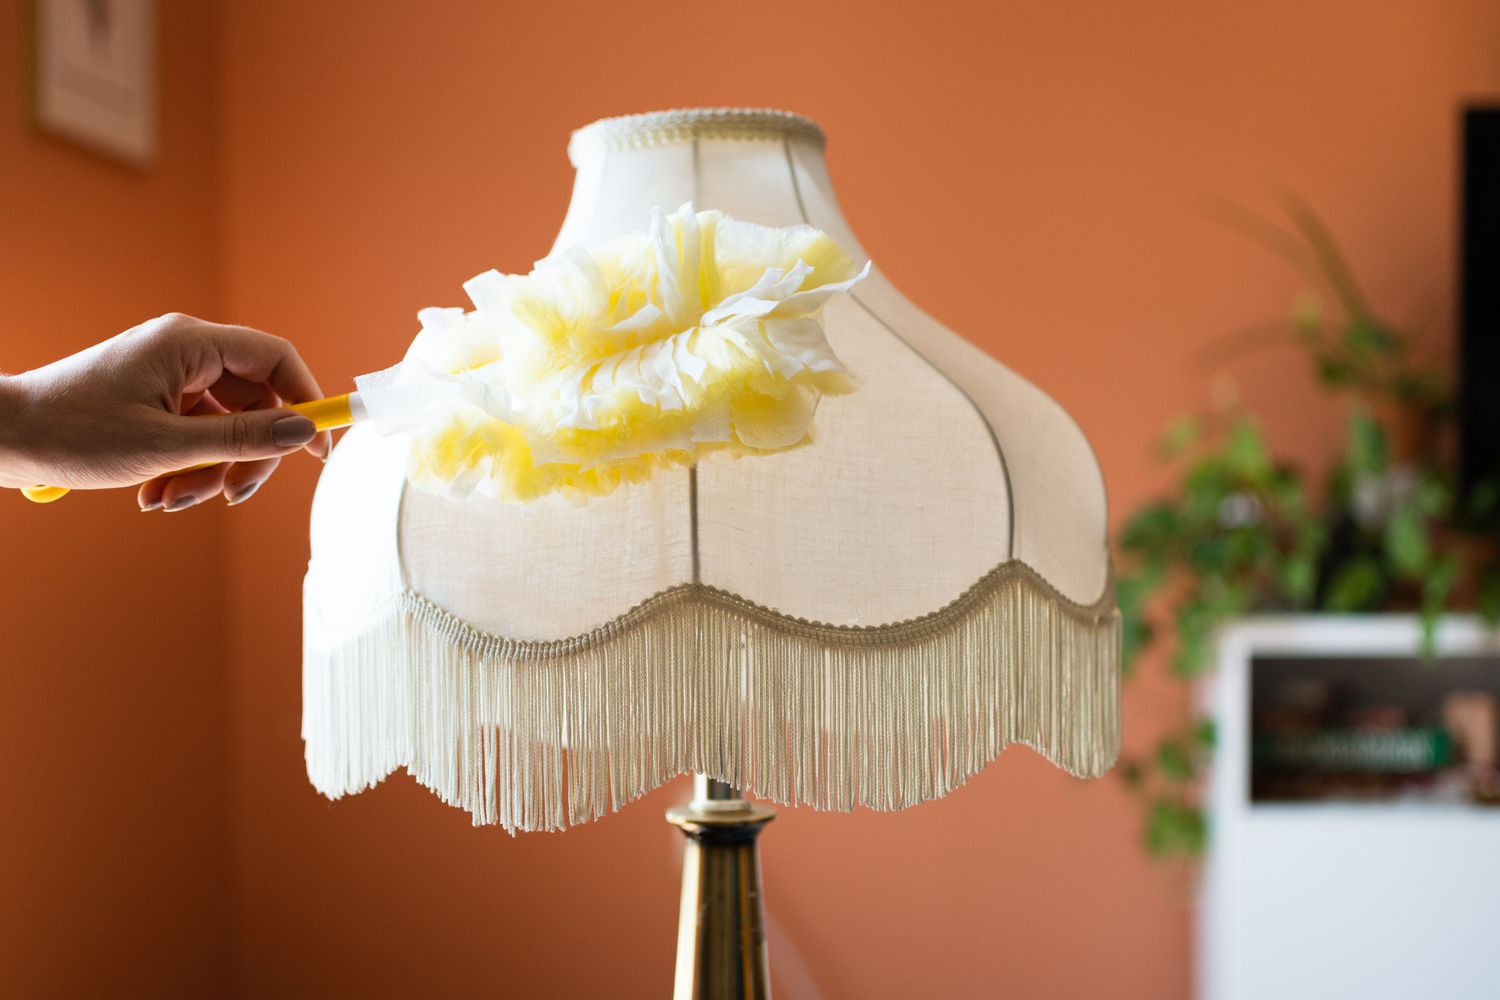
Step 3: Remove the lampshade and bulb
With the lamp safely unplugged, it’s time to remove the lampshade and bulb to access the lamp switch. Removing the lampshade and bulb will provide you with a clear view of the switch and make the repair process easier.
If your lampshade is secured with a harp, start by unscrewing the finial at the top of the harp. This will release the tension and allow you to lift the lampshade off the harp. If your lampshade is held in place by clips or any other mechanism, carefully remove them to detach the shade from the lamp.
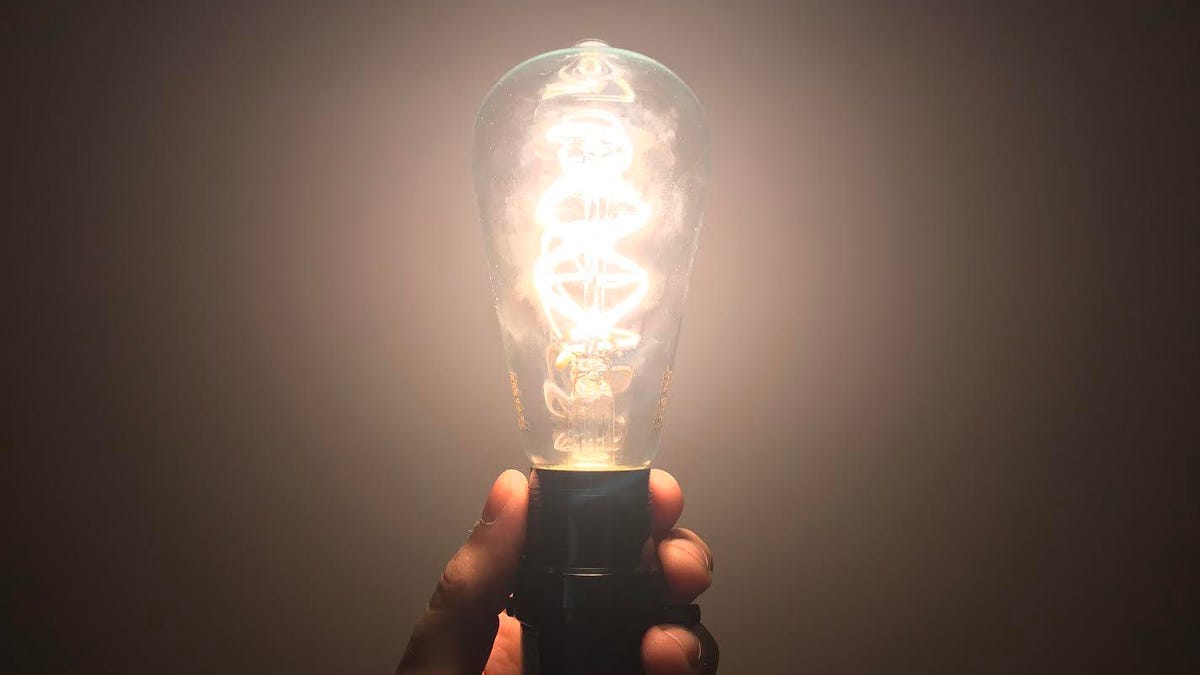
Once the lampshade is removed, you can now access the light bulb. Depending on the type of bulb used in your lamp, the removal process may vary. For regular incandescent bulbs, gently twist the bulb counterclockwise to unscrew it from the socket. If you are dealing with a fluorescent or LED bulb, refer to the manufacturer’s instructions for proper removal.
Set the lampshade and bulb aside in a safe place where they won’t be damaged. It’s important to handle the bulb with care to prevent it from breaking. You may choose to wrap the bulb in a soft cloth or place it in a protective container for safekeeping.
By removing the lampshade and bulb, you now have a clear workspace and easy access to the lamp switch. This will make it easier to test and replace the switch in the next steps. Before moving on, take a moment to appreciate the bare lamp and envision how it will shine brightly again once the repair is complete.
Now that the lampshade and bulb are safely removed, it’s time to dive deeper into the lamp and locate the switch. This will be covered in the next step.
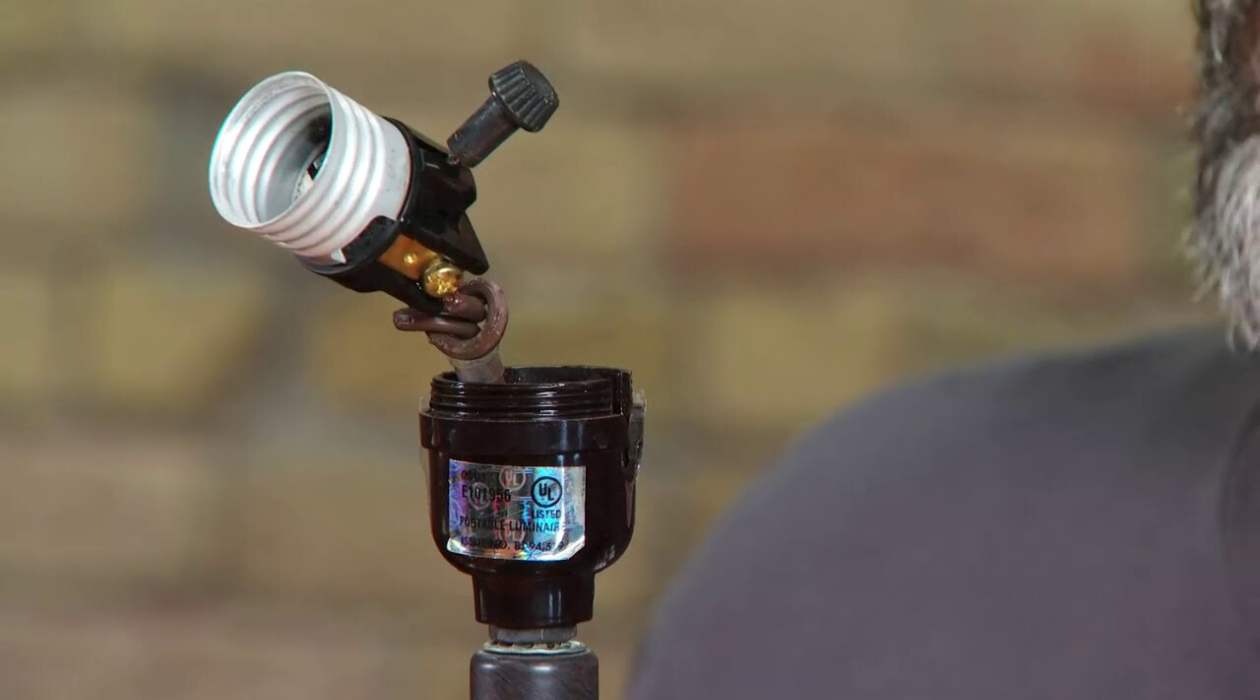
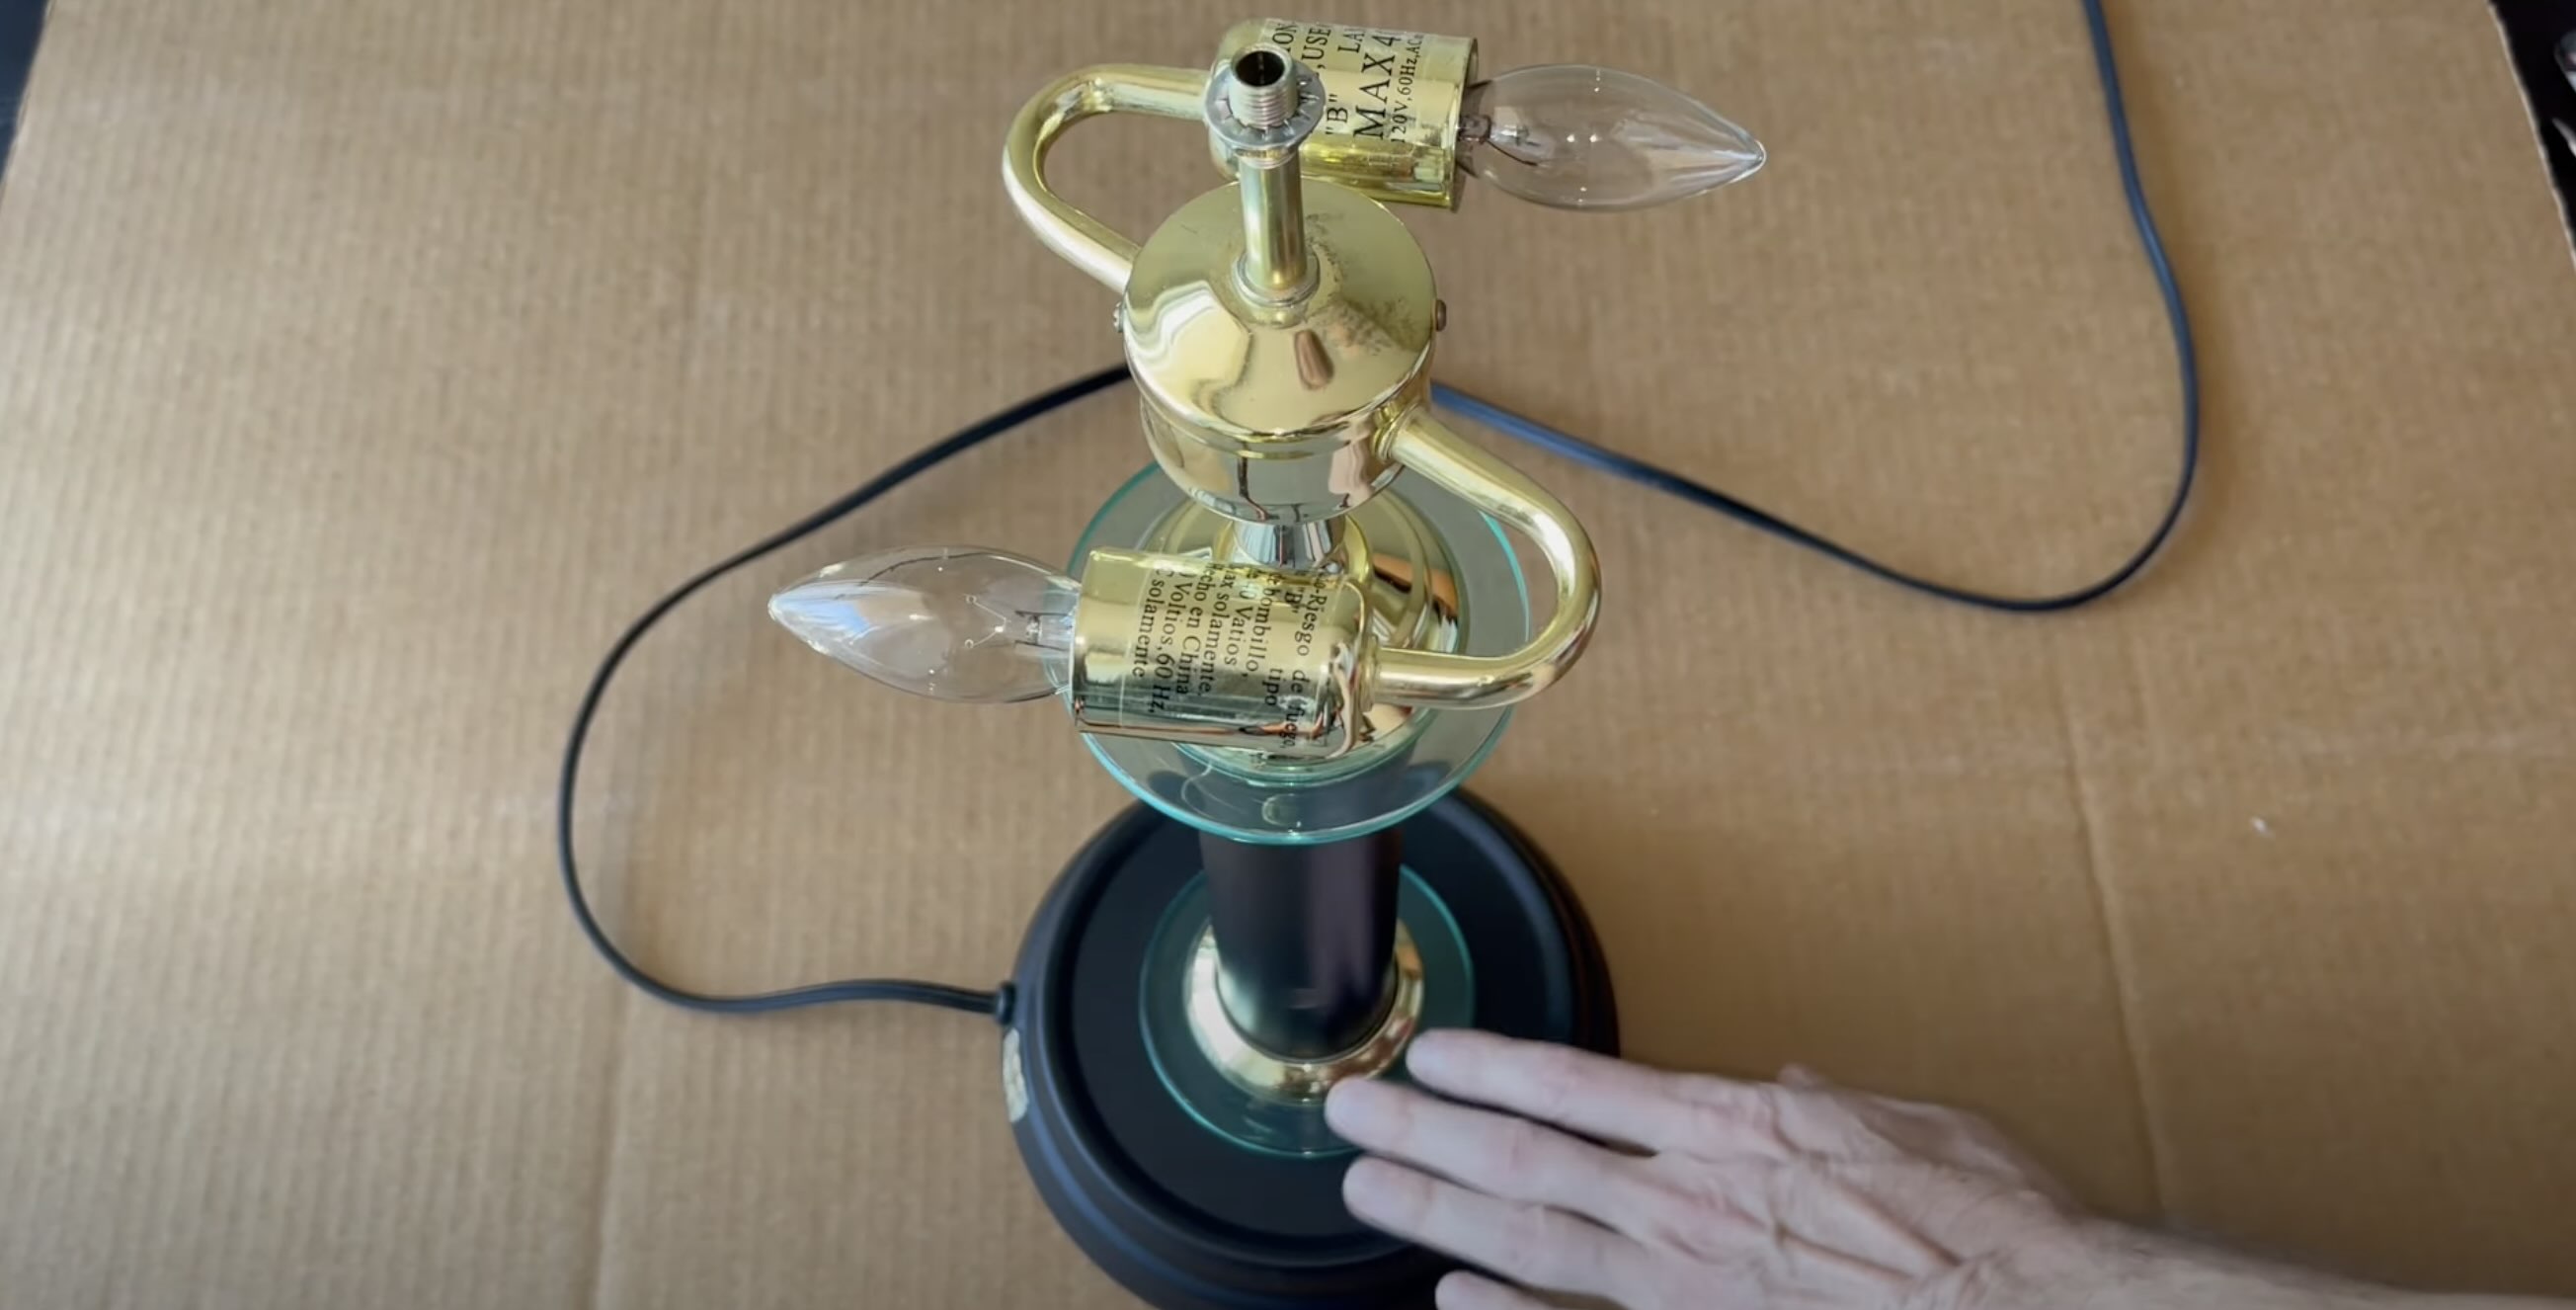
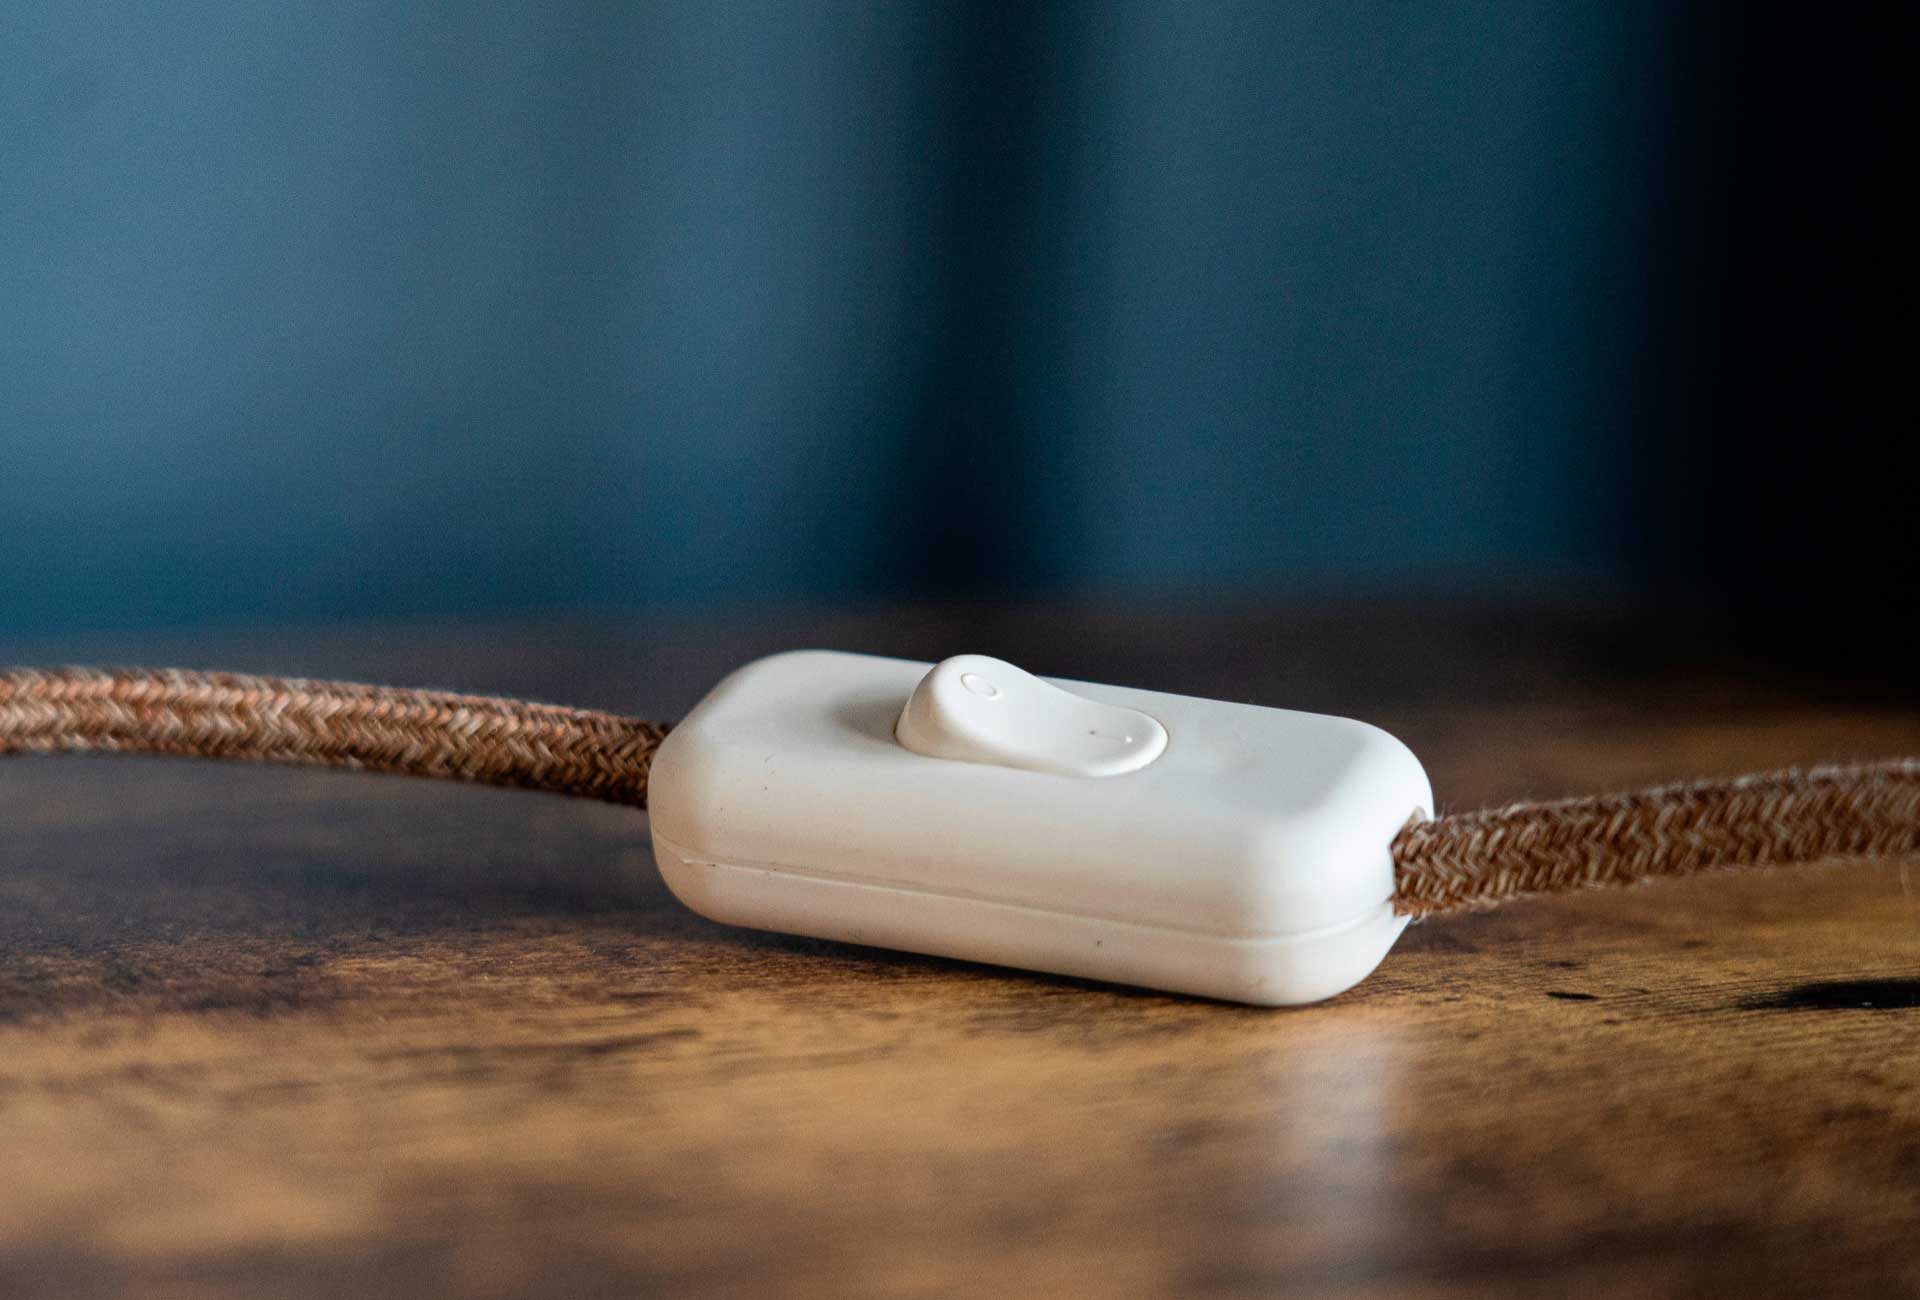
Step 4: Locate the lamp switch
Now that you have removed the lampshade and bulb, it’s time to locate the lamp switch. The switch is usually located near the base of the lamp, where the power cord enters the lamp body.
Take a close look at the lamp body and examine it for any visible screws, clasps, or panels that may be concealing the switch. Depending on the design of your lamp, you may need to remove a small panel or unscrew a component to access the switch.
If you’re unsure about the location of the switch, consult the lamp’s instruction manual or refer to the manufacturer’s website for guidance. Additionally, you can try searching for online resources or forums specific to your lamp model for further assistance.
Once you have located the switch, inspect it for any signs of damage, such as loose connections, frayed wires, or burnt components. A visual inspection can often provide valuable clues as to what might be causing the switch to malfunction.
If the switch appears to be in good condition, it’s still worth testing it before proceeding to replace it. This will help you determine if the switch is indeed the source of the problem or if there are other underlying issues with the lamp.
Now that you’ve successfully located the lamp switch, it’s time to move on to the next step: testing the switch to determine its functionality. Testing the switch will help you identify whether it needs to be replaced or if there are other steps you can take to fix it.
If your lamp switch is not working, try replacing the bulb first to rule out a simple fix. If that doesn’t work, consider replacing the switch or seeking professional help.
Read more: How To Connect A Lamp To A Switch
Step 5: Test the switch
Now that you have located the lamp switch, it’s time to test its functionality. Testing the switch will help you determine if it’s the root cause of the issue or if there are other potential problems with your lamp.
Before proceeding with the testing process, make sure that the lamp is still unplugged to avoid any potential electrical accidents. Safety should always be the top priority when working with electrical appliances.
Start by visually inspecting the switch for any obvious signs of damage, such as loose wires or broken components. If everything looks intact, you can proceed with the functional test.
Plug the lamp back into a power source and turn the switch to the ‘on’ position. If the lamp is functioning properly, it should light up. If the lamp fails to turn on or flickers intermittently, it’s a clear indication that the switch is faulty and needs to be replaced.
Alternatively, you may use a multimeter or continuity tester to test the switch. Set the multimeter or tester to the “continuity” or “ohms” setting and touch the probe leads to each connection on the switch. If there is continuity, indicated by a beep or a low resistance reading, the switch is working correctly. However, if there is no continuity or a high resistance reading, the switch is faulty.
Testing the switch will provide you with valuable information about its functionality. If the switch fails the test, it’s time to move on to the next step: replacing the lamp switch.
Keep in mind that if the switch passes the test but the lamp still doesn’t work, there may be other underlying issues with the wiring or components of the lamp. In such cases, it may be best to consult a professional electrician for further assistance.
Now that you have determined the condition of the switch, it’s time to replace it if necessary. In the next step, we will guide you through the process of replacing the lamp switch.
Step 6: Replace the lamp switch
If you have determined that the lamp switch is faulty and needs to be replaced, it’s time to move on to the next step: replacing the switch. With the necessary tools and materials in hand, follow these steps to successfully replace the lamp switch:
- Start by creating a clear working space. Place the lamp on a stable surface and ensure that you have enough room to maneuver.
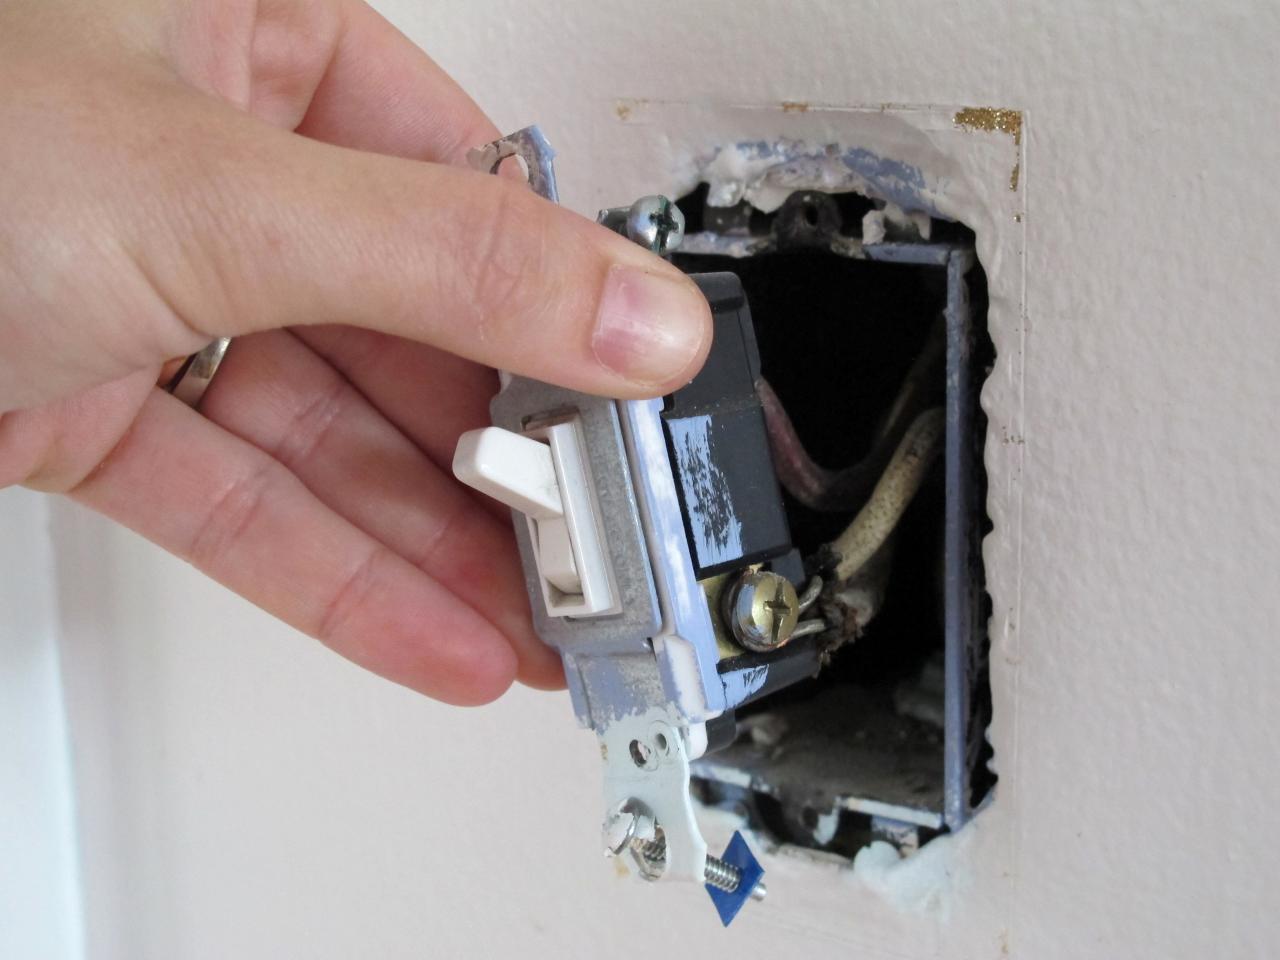
- Locate the wires connected to the switch. In most cases, there will be two wires attached to the switch. Use your wire cutter/stripper to carefully cut through the insulation covering the wires.
- Detach the wires from the switch. If they are wrapped around screws, use a flathead screwdriver to unscrew and release them. If they are connected using wire connectors, simply twist and pull them apart.
- Take your new lamp switch and prepare it for installation. If the switch has screws, loosen them slightly to create an opening for the wires.
- Attach the wires to the new switch. Ensure that the exposed ends of the wires are securely wrapped around the screws or inserted into the wire connectors. Tighten the screws or secure the connectors to firmly hold the wires in place.
- Once the wires are securely attached, carefully position the new switch back into its designated location on the lamp body. Make sure it fits snugly and aligns properly with any screw holes or fastening points.
- If there are any screws or fasteners, tighten them to secure the new switch in place.
- Insulate the exposed wires by wrapping them with electrical tape. This will prevent any accidental contact with the metal components of the lamp.
With the new switch in place and the wires properly connected and insulated, the replacement process is almost complete. Before reassembling the lamp, it’s a good idea to test the new switch to ensure it functions correctly.
Plug the lamp back into a power source and turn the switch to the “on” position. If the lamp lights up as expected, congratulations! You have successfully replaced the lamp switch. If the lamp still doesn’t work or exhibits any issues, double-check the connections and consult a professional electrician if needed.
Now that the switch has been replaced, it’s time to move on to the next step: reassembling the lamp.
Step 7: Reassemble the lamp
With the new lamp switch successfully installed and tested, it’s time to reassemble the lamp. Follow these steps to put all the components back together:
- Start by removing any electrical tape or insulation from the wires. Ensure that the connections are still secure and that there are no exposed wires.
- Position the lampshade properly on the lamp. If your lampshade is secured with a harp, slide it back onto the harp and tighten the finial to secure it in place. If the lampshade uses clips or other mechanisms, reattach them to secure the shade.
- If you had detached the lamp’s power cord, reattach it to the base of the lamp. Make sure the cord is properly threaded through any cord channels or openings.
- Double-check that all the components are aligned and properly placed. Adjust them if necessary to ensure a neat and secure fit.
- Take a moment to inspect the lamp for any additional maintenance or cleaning needs. Wipe down the base and lamp body with a soft cloth to remove any dust or fingerprints.
Once you have reassembled the lamp and ensured that everything is properly aligned and secure, it’s time to move on to the final step: testing the lamp.
Before plugging the lamp back into a power source, double-check that the switch is in the “off” position. This will prevent any unintended illumination once the power is restored.
Now, plug the lamp back into a power source and turn the switch to the “on” position. If all went well, the lamp should light up and function perfectly. Take a moment to appreciate your handiwork and the newly restored functionality of your lamp.
If, however, the lamp still doesn’t work or exhibits any issues, double-check the connections and consult a professional electrician if needed. It’s always better to be safe and seek expert advice when dealing with electrical matters.
Congratulations! You have successfully replaced the lamp switch and reassembled the lamp. It’s now ready to brighten up your space once again. Enjoy the renewed beauty and functionality of your lamp!
Step 8: Test the lamp
After replacing the lamp switch and reassembling the lamp, the final step is to test the lamp to ensure that everything is working as expected. This step is crucial in verifying that the repair was successful and that the lamp is in proper working condition.
Before proceeding with the testing process, make sure that the lamp is unplugged from the power source. This is to ensure your safety while handling the lamp and to avoid any potential electrical hazards.
Once the lamp is unplugged, carefully plug it back into a power source. Ensure that the socket or outlet is functioning properly and that there are no visible signs of damage or wear.
Next, turn the lamp switch to the “on” position. If the repair was successful, the lamp should light up immediately. Take a moment to observe the light and ensure that it is stable, without any flickering or dimming.
If the lamp doesn’t turn on or exhibits any issues, double-check the following:
- Ensure that the lamp is securely plugged into the power source.
- Verify that the switch is in the correct position and properly connected.
- Inspect the wiring and connections to ensure they are secure and not loose.
- If necessary, retrace your steps and review the repair process to identify any potential mistakes or missed steps.
If you are still unable to resolve the issue or the lamp continues to malfunction, it may be best to consult a professional electrician for further assistance. They will be able to diagnose and fix any underlying electrical problems that may be affecting the lamp’s functionality.
Once you have confirmed that the lamp is working properly, take a moment to appreciate the successful repair. Your efforts have paid off, and you now have a fully functional lamp that can continue to illuminate your space and enhance your home decor.
Remember to always exercise caution and prioritize safety when working with electrical appliances. If at any point you feel unsure or uncomfortable, it is best to seek professional assistance.
With the lamp tested and functioning correctly, you can now enjoy the warm glow and ambiance it adds to your home. Sit back, relax, and bask in the comfort and beauty of a well-lit space!
Read more: What Is A Rotary Switch On A Lamp
Conclusion
Fixing a faulty lamp switch is a straightforward process that can save you the cost and hassle of replacing the entire lamp. With just a few tools, some basic electrical knowledge, and a little bit of patience, you can successfully repair your lamp and restore its functionality.
In this guide, we have walked you through the step-by-step process of fixing a lamp switch. From gathering the necessary tools and materials to testing and replacing the switch, each step has been carefully outlined to help you navigate the repair process smoothly.
Throughout the repair, it’s crucial to prioritize safety. Always unplug the lamp before starting any work, and take precautions to avoid electrical hazards. If you encounter any difficulties or feel unsure about any step, it’s recommended to consult a professional electrician for assistance.
By fixing your lamp switch, not only do you save money, but you also extend the lifespan of your beloved lamp. Plus, there’s a sense of satisfaction that comes with successfully completing a DIY project and bringing new life to an old or malfunctioning item.
Remember to test the lamp after the repair to ensure that everything is functioning correctly. If you encounter any issues or the lamp still doesn’t work, don’t hesitate to seek professional advice.
Now that you have the knowledge and confidence to fix a lamp switch, you can tackle this common issue with ease. So the next time you encounter a lamp that won’t turn on or off, grab your tools and put your newfound skills to work!
With a little bit of effort and know-how, you can keep your lamps shining brightly and continue to enjoy their warm glow in your home.
Frequently Asked Questions about How To Fix A Lamp Switch
Was this page helpful?
At Storables.com, we guarantee accurate and reliable information. Our content, validated by Expert Board Contributors, is crafted following stringent Editorial Policies. We're committed to providing you with well-researched, expert-backed insights for all your informational needs.