Furniture
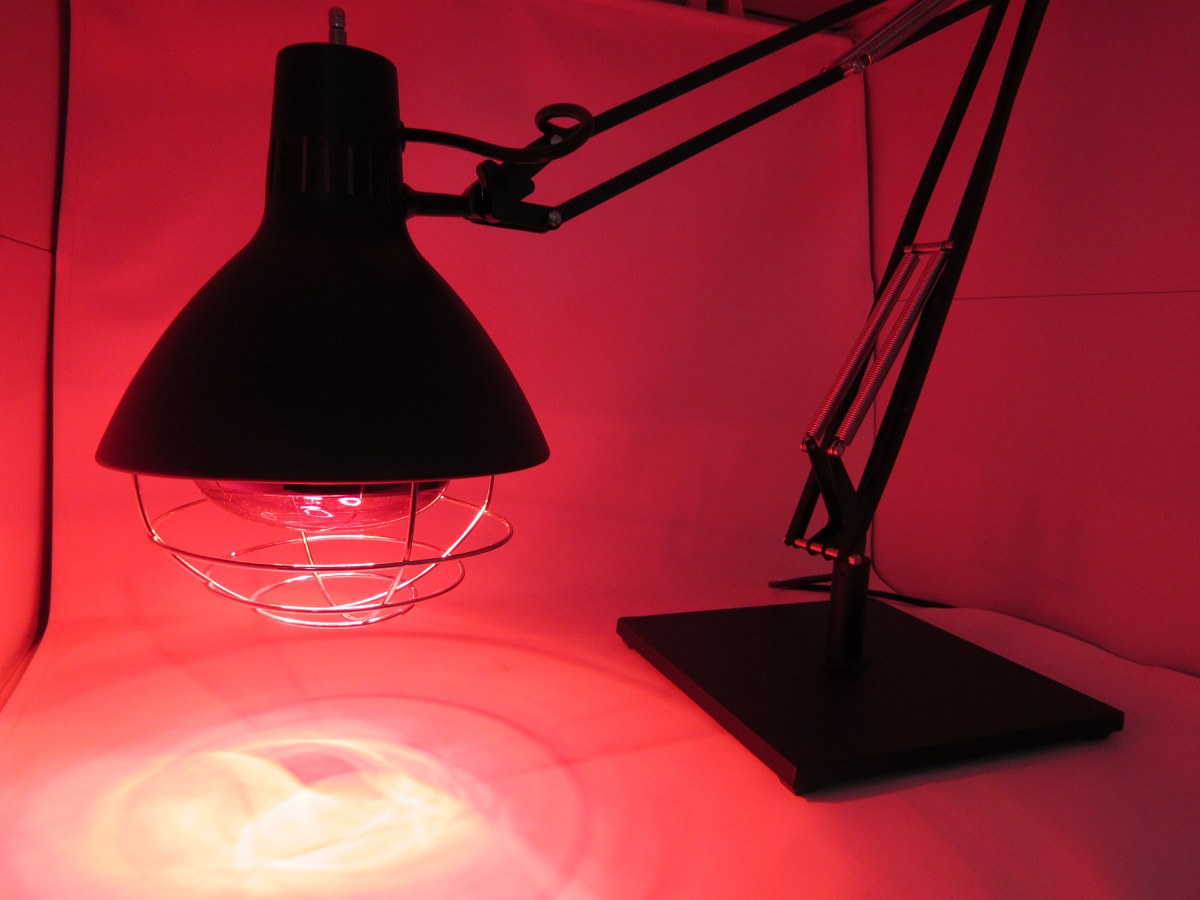
How To Hang A Heat Lamp
Modified: August 17, 2024
Learn how to properly hang a heat lamp for furniture to keep your space cozy and comfortable. Follow our step-by-step guide for easy installation and maximum warmth.
(Many of the links in this article redirect to a specific reviewed product. Your purchase of these products through affiliate links helps to generate commission for Storables.com, at no extra cost. Learn more)
Introduction
Welcome to our comprehensive guide on how to hang a heat lamp! Heat lamps are a popular option for providing warmth and comfort in various settings, such as outdoor patios, garages, or even reptile enclosures. Whether you’re looking to create a cozy outdoor space for entertaining or ensuring the well-being of your pet reptiles, knowing how to properly hang a heat lamp is essential.
While hanging a heat lamp may seem like a simple task, it’s important to approach it with caution and follow the necessary safety considerations. In this guide, we will walk you through the step-by-step process of safely hanging a heat lamp, from choosing the right location to testing the lamp’s functionality.
Before we dive into the details, it’s crucial to emphasize the importance of safety when dealing with electrical appliances. Always remember to follow manufacturer instructions and local building codes to avoid any accidents or damage. If you’re unsure about any aspect of the installation process, it’s highly recommended to consult a licensed electrician.
Now, let’s get started with the safety considerations before hanging your heat lamp.
Key Takeaways:
- Ensure safety by following manufacturer instructions, checking wiring, and maintaining proper clearance. Gather necessary equipment and materials for a smooth installation process.
- Choose the right location, install a secure mounting bracket, connect the power supply, and test the heat lamp for optimal functionality and safety. Periodic maintenance is key to long-term performance.
Read more: How To Make A Hanging Lamp
Safety Considerations
Before you begin the process of hanging a heat lamp, it is crucial to prioritize safety. Here are some important safety considerations to keep in mind:
- Power Off: Always ensure that the power is turned off before you start working with any electrical components. This will help prevent electric shock and other potential hazards.
- Proper Wiring: Make sure the wiring in the area where you plan to hang the heat lamp is in good condition. Check for any frayed wires, exposed connections, or other signs of damage. If you notice any issues, it is recommended to have a professional electrician inspect and repair the wiring.
- Weight Capacity: Consider the weight capacity of the surface or structure where you plan to mount the heat lamp. Ensure that it can securely support the weight of the lamp and any additional accessories, such as a protective cage or reflector.
- Ventilation: Adequate ventilation is essential to prevent overheating. Make sure there is sufficient airflow around the heat lamp to dissipate heat and avoid potential fire hazards. Avoid blocking air vents or installing the lamp too close to combustible materials.
- Protective Cover: If you’re using a heat lamp in an outdoor setting, be sure to install a protective cover to shield it from rain, snow, or other elements. This will help prolong the life of the lamp and avoid any potential electrical issues.
- Proper Distance: Ensure that the heat lamp is installed at the appropriate distance from any flammable materials, such as curtains, wooden beams, or plastic furniture. This will help prevent the risk of fire and ensure the safety of your surroundings.
- Regular Maintenance: Perform regular inspections and maintenance to keep the heat lamp in optimal working condition. Check for any signs of wear or damage, and replace any faulty components promptly.
- Read the Instructions: Always refer to the manufacturer’s instructions for specific safety guidelines and installation procedures. Each heat lamp may have unique requirements that should be followed to ensure safe and effective operation.
By adhering to these safety considerations, you can create a secure and hazard-free environment while enjoying the benefits of a heat lamp. Now that we’ve covered the safety aspects, let’s move on to the equipment and materials you’ll need for the installation process.
Equipment and Materials Needed
Before you begin hanging a heat lamp, gather the necessary equipment and materials to ensure a smooth installation process. Here’s what you’ll need:
- Heat lamp fixture or socket: Choose a heat lamp fixture that is compatible with the type of lamp you plan to use. Make sure it has the appropriate wattage rating for your heat lamp.
- Heat lamp: Select a heat lamp that suits your specific needs, whether it’s for providing warmth in outdoor spaces or creating the ideal temperature for your reptile enclosure.
- Mounting bracket: Ensure you have a sturdy mounting bracket that can safely hold the weight of the heat lamp. The bracket should be suitable for the surface or structure where you plan to hang the lamp.
- Power drill and drill bits: A power drill will be necessary for drilling holes to secure the mounting bracket and any necessary wiring.
- Screws or bolts: Use screws or bolts that are appropriate for the mounting bracket and the surface you’re attaching it to.
- Cable or wire: You’ll need electrical cable or wire to connect the heat lamp fixture to a power source. Make sure you use a cable with the appropriate gauge for the power requirements of the lamp.
- Wire connectors or terminal blocks: These are used to secure the electrical connections between the heat lamp fixture and the power supply.
- Protective cage or reflector (optional): Depending on your specific application, you may need a protective cage or reflector to enhance safety and direct the heat in the desired direction.
- Protective cover (for outdoor use): If you’re installing a heat lamp outdoors, make sure you have a protective cover to shield it from the elements.
- Electrical tester: It’s a good idea to have an electrical tester on hand to verify that the power is properly turned off before starting the installation.
- Safety goggles and gloves: Wear safety goggles and gloves to protect yourself from any potential hazards during the installation process.
Ensure that you have all the necessary equipment and materials before you begin hanging the heat lamp. This will help you complete the installation smoothly, minimizing any potential delays or hazards. Once you’ve gathered everything you need, you’re ready to move on to the next step: choosing the right location for your heat lamp.
Step 1: Choose the Right Location
Choosing the right location for your heat lamp is crucial to ensure optimal functionality and safety. Here are some factors to consider when selecting the location:
- Purpose: Determine the purpose of the heat lamp. Are you using it to provide warmth for an outdoor seating area or to create a suitable environment for your reptiles? Understanding the purpose will help you determine the ideal location.
- Size of the Area: Evaluate the size of the area that needs heating. Ensure that the heat lamp’s coverage area matches your requirements. Consider the height and distance at which you need to position the lamp to achieve the desired heat distribution.
- Clearance: Ensure that there is sufficient clearance around the heat lamp. Keep it away from any combustible materials, such as curtains, tree branches, or flammable substances. This will help prevent the risk of fire.
- Protection from Weather: If you’re installing the heat lamp outdoors, consider how it will be protected from the weather. Look for a location that has adequate coverage from rain, snow, or excessive wind. If necessary, install a protective cover or shelter for the lamp.
- Accessibility: Make sure the location you choose is easily accessible for maintenance and bulb replacement. You don’t want to be struggling to reach the lamp every time it needs attention.
- Mounting Surface: Evaluate the suitability of the mounting surface. Ensure that it is strong and stable enough to support the weight of the heat lamp and any additional accessories. Avoid mounting the lamp on surfaces that may be vulnerable to heat damage.
- Aesthetic Considerations: Consider the overall aesthetics of the area and how the heat lamp will fit in. Choose a location that blends well with the surroundings and enhances the ambiance of the space.
Take your time to assess these factors and choose the optimal location for your heat lamp. Once you’ve identified the right spot, you can proceed to the next step: installing a secure mounting bracket.
Step 2: Install a Secure Mounting Bracket
After selecting the ideal location for your heat lamp, the next step is to install a secure mounting bracket. A mounting bracket provides stability and ensures that the heat lamp is securely attached to the desired surface. Here’s how to install a mounting bracket:
- Measure and Mark: Use a measuring tape to determine the desired height and position of the heat lamp. Mark the mounting holes on the surface accordingly.
- Preparation: If necessary, use a power drill with an appropriate drill bit to create pilot holes for the mounting screws or bolts. This will make it easier to secure the bracket to the surface.
- Attach the Bracket: Line up the mounting bracket with the marked holes and attach it firmly to the surface using screws or bolts. Make sure the bracket is level and tightly secured.
- Stability Check: Give the bracket a gentle shake to ensure that it is stable and can support the weight of the heat lamp. If there is any movement or instability, reinforce the attachment or consider an alternative mounting method.
- Follow Manufacturer Instructions: It’s important to refer to the manufacturer’s instructions for any specific guidelines or recommendations regarding the installation of the mounting bracket. Each type of bracket may have its own set of instructions.
By installing a secure mounting bracket, you can ensure the stability and safety of your heat lamp. Now that the bracket is in place, it’s time to move on to the next step of the installation process: connecting the power supply.
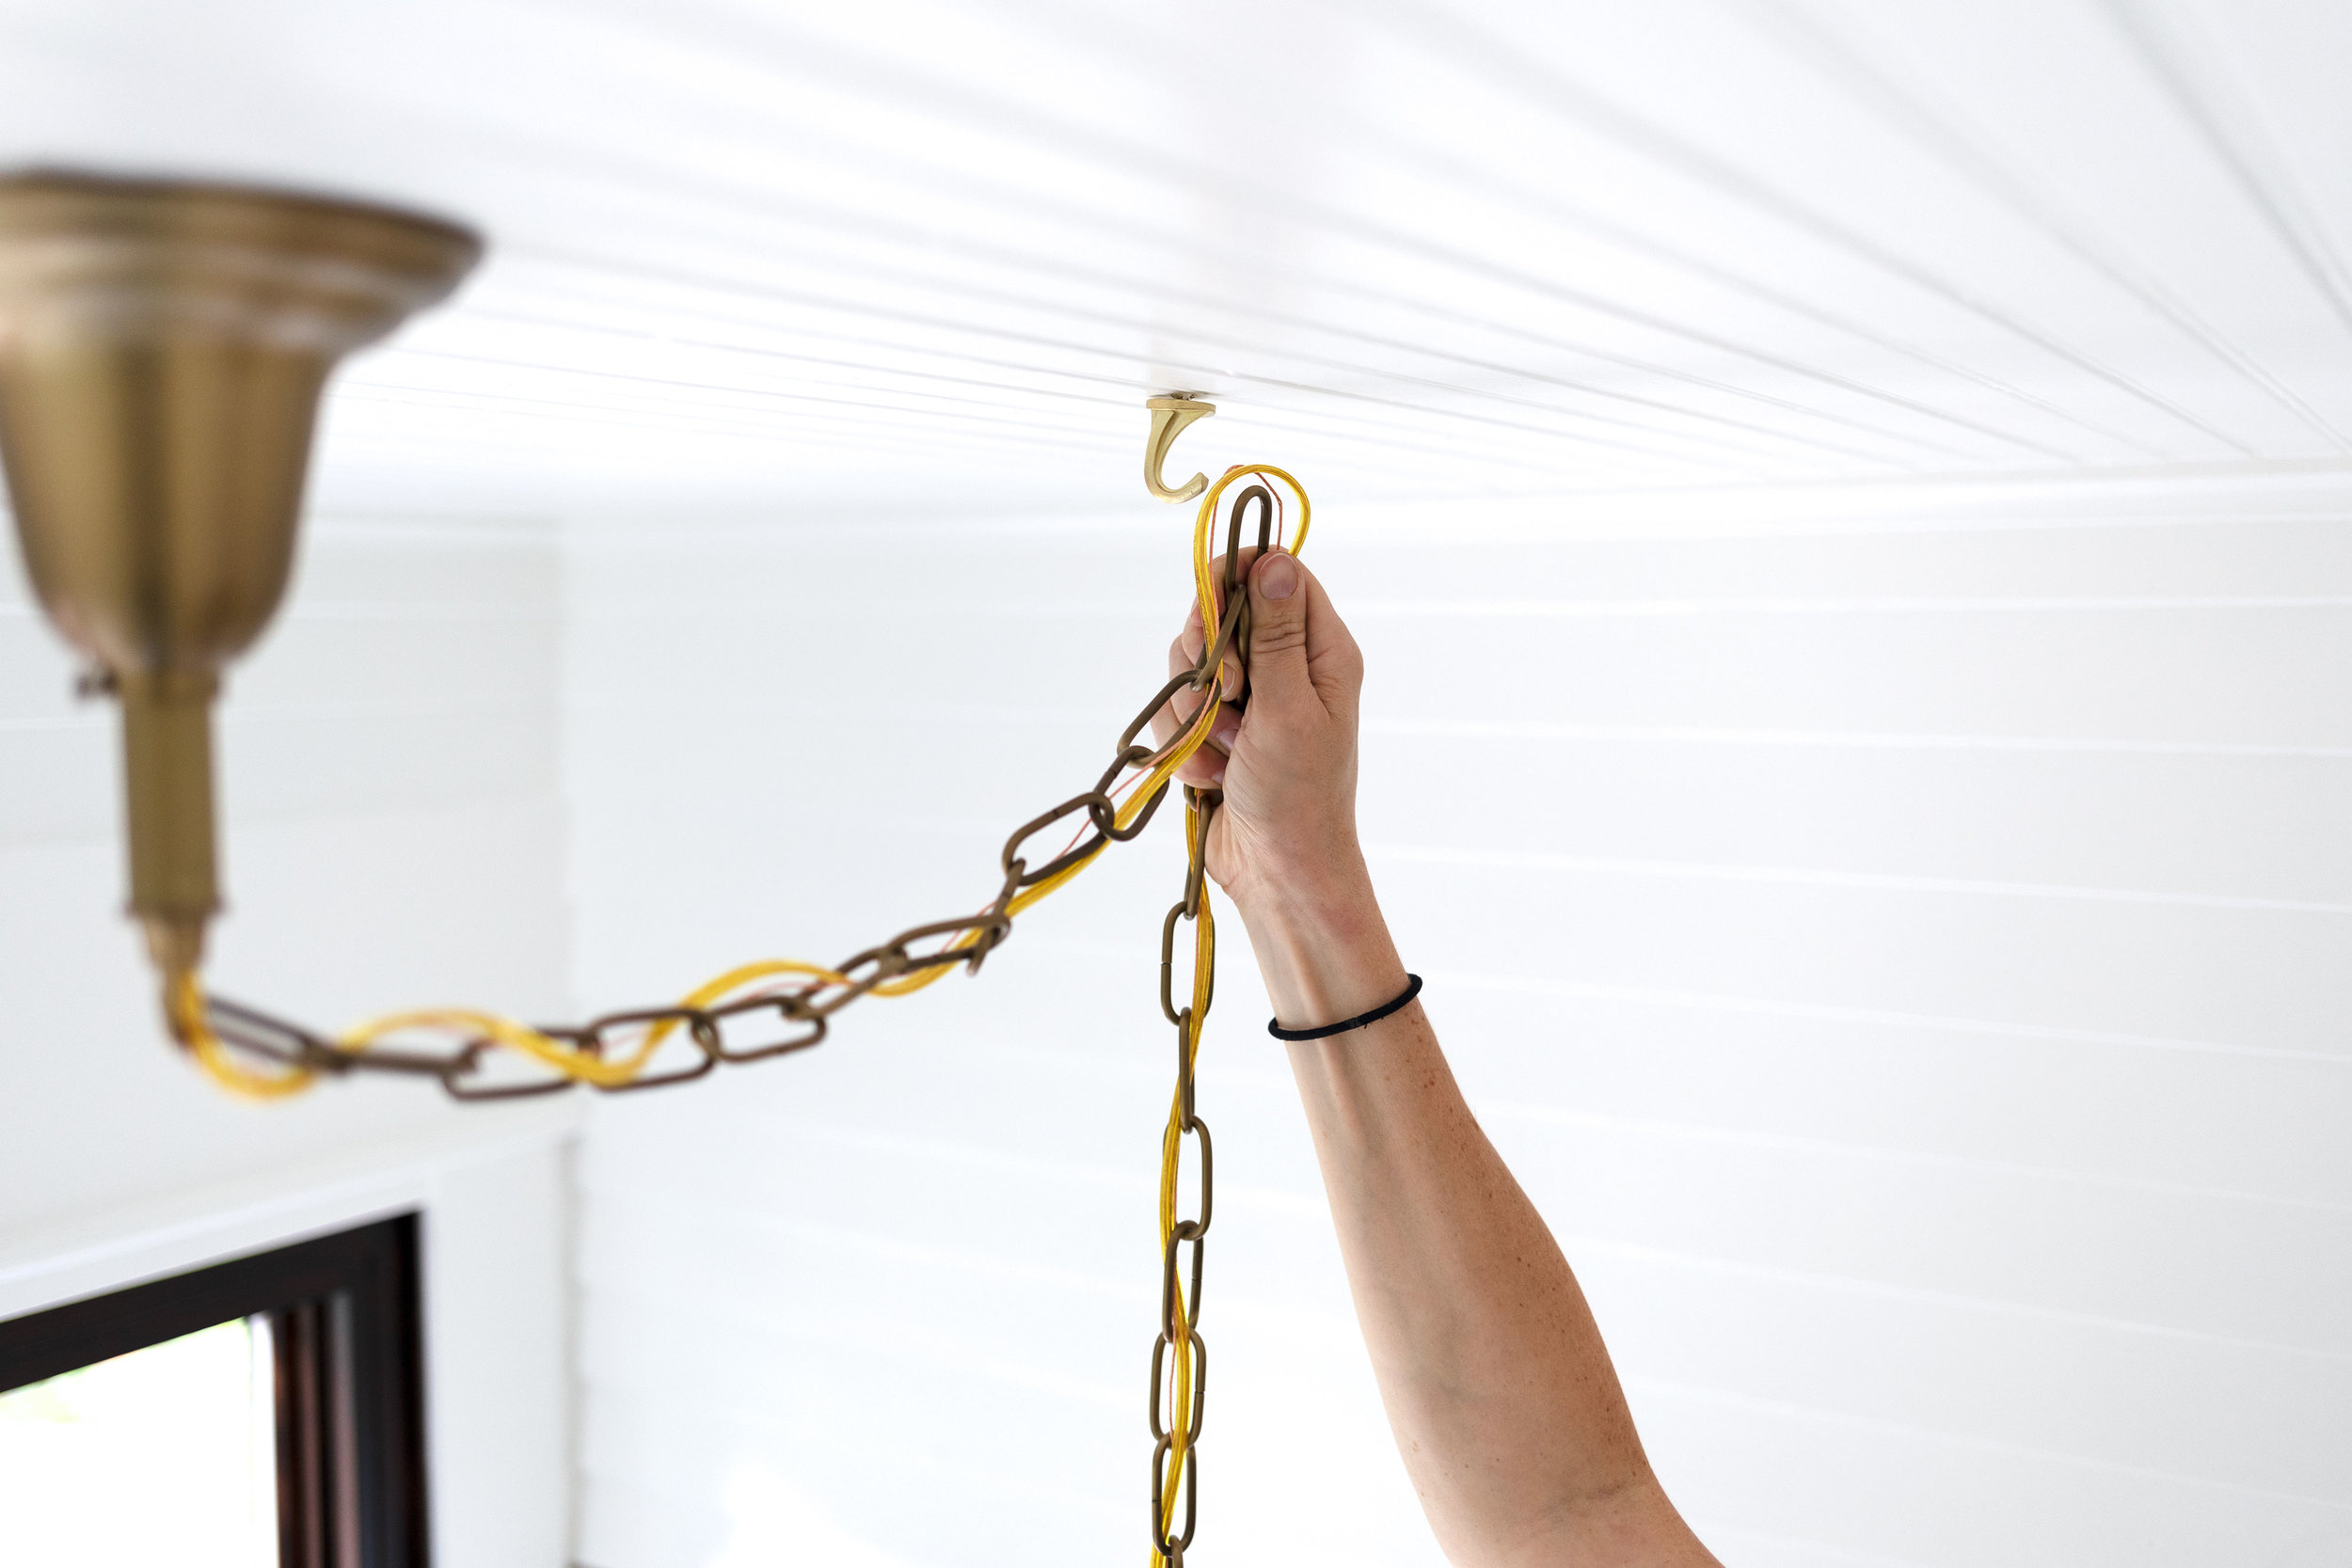
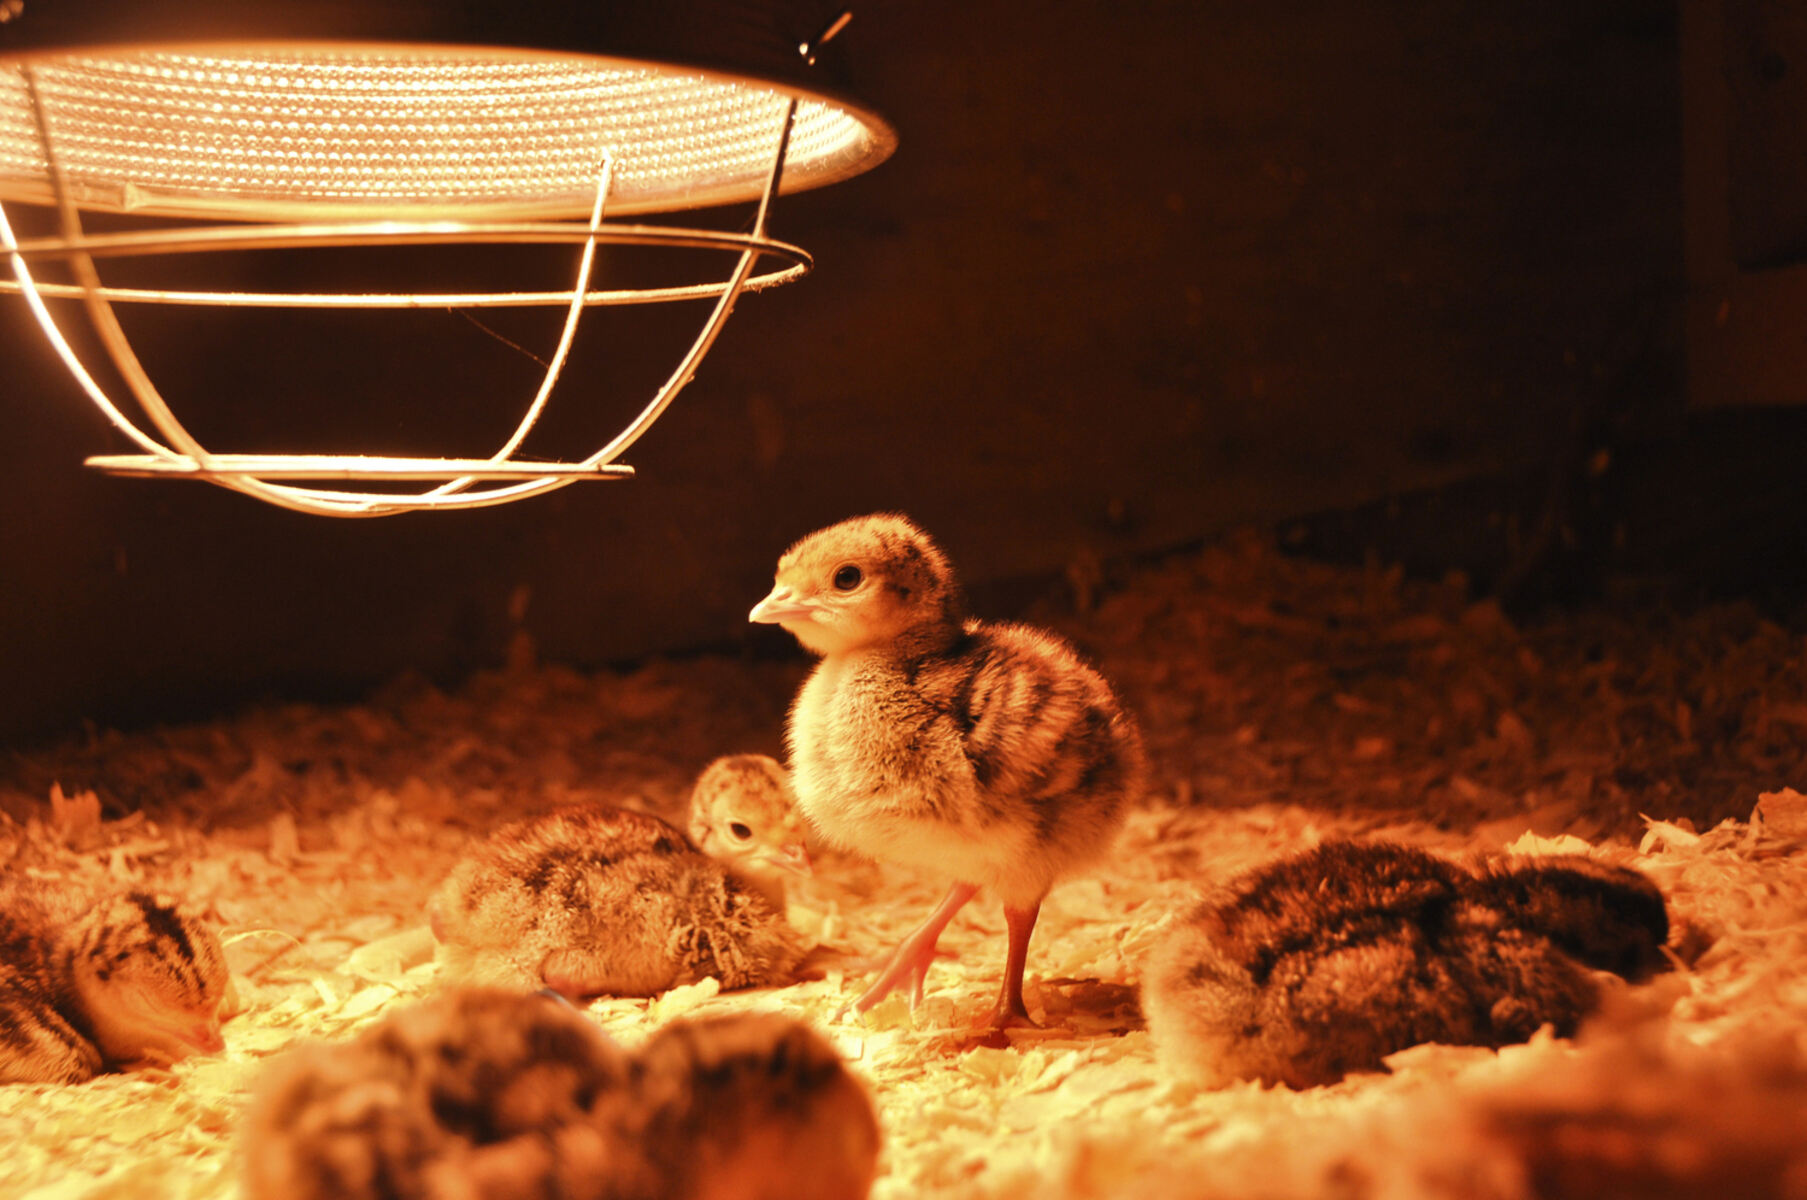
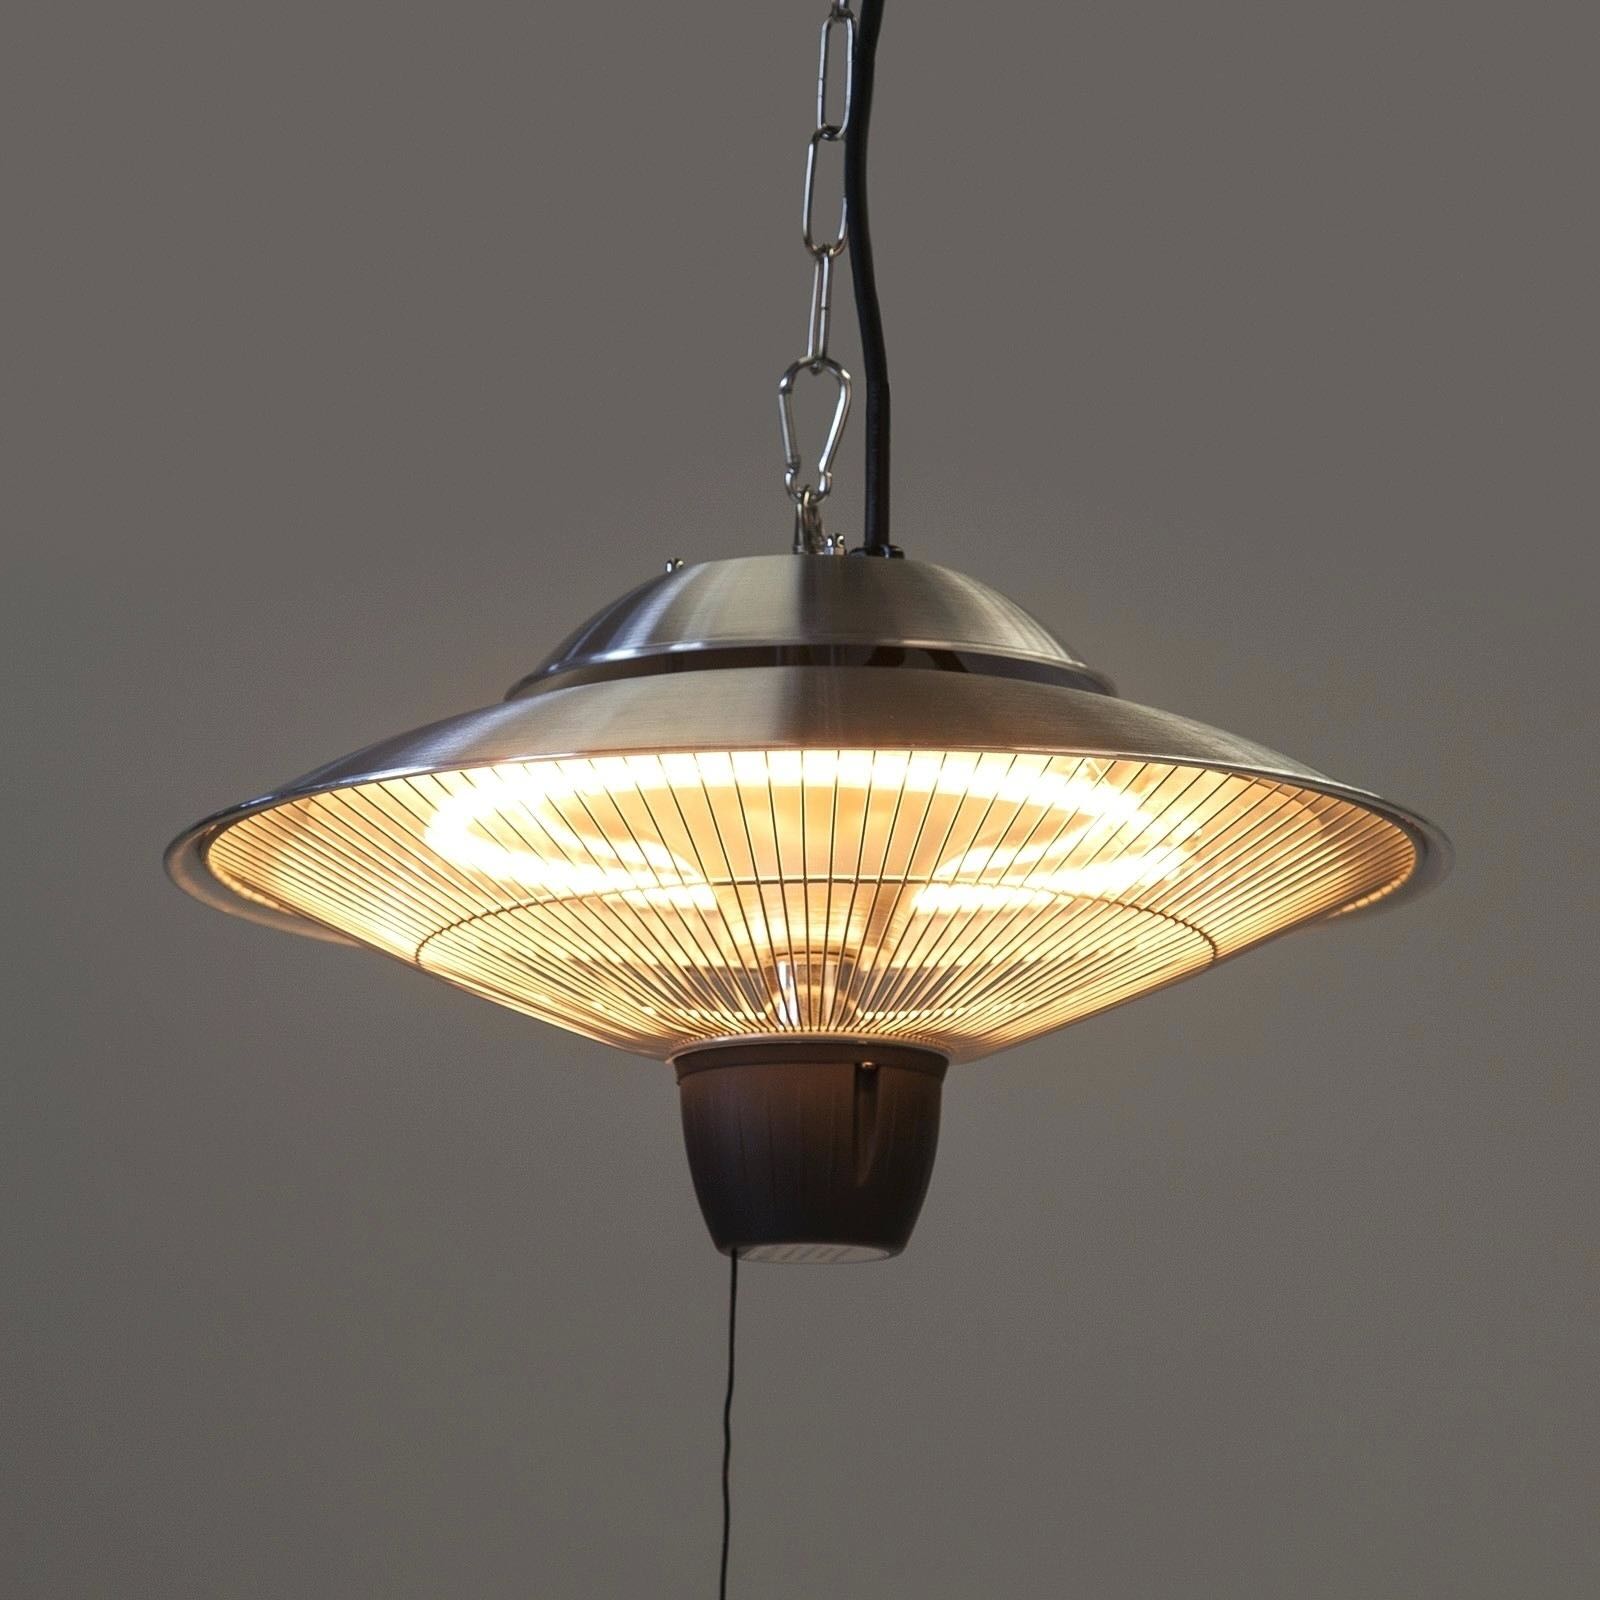
When hanging a heat lamp, make sure to securely attach it to a stable structure using a strong hook or clamp. Position the lamp at the appropriate height to provide the right amount of heat for the intended purpose. Always follow the manufacturer’s guidelines for installation and safety.
Read more: What Is A Heat Lamp
Step 3: Connect the Power Supply
Once you have installed the secure mounting bracket for your heat lamp, the next step is to connect the power supply. This step involves wiring the heat lamp fixture to a suitable power source. Follow these steps to ensure a safe and effective connection:
- Turn Off Power: Before handling any electrical connections, make sure to turn off the power supply at the circuit breaker. This will help prevent electric shock or accidental damage.
- Prepare the Wiring: Measure and cut a length of electrical cable or wire to connect the heat lamp fixture to the power supply. Leave some extra length to allow for flexibility during installation.
- Strip the Wires: Use wire strippers to remove the insulation from the ends of the wires, exposing about half an inch of bare wire.
- Connect the Wires: Depending on the type of heat lamp fixture, you may have different wiring configurations. Follow the manufacturer’s instructions to connect the wires properly. Typically, this involves connecting the black (hot) wire to the brass screw terminal and the white (neutral) wire to the silver screw terminal. If there is a green wire, it is the ground wire and should be connected to the grounding screw or terminal.
- Secure the Connections: Once the wires are properly connected, use wire connectors or terminal blocks to secure the connections. Ensure that the connectors are tight and properly insulated to avoid any loose connections or electrical hazards.
- Double-Check the Wiring: Before proceeding, double-check all the wiring to ensure that it is correctly connected and there are no loose or exposed wires. A visual inspection can help identify and rectify any mistakes or issues.
- Test for Power: After confirming the proper wiring, turn on the power supply and use an electrical tester to check if there is power flowing to the heat lamp fixture. This will ensure that the connection is working correctly.
- Fix the Wiring: If there is no power or any issues with the wiring, turn off the power supply again and recheck the wiring. Verify that all connections are secure and properly connected.
By following these steps, you can safely connect the power supply to your heat lamp. Once the wiring is complete, it’s time to move on to the next step and hang and secure the heat lamp itself.
Step 4: Hang and Secure the Heat Lamp
With the power supply connected, it’s time to hang and secure the heat lamp in its designated location. Follow these steps to ensure a proper and secure installation:
- Attach the Heat Lamp: If your heat lamp comes with a hook or mounting mechanism, use it to attach the lamp to the mounting bracket securely. Follow the manufacturer’s instructions for proper attachment.
- Adjust the Position: Once the heat lamp is attached, adjust its position to ensure that it is pointing in the desired direction and at the appropriate angle. Consider factors such as the coverage area, distance, and height from the objects or surfaces below.
- Secure the Lamp: Depending on the design of your heat lamp, it may have additional securing mechanisms, such as screws or clamps, to prevent it from accidentally falling or moving. Make sure to follow the manufacturer’s instructions and use these mechanisms if necessary.
- Test Stability: Give the heat lamp a gentle shake to test its stability. Ensure that it is securely attached and does not wobble or move excessively. If there is any instability, readjust the position or reinforce the attachment.
- Apply Protective Measures (if applicable): If you’re using a protective cage or reflector, install it over the heat lamp. These accessories not only enhance safety but also help direct the heat in the desired direction.
- Double-Check Wiring: While the heat lamp is hanging, double-check the wiring connections to ensure they are still secure and properly insulated. Look for any signs of loose or exposed wires and fix them if needed.
Once you have successfully hung and secured the heat lamp, it’s time to proceed to the final step: testing the heat lamp to ensure it is functioning correctly. Testing the lamp will give you the confidence that it is ready to provide warmth or the desired temperature in your space.
Step 5: Test the Heat Lamp
After hanging and securing the heat lamp, it’s important to test it to ensure that it is functioning properly. Follow these steps to test your heat lamp:
- Turn On the Power: Ensure that the power supply to the heat lamp is switched on. If you had turned off the power during the installation process, switch it back on.
- Observe the Lamp: Watch the heat lamp closely to see if the bulb lights up. Check if there are any flickering or dimming issues, which could indicate a faulty connection or a defective bulb.
- Check for Adequate Heat: After the lamp is turned on, assess if it is producing the desired amount of heat. Place your hand at an appropriate distance below the lamp to feel the warmth. Be cautious not to touch the lamp itself, as it can be hot.
- Monitor for Any Issues: Keep an eye out for any unusual noises, smells, or performance issues. If you notice any problems or concerns, it is recommended to turn off the power and troubleshoot the cause. It could be a loose connection, improper wiring, or a defective bulb.
- Adjust if Necessary: If the heat lamp is not providing the desired warmth or if the direction of the heat needs to be adjusted, gently reposition it as needed. Take caution to avoid touching the lamp when it is hot.
- Periodic Testing: It’s a good practice to periodically test the heat lamp to ensure its continued functionality and safety. Regularly inspect the lamp and its connections for any signs of wear or damage.
By following these steps and testing your heat lamp, you can ensure that it is operating correctly and providing the desired heat output. If you encounter any issues during the testing process, it is recommended to consult a professional electrician for further assistance and troubleshooting.
Congratulations! By completing these steps, you have successfully hung and tested your heat lamp. Enjoy the warmth and comfort it provides in your space, whether it be an outdoor patio or a reptile enclosure.
Remember to always follow safety guidelines and manufacturer instructions when working with electrical appliances to ensure your well-being and the longevity of your heat lamp.
Thank you for using our guide on how to hang a heat lamp. We hope you found this comprehensive guide helpful and informative. Stay warm and safe!
Conclusion
In conclusion, knowing how to hang a heat lamp is essential for creating a warm and comfortable space, whether it’s an outdoor patio or a reptile enclosure. By following the step-by-step process outlined in this guide and adhering to the safety considerations, you can successfully install a heat lamp that provides the desired warmth and functionality.
Remember to prioritize safety throughout the installation process by turning off the power, checking the wiring, and ensuring appropriate clearance from combustible materials. Always refer to the manufacturer’s instructions for specific guidelines and recommendations.
Gathering the necessary equipment and materials, including a heat lamp fixture, a secure mounting bracket, and appropriate wiring, is crucial for a smooth installation. Once the heat lamp is securely mounted, connect the power supply with proper wiring techniques and double-check all connections for stability and safety.
After the heat lamp is hung and secured, testing for proper functionality and heat output is essential. Monitor the lamp’s performance, adjust its position if needed, and be mindful of any issues or concerns that may arise.
We hope this comprehensive guide has provided you with the knowledge and confidence to successfully hang a heat lamp. By following these steps and prioritizing safety, you can create a warm and inviting atmosphere for your outdoor space or ensure the well-being of your reptiles.
Remember to periodically inspect and maintain your heat lamp to ensure its continued performance and safety. Should you encounter any difficulties or concerns, it is always advisable to consult a licensed electrician for professional assistance.
Thank you for choosing to follow our guide. Stay warm and enjoy the benefits of your newly installed heat lamp!
Frequently Asked Questions about How To Hang A Heat Lamp
Was this page helpful?
At Storables.com, we guarantee accurate and reliable information. Our content, validated by Expert Board Contributors, is crafted following stringent Editorial Policies. We're committed to providing you with well-researched, expert-backed insights for all your informational needs.