Furniture
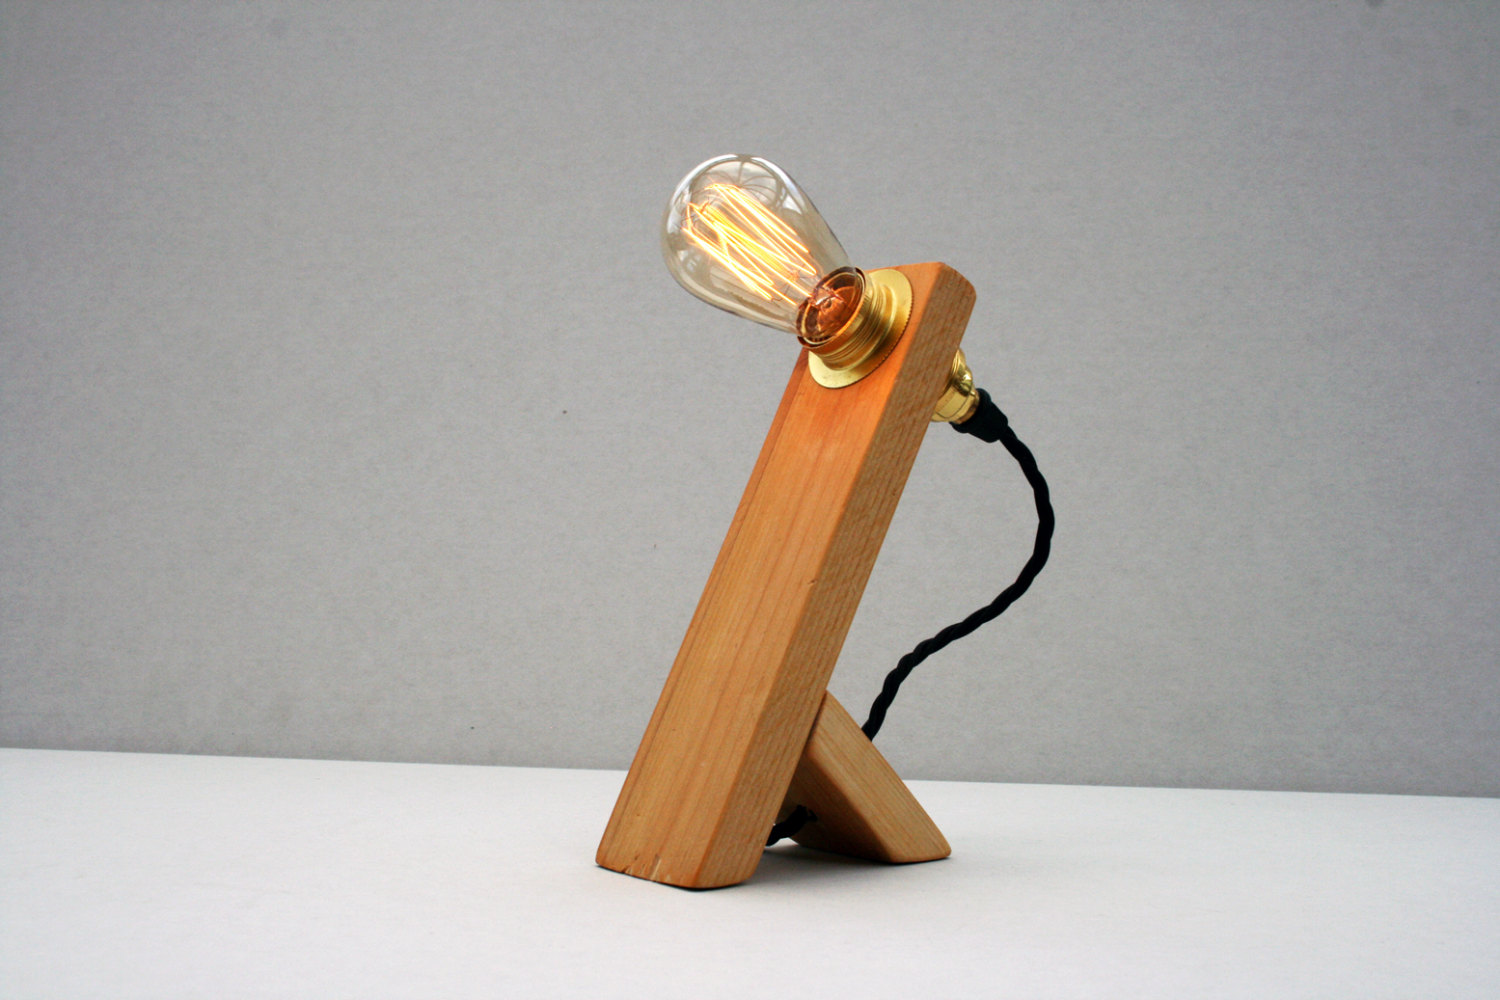
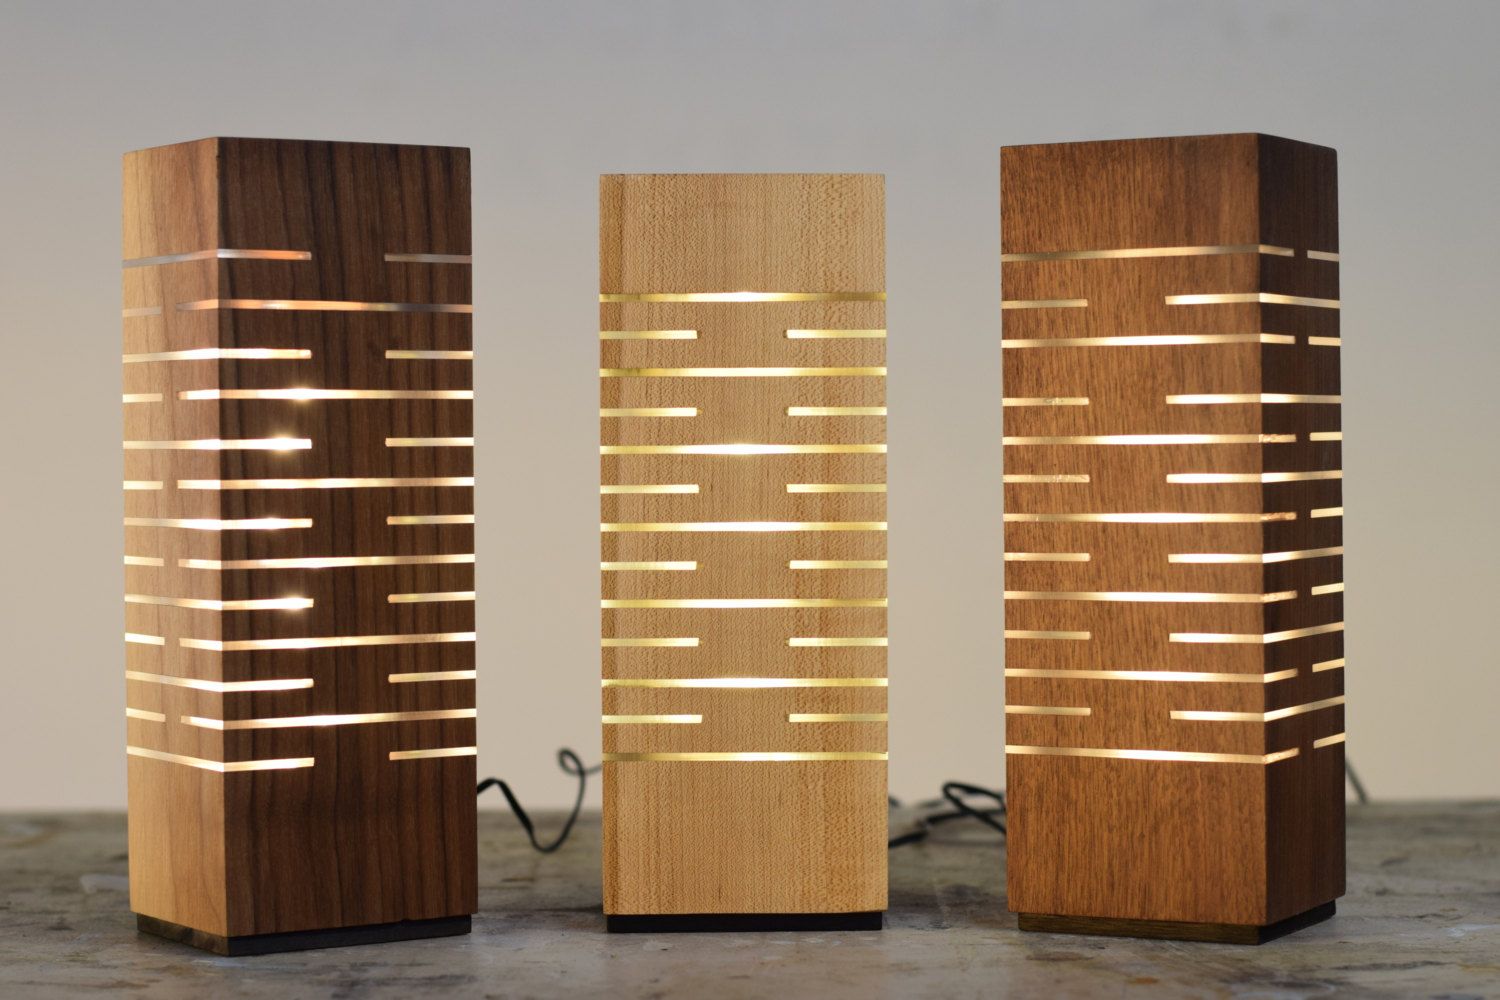
How To Make A Wood Lamp
Modified: October 19, 2024
Discover how to make a stunning wood lamp with this step-by-step guide. Create a unique furniture piece that adds warmth and charm to any space.
(Many of the links in this article redirect to a specific reviewed product. Your purchase of these products through affiliate links helps to generate commission for Storables.com, at no extra cost. Learn more)
Introduction
Welcome to our step-by-step guide on how to make a wood lamp. Adding a wooden lamp to your home decor can bring a touch of warmth and natural beauty. It’s a creative and rewarding project that allows you to showcase your craftsmanship while enhancing the ambiance of any space.
In this article, we will walk you through the process of creating your very own wood lamp, from choosing the right type of wood to wiring the lamp and adding the finishing touches. So, grab your tools, put on your creative hat, and let’s get started!
Before diving into the process, it is important to have a clear idea of the style and design you want for your wood lamp. Consider the type of wood, the size and shape of the lamp, and any additional features or accents you might want to include. This will help guide you through the materials selection and construction process.
So, let’s gather our materials and get ready to embark on this woodworking adventure!
Key Takeaways:
- Crafting a wood lamp involves selecting the right wood, shaping it, drilling for wiring, applying a finish, and assembling the lamp. It’s a creative and rewarding woodworking journey that adds warmth and natural beauty to any space.
- Prioritize safety, consult professionals when needed, and enjoy the satisfaction of creating a functional and unique wood lamp. Let your creativity and craftsmanship shine through as you illuminate your home with a touch of nature.
Read more: How To Make A Floor Lamp
Materials Needed
Before you can begin making your wood lamp, it’s essential to gather all the necessary materials. Here’s a list of what you’ll need:
- Wood: Choose a piece of wood that suits your design preferences and fits the overall style of your space. Some popular options include oak, pine, walnut, or even reclaimed wood.
- Saw: You’ll need a saw to cut and shape the wood to the desired size and design. A circular saw or a hand saw will work just fine.
- Drill with drill bits: A drill will be necessary for creating holes in the wood for wiring and assembly.
- Sandpaper: To achieve a smooth and polished finish, you’ll need sandpaper in various grits, such as coarse, medium, and fine.
- Wood stain or paint: Depending on your design preference, you may want to stain or paint the wood for a finished look.
- Clear coat or varnish: A clear coat or varnish will protect the wood and give it a glossy finish.
- Lamp kit: You’ll need a complete lamp kit that includes a socket, cord, plug, and switch.
- Lampshade: Lastly, choose a lampshade that complements the style and size of your wood lamp.
Additionally, to ensure safety during the construction process, don’t forget to have the following protective gear:
- Safety goggles: Protect your eyes from flying debris while cutting and drilling.
- Gloves: Keep your hands safe from sharp edges and splinters.
- Dust mask: Prevent inhaling dust particles when sanding or cutting wood.
Once you’ve gathered all these materials, you’re ready to move on to the next step: choosing the wood for your lamp.
Step 1: Choosing the Wood
Choosing the right type of wood is crucial in creating a wood lamp that not only looks visually appealing but is also durable and long-lasting. Here are some factors to consider when selecting the wood for your lamp:
- Type of Wood: Different types of wood have distinct characteristics and appearances. Hardwoods like oak, walnut, and maple are popular choices due to their durability and natural beauty. Softwoods like pine or cedar can also be used, but they may require extra care in terms of finish and protection.
- Grain Pattern: The grain pattern of the wood adds depth and visual interest to your lamp. Decide whether you prefer a straight, vertical grain or a more intricate pattern, such as burl or curly grain.
- Color: Consider the color of the wood in relation to your overall design and the aesthetic of your space. Lighter woods like maple or ash can create a contemporary and airy feel, while darker woods like walnut or mahogany exude a more traditional and rich look.
- Texture: Some woods have a smooth and fine texture, while others may have a more rugged or pronounced grain. Choose a wood texture that suits your personal preference and the style you want to achieve.
- Sustainability: If you’re environmentally conscious, consider opting for responsibly sourced or reclaimed wood to reduce your impact on the environment.
Once you’ve narrowed down your preferences, visit a local lumberyard or specialty woodworking store to explore their wood selection. Take the time to examine the grain, color, and texture of different wood options before making a final decision.
Remember, the type of wood you choose will greatly influence the overall look and feel of your lamp. So, take your time in selecting the perfect piece that fits your design vision.
Now that you’ve chosen your wood, let’s move on to the next step: cutting and shaping the wood.
Step 2: Cutting and Shaping the Wood
Now that you have your chosen piece of wood, it’s time to start shaping it into the desired form for your wood lamp. Follow these steps to cut and shape the wood:
- Measure and Mark: Begin by measuring and marking the dimensions for your lamp base. Use a pencil or a marking tool to indicate the areas that need to be cut or shaped.
- Cut the Base: Using a saw (such as a circular saw or a hand saw), carefully cut along the marked lines to create the initial shape of your lamp base. Take your time and ensure straight and accurate cuts.
- Shape the Base: Once you’ve cut the base, use a sander or sandpaper to shape the edges and smooth out any rough surfaces. This will give your lamp a more polished and refined appearance. Consider adding decorative accents, such as beveled edges or curved contours, to enhance the design of the lamp base.
- Drill Holes: Depending on your lamp design, you may need to drill holes for the wiring and assembly. Use a drill with the appropriate drill bit size to create holes for the cord, switch, and any other components required.
- Cut the Neck: If you want to create a neck or stem for your lamp, measure and mark the desired height and width on the remaining piece of wood. Use the saw to cut the neck to the desired dimensions, and then shape and sand it as needed.
Remember to take safety precautions while cutting and shaping the wood. Wear safety goggles to protect your eyes from flying debris and gloves to safeguard your hands.
Once you have cut and shaped the wood, your lamp base will start to take form. In the next step, we will guide you through drilling holes for wiring and assembly.
Step 3: Drilling Holes for Wiring
Drilling holes in the wood is an essential step in preparing your wood lamp for wiring and assembly. Follow these steps to ensure you drill the necessary holes accurately:
- Plan the Wiring: Before drilling any holes, carefully plan the wiring layout for your lamp. Determine where the cord will enter the base, where the switch will be located, and any other components that need to be integrated.
- Mark the Hole Locations: Use a pencil or a marking tool to mark the exact locations where you need to drill the holes. Double-check your measurements and ensure they align with your wiring plan.
- Choose the Right Drill Bit: Select a drill bit that matches the diameter of the wiring components you will be using. For example, if your cord diameter is 1/4 inch, choose a 1/4-inch drill bit.
- Secure the Wood: Place the wood securely on a workbench or clamp it in place to prevent any movement while drilling.
- Drill the Holes: Using a drill with the chosen drill bit, carefully drill through the marked locations. Hold the drill perpendicular to the wood surface to ensure straight and accurate holes.
- Deburr the Holes: After drilling the holes, use a small file or sandpaper to remove any rough edges or burrs around the hole openings. This will prevent any damage to the wiring during installation.
Take your time and proceed with caution while drilling the holes. It’s important to be precise to ensure proper wiring installation and a clean, professional finish.
Now that you have drilled the necessary holes, it’s time to move on to the next step: sanding and smoothing the wood for a sleek finish.
Read more: How To Make A Vase Into A Lamp
Step 4: Sanding and Smoothing the Wood
Once you’ve drilled the necessary holes in your wood lamp base, it’s time to focus on sanding and smoothing the wood to achieve a polished, finished look. Here’s how to do it:
- Gather Sandpaper: Start by gathering sandpaper in various grits. It’s recommended to begin with a coarser grit (around 80 or 120) and gradually move to finer grits, such as 220 or 320, for a smoother finish.
- Sand the Surface: Using the coarsest grit sandpaper, sand the entire surface of the wood lamp base. Move in the direction of the wood grain and apply even pressure. This will help remove any roughness, imperfections, or sharp edges.
- Progressively Smoothen: Switch to a finer grit sandpaper and continue sanding the wood, gradually moving through the grits. This will help to further smoothen the surface and eliminate any visible scratches or marks left by the coarser grits.
- Pay Attention to Detail: During the sanding process, be sure to sand any intricate details or hard-to-reach areas. Use sandpaper wrapped around a small piece of wood or folded to reach tight corners or curves.
- Remove Dust: After sanding, use a clean cloth or a soft brush to remove any dust and debris from the wood surface. This will ensure a clean and smooth finish.
- Optional: Apply Wood Conditioner: If you’re working with a softwood, consider applying a wood conditioner before applying a finish. This will help the wood absorb the finish more evenly.
Sanding the wood not only creates a beautiful smooth surface but also prepares it for the next step: applying a finish. Sanding helps the wood absorb the finish more effectively, resulting in a more polished and long-lasting look.
Remember to take breaks during the sanding process to check your progress and ensure you’re achieving the desired level of smoothness. Once you’re satisfied with the surface, you’re ready to move on to the next step: applying a finish to your wood lamp.
When making a wood lamp, be sure to choose a wood that is suitable for your design and has the necessary strength and durability. Hardwoods like oak, maple, or cherry are good choices for this project.
Step 5: Applying a Finish
Applying a finish to your wood lamp not only enhances its appearance but also protects the wood from moisture, stains, and wear. Follow these steps to apply a beautiful finish to your lamp:
- Select the Finish: There are various options for finishing your wood lamp, including stains, paints, lacquers, or oils. Consider the look and feel you want to achieve, as well as the type of wood you’re working with, when choosing the right finish.
- Prepare the Surface: Before applying the finish, make sure the wood surface is clean and free from dust and debris. Wipe the lamp base with a tack cloth or a slightly damp cloth to remove any remaining particles.
- Apply the Finish: If you’re using a stain, follow the manufacturer’s instructions to apply an even coat of stain to the wood. Use a brush or a soft cloth to work the stain into the grain. For paints, apply thin coats with a brush, allowing each coat to dry before adding the next one.
- Allow Drying Time: Depending on the type of finish you’re using, allow the lamp base to dry completely. Follow the recommendations on the finish product packaging for the required drying time.
- Sand Between Coats: For a smoother and more even finish, lightly sand the surface between each coat of finish. Use fine-grit sandpaper or steel wool to gently smooth the surface. Remember to remove any sanding residue before applying the next coat.
- Apply Multiple Coats: Depending on the level of protection and the desired aesthetics, you may need to apply multiple coats of finish. Allow each coat to fully dry before adding subsequent coats.
- Seal the Finish: Once you have achieved the desired look and level of protection, consider applying a clear coat or a varnish as a final step to seal the finish and provide extra durability.
It’s important to work in a well-ventilated area and follow the safety guidelines provided by the finish manufacturer. Take your time and apply the finish with care to achieve a professional and beautiful result.
Once the finish is dry and sealed, you’re ready to move on to the next step: wiring the lamp. Stay tuned for step 6!
Step 6: Wiring the Lamp
With your wood lamp base finished and ready, it’s time to tackle the wiring process. Follow these steps to ensure a safe and successful wiring installation:
- Gather the Lamp Kit: Start by gathering the lamp kit, which should include a socket, cord, plug, and switch. Ensure that the lamp kit is compatible with your lamp base design and the size of the drilled holes.
- Thread the Cord: Begin by threading the cord through the drilled hole in the base of the lamp. Pull the cord until you have enough length to work with, leaving excess cord for wiring at the top.
- Strip the Wires: Carefully strip the plastic coating from the ends of the cord wires using wire strippers. You should expose about 1/2 inch of the copper wire.
- Attach the Wires: Follow the instructions provided with your lamp kit to determine the appropriate wire connections. Typically, this involves connecting the black (or hot) wire from the cord to the brass screw on the socket and the white (or neutral) wire to the silver screw. Ensure that the wires are securely fastened and there are no loose connections.
- Secure the Socket: Once the wires are attached, carefully place the socket into the drilled hole on top of the lamp base. Use the included hardware or a socket cap to secure it in place.
- Connect the Plug and Switch: If your lamp kit includes a plug and switch, follow the provided instructions to attach them to the appropriate sections of the cord. Make sure the switch is positioned in a convenient place on the cord for easy access.
- Double-Check the Wiring: Before completing the wiring process, double-check all connections to ensure they are secure and properly connected. Make sure there are no exposed wires or loose connections that could be a potential hazard.
- Tuck Away Excess Cord: Once you are confident in the wiring, carefully tuck away any excess cord inside the lamp base. Ensure that the cord moves freely without being pinched or twisted.
It is always advisable to consult an electrician or refer to the specific instructions provided with your lamp kit to ensure compliance with electrical safety regulations.
With the wiring complete, we’re ready to move on to the exciting part: assembling your wood lamp! Stay tuned for step 7!
Step 7: Assembling the Lamp
With the wiring successfully completed, it’s time to assemble your wood lamp and bring all the pieces together. Follow these steps to ensure a smooth and secure assembly:
- Prepare the Lampshade: If you’ve chosen a lampshade for your wood lamp, make sure it’s ready for assembly. Remove any protective coverings or packaging and ensure it is clean and free from dust.
- Attach the Harp: The harp is the wire frame that supports the lampshade. Place the harp over the lamp socket and secure it in place using the provided hardware or clips. Ensure that the harp is balanced and stable.
- Lower the Lampshade: Carefully lower the lampshade onto the harp. Ensure that it rests securely on the harp and is centered on the lamp base. Make any necessary adjustments to ensure proper alignment.
- Tighten the Lampshade: If your lampshade requires additional securing, use a finial, a decorative screw-like piece, to secure it in place. Twist the finial tightly onto the threaded stud at the top of the lampshade.
- Test the Lamp: Before completing the assembly, make sure to test your lamp by plugging it into a power source. Switch it on to check that the wiring is functioning correctly and that the lampshade is properly illuminated.
- Make Final Adjustments: Check the lamp for any loose connections or components. Adjust the lampshade, harp, or finial if needed to achieve the desired look and stability.
- Secure any Loose Components: If you notice any components, such as the socket or the harp, coming loose during the assembly process, ensure they are securely tightened or fixed in place before using the lamp.
Take your time during the assembly process to ensure everything is aligned, secure, and functioning correctly. This will ensure the longevity and safety of your wood lamp.
With your lamp fully assembled and tested, you’re almost finished! In the next step, we’ll cover final testing and touches to make your wood lamp shine bright.
Read more: How To Make A Cordless Lamp
Step 8: Testing and Final Touches
Congratulations! You’re nearing the completion of your wood lamp project. The final step involves testing your lamp and making any final touches to perfect its appearance. Follow these steps to ensure your lamp is fully functional and visually appealing:
- Inspect the Wiring: Before proceeding, carefully inspect the wiring to ensure there are no loose connections, exposed wires, or signs of damage. Check that the cord is securely attached to the plug, switch, and socket.
- Plug in the Lamp: Gently plug in the lamp to a power source, ensuring that the switch is in the off position. This will allow you to test the function of the lamp once it’s turned on.
- Turn on the Lamp: With the lamp plugged in, switch it on to test the illumination. Make sure the light bulb is functioning properly and that the lampshade is casting the desired level of light and creating the desired ambiance.
- Make Final Adjustments: If needed, make any final adjustments to the lampshade, harp, or finial to achieve the desired balance, angle, or positioning. Ensure that the lampshade is secure and level.
- Check for Stability: Test the lamp’s stability by gently nudging or shaking it. Make sure it remains steady and that none of the components or wiring is loose or unstable.
- Final Dusting and Cleaning: Give your wood lamp a final dusting and cleaning to remove any fingerprints, smudges, or dust that may have accumulated during the assembly process. Use a soft, lint-free cloth or a duster to gently wipe down the lamp’s surfaces.
- Enjoy Your Wood Lamp: With the testing complete and the final touches made, it’s time to sit back, relax, and enjoy the warm and inviting glow of your newly assembled wood lamp. Admire the craftsmanship and personal touch you’ve added to your home decor.
Remember, the safety and proper functioning of your lamp should always be a priority. If you encounter any issues or suspect a problem with the wiring or components, it’s best to consult a professional electrician.
Now that your wood lamp is complete, you can bask in the satisfaction of your creativity and craftsmanship. It’s a beautiful addition to your space that adds a touch of warmth and natural beauty.
Thank you for following our step-by-step guide on how to make a wood lamp. We hope this journey has been both enjoyable and rewarding. Happy illuminating!
Conclusion
Congratulations on completing your wood lamp! You’ve not only created a functional and unique piece of home decor but also embarked on a fulfilling woodworking journey. By following our step-by-step guide, you have learned how to choose the right wood, cut and shape it, drill holes for wiring, sand and smooth the surface, apply a beautiful finish, wire and assemble the lamp, and perform final testing and touches.
Throughout this process, you’ve tapped into your creativity and craftsmanship, allowing your personal style and preferences to shine through. Your wood lamp is now a stunning centerpiece that adds warmth, sophistication, and a touch of nature to your space.
Remember to always prioritize safety when working with electrical components and consult professionals if you’re unsure about any steps in the woodworking and wiring process. Following proper safety guidelines ensures the longevity and functionality of your wood lamp.
Now that you have successfully completed your wood lamp project, take the time to appreciate your hard work and enjoy the warm glow it brings to your home. Showcase it in your living room, bedroom, or any space where you want to create a cozy and inviting atmosphere.
Thank you for joining us on this woodworking adventure. We hope this guide has inspired you to explore more DIY projects and continue to unleash your creativity. Happy woodworking!
Excited about your new wood lamp? Keep that creative momentum going with more projects that'll transform your space. Dive into our collection of woodworking projects, perfect for any skill level. From simple designs to intricate pieces, you'll find something to spark your interest and challenge your crafting skills. Don't just stop at one lamp—fill your home with handmade treasures that truly reflect your personality and craftsmanship.
Frequently Asked Questions about How To Make A Wood Lamp
Was this page helpful?
At Storables.com, we guarantee accurate and reliable information. Our content, validated by Expert Board Contributors, is crafted following stringent Editorial Policies. We're committed to providing you with well-researched, expert-backed insights for all your informational needs.